
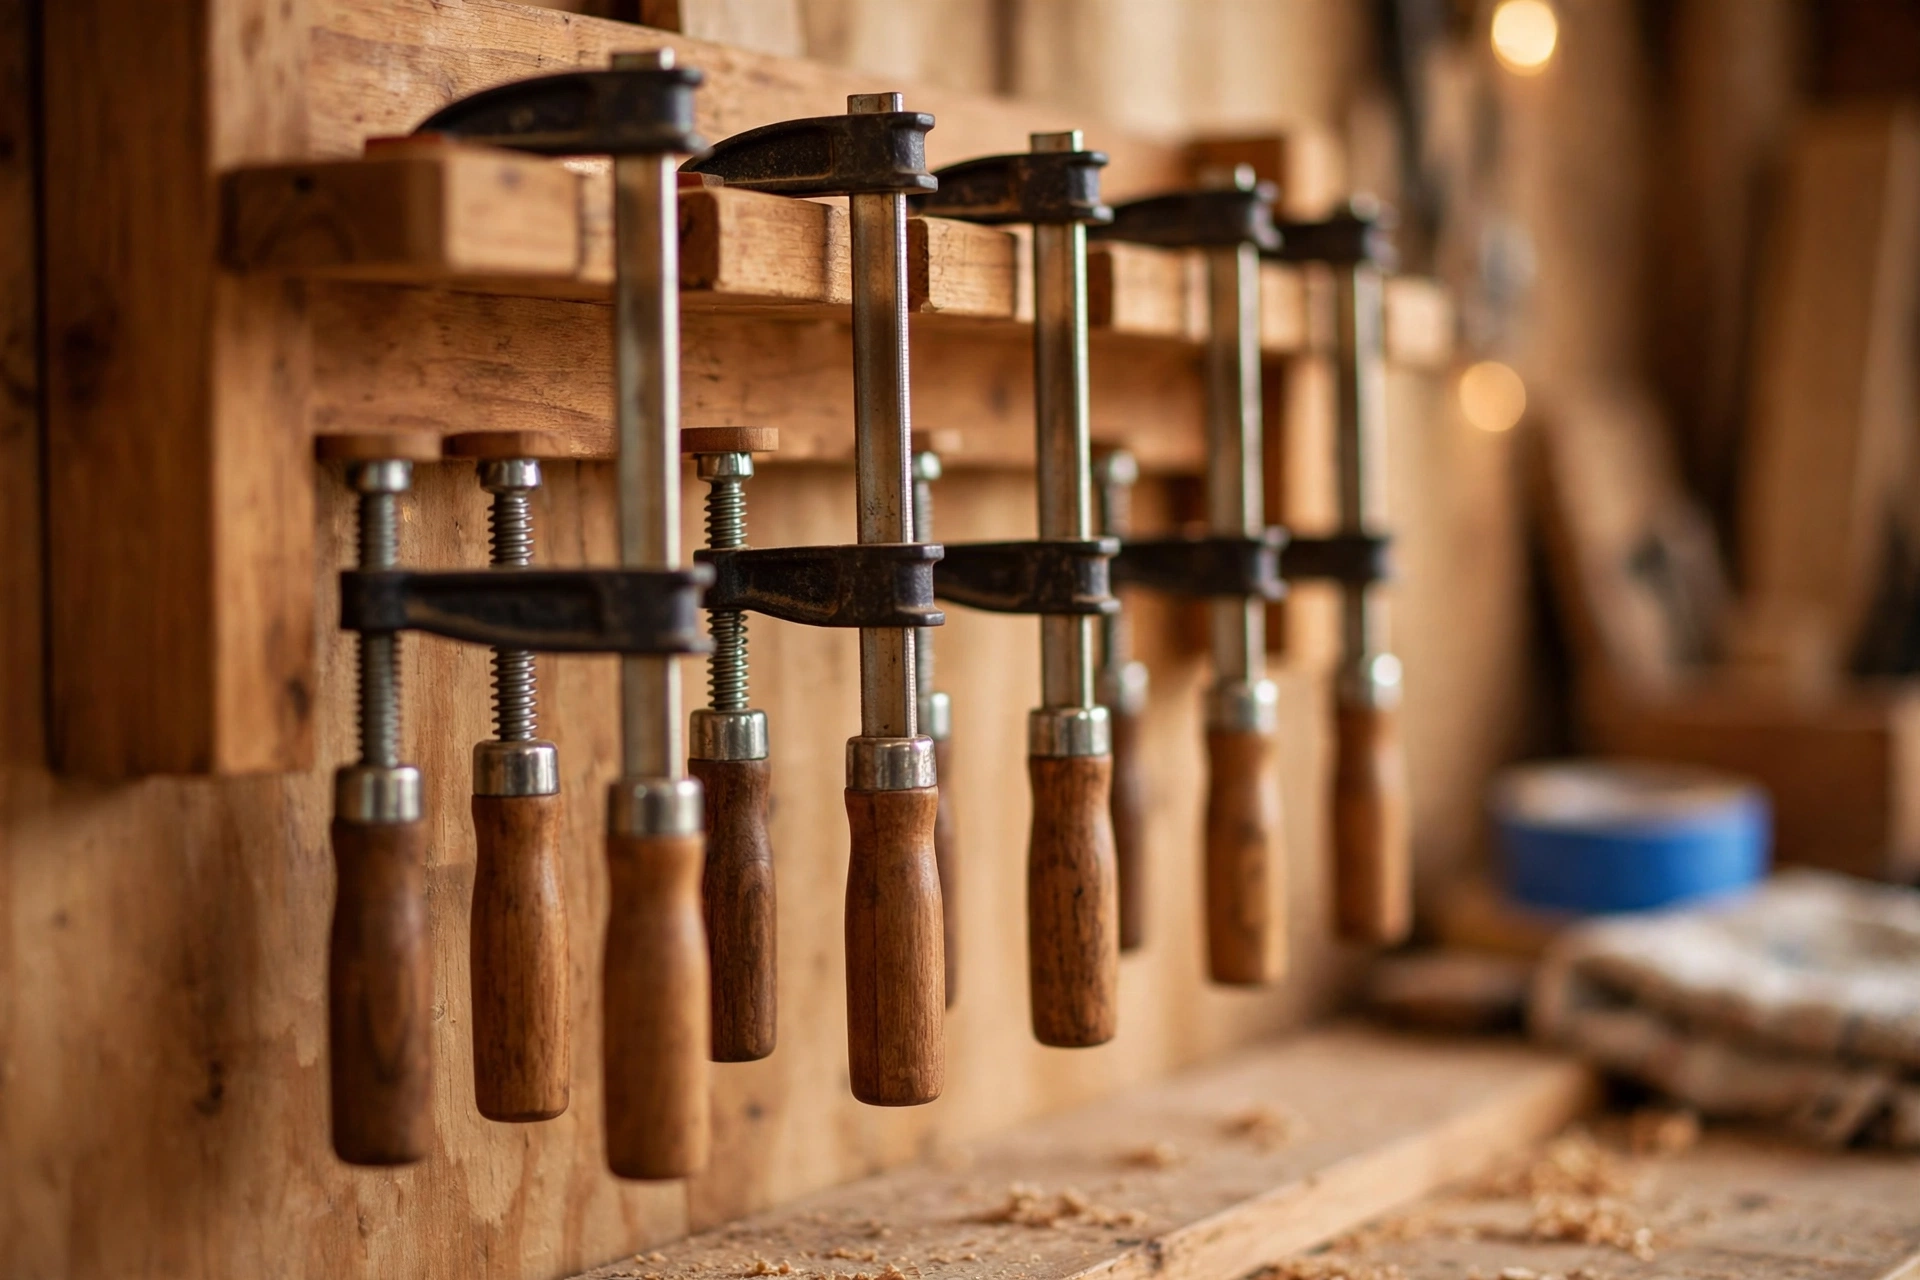
Every woodworker knows the scene. You buy your first few clamps, and they live neatly on a shelf. Then you buy a few more, and a few more, and suddenly there is a tangled pile of steel bars and handles in the corner of your workshop, under the bench, or behind the door. You can never find the size you need, the jaws get chipped, and every glue-up starts with five minutes of digging through the pile. Learning how to build a wooden clamp rack for beginners is the fastest way to end that mess for good.
This guide walks you through a simple wall-mounted rack that holds bar clamps, parallel clamps, F-clamps, and spring clamps in one tidy row. It takes one weekend afternoon, costs less than a single new clamp, and needs nothing more than a saw, a drill, and a couple of boards. By the end, every clamp in your shop will have a home, and you will be able to grab the right one with one hand while glue is drying on your project.
Why Your Clamps Always End Up in a Pile
Clamps are awkward things to store. They are long, heavy, and oddly shaped, so they do not stack, they do not fit in drawers, and they slide off shelves. A 60 cm (24 in) bar clamp is nearly a metre of steel with a jaw at each end, and a set of six of them weighs more than most toolboxes. Leaned against a wall, they slide down and fall over. Laid flat on a bench, they eat the very workspace you bought them to help you use.
A wall rack solves the problem by using the one surface every workshop has in abundance: the wall. Hanging clamps vertically keeps their weight on the rack instead of on each other, protects the jaws from damage, and — most importantly — lets you see your whole collection at a glance. When you can see every clamp, you stop buying duplicates of sizes you already own, and you stop wasting glue-up time hunting through a pile.
There is a second benefit beginners often miss. A clamp rack is one of the best first workshop projects you can build. It teaches measuring, straight cuts, angled slots, and solid wall mounting, and it forgives small mistakes because it hangs on the wall and holds tools, not fine furniture. If you are still deciding which clamps to buy in the first place, read our guide to the best clamps for woodworking beginners before you start, so your rack fits the clamps you actually own.
Which Rack Style Fits Your Clamps?
Not every clamp hangs the same way, so the first decision is which rack style — or combination of styles — matches your collection. Most beginner workshops end up with a mix, and the good news is that one rack can serve them all if you plan the layout before you cut.
Bar Clamps and Parallel Clamps
Long bar clamps and parallel-jaw clamps are the workhorses of the shop, and they hang best from slots. The rack has a horizontal slotted board near the top, and each clamp’s bar slides down into a slot so the fixed jaw rests on the board and the bar hangs vertically. Angled slots work better than straight ones here, because gravity pulls the clamp back against the wall instead of letting it tip forward.
F-Clamps
F-clamps are lighter and shorter than bar clamps, and they can hang from the same slotted board or from a simple horizontal dowel. If your collection is mostly F-clamps, a single row of slots is usually enough, and you can space them closer together than bar clamps because their bars are thinner.
Spring Clamps and Hand Clamps
Spring clamps are the easiest of all: they clip straight onto a horizontal dowel or a thin rail. A 20 mm (3/4 in) hardwood dowel mounted near the bottom of the rack holds a whole row of them, and you can grab one with a single squeeze. Keep them on their own dowel, away from the heavy bar clamps, so they do not get crushed.
| Rack Style | Best For | Build Difficulty | Space Needed | Cost |
|---|---|---|---|---|
| Slotted board rack | Bar clamps, parallel clamps, F-clamps | Easy | 120 cm wide x 90 cm tall (47 in x 35 in) | Low |
| Dowel rail rack | Spring clamps, hand clamps | Very easy | 60 cm wide x 15 cm tall (24 in x 6 in) | Very low |
| French cleat rack | Mixed collections, renters | Medium | 120 cm wide x 90 cm tall (47 in x 35 in) | Medium |
| Freestanding rack | No wall space, garage corners | Medium | 60 cm floor space | Medium |
| Combination rack | Bar + spring clamps together | Easy | 120 cm wide x 90 cm tall (47 in x 35 in) | Low |
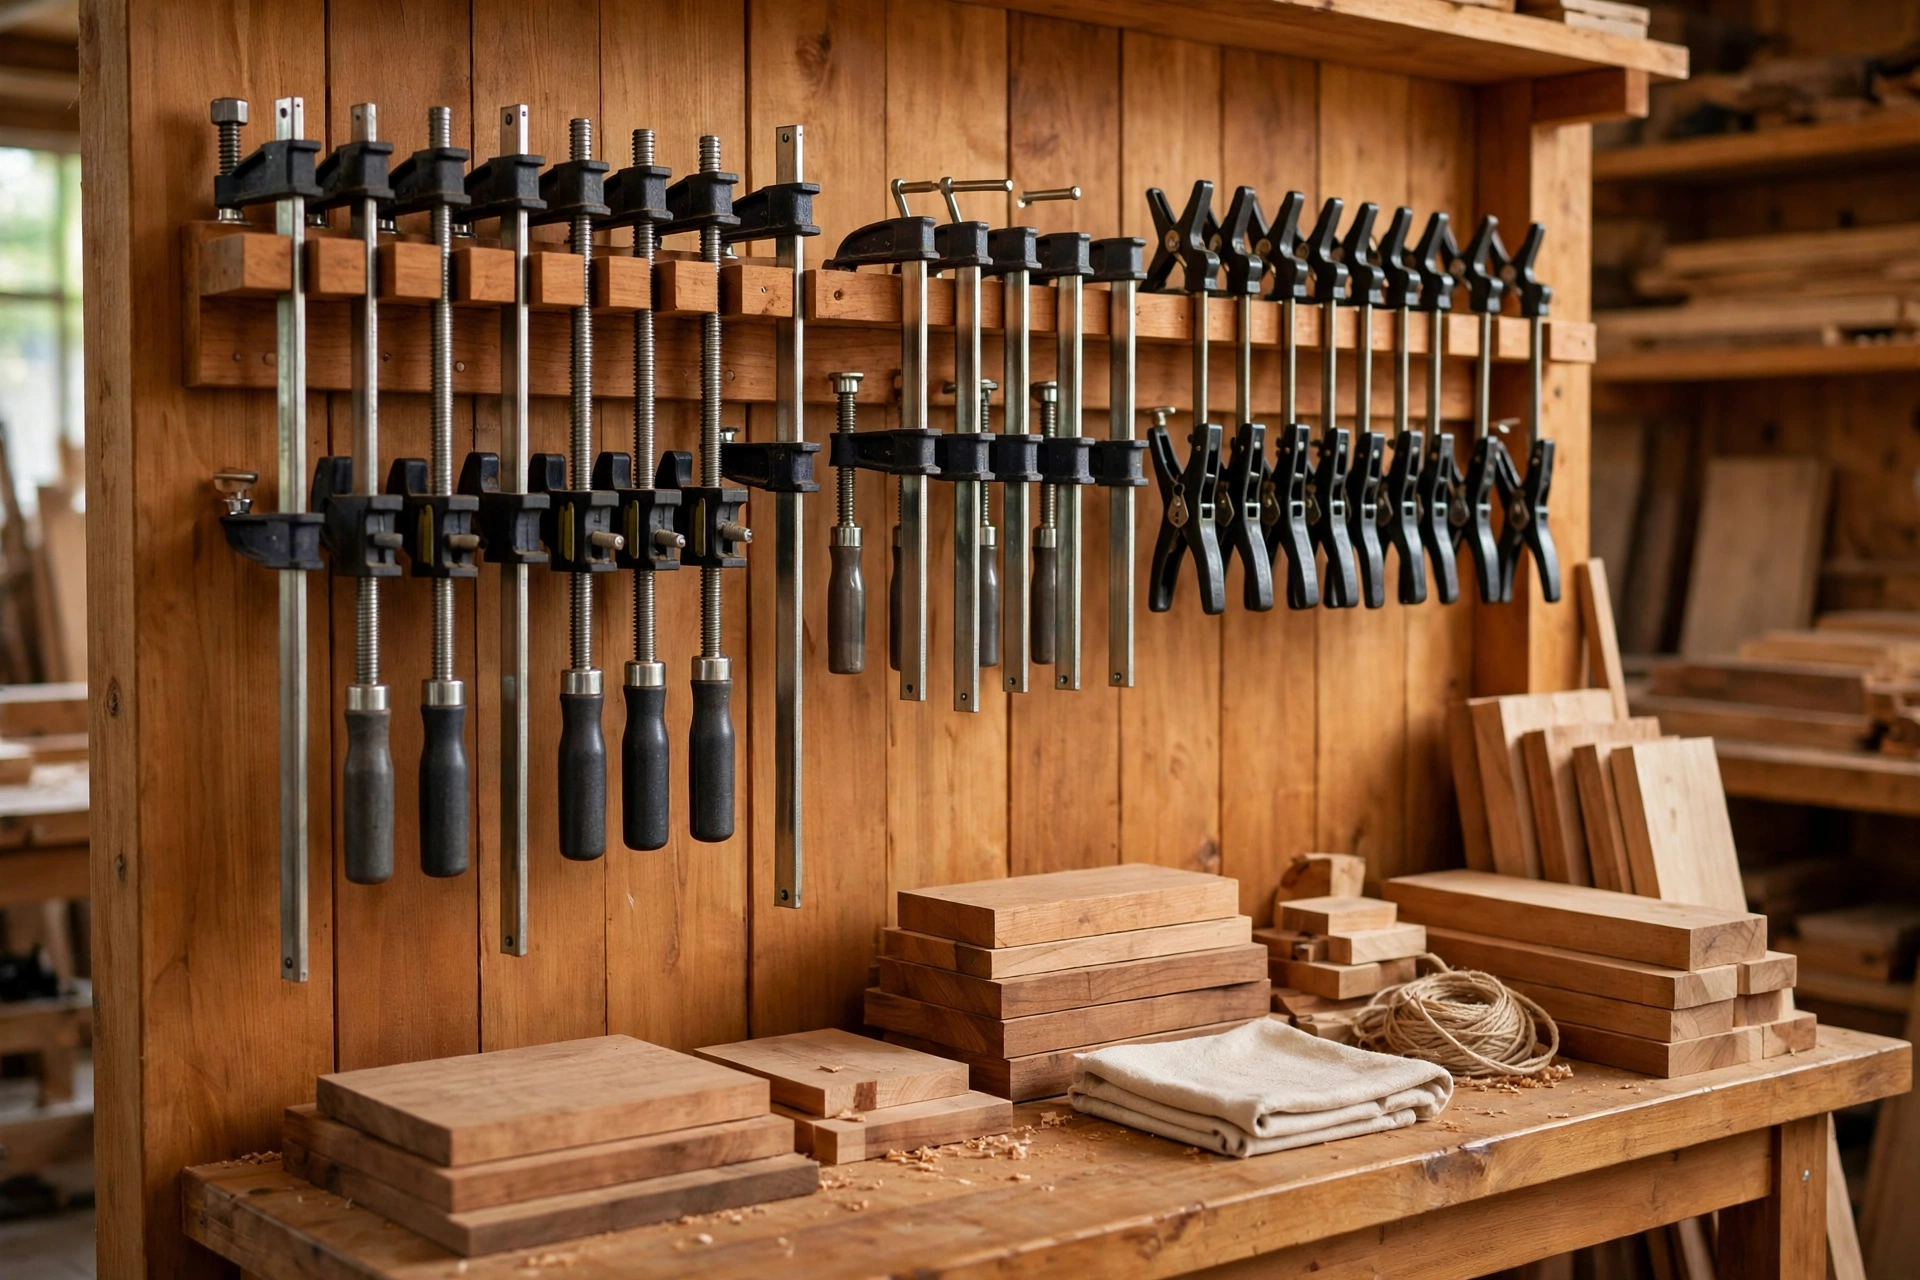
For this build, we are making the combination rack: a slotted board on top for bar and F-clamps, and a dowel rail below for spring clamps. It is the most useful single rack for a beginner, and it is the design shown in the finished photo above. If your shop is still taking shape, this rack also pairs beautifully with a simple workbench for beginners, which gives you a solid surface to build it on.
Choosing the Right Wood for Your Clamp Rack
A clamp rack does not need expensive hardwood. It needs wood that is strong, straight, and thick enough to hold weight without bending. Pine is the best choice for most beginners: it is cheap, easy to cut, light enough to lift onto the wall, and plenty strong for a rack of this size. A 19 mm (3/4 in) pine board holds a full row of clamps without flexing, provided the mounting screws go into wall studs.
Plywood is a good second choice, especially 18 mm (3/4 in) birch plywood. It is very stable, it does not split when you cut slots into it, and offcuts are often free at the timber yard. Avoid MDF for the slotted board: it is heavy, it crumbles around slots, and it sags under a full load of steel clamps over time.
If you want a rack that looks as good as it works, use oak or maple for the front slotted board and pine for the parts nobody sees. Hardwood slots stay crisp longer and resist wear from steel bars sliding in and out. Whatever you choose, pick boards that are straight and flat — sight down the edge before you buy, and reject anything with a visible bow or twist, because a warped board makes slots that do not line up.
Tools and Materials You Will Need
You do not need a fully equipped workshop for this project. The whole rack can be built with basic tools, and every cut is a straight line or a simple angled slot.
Tools: Circular saw or handsaw; drill and drill bits (6 mm / 1/4 in and 10 mm / 3/8 in); jigsaw or coping saw for the slots; tape measure, pencil, and speed square; chisel (12 mm / 1/2 in) for cleaning up slots; sandpaper (80-grit and 120-grit); stud finder and spirit level; safety glasses and hearing protection.
Materials: 1 board, 19 mm x 200 mm x 240 cm (3/4 in x 8 in x 8 ft) pine or plywood — the back board; 1 board, 19 mm x 150 mm x 120 cm (3/4 in x 6 in x 4 ft) pine or hardwood — the slotted board; 1 hardwood dowel, 20 mm diameter x 120 cm (3/4 in x 4 ft); 2 side supports, 19 mm x 90 mm x 30 cm (3/4 in x 3 1/2 in x 12 in) pine; wood screws: 50 mm (2 in) No. 8 for assembly; wall screws: 75 mm (3 in) No. 10 with washers for mounting; wood glue; Danish oil or paste wax for finishing (optional).
The Cut List: Exact Dimensions
Measure twice and cut once — and write the numbers on each board with a pencil as you go. All dimensions are given in centimetres with inches in brackets. The rack in this guide is 120 cm (47 in) wide and 90 cm (35 in) tall, and it holds around 12 bar clamps plus a row of spring clamps. If your wall is shorter, cut the back board to fit; just keep the slot spacing the same.
| Part | Quantity | Dimensions (cm) | Dimensions (inches) | Notes |
|---|---|---|---|---|
| Back board | 1 | 120 x 90 x 1.9 | 47 x 35 x 3/4 | Cut from the 240 cm board |
| Slotted board | 1 | 120 x 15 x 1.9 | 47 x 6 x 3/4 | Slots cut along the top edge |
| Top spacer block | 1 | 120 x 5 x 1.9 | 47 x 2 x 3/4 | Creates the gap behind the slotted board |
| Side supports | 2 | 30 x 9 x 1.9 | 12 x 3 1/2 x 3/4 | Hold the dowel rail |
| Dowel rail | 1 | 120 long, 2 cm diameter | 47 long, 3/4 diameter | Spring clamp rail |
| French cleat strip | 1 | 120 x 10 x 1.9 | 47 x 4 x 3/4 | Cut at 45 degrees (optional) |
| Bottom shelf lip | 1 | 120 x 4 x 1.9 | 47 x 1 1/2 x 3/4 | Stops clamp feet slipping |
If you are buying timber in imperial sizes, a single 1 x 8 pine board, 8 ft long, plus a 1 x 6 board, 4 ft long, covers everything except the dowel. Ask the timber yard to cut the long boards in half for transport if you do not have a roof rack — short pieces are easier to carry and the cut list above uses them anyway.
How to Build a Wooden Clamp Rack for Beginners: Step by Step
Here is the full build, one step at a time. Take your time with the marking out — a rack with evenly spaced slots looks professional and works better than one with slots in random places.
Step 1: Measure and Mark the Slot Layout
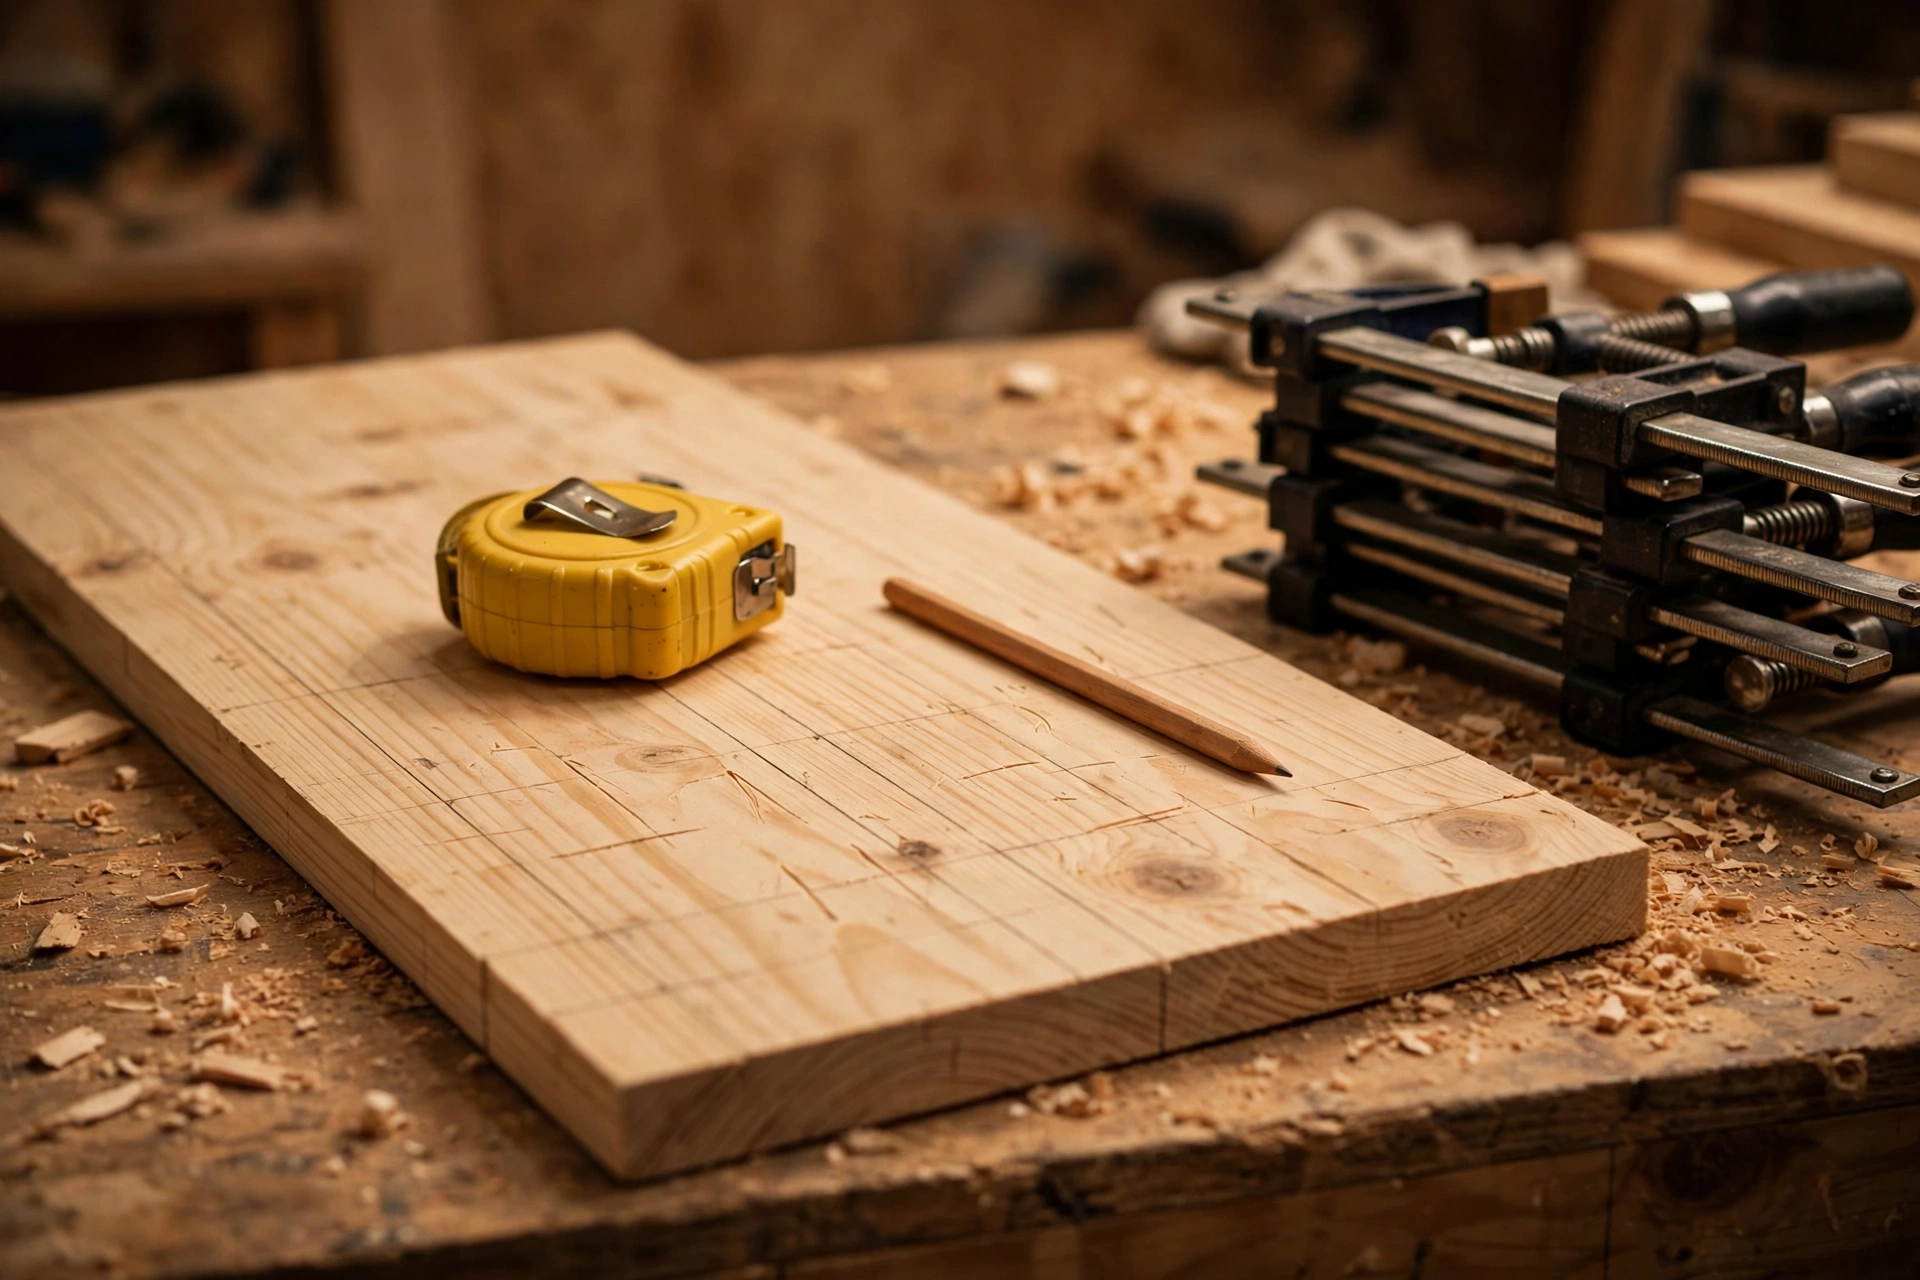
Start with the slotted board. Lay it flat on your bench and draw a pencil line 4 cm (1 1/2 in) from the top edge — this is the depth line for your slots. Then mark the slot centres along the board. For bar clamps, allow 9 cm (3 1/2 in) between centres; for F-clamps, 7 cm (2 3/4 in) is enough. Mark the first slot 6 cm (2 1/2 in) from the end of the board, then mark the rest at your chosen spacing.
Before you mark anything, count your clamps and lay them out on the floor in the order you want them on the rack. Put your longest clamps on the left and your shortest on the right, or group them by type — whatever feels natural to you. Write the spacing plan on a scrap of paper first. It is much cheaper to rub out a pencil line than to re-cut a slotted board.
Step 2: Cut the Boards to Length
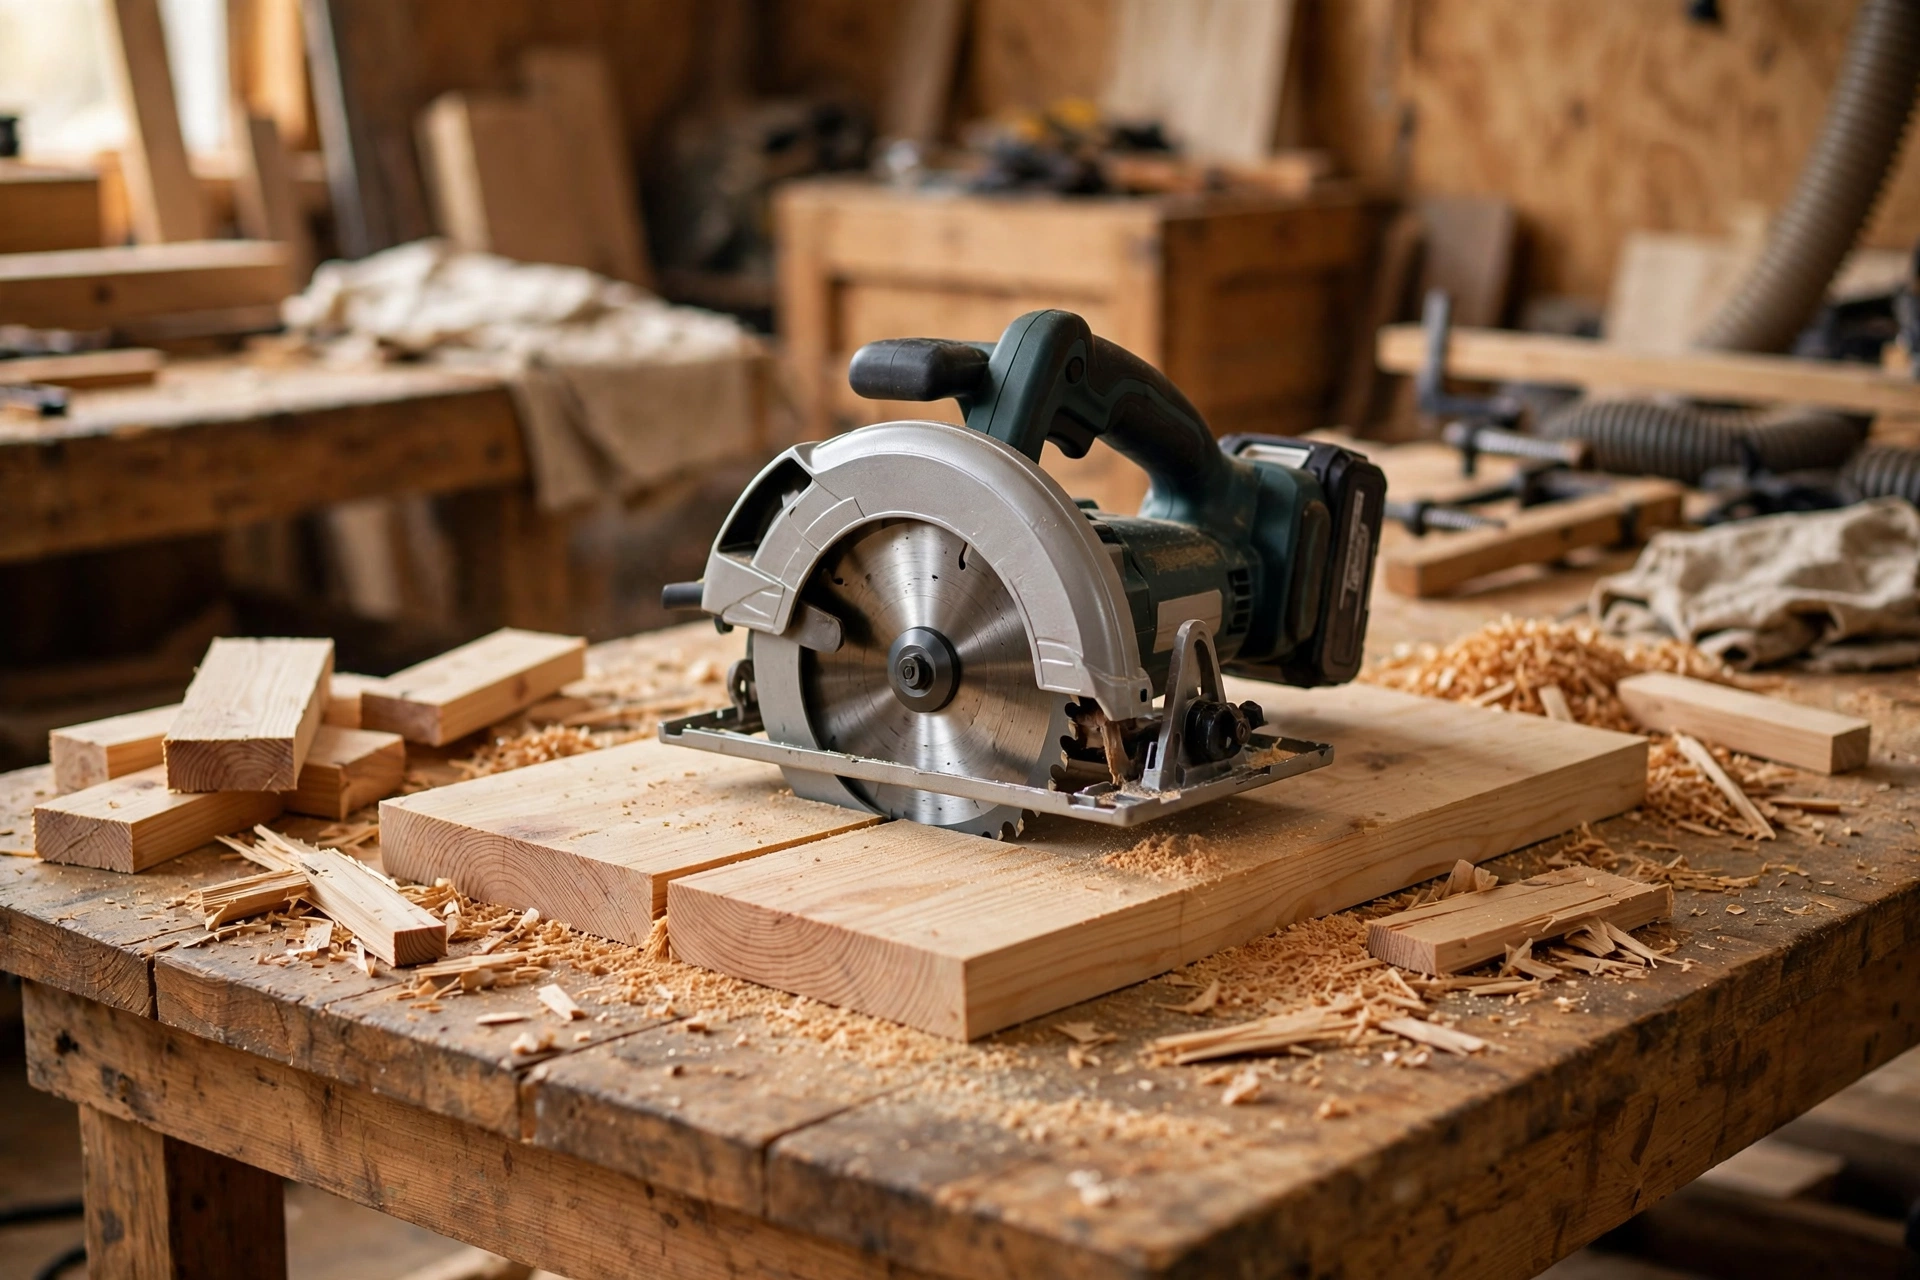
Cut all the parts from the cut list, starting with the longest pieces. A circular saw with a straight guide gives the cleanest edges, but a sharp handsaw works fine — clamp the board to your bench, keep the saw square, and let the blade do the work instead of forcing it. Sand the cut ends with 80-grit paper to remove splinters, then finish with 120-grit so the boards feel smooth to the touch.
Check each board for square after cutting. A board that is 2 mm out of square at the end becomes a visible gap when it meets the back board, so trim any piece that is not true. This is also the moment to decide on the finish: if you plan to oil the rack, sand everything now, because sanding a rack full of slots is far harder later.
Step 3: Cut the Angled Slots
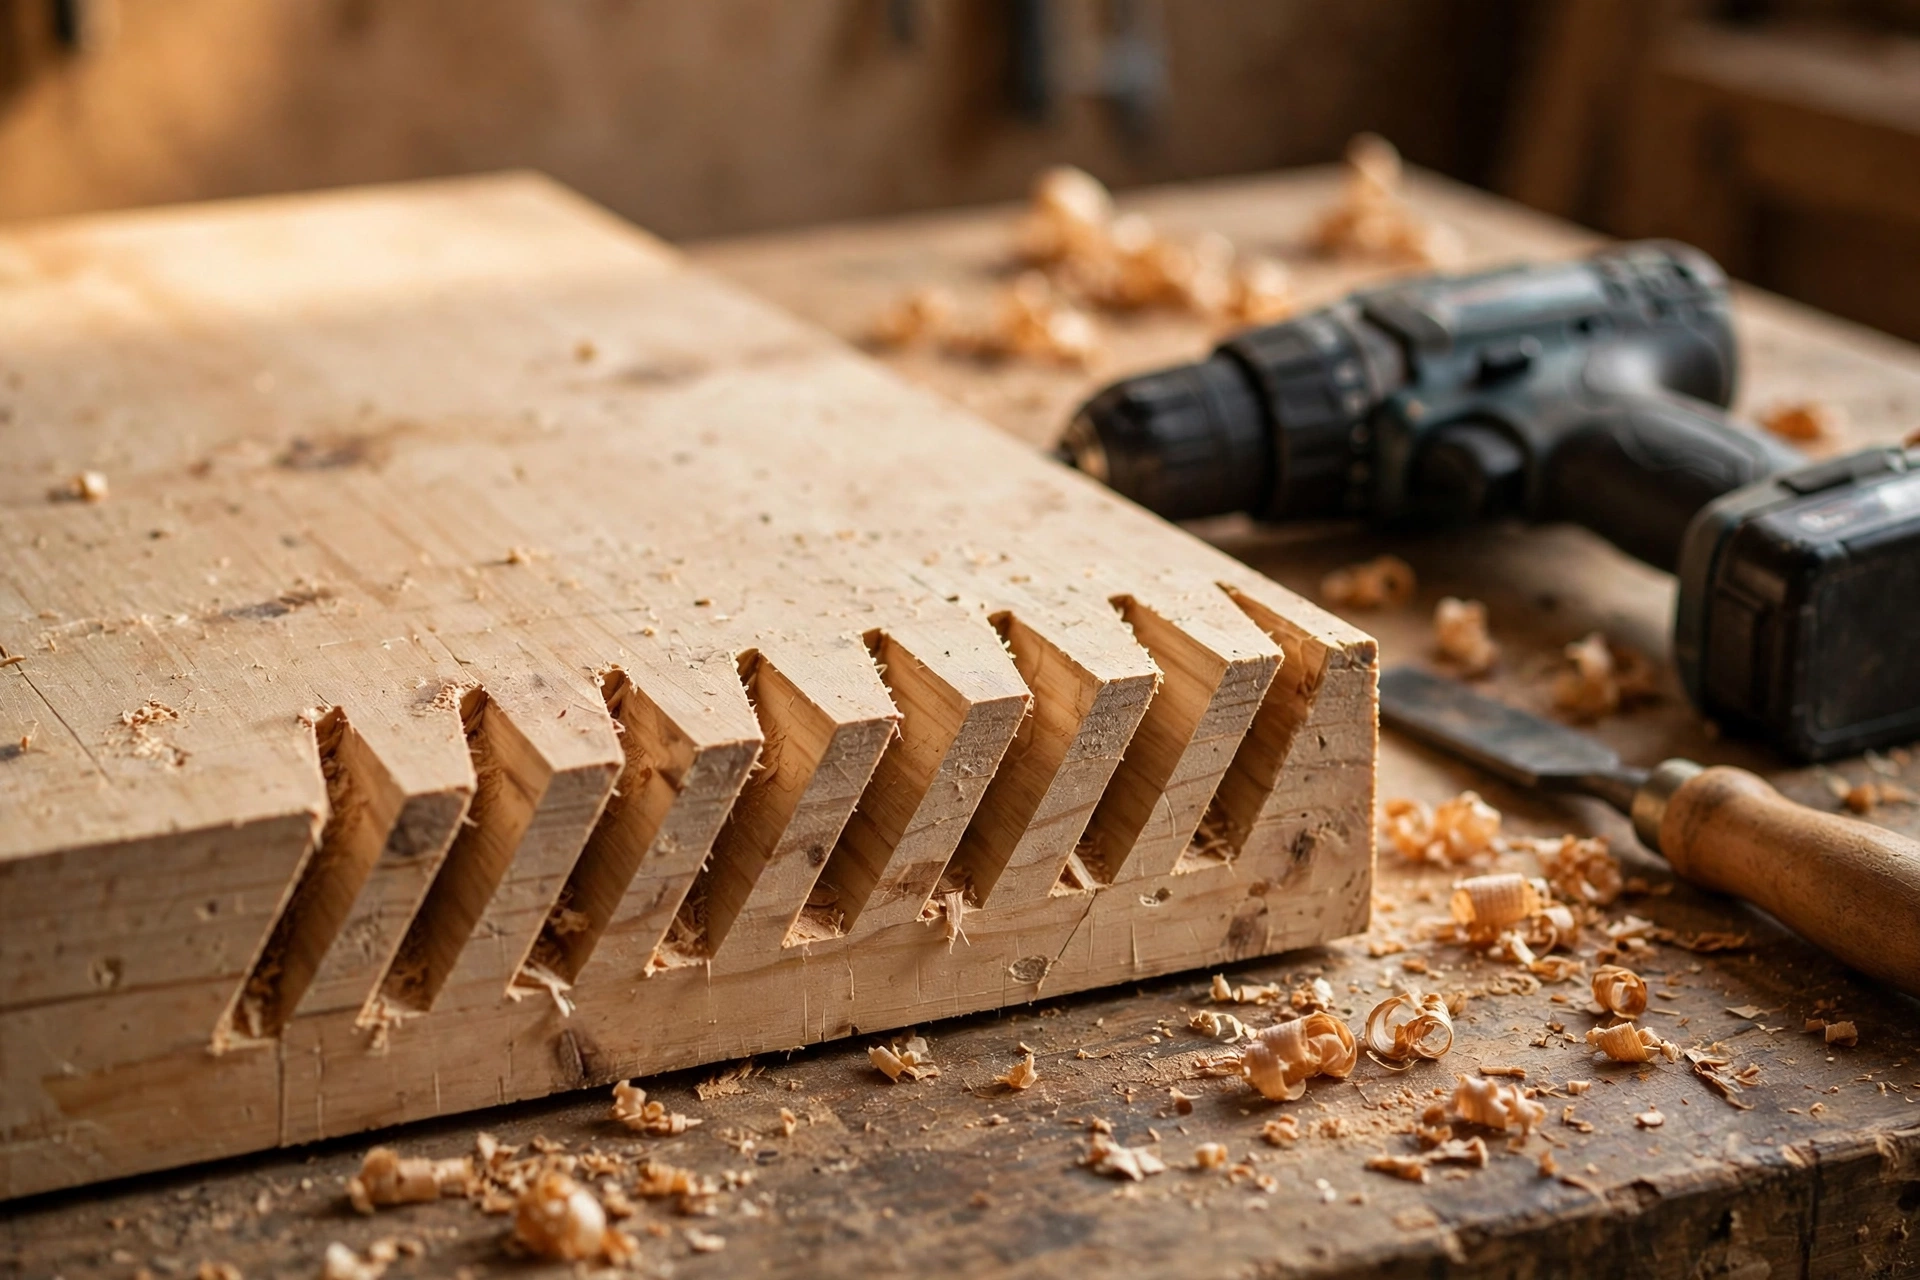
This is the heart of the whole project, and it is easier than it looks. The slots are angled at about 15 degrees from vertical, leaning back toward the wall. That angle is what makes the rack work: gravity pulls each clamp’s bar into the back of the slot, so the clamp sits tight against the wall instead of tipping forward and falling out.
Mark the angle with your speed square at each slot centre, then drill a 10 mm (3/8 in) hole at the bottom of each slot — this round end stops the slot from splitting and gives the saw blade a place to start. Cut along both sides of the slot with a jigsaw, following the angled lines down to the drilled hole, then clean up the inside edges with a chisel. Each slot should be 12 mm (1/2 in) wide and 4 cm (1 1/2 in) deep for bar clamps; make spring-clamp slots narrower at 8 mm (5/16 in) if you are cutting a second row.
| Clamp Type | Slot Width | Slot Depth | Slot Angle | Spacing Between Centres |
|---|---|---|---|---|
| Bar clamps (up to 60 cm / 24 in) | 12 mm (1/2 in) | 4 cm (1 1/2 in) | 15 degrees | 9 cm (3 1/2 in) |
| Parallel-jaw clamps | 14 mm (9/16 in) | 4 cm (1 1/2 in) | 15 degrees | 10 cm (4 in) |
| F-clamps | 10 mm (3/8 in) | 3.5 cm (1 3/8 in) | 15 degrees | 7 cm (2 3/4 in) |
| Spring clamps (on dowel) | No slot needed | — | — | 5 cm (2 in) on dowel |
| Hand-screw clamps | 12 mm (1/2 in) | 4 cm (1 1/2 in) | 10 degrees | 9 cm (3 1/2 in) |
Test each slot as you cut it. Slide a clamp bar into the slot and let go — the clamp should drop in easily, sit at a slight backward lean, and lift out without catching. If a slot is too tight, pare the sides with a chisel; if it is too loose, the clamp will rattle, so make the next slot a fraction narrower. A few minutes of testing now saves a rack that drops clamps later.
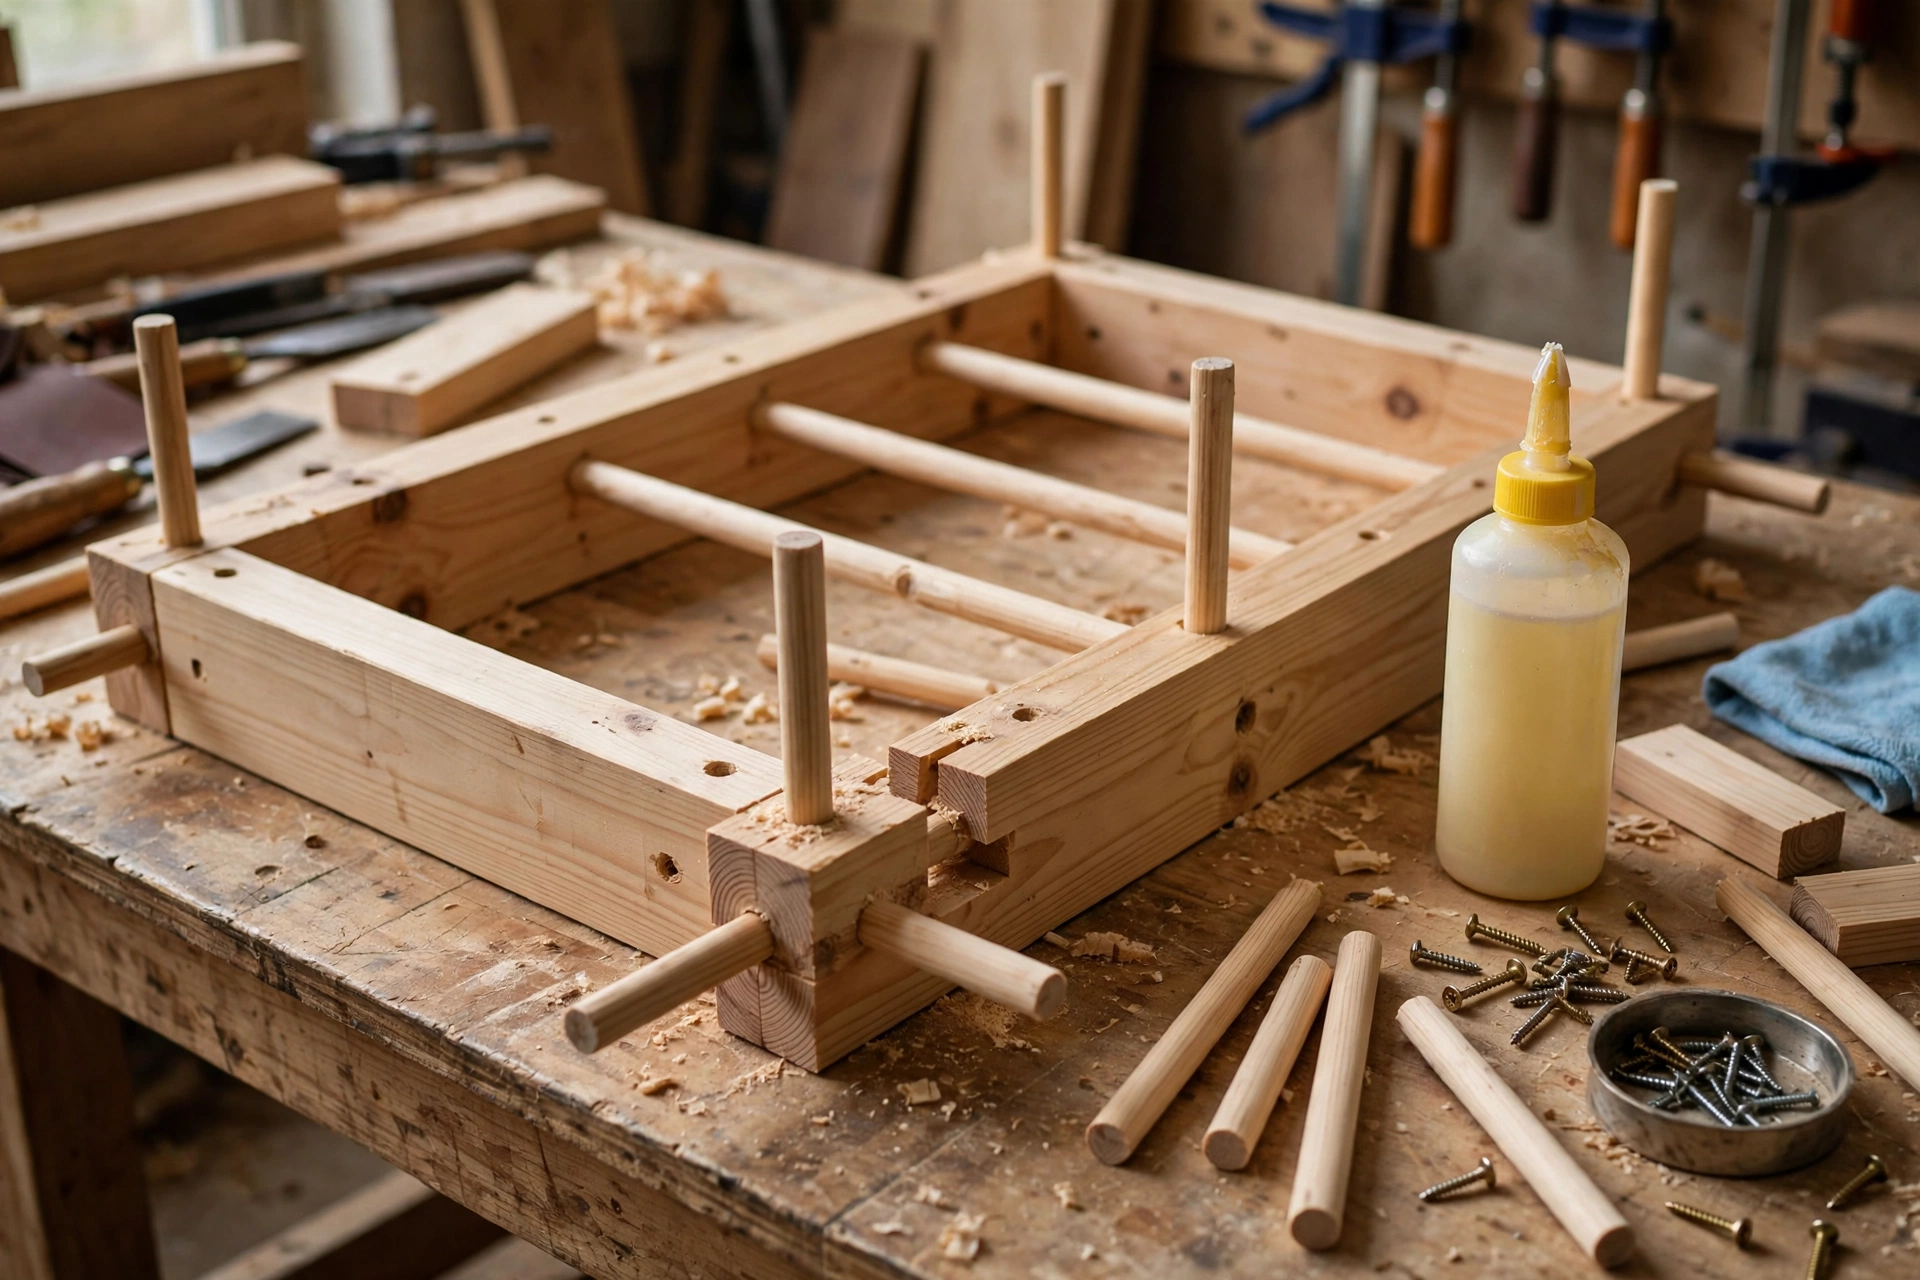
Step 4: Assemble the Frame and Add the Dowel Holders
Now put the rack together. Glue and screw the top spacer block to the back board, 10 cm (4 in) down from the top edge, then fix the slotted board onto the spacer with 50 mm (2 in) screws from the front. The spacer creates a gap behind the slotted board, and that gap is what the clamp bars slide into — without it, the bars have nowhere to go.
Next, mount the two side supports near the bottom of the back board, 60 cm (24 in) down from the slotted board, and drill a 20 mm (3/4 in) hole through each one to take the dowel. Push the dowel through both supports and glue it in place, leaving a small gap between the dowel and the back board so spring clamps can clip on freely. Add the bottom shelf lip along the base of the back board; it catches the feet of long clamps and stops them swinging.
Work on a flat surface and check the rack is square before the glue sets. Measure diagonally from corner to corner — if both measurements match, the frame is square. Wipe away squeezed-out glue with a damp cloth while it is still wet; dried glue shows up as pale patches under oil or varnish. If you enjoy building storage projects like this one, our guide to a simple bookshelf for beginners uses the same glue-and-screw techniques on a bigger scale.
Step 5: Mount the Rack on the Wall
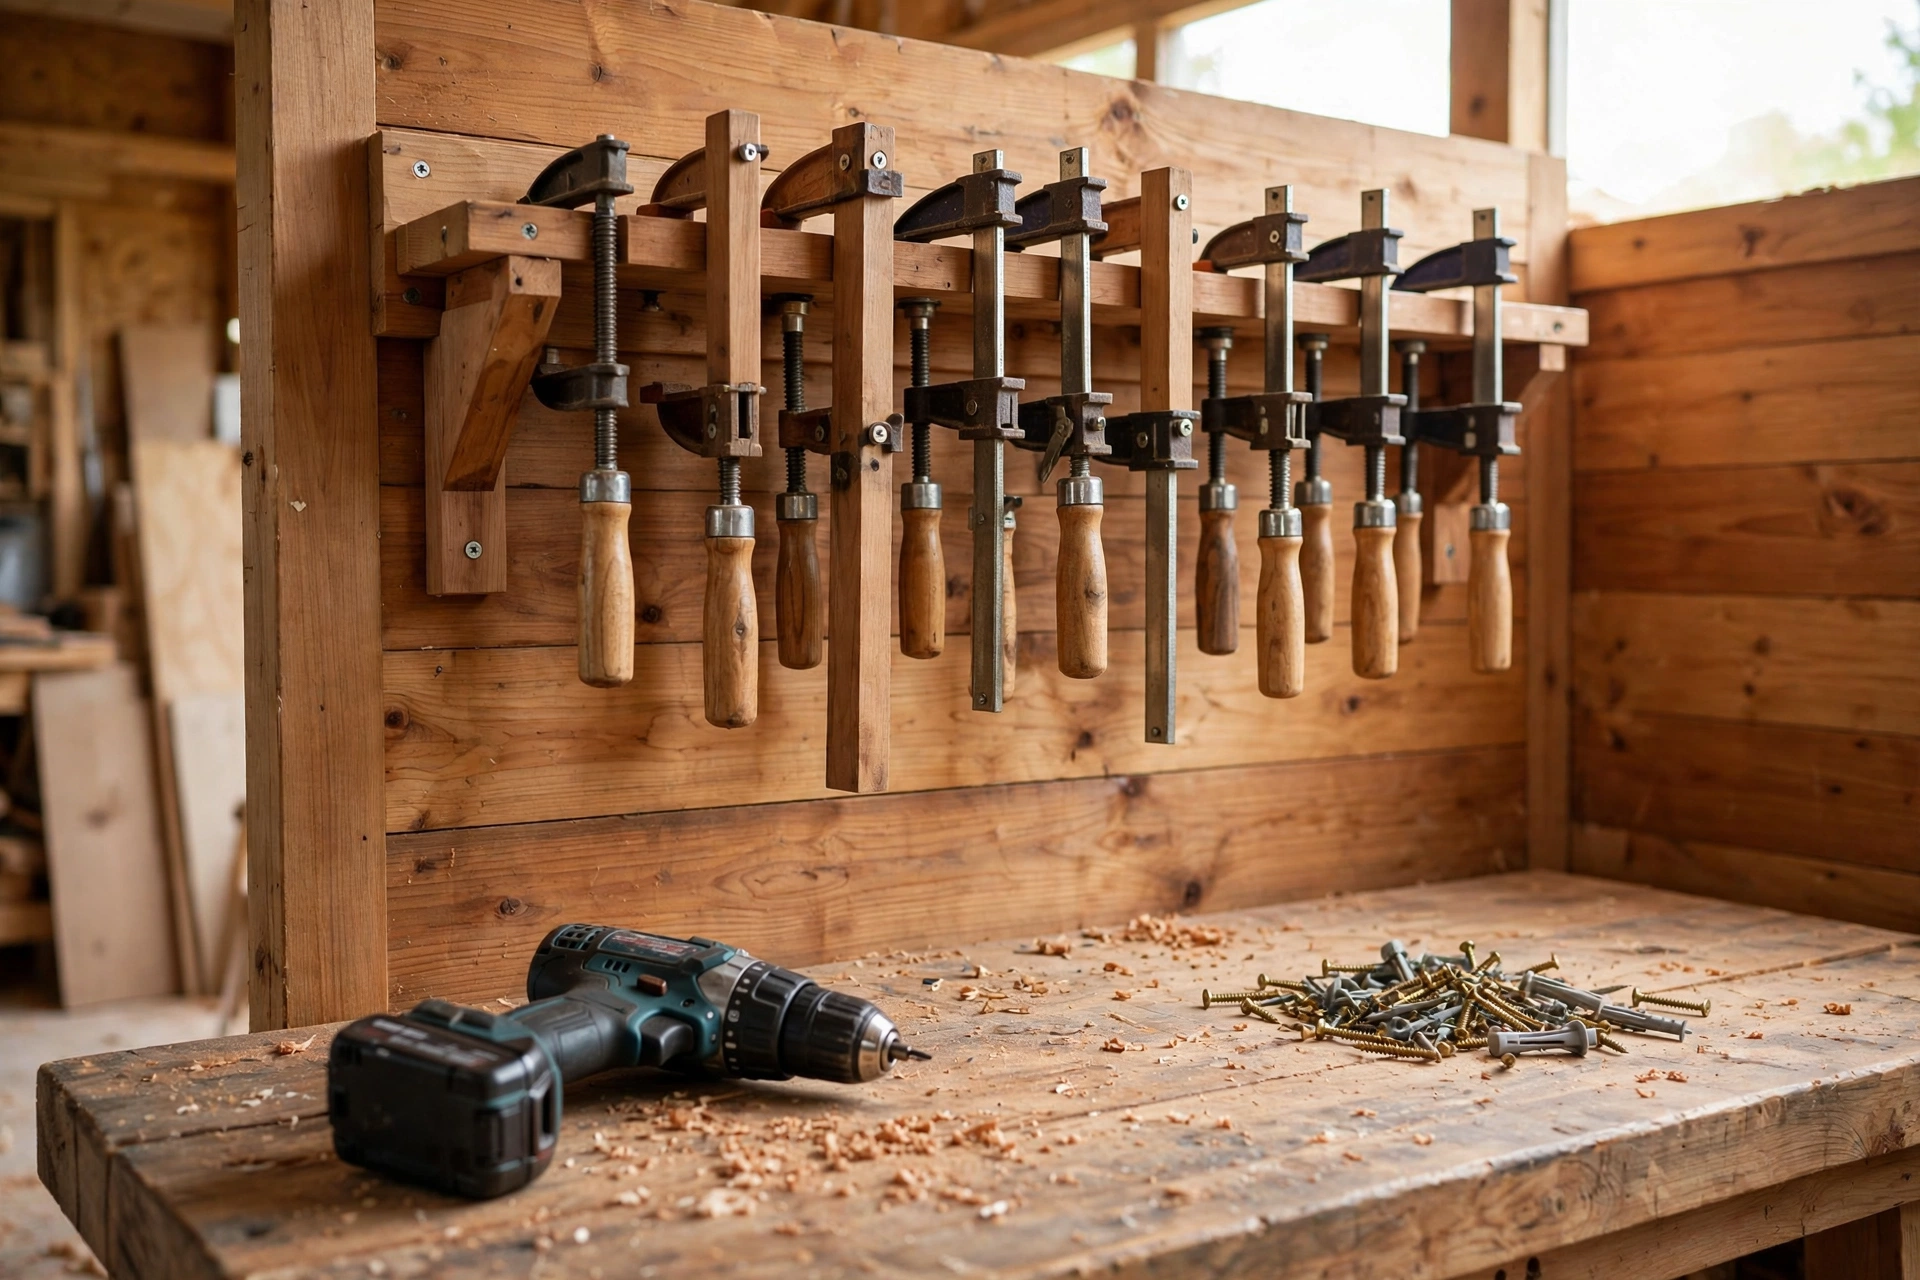
A full clamp rack is heavy — a dozen bar clamps can weigh 25 kg (55 lb) or more — so the mounting is the most important step of the whole build. Never hang a loaded rack on plasterboard fixings alone. Find the wall studs with a stud finder, mark them with painter’s tape, and drive your 75 mm (3 in) screws through the back board and into the centre of at least two studs, preferably three.
Hold the rack against the wall at a comfortable height: the slotted board should sit at about shoulder height, around 150 cm (59 in) from the floor, so you can lift clamps in and out without stretching or bending. Use a spirit level to check it is straight, mark the screw positions through the back board, then pre-drill so the board does not split. Drive the top screws first, check the level again, then drive the bottom screws.
| Mounting Method | Max Safe Load | Best Wall Type | Difficulty | Notes |
|---|---|---|---|---|
| Screws into 2 studs | 25 kg (55 lb) | Timber stud wall | Easy | Minimum for a full rack |
| Screws into 3 studs | 40 kg (88 lb) | Timber stud wall | Easy | Recommended for heavy collections |
| French cleat + studs | 45 kg (99 lb) | Timber stud wall | Medium | Removable and repositionable |
| Masonry bolts | 50 kg (110 lb) | Brick or block wall | Medium | Use 8 mm (5/16 in) sleeve anchors |
| Plasterboard fixings only | 5 kg (11 lb) | Plasterboard | Easy | Not safe for a loaded rack |
If your wall is brick or block, use sleeve anchors instead of wood screws and drill with a masonry bit. And if you are planning the wider layout of your workspace, our small garage workshop setup ideas will help you place the rack where it works best — close to the bench, not across the room.
Step 6: Load Your Clamps and Add the Finishing Touches
Once the rack is firmly on the wall, load it one clamp at a time, heaviest clamps nearest the studs and lightest at the ends. Stand back and check that nothing leans or sags, then give each clamp a gentle tug to make sure it lifts out cleanly and drops back in without a fight. A rack that is annoying to use will not get used, so fix any tight slot now while your tools are still out.
Finish the rack with a coat of Danish oil or paste wax. It is not just cosmetic: oil seals the wood against humidity changes in the garage, and a waxed slot lets steel bars slide in and out smoothly for years. Label the slots if you like — a pencil mark above each slot with the clamp size saves you from reading the bar every time. Then step back and enjoy the clear floor and the empty bench space you just won back.
Common Mistakes Beginners Make
Cutting slots straight instead of angled. Straight slots let clamps tip forward and fall out. A 15-degree backward angle costs nothing and is the difference between a rack that works and one that drops a clamp on your foot.
Spacing slots too close together. Clamp handles are wider than clamp bars. If the slots are only 5 cm apart, the handles will collide and you will only be able to use every second slot. Measure your widest handle, not your thinnest bar.
Mounting into plasterboard only. This is the most dangerous mistake on the list. A rack that pulls out of the wall at night drops 25 kg of steel onto whatever is below it. Always find the studs or use proper masonry anchors.
Making the rack too small. Beginners almost always underestimate how many clamps they will own in a year. Build the rack for the collection you will have, not the one you have today — leave two or three empty slots on purpose.
Skipping the finish. Raw pine in a damp garage absorbs moisture, swells, and makes slots tight in winter. One coat of oil takes ten minutes and prevents a year of sticking clamps.
How Much Does a Wooden Clamp Rack Cost?
The real saving is hidden. A rack that keeps your clamps visible and protected means fewer chipped jaws, fewer lost clamps, and no more buying a duplicate because you could not find the one you already owned. Many woodworkers find the rack pays for itself the first time they do a big glue-up without a trip to the shop.
If you buy everything new, expect to spend around $25–$35 (roughly £20–£28): about $8–$12 for the 1 x 8 pine board, $4–$6 for the 1 x 6 board, $3–$4 for the hardwood dowel, $3–$5 for screws, $4–$6 for glue if you need it, and $5–$8 for Danish oil or wax. Most of that is the pine boards. If you already have screws, glue, and a dowel in the workshop, the cost drops to under $15.
Use offcuts wherever you can. A clamp rack is the perfect project for that odd length of pine left over from a bigger build, and the slotted board is an ideal use for a short piece of hardwood that is too small for furniture.
FAQ
What size wood do I need for a wooden clamp rack for beginners?
A 19 mm (3/4 in) thick pine or plywood board is ideal. Use a board 120 cm (47 in) wide for the back and a 15 cm (6 in) wide board for the slotted section. Thinner boards flex under the weight of steel clamps, and thicker boards add weight without adding much strength.
How far apart should the slots be on a clamp rack?
Allow 9 cm (3 1/2 in) between slot centres for bar clamps, 10 cm (4 in) for parallel-jaw clamps, and 7 cm (2 3/4 in) for F-clamps. The spacing is set by the width of the clamp handles, not the bars, so measure your widest handle before you mark out the board.
Can I build a wooden clamp rack without a jigsaw?
Yes. Drill a hole at the bottom of each slot, then cut the sides with a coping saw or a handsaw, and clean up with a chisel. It takes longer than a jigsaw, but the result is just as good — many woodworkers prefer the control of hand tools for small angled cuts.
How much weight can a wooden clamp rack hold?
A rack screwed into two wall studs safely holds about 25 kg (55 lb) of clamps, and three studs raise that to around 40 kg (88 lb). Always mount into studs or masonry anchors, never into plasterboard alone, and keep the heaviest clamps closest to the fixing points.
Should the slots be angled or straight?
Angled, at about 15 degrees leaning back toward the wall. Gravity then pulls each clamp into the slot and holds it tight against the wall. Straight slots work for light spring clamps on a dowel, but bar clamps in straight slots tend to tip forward and fall out.
Can I use plywood instead of solid pine for a clamp rack?
Yes — 18 mm (3/4 in) birch plywood is an excellent choice. It is stable, it does not split around slots, and it is often cheaper than clear pine. Avoid MDF, which crumbles at the slots and sags under a full load of clamps over time.
Final Thoughts
Learning how to build a wooden clamp rack for beginners is a small project with an outsized payoff. In a single afternoon you get a tidier workshop, longer-lasting clamps, and faster glue-ups — and you practise the measuring, cutting, and mounting skills that every bigger project depends on. Start with the combination rack in this guide, load it with the clamps you already own, and leave a few slots empty for the clamps you will buy next.
If this is your first workshop build, it belongs in a great beginner collection. Our pillar guide to easy woodworking projects for beginners that sell rounds up the best starter projects to build next, from simple shelves to pieces you can sell at a craft fair. Build the rack, hang your clamps, and enjoy a workshop where everything finally has a place.
Recommended Products for This Project
As an Amazon Associate, I earn from qualifying purchases.
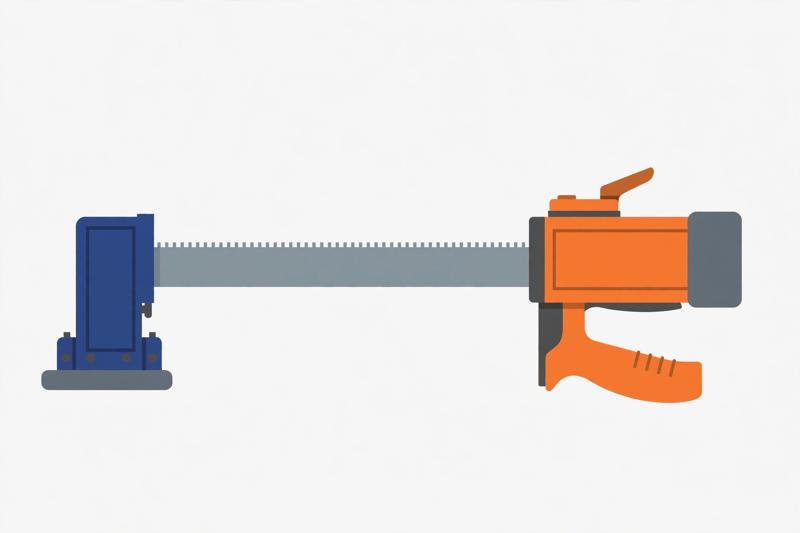
IRWIN QUICK-GRIP One-Handed Bar Clamp, Heavy-Duty, 12-Inch (1964712)
The 12-inch bar clamp this rack is built to hold — heavy-duty and sized for the slotted board, so each clamp seats flat and lifts out easily.

IRWIN QUICK-GRIP Clamps Set, 8-Piece (IRHT83220)
Eight assorted clamps to fill the new rack from day one — a full set ready for the slots as soon as the rack is on the wall.

DEWALT 20V MAX Cordless Drill/Driver Kit (DCD771C2)
Cordless drill for pilot holes, slot-end holes and wall mounting — the one tool that does the drilling for the whole rack build.
FIXLINK Deck Screws #8 x 2 Inch, 310-Pack
2-inch screws for joining the rack boards and building the frame — the fastener that holds the rack together.

Titebond III Ultimate Wood Glue 1413 (8 oz)
Water-resistant glue for the rack’s spacer blocks, dowels and side supports — strong joints that keep a loaded rack square.


