
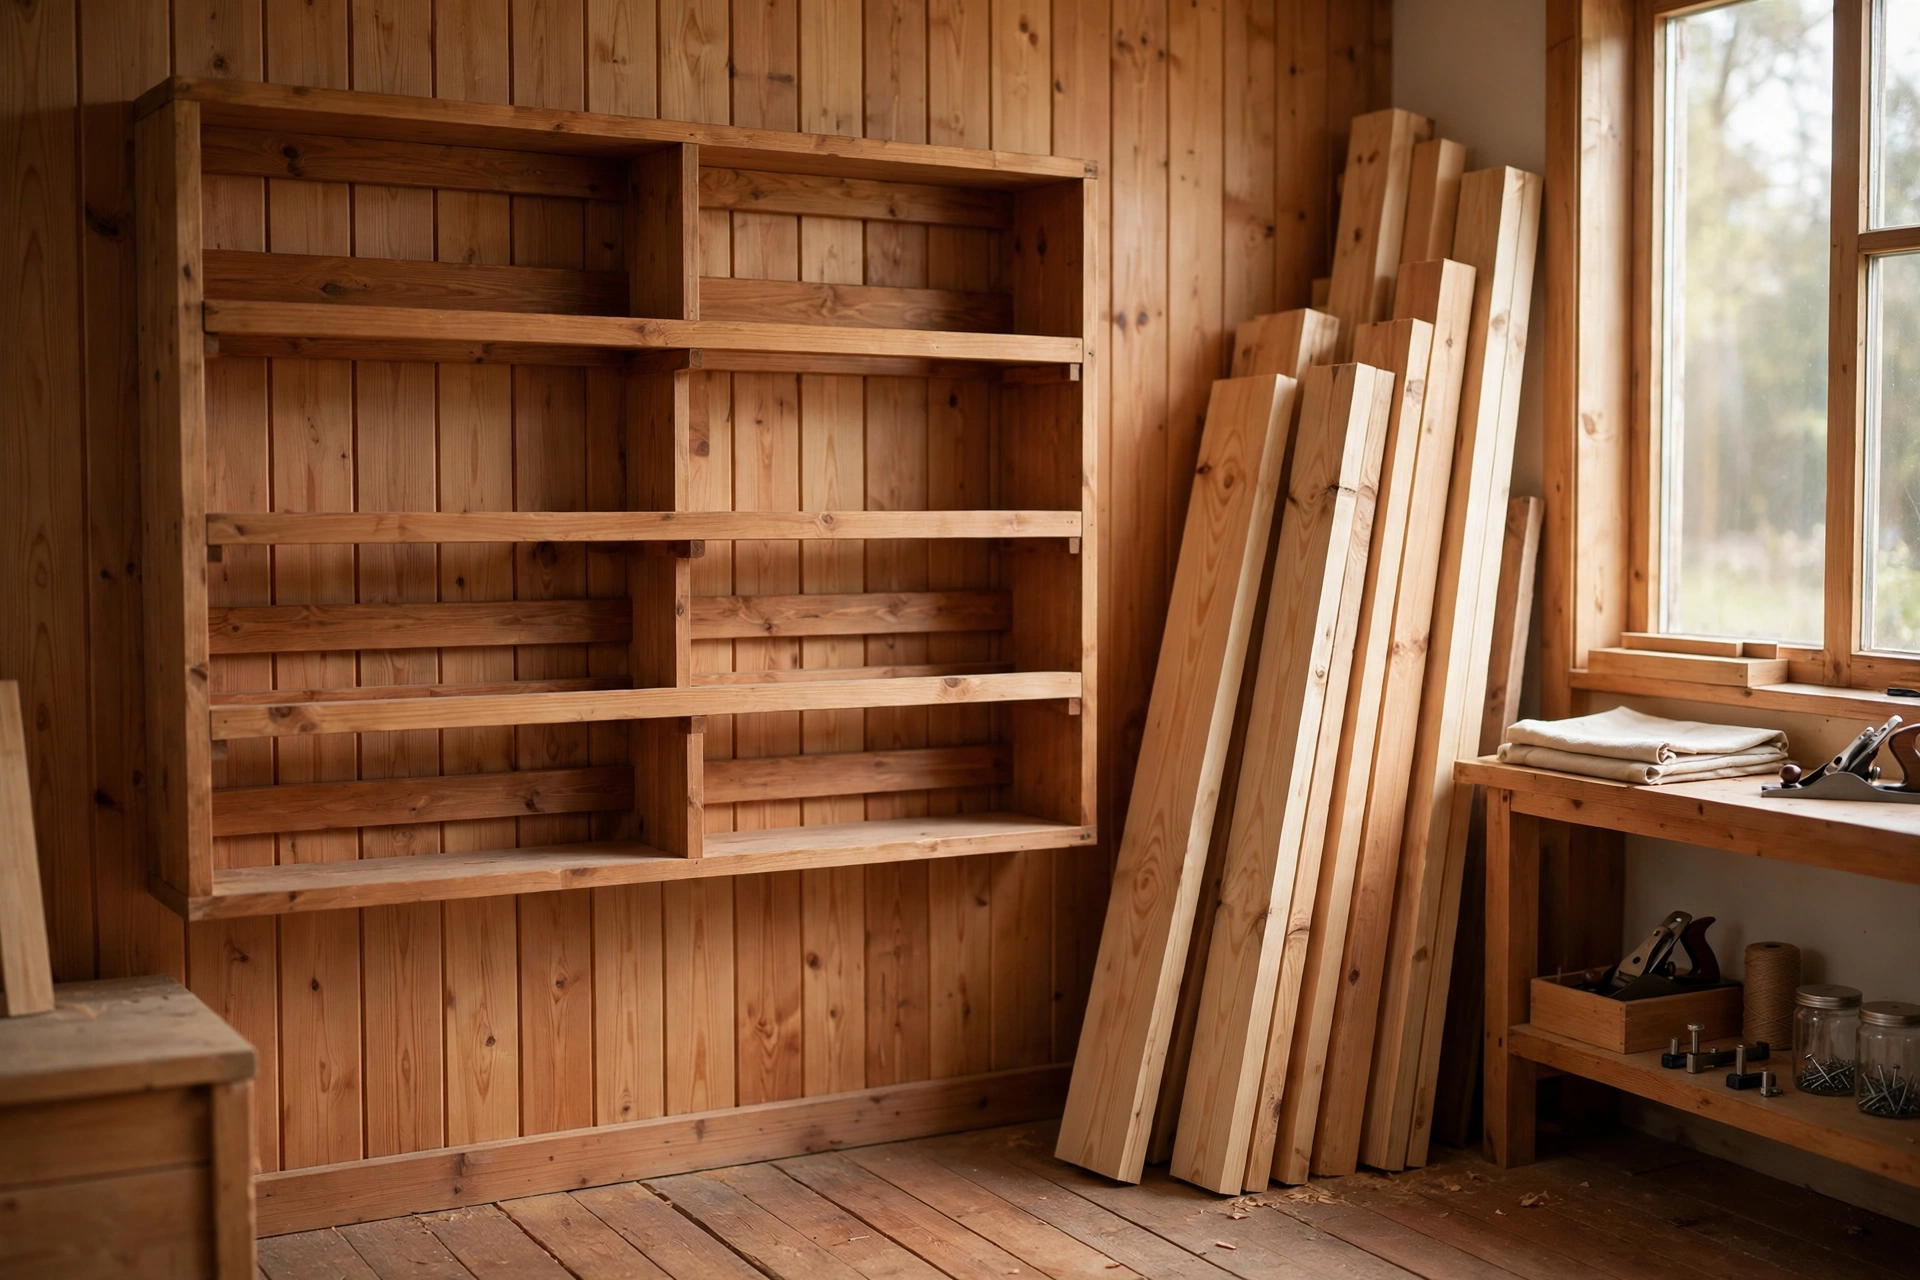
If you have ever tripped over a leaning stack of boards, found a beautiful pine plank warped into a banana, or spent twenty minutes digging through a pile just to find one straight 2×4, you already know why lumber storage matters. Learning how to build a wooden lumber rack for beginners is one of the smartest first workshop projects you can tackle. It is cheap, it takes a single afternoon, it uses basic tools, and it solves a problem every woodworker faces from day one.
A good rack does three things at once. It keeps boards flat so they stay straight, it keeps them off a damp floor so they stay dry, and it keeps them visible and easy to reach so you actually use the wood you already own. In this guide, you will build a strong horizontal wall-mounted rack from ordinary pine and plywood, with exact dimensions in centimetres and inches, a full cut list, bracket spacing for real loads, and step-by-step instructions you can follow even if this is your very first build.
Why Lumber Storage Matters
Wood is a living material, even after it is cut. It absorbs and releases moisture with the seasons, and when one face dries faster than the other, the board cups, bows, or twists. A board stored flat on a concrete floor, leaning against a wall at an angle, or buried under a heavy pile is almost guaranteed to warp. That warped board is then hard to plane flat, hard to join cleanly, and often ends up as expensive firewood.
A wall rack fixes the problem by holding boards horizontally, supported at regular intervals, with air circulating around every face. Horizontal storage is the gold standard for boards longer than about 90 cm (3 feet), because gravity works with you instead of against you. Short offcuts can stand vertically in a bin, but anything you plan to build furniture from deserves a horizontal home.
Safety is the other reason. A leaning stack can slide, topple, or drop a heavy hardwood board on a foot. Boards stored on the floor are a trip hazard, and they collect dust, damp, and insects. A rack mounted solidly into wall studs lifts the whole problem off the floor and out of the way, freeing up floor space for your bench and your projects. If you are setting up a first workshop, this rack pairs perfectly with a solid bench — see our guide on how to build a simple workbench for beginners — because a tidy shop is a safer shop.
Which Rack Style Is Right for You?
Before you cut a single board, choose the style that fits your space, your wall, and the lumber you actually buy. Most beginners do best with a horizontal wall-mounted rack, which is the design in this guide, but it helps to know the alternatives.
| Rack Style | Best For | Pros | Cons |
|---|---|---|---|
| Horizontal wall-mounted rack | Boards 1.8–3.6 m (6–12 ft) long; garages and small shops | Keeps boards flat and straight; frees floor space; easy to see and reach stock | Needs solid studs or masonry anchors; limited depth per shelf |
| Vertical rack | Short boards and offcuts under 1.2 m (4 ft); very small shops | Uses almost no wall width; great for offcuts and scraps | Long boards can bow over time; boards can slide and fall |
| Freestanding rack | Renters who cannot drill walls; moving a rack between spaces | No wall fixings needed; can be moved; holds very heavy stock | Takes up floor space; can tip if overloaded on one side |
| Ceiling-mounted rack | Long, light boards in a garage with high ceilings | Uses wasted overhead space; excellent for long trim and moulding | Hard to load alone; not ideal for heavy hardwoods |
For this project, we are building the horizontal wall-mounted rack. It is the most useful style for a beginner, it costs the least, and the skills you practise — measuring, cutting square, driving screws into studs, and levelling — transfer directly to almost every project in our easy woodworking projects for beginners that sell.
Choosing the Right Wood for Your Rack
You do not need expensive hardwood for a lumber rack. In fact, softwood is the better choice: it is light, cheap, easy to cut and screw, and strong enough when the design is right. Use straight, dry construction pine or spruce for the brackets and supports, and a sheet of 18 mm (3/4 inch) plywood for the triangular bracket gussets.
When you buy the wood, sight down the length of every board before you put it in your trolley. Reject anything with a visible twist, a big bow, or large loose knots in the middle of the span. A slightly bowed bracket board will make your rack arms sit unevenly, and uneven arms are what cause boards to roll off. If you are unsure which species to pick for workshop projects in general, read our guide to the best wood for beginner woodworking projects — the same rules about straight grain and dry stock apply here.
Avoid MDF for the brackets. It is heavy, it splits easily at screw holes, and it sags under a sustained load. Avoid green or wet lumber too; it will shrink and loosen your screws as it dries. Kiln-dried pine, 2x4s and 2x6s from a reputable timber yard, is exactly right for this build.
Tools and Materials You Will Need
You can build this rack with a very small tool kit, which is part of why it makes such a good beginner project. You do not need a table saw, a router, or any specialist jig.
Tools: Tape measure and pencil; speed square or combination square; circular saw or hand saw; drill/driver with drill bits and a countersink bit; stud finder; spirit level (at least 60 cm / 24 inches long); clamps (two are enough); safety glasses and hearing protection.
Materials for a 2.4 m (8 ft) rack with four brackets: 3 lengths of 2×4 pine, 2.4 m (8 ft) each — vertical uprights and arms; 1 length of 2×6 pine, 2.4 m (8 ft) — wall cleat and arm supports; 1 sheet of 18 mm (3/4 inch) plywood offcut, about 60 x 60 cm (24 x 24 inches) — triangular gussets; 50 mm (2 inch) wood screws, about 40; 75 mm (3 inch) wood screws, about 16; 75 mm (3 inch) lag screws or structural screws with washers, 8 — for mounting into studs; wood glue.
The total cost is usually $35–$60, depending on local timber prices. That is a fraction of the cost of a metal rack of the same size, and you will learn far more building it yourself. Keep the dust down while you cut — a simple setup like the one in our DIY dust collection for a small workshop guide makes a small shop far more pleasant to work in.
Exact Cut List
Measure twice and cut once is not a cliché here — it is the whole secret to a rack that sits level. The cut list below builds a rack 2.4 m (8 ft) wide with four brackets, each arm reaching 40 cm (16 inches) out from the wall. That depth holds boards up to about 30 cm (12 inches) wide per shelf with room to spare. If your wall is shorter, simply shorten the horizontal rails and use three brackets instead of four.
| Part | Quantity | Dimensions | Notes |
|---|---|---|---|
| Wall uprights | 2 | 2×4, 120 cm (48 in) long | Vertical posts, one at each end |
| Horizontal rails | 2 | 2×4, 240 cm (96 in) long | Top and bottom rails joining the uprights |
| Bracket arms | 4 | 2×4, 40 cm (16 in) long | Horizontal arms that hold the lumber |
| Bracket diagonals | 4 | 2×4, 45 cm (18 in) long, 45° cuts at both ends | Angled supports under each arm |
| Plywood gussets | 4 | Triangle, 30 x 30 x 42 cm (12 x 12 x 17 in) | 18 mm plywood, reinforces each bracket |
| Wall cleat | 1 | 2×6, 240 cm (96 in) long | Screws into studs; carries the whole load |
Cut the arms and diagonals first, then the rails and uprights. Label every piece with a pencil as you cut it — “arm”, “diagonal”, “rail” — because once the pieces are in a pile, they all start to look the same. Sand the cut ends lightly to remove splinters, but do not round over the edges that will be glued; glue bonds best to a flat, clean surface.
Step 1: Measure Your Wall and Find the Studs
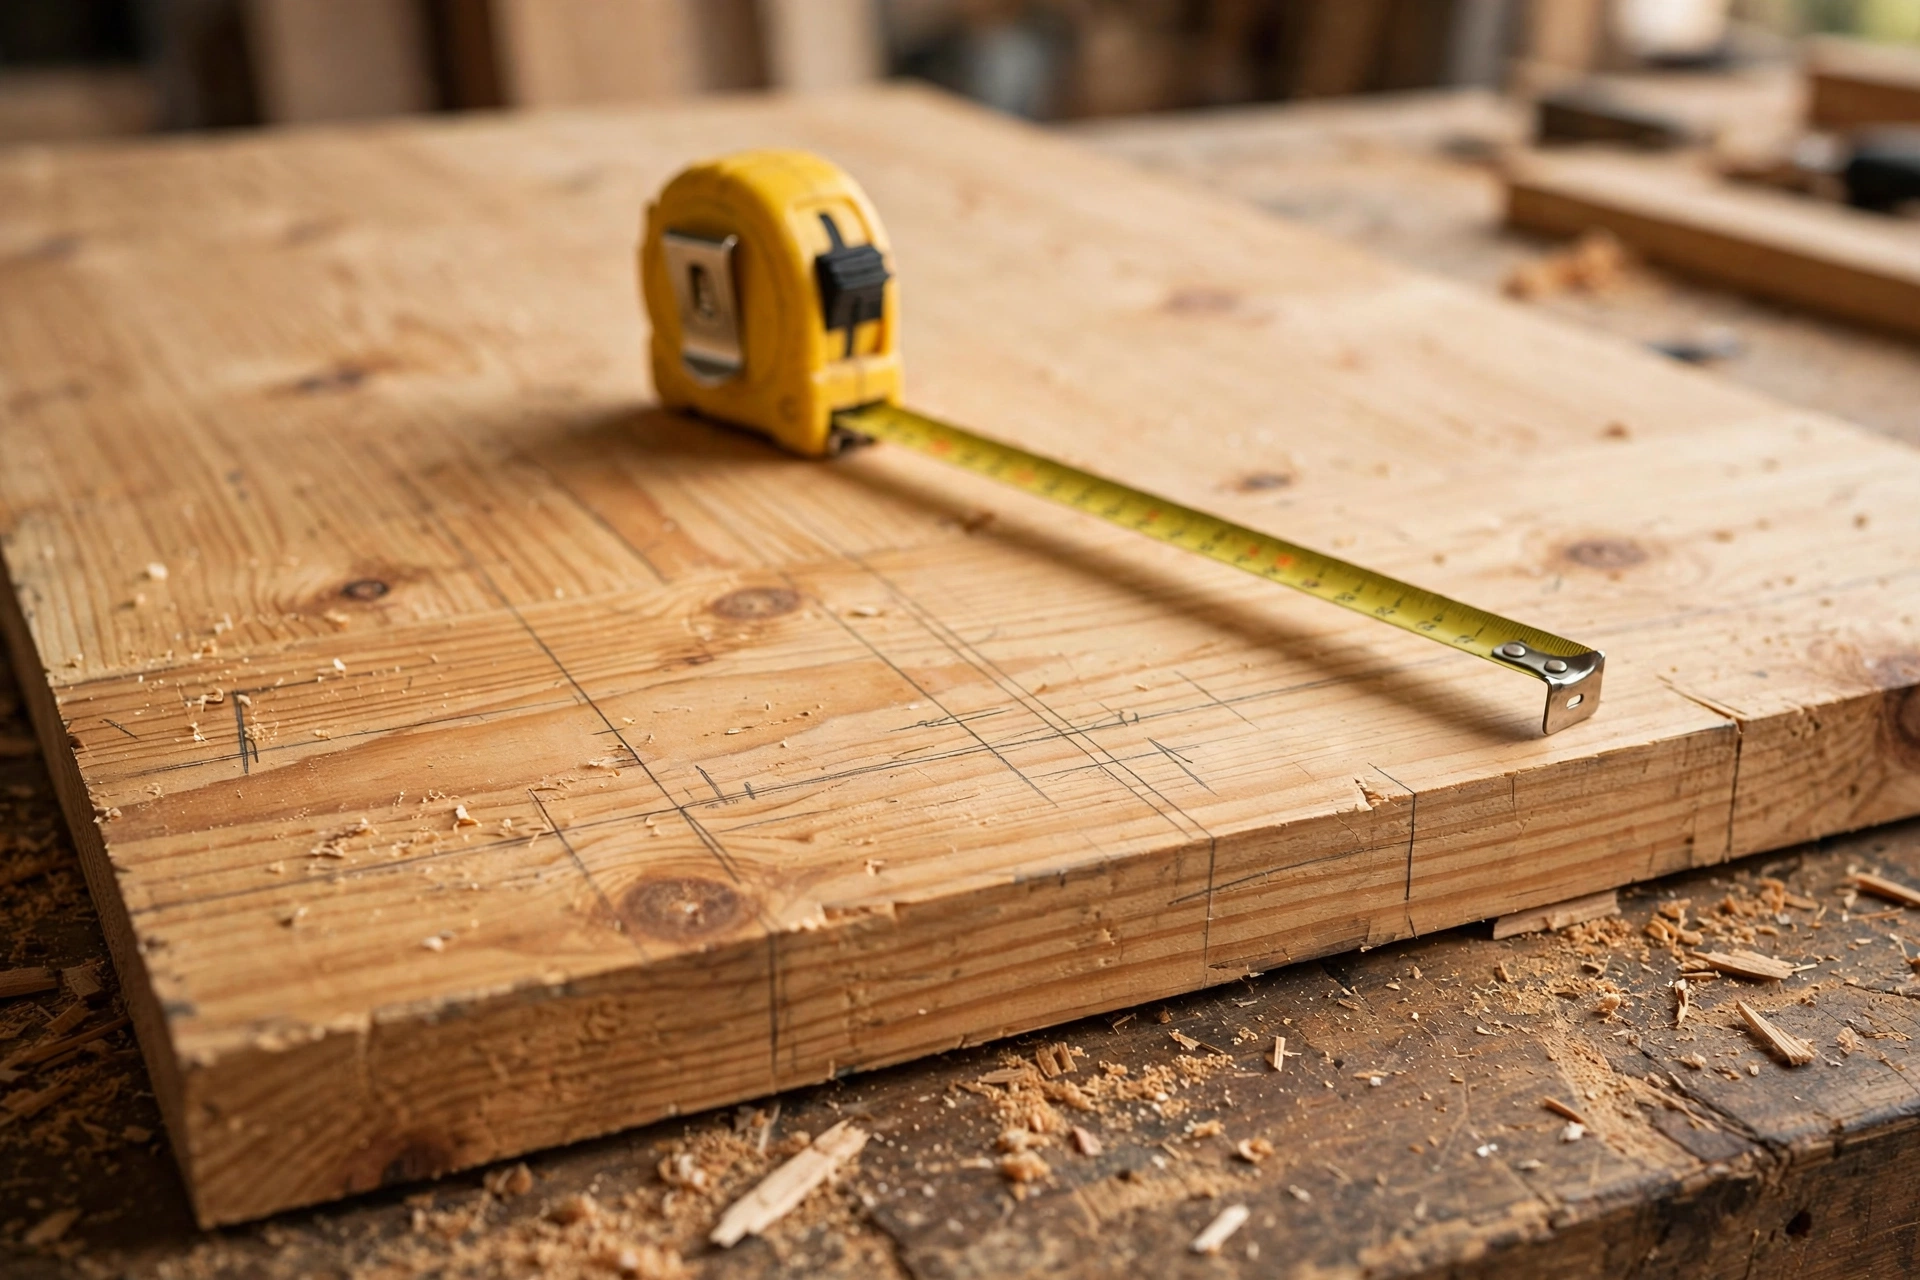
Start by choosing your wall. Pick a long, clear stretch where boards can be slid in and out without hitting a door, a window, or your bench. Measure the wall and mark the centre line of your rack at a comfortable working height — the lowest arm should sit about 90 cm (36 inches) above the floor, so you can sweep underneath it and slide long boards in without bending double.
Now find the studs. Run a stud finder slowly across the wall and mark the centre of each stud with a vertical pencil line from floor to ceiling height of the rack. In most garages and workshops, studs sit 40 cm (16 inches) apart, so a 2.4 m (8 ft) rack will cross about six studs. Mark them all, and double-check with a thin nail or a small drill hole if your finder gives an unclear reading. Every lag screw in this build must land in the centre of a stud — a screw in plasterboard alone will pull out under a load of lumber, and that is the single most dangerous mistake in this whole project.
Decide your shelf spacing now, before you drill anything. As a rule, the gap between arms should suit the boards you store most often, and the table below is a good starting point.
| Board Length Stored | Recommended Arm Spacing | Brackets Needed for 2.4 m Rack |
|---|---|---|
| Up to 1.2 m (4 ft) | 60 cm (24 in) between arms | 3 |
| 1.8–2.4 m (6–8 ft) | 60–80 cm (24–32 in) between arms | 4 |
| 2.4–3.6 m (8–12 ft) | 80–90 cm (32–36 in) between arms | 4 |
| Over 3.6 m (12 ft) | 90 cm (36 in) or add a centre support | 5 |
Mark the height of each shelf level on the wall with a level line. Two or three shelf levels are plenty for a beginner rack; more levels tempt you to overload the wall. In this build, the arms sit at 90 cm (36 inches) and 150 cm (60 inches) above the floor, giving you two generous storage levels.
Step 2: Cut the Brackets and Rails
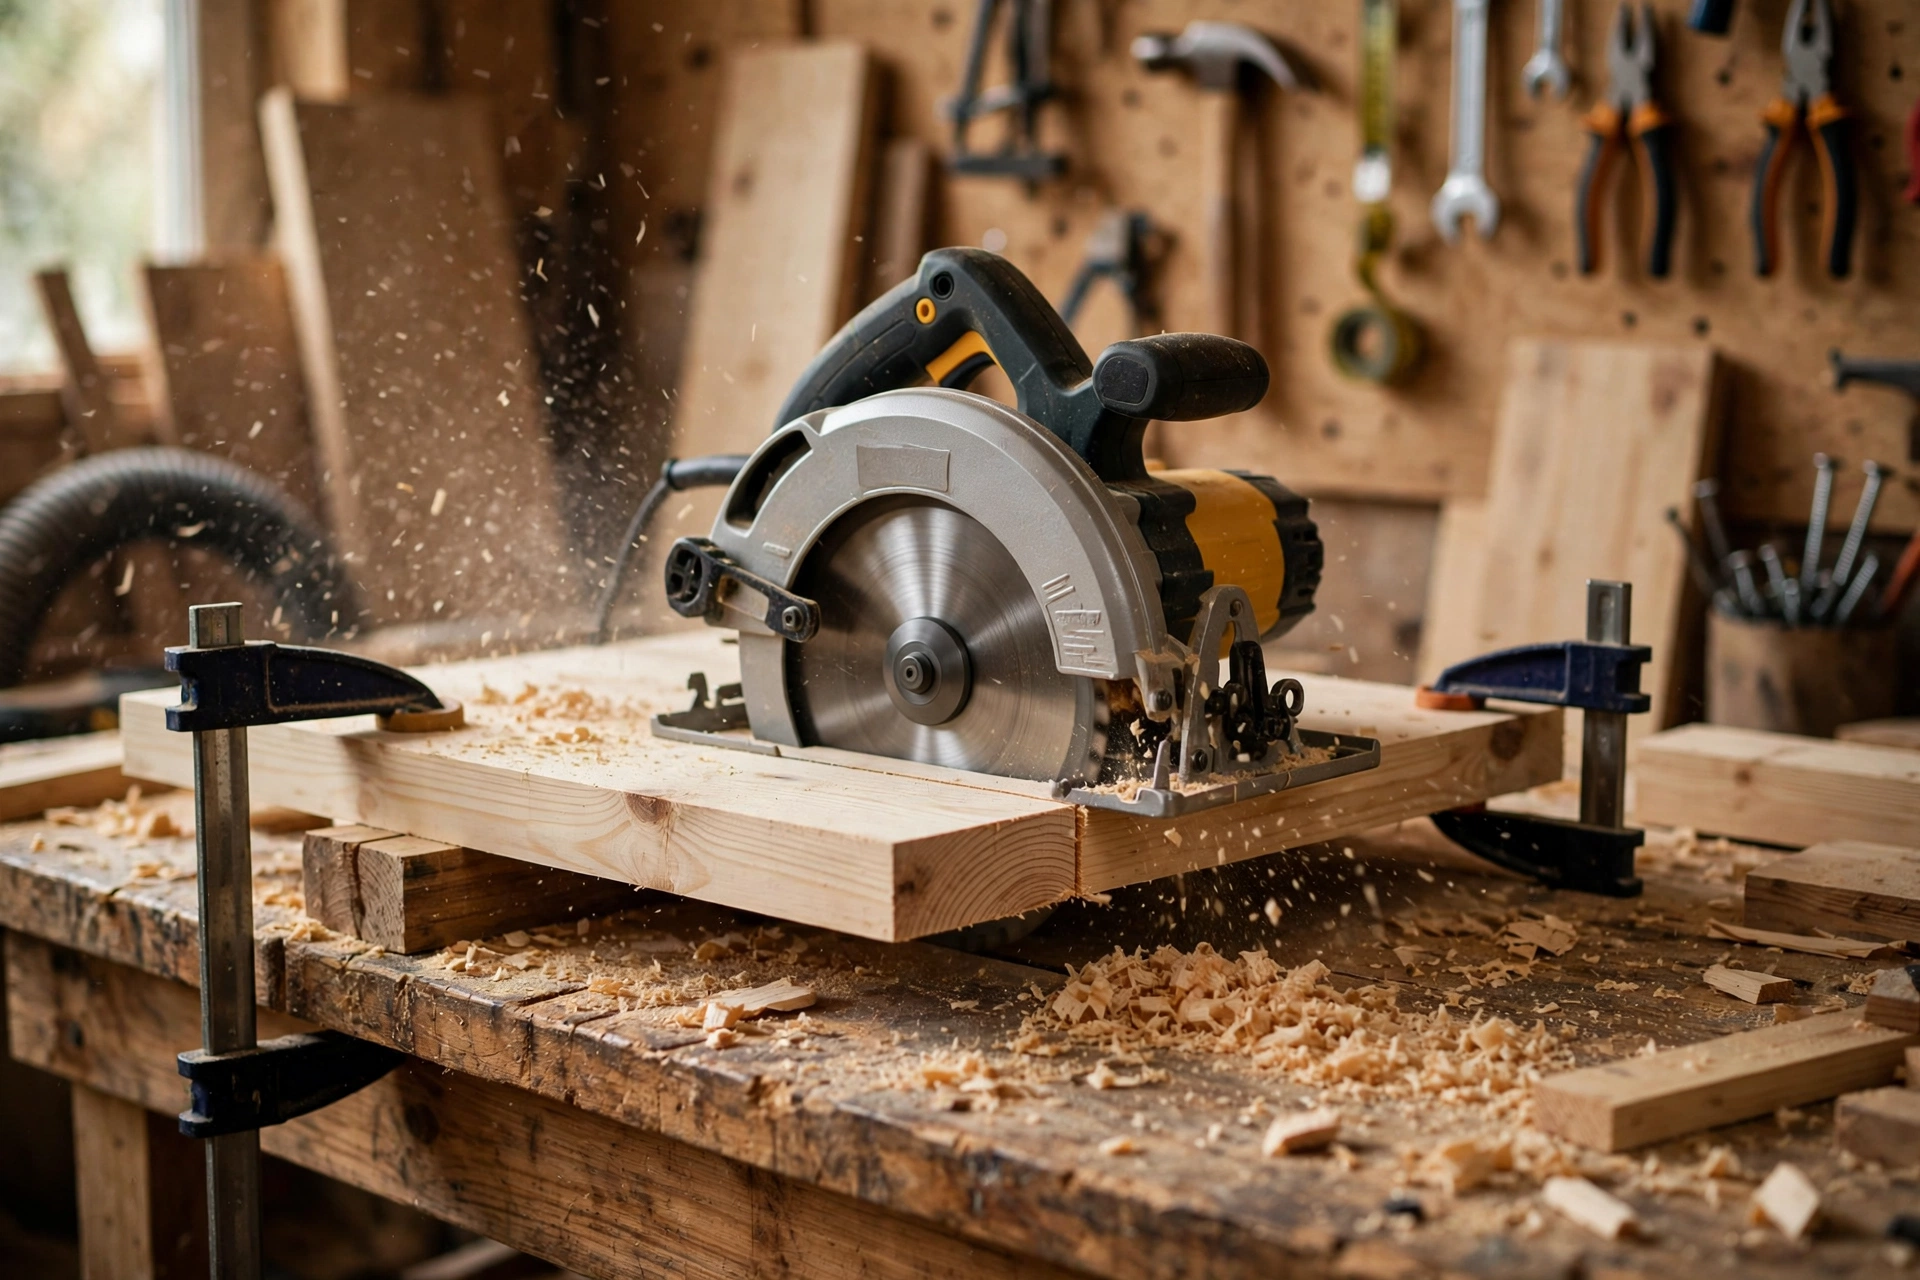
Set up a stable cutting station: two sawhorses, or your bench with the board clamped so the cut line hangs clear of the edge. Mark each cut with a square so the line is truly square across the board — a cut that is even two degrees off will show up as a wobbling arm later.
Cut the four bracket arms to 40 cm (16 inches) and the four diagonals to 45 cm (18 inches) with a 45-degree angle at each end. The 45-degree cuts let the diagonal sit neatly between the vertical upright and the underside of the arm, forming a strong triangle. Cut the two uprights to 120 cm (48 inches) and the two rails to 240 cm (96 inches). Finally, cut the four plywood gussets into right-angled triangles, 30 cm (12 inches) on each short side.
Check each pair of matching pieces against each other. If one arm is 39 cm and the other is 41 cm, your shelf will not be level. Trim the longer piece to match the shorter one, and keep the offcuts — they make excellent test pieces for setting your drill depth and checking screw length.
Step 3: Build the Brackets
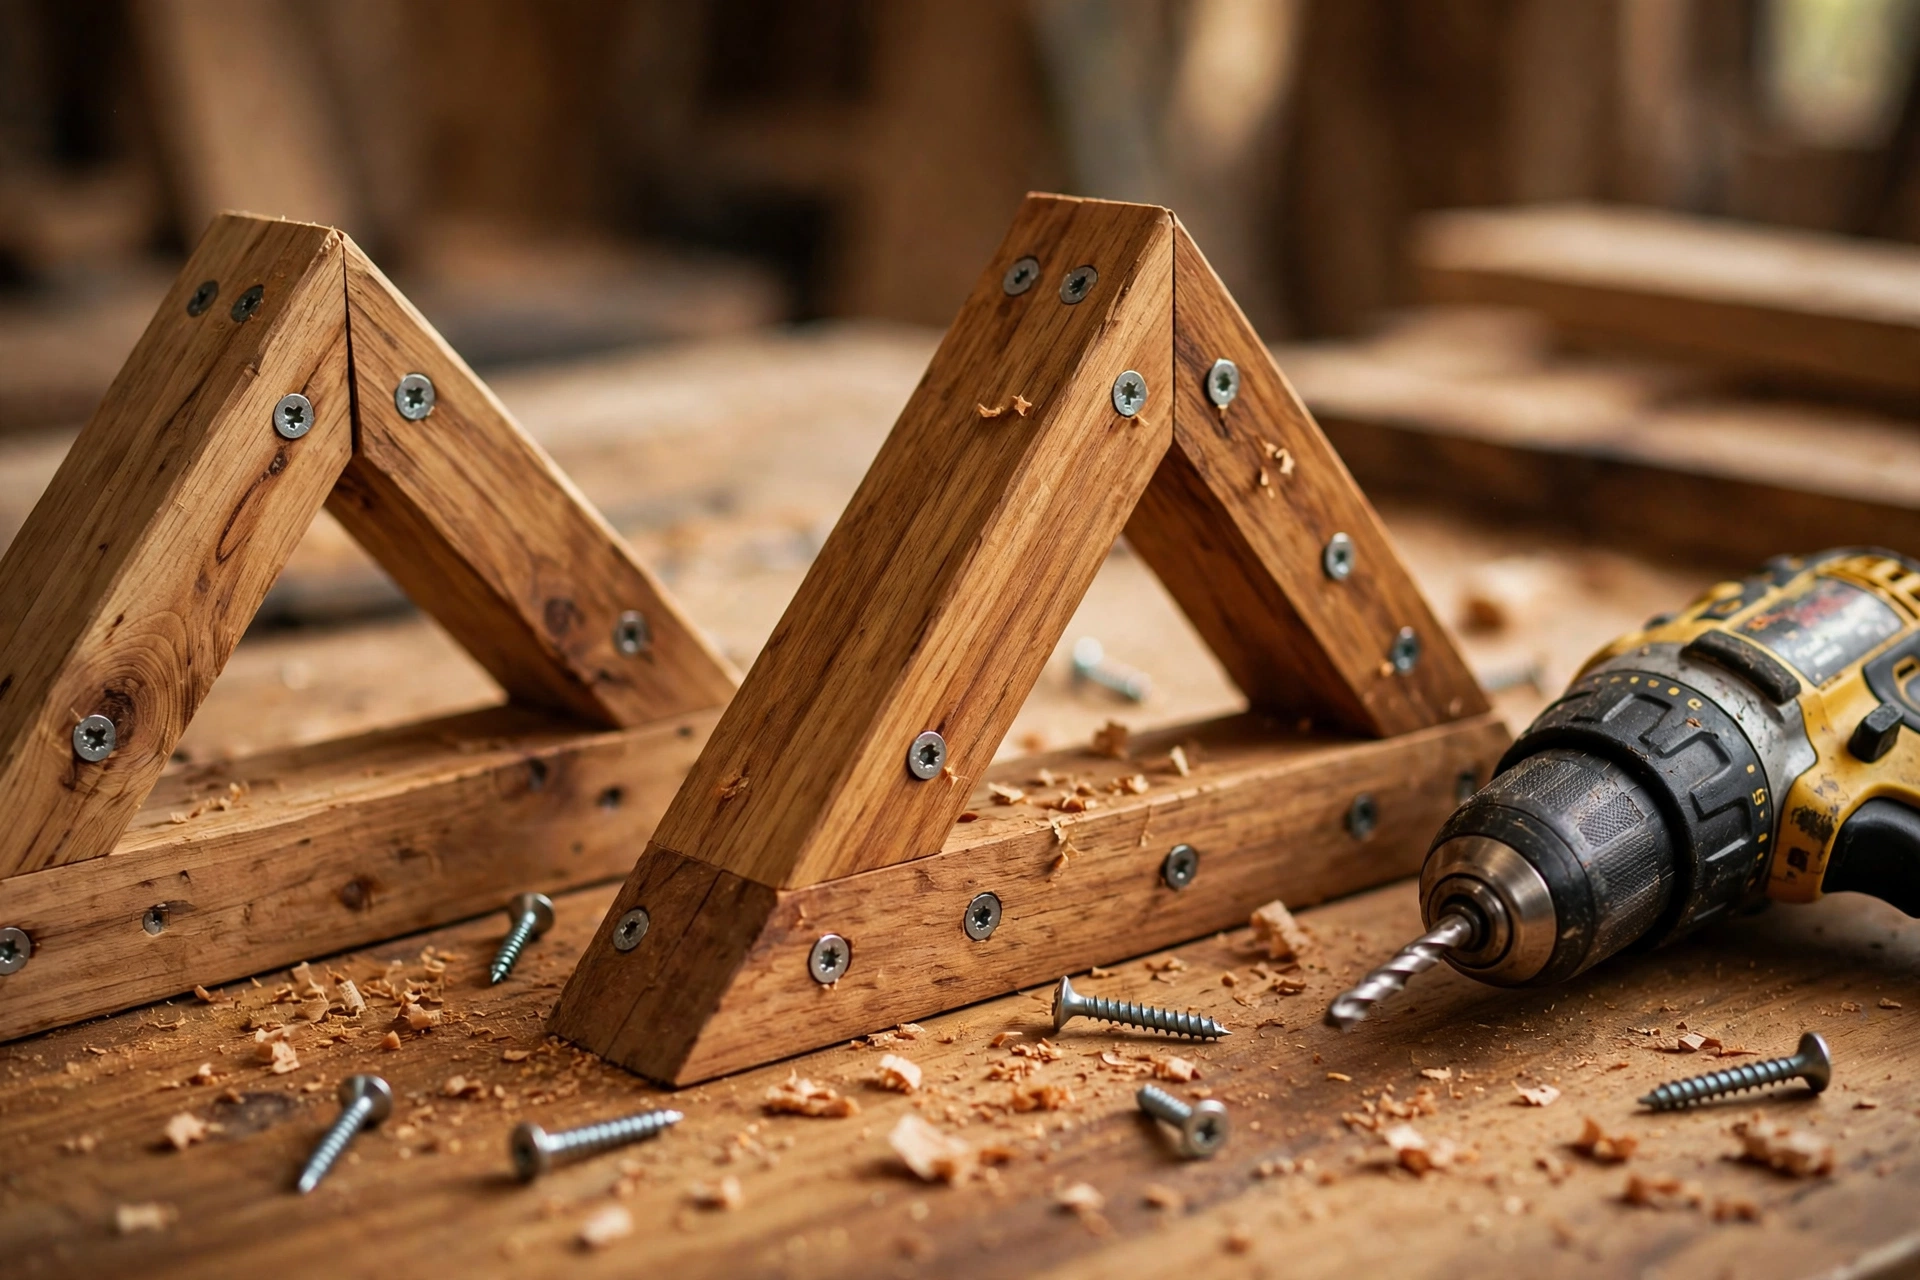
A bracket is a small triangle made of three parts: a short vertical piece, a horizontal arm, and a diagonal brace, locked together with a plywood gusset. Build all four brackets on your bench before you go near the wall — it is far easier to keep them square on a flat surface than while holding them up in the air.
Lay one arm flat on the bench and butt one end against a vertical offcut that represents the upright. Spread wood glue on the joint, then drive two 75 mm (3 inch) screws through the vertical piece into the end grain of the arm. Next, fit the diagonal underneath: one 45-degree end sits flat against the vertical piece, the other sits flat under the arm. Glue and screw it in place with two screws at each end. Finally, glue and screw a plywood gusset over the inside face of the triangle, using 50 mm (2 inch) screws around its edges. The gusset is what turns three loose boards into a rigid bracket that will not rack sideways under load.
Repeat for the other three brackets, and check each one with a square. The arm must sit at exactly 90 degrees to the vertical piece. If one bracket is off by a few degrees, fix it now — a tilted arm is the reason boards roll off a rack.
Step 4: Assemble the Rack Frame
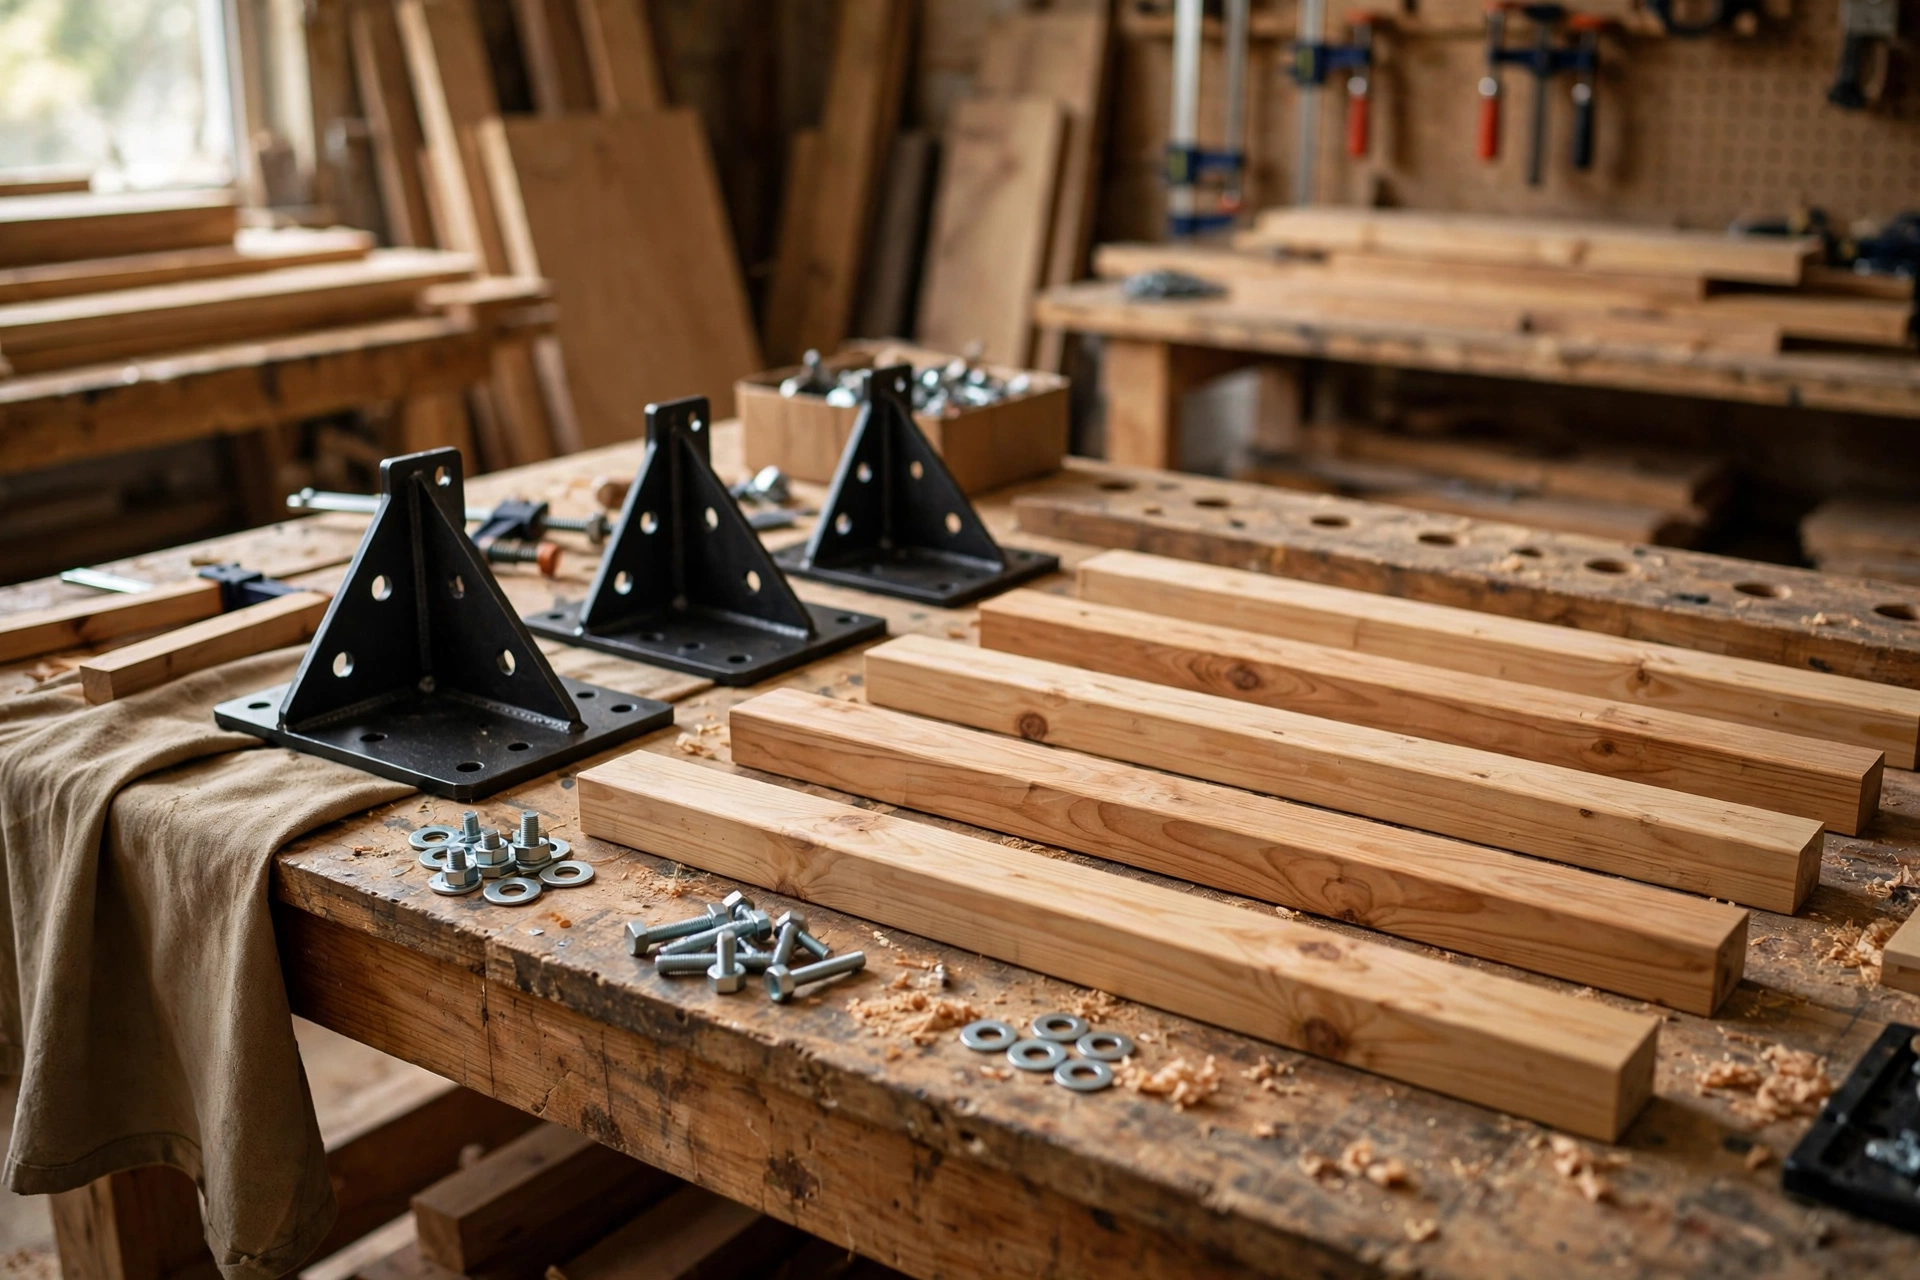
Lay the two uprights on the bench, 2.4 m (8 ft) apart, and screw the two horizontal rails across them, one near the top and one near the bottom. Use two 75 mm (3 inch) screws at every crossing, with a dab of glue for good measure. Check the frame for square by measuring both diagonals corner to corner — if the two measurements match, the frame is square.
Now attach the four brackets to the frame at the spacing you marked in Step 1. Each bracket screws through the upright into the wall side of the frame, with the arm pointing out into the room. Drive two 75 mm screws through the upright into each bracket, and add a screw through the rail as well where they cross. Stand the frame up and sight along the arms: all four arm tips should line up in a straight line. If one arm sits high or low, loosen its screws, tap it level, and re-drive them.
At this stage, the rack is a single rigid unit that you can carry to the wall in one piece. That is the beauty of building the frame on the bench — you do the fiddly, precise work where it is easy, and the wall mounting becomes a simple two-person lift.
Step 5: Mount the Rack to the Wall Studs
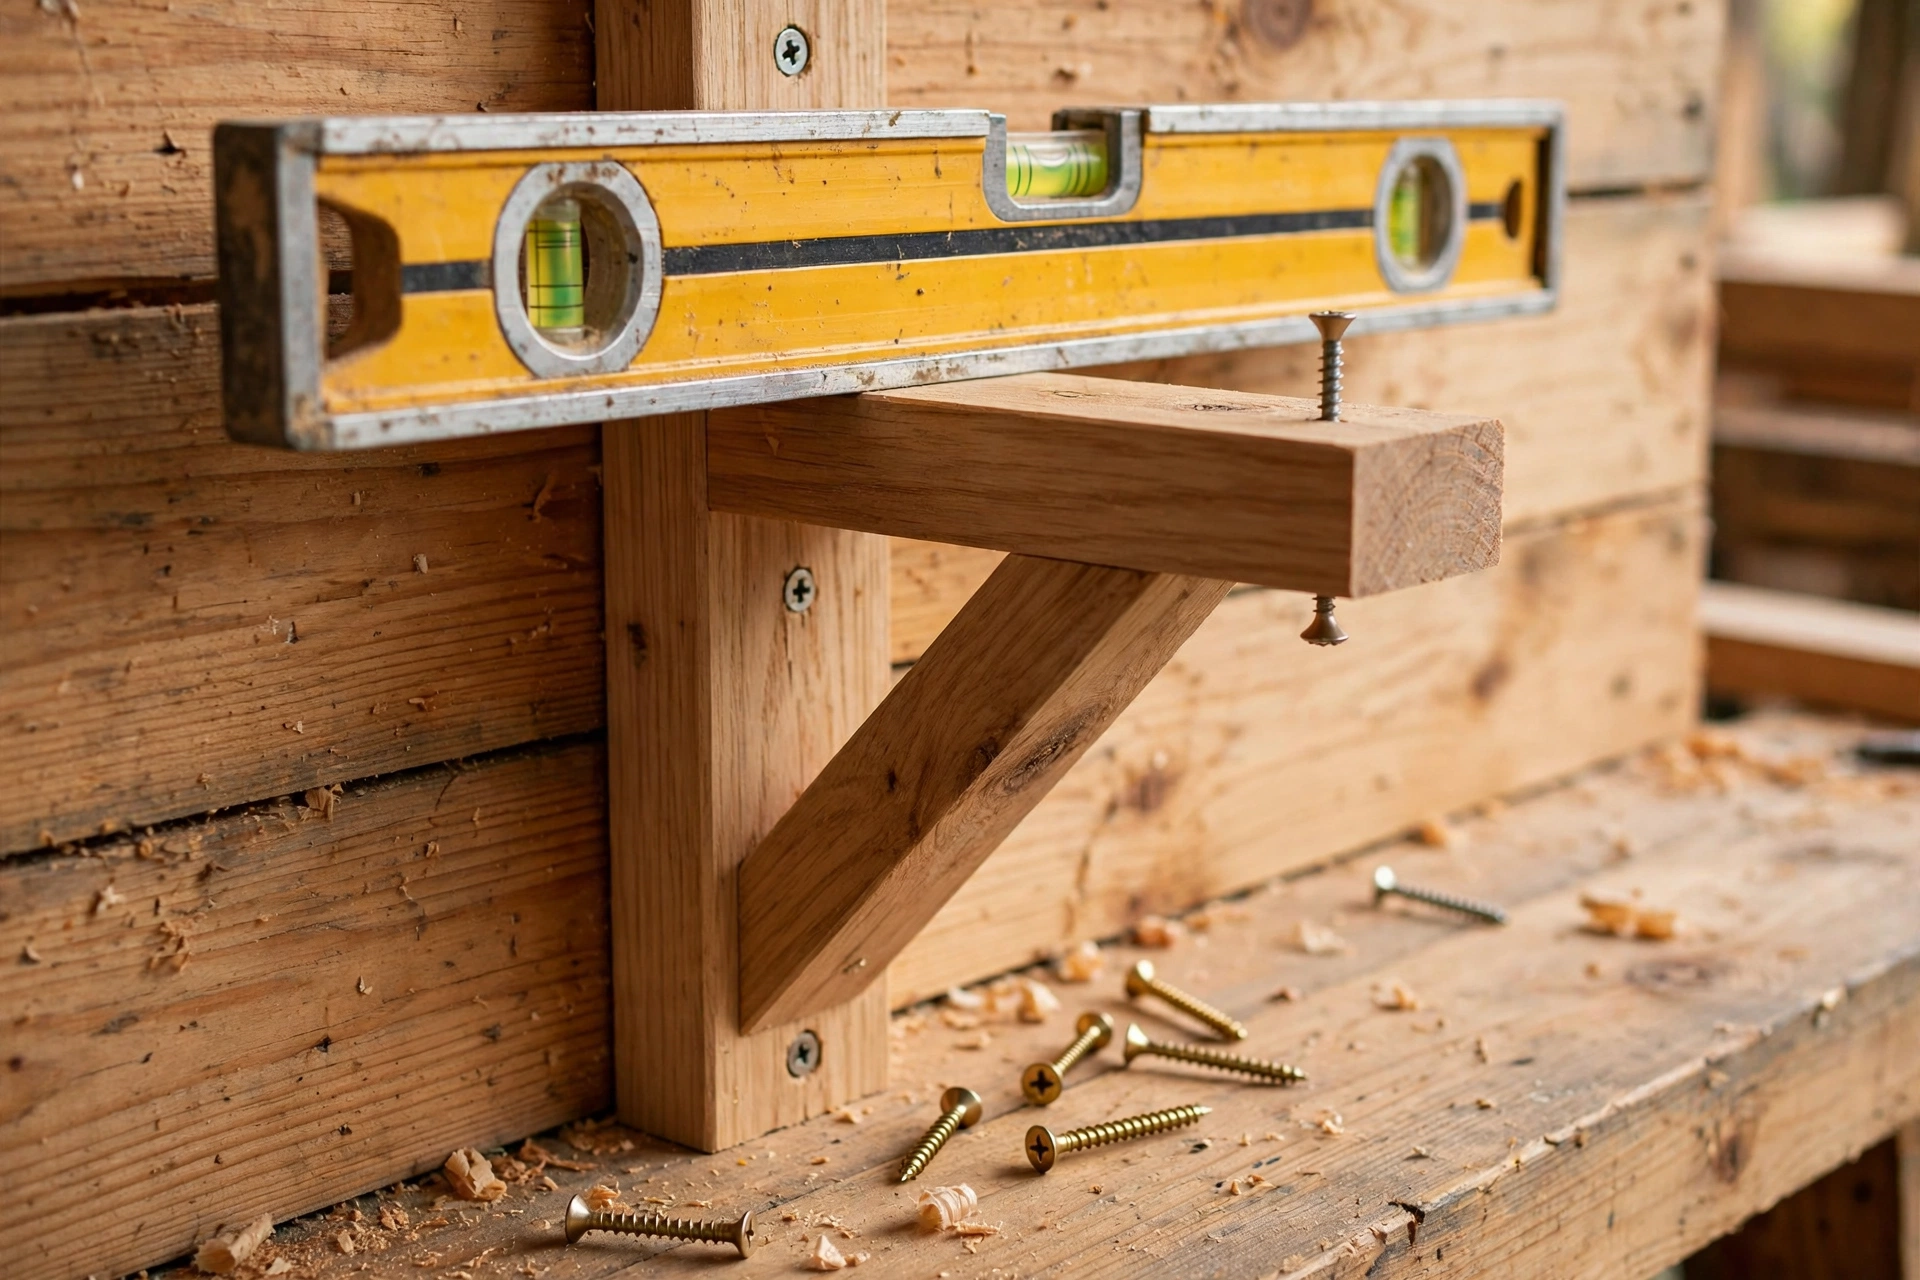
This is the step that decides whether your rack is safe, so take your time. With a helper, lift the frame against the wall and line the uprights up with the stud lines you marked earlier. Hold a long spirit level across the top rail and adjust until the frame is perfectly level, then clamp or screw a temporary batten underneath to hold it in place while you drill.
Drill pilot holes through the uprights and the wall cleat into the centre of each stud, then drive a 75 mm lag screw with a washer through each hole. Use at least two lag screws per stud the rack crosses — for a 2.4 m rack, that is usually eight to twelve screws in total. Tighten them firmly, but do not over-tighten to the point where the wood crushes or the screw strips. Remove the temporary batten and test the rack by pressing down firmly on each arm in turn, then by hanging your body weight gently from the lowest arm. It should not flex, creak, or move at all. If anything moves, add another lag screw into the nearest stud before you load a single board.
If your workshop walls are brick or block rather than studs, use proper masonry anchors rated for the load instead of lag screws, and drill with a masonry bit. Never rely on plasterboard fixings for a loaded lumber rack — they are not designed for this kind of sustained, heavy load.
Load Capacity and Weight Limits
A rack is only as strong as its weakest point, and that point is almost always the wall fixing, not the wood. The table below gives safe working loads for the design in this guide, built from pine 2x4s with the gussets shown and lag screws into studs at 40 cm (16 inch) centres. These are conservative, sensible limits for a home workshop — stay within them and your rack will last for years.
| Bracket Spacing | Safe Load per Shelf Level | Total Safe Load (2 Levels) |
|---|---|---|
| 60 cm (24 in) | 90 kg (200 lb) | 180 kg (400 lb) |
| 80 cm (32 in) | 70 kg (155 lb) | 140 kg (310 lb) |
| 90 cm (36 in) | 55 kg (120 lb) | 110 kg (240 lb) |
A single 2.4 m (8 ft) pine 2×4 weighs about 4 kg (9 lb), so a full shelf of pine is well within these limits. Hardwood is a different story: the same length of oak or maple can weigh twice as much, so load heavy hardwoods on the lowest level, spread them across all four brackets, and never stack boards so high that they tower above the arm tips. If you need to store a very large quantity of hardwood, add a fifth bracket in the middle rather than pushing the spacing wider.
Loading and Organising Your Rack
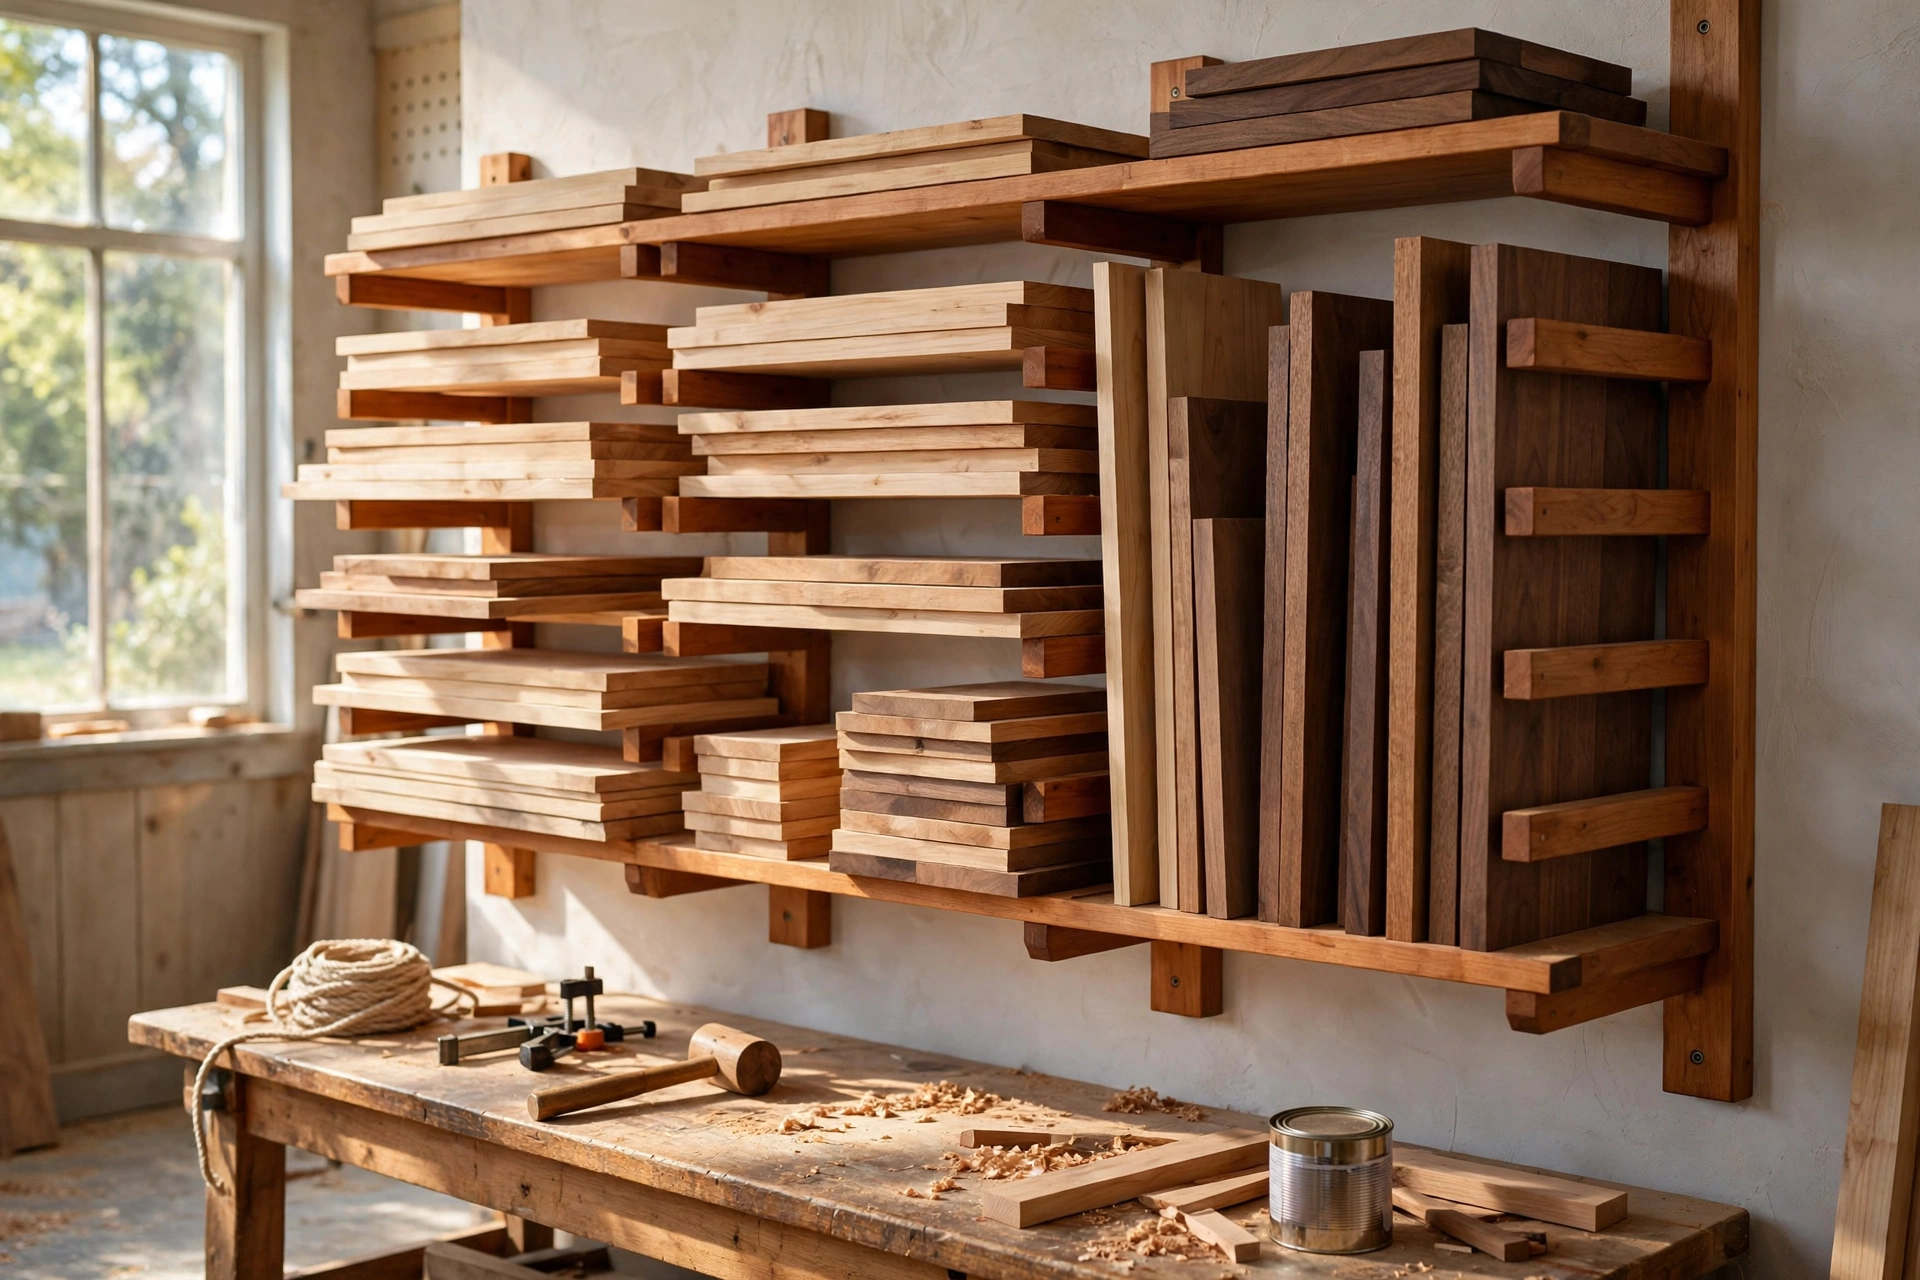
Load the heaviest boards on the lowest level and the lightest on top. Keep boards of the same species and thickness together, and put the boards you use most often at the front where you can reach them without moving a whole stack. Slide boards in from the end rather than lifting them over the arms — that keeps the rack from being pulled sideways and keeps your back happy.
Leave a small gap between boards where you can, so air circulates, and sticker the stack if you are storing freshly bought boards that still feel damp: lay thin strips of dry wood between each layer so air can reach every face. Label the end grain of each stack with a pencil — species, thickness, and date bought — and you will never again buy a board you already own. A well-organised rack also makes the rest of the shop easier to run; if your whole garage needs the same treatment, our small garage workshop setup ideas will help you plan the layout around it.
Common Mistakes to Avoid
Most lumber rack failures come from a handful of avoidable mistakes. The first is screwing into plasterboard instead of studs — always find the studs, and always use lag screws with washers. The second is spacing the brackets too far apart, which lets long boards sag between supports and take on a permanent bow. The third is building arms that slope downward toward the room; arms should be dead level, or tilted very slightly upward, so boards stay put instead of sliding off.
Other mistakes are less dramatic but just as annoying. Do not make the arms too short: 30 cm (12 inch) arms look tidy but will not hold a wide board safely, so stick to 40 cm (16 inches). Do not overload the top shelf — it is the hardest to load, the easiest to overload by accident, and the one whose failure drops boards from the greatest height. And do not skip the gussets. Without them, the bracket joint relies on two screws in end grain, and end grain holds screws poorly. The plywood triangle is the cheapest insurance in the whole project.
How Much Does It Cost?
For most beginners, the total build cost lands between $35 and $60. The pine and plywood are the biggest expense, usually $25–$40, and screws and glue add another $10–$20 if you are starting from scratch. If you already have screws and glue in the shop, you may build the whole rack for under $30. Compare that with a ready-made metal rack, which often costs $120–$250 for the same size, and the DIY route is an easy win — especially since you end up with a rack sized exactly for your wall and your lumber.
The build itself takes about three to four hours, including a trip to the timber yard. Allow an extra hour if you are cutting by hand, and let the glue cure overnight before you load the rack to its full capacity. That patience pays off: a glued-and-screwed joint is far stronger the next morning than it is the minute you drive the last screw.
FAQ
How much weight can a wooden lumber rack hold?
A pine rack built to this guide, with four brackets at 60–80 cm spacing and lag screws into studs, safely holds about 70–90 kg (155–200 lb) per shelf level, or 140–180 kg (310–400 lb) across two levels. Keep heavy hardwoods on the lowest level and add a fifth bracket if you store a lot of dense wood.
How far apart should lumber rack brackets be?
Space brackets 60–90 cm (24–36 inches) apart, depending on board length. Use 60 cm spacing for boards up to 1.2 m long, 80 cm for boards up to 2.4 m, and add a centre bracket for anything longer. Wider spacing lets boards sag and bow between supports.
Can I build a lumber rack without drilling into studs?
You can build a freestanding rack instead, but a wall-mounted rack must be fixed into studs or solid masonry. Plasterboard fixings alone will not hold a loaded rack safely. If you rent and cannot drill, build a freestanding A-frame rack that stands on the floor.
What wood is best for a beginner lumber rack?
Kiln-dried pine or spruce 2x4s are ideal: cheap, light, easy to cut, and strong enough when braced with plywood gussets. Avoid MDF, which splits and sags, and avoid wet or green lumber, which shrinks and loosens screws as it dries.
How high should I mount my lumber rack?
Mount the lowest arm about 90 cm (36 inches) above the floor so you can sweep underneath and slide boards in without bending double. Space shelf levels 60 cm (24 inches) apart, and keep the top level within easy reach — if you need a step stool to load it, it is too high.
Do I need to finish or seal my lumber rack?
Sealing is optional but worthwhile in a damp garage. A single coat of boiled linseed oil or a clear varnish protects the pine from moisture and makes it easier to brush clean. Leave the rack bare if your shop is dry — the wood will darken naturally and work just as well.
Final Thoughts
Learning how to build a wooden lumber rack for beginners is one of those projects that pays you back every single day. Your boards stay flat, your floor stays clear, your shop feels bigger, and you stop buying wood you already own. The build itself teaches the core skills — measuring, square cuts, glue-and-screw joinery, and fixing into studs — that every later project depends on.
Build it this weekend, load it carefully, and enjoy the strange satisfaction of a wall full of straight, organised lumber. Then use that tidy shop to build something beautiful with the wood you just saved.
Recommended Products for This Project
As an Amazon Associate, I earn from qualifying purchases.
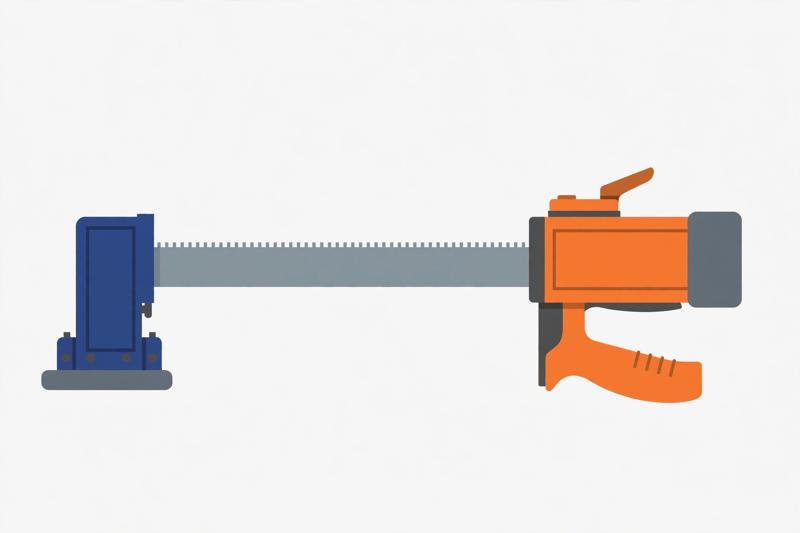
IRWIN QUICK-GRIP One-Handed Bar Clamp, Heavy-Duty, 12-Inch (1964712)
Heavy-duty bar clamp to hold the lumber rack frame square during assembly, so the arms stay straight and level.
FIXLINK Deck Screws #8 x 2 Inch, 310-Pack
Two-inch screws for the rack arms and wall anchoring — a full pack covers the frame and leaves spares for the next project.

DEWALT 20V MAX Cordless Drill/Driver Kit (DCD771C2)
Cordless drill for pilot holes and driving the rack’s screws deep into wall studs, so the rack holds a full load of boards.

DEWALT Random Orbit Sander DWE6423, 5-Inch
Smooth sanding for the rack arms so stored lumber slides on and off without snagging or scratching.

Titebond III Ultimate Wood Glue 1413 (8 oz)
Water-resistant glue for the lumber rack joints — a strong bond that holds up under heavy boards for years.


