
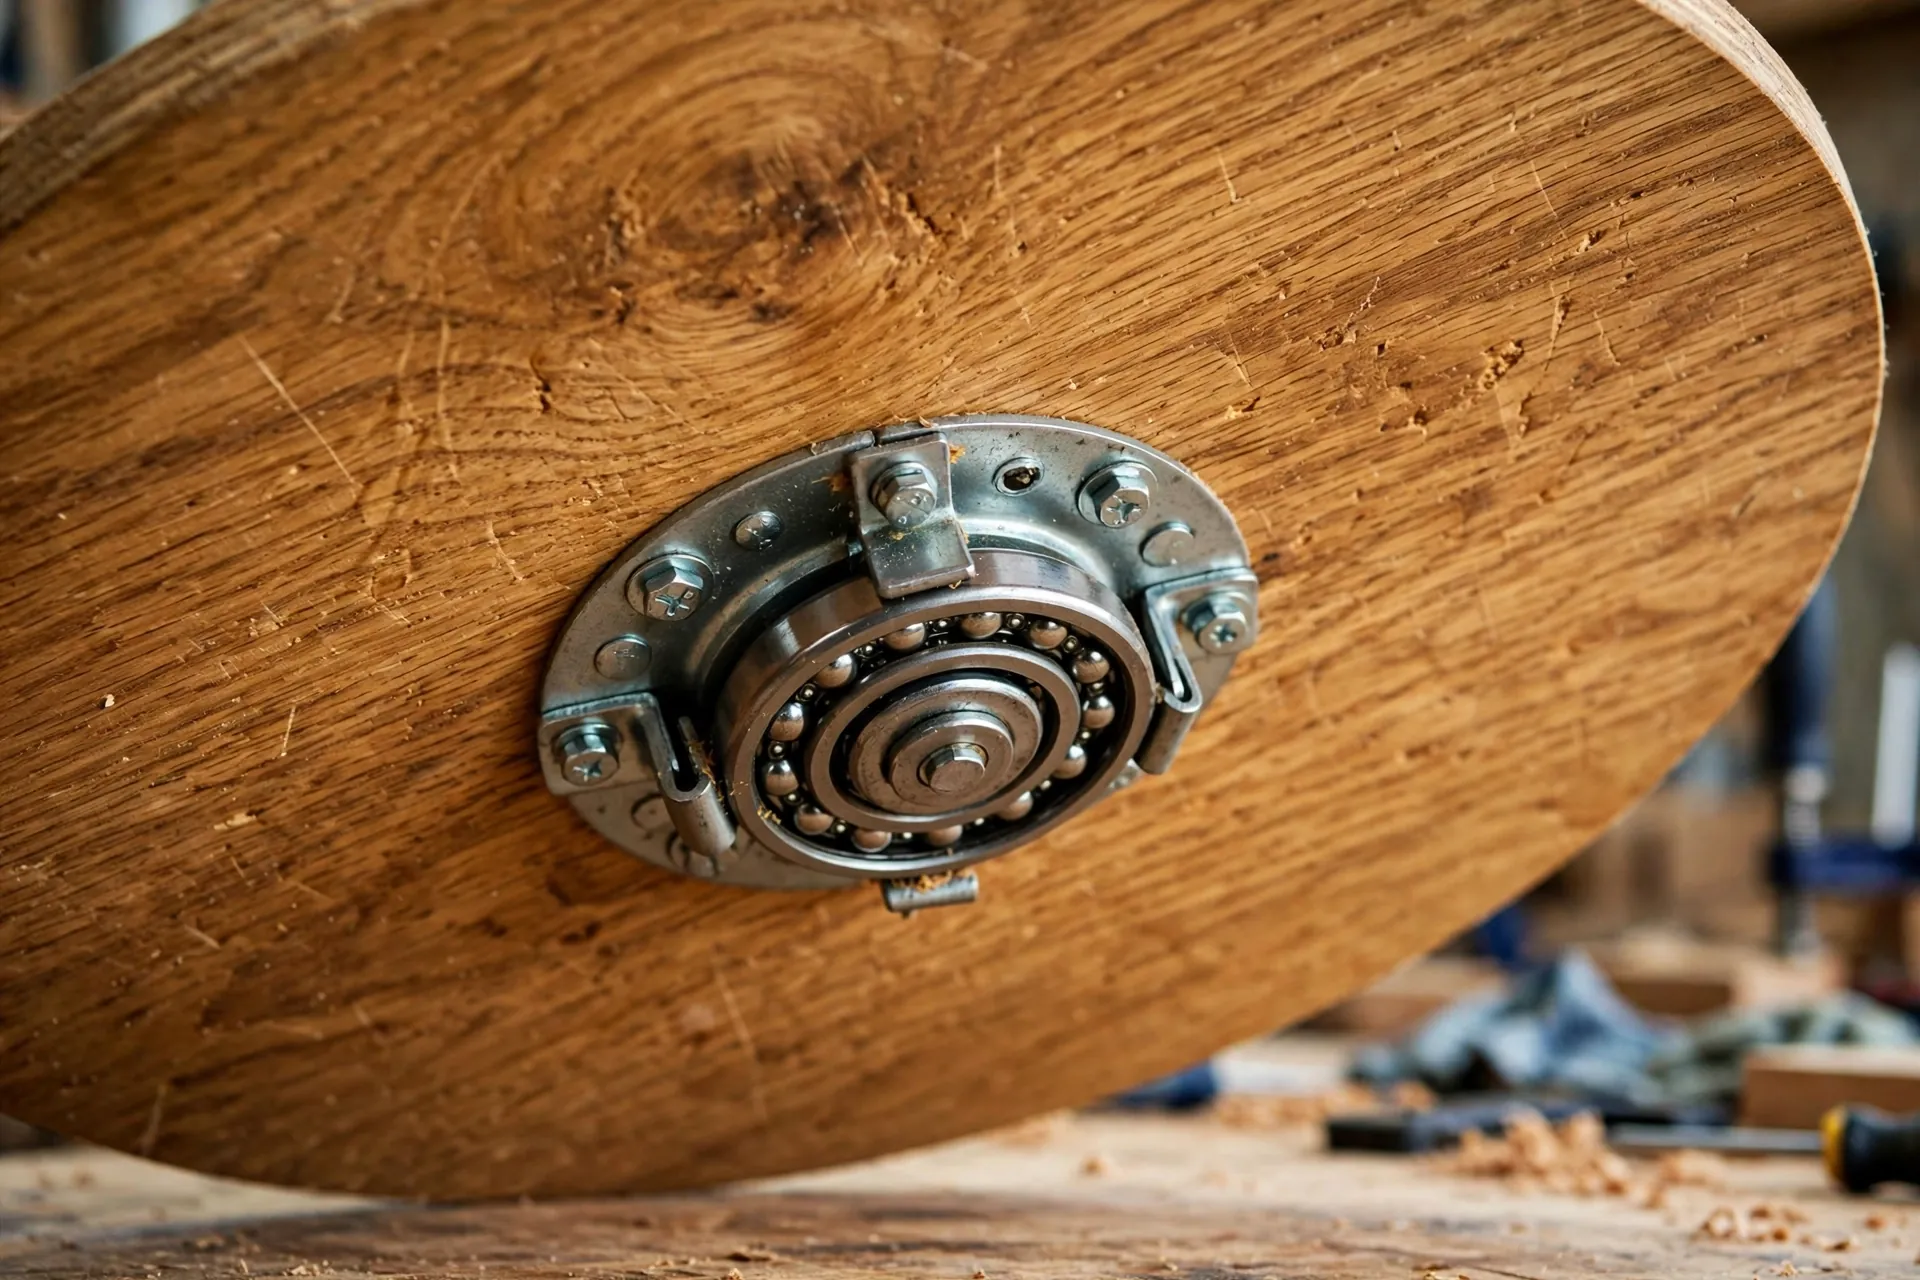
A wooden lazy susan is the rare beginner project that gets used every single day. It sits in the middle of your dining table, spins smoothly with one finger, and quietly ends the “please pass the salt” shuffle at every meal. Learning how to make a wooden lazy susan for beginners is also one of the best first projects you can choose: it teaches you how to cut a perfect circle, how to work with a swivel bearing, and how to apply a food-safe finish, all with a handful of basic tools and a single afternoon of work. In this guide, you will learn how to size your lazy susan to your table, choose the right bearing, build a circle-cutting jig for your router or jigsaw, assemble the top and base, and finish it so it is safe for food and beautiful enough to leave on the table permanently.
This project takes most beginners about 3 to 5 hours of hands-on work, plus drying time for the finish. You do not need a table saw, a lathe, or any advanced joinery. A jigsaw or a router, a drill, and a sander are enough, and if you own only one of the two cutting tools, this guide covers both methods. The finished turntable in this guide measures 16 inches (41 cm) across, which suits most family dining tables, and the same method scales up or down to any size. By the end, you will have a sturdy, smooth-spinning lazy susan built exactly to your measurements, for a fraction of the price of a shop-bought one. If you are just starting out, this project sits comfortably alongside other simple builds in our easy woodworking projects for beginners that sell collection, and it makes a wonderful handmade gift as well.
What Size Lazy Susan Should You Build?
Before you buy a single board, measure your dining table. A lazy susan that is too large crowds the place settings and leaves no room for plates; one that is too small looks lost in the middle of the table and cannot hold more than a salt shaker. The rule most woodworkers use is simple: the lazy susan should be about one-third to one-half the width of your table. For a standard rectangular dining table, measure the narrow dimension — the width, not the length — and size the turntable to that. A 16-inch (41 cm) lazy susan is the sweet spot for most tables: it holds several condiments, a bread basket, or a small serving dish, while leaving plenty of room for plates around it.
Also think about what the lazy susan will carry. If it will hold a heavy casserole dish or a full salad bowl, a larger diameter spreads the load and keeps tall items from tipping when the turntable spins. If it is mainly for salt, pepper, sauces, and napkins, a smaller 12-inch (30 cm) version is lighter, cheaper, and easier to store. Round tables suit larger lazy susans than rectangular ones, because there are no corners to crowd. Write down your table’s narrow width and the largest dish you plan to put on the turntable before you shop for lumber, and use the table below to pick your diameter.
| Table width (narrow side) | Recommended lazy susan diameter | Best for |
|---|---|---|
| 30–36 in (76–91 cm) | 12 in (30 cm) | Small tables, condiments and sauces |
| 36–42 in (91–107 cm) | 14 in (36 cm) | Breakfast nooks, two to four people |
| 42–48 in (107–122 cm) | 16 in (41 cm) | Standard family dining tables |
| 48–54 in (122–137 cm) | 18 in (46 cm) | Large tables, serving dishes and bowls |
| 54 in (137 cm) or wider | 20 in (51 cm) | Big round tables, full dinner service |
The 16-inch size in this guide is the one most beginners should build first. It is large enough to be genuinely useful, small enough to cut from a single glued-up panel, and it matches the most common bearing size, so parts are cheap and easy to find. If you later want a bigger one for a large round table, the process is identical — only the measurements change.
Choosing the Best Wood for Your Lazy Susan
When you are learning how to make a wooden lazy susan for beginners, the wood you choose matters more than it does for most projects, because this one touches food. The top surface will hold plates, bread, and serving dishes, and sometimes food itself, so the wood must be food-safe, hard enough to resist knife marks and dents, and stable enough not to warp into a wobbly disc. Hard maple is the classic choice: it is dense, pale, easy to finish, and it is the same wood used for professional butcher blocks. Oak is a close second — it is widely available, has beautiful open grain, and takes stain well — though its open pores need a little more finish to seal. Walnut looks stunning and dark, but it costs three to four times as much as maple, so save it for a second lazy susan once you know the build by heart.
Pine is cheap and easy to cut, but it is soft: plates and dishes will dent it, and a dropped serving spoon can leave a mark that never comes out. It can still work for a decorative lazy susan that holds only condiment bottles, but for a daily-use dining turntable, a hardwood is worth the extra money. Whatever species you choose, buy boards that are straight, flat, and free of large knots. Sight down each edge like a rifle barrel and reject any board that is cupped, bowed, or twisted — a warped board makes a warped circle, and a warped circle wobbles no matter how good your bearing is. For a deeper dive into species, grain, and cost, read our guide to the best wood for beginner woodworking projects.
For a 16-inch lazy susan, you need enough lumber to make a square panel at least 17 inches (43 cm) across, so the circle can be cut from it with a little margin. The easiest route is to buy a single wide board, but boards wider than 12 inches are expensive and hard to find, so most builders glue up a panel from three or four narrower boards. A 1×8 board (actual size ¾ × 7¼ inches, or 19 × 184 mm) is ideal: three of them edge-glued give you a panel about 21¾ inches wide, which leaves comfortable trimming room. Alternatively, a single 18 × 18 inch (46 × 46 cm) hardwood panel blank from a lumber supplier saves the glue-up step entirely and costs about the same as the boards.
How to Choose the Right Lazy Susan Bearing
The bearing is the heart of the project — it is the part that makes the lazy susan spin — and choosing the wrong one is the most common reason a first build disappoints. Lazy susan bearings are flat, square or round steel plates with ball bearings sandwiched between them, and they come in standard sizes. The golden rule is that the bearing should be about half the diameter of your turntable, and never more than two-thirds of it. A bearing that is too small makes the top tippy and wobbly under a heavy dish; a bearing that is too large sticks out past the edge of a small base and looks unfinished. For a 16-inch lazy susan, a 9-inch or 12-inch bearing is ideal.
Check the weight rating before you buy. A cheap 6-inch bearing rated for 100 lb (45 kg) sounds generous, but the rating assumes the load is centred and the bearing is fully supported; a heavy casserole placed near the edge loads one side far more than the rating suggests. For a dining table lazy susan, choose a bearing rated for at least 200 lb (90 kg) — they cost only a few dollars more and spin far more smoothly under load. Look for ball bearings rather than a plain swivel plate: ball-bearing turntables spin with a fingertip, run quietly, and last for years, while plain swivels feel gritty and stiff. Finally, check the screw holes: most bearings have holes for #8 screws, and you will need short screws that cannot poke through the top surface of your lazy susan.
| Lazy susan diameter | Recommended bearing size | Typical weight rating | Typical price |
|---|---|---|---|
| 12 in (30 cm) | 6 in (15 cm) square or round | 100–200 lb (45–90 kg) | $5–$9 |
| 14 in (36 cm) | 9 in (23 cm) square | 200–300 lb (90–136 kg) | $7–$12 |
| 16 in (41 cm) | 9 in (23 cm) or 12 in (30 cm) square | 300–500 lb (136–227 kg) | $8–$15 |
| 18 in (46 cm) | 12 in (30 cm) square | 300–500 lb (136–227 kg) | $10–$18 |
| 20 in (51 cm) | 12 in (30 cm) square | 500 lb (227 kg) | $12–$20 |
Buy the bearing before you cut anything. Its exact size decides the size of the base disc underneath, and its screw-hole positions decide where you drill. A square bearing is easier for beginners because it is simple to centre on a round base with a ruler, while a round bearing looks neater from underneath. Either works — pick the one that is in stock at your hardware store, and keep the packaging until the build is finished, in case you need to exchange it.
Tools and Materials You Will Need
If you are learning how to make a wooden lazy susan for beginners, you probably own most of these tools already, and the rest can be borrowed or bought cheaply. Do not buy a tool you will use once if a neighbour or a tool library can lend it — but a decent cordless drill is worth owning, because you will use it on every project after this one. The one specialist item is the bearing itself, which costs less than a takeaway dinner and is available at any hardware store or online.
| Item | Details | Typical cost |
|---|---|---|
| Hardwood boards | 3 × 1×8 maple or oak, 24 in (61 cm) long | $18–$30 |
| Lazy susan bearing | 9 in (23 cm) or 12 in (30 cm), ball-bearing type, 300 lb rating | $8–$15 |
| Base disc material | ¾ in (19 mm) plywood or hardwood offcut, 12 in (30 cm) square | $0–$8 |
| Wood glue | One 8 oz (237 ml) bottle, food-safe when cured | $4–$6 |
| Screws | #8 × ¾ in (19 mm) for the bearing, #8 × 1¼ in (32 mm) for the base | $4–$6 |
| Sandpaper | 80, 120, and 220 grit sheets | $5–$8 |
| Food-safe finish | Mineral oil and beeswax, or salad-bowl finish, 8 oz (237 ml) | $8–$15 |
| Tools | Jigsaw or router, drill, sander, tape measure, compass or trammel, clamps | $0 if owned |
| Total (16 in, maple) | Lumber, bearing, screws, glue, finish | $45–$90 |
Safety gear matters too: safety glasses, hearing protection when using the jigsaw or router, and a dust mask for sanding. Hardwood dust is an irritant, and cutting a circle produces a lot of it. Work outside or in a well-ventilated garage when you apply the finish, and keep rags soaked in oil flat to dry — bunched-up oily rags can self-heat, so lay them flat outdoors until they are stiff and dry, then throw them away.
Cut List for a 16-Inch Wooden Lazy Susan
The cut list below is for a 16-inch (41 cm) lazy susan with a 9-inch (23 cm) square bearing and a 12-inch (30 cm) round base disc. The base disc is smaller than the top, which hides it from view and lets the top overhang by 2 inches (5 cm) all round — that overhang is what makes the turntable look like a floating disc rather than a stack of plywood. If you are building a different size, keep the same structure and simply change the diameters to match your sizing table above. Cut the panel boards first, then the base, then the bearing screws — and always measure twice before every cut.
| Part | Material | Size | Quantity |
|---|---|---|---|
| Top panel boards | 1×8 hard maple or oak | 24 in (61 cm) long | 3 |
| Base disc | ¾ in (19 mm) plywood or hardwood | 12 in (30 cm) diameter circle | 1 |
| Top disc | Glued-up panel | 16 in (41 cm) diameter circle | 1 |
| Lazy susan bearing | Steel ball-bearing swivel | 9 in (23 cm) square | 1 |
| Bearing screws | #8 × ¾ in (19 mm) | ¾ in (19 mm) long | 8 |
| Base screws | #8 × 1¼ in (32 mm) | 1¼ in (32 mm) long | 4 |
The three 1×8 boards, each 7¼ inches (184 mm) wide, edge-glued together give you a panel about 21¾ inches (55 cm) wide and 24 inches (61 cm) long — comfortably larger than the 16-inch circle you will cut from it. The base disc is cut from the same panel offcut or from a piece of plywood, so buy a little extra lumber if you want the base to match the top exactly. Mark every piece as you cut it: “Top”, “Base”, and the bearing orientation, so nothing gets flipped during assembly.
Step 1: Measure and Mark Your Circle
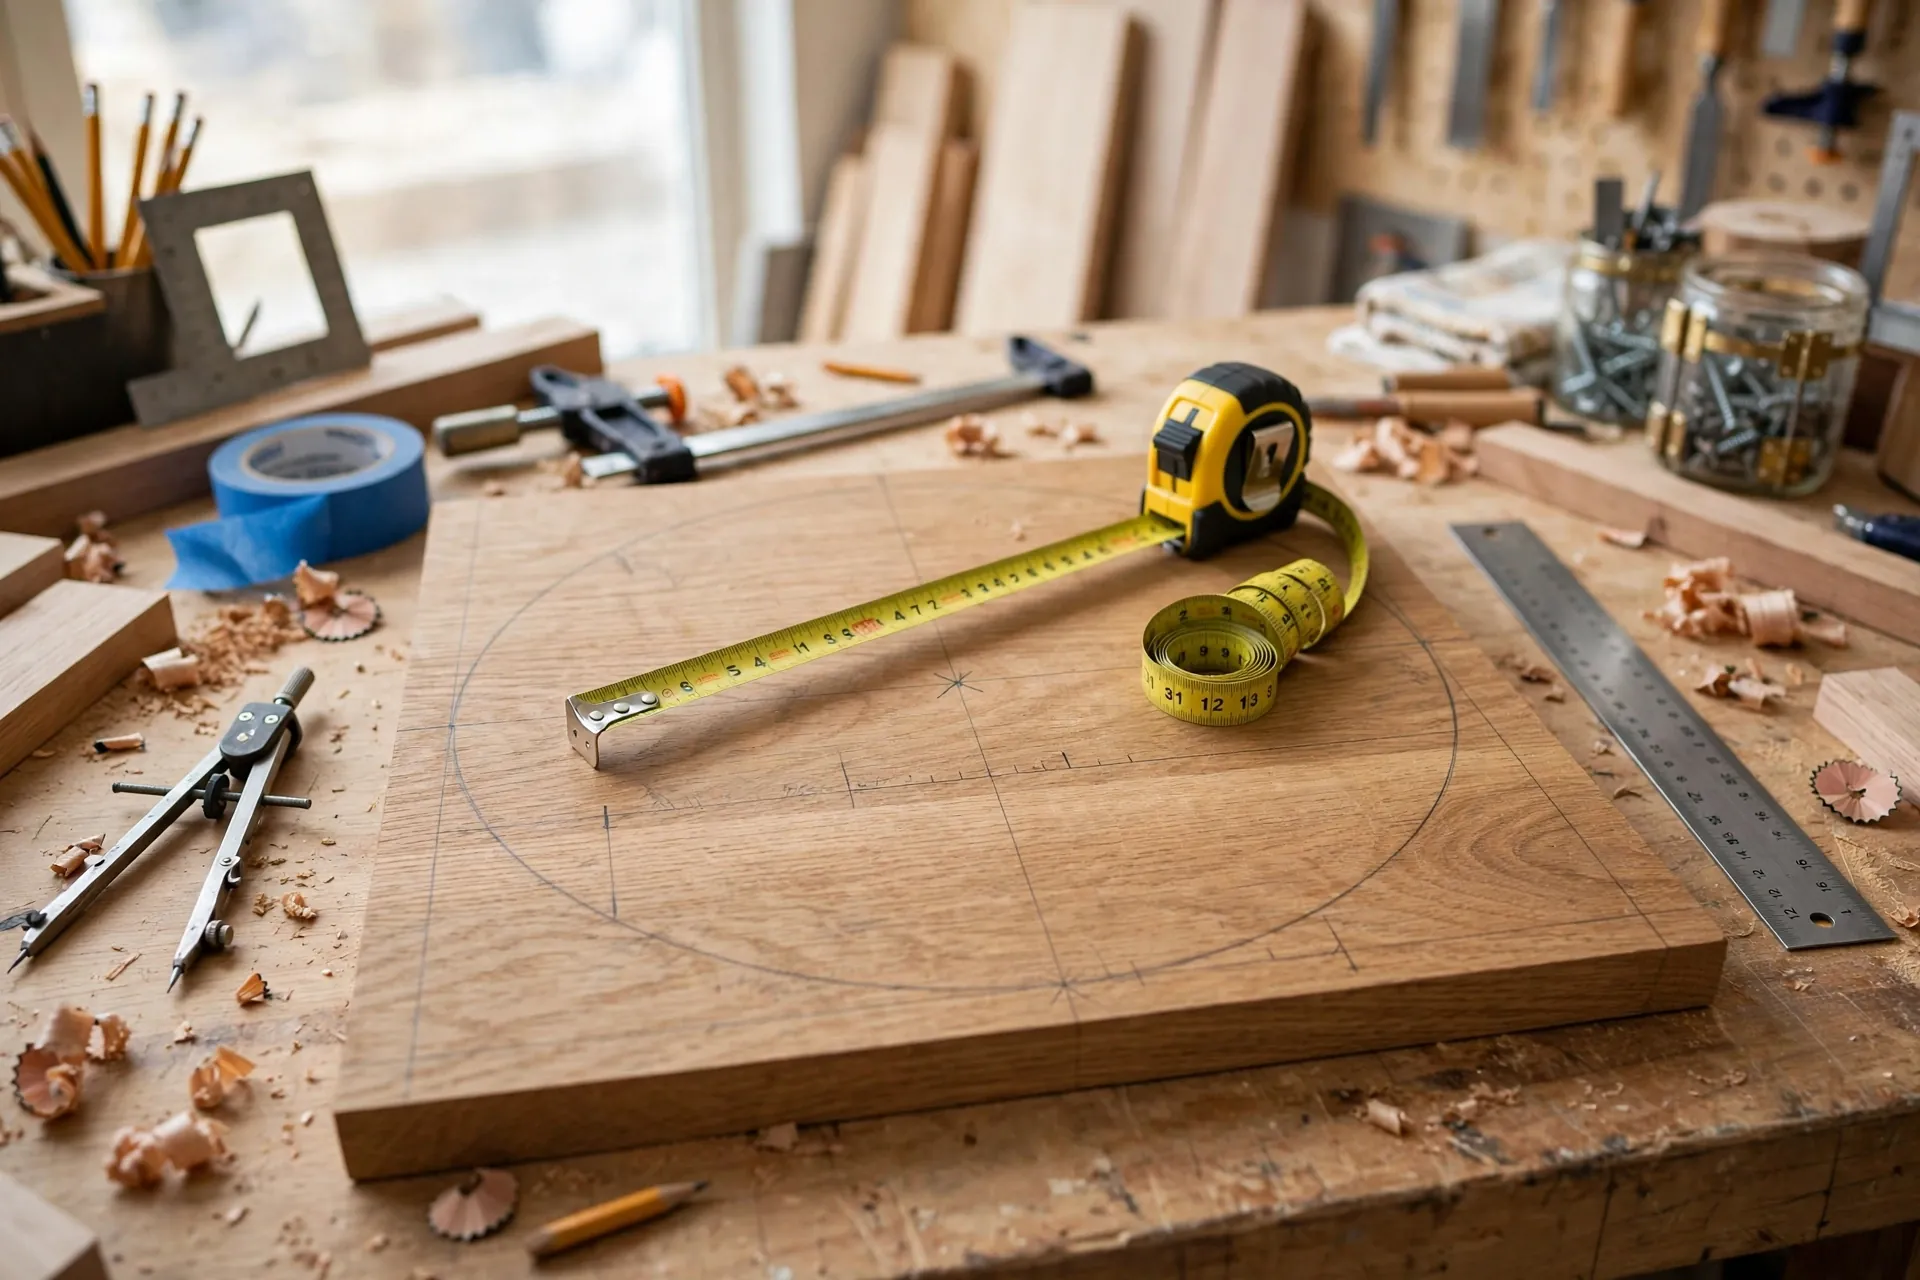
Learning how to make a wooden lazy susan for beginners starts with careful measuring, because a circle has no straight edge to hide a mistake behind. If you glued up a panel from three boards, let the glue cure for at least 24 hours first, then scrape off any dried glue squeeze-out with a chisel or a card scraper — dried glue shows up as a pale blotch under the finish, and it is almost impossible to sand out later. Check the panel is flat by laying a straightedge across it in several directions; if it rocks, sand or plane the high spots before you mark anything.
Find the centre of your panel by drawing light diagonal lines from corner to corner with a straightedge — where the two lines cross is the centre. Mark it with a small pencil cross, then set a compass, a trammel, or a simple shop-made beam compass to a radius of 8 inches (20 cm) for a 16-inch lazy susan. If you do not own a compass, drive a small nail at the centre point, loop a string around it, tie a pencil 8 inches out, and draw the circle by keeping the string taut. Draw the circle slowly in one smooth pass, and then draw it a second time to darken the line. Finally, mark the centre point clearly on the back of the panel too — you will need it again when you centre the bearing.
Step 2: Cut the Circle — Router Jig or Jigsaw
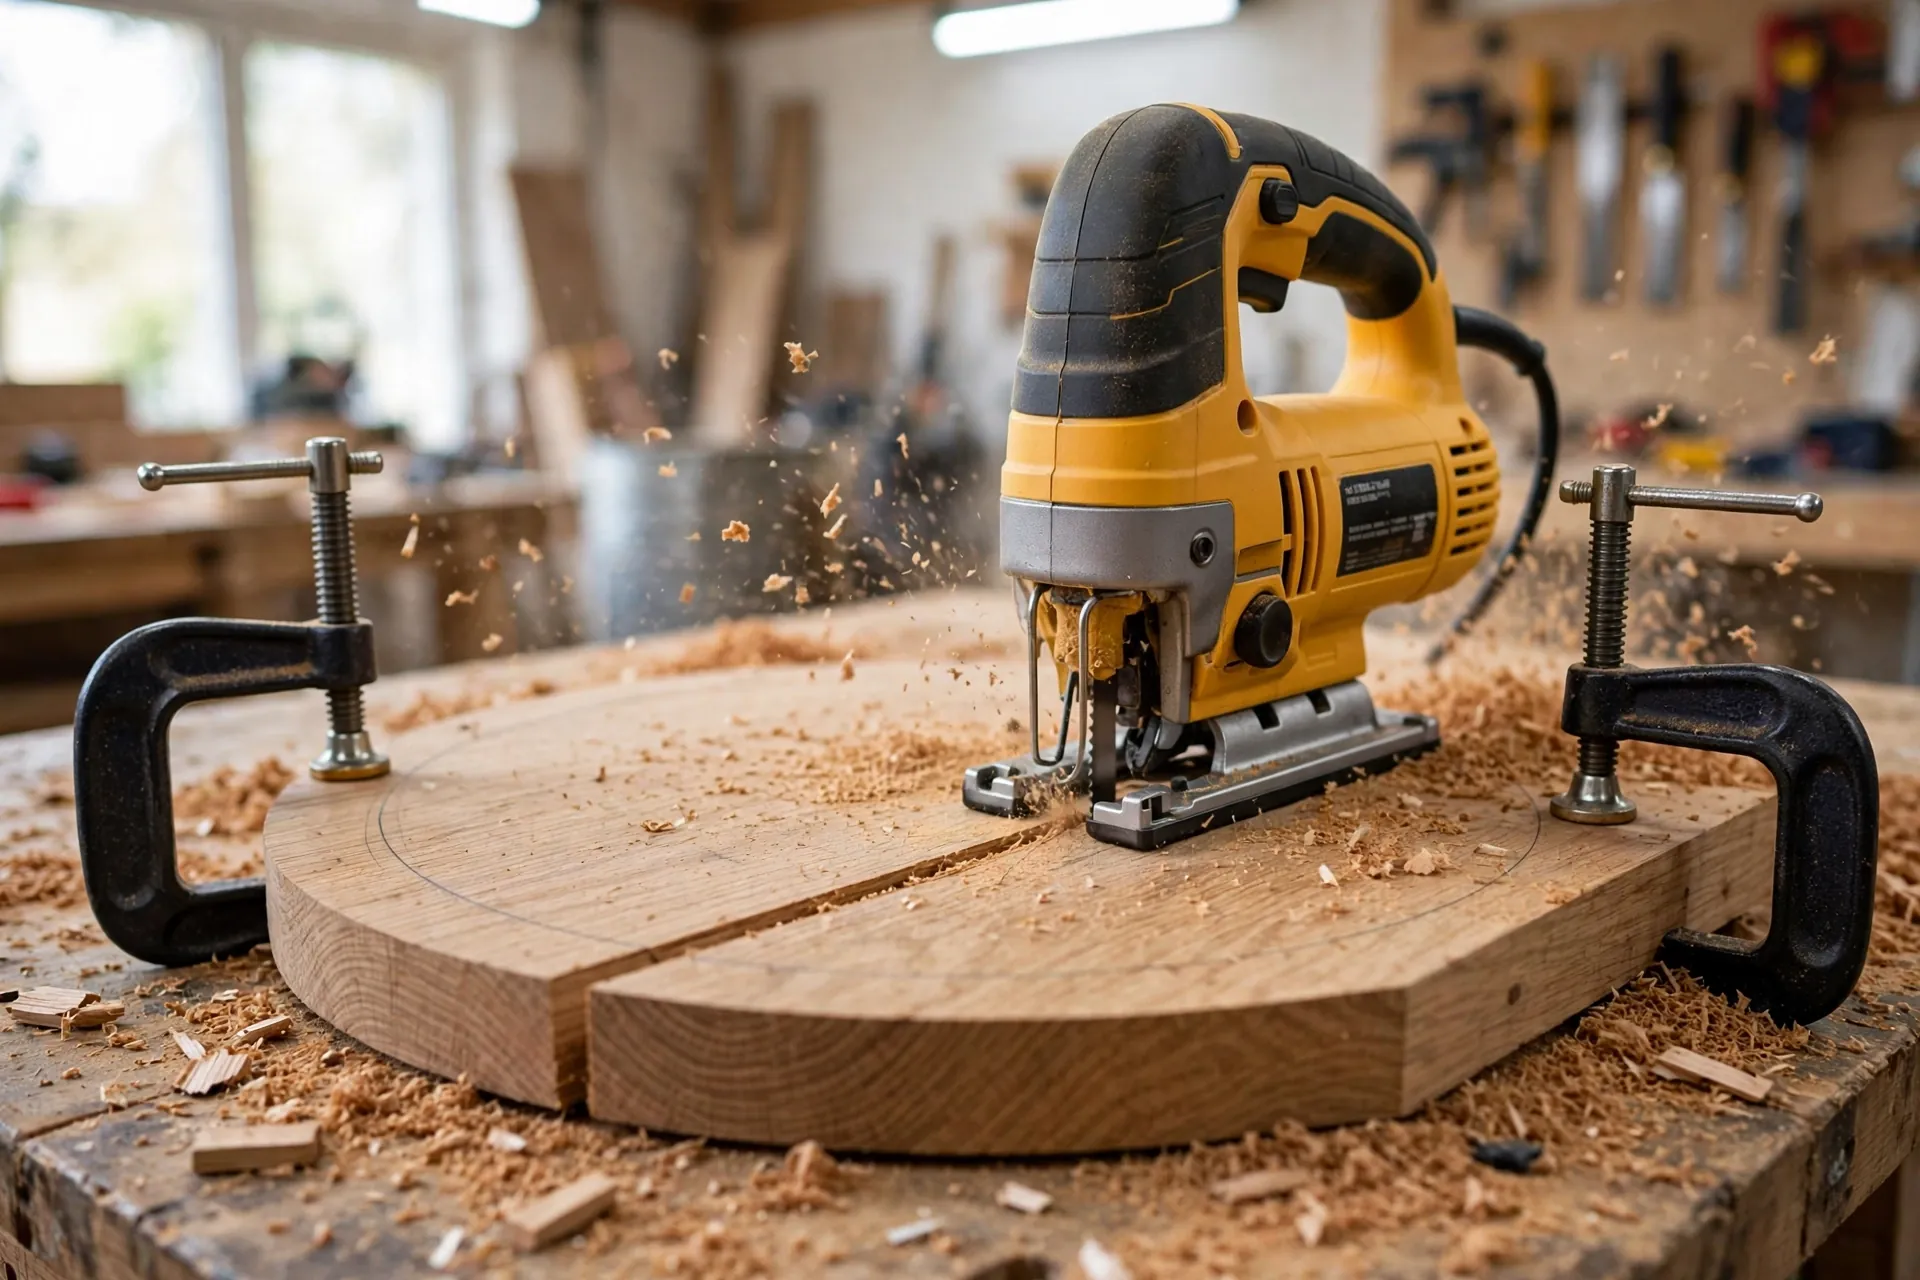
The circle is the signature cut of this project, and there are two good ways to make it. A router with a circle-cutting jig gives the cleanest edge: the jig is simply a straight strip of plywood or hardboard with a hole for the router at one end and a pivot pin at the other, set exactly 8 inches (20 cm) from the centre of the bit. Screw the pivot pin into the centre mark on the back of the panel, set the router depth to cut about ¼ inch (6 mm) per pass, and walk the router slowly around the circle in several passes until it cuts through. The result is a near-perfect circle with a smooth edge that needs almost no sanding. If you do not own a router, this is the one step worth borrowing one for — the difference in edge quality is real.
The jigsaw method is just as valid and needs no special jig. Clamp the panel firmly to your workbench with the marked circle overhanging the edge, and cut slowly just outside the pencil line, about ⅛ inch (3 mm) proud of it, so you can sand to the line afterwards. Keep the saw base flat on the panel, let the blade do the work, and pause to reposition the clamps as you work around the circle — never cut with the panel unsupported, or the offcut will snap off and tear the grain. Use a fine-tooth blade made for clean cuts in hardwood, and cut from the back of the panel if your jigsaw splinters the top face. After cutting, sand the edge to the pencil line with 80-grit paper wrapped around a sanding block, working in long strokes and checking the curve by eye. A slightly uneven circle is invisible once the lazy susan is on the table, but a flat spot will catch the eye, so take your time here.
Whichever method you use, cut the 12-inch base disc the same way, from the offcut or from plywood. Round over the top edge of the main disc slightly with 120-grit sandpaper or a router round-over bit — a soft edge feels better in the hand, looks more professional, and is less likely to chip when a plate is set down hard. Sand the cut edge through 120 and then 220 grit before you move on to assembly.
Step 3: Assemble the Top and Base
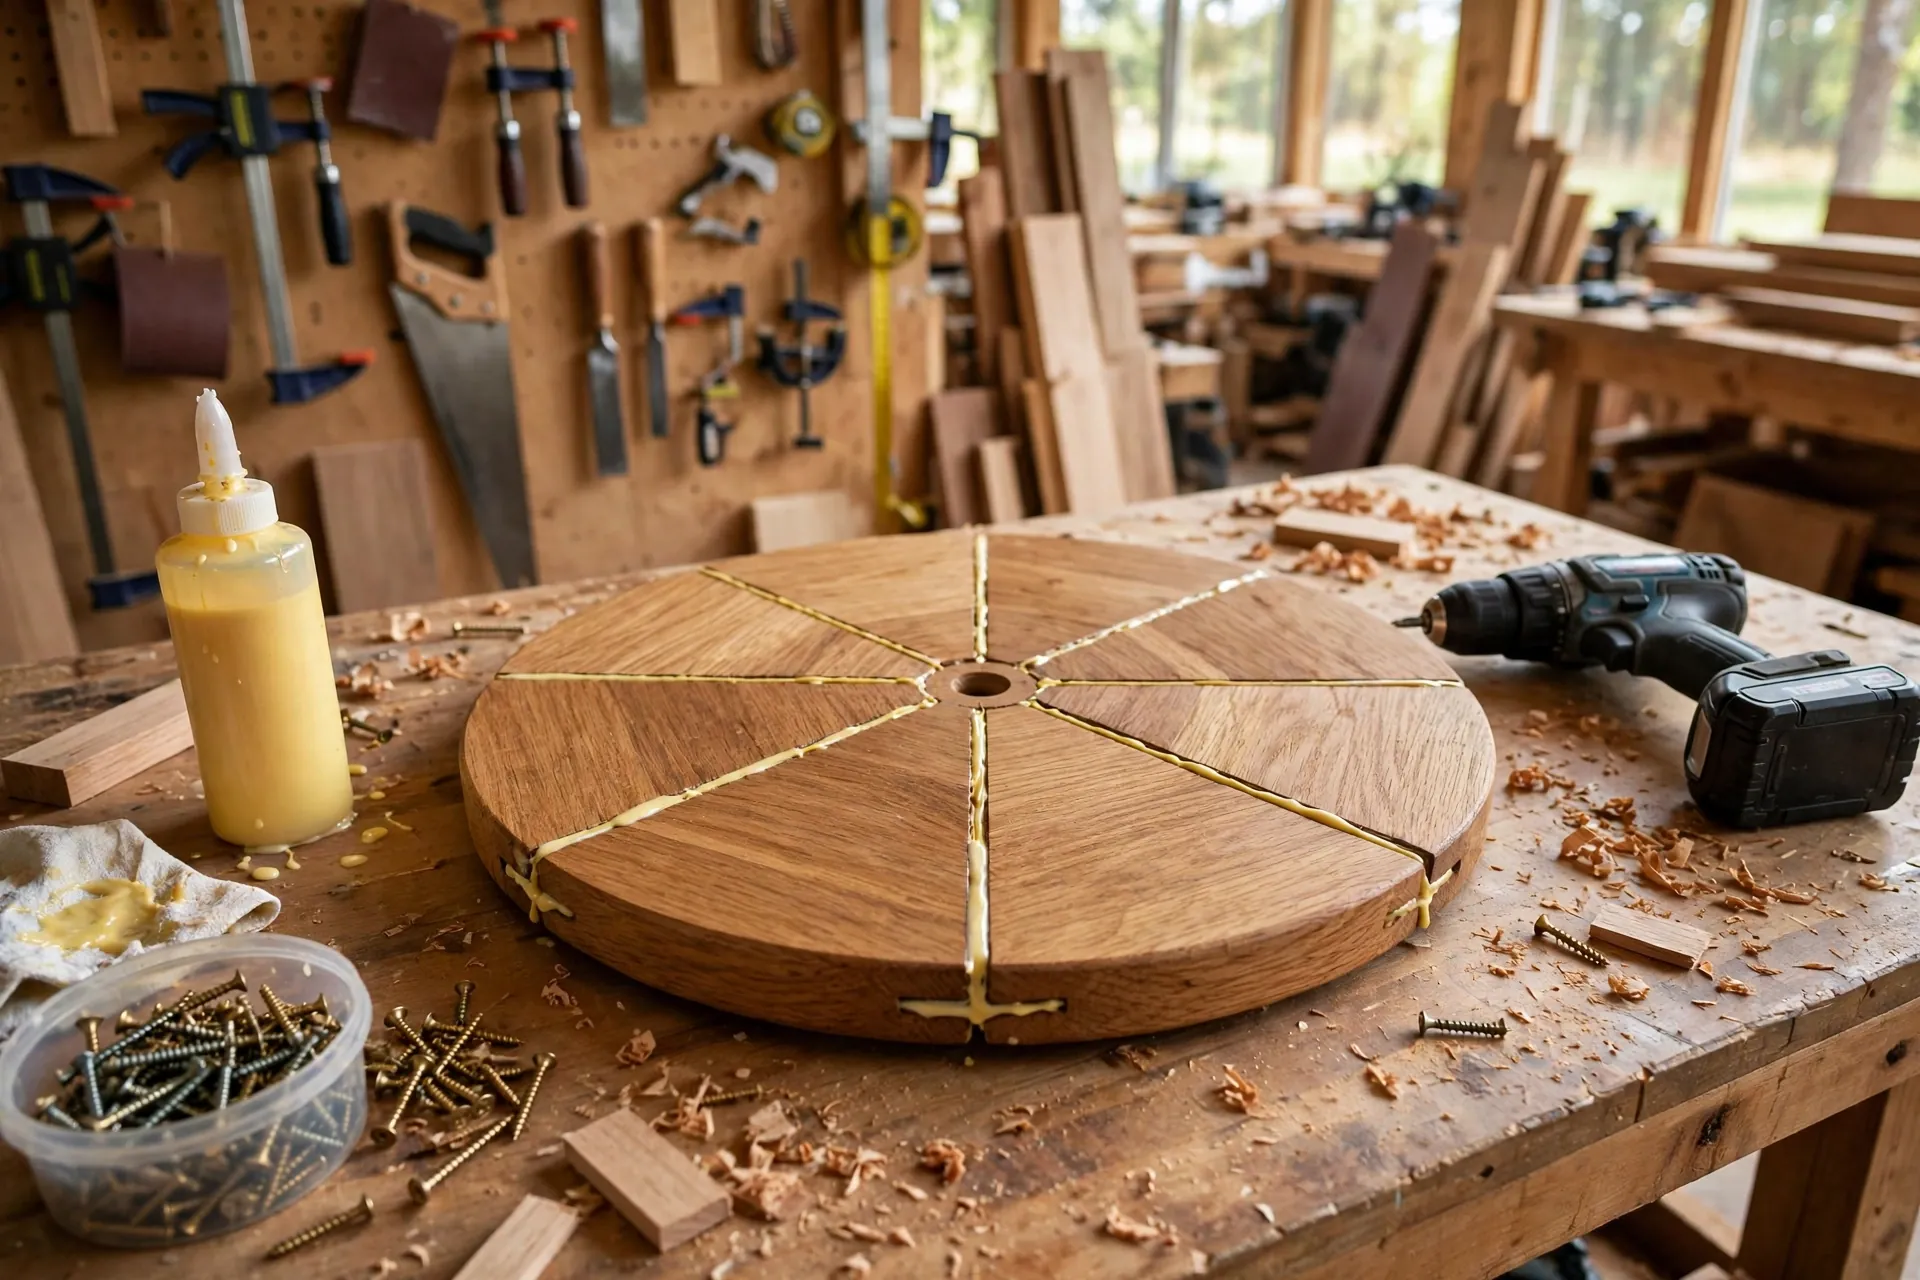
With both circles cut, assembly is quick. If you glued up your top from three boards, that glue-up is already the assembly of the top — check the joints by running a finger across them: they should feel perfectly flush, and any small step can be levelled with 80-grit sandpaper on a flat block. The real assembly job is joining the top disc, the bearing, and the base disc into one spinning unit, and the order matters: the bearing screws to the underside of the top disc first, and then the base disc screws to the other side of the bearing.
Before you drill anything, dry-fit the whole stack on your bench. Place the top disc face-down, centre the bearing on the centre mark you transferred to the back, and check with a ruler that the bearing is the same distance from the edge in all four directions. Then set the base disc on top of the bearing and centre it the same way. Mark the bearing’s screw holes with an awl or a sharp pencil through each hole, and remove the bearing. Pre-drill every hole with a ⅛-inch (3 mm) bit, and be careful about depth: the screws that hold the bearing to the top disc must be short enough that they cannot poke through the top surface. A strip of tape wrapped around the drill bit at the right depth is a simple depth stop that costs nothing and saves your top surface.
Step 4: Install the Bearing
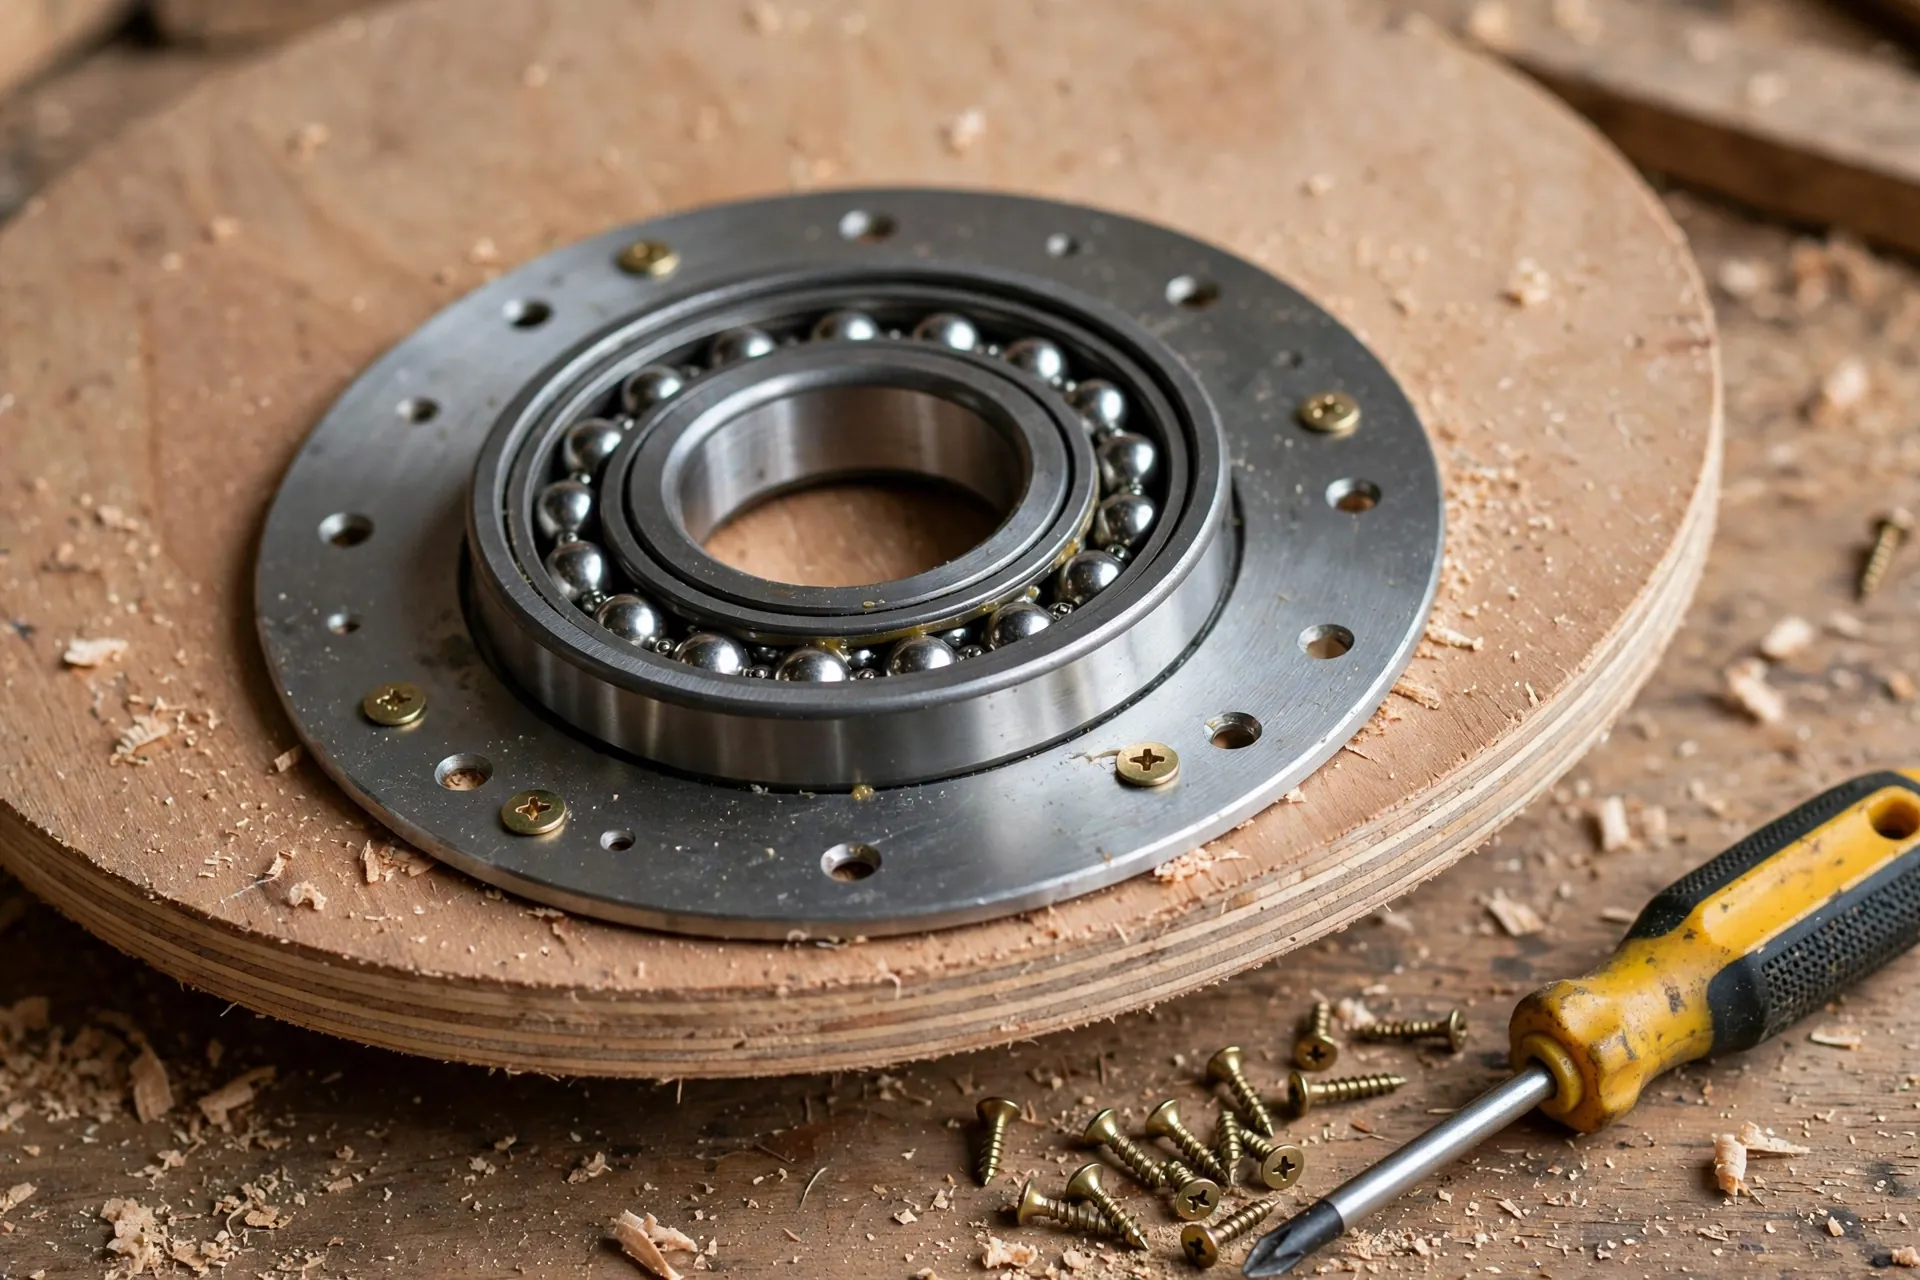
Installing the bearing is the moment your lazy susan comes alive, and it is also the step where a small mistake causes the most frustration — a bearing screwed on crooked will wobble, bind, or spin with a gritty catch. Work on a flat bench and keep the top disc face-down the whole time. Spread a thin smear of wood glue on the bearing’s top plate if you like — it is optional, but it stops the plate from creeping while you drive the screws — then set the bearing on the centre marks and drive the #8 × ¾-inch (19 mm) screws through the plate into the top disc. Drive them in a star pattern, opposite screws first, and tighten them firmly but not so hard that you strip the holes in the wood.
Now flip the assembly over so the bearing faces up, and set the base disc on the bearing’s lower plate, centred the same way. Drive the #8 × 1¼-inch (32 mm) screws through the base disc into the bearing plate — these screws go through the base from above, so check they are short enough not to poke out the bottom of the base disc and scratch your table. Once all the screws are in, flip the lazy susan right-side up and give it a spin. It should rotate smoothly and silently with a light push, and stop gradually rather than abruptly. If it feels gritty, loosen the screws slightly and re-centre the bearing; if it wobbles, check that the base disc sits flat on the bench and that no screw head is proud of the surface. A thin felt pad or a small rubber bumper under the base disc protects your table and stops the lazy susan sliding when it spins.
Step 5: Sand and Apply a Food-Safe Finish
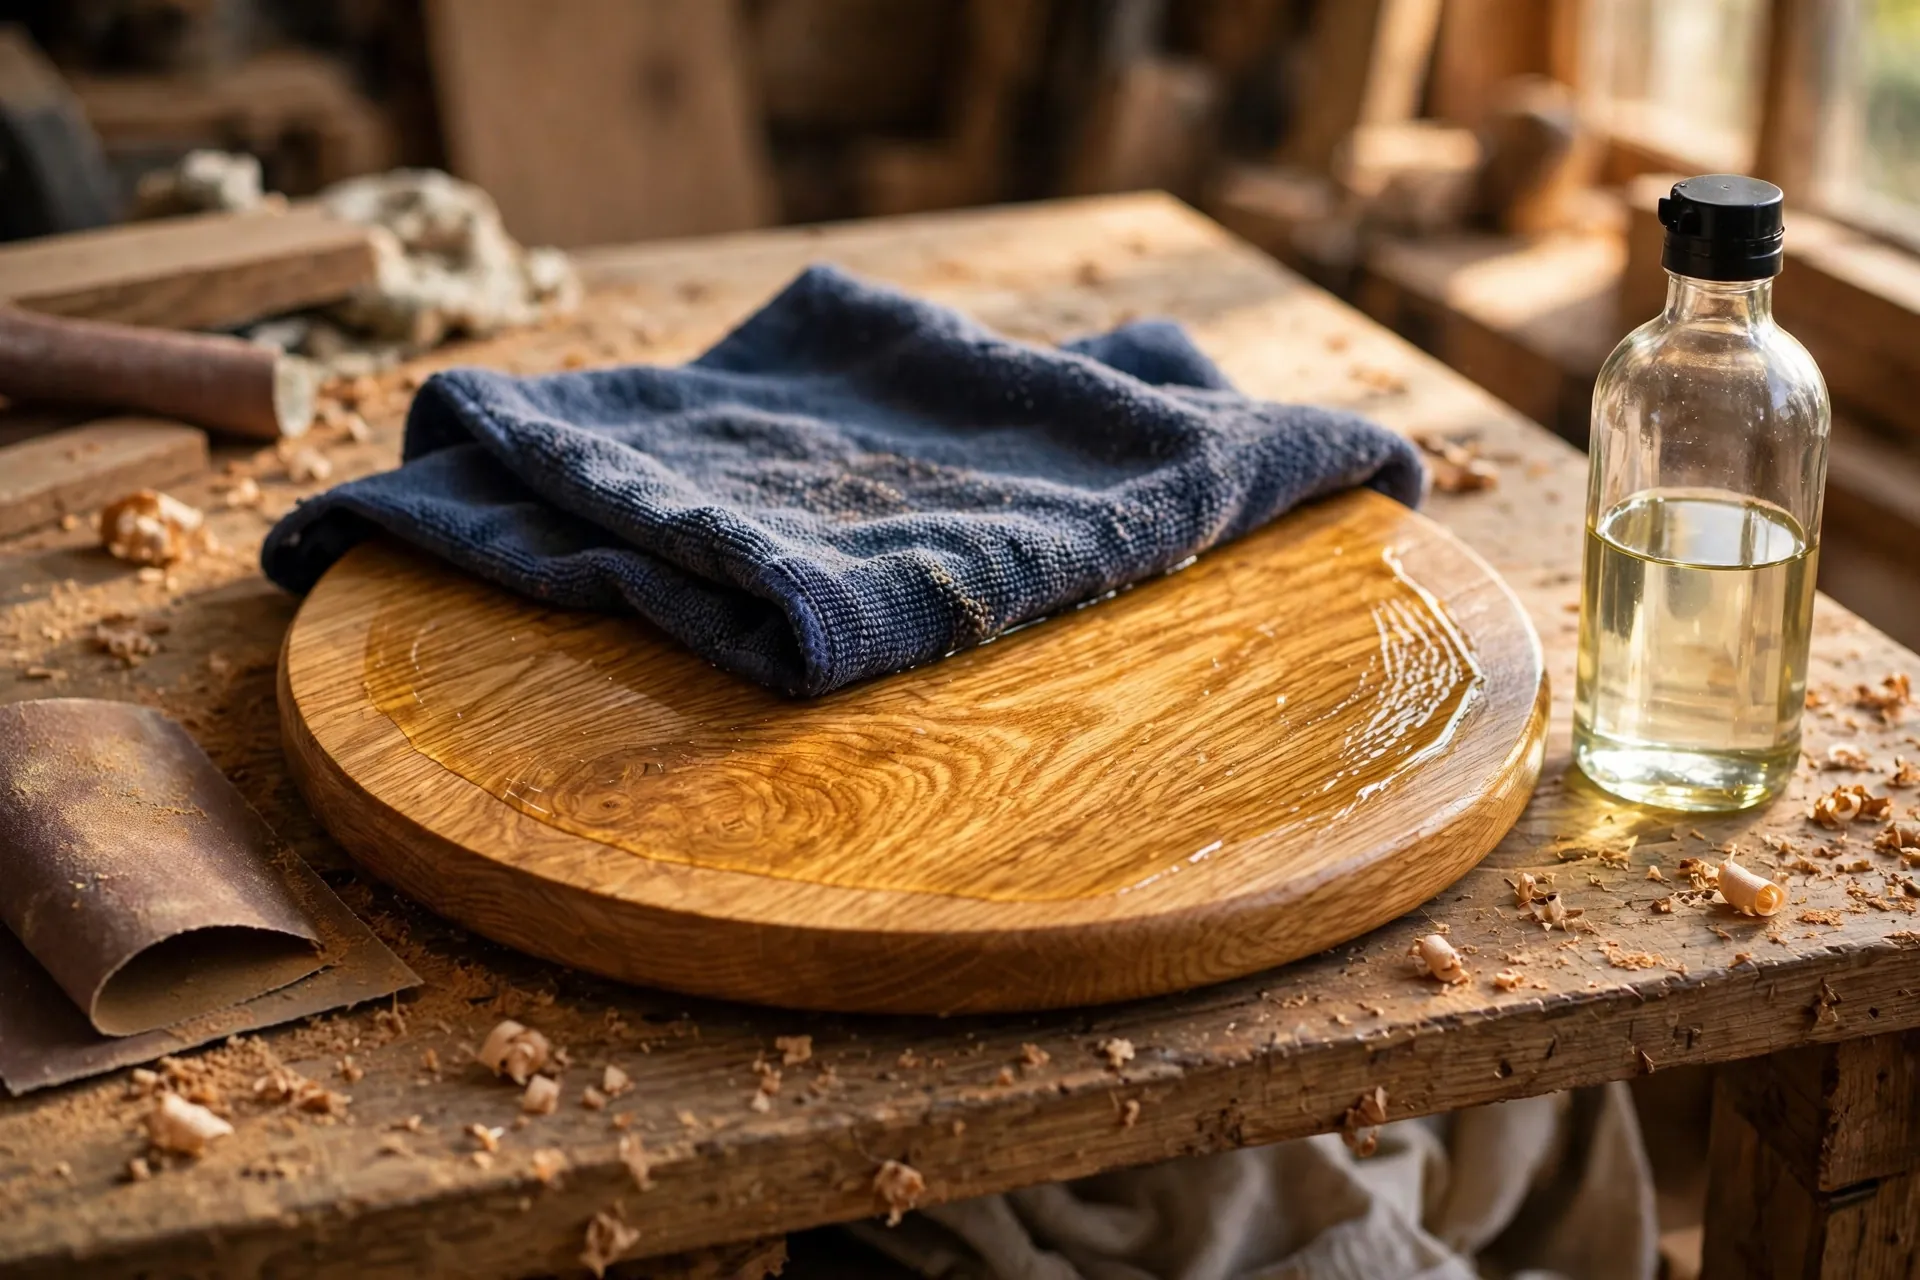
Sanding is where a beginner build starts to look professional, so do not rush it. Sand the top face in three passes: 80 grit to remove saw marks and level the glue joints, 120 grit to smooth the surface, and 220 grit for a silky final finish. Always sand with the grain on the flat faces, and sand the round edge with the direction of the curve, never across it. Vacuum or wipe the dust off with a tack cloth between grits; dust left behind shows up as rough spots under the finish. Pay special attention to the edge — it is the part hands touch most, and a rough edge makes the whole piece feel unfinished. The same patient approach works on every wooden surface in your kitchen; our guide on how to make a wooden cutting board for beginners covers the same food-safe sanding and oiling routine in detail.
For the finish, choose a food-safe option, because this lazy susan will hold food and dishes. Mineral oil is the simplest choice: flood the surface, let it soak for 15 minutes, wipe off the excess, and repeat for two or three coats. It deepens the grain beautifully and is easy to refresh later — just wipe on another coat when the wood starts to look dry. A beeswax and mineral-oil board butter, applied over the oil, adds a soft sheen and a little water resistance. Salad-bowl finish, a thinned varnish made for food-contact surfaces, gives a harder, more durable coat if your lazy susan will see heavy daily use. What you should not use on the top surface is ordinary polyurethane or a film finish meant for furniture: it can chip into food and is hard to repair. If you do want a tough film finish, save it for the underside and the base disc, where food never touches. Our full technique guide, how to apply polyurethane for beginners, explains where polyurethane belongs and how to apply it without brush marks. Let the final coat cure for at least 24 hours before you put the lazy susan on the table.
Using and Caring for Your Finished Lazy Susan

Once the finish has cured, put your lazy susan to work. Load it with the things your family reaches for most — salt and pepper, sauces, a bread basket, or the salad bowl — and spin it with a fingertip to test the balance. Heavy items belong near the centre, light items near the edge; a heavy casserole placed right on the rim makes the turntable tip-prone and hard to spin, while the same dish near the middle spins smoothly. If the lazy susan will live on the table permanently, a thin non-slip mat or a few small felt pads underneath keep it from sliding when someone spins it enthusiastically.
To keep the finish looking new, wipe the top with a damp cloth after meals and dry it straight away — never soak a wooden lazy susan in the sink or put it in the dishwasher, or the wood will swell and the glue joints may open. Re-oil the top every few months, or whenever the wood starts to look pale and dry: a five-minute wipe with mineral oil restores the colour and the water resistance. If the bearing ever feels stiff, a single drop of light machine oil on the ball race, wiped clean afterwards, restores the smooth spin. A lazy susan built this way will last for decades, and because you built it to your exact table, it will fit your next dining table too. If you enjoy making useful pieces for the kitchen, a matching wooden cookbook stand for beginners is a lovely next project — it uses the same hardwood, the same oil finish, and the same afternoon in the workshop.
Common Mistakes to Avoid
Most problems when you learn how to make a wooden lazy susan for beginners come from rushing one of these six steps — slow down here and the rest of the build goes smoothly.
Choosing a bearing that is too small. A 6-inch bearing under a 16-inch top looks fine until a heavy dish goes near the edge, and then the top tips. Size the bearing to about half the diameter of the top, and choose a 200 lb (90 kg) rating or better.
Cutting the circle freehand. A jigsaw without a guide line, or a router without a jig, produces a wobbly oval that no amount of sanding can fix. Mark the circle clearly and cut just outside the line, then sand to it.
Using screws that are too long. A bearing screw that pokes through the top surface ruins the piece and can scratch a plate. Measure your screw length against the thickness of your top disc, and use a tape depth stop on the drill bit.
Skipping the dry fit. Screwing the bearing on without a dry fit hides a crooked bearing until the screws are in. Always centre it with a ruler, mark the holes, and check it twice before drilling.
Using a non-food-safe finish on the top. Ordinary varnish and polyurethane belong on furniture, not on a surface that holds food. Use mineral oil, board butter, or salad-bowl finish on the top, and save film finishes for the underside.
Rushing the glue-up. Moving a glued-up panel before the glue has cured opens the joints and leaves a panel that is never quite flat. Leave it clamped for at least an hour and untouched for 24 hours.
How Much Does It Cost and How Long Does It Take?
For a 16-inch maple lazy susan, expect $45 to $90 in materials if you already own the tools — the bearing is the biggest single cost after the lumber, and a hardwood panel blank costs more than edge-glued pine but lasts far longer. A 12-inch version in pine or poplar drops the cost to about $25 to $40, and a 20-inch walnut version can reach $100 to $140 in lumber alone. A shop-bought wooden lazy susan of similar size and quality typically sells for $40 to $120, so a first build roughly breaks even on cost — but yours is sized exactly to your table, made from wood you chose, and finished to be food-safe. Time-wise, plan for 3 to 5 hours of hands-on work spread over a weekend: an hour to glue up the panel and mark the circle, an hour to cut and sand the circles, an hour to install the bearing, and an hour to sand and finish, plus overnight drying between the glue-up and the finish coats. If you enjoy the process, the same skills — circle cutting, bearing installation, food-safe finishing — transfer directly to your next dining-room project.
Frequently Asked Questions
What size lazy susan bearing do I need for a 16-inch wooden lazy susan?
Use a 9-inch or 12-inch ball-bearing lazy susan bearing for a 16-inch top. The bearing should be about half the diameter of the turntable and rated for at least 200 lb (90 kg), so the top stays stable when a heavy dish sits near the edge.
Can I make a wooden lazy susan without a router?
Yes. A jigsaw cuts the circle just as well — cut slowly just outside the pencil line with a fine-tooth blade, then sand to the line with 80-grit paper on a sanding block. A router with a circle-cutting jig gives a cleaner edge, but it is not required for a good result.
What is the best wood for a wooden lazy susan?
Hard maple is the best choice: it is dense, food-safe, resists dents, and is the same wood used for butcher blocks. Oak is a good second choice, and walnut is beautiful but expensive. Avoid soft pine for a daily-use dining turntable, because plates and dishes will dent it.
What finish is food-safe for a wooden lazy susan?
Mineral oil, beeswax board butter, and salad-bowl finish are all food-safe once cured. Apply two or three coats of mineral oil, wipe off the excess, and re-oil every few months. Do not use ordinary polyurethane or furniture varnish on the top surface, where food and dishes sit.
How do I stop my lazy susan from wobbling?
Use a bearing about half the diameter of the top, centre it exactly with a ruler before drilling, and check that the base disc sits flat on the bench. Most wobble comes from a bearing that is too small, screwed on off-centre, or a warped panel — check all three before you blame the bearing itself.
How much does it cost to build a wooden lazy susan?
A 16-inch maple lazy susan costs about $45 to $90 in materials if you already own the tools, including the bearing, screws, glue, and food-safe finish. A smaller 12-inch version in pine or poplar costs roughly $25 to $40, while a large walnut version can reach $100 to $140.
Recommended Products for This Project
As an Amazon Associate, I earn from qualifying purchases.

DEWALT 20V MAX Drill/Driver Kit DCD771C2
Pre-drills the bearing holes and drives every screw in this lazy susan build without splitting the hardwood.

Titebond III Ultimate Wood Glue 1413 (8 oz)
Bonds the three top-panel boards into one flat, strong blank before you cut the 16-inch circle.

Bosch 1617EVSPK 2.25 HP Variable-Speed Router Combo Kit
With a simple circle-cutting jig, it routs a near-perfect 16-inch circle with a smooth, sand-ready edge.

Bosch Top-Handle Jigsaw JS470E, 7.0 Amp
Cuts the round top and base discs cleanly if you do not own a router, with a fine-tooth blade for hardwood.

3M Aluminum Oxide Sandpaper, Assorted Grits, 9-in x 11-in Sheets (9005NA)
Covers the 80, 120, and 220 grit sanding passes that give the lazy susan top its silky, food-safe finish.


