
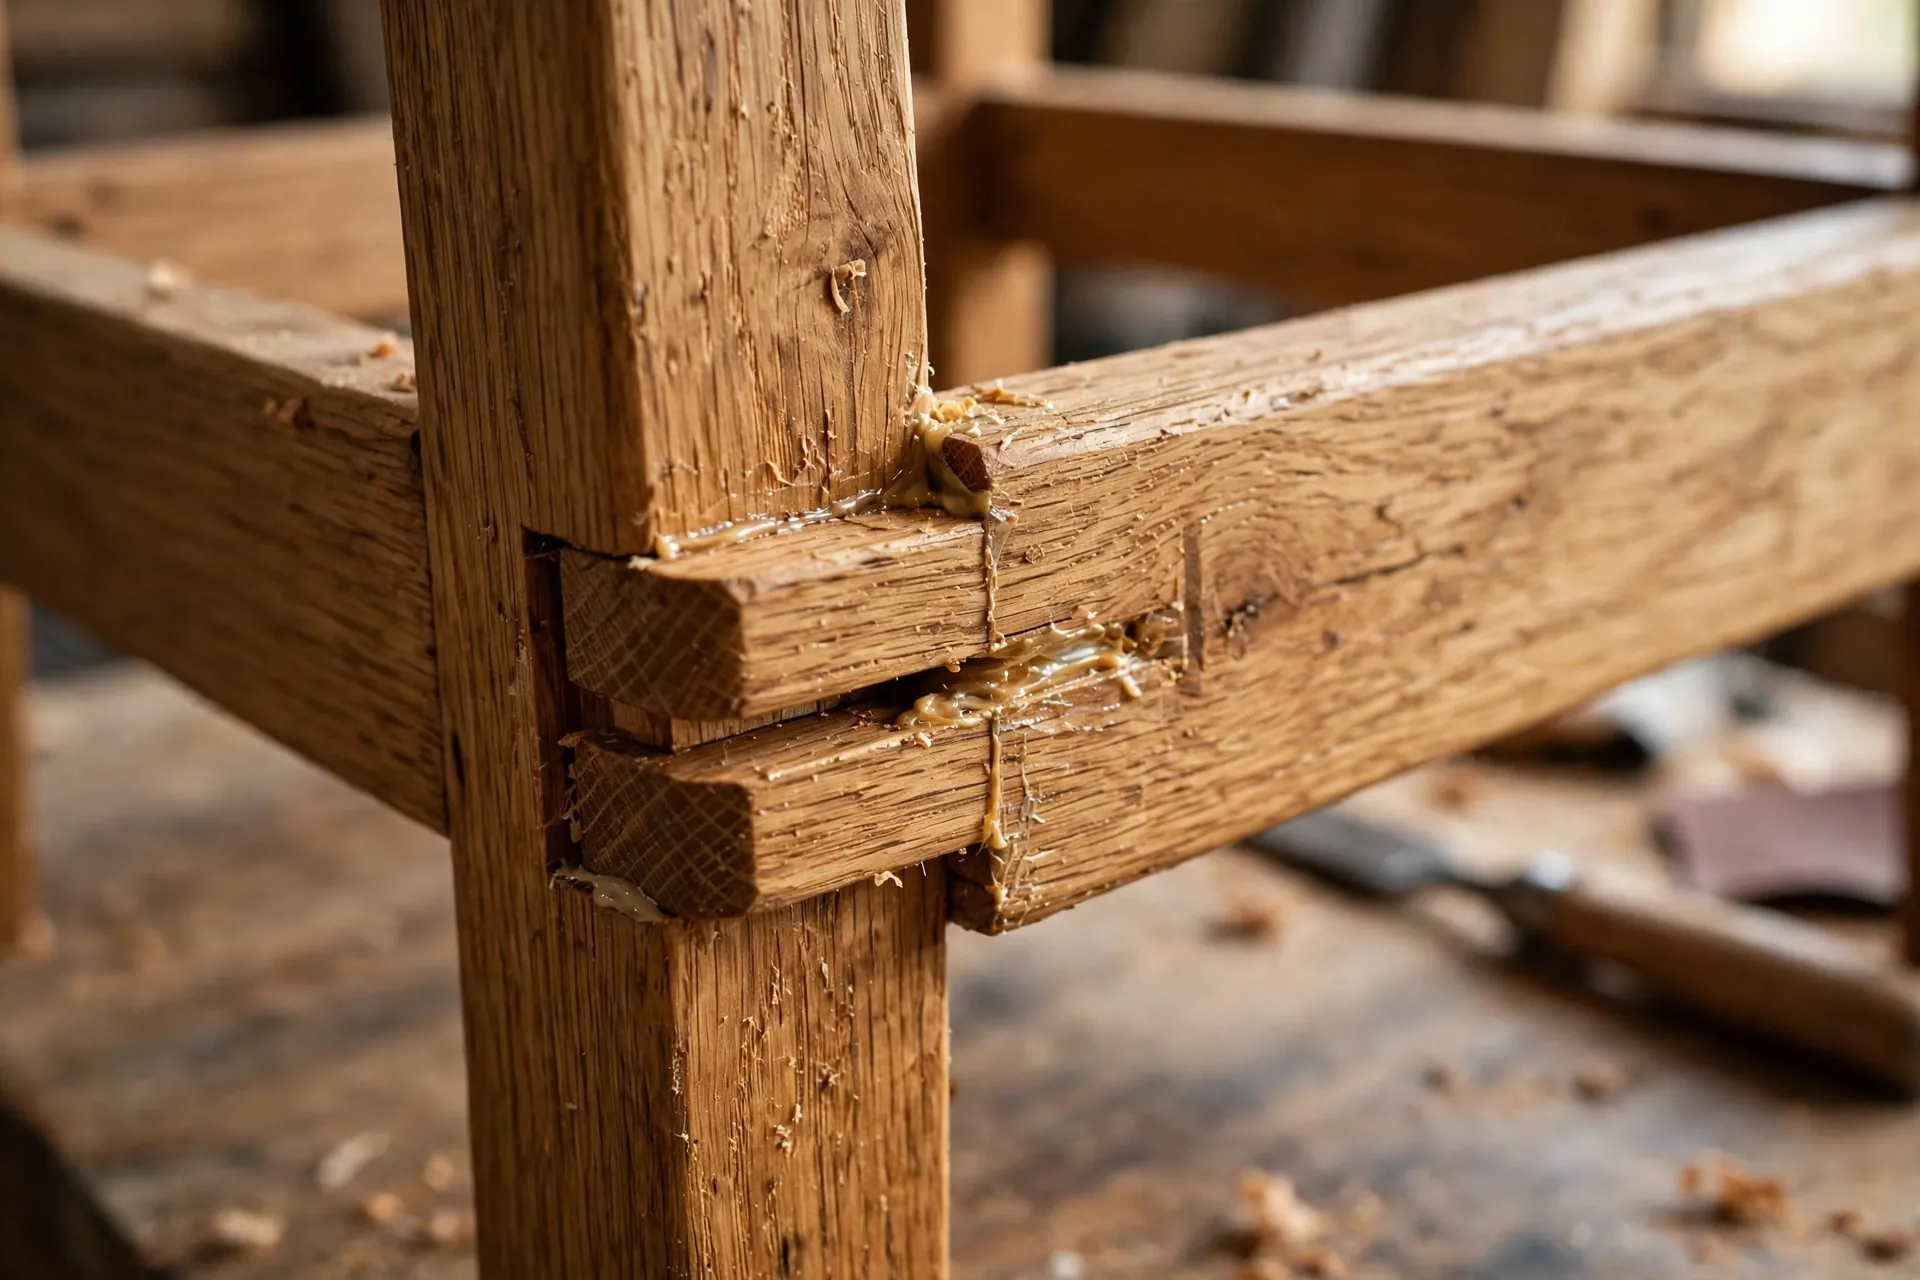
A set of four solid wooden dining chairs can easily cost $400 to $1,200 in a furniture shop, and the cheaper ones are often held together with staples and hope. Learning how to build a wooden dining chair for beginners is the most ambitious project in our beginner series — and the most satisfying. A chair you build yourself, one that does not wobble after a year of daily dinners, is proof that you have moved from making boxes to making real furniture. In this guide, you will learn how to size a chair so it is comfortable at a standard dining table, choose a joinery method you can actually pull off, cut and assemble a straight-back chair with a drop-in seat, and finish it so it survives years of family meals.
Let us be honest first: chairs are the hardest beginner build in this cluster. A chair carries a moving, shifting load, it gets dragged across the floor, leaned back on, and sat on by people of every size. Unlike a headboard or a shelf, a chair has to be strong in every direction at once. That is why this guide uses three simplifications that make the build doable for a first-timer: a straight-back design with no bent laminations, a drop-in seat instead of a woven or upholstered one, and pocket-hole joinery reinforced with glue as the default method, with dowels and mortise and tenon explained as upgrades. Follow the steps in order and you can finish one chair in a weekend — about 6 to 8 hours of hands-on work plus drying time — for roughly $60 to $90 in materials. If you are new to the craft, start here with the wider collection of easy woodworking projects for beginners that sell to warm up, and if you want an easier outdoor chair first, our guide on how to build a wooden Adirondack chair for beginners is a gentler introduction to chair building.
Why Dining Chairs Are the Hardest Beginner Build
Most beginner woodworking projects are forgiving. A bookshelf that is a fraction out of square still holds books. A box with a slightly gappy joint still holds things. A dining chair is different, because every weakness shows up the first time someone sits on it and shifts their weight. The four legs have to be exactly the same length, or the chair rocks. The joints have to resist racking — the sideways twisting force that appears when someone leans back or drags the chair across the floor. And unlike a table, a chair has no large flat top to hide a wobbly frame; every joint is visible and every joint is loaded.
The good news is that chair builders have solved these problems with simple, repeatable techniques, and this guide uses all of them. First, the seat aprons — the horizontal rails under the seat — act as stretchers that tie all four legs together into a rigid box, which is the single most important defence against racking. Second, every joint gets both glue and a mechanical fastener, so no single point of failure can loosen the chair. Third, the back posts extend all the way from the floor to the top of the backrest, so the backrest is part of the chair’s structure rather than something screwed on as an afterthought. Fourth, the drop-in seat sits inside a rabbet cut into the aprons, which means the seat itself braces the frame from the inside. None of these ideas is complicated on its own, but together they turn a wobbly first attempt into a chair you can trust.
There is one more honest point to make before you start. Your first chair will probably not be perfect. The seat might sit a millimetre high on one side, or a joint might show a hairline gap. That is normal, and it is also why this guide recommends building one chair first, testing it hard for a week, and only then cutting parts for the remaining three. Chairs are built in sets, and the second chair is always faster and cleaner than the first, because you have already made every mistake once. Build one, learn from it, then batch the rest.
Dining Chair Dimensions That Matter Most
A dining chair has to fit two things at once: the person sitting in it and the table it slides under. Get the seat height wrong and the chair is uncomfortable at any table; get the backrest angle wrong and nobody wants to lean back. The good news is that chair dimensions are well standardised, so you do not need to guess. The table below gives the measurements that matter, and every number in the cut list later in this guide follows from them.
| Measurement | Standard size | Why it matters |
|---|---|---|
| Seat height | 17–19 in (43–48 cm) from floor | 18 in (46 cm) suits most adults at a 30 in (76 cm) table |
| Seat width | 17–18 in (43–46 cm) | Wide enough for comfort, narrow enough to fit four chairs around a table |
| Seat depth | 16–17 in (41–43 cm) | Supports the thighs without pressing behind the knees |
| Overall chair height | 36–38 in (91–97 cm) | Backrest rises 18–20 in (46–51 cm) above the seat |
| Backrest angle (recline) | 5–8 degrees from vertical | Slight lean-back feels relaxed; more than 10 degrees slides you forward |
| Backrest slat spacing | 2–3 in (5–8 cm) gap | Supports the lower back without trapping fingers |
| Leg splay (optional) | 0–3 degrees outward | A slight splay adds stability; keep it at zero for your first chair |
The most important number is the seat height, and the best way to choose it is to measure your own table. Sit on a chair you already own at your dining table and notice where your elbows fall: your forearms should rest comfortably on the tabletop with your shoulders relaxed. The gap between the seat and the underside of the table should be about 10 to 12 inches (25 to 30 cm). Standard dining tables are 29 to 30 inches (74 to 76 cm) high, which is why an 18-inch (46 cm) seat height is the default in this guide. If your table is taller — a counter-height table at 36 inches (91 cm), for example — this design will not work as written, and you need a counter stool instead. Also check the width: four of these chairs need about 68 inches (173 cm) of table length to sit side by side without elbowing each other, so measure your table before you commit to building a set of four.
The backrest angle deserves a special note, because it is the detail most beginners get wrong. A perfectly vertical backrest feels stiff and formal; a backrest raked back at 5 to 8 degrees feels relaxed and lets you sit through a long dinner comfortably. In this design, the angle comes from the back posts themselves: the rear legs continue upward and lean back slightly, so the backrest angle is built into the legs rather than added as a separate piece. When you cut the back posts, you will cut a gentle angle on the top portion. Do not overdo it — 5 degrees is barely visible but very noticeable when you sit down, and 10 degrees or more turns the chair into a lounge chair that pushes you forward off the seat.
Choosing the Best Wood for Your Dining Chair
When you are learning how to build a wooden dining chair for beginners, the wood you choose matters more than it does for a shelf or a box, because a chair is a structural piece. The wood has to be strong enough to carry a person, hard enough to resist dents from daily use, and stable enough not to warp after a year in a heated dining room. Pine is cheap and easy to work with, and it is a fine choice for a first practice chair, but it dents easily and its joints can loosen over time because softwood crushes under the pressure of screws and dowels. For a chair you plan to use every day, a hardwood is worth the extra cost.
White oak is the classic dining chair wood: it is very strong, it resists moisture and spills, and its open grain looks beautiful under oil or a clear finish. Red oak is cheaper and nearly as strong, but it absorbs moisture more readily, so seal it well. Hard maple is the hardest of the common choices and takes a beautifully smooth finish, though it is heavier and harder to cut by hand. Walnut is stunning and strong, but it costs two to three times as much as oak, so save it for a chair you build after you have the process down. Poplar sits in the middle — harder than pine, cheaper than oak, and excellent if you plan to paint the chair. For a deeper comparison of species, strength, and cost, read our guide to the best wood for beginner woodworking projects.
Buy your lumber as 4/4 stock (about ¾ inch, or 19 mm, thick after surfacing) for the seat, aprons, and back slats, and 8/4 stock (about 1½ inches, or 38 mm, thick) for the legs, or laminate two 4/4 boards together for the legs if 8/4 stock is hard to find. Whichever you choose, pick boards with straight grain and no knots in the leg sections — a knot in a chair leg is a weak point that can snap under load. Sight down each board before you buy it and reject anything with a twist or a bow you can see with your eye. Chair parts are small, so you can often buy shorter offcuts at a discount; ask the lumber yard about their short-length bin before you pay full price for 8-foot boards.
Joinery Compared: Pocket Holes vs Dowels vs Mortise and Tenon
Joinery is the heart of chair building, because the joints are what keep the chair from racking apart. There are three methods a beginner can realistically use, and they are not equal: each one trades strength for ease, and the right choice depends on your tools and your patience. The table below compares them honestly, and the build steps later in this guide use pocket holes as the default, with notes on where to upgrade.
| Joinery method | Strength | Tools needed | Difficulty | Best for |
|---|---|---|---|---|
| Pocket holes + glue | Good | Pocket-hole jig, drill | Easy | First chair; fastest build |
| Dowels + glue | Very good | Drill, dowel jig, dowels | Medium | Cleaner look, no visible screws |
| Mortise and tenon + glue | Excellent | Chisel, drill or router, saw | Hard | Heirloom chair; maximum strength |
Pocket holes are the fastest route to a solid chair. A pocket-hole jig drills angled holes in the aprons, and screws pull the apron tight against the leg while the glue sets. The screws stay hidden on the underside of the seat aprons, so nobody sees them. The weakness is that screws can work loose over years of racking, which is why glue is not optional here — the glue does the long-term holding, and the screws act as clamps while it dries. If you build with pocket holes, use coarse-thread screws made for hardwood, and add a corner brace or a small glue block inside each apron-to-leg joint for extra insurance.
Dowels give you a cleaner look with no visible fasteners and noticeably more strength than pocket holes, because a dowel joint has more glued surface area and the dowel itself resists shear. The challenge is alignment: the holes in the leg and the apron have to line up exactly, or the joint will not close. A self-centring dowel jig solves this — it is a modest purchase that pays for itself the first time you build a chair. Use two dowels per joint, spaced at least an inch apart, and dry-fit everything before you reach for the glue.
Mortise and tenon is the traditional chair joint and the strongest of the three by a clear margin. A tenon cut on the end of the apron fits into a mortise chopped into the leg, and the large glued surface area makes a joint that can last a century. It is also the slowest method and the hardest to get right: a tenon that is too loose makes a wobbly chair, and one that is too tight splits the leg. If you want to learn it, our full guide to woodworking joinery types for beginners walks through the technique step by step. For your first chair, build it with pocket holes, and rebuild the second one with dowels or mortise and tenon once you have seen how the parts fit together.
Tools and Materials You Will Need
Learning how to build a wooden dining chair for beginners does not require a workshop full of machines. The essential tools are a saw, a drill, a sander, and clamps — and the one tool worth buying for this project is a pocket-hole jig, because it turns the hardest part of the build into a repeatable, five-minute job. Everything else on the list is a general woodworking staple you will use on every project after this one.
| Item | Details | Typical cost |
|---|---|---|
| Hardwood lumber (oak or maple) | About 10 board feet, 4/4 and 8/4 stock | $40–$65 |
| Pocket-hole jig + screws | Jig kit plus 1¼ in (32 mm) coarse screws | $25–$40 if buying new |
| Wood glue | One 8 oz (237 ml) bottle, Titebond III | $5–$7 |
| Dowels (optional upgrade) | ⅜ in (10 mm) hardwood dowels, 12 pieces | $4–$6 |
| Sandpaper | 80, 120, 180, and 220 grit sheets | $6–$9 |
| Finish | Danish oil or wipe-on polyurethane, 1 quart (0.95 L) | $12–$18 |
| Seat foam + fabric (optional) | Only if you want a cushioned drop-in seat | $10–$20 |
| Tools | Circular or table saw, drill, sander, tape measure, square, clamps | $0 if owned |
| Total (one chair, oak) | Lumber, glue, screws, sandpaper, finish | $60–$90 |
Safety gear is not optional on this build: safety glasses, hearing protection, and a dust mask. Hardwood dust is finer and more irritating than pine dust, and you will be sanding a lot of small parts. You will also want at least four clamps — two long bar clamps for the frame and two smaller ones for the seat — because a chair has to be clamped square while the glue dries, and you cannot hold four legs, four aprons, and a square with two hands. If you only own two clamps, glue up the front and back frames separately, let them dry, and then join the two frames with the side aprons the next day.
Cut List for a Straight-Back Wooden Dining Chair
The cut list below is for one straight-back chair with an 18-inch (46 cm) seat height, a 17½-inch (44 cm) square seat, and a 37-inch (94 cm) overall height, built from hardwood. Cut the legs first, because they are the longest parts and the easiest to get wrong, then the aprons, then the back slats and the seat. Label every piece with a pencil as you cut it — front left leg, back right leg, front apron, side apron — because the parts look very similar once they are off the saw, and the back legs are longer than the front legs.
| Part | Material | Size | Quantity |
|---|---|---|---|
| Front legs | 1½ × 1½ in (38 × 38 mm) hardwood | 18 in (46 cm) long | 2 |
| Back legs / back posts | 1½ × 1½ in (38 × 38 mm) hardwood | 37 in (94 cm) long | 2 |
| Front apron | ¾ × 3½ in (19 × 89 mm) hardwood | 14½ in (37 cm) long | 1 |
| Side aprons | ¾ × 3½ in (19 × 89 mm) hardwood | 14 in (36 cm) long | 2 |
| Back apron | ¾ × 3½ in (19 × 89 mm) hardwood | 14½ in (37 cm) long | 1 |
| Backrest top rail | ¾ × 3 in (19 × 76 mm) hardwood | 15 in (38 cm) long | 1 |
| Backrest slats | ¾ × 2½ in (19 × 64 mm) hardwood | 13 in (33 cm) long | 2 |
| Seat (drop-in) | ¾ in (19 mm) hardwood panel | 16½ × 16 in (42 × 41 cm) | 1 |
| Corner braces | ¾ in (19 mm) hardwood, cut at 45° | 4 in (10 cm) long | 4 |
A note on the back posts: the top 19 inches (48 cm) of each back leg lean back at 5 degrees to form the backrest. Mark the bend point — 18 inches (46 cm) up from the floor, which is exactly the seat height — and cut the slight angle above that point only. The lower part of the back leg stays vertical, so the chair still sits flat on the floor and the seat aprons meet the legs squarely. If cutting an angled back post feels too advanced, you can keep the back posts perfectly vertical for your first chair and add a separate angled backrest panel instead; the chair will be a little more upright, but it will still be comfortable and far easier to build.
Step 1: Measure and Mark Your Chair Parts
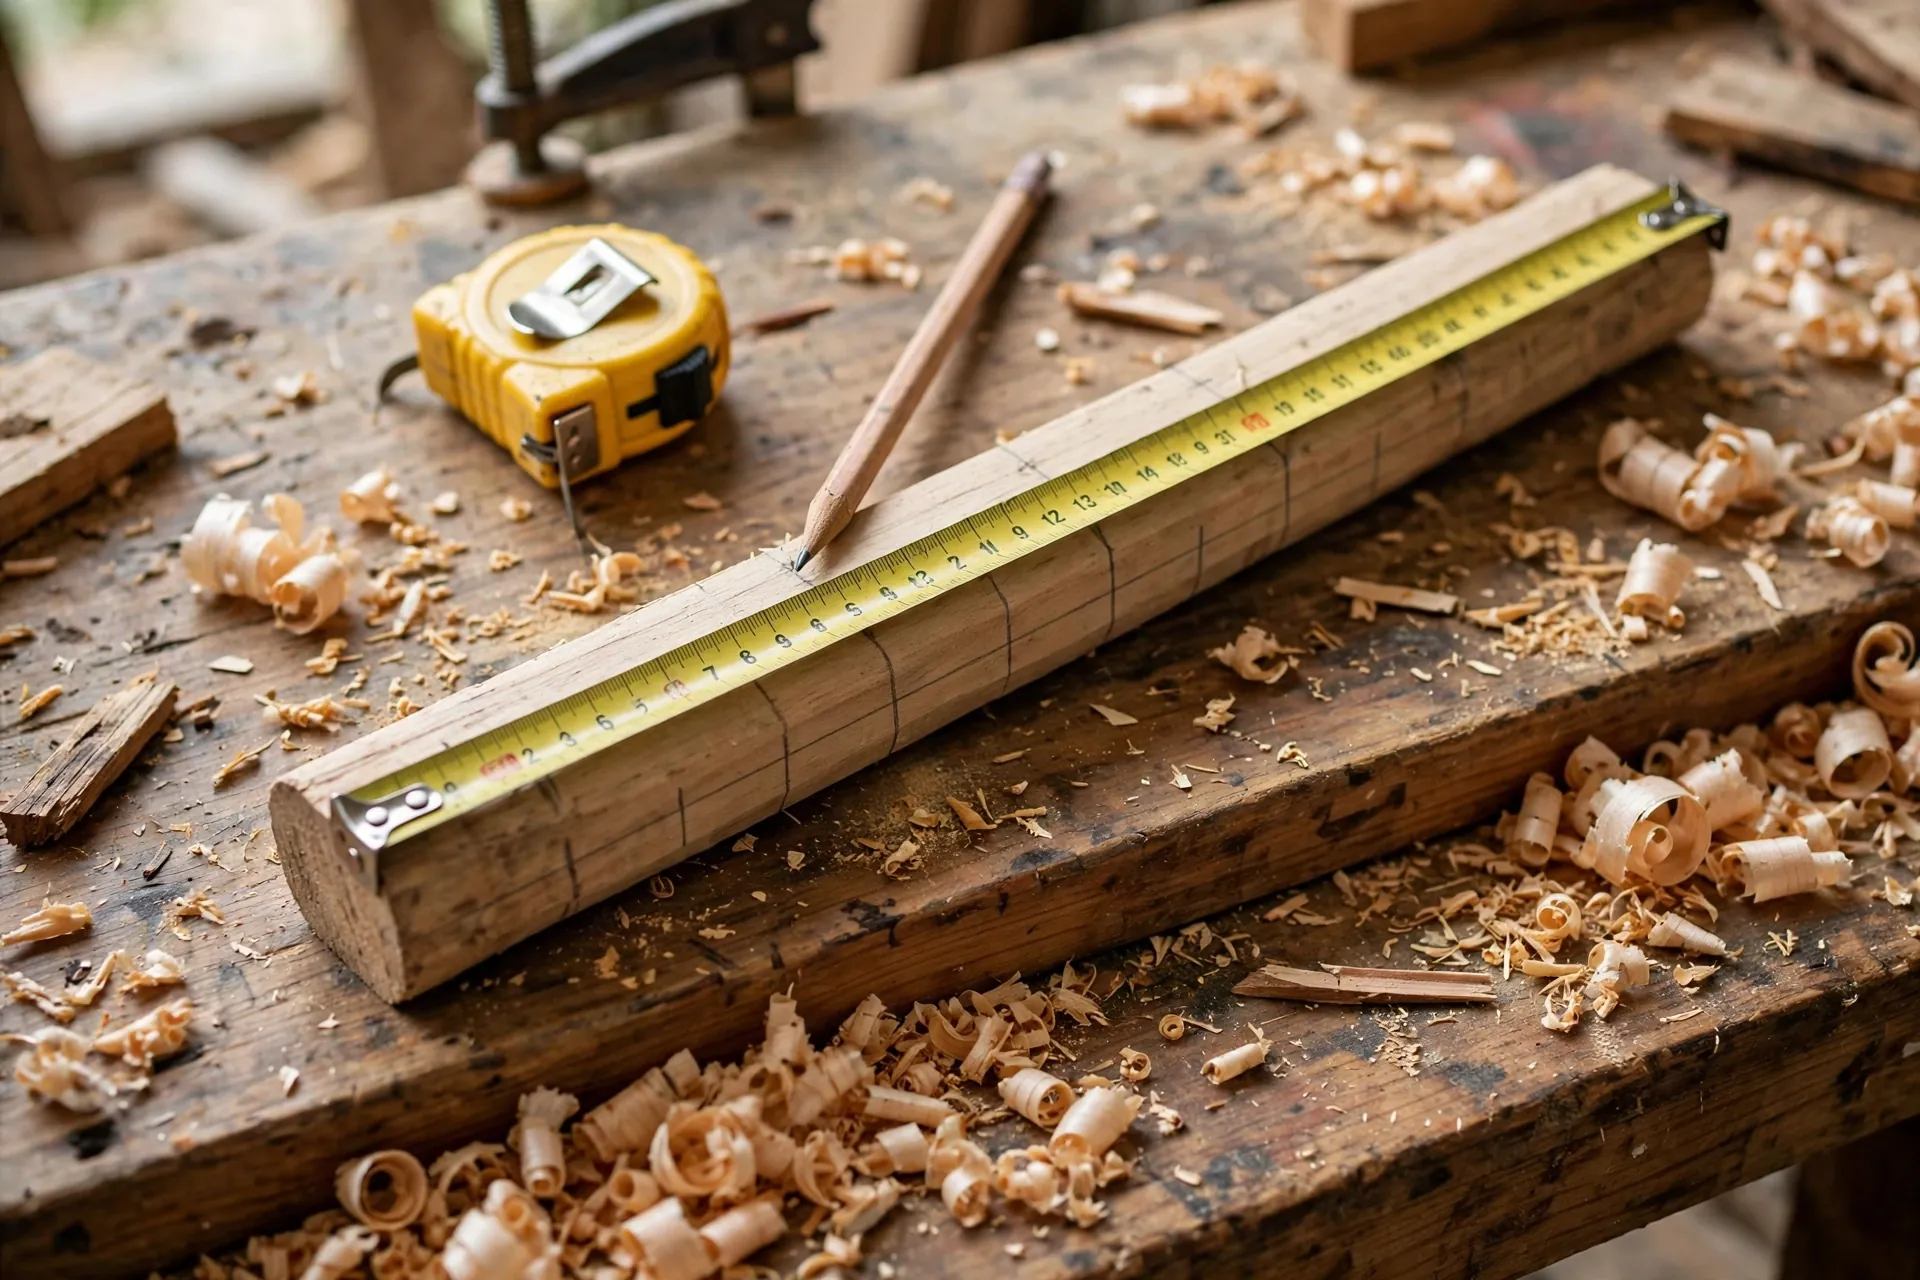
Learning how to build a wooden dining chair for beginners starts with careful measuring, because chair parts have to match each other in pairs — two front legs exactly the same length, two side aprons exactly the same length — and a 2-millimetre error in one leg is a wobbling chair. Lay your boards on a flat bench and check each one for straightness by sighting down its edge. Mark the straightest face of every board with a small pencil tick; that face goes outward on the legs and upward on the seat.
Measure twice and mark once, then cut the longest pieces first: the two back posts, then the two front legs. Use a stop block clamped to your saw fence or a simple marking gauge so both legs in a pair are cut to exactly the same length — never measure each leg separately, because even a careful second measurement can drift by a millimetre. Mark the seat-height line on all four legs at 18 inches (46 cm) from the bottom; this is where the top of the aprons will sit, and it is the reference line for the whole build. Finally, label every piece with its name and orientation, including which end is the top. A back post installed upside down is a mistake you will only make once, but it is a mistake you would rather not make at all.
Step 2: Cut the Legs, Aprons, and Back Posts
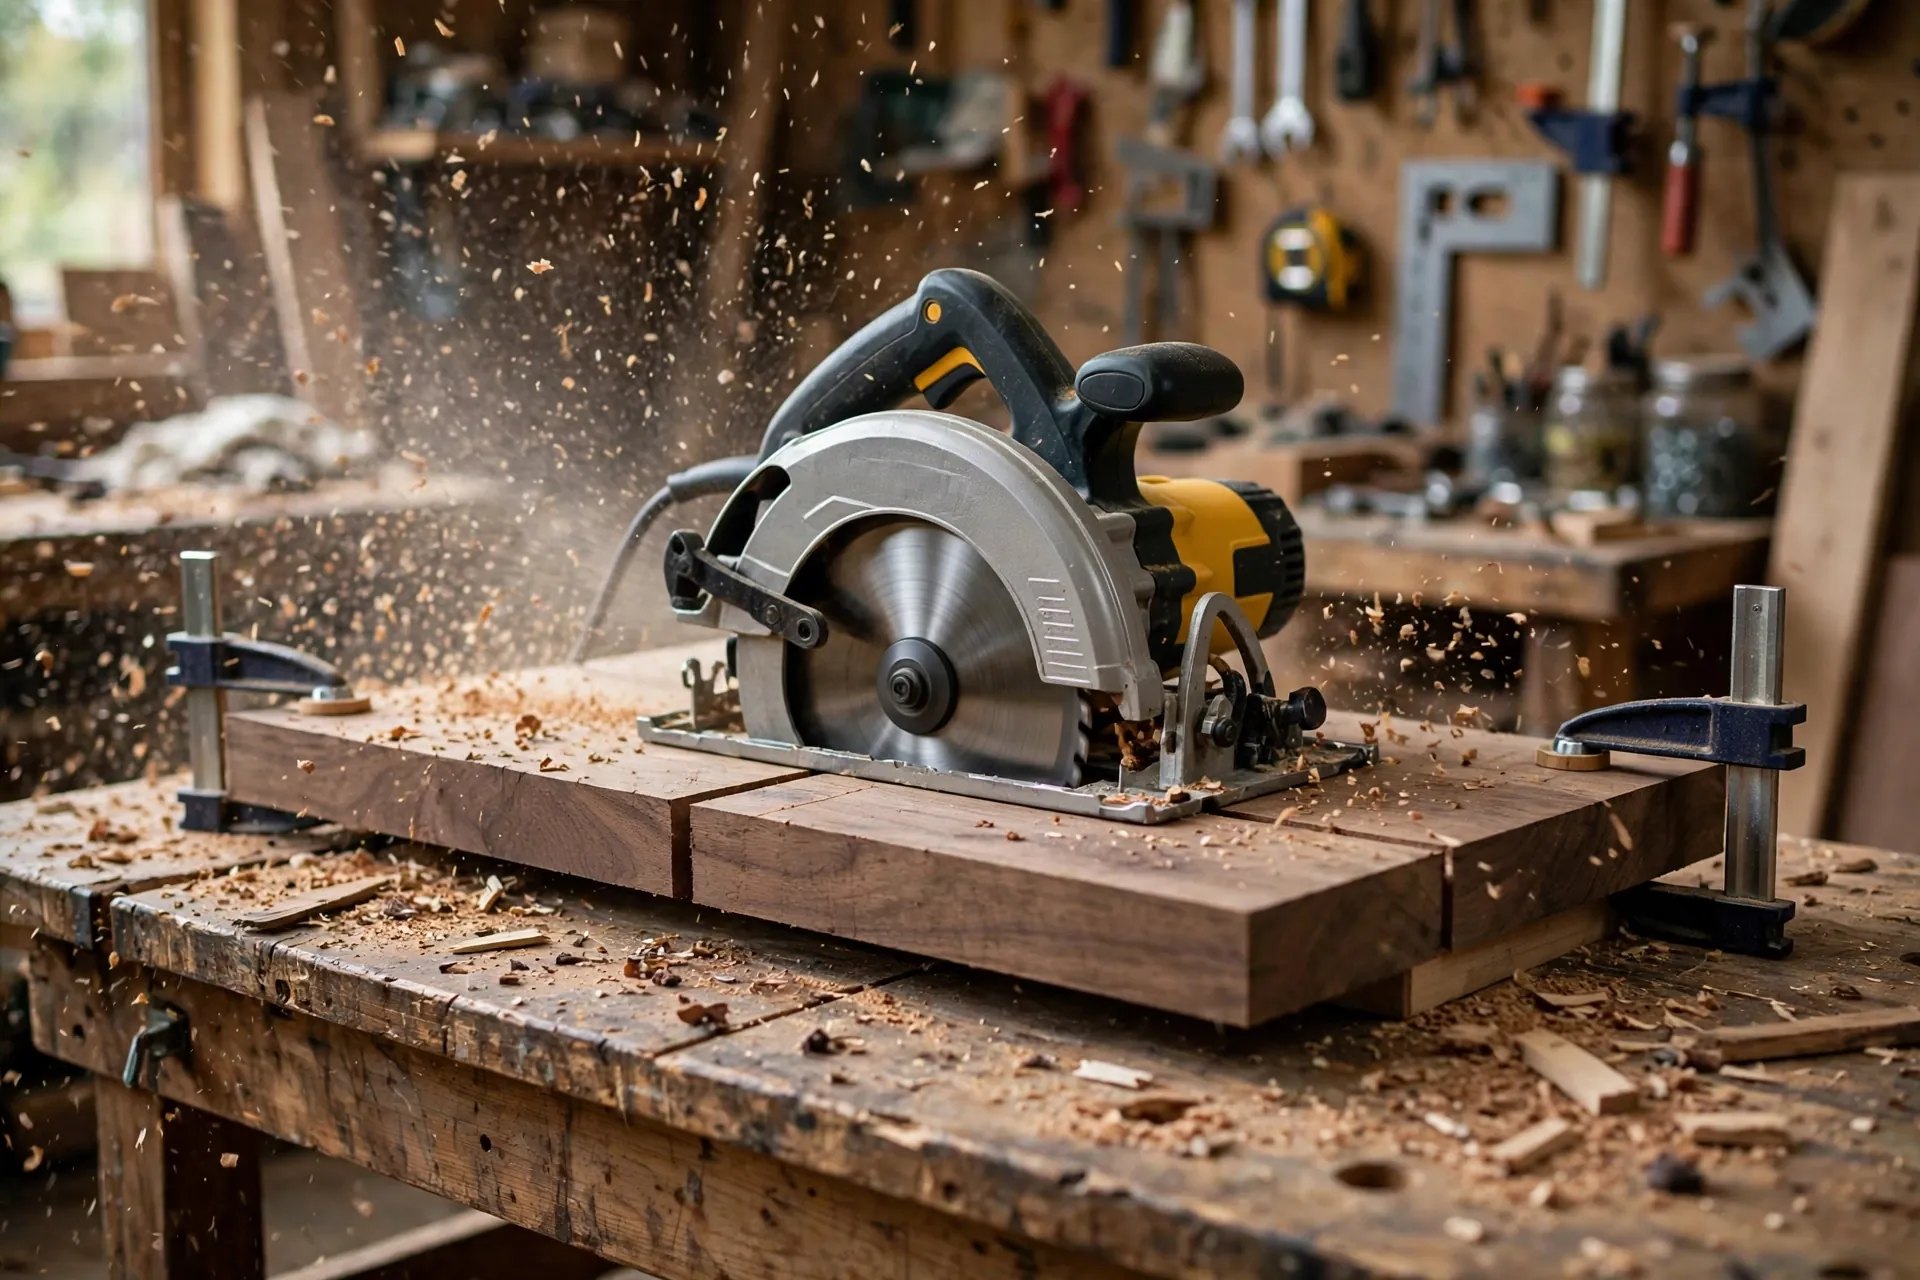
Set your saw to cut square and check it with a square before the first cut — a saw that is off by one degree will show up as a gap in every joint of the chair. Cut the back posts first, including the 5-degree angle on the upper section if you are using the raked-back design. The simplest way to cut that angle is to mark the bend point at 18 inches (46 cm), draw the angled line up to the top of the post, and cut along it with a circular saw or a handsaw, then clean the cut with a plane or sandpaper. If you are using a table saw, a tapering jig makes this cut safe and repeatable, but it is not required.
Next, cut the aprons to length, and then cut the rabbet for the drop-in seat: a ½-inch (13 mm) wide, ⅜-inch (10 mm) deep groove along the inside top edge of all four aprons. A router with a straight bit is the cleanest way to cut this rabbet, but you can also cut it with a table saw in two passes or with a chisel if you are patient. The seat panel will rest in this rabbet, so test-fit a scrap piece as you go — the seat should drop in snugly with no rattle and sit flush with the top of the aprons. Finally, cut the backrest slats and the top rail, and round over the front edges of the seat apron and the top rail with sandpaper; these are the edges hands and backs touch every day, and a soft edge feels far more expensive than a sharp one.
Step 3: Assemble the Chair Frame
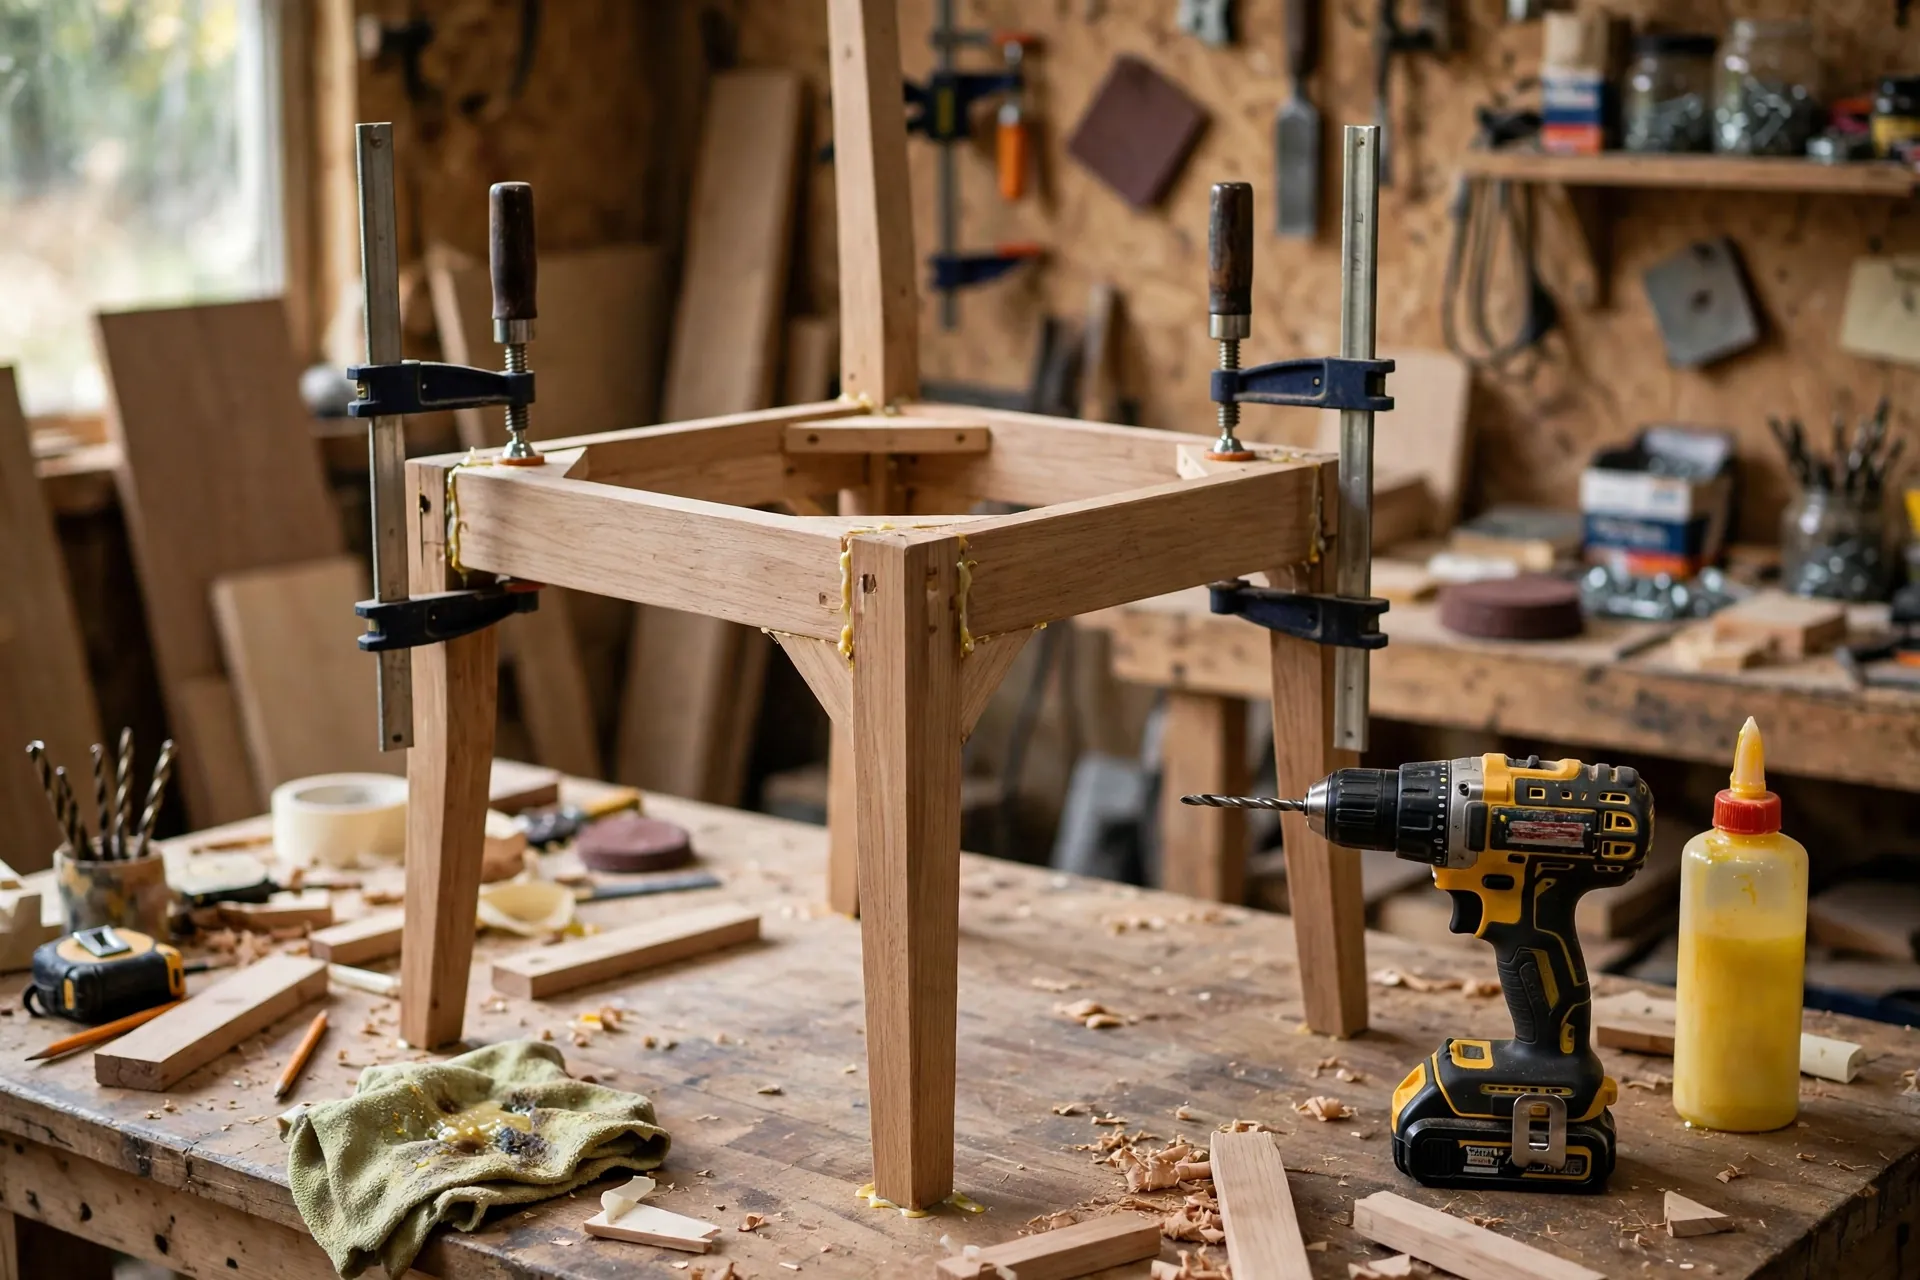
Dry-fit the whole frame before any glue touches the wood. Lay out the two front legs and the front apron, then the two back posts with the back apron, and check that every joint closes without a gap. If a joint will not close, find out why now — usually a tenon is too long, a dowel is misaligned, or a cut is not square — because once glue is in the joint you have about five minutes before the mistake becomes permanent. Check the frame for square by measuring diagonally corner to corner: the two diagonal measurements must match, or the chair will rack.
Glue up in two stages. First, assemble the front frame (two front legs plus the front apron) and the back frame (two back posts, the back apron, the top rail, and the slats) separately, and clamp each one square. Use pocket holes on the inside faces of the aprons, driving the screws up into the legs from below so they are invisible once the seat is in. Spread glue thinly and evenly on every mating surface — too much glue squeezes out and makes a mess, too little starves the joint. Let both frames dry for at least an hour. Then join the two frames with the two side aprons, clamp the whole chair, and check the diagonals again. This two-stage method is slower than gluing everything at once, but it is how beginners get square chairs: you only have to manage one rectangle at a time.
While the glue is still wet, add the four corner braces inside the apron box. These small 45-degree blocks, glued and screwed into the corners where the aprons meet the legs, are the single best defence against racking, and they cost almost nothing. Also check that all four legs touch the floor at once by standing the chair on a known flat surface — a kitchen countertop or a sheet of glass works well. If one leg is a hair long, mark it with the chair standing flat and trim it with a hand plane or sandpaper after the glue has dried. Never try to fix a rocking chair by shortening a leg while the glue is wet; the frame will move and the joint will open.
Step 4: Fit the Drop-In Seat
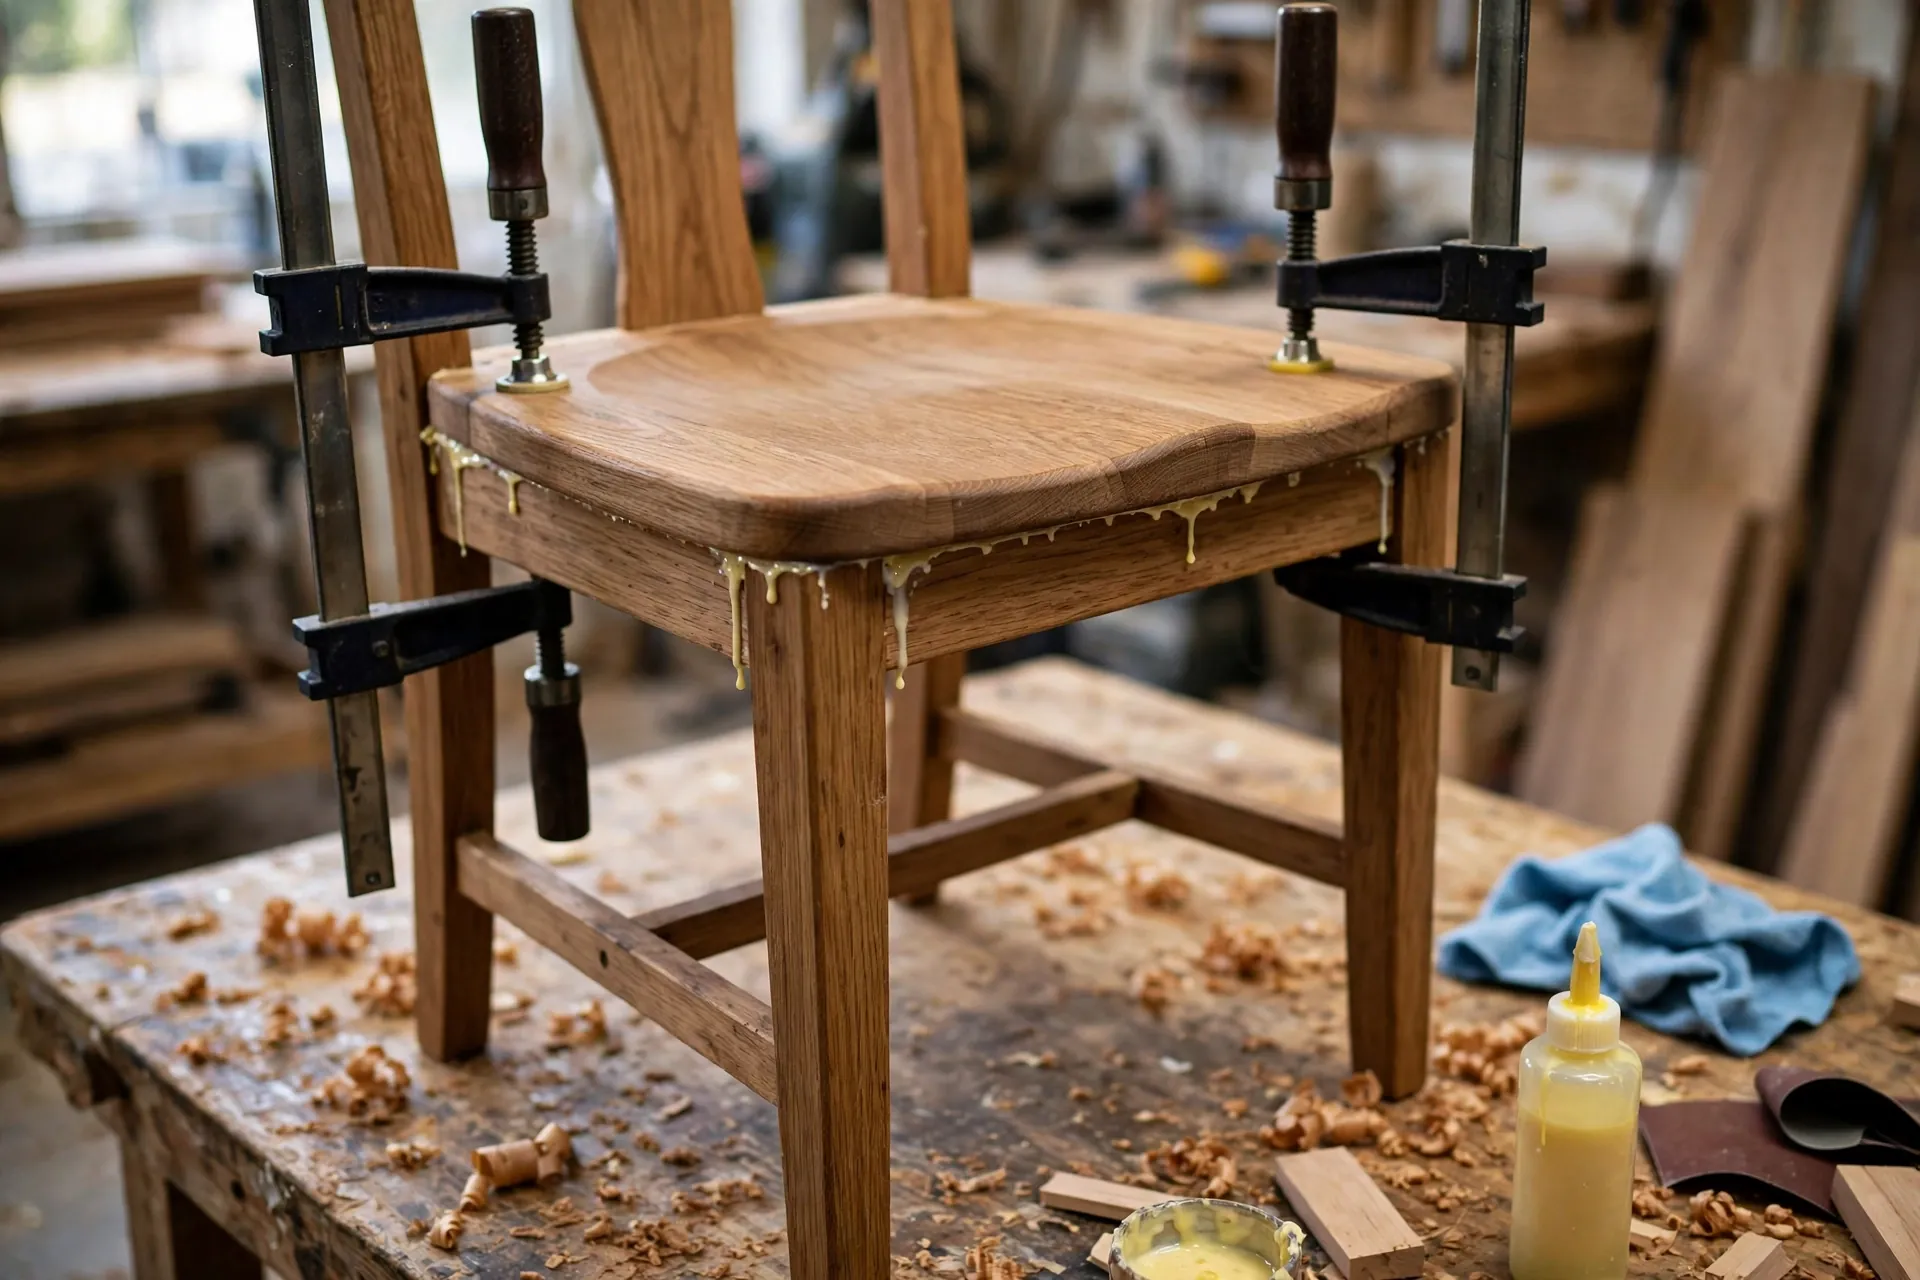
The drop-in seat is what makes this chair a beginner project instead of an expert one. Instead of shaping a sculpted seat or weaving rush, you make a simple flat panel that drops into the rabbet you cut into the aprons. Cut the seat panel from ¾-inch (19 mm) hardwood, or glue up two or three boards edge to edge and trim the panel to size. The panel should fit the rabbet snugly all the way around, with no more than a hairline gap — too tight and it will crack the aprons when the wood swells in summer, too loose and it will rattle.
Before you fit the seat, shape its front edge. A dining chair seat should have a slightly rounded front edge — sometimes called a waterfall edge — so it does not press into the back of your thighs. Round the front edge over with a router and a roundover bit, or with 80-grit sandpaper and patience, working the edge until it feels comfortable against the back of your hand. The back edge of the seat can stay square, since it sits against the back posts. If you want a cushioned seat, this is the moment to add it: cut a piece of 1-inch (25 mm) foam to the seat shape, wrap it in fabric, and staple the fabric to the underside of the panel. The upholstered panel then drops into the rabbet exactly like a bare wood one, and you can lift it out later to change the fabric.
Fix the seat into the frame with a few small screws driven up through the corner braces, or simply let gravity and the snug fit hold it — a drop-in seat that can be lifted out is easier to refinish later. Sit on the chair now, carefully, and shift your weight from side to side. A well-built chair feels dead solid, with no creak and no flex. If you hear a creak, find the joint that moves, add a little more glue into the gap with a syringe or a thin stick, and clamp it again. A creak at this stage is a warning, not a failure, and it is far easier to fix now than after the finish is on.
Step 5: Sand and Finish Your Dining Chair
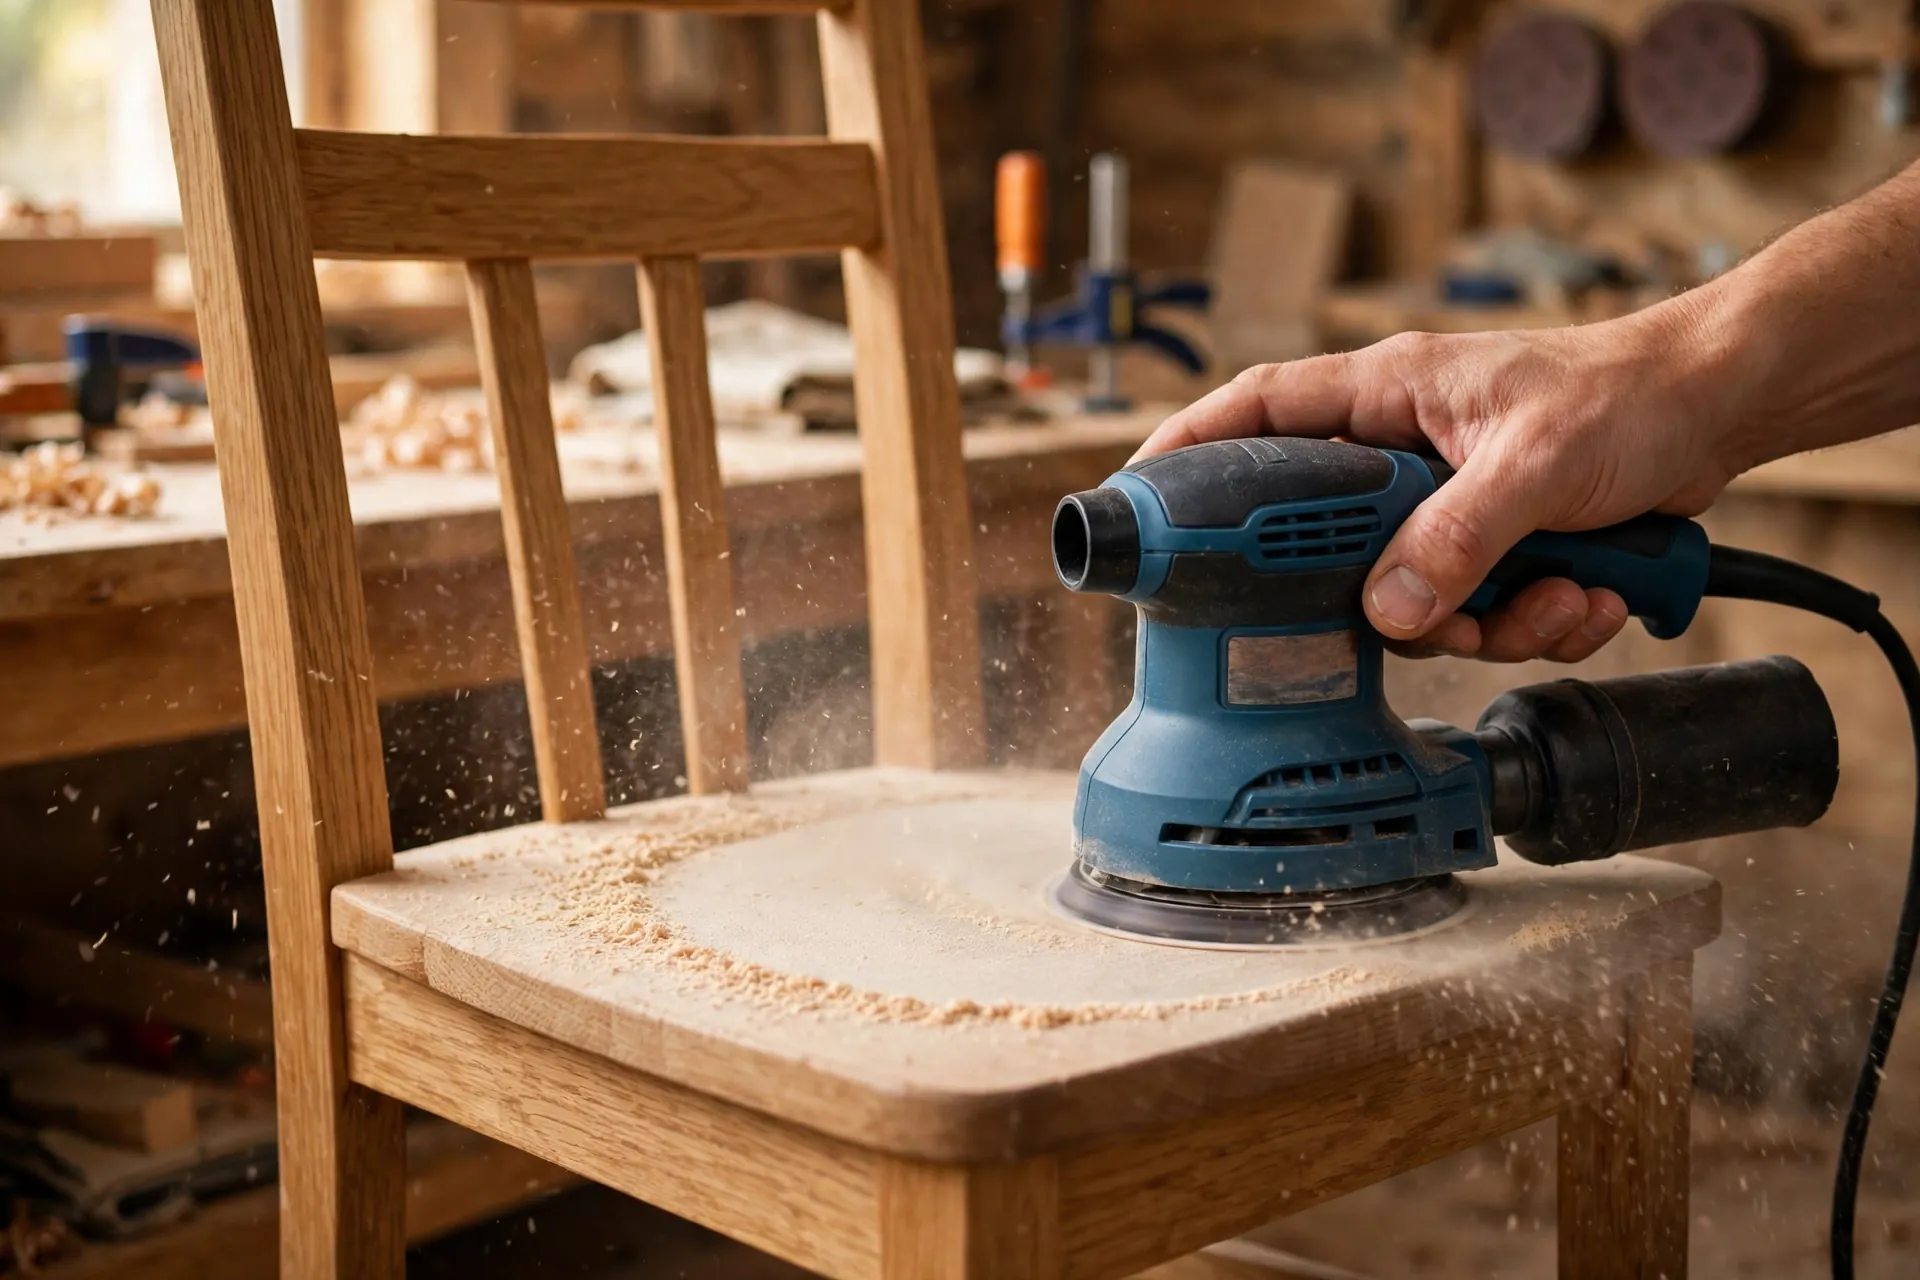
Sanding a chair takes longer than sanding a flat board, because every leg, slat, and apron has four faces and two ends. Work through the grits in order — 80, 120, 180, then 220 — and sand with the grain on every surface. The 80-grit pass removes saw marks and levels the joints; the 120-grit pass smooths the surface; the 180 and 220 passes give you the silky feel that separates a handmade chair from a shop-bought one. Pay special attention to the joints, where dried glue squeeze-out will show up as a pale blotch under the finish if you do not sand it off. A quick wipe with a damp cloth raises the grain and reveals any glue spots you missed, so do that between the 120 and 180 passes. Our full technique guide, how to sand and finish wood for beginners, covers grit progression, grain raising, and the most common sanding mistakes in detail.
For the finish, a dining chair needs something tougher than a decorative oil, because it will be wiped down after every meal and occasionally splashed. Danish oil is the most forgiving choice for a first chair: wipe it on, wait fifteen minutes, wipe off the excess, and repeat for three coats. It deepens the grain beautifully and is easy to repair — a scratched chair can be re-oiled in ten minutes. If you want a harder, more wipeable surface, follow the oil with two coats of wipe-on polyurethane, or use polyurethane on its own. Avoid a thick, glossy varnish on a first chair; it shows every drip and brush mark, and a chair has so many small surfaces that drips are almost guaranteed. Let the final coat cure for at least 48 hours before the chair goes into daily use — a finish that feels dry is not the same as a finish that is fully cured, and a soft finish will pick up marks from clothing and tableware.
Your Finished Dining Chair
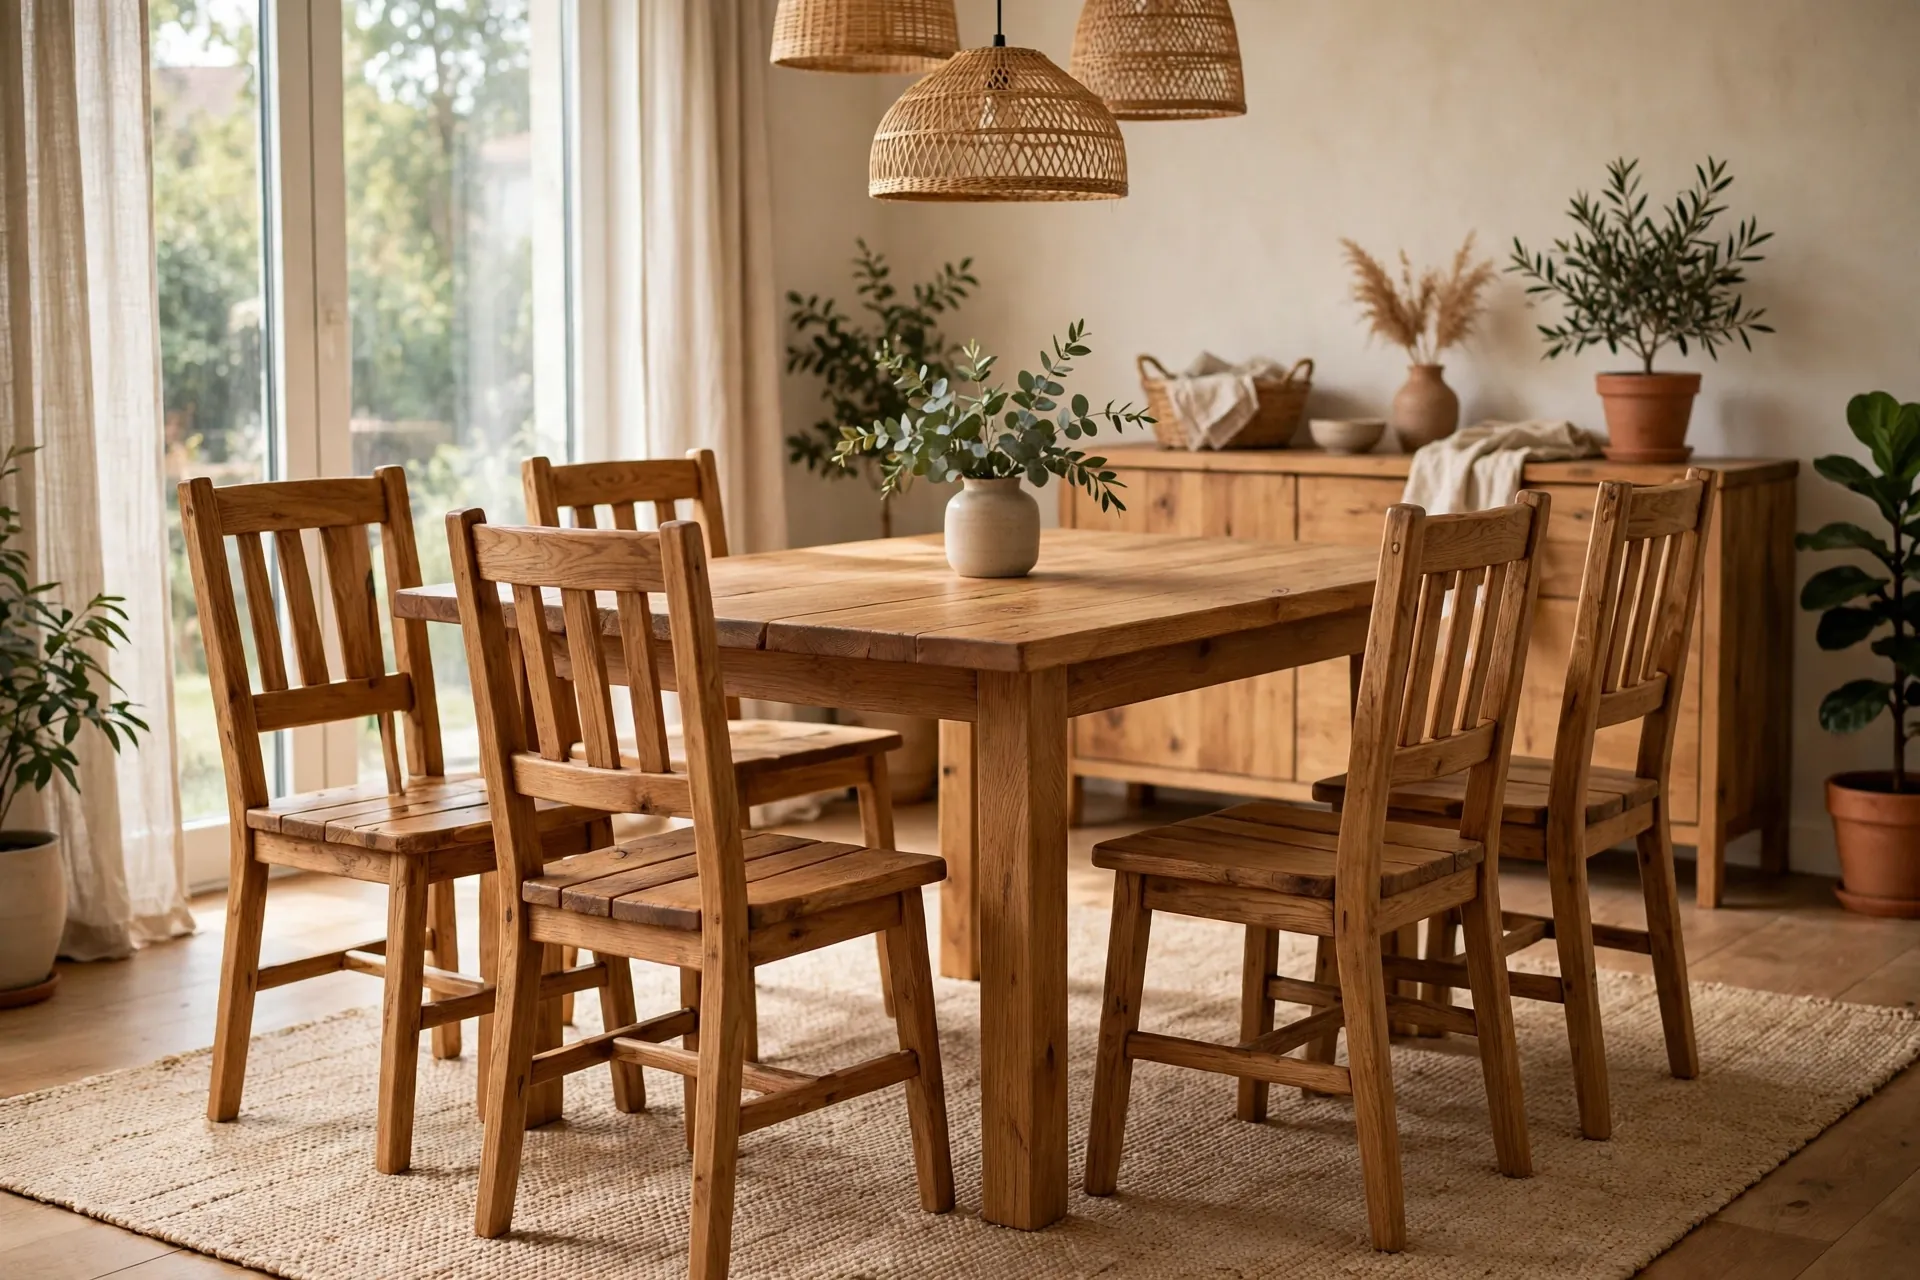
Once the finish has cured, bring the chair to the table and test it properly. Sit down, lean back, reach for something across the table, and stand up using the chair arms — or in this case, the back posts — for support. A good dining chair disappears under you: you notice the meal, not the furniture. Check the chair again after a week of use, and tighten nothing — there is nothing to tighten on a glued chair, which is the point. If it is still solid after a week of dinners, it will be solid for years.
Now build the rest of the set. The second, third, and fourth chairs will each take about half the time of the first, because you already have the measurements, the jig settings, and the muscle memory. Cut all the legs for the remaining chairs in one batch, then all the aprons, then assemble them one at a time. Keep the first chair as your reference and test-fit every new frame against it — same seat height, same backrest angle, same overall look. A matched set of four handmade dining chairs is a genuine piece of furniture, and it is the kind of project that makes people ask where you bought it. The honest answer — you built it — is the best part.
Common Mistakes to Avoid
Most problems when you learn how to build a wooden dining chair for beginners come from rushing the frame assembly or skipping the squareness checks. Slow down at these points and the rest of the build goes smoothly.
Legs of different lengths. Even a 2-millimetre difference makes a chair rock. Cut paired parts with a stop block, never by measuring each piece separately, and check all four legs on a flat surface before assembly.
Skipping the diagonal check. A frame that is not square will rack every time someone leans back. Measure corner to corner after every glue-up and adjust the clamps until both diagonals match.
Glue starvation. Too little glue makes a joint that looks fine and fails in six months. Spread a thin, even film on both mating surfaces and look for a small, consistent bead of squeeze-out.
Screws without pilot holes. Hardwood splits when a screw is driven near the end of a board without a pilot hole. Drill first, every time, especially in the legs.
Ignoring wood movement. A solid wood seat glued rigidly into the frame will crack the aprons when it expands in humid weather. Let the drop-in seat float in its rabbet instead of gluing it solid.
Rushing the finish. A chair has dozens of small surfaces, and finish applied over dust or over a skipped grit looks blotchy forever. Sand through every grit, wipe the dust off, and let each coat cure fully.
Building all four chairs at once. Cut parts for one chair, build it, test it for a week, and only then batch the rest. Fixing a design mistake in one chair is a lesson; fixing it in four is a chore.
How Much Does It Cost and How Long Does It Take?
For one oak dining chair, expect $60 to $90 in materials if you already own the tools — roughly a tenth of the price of a comparable handmade chair from a furniture maker, and about a quarter of the price of a decent shop-bought hardwood chair. A set of four costs $200 to $300 in materials, with the per-chair cost dropping as you buy lumber in larger quantities. A pine practice chair is closer to $35 to $50, which is a sensible way to learn the process before you cut into oak. Hardwood versions cost more in lumber, but the tools, the jig, and the finish are one-time purchases that spread across the whole set.
Time-wise, plan for 6 to 8 hours of hands-on work for your first chair, spread over a weekend: an hour to measure and mark, an hour to cut, two hours to assemble in two stages, an hour and a half to sand, and an hour to finish, plus drying time between glue-ups and finish coats. The second chair typically takes 3 to 4 hours, because the setup is already done. A full set of four chairs is a realistic two-weekend project for a beginner working a few hours at a time. That time is well spent: a set of dining chairs you built yourself will outlast most of the furniture in your home, and every dinner you eat sitting on them is a reminder of what you can make.
Frequently Asked Questions
How hard is it to build a wooden dining chair as a beginner?
It is the hardest beginner project in this series, but it is doable with the simplifications in this guide: a straight-back design, a drop-in seat, and pocket-hole joinery. Build one chair first and test it for a week before cutting parts for the rest of the set. If you can build a simple box and drive screws accurately, you can build this chair.
What is the best seat height for a wooden dining chair?
For a standard 29 to 30 inch (74 to 76 cm) dining table, build the seat 17 to 19 inches (43 to 48 cm) high, with 18 inches (46 cm) as the default. Leave 10 to 12 inches (25 to 30 cm) between the seat and the underside of the table so your legs fit comfortably and your forearms rest naturally on the tabletop.
What is the best wood for a beginner dining chair?
White oak is the best all-round choice: strong, moisture resistant, and beautiful under oil. Red oak and hard maple are good alternatives. Pine is fine for a first practice chair, but it dents easily and its joints can loosen over time, so use hardwood for chairs you plan to sit on every day.
Should I use pocket holes, dowels, or mortise and tenon joints?
Use pocket holes with glue for your first chair — it is the fastest method and plenty strong when combined with corner braces. Dowels are stronger and hide all fasteners, and mortise and tenon joints are the strongest of all, but both need more skill and more tools. Many builders make their first chair with pocket holes and their second with dowels.
How do I keep my dining chair from wobbling?
Cut paired legs to exactly the same length with a stop block, check the frame for square by measuring diagonally after every glue-up, and add 45-degree corner braces inside the apron box. Test the chair on a known flat surface and trim the long leg only after the glue has fully dried.
How much does it cost to build a wooden dining chair?
One oak dining chair costs about $60 to $90 in materials if you already own the tools. A pine practice chair costs roughly $35 to $50. A set of four oak chairs costs $200 to $300 in materials, which is far less than buying four comparable hardwood chairs from a shop.
Recommended Products for This Project
As an Amazon Associate, I earn from qualifying purchases.

DEWALT 20V MAX Cordless Drill/Driver Kit (DCD771C2)
Drives the pocket-hole screws that hold this dining chair frame together and pre-drills clean pilot holes so the hardwood legs never split.

Titebond III Ultimate Wood Glue 1413 (8 oz)
Waterproof, strong wood glue that locks every apron-to-leg joint in this dining chair long before a single screw takes the load.
Amazon Basics 8-Piece Wood Chisel Set with Honing Guide and Sharpening Stone
Cleans up mortises and trims the drop-in seat rabbet on this dining chair, and it is the right tool if you upgrade to mortise and tenon joints.

DEWALT Random Orbit Sander DWE6423, 5-Inch
Powers through the 80, 120, 180, and 220 grit sanding passes on every leg, slat, and apron of this dining chair and leaves a smooth, swirl-free finish.

DEWALT Concealer Safety Goggles DPG82-11C
Protects your eyes from hardwood dust and chips while sawing and sanding this dining chair — essential on a build with this much cutting.


