
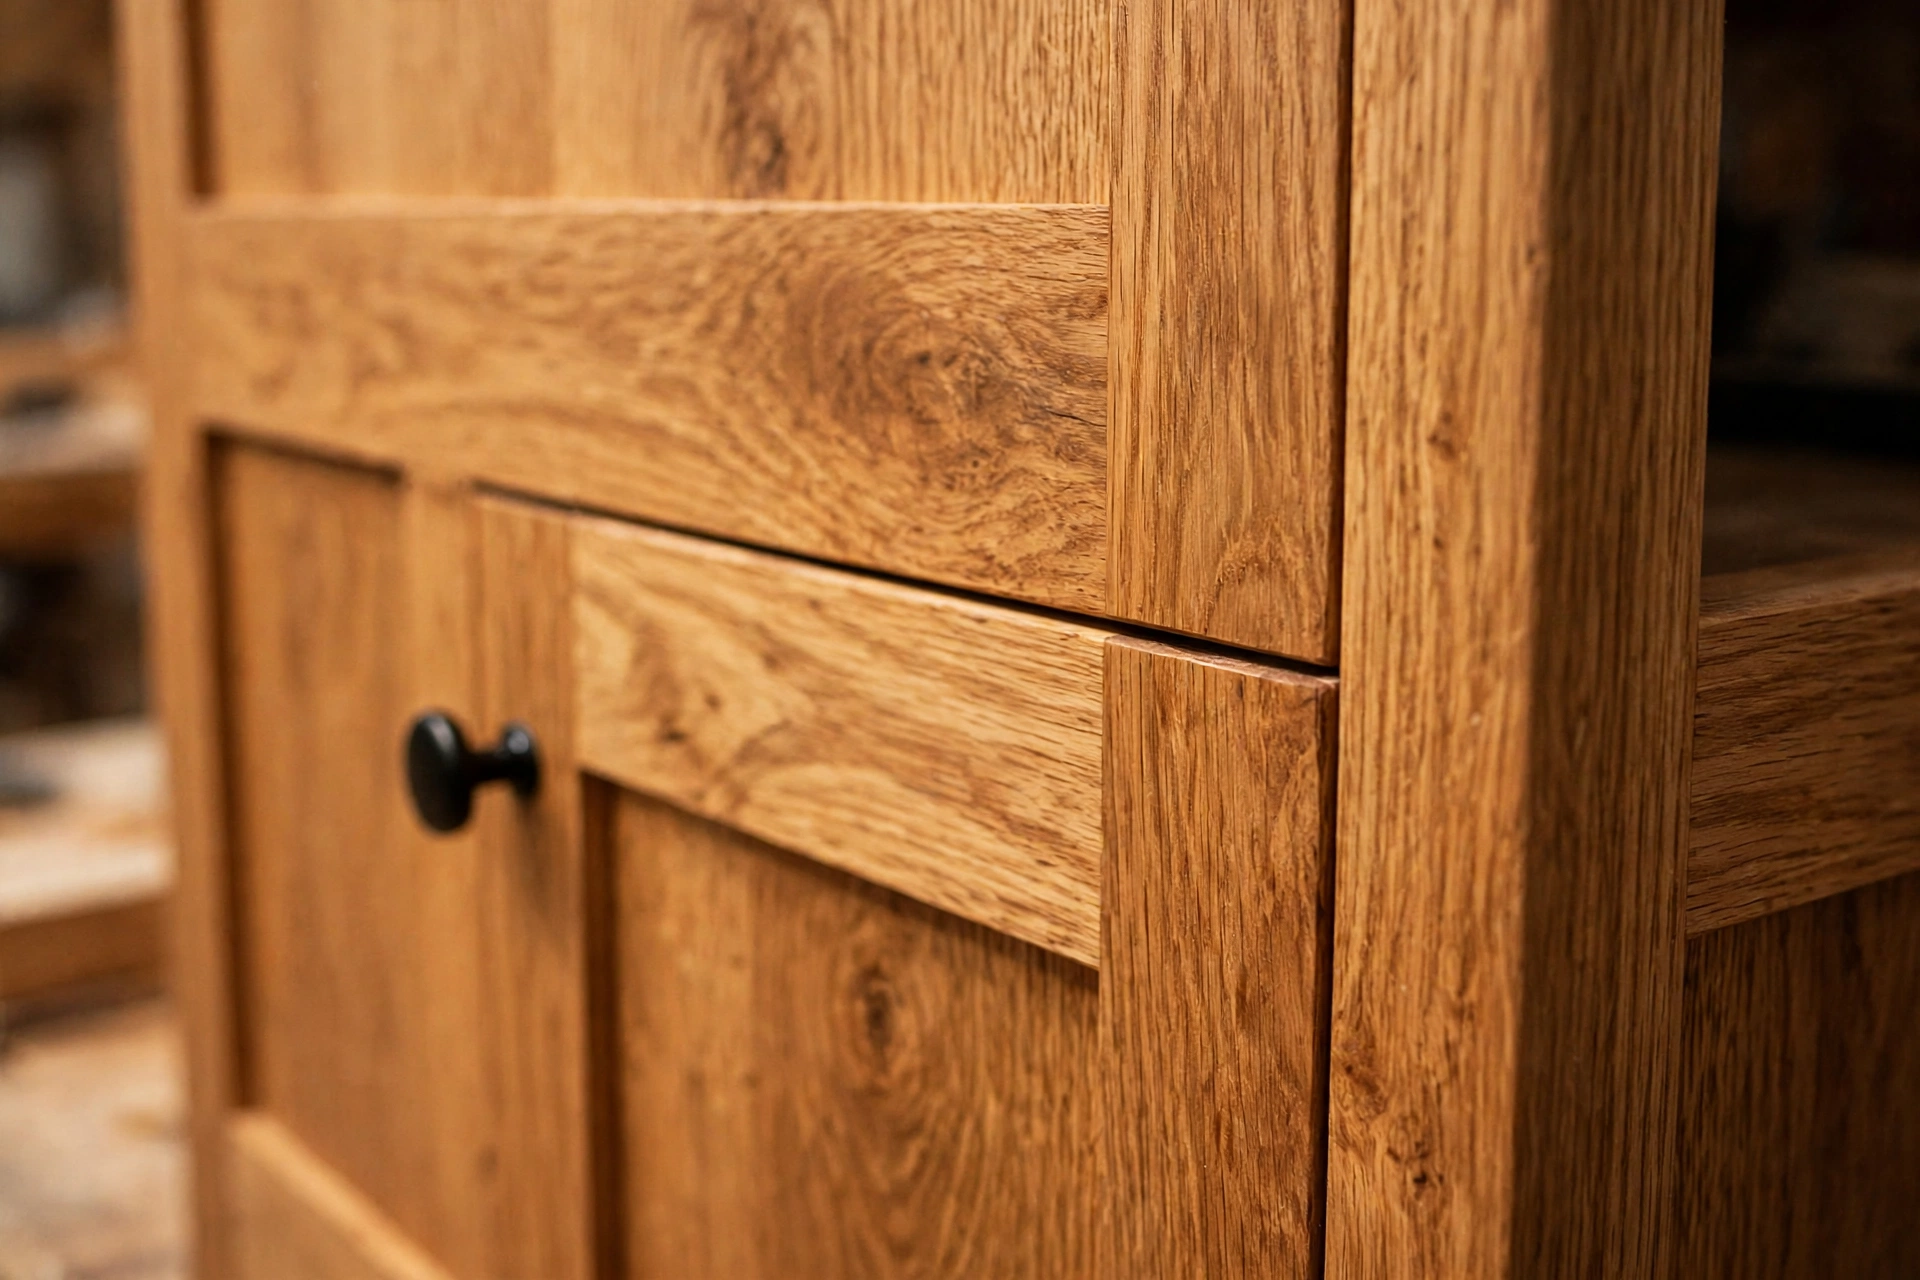
A good wooden sideboard costs $400 to $1,200 in a furniture shop, and it still might be the wrong length for your wall, the wrong height for your dining chairs, or the wrong wood for the rest of your room. Learning how to build a wooden sideboard for beginners solves all three problems at once: you build it to the exact size your dining room needs, in the wood and finish you actually want, for roughly a third of the shop price. A sideboard is also one of the best second or third projects a beginner can take on. It uses the same straight cuts and screw-and-glue joints as a simple box, but it teaches you the two skills that turn a woodworker into a furniture maker — building a square plywood carcass and hanging doors that close properly.
This guide walks you through a simple plywood-carcass sideboard, 60 inches (152 cm) wide, 36 inches (91 cm) tall, and 16 inches (41 cm) deep — the classic size that fits most dining rooms, hallways, and living rooms. You will learn how to choose the size, decide between doors and open shelves, pick the right plywood and solid-wood trim, cut and assemble the carcass, fit doors and a drawer, and finish it so it looks like a piece of furniture rather than a plywood box. Most beginners finish in one weekend: about 6 to 8 hours of hands-on work plus drying time. You do not need a table saw or a router. A circular saw with a straightedge guide, a drill, and a sander will do the whole job. This project sits naturally alongside the other beginner furniture builds in our easy woodworking projects for beginners that sell collection, and it pairs beautifully with a matching bedroom piece — see our guide on how to build a wooden nightstand for beginners for a smaller project that uses the same carcass skills.
What Size Sideboard Should You Build?
Before you buy a single sheet of plywood, measure the wall where the sideboard will live — and measure the room around it. A sideboard that is too long crowds the dining table; one that is too short looks lost on a long wall. As a rule of thumb, the sideboard should be about two-thirds the length of your dining table, and it should leave at least 36 inches (91 cm) of clear space between its front face and the back of the nearest dining chair, so people can pull their chairs out and stand up without bumping into it. Walk the route yourself: sit at the table, push your chair back, and stand up. If your elbow or shoulder hits the wall, the sideboard is too deep for that spot.
Height matters just as much. The standard sideboard height is 34 to 36 inches (86 to 91 cm), which is a comfortable serving height — the same height as a kitchen counter — and it lines up nicely with most dining table tops. If you plan to use the sideboard mainly as a TV stand or a hallway console, you can go a little lower, around 30 inches (76 cm). Depth is usually 16 to 18 inches (41 to 46 cm): deep enough for dinner plates, serving dishes, and a stack of table linens, but shallow enough to sit against a dining room wall without eating into the room. Go deeper than 20 inches (51 cm) and the sideboard starts to feel like a kitchen cabinet rather than a piece of dining furniture.
| Sideboard size | Width | Height | Depth | Best for |
|---|---|---|---|---|
| Small / apartment | 48 in (122 cm) | 34 in (86 cm) | 16 in (41 cm) | Small dining rooms, hallways, flats |
| Standard (this guide) | 60 in (152 cm) | 36 in (91 cm) | 16 in (41 cm) | Most dining rooms, 6-seat tables |
| Large | 72 in (183 cm) | 36 in (91 cm) | 18 in (46 cm) | Large dining rooms, 8-seat tables |
| Low / media console | 60 in (152 cm) | 28–30 in (71–76 cm) | 16 in (41 cm) | TV stand, living room storage |
| Narrow hallway | 48 in (122 cm) | 34 in (86 cm) | 14 in (36 cm) | Hallways and tight entryways |
Measure twice more before you commit: the width of the wall, including any skirting boards and door frames that will pinch the ends, and the height of anything that will sit on top — a lamp, a vase, or a mirror hung above. A sideboard that is 60 inches wide needs a wall at least 66 inches wide, so it has a few inches of breathing room on each side. Write down your three numbers — width, height, and depth — and check them against the cut list later in this guide. If you are scaling the design up or down, keep the same structure and change only the lengths; the joints, the door sizes, and the assembly order all stay the same.
Doors or Open Shelves: Which Layout Is Best for Beginners?
The first design decision in learning how to build a wooden sideboard for beginners is what the front looks like: closed doors, open shelves, drawers, or a mix of all three. Each layout changes the difficulty of the build, the cost, and how the finished piece works in daily life, so it is worth deciding before you buy materials rather than halfway through the assembly. The classic layout in this guide — two doors with a centre drawer and an open shelf bay in the middle — is a good compromise: the doors hide the clutter, the drawer holds cutlery and table linens, and the open bay shows off a few pretty pieces.
Open shelves are the easiest option by far. There are no doors to fit, no hinges to adjust, and no gaps to keep even. If this is your very first cabinet of any kind, building the carcass with open shelves and adding doors later is a sensible way to split the project into two manageable weekends. The trade-off is that everything inside is on display, so open shelves suit sideboards that hold attractive things — books, ceramics, plants — and look messy when they hold board games and charging cables. Doors cost more and take more patience, but they hide clutter, protect contents from dust, and make the sideboard look like a proper piece of furniture. A single centre drawer is a small addition that makes a big difference in daily use: it is the natural home for placemats, napkins, candles, and the cutlery you only bring out for guests.
| Layout | Difficulty | Extra cost | Best for | Beginner tip |
|---|---|---|---|---|
| Open shelves only | Easy | $0 | Display storage, books, ceramics | Best first cabinet — add doors later |
| Two doors | Medium | $20–$40 | Hiding clutter, dining storage | Use concealed hinges; they adjust after fitting |
| Doors + centre drawer | Medium | $35–$60 | Cutlery, linens, everyday dining use | The layout in this guide |
| Four doors, no drawer | Medium | $30–$50 | Wide 72-inch sideboards | Keep door gaps even with spacers |
| Sliding doors | Hard | $40–$70 | Tight rooms where doors cannot swing | Save for a second sideboard |
Whatever layout you choose, plan the inside before you cut the carcass. Measure the tallest thing the sideboard must hold — a stack of dinner plates is about 8 inches (20 cm), a tall vase can be 14 inches (36 cm) — and set your shelf heights to fit it with an inch to spare. Adjustable shelf pin holes are worth the small extra effort: drill a row of holes on each side panel and you can move the shelves whenever your storage needs change. A fixed middle shelf is stronger, but an adjustable one is more useful over the life of the piece. Decide now, because the shelf pin holes are drilled before the carcass is glued together.
Choosing the Best Wood for Your Sideboard
When you are learning how to build a wooden sideboard for beginners, the smartest material choice is ¾-inch (19 mm) cabinet-grade plywood for the carcass, with solid wood only where it shows: the top, the door frames, and the edge banding. Plywood is flat, stable, and strong, and a single 4 × 8 ft (122 × 244 cm) sheet is enough for the whole carcass of a 60-inch sideboard. Solid wood panels that wide would warp, cup, and cost three times as much. Birch plywood is the best all-round choice for a first sideboard: it has a clean, pale face with few voids, it takes stain and paint evenly, and it is widely available. Oak-veneer plywood costs a little more and looks richer under a clear finish, while maple-veneer plywood is the smoothest choice if you plan to paint.
Buy ¾-inch (19 mm) plywood for the carcass — sides, top, bottom, and shelves — and ½-inch (13 mm) plywood for the back panel and the drawer bottom. The back panel is what keeps the carcass square, so do not skip it or substitute thin hardboard; a ½-inch plywood back, screwed into a rabbet or simply onto the back edges, makes the whole cabinet rigid. For the top, use a solid-wood panel or a thicker 1-inch (25 mm) plywood top with a solid-wood edge, because the top is the surface everyone touches and sees. A glued-up pine or oak panel, 1 inch thick, gives the sideboard a furniture feel that plywood alone cannot match. For a deeper dive into species, grain, workability, and cost, read our guide to the best wood for beginner woodworking projects.
Pick your plywood sheet carefully at the lumber yard. Sight along each edge for warping, check the face for patches, knots, and voids, and reject any sheet with a bent corner — a warped sheet makes a carcass that will never sit square. Ask the yard to make the first long rip cut for you if they offer a cutting service; a straight, factory-accurate cut down the middle of a 4 × 8 sheet makes the rest of your cutting far easier at home. Avoid MDF for this project: it is heavy, it sags under the weight of dishes, it swells badly if it ever gets wet, and it holds screws poorly on the edges. Save MDF for painted boxes and shop jigs, and build your sideboard from real plywood.
Tools and Materials You Will Need
If you are learning how to build a wooden sideboard for beginners, you probably own most of these tools already, and the rest can be borrowed or bought cheaply. The one tool worth buying for this project, if you do not own it yet, is a good cordless drill — you will use it on every project after this one. A circular saw with a straightedge guide does all the cutting; a table saw is faster, but it is not required. Do not buy a tool you will use once if a neighbour or a tool library can lend it, but do not try to cut a full sheet of plywood with a handsaw either — the cuts will wander, and a sideboard built from wandering cuts will never be square.
| Item | Details | Typical cost |
|---|---|---|
| Cabinet-grade plywood, ¾ in | One 4 × 8 ft sheet (birch or oak veneer) | $60–$90 |
| Plywood, ½ in | One 4 × 4 ft sheet, back panel + drawer bottom | $20–$30 |
| Solid-wood top panel | Oak or pine, 60 × 17 in, 1 in thick | $40–$70 |
| Edge banding | Iron-on veneer tape to match the plywood | $8–$12 |
| Wood screws | #8 × 1¼ in and #8 × 2 in, about 60 screws | $8–$10 |
| Wood glue | One 16 oz (473 ml) bottle | $5–$8 |
| Concealed hinges | 4 soft-close hinges + mounting plates | $12–$20 |
| Drawer slides | One pair, 14 in, soft-close, 100 lb rated | $15–$25 |
| Knobs or pulls | 2 door knobs + 1 drawer pull | $8–$15 |
| Adjustable shelf pins | Pack of 16 | $4–$6 |
| Sandpaper | 80, 120, and 220 grit sheets | $6–$9 |
| Finish | Danish oil or polyurethane, 1 quart (0.95 L) | $12–$20 |
| Tools | Circular saw + guide, drill, sander, tape, square, clamps | $0 if owned |
| Total (60 in, birch ply) | Materials only, tools owned | $198–$315 |
Safety gear matters too: safety glasses, hearing protection when using the circular saw, and a dust mask for sanding and cutting plywood. Plywood dust is fine and irritating, and a sideboard means a lot of it. Work outside or in a well-ventilated garage when you apply the finish, and keep rags soaked in oil flat to dry — bunched-up oily rags can self-heat, so lay them flat outdoors until they are stiff and dry, then throw them away. If you are cutting a full sheet of plywood alone, use a pair of sawhorses with a sheet of rigid foam insulation underneath as a cutting platform: the foam supports the sheet, the saw blade cuts a hair into the foam, and you never have to balance a heavy sheet on a narrow bench.
Cut List for a 60-Inch Sideboard
The cut list below is for the standard sideboard in this guide: 60 inches (152 cm) wide, 36 inches (91 cm) tall, and 16 inches (41 cm) deep, built from ¾-inch (19 mm) plywood with a solid-wood top. All dimensions are finished sizes after the edges are trimmed. Cut the carcass panels first, then the shelves, then the doors and drawer parts — and always measure twice before every cut. Label every piece with a pencil as you cut it: “Left side”, “Right side”, “Top”, “Bottom”, “Shelf”, “Door L”, “Door R”. Two minutes of labelling saves a frustrating hour of guessing during assembly.
| Part | Material | Size | Quantity |
|---|---|---|---|
| Side panels | ¾ in plywood | 34½ × 15 in (88 × 38 cm) | 2 |
| Top panel (carcass) | ¾ in plywood | 58½ × 15 in (149 × 38 cm) | 1 |
| Bottom panel | ¾ in plywood | 58½ × 15 in (149 × 38 cm) | 1 |
| Centre divider | ¾ in plywood | 33 × 15 in (84 × 38 cm) | 1 |
| Back panel | ½ in plywood | 60 × 34½ in (152 × 88 cm) | 1 |
| Adjustable shelves | ¾ in plywood | 28 × 14 in (71 × 36 cm) | 2 |
| Doors | ¾ in plywood + solid edge | 28 × 30 in (71 × 76 cm) | 2 |
| Drawer front | ¾ in plywood + solid edge | 28 × 6 in (71 × 15 cm) | 1 |
| Drawer box sides | ½ in plywood | 13 × 5 in (33 × 13 cm) | 2 |
| Drawer box front/back | ½ in plywood | 26 × 5 in (66 × 13 cm) | 2 |
| Drawer bottom | ½ in plywood | 26 × 13 in (66 × 33 cm) | 1 |
| Solid-wood top | 1 in oak or pine panel | 60 × 17 in (152 × 43 cm) | 1 |
| Base / plinth | ¾ in plywood | 58 × 3 in (147 × 8 cm) | 1 |
The side panels are 34½ inches tall rather than 36 because the solid-wood top, at 1 inch thick with a small overhang, brings the total height to 36 inches. The top and bottom panels are 58½ inches long because they fit between the two ¾-inch side panels (60 minus ¾ on each side). The centre divider creates two storage bays: one behind the doors and one open shelf bay in the middle, with the drawer sitting across the top of the right-hand bay. If you are building a different width, keep the same structure and adjust only the lengths of the horizontal panels — the depths, the heights, and the door sizes follow from the overall width you choose.
The Stock-Cabinet Shortcut (Build It in Half the Time)
If the full plywood build feels like too much for a first cabinet, there is an honest shortcut that still ends with a handmade-looking sideboard: start with two stock kitchen wall cabinets or a pair of ready-made base cabinets from a home improvement store, join them together, and add your own solid-wood top, doors, and trim. A pair of 30-inch base cabinets costs roughly $120 to $200, and they arrive with the carcass, shelves, and hinges already built and square — the parts that cause beginners the most trouble. Your job becomes the enjoyable half of the project: choosing the top, fitting the doors, adding trim and hardware, and finishing it to match your room.
The shortcut is not cheating; it is a sensible way to learn the visible skills — door fitting, finishing, and hardware — before tackling a full carcass. It also makes sense when time is tight: a stock-cabinet sideboard can be finished in a single day, while a from-scratch build takes a weekend. The trade-offs are real, though. Stock cabinets come in fixed sizes, usually 30 or 36 inches wide and 24 inches deep, which is deeper than a typical sideboard and can crowd a dining room. Their interiors are plain white melamine, which looks fine behind doors but less attractive on open shelves. And you do not learn carcass construction, so your next cabinet project will still be a first. If your goal is the lowest-risk path to a beautiful sideboard this weekend, take the shortcut. If your goal is to learn furniture making, build the carcass yourself using the steps below — and know that the shortcut will still be there for your second sideboard.
Whichever route you choose, the finishing steps are the same: a solid-wood top with a small overhang, edge banding or solid trim on every visible plywood edge, quality hardware, and a careful finish. Those four details are what separate a sideboard that looks handmade from one that looks homemade. A stock cabinet with a beautiful oak top and soft-close hinges looks like a piece of furniture; a from-scratch carcass with raw plywood edges and cheap hinges does not, however well it is built.
Step 1: Measure and Mark Your Plywood
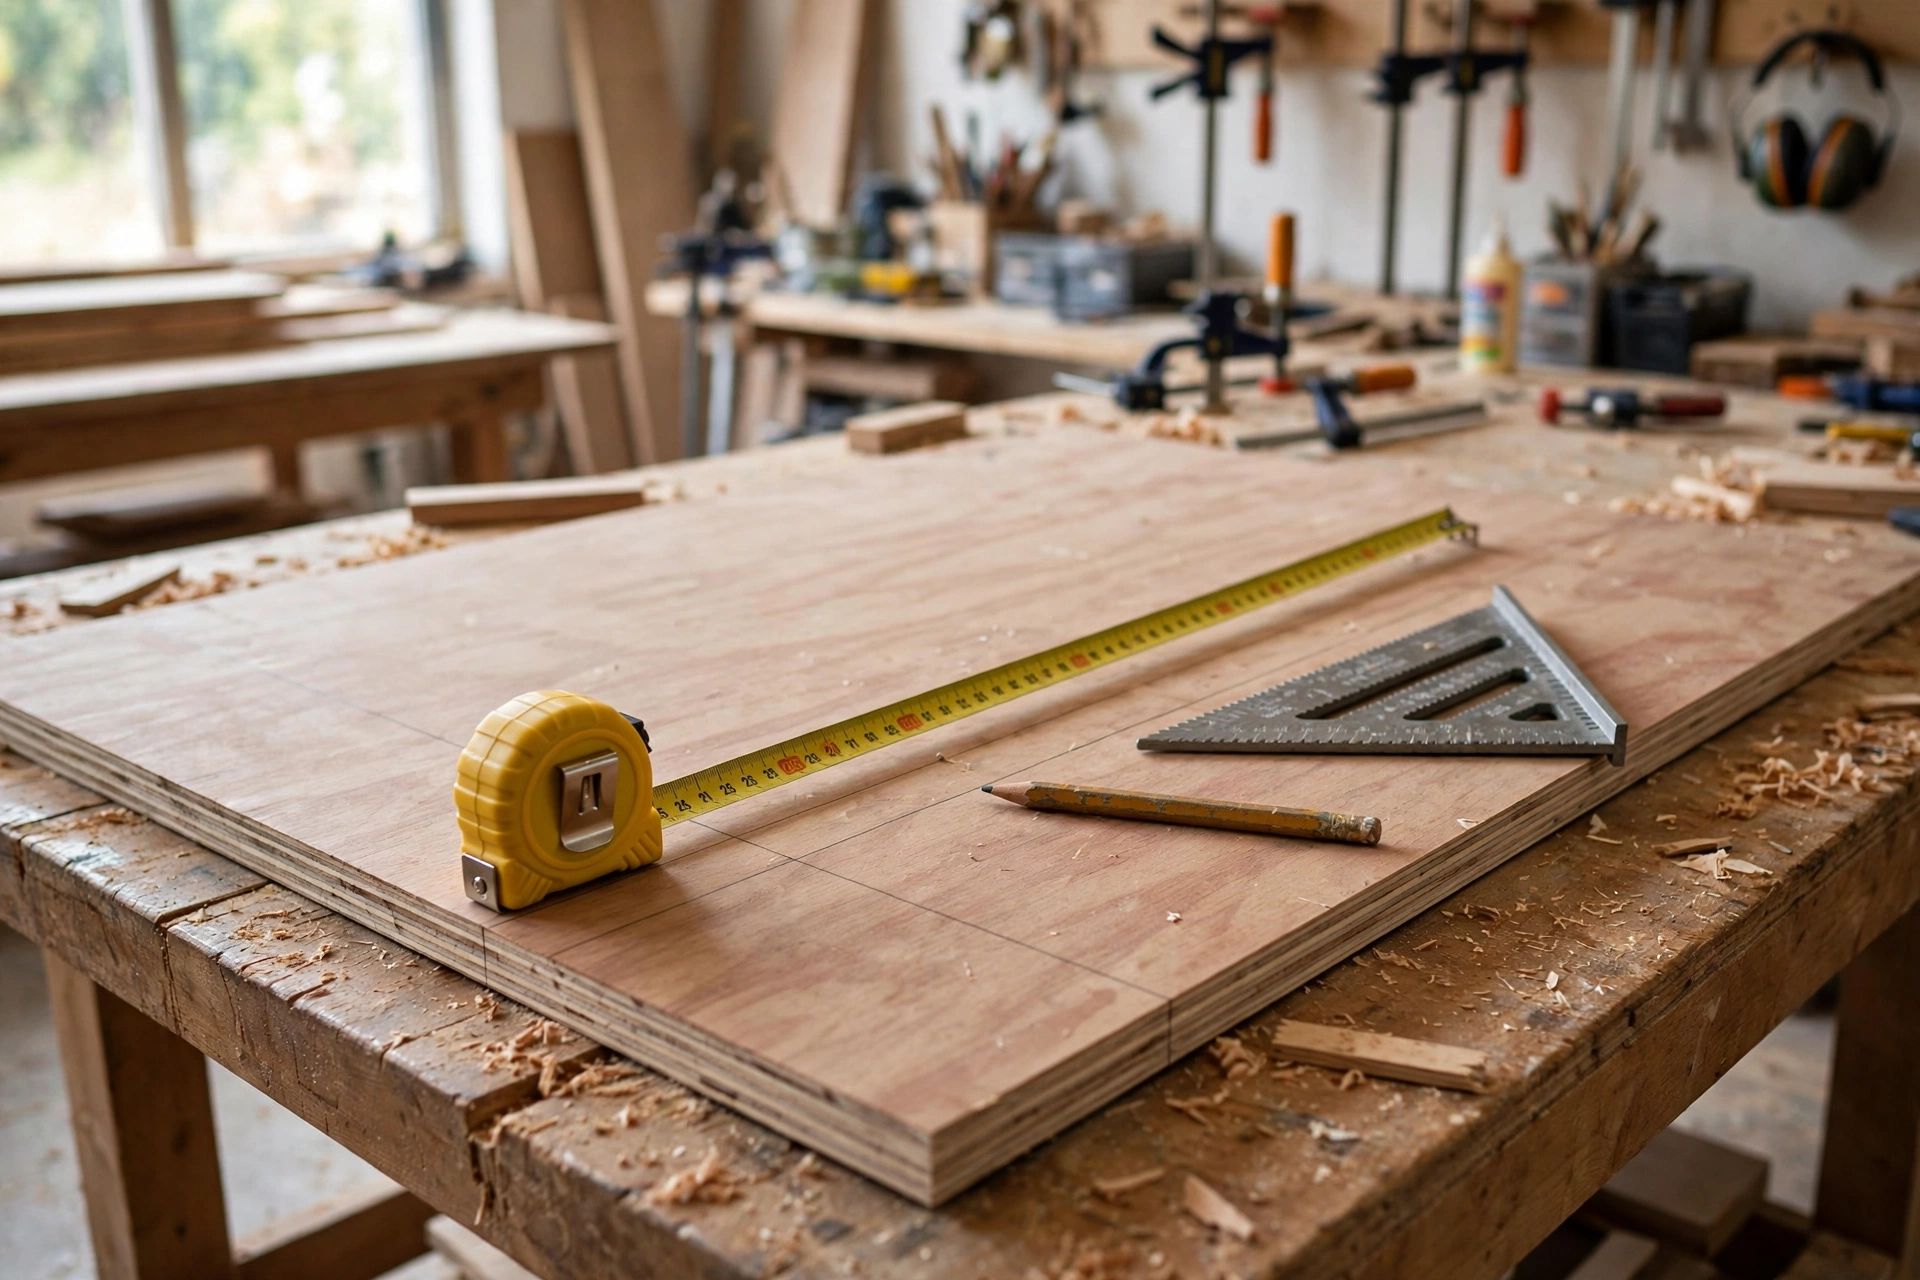
Learning how to build a wooden sideboard for beginners starts with careful measuring, because every later step depends on it. Lay the plywood sheet on your foam cutting platform or sawhorses and check it for flatness first — a sheet that rocks on the bench will give you cuts that are not square. Mark the best face of the sheet with a small pencil tick; that face goes to the outside of the cabinet. Then measure and mark each cut with a pencil and a straightedge, drawing the cut line across the full width of the sheet. A chalk line is useful for the long rips, but a pencil and a long level work just as well.
Plan your cuts on paper before you touch the saw. A 4 × 8 ft sheet gives you two 60-inch strips if you rip it lengthwise, and those strips become the sides, top, bottom, and shelves with very little waste. Sketch the layout on the sheet itself in pencil: mark the two side panels first, then the top and bottom, then the shelves and doors. Leave the saw kerf — about ⅛ inch (3 mm) per cut — in your plan, or your last piece will come out short. Label every piece as you mark it, and double-check the overall width against your wall measurement one more time. If anything has changed — a skirting board you forgot, a door frame that pinches one end — adjust the cut list now, not after the saw is running.
Step 2: Cut the Panels to Size
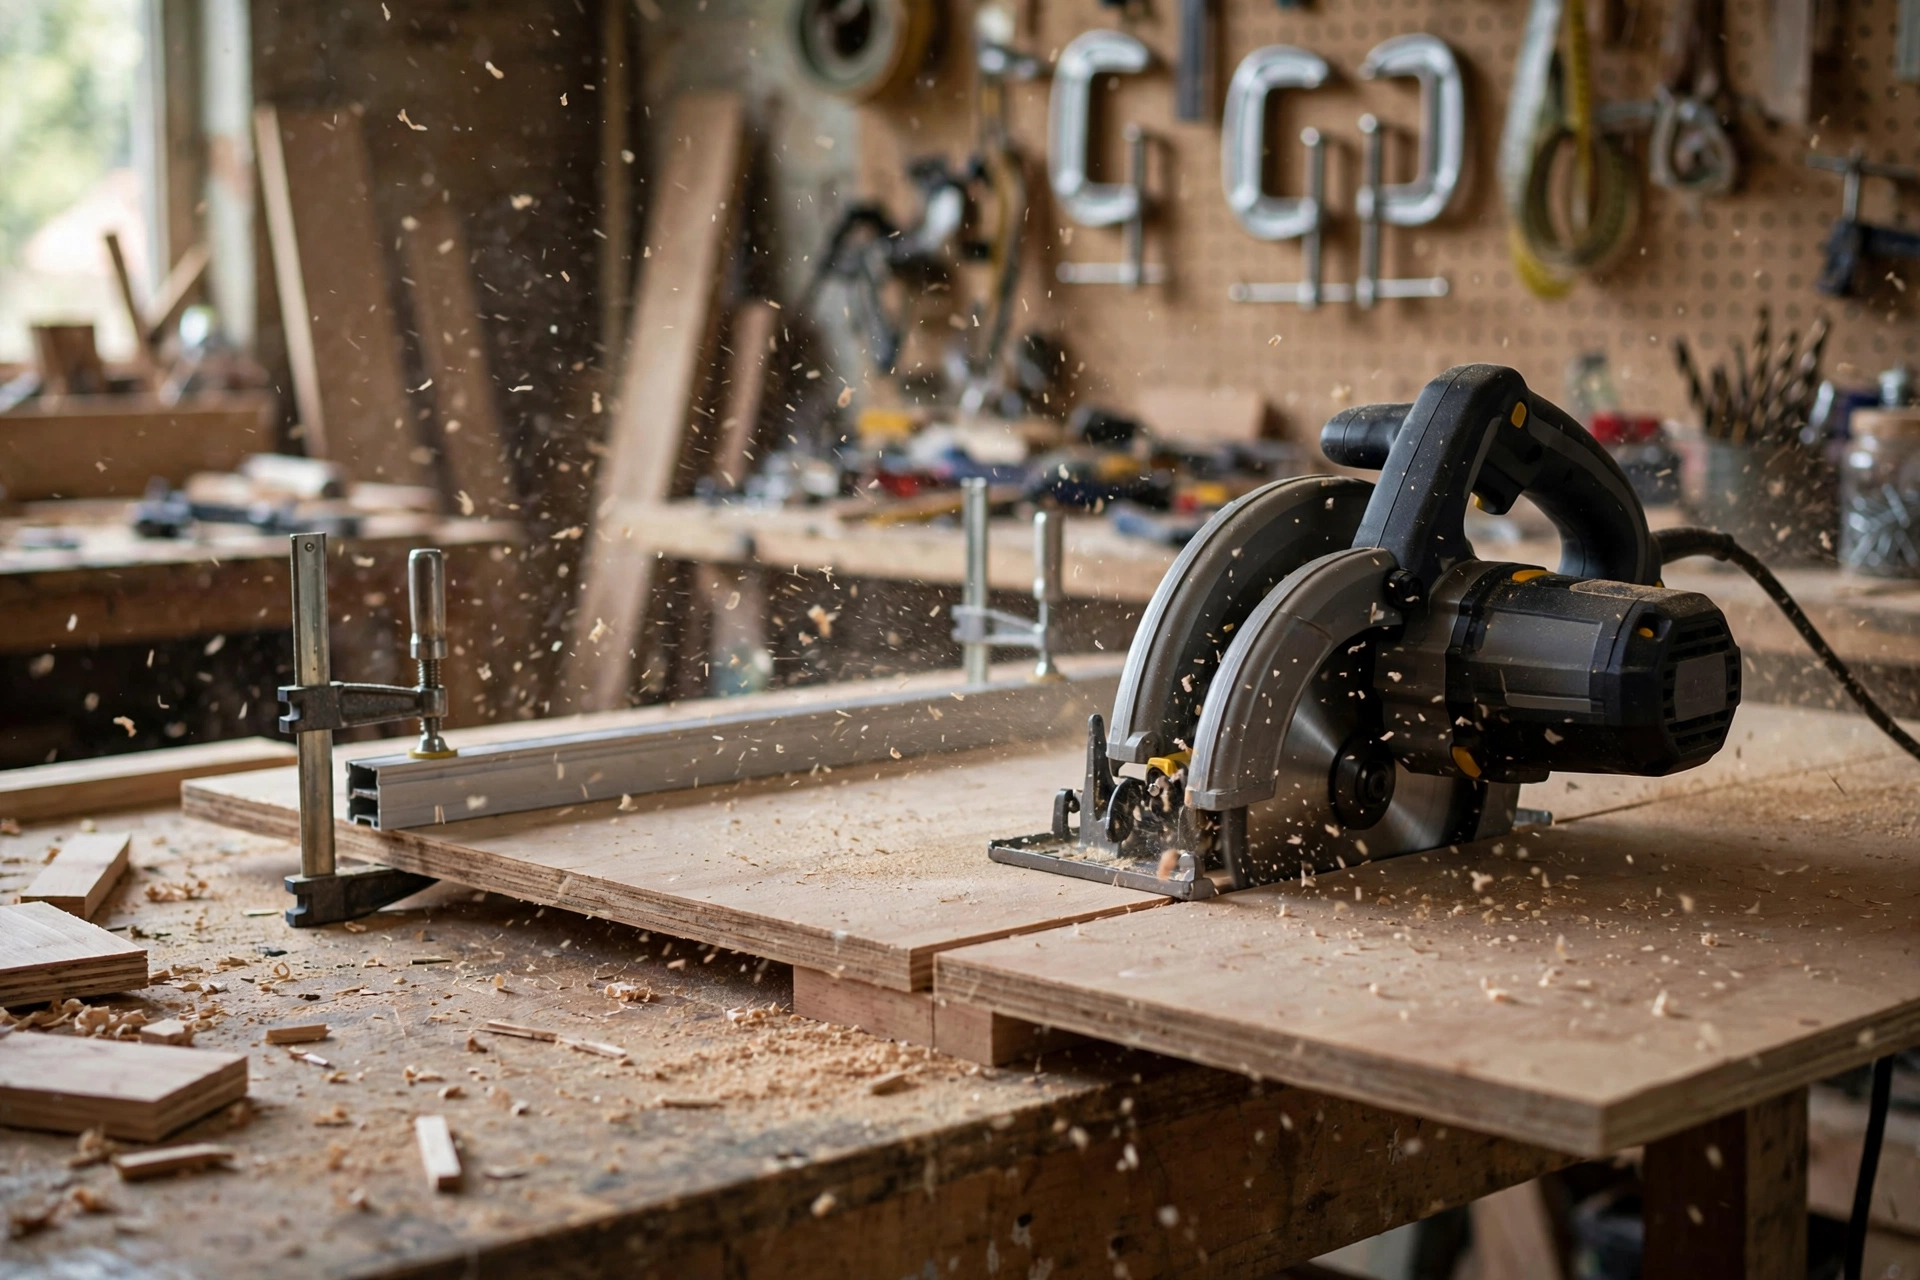
Clamp a straightedge guide to the plywood so the circular saw follows your pencil line exactly, and set the blade depth so it cuts about ¼ inch (6 mm) past the bottom of the sheet — no deeper. Cut slowly and steadily, letting the saw do the work; pushing hard causes burning, tear-out, and wandering cuts. Plywood tears out worst on the face the blade exits, so always cut with the good face down when using a circular saw, and score the cut line lightly with a sharp knife first on the face that will show. If the sheet is too big to manage alone, make the long rips first while the sheet is still whole, then cut the smaller pieces from the strips.
After cutting, dry-fit the carcass panels on the bench and check the total width against your target. A small error here — even ¼ inch (6 mm) — is easy to fix now by trimming one panel, and almost impossible to fix after assembly. Check each panel for square by measuring the diagonals: if the two diagonal measurements are equal, the panel is square. Sand the cut edges lightly with 80-grit paper to remove splinters and saw marks, and apply the iron-on edge banding to every edge that will be visible in the finished sideboard — the front edges of the sides, top, and shelves — before you assemble. Edge banding is far easier to apply and trim on a flat panel than on an assembled cabinet.
Step 3: Build the Carcass
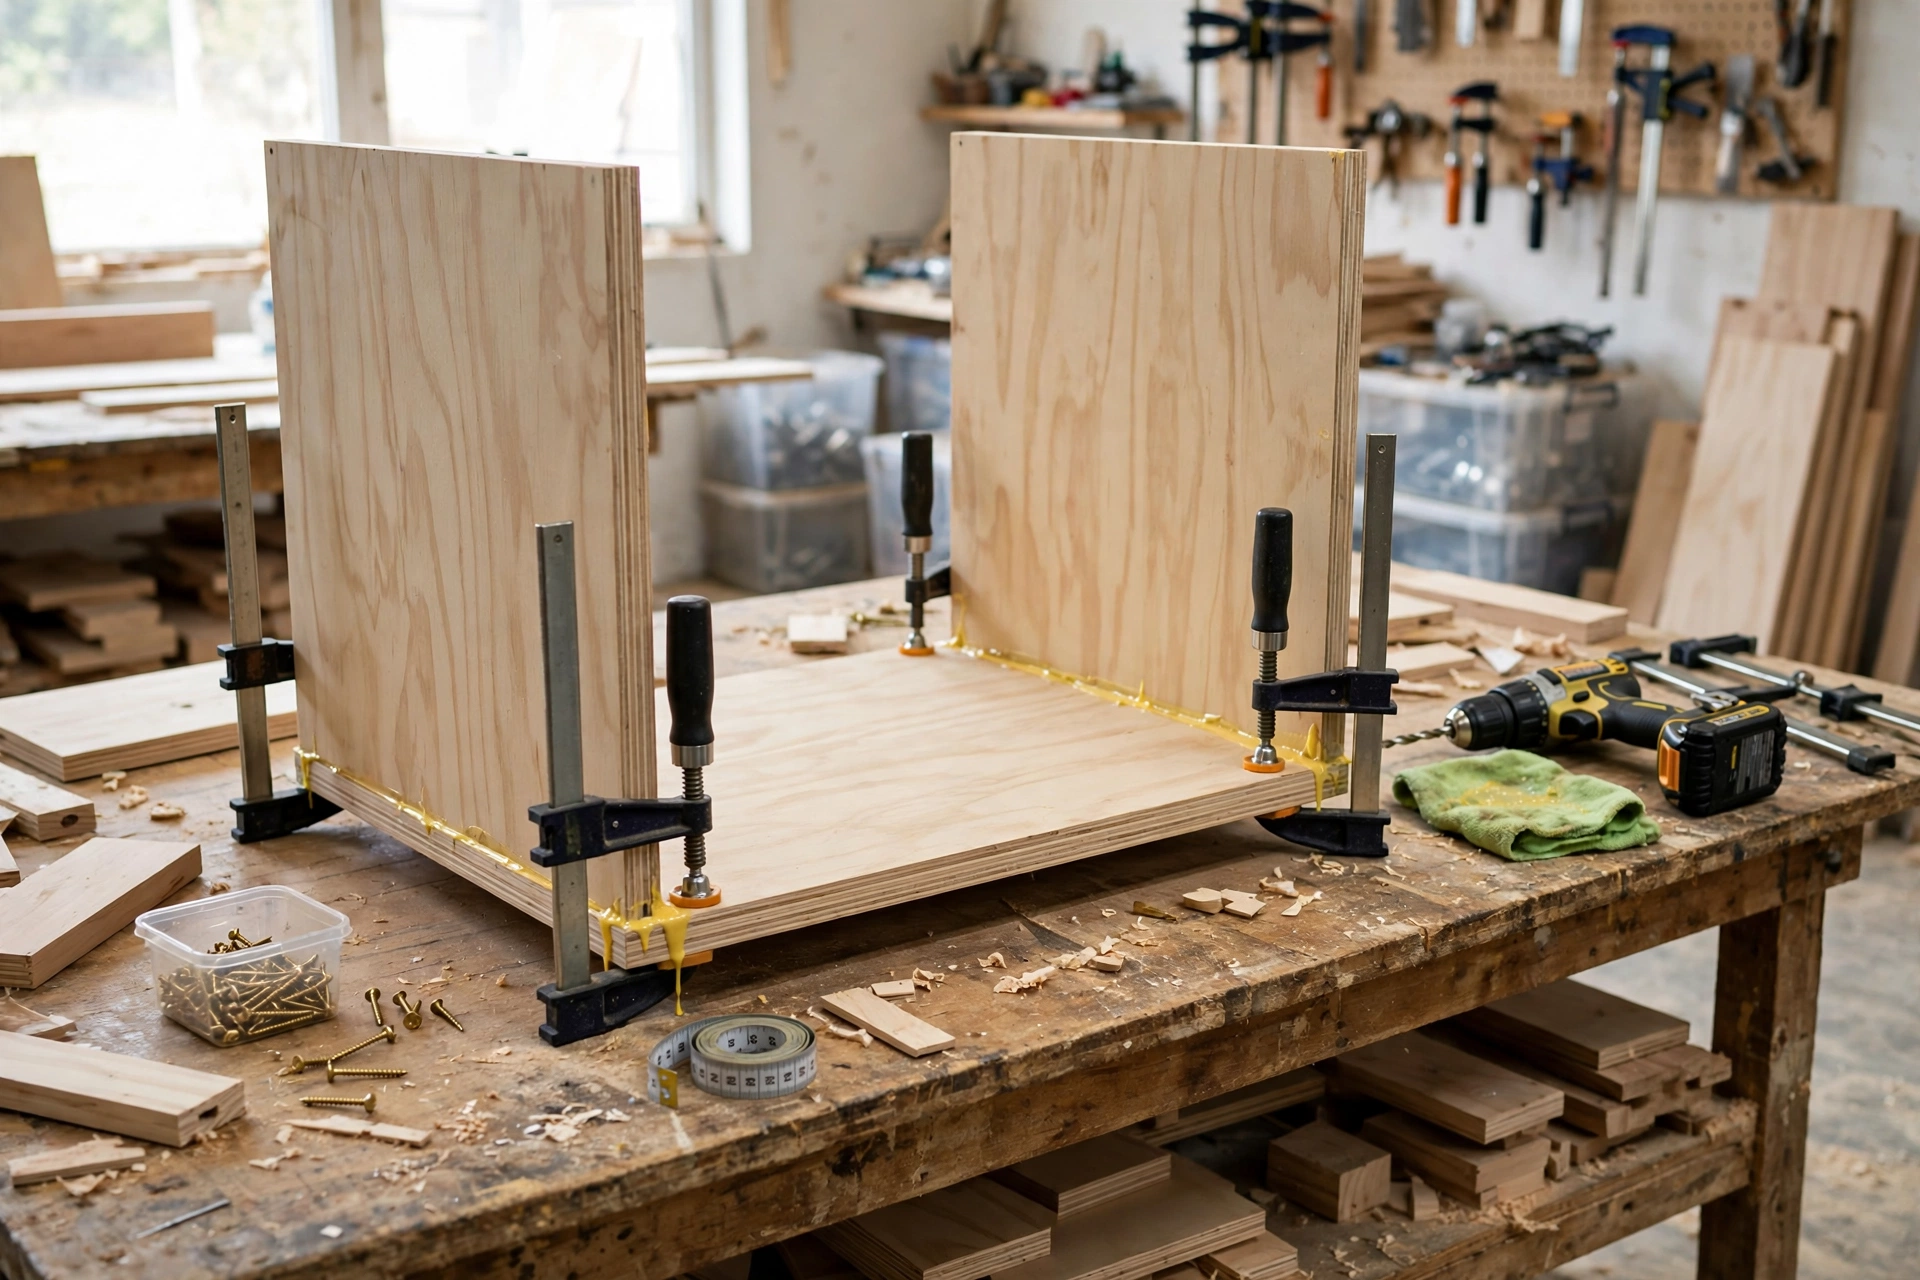
The carcass is the box that everything else hangs on, so this is the step where squareness matters most. Lay one side panel flat on the bench, spread a thin line of wood glue along the edges where the bottom panel will meet it, and drive screws through the side panel into the edge of the bottom panel. Pre-drill every screw hole with a countersink bit — plywood splits easily near the edges, and a split side panel is the most common beginner mistake in this build. Use two screws at each joint for a 15-inch-deep panel, spaced about 3 inches (8 cm) from each end. Then add the top panel the same way, and the centre divider, working on the bench with the carcass lying on its back.
Before the glue sets, check the carcass for square by measuring both diagonals across the front face. If the measurements differ, push the longer diagonal in gently until they match, then hold the box square with a clamp across the diagonal or by screwing the back panel on while the box is still clamped square. The back panel is what locks the squareness in place: glue and screw the ½-inch plywood back onto the rear edges of the carcass, with screws every 6 inches (15 cm) around the perimeter. Once the back is on, the carcass should feel rigid and should not rack — twist it gently by opposite corners and it should not move at all. If it does, add a second row of screws to the back panel before you move on.
Stand the carcass upright and check it on a flat floor. It should sit square with no rocking. If one side is a hair long, mark it and trim it now with a hand plane or a belt sander. Then drill the adjustable shelf pin holes: use a simple shop-made jig — a scrap of plywood with holes drilled at 2-inch (5 cm) spacing — to keep the rows straight and level on both side panels and the centre divider. Drill the holes before you fit the doors, while you can still reach inside the carcass easily. Finally, attach the base plinth to the bottom, set back about 2 inches (5 cm) from the front face, which gives the sideboard its furniture look and hides the gap under the cabinet.
Step 4: Fit the Doors, Drawer, and Shelves
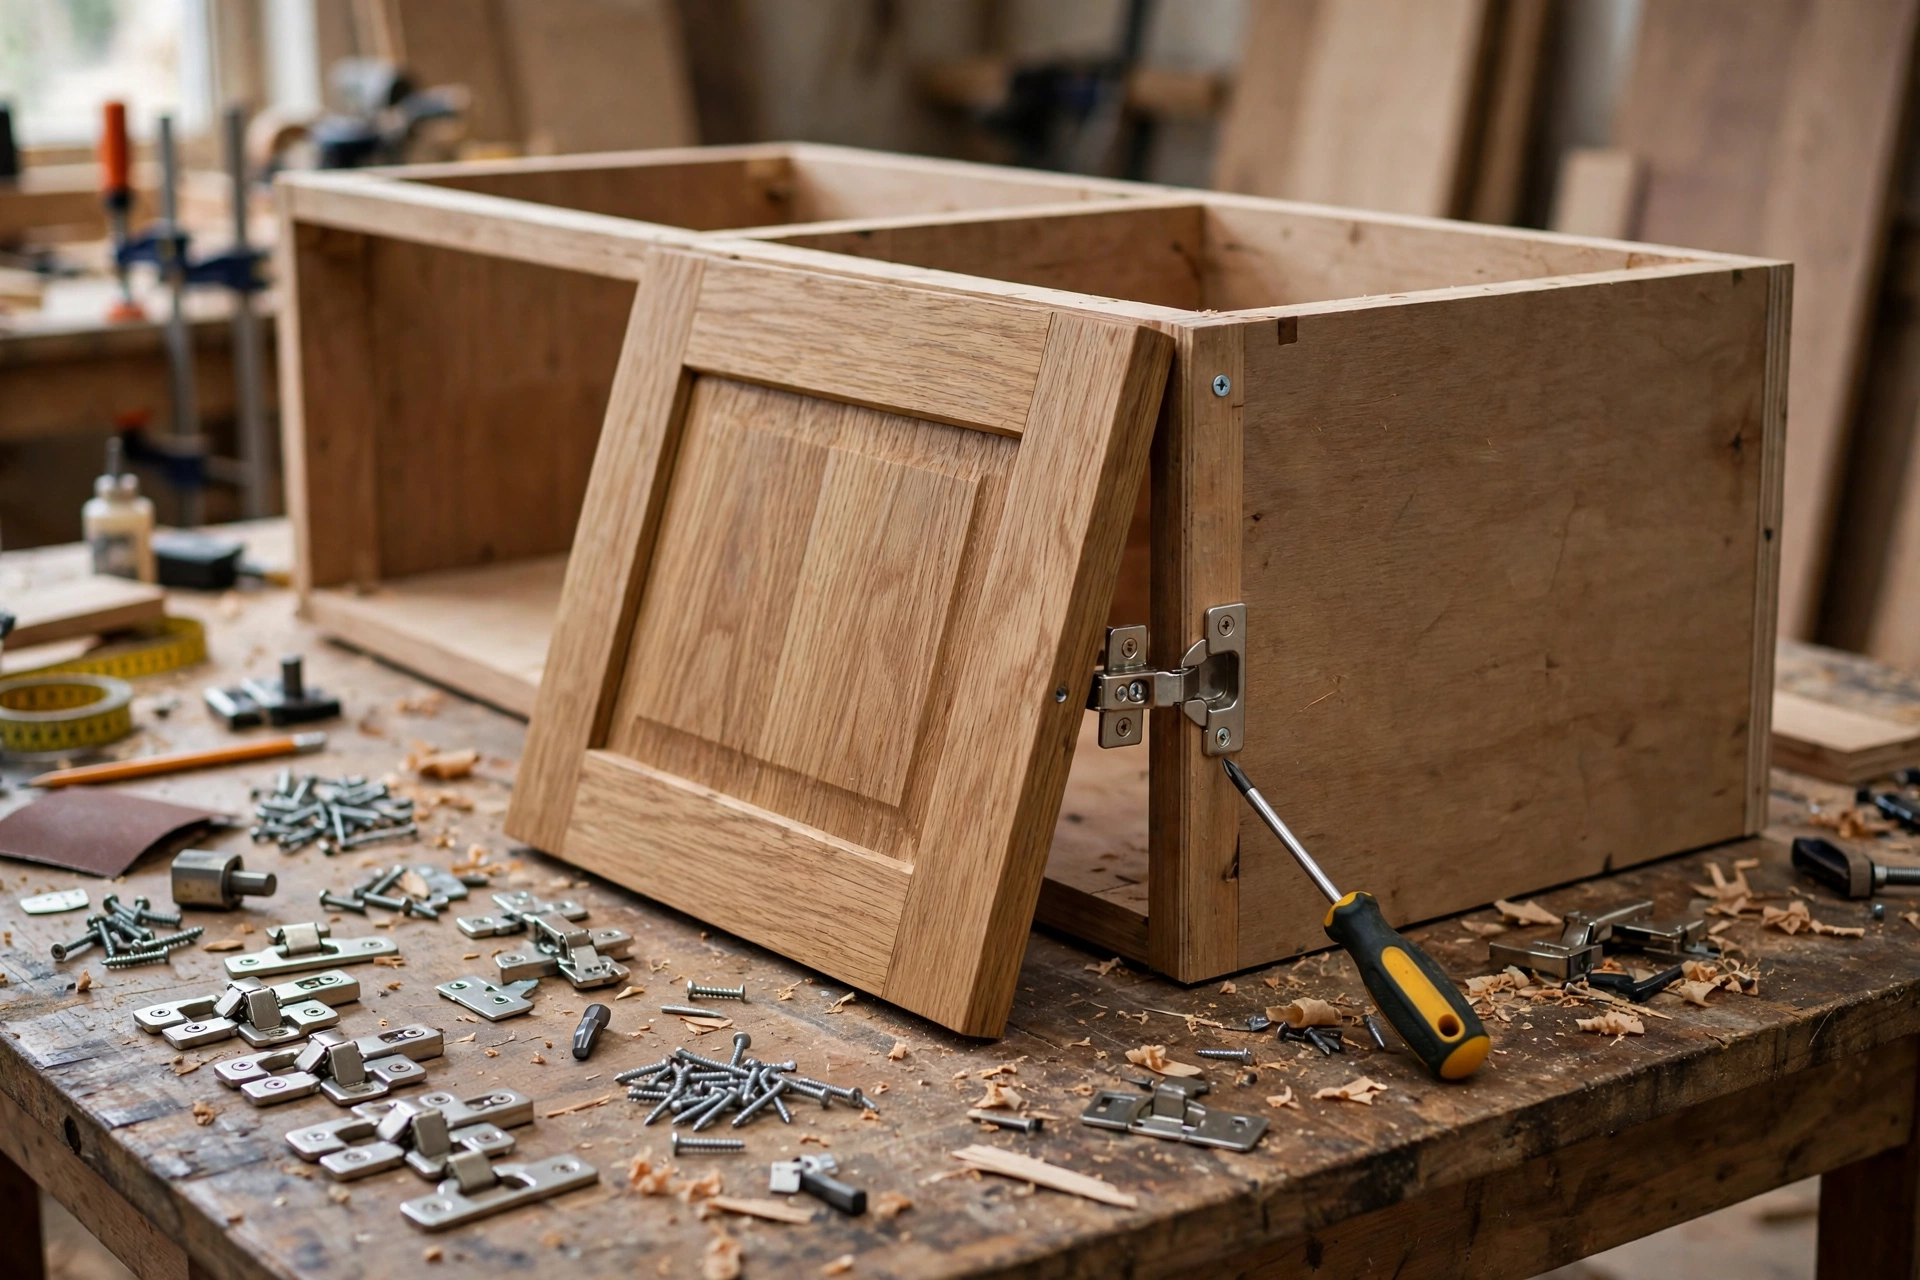
Doors are the part of learning how to build a wooden sideboard for beginners that worries people most, and they are also the part where concealed hinges earn their keep. A concealed hinge, also called a European hinge, mounts in a 35 mm cup hole drilled into the back of the door, and it adjusts in three directions after the door is hung — up and down, in and out, and side to side. That adjustability is what makes doors forgiving for a beginner: you can hang the door roughly right, then dial the gaps even with a screwdriver. Use a 35 mm Forstner bit in your drill to cut the cup holes, 3 inches (8 cm) from the top and bottom edges of each door, and drill on a scrap piece first to set the depth.
Hang one door at a time. Clip the hinge arms onto the mounting plates screwed inside the carcass, close the door, and check the gaps: you want an even ⅛-inch (3 mm) gap around all four edges of the door. Adjust the screws on the hinge arms until the gaps are even and the door closes without rubbing. If a door is slightly too big, trim it with a hand plane or a sander rather than forcing it — a door that rubs will never close quietly. Then build the drawer box from the ½-inch plywood parts, gluing and screwing the sides to the front and back and sliding the bottom into a groove or simply screwing it underneath. Mount the drawer slides to the inside of the carcass first, level and parallel, then slide the drawer box onto them. A drawer that sticks is almost always caused by slides that are not level, so check with a small spirit level before you tighten the screws.
Fit the shelves last, dropping them onto the shelf pins at the heights you planned. Check that each shelf sits level and does not rock — a rocking shelf means one pin hole is slightly off, and moving that pin one hole up or down usually fixes it. Then fit the knobs and pulls, drilling through the doors and drawer front from the front face with a backing board clamped behind to prevent tear-out. Stand back and open and close everything several times. Doors should swing freely and close with a soft click, the drawer should glide smoothly, and the gaps should look even from across the room. If anything binds, adjust the hinges before you move on to finishing — paint and oil will not fix a rubbing door.
Step 5: Sand and Finish Your Sideboard
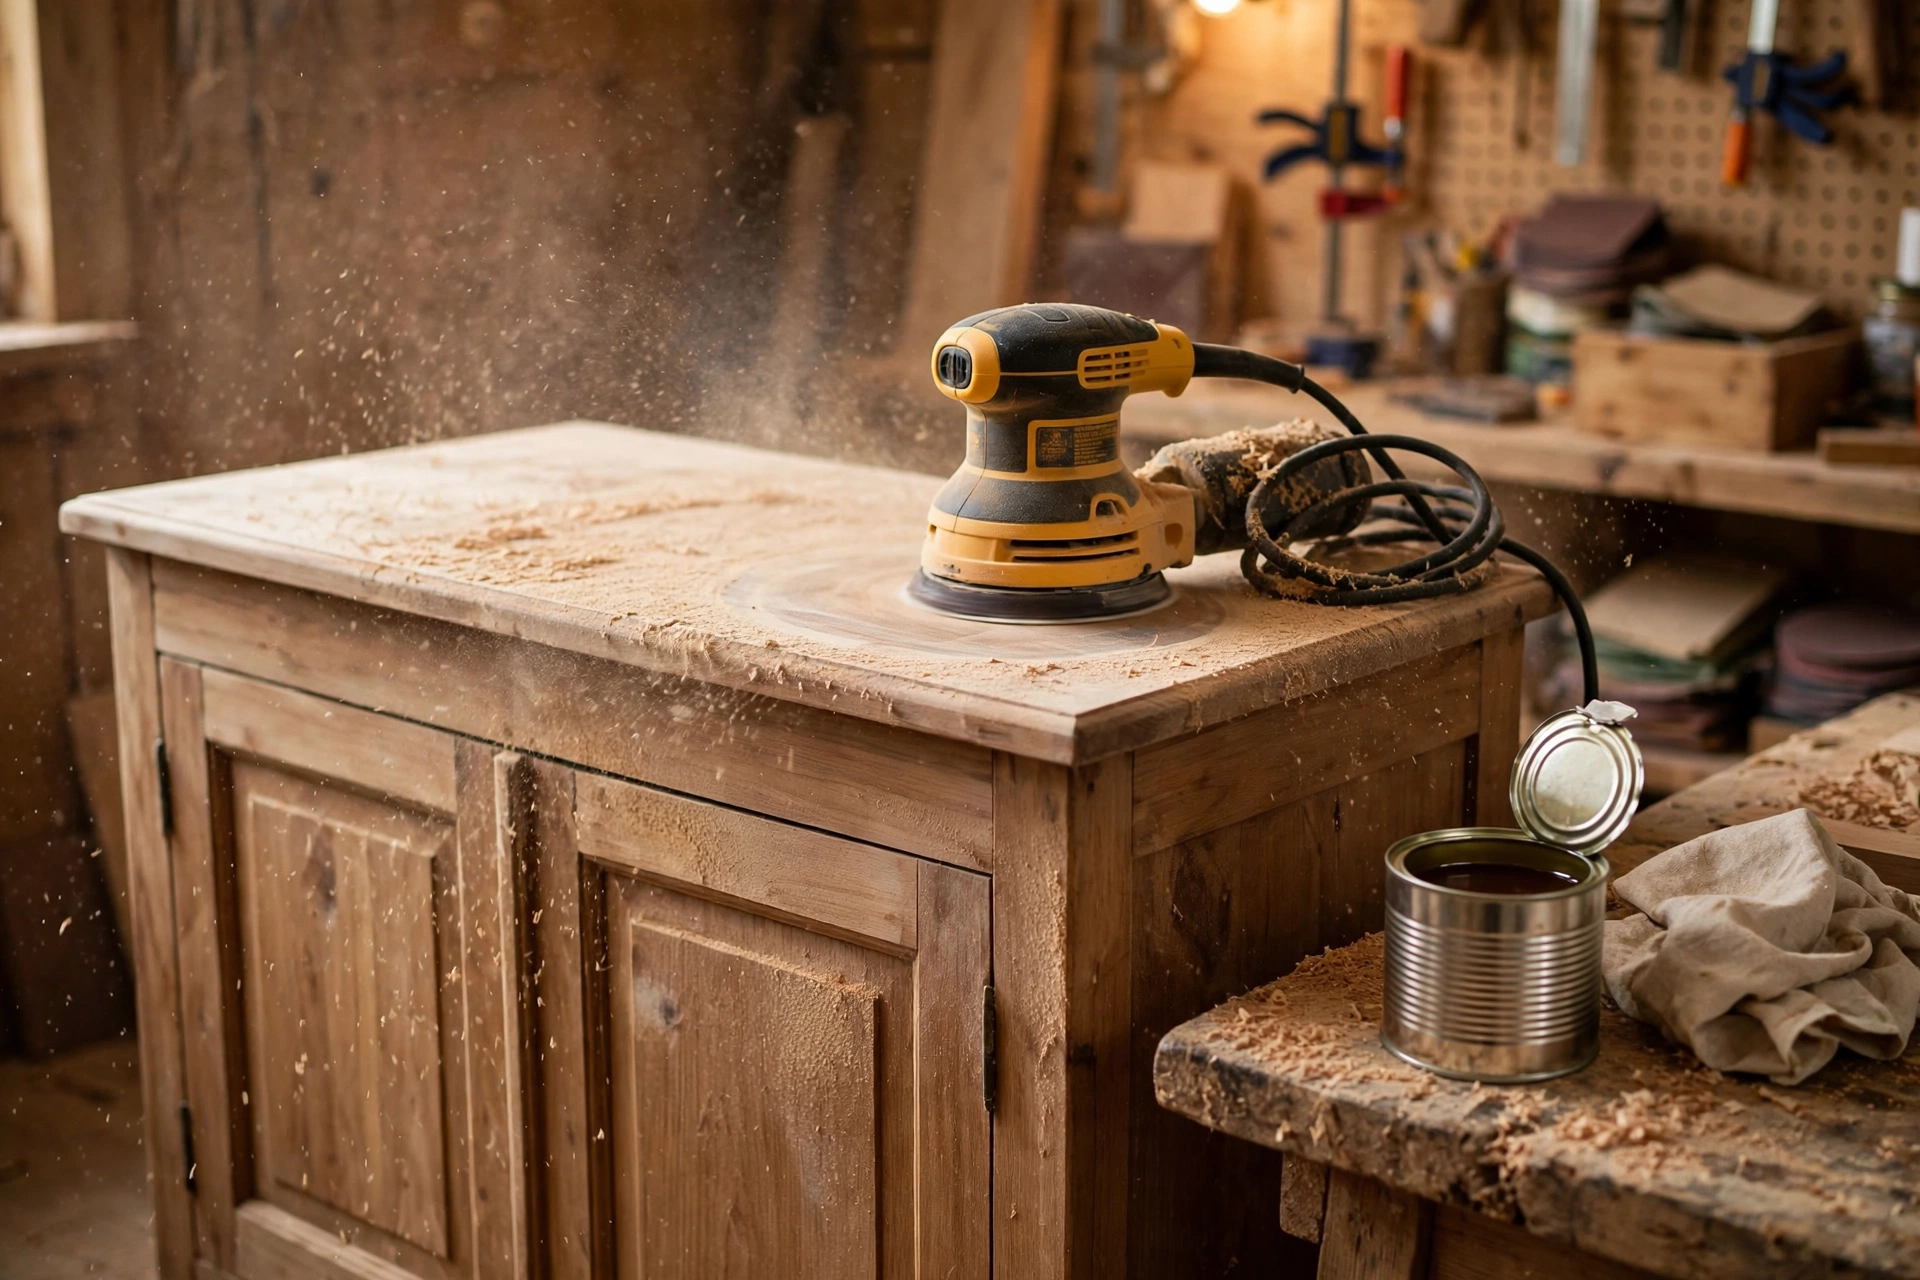
Sanding is where a beginner build starts to look professional, so do not rush it. Sand the carcass, the doors, and the solid-wood top in three passes: 80 grit to remove saw marks and level the joints, 120 grit to smooth the surface, and 220 grit for a silky final finish. Always sand with the grain, never across it, and round over the sharp front edges slightly with the 120-grit paper — a sideboard is something people brush past in a dining room, and sharp edges are uncomfortable and chip easily. Vacuum or wipe the dust off with a tack cloth between grits; dust left behind shows up as rough spots under the finish. Edge banding needs a light touch: sand it flush with 120 grit and no coarser, or you will sand through the thin veneer. For the full technique, including grit progression and the most common sanding mistakes, read our guide on how to apply polyurethane for beginners.
For the finish, Danish oil is the most forgiving choice for a first sideboard: wipe it on with a cloth, wait 15 minutes, wipe off the excess, and repeat for two or three coats. It deepens the plywood veneer beautifully and is easy to repair later — a scratched spot just needs a fresh wipe of oil. If you want a harder, more wipeable surface for a dining room that sees daily use, apply a wood stain first if you want colour, let it dry fully, then seal it with two or three coats of wipe-on polyurethane. If you want paint, prime the plywood first with a good primer, sand it smooth, and use two coats of a hard-wearing satin paint; painted sideboards look smart in modern dining rooms and hide plywood edges completely. Attach the solid-wood top last, from underneath, with screws through the carcass top panel into the underside of the top — never from above, where the screw heads would show. Let the final coat cure for at least 24 hours before you load the sideboard with dishes and put it against the wall.
Styling Your Finished Sideboard
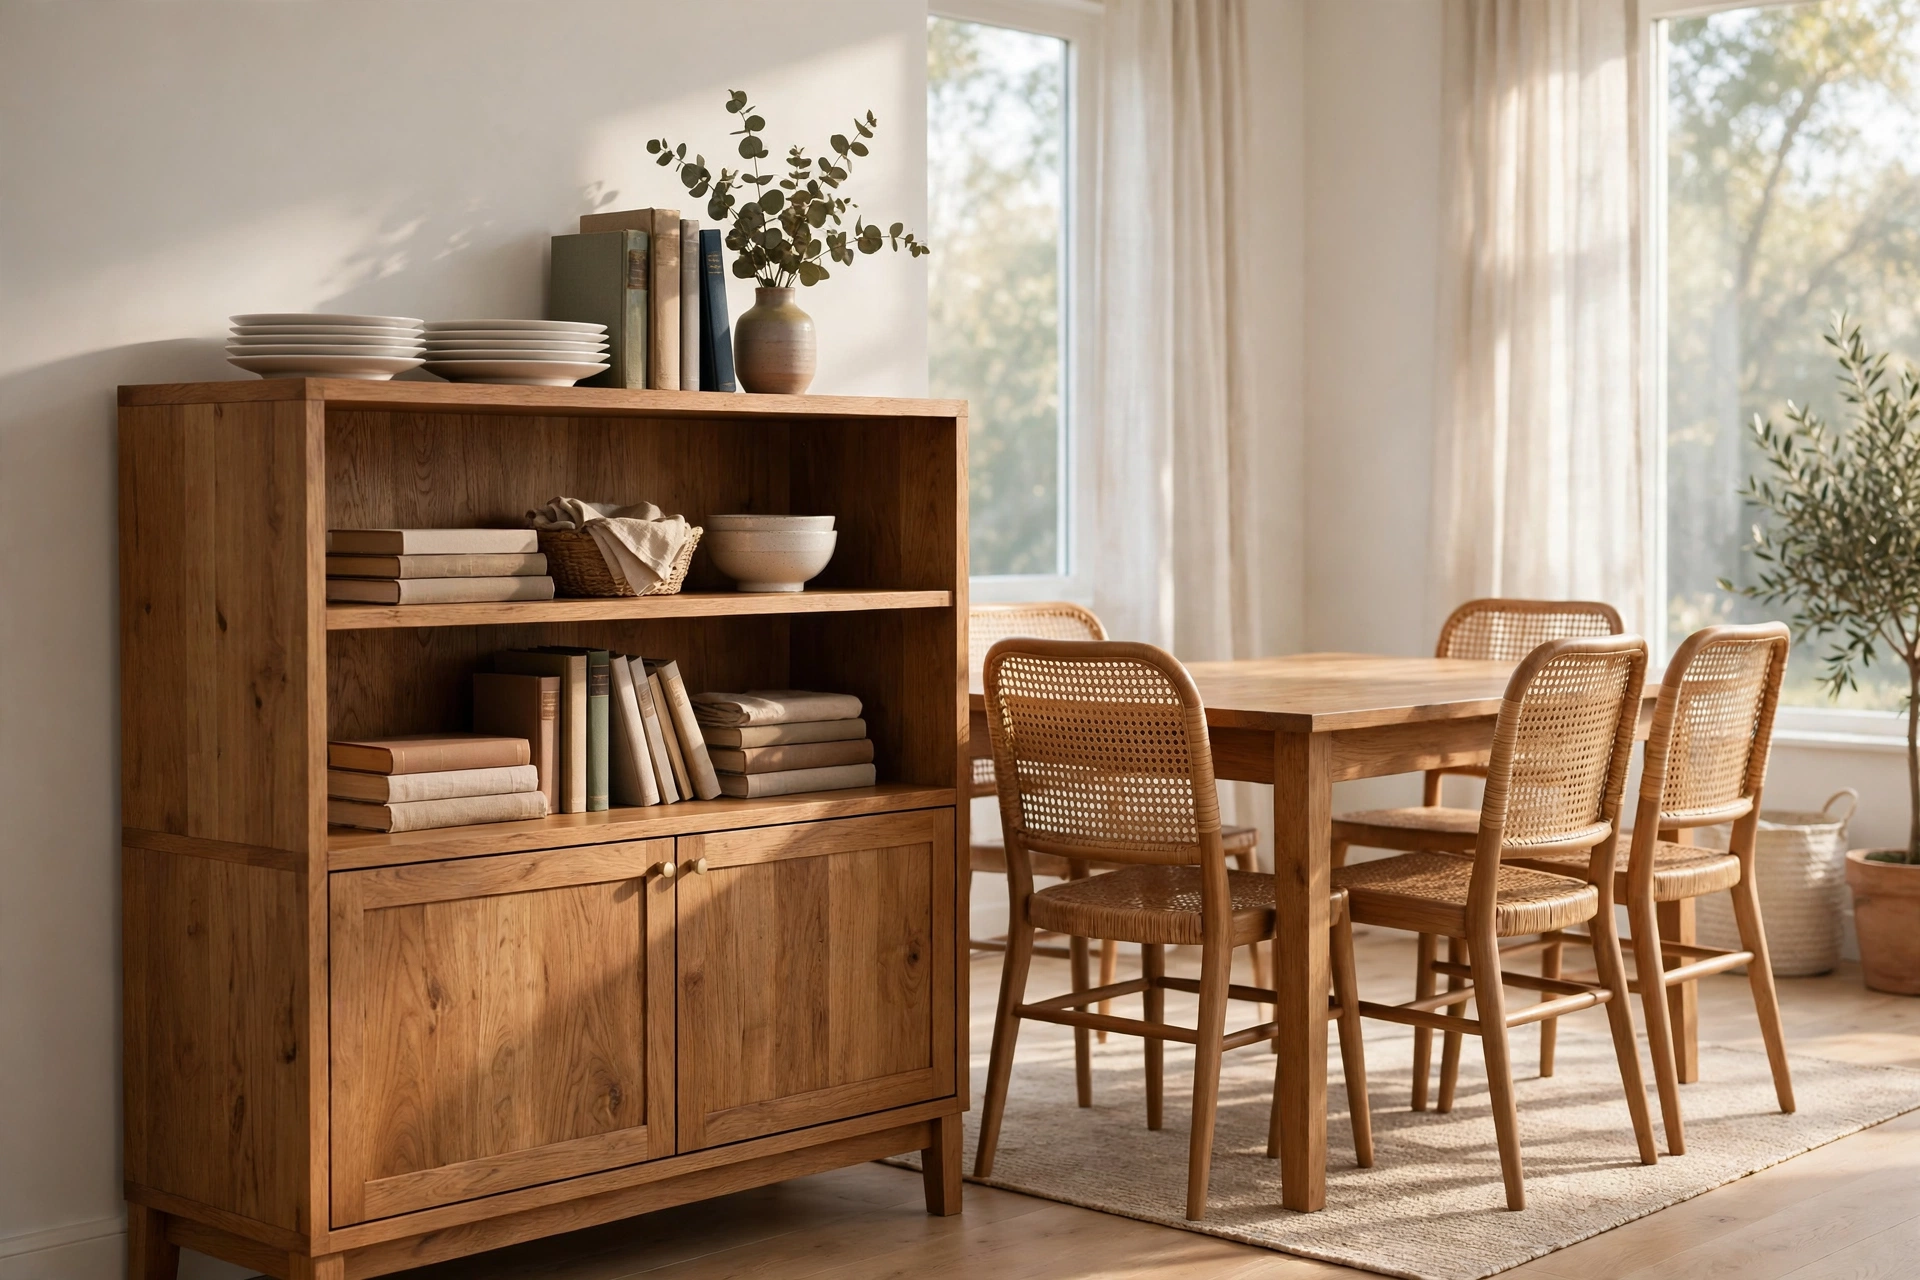
Once the finish has cured, move the sideboard into place and style it. The top is the stage: a low, wide arrangement looks best — a vase with dried stems, a stack of two or three books, and a ceramic bowl or a candle, grouped toward one end rather than spread evenly across the whole top. Leave some empty space; a crowded top makes the sideboard look like a shelf rather than a piece of furniture. Inside, put the everyday things behind the doors and the pretty things on the open shelves: a stack of plates, a few favourite bowls, or a row of cookbooks. The centre drawer holds placemats, napkins, and candles, so they are within reach when you set the table.
Hang a mirror or a piece of art above the sideboard to complete the wall — a round mirror works well over a 60-inch sideboard, and it reflects light back into the dining room. A pair of matching lamps, one at each end, suits a larger 72-inch sideboard, but a single lamp is enough for the standard size. If you want to extend the look, build a matching wall piece next: our guide on how to build floating shelves for beginners shows how to make shelves in the same wood and finish, so the whole dining room feels designed rather than assembled piece by piece. To keep the sideboard looking new, dust it weekly, wipe spills straight away, and re-oil an oil-finished top once a year or whenever the wood starts to look dry. A sideboard built this way will last for decades, and because you built it to your exact measurements, it will fit your next home too.
Common Mistakes to Avoid
Most problems when you learn how to build a wooden sideboard for beginners come from rushing one of these steps — slow down here and the rest of the build goes smoothly.
Skipping the dry fit. Assembling without a dry fit hides a crooked carcass until the glue has set. Always lay out every panel, check the width and the diagonals, and clamp the box together dry before you reach for the glue bottle.
Not pre-drilling screw holes. Plywood splits, especially within 2 inches (5 cm) of a panel edge. A quick pilot hole with a countersink bit takes five seconds and saves a side panel.
Cutting without a straightedge guide. Freehand circular saw cuts wander, and a carcass built from wandering cuts will never be square. Clamp a straight board or a track to the sheet as a guide for every single cut.
Forgetting the back panel until the end. The back panel is what locks the carcass square. Fit it while the box is still clamped square, not after the glue has dried with the box out of square.
Leaving plywood edges raw. Raw plywood edges absorb finish unevenly and look unfinished. Iron on edge banding or glue on solid-wood trim before assembly, while the panels are still flat on the bench.
Hanging doors before the finish is dry. Doors fitted onto a tacky finish stick, mark, and never close cleanly. Finish the carcass and the doors separately, let them cure fully, then hang the doors and adjust the hinges.
Overloading the shelves. A ¾-inch plywood shelf spanning 28 inches holds dinnerware easily, but a 60-inch span with no centre divider will sag over time. Keep spans under 30 inches, or add a divider — which is why this design has one.
How Much Does It Cost and How Long Does It Take?
For a 60-inch birch plywood sideboard with a solid-wood top, expect $200 to $315 in materials if you already own the tools — roughly a third of the price of a comparable shop-bought sideboard, and yours will be sized exactly to your wall. A smaller 48-inch version comes in around $160 to $250, and a 72-inch oak-veneer version around $280 to $420, since you need a second sheet of plywood and a wider top. The stock-cabinet shortcut costs a little more in materials — about $250 to $380 all in — but saves a full day of work. Hardwood versions, built entirely from solid oak or walnut, cost two to three times more in lumber alone. Time-wise, plan for 6 to 8 hours of hands-on work spread over a weekend: an hour to measure and mark, an hour to cut, two hours to assemble the carcass, an hour to fit doors and the drawer, an hour to sand, and an hour to finish, plus overnight drying between finish coats. If you enjoy the process, the same skills transfer directly to your next dining room project — a matching sideboard and floating shelves in the same finish make the whole room feel designed.
Frequently Asked Questions
How much does it cost to build a wooden sideboard?
A 60-inch birch plywood sideboard with a solid-wood top costs about $200 to $315 in materials if you already own the tools. A smaller 48-inch version costs roughly $160 to $250, and a 72-inch oak-veneer version about $280 to $420. The stock-cabinet shortcut costs around $250 to $380 all in.
What is the best wood for a beginner sideboard?
Cabinet-grade birch plywood is the best choice for a first sideboard: it is flat, stable, strong, and affordable, and one 4 × 8 ft sheet is enough for the whole carcass. Use a solid-wood panel for the top, and solid trim or iron-on edge banding on every visible plywood edge. Save solid oak or walnut for a later project.
Can I build a sideboard without a table saw?
Yes. A circular saw with a clamped straightedge guide makes every cut in this project — it just takes a little longer than a table saw. Many lumber yards will also make the first long rip cut for a small fee, so you can have the sheet broken down at the store and do the smaller cuts at home.
Should my sideboard have doors or open shelves?
Open shelves are easier and best for display storage, while doors hide clutter and protect contents from dust. For a first sideboard, the mixed layout in this guide — two doors, a centre drawer, and one open bay — gives you both. If you are nervous about doors, build the carcass with open shelves first and add the doors on a second weekend.
How do I stop my sideboard doors from sagging or rubbing?
Use concealed hinges, which adjust in three directions after the door is hung, and leave an even ⅛-inch (3 mm) gap around each door. Pre-drill every screw hole, keep the carcass square with the back panel, and never force a door that rubs — trim it with a hand plane or a sander instead. Check the hinges again after a week, once the wood has settled.
How do I keep a plywood sideboard from looking cheap?
Four details make the difference: edge banding or solid-wood trim on every visible plywood edge, a solid-wood top with a small overhang, quality soft-close hinges and hardware, and a careful three-grit sanding and finish. A sideboard with those four details looks like furniture; without them, it looks like a plywood box.
Recommended Products for This Project
As an Amazon Associate, I earn from qualifying purchases.

DEWALT 20V MAX Cordless Drill/Driver Kit (DCD771C2)
Drives every screw in this sideboard carcass and pre-drills clean pilot holes so the plywood never splits.

Titebond III Ultimate Wood Glue 1413 (8 oz)
Waterproof, strong wood glue that locks the carcass joints together before a single screw goes in.
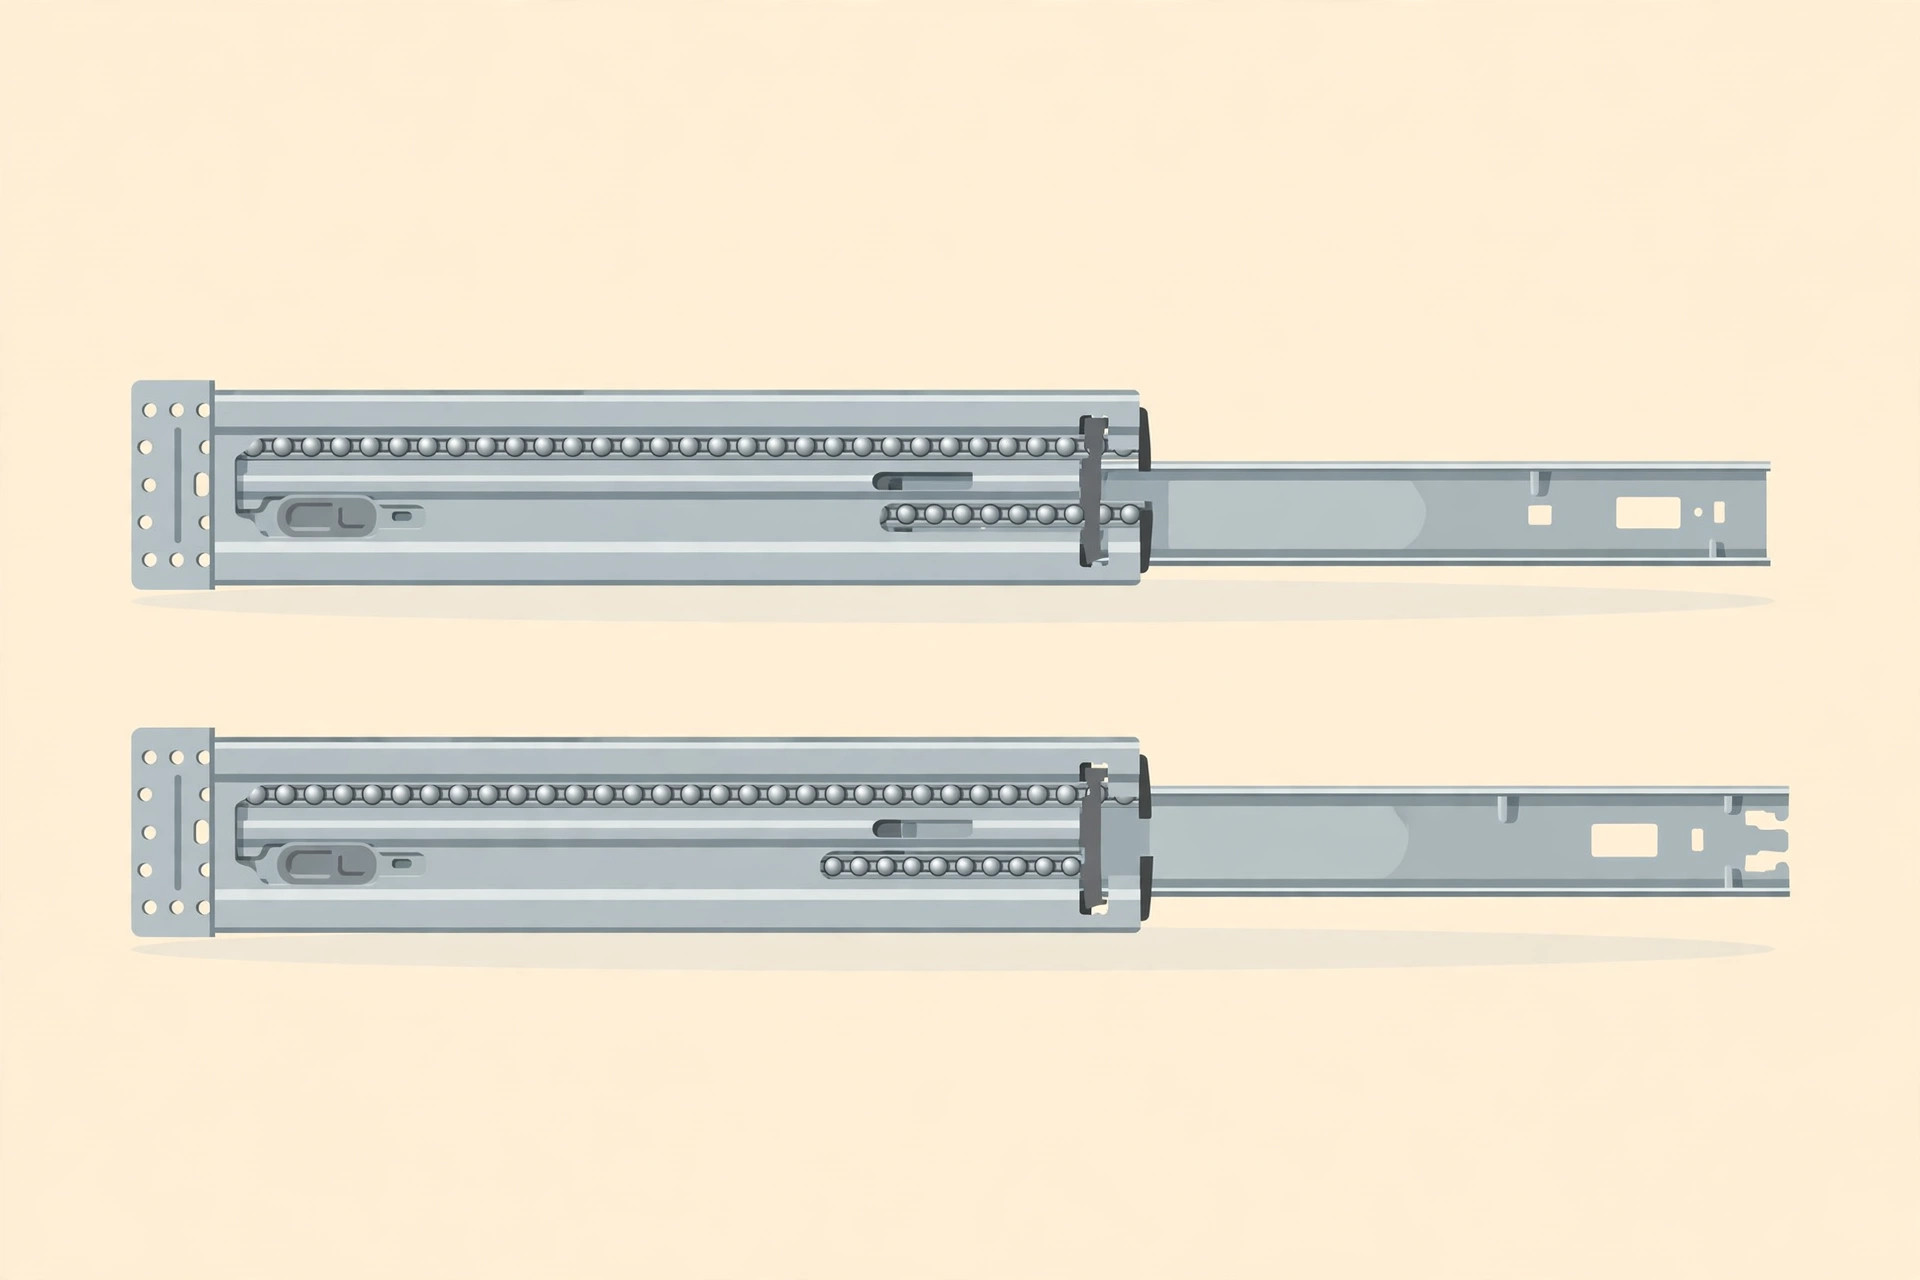
VALISY Soft Close Drawer Slides 14 Inch, 1 Pair, 100 lb
Soft-close slides rated to 100 lb, so the centre drawer glides smoothly even loaded with cutlery and linens.
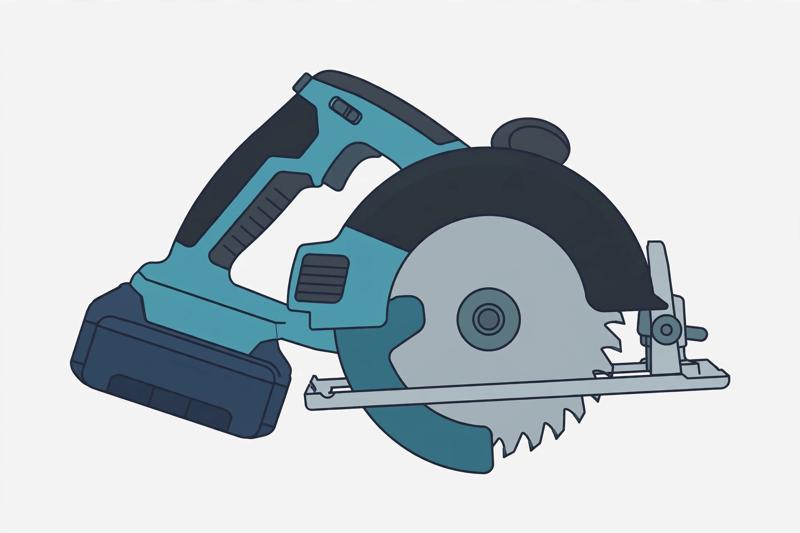
DEWALT 20V MAX Circular Saw DCS391B, 6-1/2-inch
Makes the long, straight plywood rips this sideboard needs, guided by a clamped straightedge for square cuts.
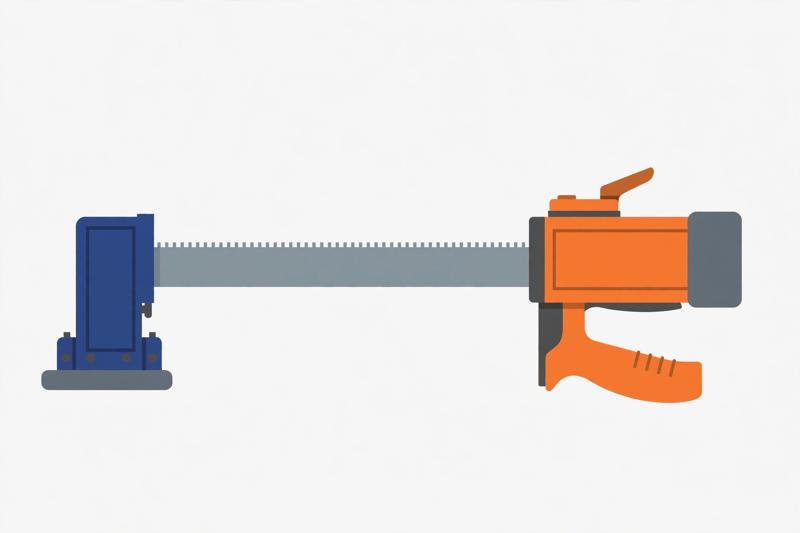
IRWIN QUICK-GRIP 12-inch Heavy-Duty Bar Clamp (1964712)
Holds the carcass square while the glue sets, so the sideboard assembles true and the doors hang straight.


