
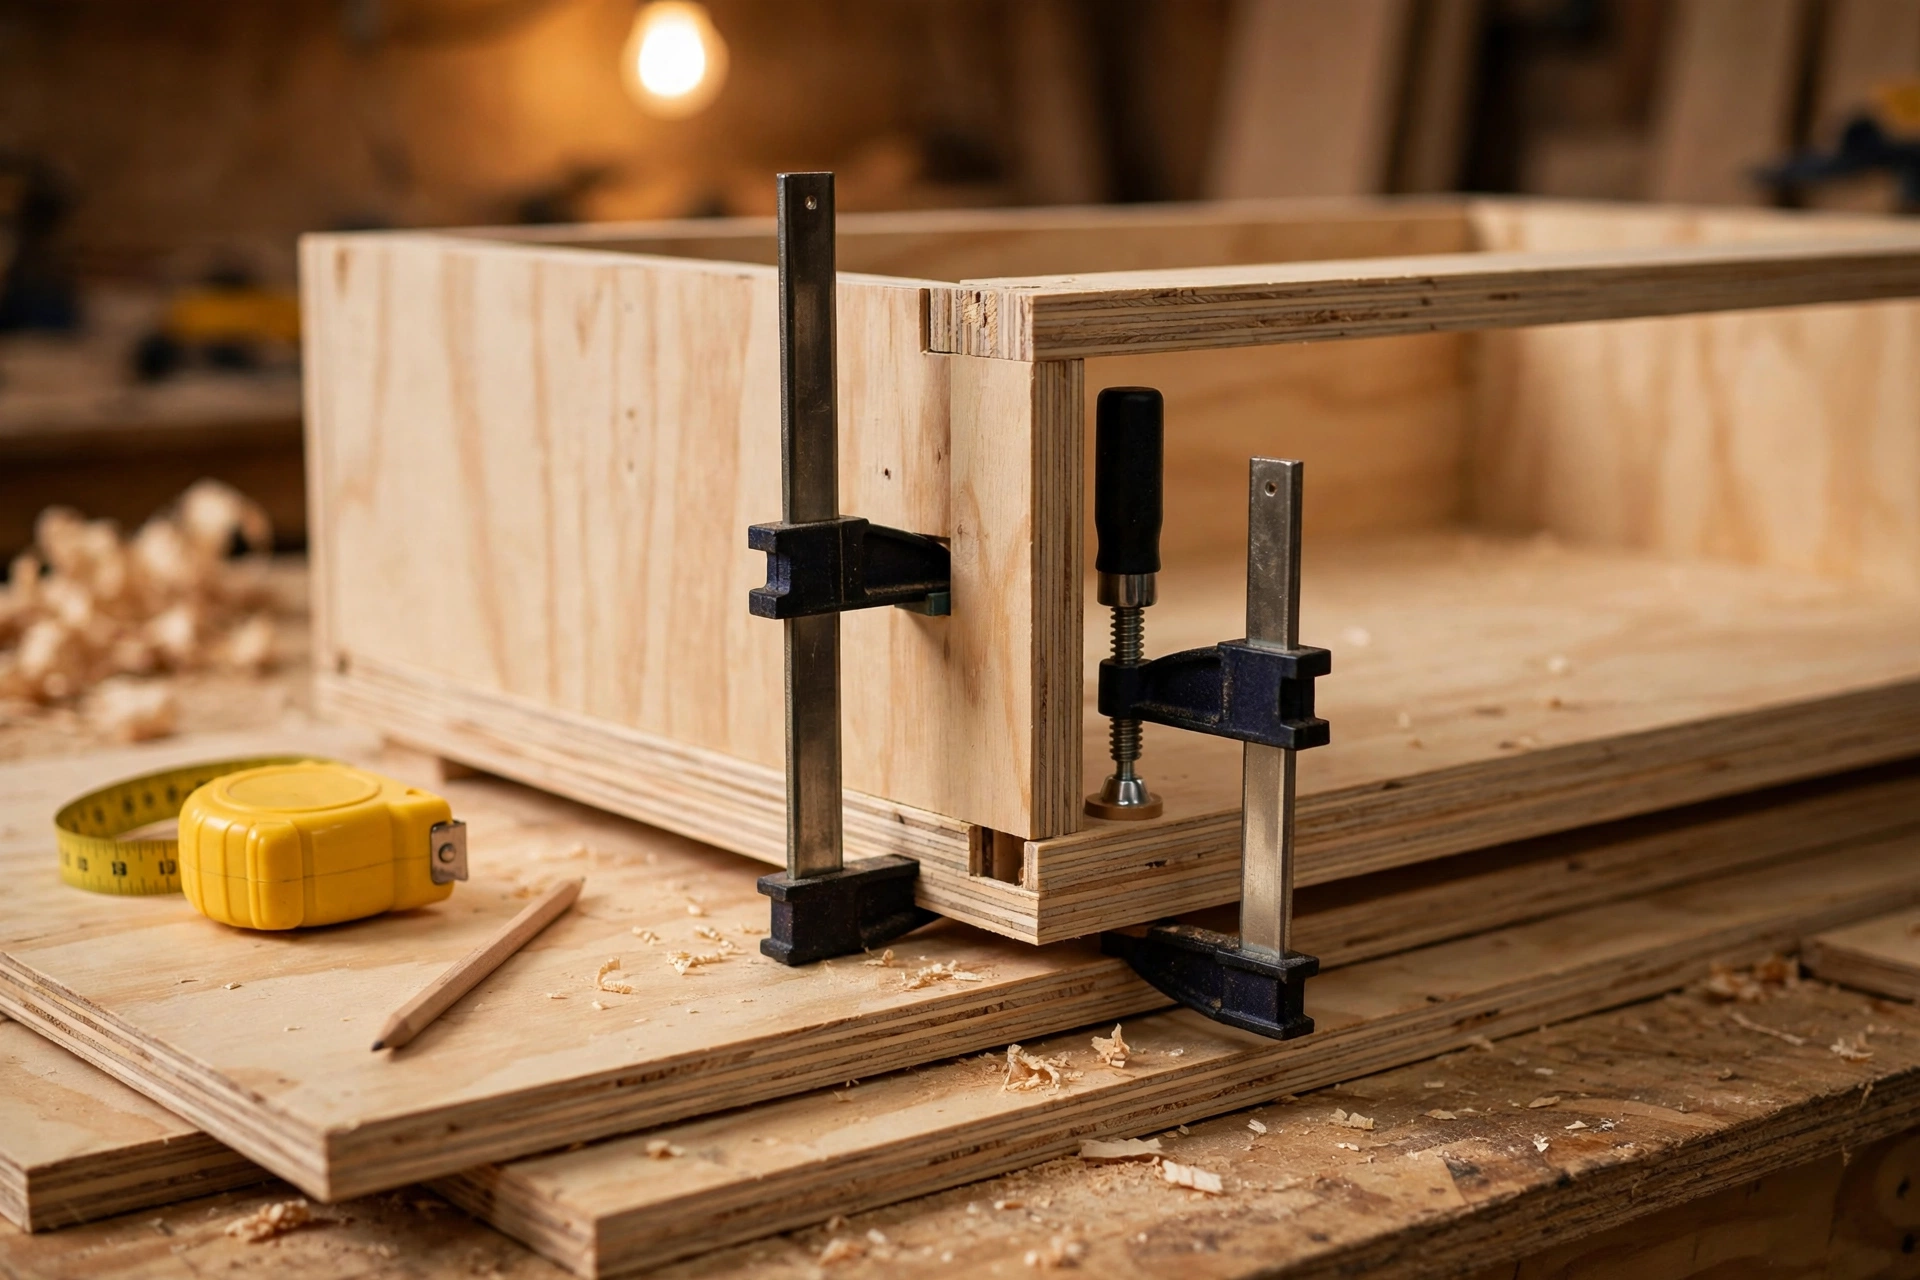
A good TV stand does three jobs at once: it holds your television at the right height, it hides the tangle of cables behind it, and it gives your consoles, soundbar, and books a home that actually fits them. Learning how to build a wooden TV stand for beginners is one of the most useful first furniture projects you can take on, because the whole build is a simple plywood box — straight cuts, pocket-hole screws, and a back panel — yet the finished piece is sized exactly to your TV, your room, and your gear. In this guide, you will size a stand to your TV, choose plywood or solid wood, plan shelf spacing around your consoles, cut the carcass, add cable management, and finish it properly.
This project takes most beginners one weekend — about 5 to 7 hours of hands-on work plus drying time. You do not need a table saw or a jointer: a circular saw with a straight-edge guide, a drill, a pocket-hole jig, and a sander are enough. By the end, you will have a solid, level TV stand built to your exact measurements, for roughly a third of the price of a comparable shop-bought one. It sits comfortably alongside the other simple builds in our easy woodworking projects for beginners that sell collection.
What Size TV Stand Should You Build?
Size your stand to your TV first, and to your room second. The golden rule is simple: your stand should be 6 to 12 inches (15 to 30 cm) wider than your TV. A stand narrower than the TV looks top-heavy and unstable, and leaves no room for a soundbar or a console beside the screen. Measure your TV’s actual width — not the advertised diagonal screen size. A 55-inch TV, for example, is about 48 inches (122 cm) wide, so it needs a stand 54 to 60 inches (137 to 152 cm) wide.
| TV screen size (diagonal) | TV width approx. | Stand width to build | Best for |
|---|---|---|---|
| 32 in (81 cm) | 29 in (74 cm) | 36–42 in (91–107 cm) | Bedroom, small living room |
| 43 in (109 cm) | 38 in (97 cm) | 44–50 in (112–127 cm) | Small living room |
| 50 in (127 cm) | 44 in (112 cm) | 50–56 in (127–142 cm) | Average living room |
| 55 in (140 cm) | 48 in (122 cm) | 54–60 in (137–152 cm) | Most living rooms |
| 65 in (165 cm) | 57 in (145 cm) | 63–69 in (160–175 cm) | Large living room |
| 75 in (191 cm) | 66 in (168 cm) | 72–78 in (183–198 cm) | Large open-plan room |
Height matters just as much as width. The centre of the TV screen should sit roughly at eye level when you are seated on your sofa — usually 42 to 48 inches (107 to 122 cm) from the floor. Most TVs are about 28 to 32 inches (71 to 81 cm) tall, so a stand 20 to 24 inches (51 to 61 cm) high puts the screen centre in the right zone for a standard sofa. This guide builds a stand 20 inches (51 cm) high. Depth is the third number: 15 to 18 inches (38 to 46 cm) is deep enough for a soundbar, a console, and a few books. Leave at least 24 inches (61 cm) of clear walkway in front of the stand, and check your doorways before you build a 72-inch stand you cannot move into the room.
Choosing the Best Wood for Your TV Stand
When you are learning how to build a wooden TV stand for beginners, plywood is the best choice for the carcass — the box that forms the body of the stand. A single sheet of ¾-inch (18 mm) birch plywood gives you flat, stable panels that will not warp, twist, or crack the way solid boards can, and the layered birch edge looks attractive when sanded and finished. One sheet of 4 × 8 ft (122 × 244 cm) is enough for the whole 60-inch stand in this guide, including the shelves. Cabinet-grade plywood costs more than construction plywood, but it is worth it: the faces are smooth and there are far fewer voids in the core.
Solid pine is a good alternative if you prefer a chunkier, farmhouse look, and it is cheaper than birch plywood — but it is softer, so it dents more easily, and wide pine boards can cup over time. Use pine for the top and trim and plywood for the carcass if you want the best of both. MDF is cheap and flat, but it is heavy, sags under load, and swells if it gets wet, so it is a poor choice for a stand carrying a 40 lb (18 kg) television. For more on species, grain, and cost, read our guide to the best wood for beginner woodworking projects.
Whatever you choose, let the plywood or boards acclimatise in your house for two to three days before you cut them, and ask the lumber yard to cut a full 4 × 8 ft sheet into manageable pieces — most will make the first few cuts free.
Tools and Materials You Will Need
You probably own most of these tools already. The one tool worth buying for this project is a pocket-hole jig: you will use it on every furniture build after this one, and it turns plywood joinery from a fiddly job into a fast one. A circular saw with a straight-edge guide makes every cut in this build.
| Item | Details | Typical cost |
|---|---|---|
| Birch plywood, ¾ in (18 mm) | One 4 × 8 ft (122 × 244 cm) sheet | $65–$90 |
| Pine 1×2 boards | 2 boards, 8 ft (2.4 m), for edge trim | $8–$12 |
| Pocket-hole screws | 1¼ in (32 mm) coarse-thread, about 40 screws | $8–$12 |
| Wood screws | #8 × 1¼ in (32 mm), about 20 screws | $4–$6 |
| Wood glue | One 16 oz (473 ml) bottle | $6–$9 |
| Pocket-hole jig | Single-hole or two-hole jig with drill bit | $25–$40 |
| Back panel | ¼ in (6 mm) plywood, one 4 × 4 ft sheet | $12–$18 |
| Cable grommets | 2 in (51 mm) round grommets, 2–3 pieces | $5–$8 |
| Sandpaper | 80, 120, and 220 grit sheets | $5–$8 |
| Finish | Polyurethane or hard-wax oil, 1 quart (0.95 L) | $12–$20 |
| Tools | Circular saw, drill, sander, tape measure, square, clamps | $0 if owned |
| Total (60 in stand, plywood) | Plywood, trim, screws, glue, finish | $150–$225 |
Safety gear matters too: safety glasses, hearing protection when using the circular saw, and a dust mask for sanding. Work in a well-ventilated space when you apply the finish, and keep rags soaked in oil flat to dry outdoors until they are stiff, because bunched-up oily rags can self-heat.
Cut List for a 60-Inch TV Stand
The cut list below is for a TV stand 60 inches (152 cm) wide, 20 inches (51 cm) high, and 16 inches (41 cm) deep, built from ¾-inch (18 mm) birch plywood, sized for a 55-inch TV. The carcass is divided into three bays: two outer bays with an adjustable shelf each, and a centre bay for a soundbar or a game console. If you are building a different size, keep the same structure and change the top, bottom, and back lengths to match your width from the sizing table above.
| Part | Material | Size | Quantity |
|---|---|---|---|
| Top | ¾ in birch plywood | 60 × 16 in (152 × 41 cm) | 1 |
| Bottom | ¾ in birch plywood | 58½ × 15¼ in (149 × 39 cm) | 1 |
| Sides | ¾ in birch plywood | 18½ × 15¼ in (47 × 39 cm) | 2 |
| Vertical dividers | ¾ in birch plywood | 18½ × 15¼ in (47 × 39 cm) | 2 |
| Adjustable shelves | ¾ in birch plywood | 18 × 14½ in (46 × 37 cm) | 2 |
| Fixed centre shelf | ¾ in birch plywood | 18 × 14½ in (46 × 37 cm) | 1 |
| Back panel | ¼ in plywood | 60 × 20 in (152 × 51 cm) | 1 |
| Front edge trim | 1×2 pine | 60 in (152 cm) long | 1 |
| Plinth / base trim | 1×2 pine | 58½ in (149 cm) long | 1 |
The top overhangs the carcass by ¾ inch (19 mm) on the front and both sides, which hides the plywood edge and gives the stand a finished look. The two vertical dividers sit 19½ inches (50 cm) in from each side, making three bays of roughly 19 inches (48 cm) each — wide enough for a soundbar, a console, or a stack of books. If you want doors on the outer bays instead of open shelves, build the same carcass and add simple slab doors later.
Step 1: Measure Your TV and Mark the Plywood
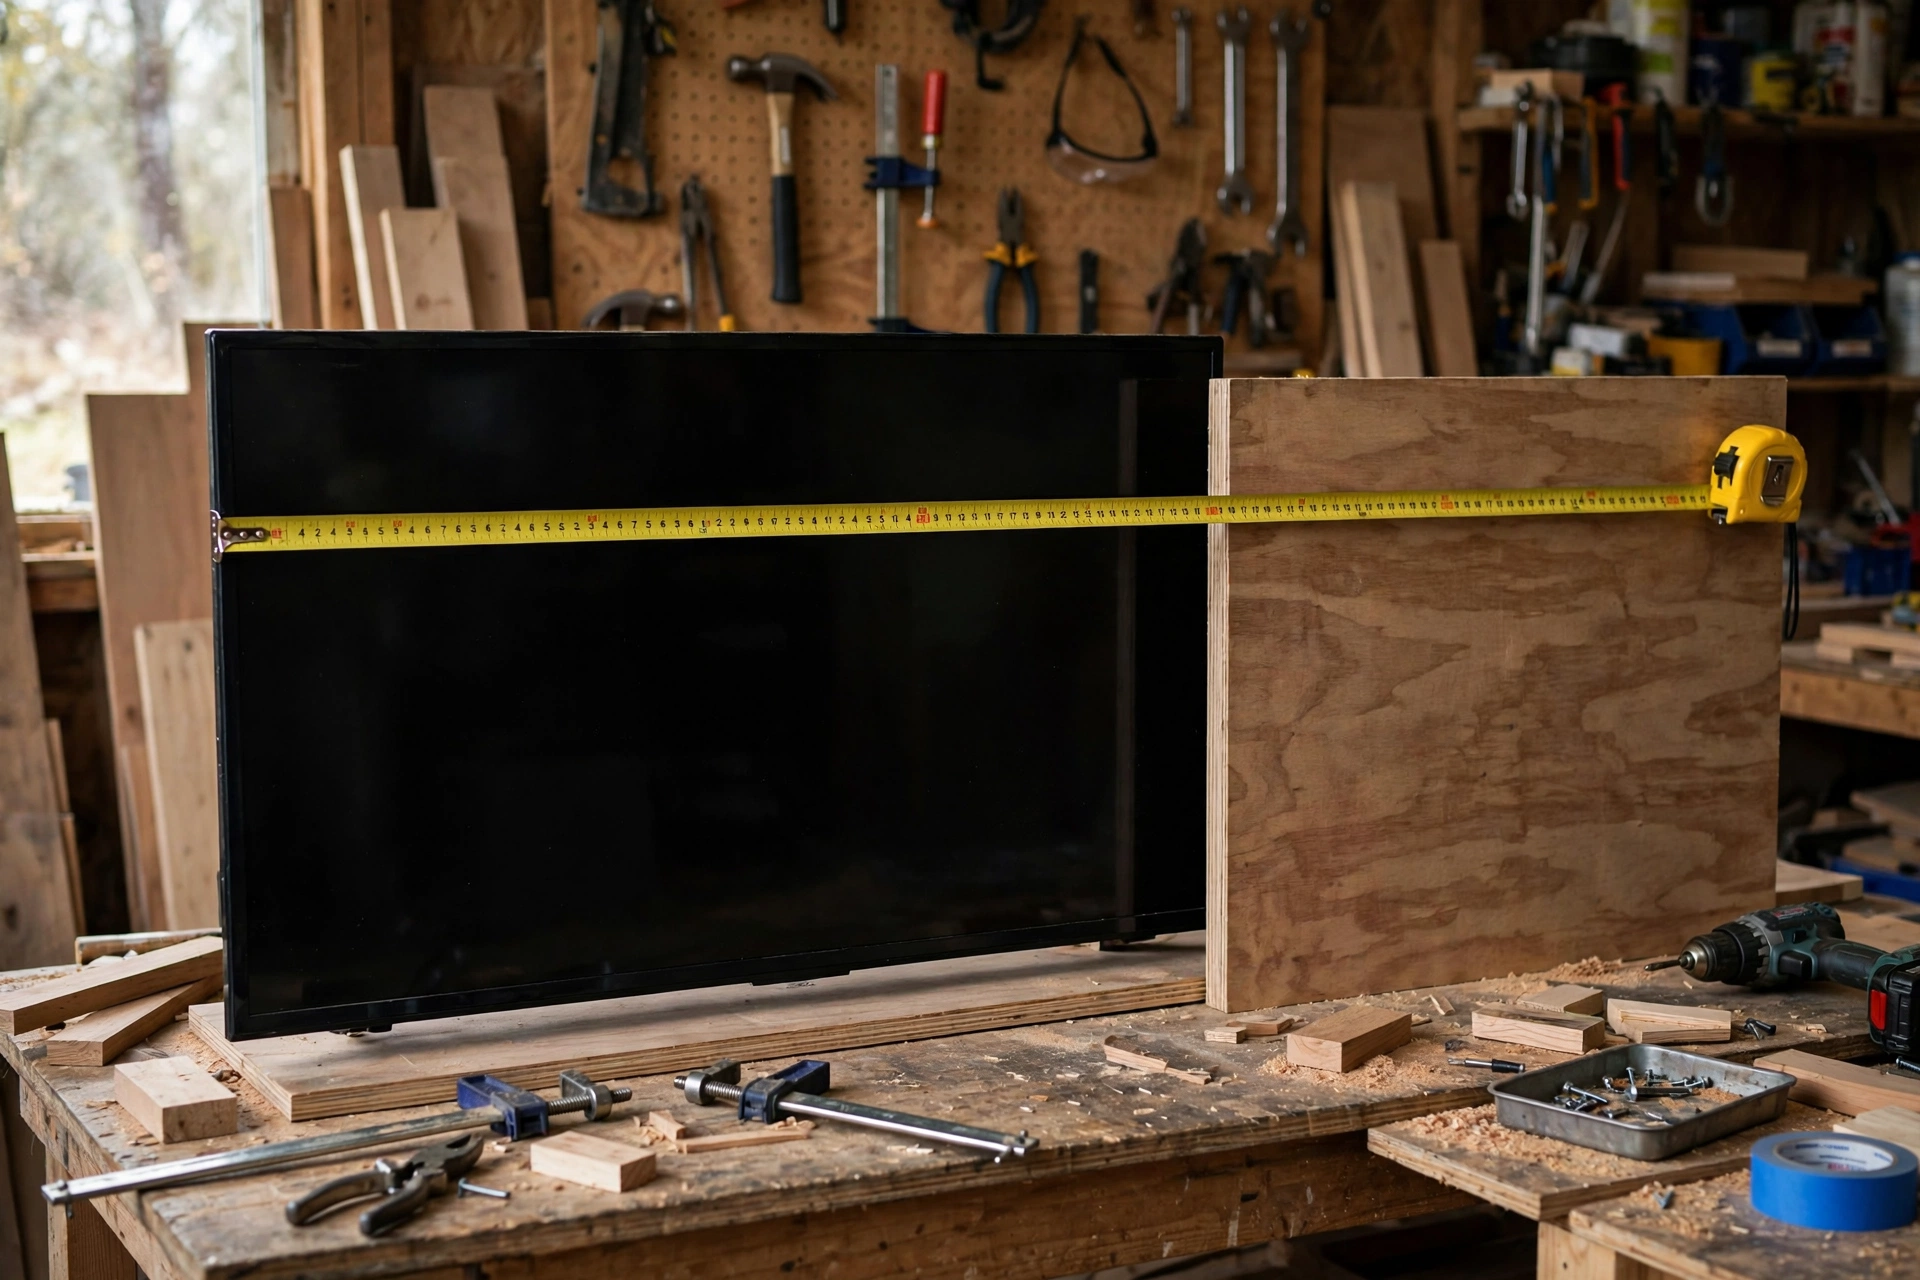
Learning how to build a wooden TV stand for beginners starts with measuring, because every later cut depends on it. Measure your TV’s width with a tape measure, not from the box or the listing — the advertised screen size is the diagonal, and the real width is always smaller. Write down three numbers: the TV width, the depth of the deepest thing that will sit on the stand (usually the TV feet or the soundbar), and the height of the tallest item that will go on a shelf (usually a game console standing upright). Those three numbers drive the stand width, the depth, and the shelf spacing.
Now mark the plywood sheet. Lay it flat on sawhorses or on foam insulation on the floor, good face down, and draw every cut line with a pencil and a straightedge. Label each piece as you mark it: “Top”, “Bottom”, “Side L”, “Side R”, “Divider 1”, “Divider 2”, and “Shelf A/B/C”. This takes two minutes and saves you from cutting two left sides and no right side. Finally, measure your living room one more time and confirm the stand width against the wall it will sit on — adjust the cut list now, not after the saw is running.
Step 2: Cut the Plywood Panels
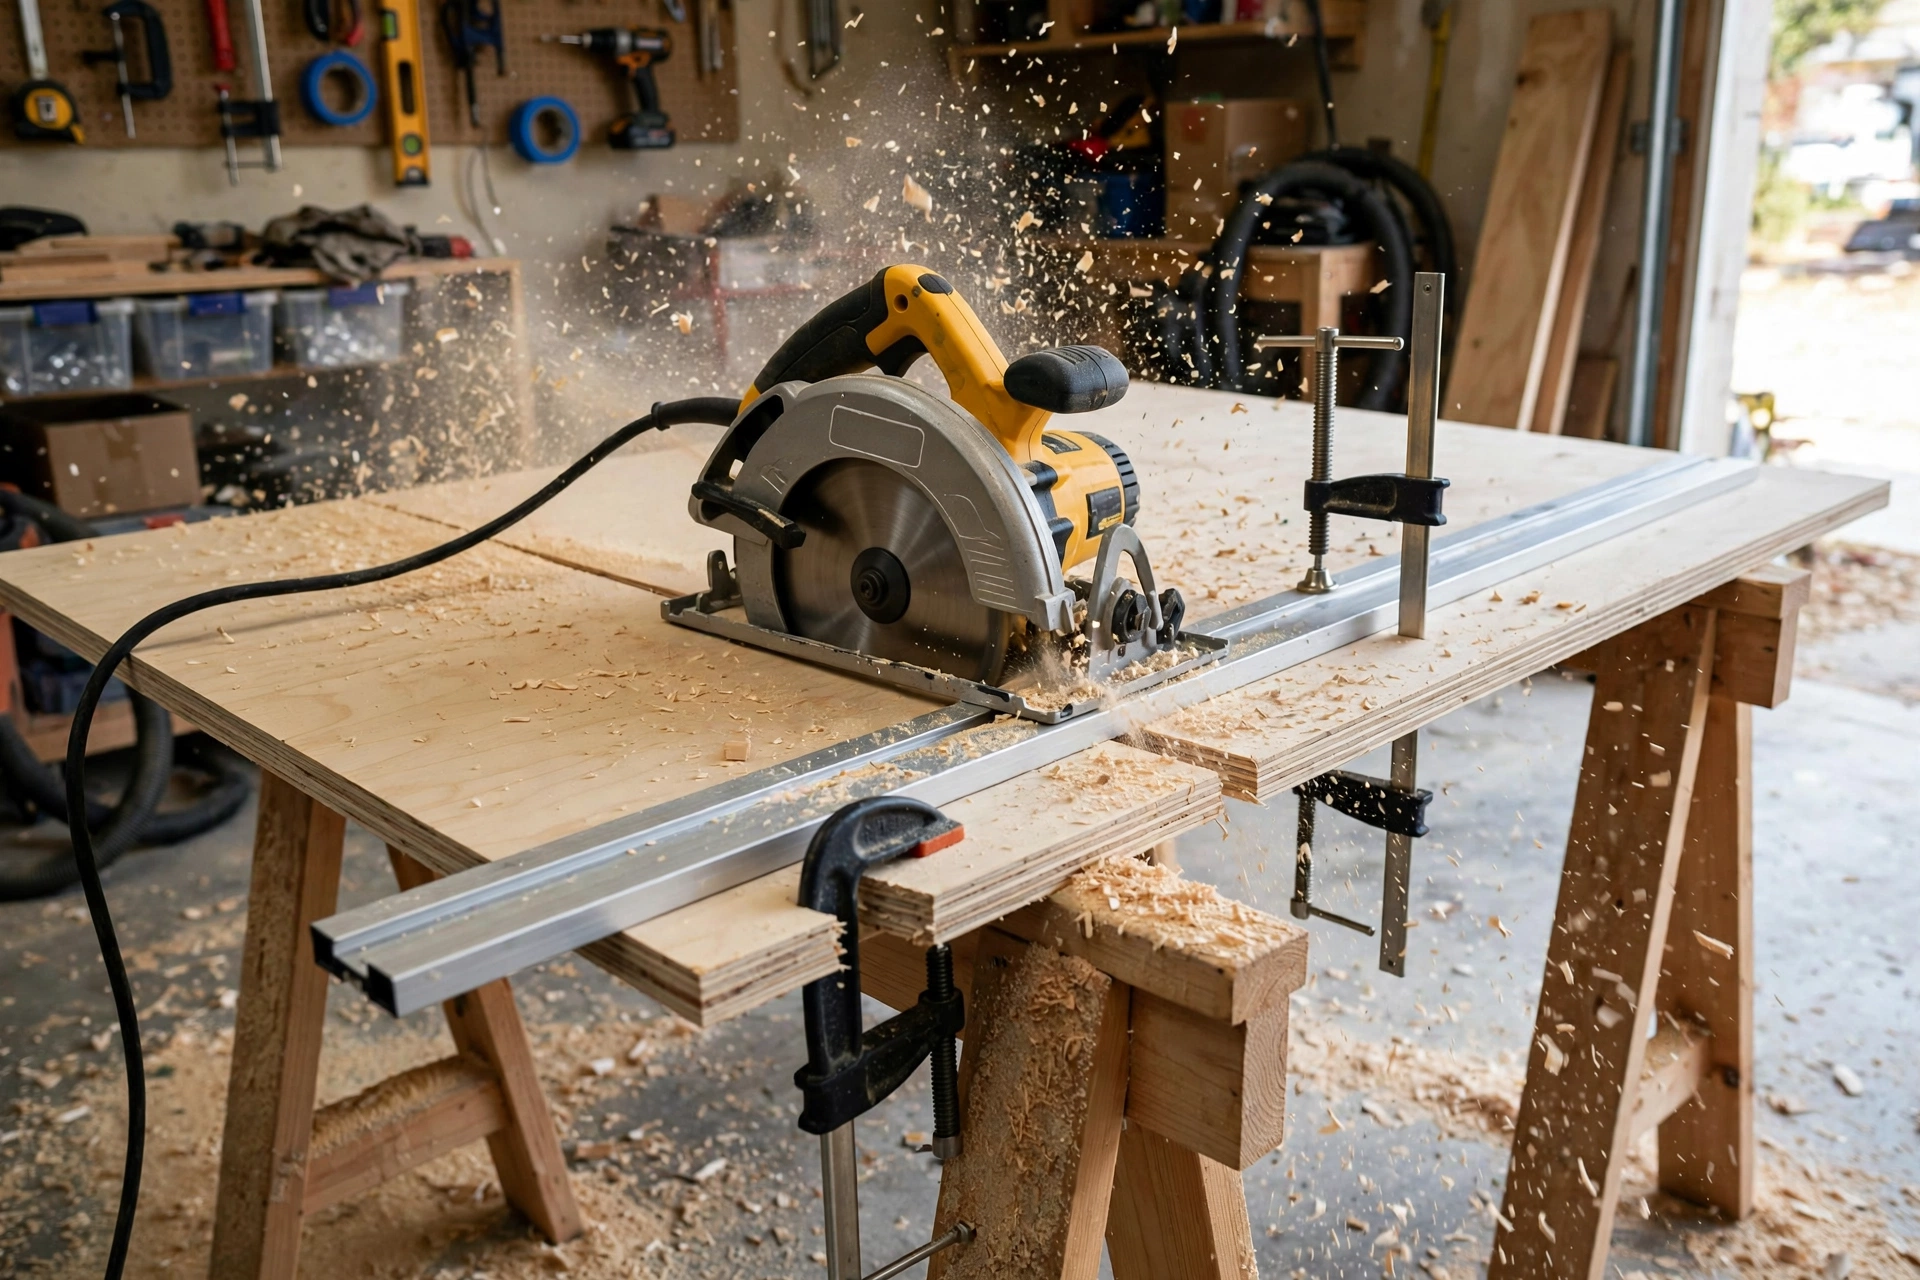
Clamp a straight board or a track to the plywood as a saw guide, and set the circular saw depth so the blade cuts about ¼ inch (6 mm) past the bottom of the sheet — no deeper. Cut slowly and steadily, letting the saw do the work; pushing hard causes burning, wandering cuts, and tear-out on the veneer. Cut with the good face down, because the blade tears out on the exit side, and score the cut line lightly with a sharp knife first if the veneer is thin.
Cut the longest pieces first — the top, then the bottom and the back panel — then the sides, dividers, and shelves. After cutting, check every panel against the cut list with a tape measure and a square: a panel that is ¼ inch (6 mm) out of square will show up as a gap at the front of the carcass that no clamping will fix, so trim it now. Sand the cut edges lightly with 120-grit paper, and keep your offcuts for stain tests and for setting up the pocket-hole jig.
Step 3: Build the Plywood Carcass
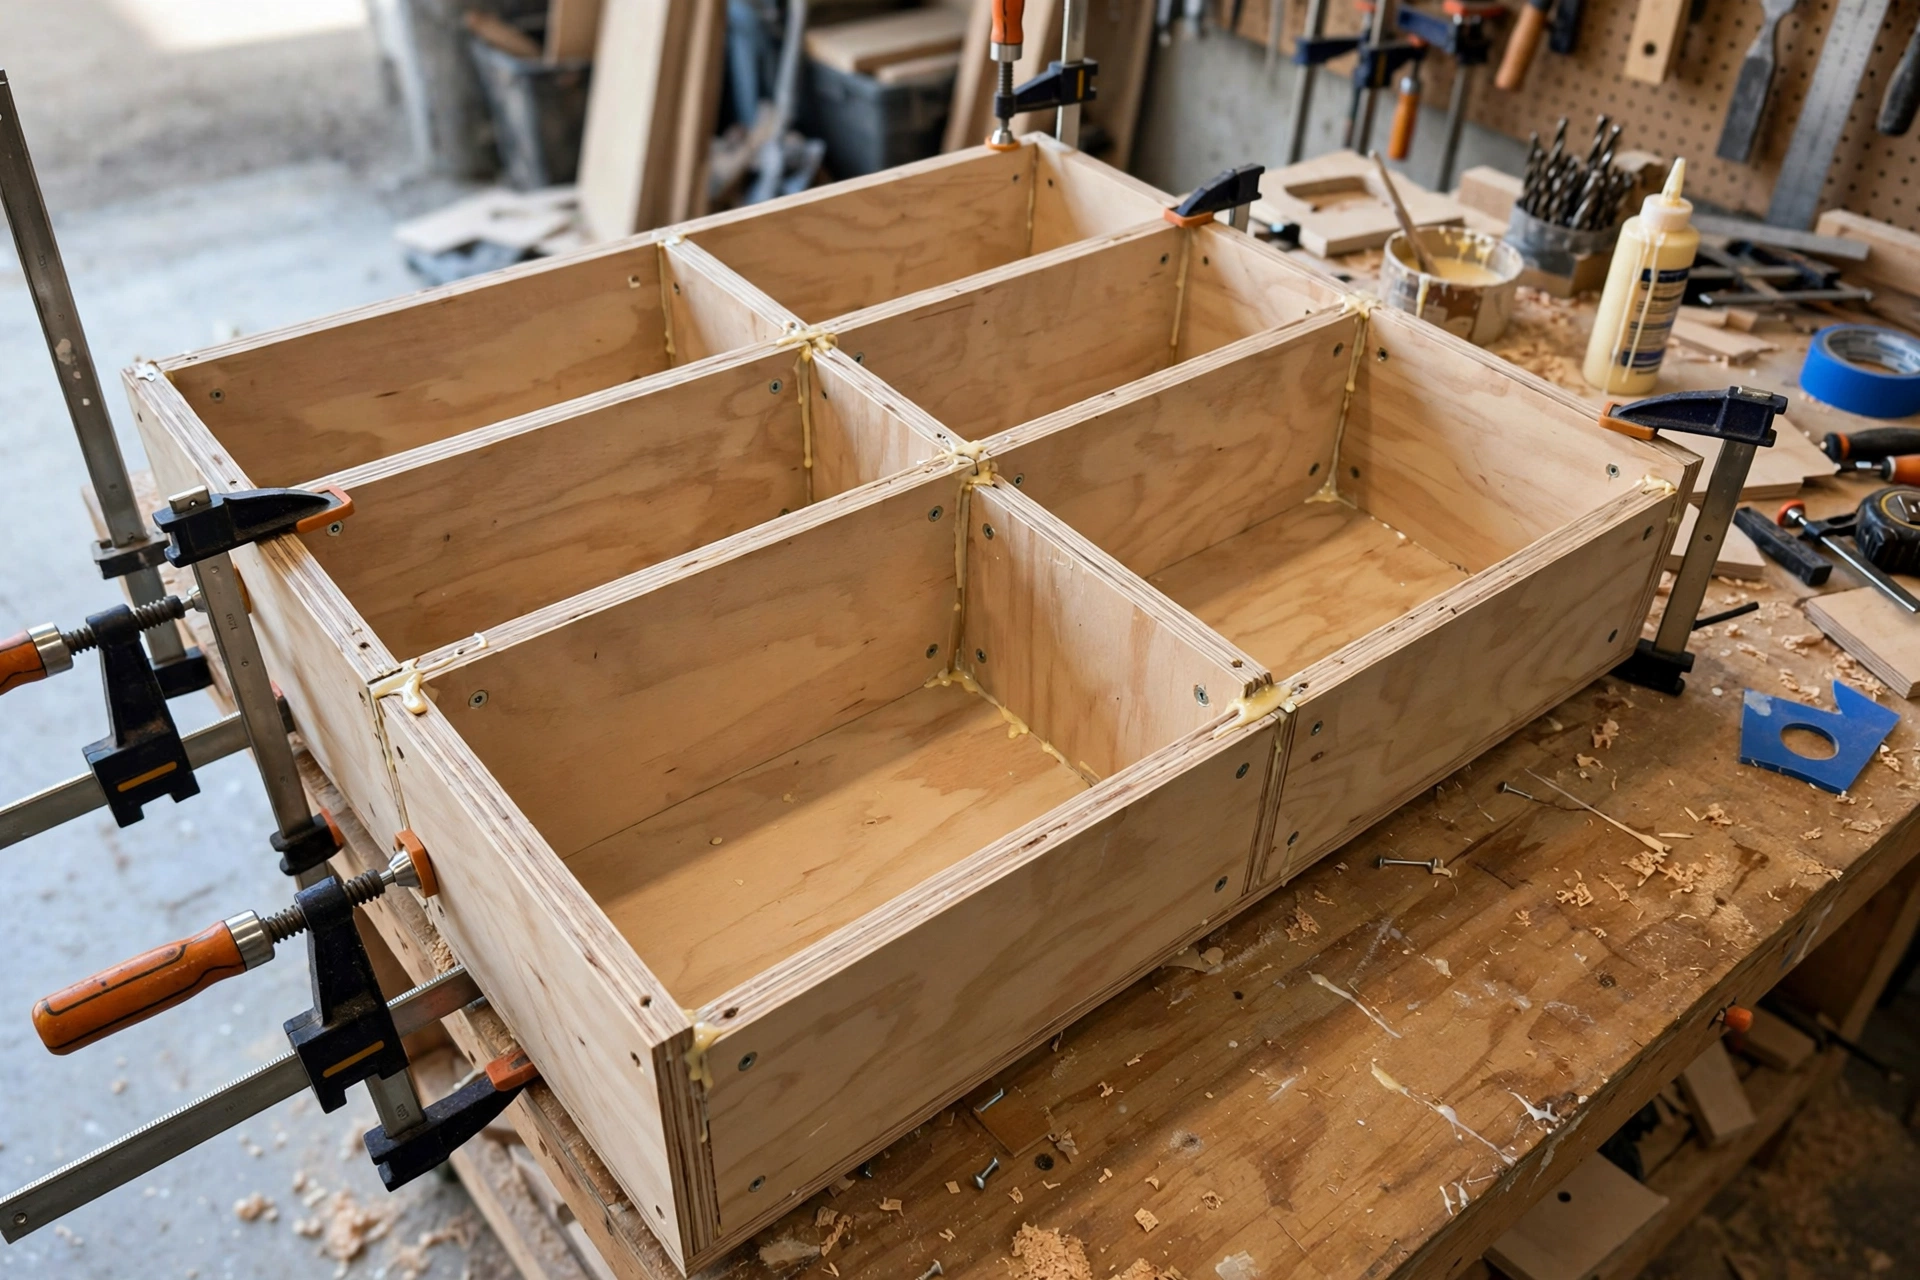
The carcass is the box that forms the body of the stand: top, bottom, two sides, and two vertical dividers. Drill pocket holes on the inside faces of the bottom and the dividers — two at each end of every joint — using your pocket-hole jig set for ¾-inch (18 mm) stock. Always drill them on the face that will never be seen: the underside of the bottom, the inside faces of the dividers, and the underside of the top.
Assemble the carcass on a flat floor, not on a narrow workbench, so you can check that it sits square. Spread a thin bead of wood glue on each joint, then drive 1¼-inch (32 mm) coarse-thread pocket-hole screws through the bottom into the sides and dividers, one bay at a time. Check with a square that each divider sits at 90 degrees to the bottom, and check the whole box by measuring diagonally across the front — the two diagonals should match within ⅛ inch (3 mm). Once the bottom assembly is square, glue and screw the top on in the same way, with the ¾-inch overhang even on the front and both sides.
Clamps hold everything square while you drive the screws; if you only own two clamps, assemble one bay at a time. Leave the carcass undisturbed for at least an hour before you move on to the back panel.
Step 4: Back Panel, Cable Management, and Ventilation
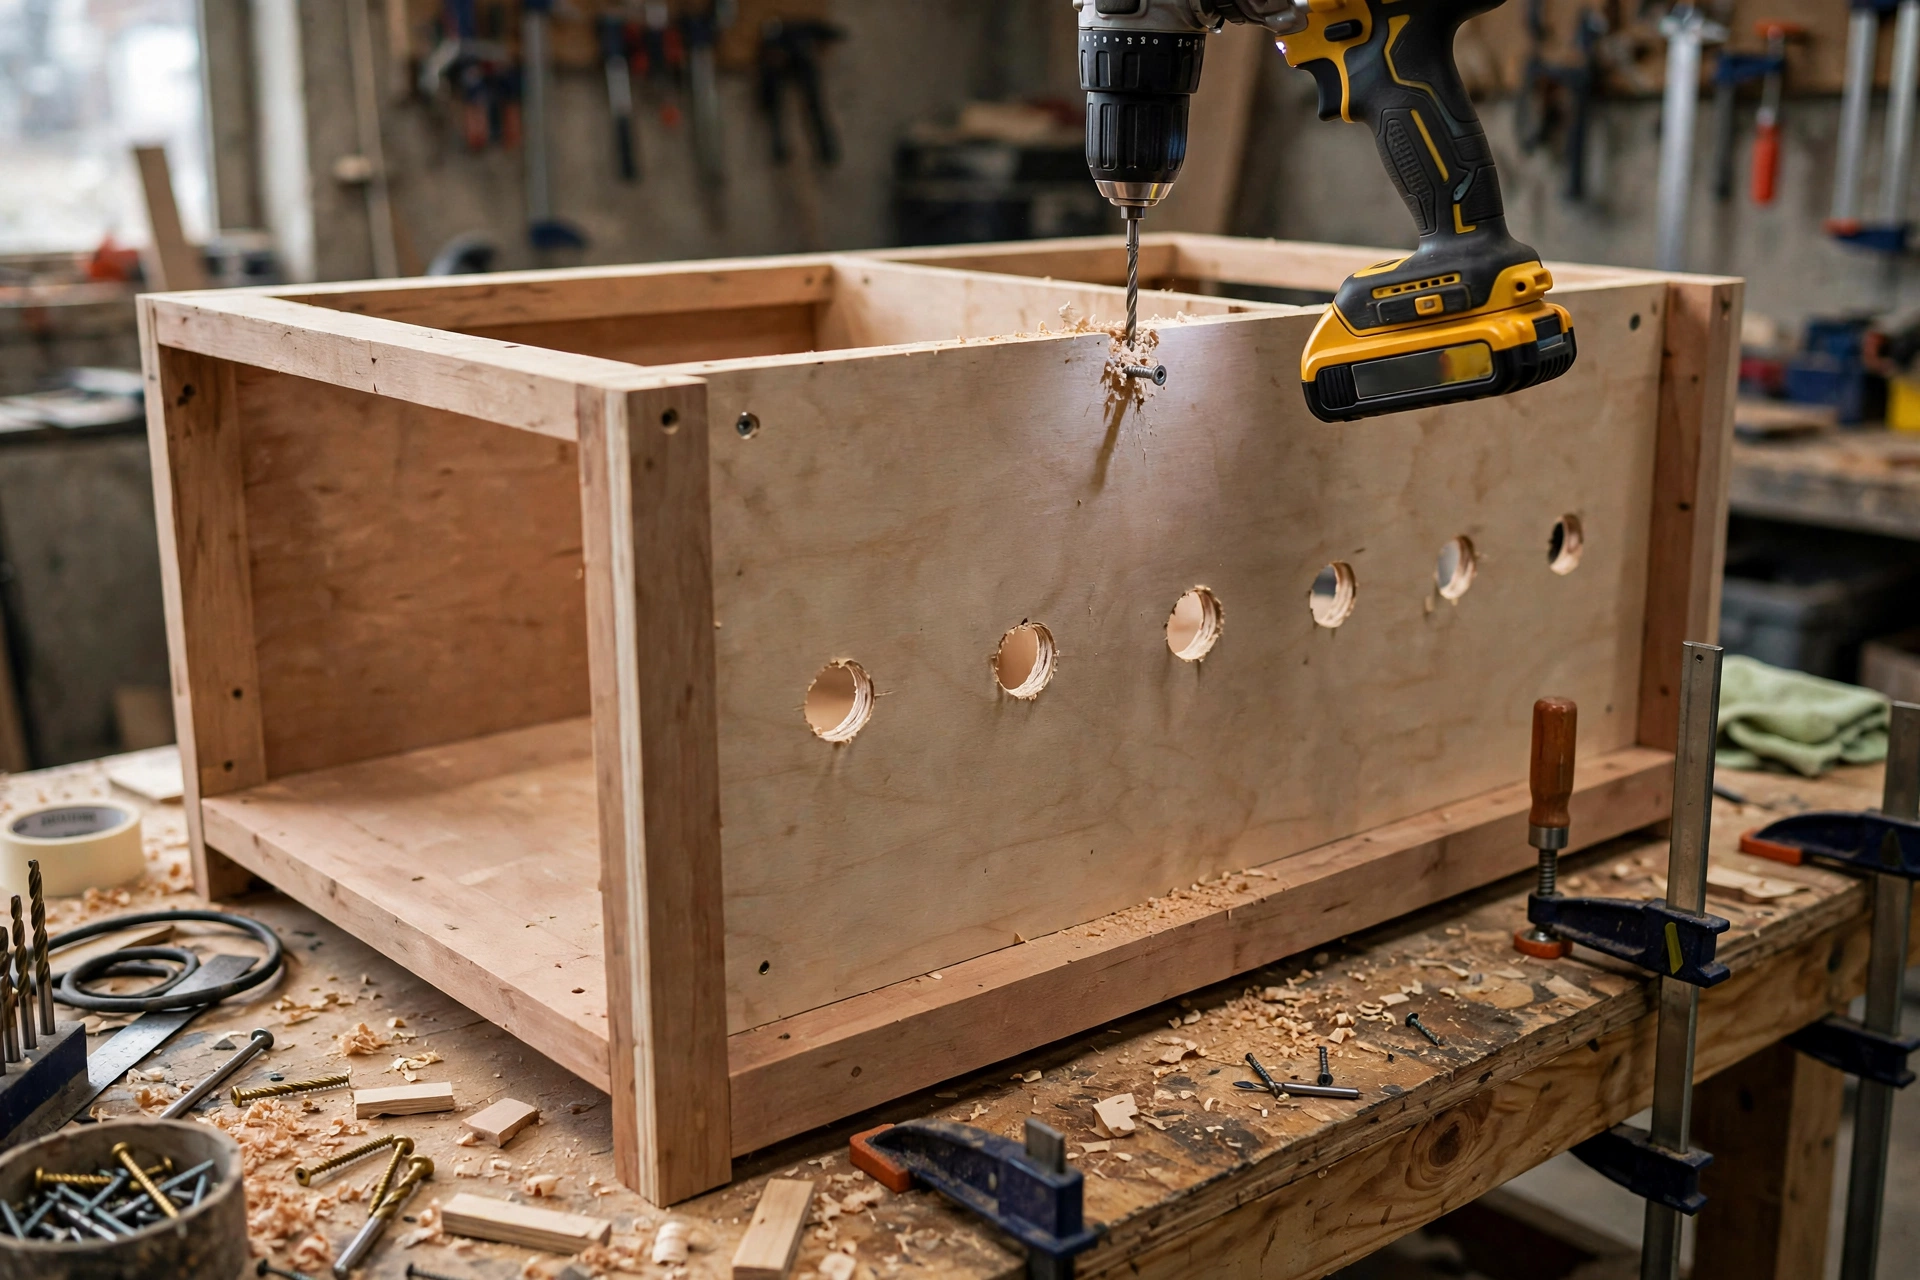
The back panel does more than close the box: it keeps the whole stand square and rigid, and it is where your cable management lives. Cut the ¼-inch plywood back panel to the full 60 × 20 inches (152 × 51 cm) and check it against the carcass before you fix it. Before you attach it, drill the cable holes: mark two round holes, one behind each outer bay, about 6 inches (15 cm) down from the top, and cut them with a 2-inch (51 mm) hole saw. Push a plastic cable grommet into each hole to cover the raw edge and stop cables from chafing.
Attach the back panel with short screws every 6 to 8 inches (15 to 20 cm) around the perimeter, driving them into the edges of the top, bottom, sides, and dividers — a back panel fixed this way turns a wobbly box into a rigid one. Plan the cable route before you load the stand: power cables through one grommet, HDMI and audio through the other. Leave about 6 inches (15 cm) of slack inside the stand for every cable, so you can pull a console out without unplugging everything behind it.
Ventilation is the part beginners forget, and it is what kills game consoles. Drill a row of 1-inch (25 mm) vent holes in the back panel behind the centre bay, or leave a 1-inch (25 mm) gap between the back panel and the top of the carcass there. If you add doors later, leave a ¼-inch (6 mm) gap at the top and bottom so air can circulate, and keep the stand at least 2 inches (5 cm) from the wall so warm air can escape.
How Strong Is a Plywood TV Stand? Weight and Load
A TV stand has to carry real weight: the TV itself, plus consoles, a soundbar, books, and the occasional leaning elbow. The good news is that ¾-inch birch plywood is far stronger than it looks. The table below shows realistic loads for the 60-inch stand in this guide, assuming the shelves are supported at both ends, with the dividers 19 inches (48 cm) apart.
| What it carries | Typical weight | Where it sits | Safe? |
|---|---|---|---|
| 55 in flat-screen TV | 35–45 lb (16–20 kg) | On the top | Yes — easily |
| 65 in flat-screen TV | 50–60 lb (23–27 kg) | On the top | Yes — easily |
| Soundbar | 8–15 lb (4–7 kg) | Centre shelf or top | Yes |
| Game console | 7–10 lb (3–5 kg) | Centre bay shelf | Yes |
| Books (one shelf, full) | 25–35 lb (11–16 kg) | Adjustable shelf | Yes — see sag note |
| Person leaning on the top | 100+ lb (45+ kg) | Top edge | Yes — carcass carries it |
The weak point is never the top — it is a shelf spanning too far. A ¾-inch plywood shelf spanning 19 inches (48 cm) sags less than 1/16 inch (1.5 mm) under a full load of books, which is invisible, while the same shelf spanning 36 inches (91 cm) with no support would sag visibly within a year. That is why this design uses two dividers instead of one long open span. If you scale up to 72 inches (183 cm) for a 75-inch TV, add a third divider so no shelf spans more than 20 inches (51 cm). Always anchor the stand to the wall with a furniture strap if you have small children.
Shelf Spacing: Measure Your Gear, Not the Shelf
Shelf spacing is where most shop-bought stands fail: the shelves are fixed at heights that fit nothing you actually own. Measure your gear before you drill the shelf-pin holes — a console standing upright needs about 12 inches (30 cm) of clear height, a cable box about 4 inches (10 cm), a row of books 10 to 12 inches (25 to 30 cm), and a soundbar about 5 inches (13 cm). Build the spacing around the tallest item in each bay, and leave 1 inch (25 mm) of air above it for ventilation and for your fingers.
| What goes on the shelf | Clear height needed | Best bay |
|---|---|---|
| Game console (upright) | 12–13 in (30–33 cm) | Centre bay, fixed shelf |
| Game console (lying flat) | 4–5 in (10–13 cm) | Any bay |
| Soundbar | 5–6 in (13–15 cm) | Centre bay |
| Cable / streaming box | 4 in (10 cm) | Any bay |
| Books (paperback row) | 10 in (25 cm) | Outer bay |
| Books (hardback row) | 12 in (30 cm) | Outer bay |
| Board games / records | 13–14 in (33–36 cm) | Outer bay |
Make the outer shelves adjustable. Drill two columns of 5 mm shelf-pin holes on the inside faces of each outer bay, spaced 1¼ inches (32 mm) apart vertically, starting 4 inches (10 cm) above the bottom and stopping 4 inches (10 cm) below the top. That grid lets you move a shelf up or down as your gear changes — a console this year, books next year. Use metal shelf pins, not wooden dowels, because metal pins will not bend under a shelf full of books. Our guide to how to build floating shelves for beginners uses the same shelf-pin idea on a smaller scale, and the same logic applies to the simple bookshelf for beginners if you want a matching piece beside the stand.
Pocket Holes vs Dado Joints: What Holds a TV Stand Together?
Beginners often ask whether pocket holes are strong enough for a TV stand, and the honest answer is yes — for this design, pocket-hole screws combined with wood glue are more than strong enough. The load is mostly downward, straight through the sides and dividers into the floor, and pocket screws handle that well. Dado joints — grooves cut into the sides that the shelves sit in — are stronger in theory, but they demand a router and a perfectly straight groove, and a dado cut even slightly too wide is weaker than a pocket-hole joint done right.
The real secret to a TV stand that lasts is not the joint type — it is the glue and the back panel. Wood glue on a well-fitted plywood joint is stronger than the plywood around it, and the screws mainly hold everything tight while the glue cures. The back panel then locks the whole box square, so the joints never see the racking force that would pull them apart. Use coarse-thread screws in plywood. Our comparison of pocket-hole vs dowel joint strength breaks down the test results; for this stand, pocket holes are the right call — fast, forgiving, and hidden inside the carcass.
Step 5: Sand and Finish Your TV Stand
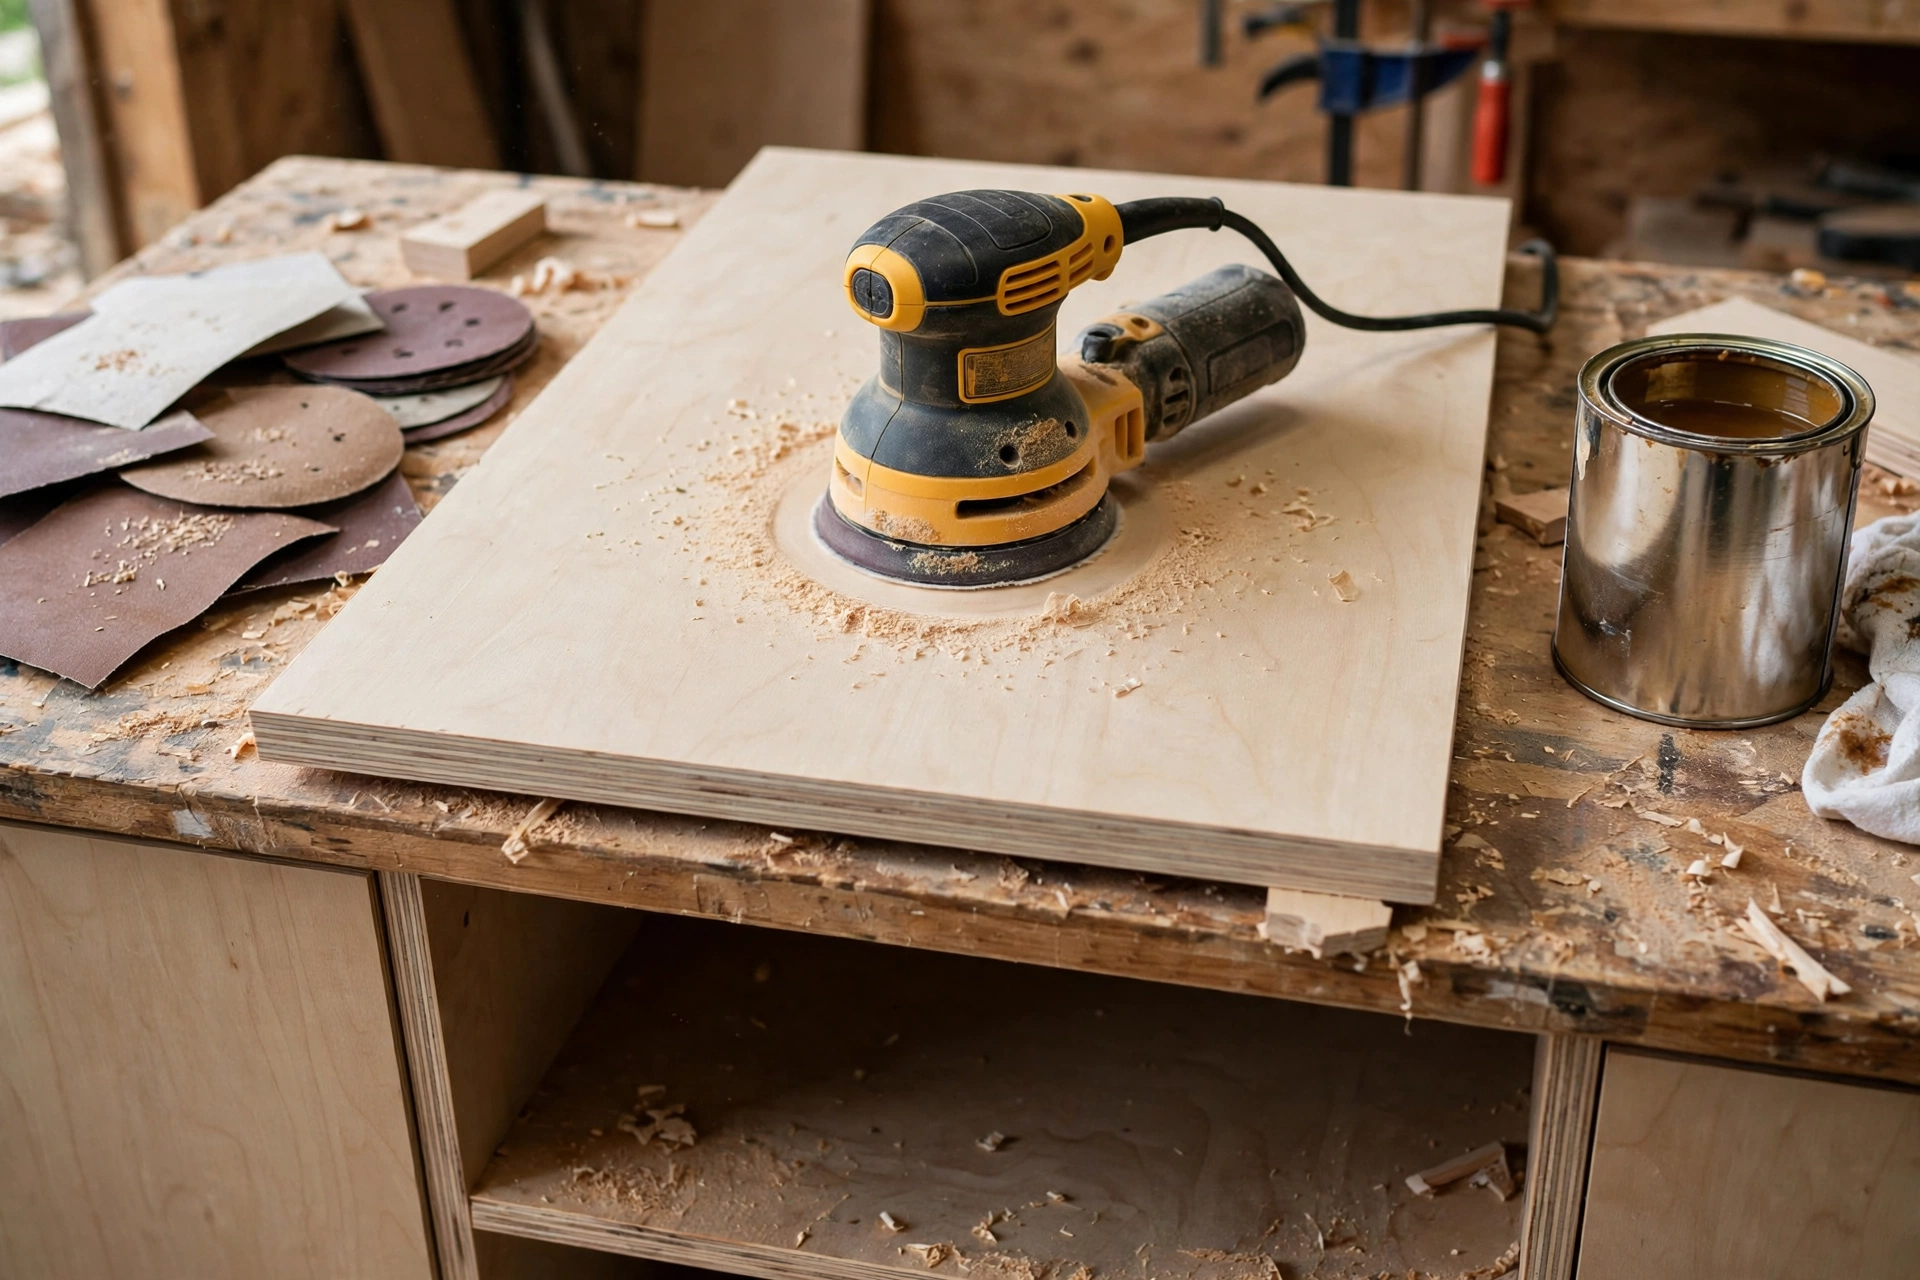
Sanding is where a beginner build starts to look professional, so do not rush it. Sand the whole stand in three passes: 80 grit to level the joints and remove saw marks, 120 grit to smooth the surface, and 220 grit for a silky final finish. Always sand with the grain, never across it, and round over the sharp front edges slightly with the 120-grit paper. Seal the exposed plywood edges on the front with a thin coat of wood glue thinned with water, let it dry, and sand again, so the finish does not soak in blotchy. Vacuum or wipe the dust off with a tack cloth between grits. Our full technique guide, how to sand and finish wood for beginners, walks through grit progression and common mistakes in detail.
For the finish, a TV stand needs something tough enough to survive a soundbar being slid around and a mug set down without a coaster. A wipe-on polyurethane is the most forgiving choice: it builds a hard, waterproof film and is easy to repair later with a light sanding and one more coat. Apply three thin coats, sanding lightly with 220-grit paper between coats. For a natural look, use a hard-wax oil in at least three coats; for colour, stain first, let it dry 24 hours, then seal with polyurethane. Let the final coat cure for at least 72 hours before you load the stand — a console will stick to a soft finish.
Styling Your Finished TV Stand
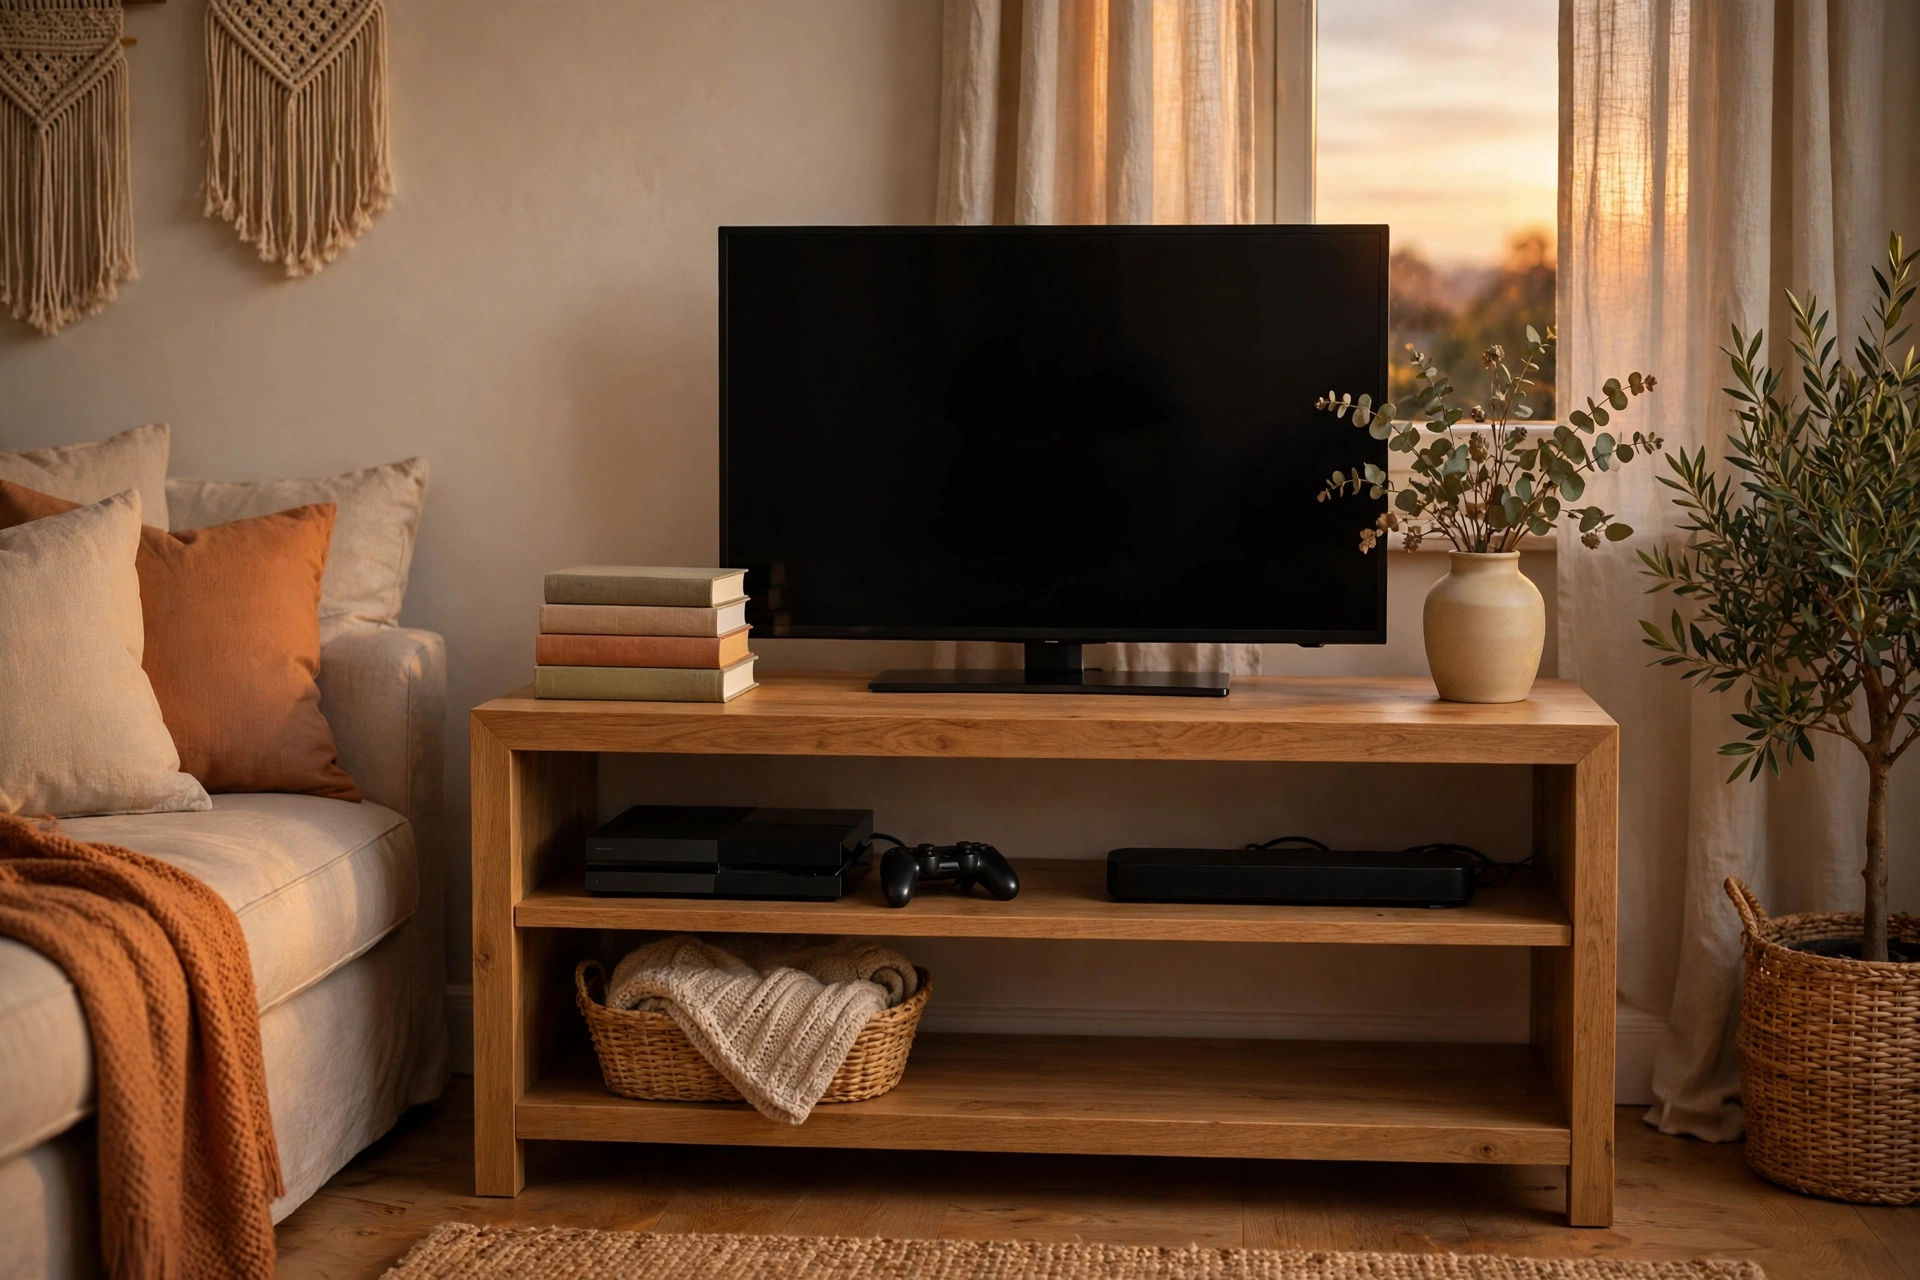
Once the finish has cured, bring the stand into the living room and set it up properly. Put the TV on top first and centre it — the 6 to 12 inches of extra stand width you built in is what makes the whole thing look balanced. Put the soundbar in the centre bay, directly under the screen, and run its cable through the centre grommet. Consoles go in the outer bays with their vents facing out, not against the back panel. Books go in the remaining bay, stacked horizontally in twos and threes.
Hide the cables before you call it done: bundle the power cables together and the HDMI cables together, tie each bundle with a reusable cable tie, and push the slack back through the grommets so nothing dangles below the stand. A matching wooden sideboard for beginners on the opposite wall gives the room a finished look and uses the same plywood-carcass skills. Wipe the stand with a barely damp cloth and dry it straight away, and add a fresh coat of polyurethane once a year. A TV stand built this way will last for decades — and it will fit your next television too, as long as you kept that 6 to 12 inches of extra width in mind.
Common Mistakes to Avoid
Most problems when you learn how to build a wooden TV stand for beginners come from rushing — slow down here and the rest of the build goes smoothly.
Building the stand narrower than the TV. A stand narrower than the television looks top-heavy and leaves no room for a soundbar. Measure the TV’s real width and add 6 to 12 inches before you cut anything.
Skipping the back panel. A carcass without a back panel racks and wobbles, and the joints slowly pull apart. Screw it on properly, every 6 to 8 inches.
Forgetting cable holes until after assembly. Drilling grommet holes through an assembled back panel is awkward and risks splitting it. Drill them before you attach the panel.
Ignoring ventilation. A game console in a sealed bay overheats and shuts down. Give the heat an escape route — vent holes and space behind the stand.
One long shelf span with no divider. A 60-inch shelf with no centre support will sag under books within a year. Keep every span under 20 inches with dividers in between.
Fixing the shelves at the wrong height. Fixed shelves set before you measure your gear will fit nothing you own. Measure the tallest item in each bay first, and make the outer shelves adjustable.
Rushing the finish. Polyurethane applied over dust or a skipped grit looks blotchy forever, and a console will stick to a finish that has not cured. Sand through the grits, clean the dust, and let the final coat cure for 72 hours.
How Much Does It Cost and How Long Does It Take?
For a 60-inch birch plywood TV stand, expect $150 to $225 in materials if you already own the tools — roughly a third of the price of a similar shop-bought solid wood stand, and yours will be sized exactly to your TV. A 48-inch stand for a 43-inch TV is closer to $120 to $170, and a 72-inch stand for a 75-inch TV around $190 to $280, since you need a second sheet of plywood. Time-wise, plan for 5 to 7 hours of hands-on work spread over a weekend: an hour to measure and mark, an hour to cut, two hours to build the carcass and back panel, an hour to sand, and an hour to finish, plus overnight drying for the glue and at least 72 hours for the final finish coat to cure.
Frequently Asked Questions
How wide should a TV stand be for a 55-inch TV?
A 55-inch TV is about 48 inches (122 cm) wide, so the stand should be 54 to 60 inches (137 to 152 cm) wide — 6 to 12 inches wider than the TV. That extra width keeps the setup balanced, leaves room for a soundbar or a console, and gives you space for a future, slightly larger TV.
What is the best wood for a beginner TV stand?
¾-inch (18 mm) birch plywood is the best choice for a first TV stand: flat, stable, strong, and easy to cut. Pine is a good cheaper alternative for the top and trim, while MDF is best avoided because it sags under load and swells if it gets wet.
How much weight can a wooden TV stand hold?
A ¾-inch birch plywood stand built like this one easily holds a 55-inch TV (35–45 lb / 16–20 kg) plus consoles, a soundbar, and books — well over 100 lb (45 kg) in total. The key is keeping shelf spans under 20 inches (51 cm) with dividers in between, so no shelf sags.
How do I hide cables in a wooden TV stand?
Drill 2-inch (51 mm) holes in the back panel before you attach it, fit plastic cable grommets, and route power cables through one grommet and HDMI cables through the other. Leave about 6 inches (15 cm) of slack inside the stand and keep the stand 2 inches (5 cm) from the wall so nothing is crushed behind it.
How high should a TV stand be?
A TV stand 20 to 24 inches (51 to 61 cm) high suits most living rooms, because it puts the centre of the screen at roughly 42 to 48 inches (107 to 122 cm) from the floor — eye level when seated on a standard sofa. If your sofa is unusually low or high, measure from your seated eye level and work backwards.
Can I build a TV stand without a table saw?
Yes. A circular saw with a straight-edge guide makes every cut in this project, including the long rips down the plywood sheet. Many lumber yards will cut a sheet into rough sizes for free, so you can have the big panels cut at the store and do the final trimming and assembly at home with only a drill.
Do I need ventilation holes in a TV stand?
Yes, if a game console or cable box will live inside it. Drill a row of 1-inch (25 mm) vent holes in the back panel behind the console bay, or leave a 1-inch (25 mm) gap at the top of the back panel, and keep the stand 2 inches (5 cm) from the wall. Without airflow, a console in a closed bay can overheat and shut down.
Recommended Products for This Project
As an Amazon Associate, I earn from qualifying purchases.

DEWALT 20V MAX Drill/Driver Kit DCD771C2
Drives every pocket-hole screw in this TV stand carcass and pre-drills clean pilot holes so the plywood never splits.
DEWALT 20V MAX Circular Saw DCS391B, 6-1/2-inch
Cordless 20V power for the long, straight rips down the birch plywood sheet in this TV stand build.

Titebond III Ultimate Wood Glue 1413 (8 oz)
Waterproof, strong wood glue that locks every plywood carcass joint tight before a single screw goes in.

IRWIN QUICK-GRIP Woodworking Clamps Set, 8-piece (IRHT83220)
Holds the plywood carcass square while you drive the pocket-hole screws and keeps the back panel flat while it is fixed.

DEWALT Random Orbit Sander DWE6423, 5-inch
Sands the plywood faces and the exposed front edges smooth through 80, 120, and 220 grit for a professional finish.


