
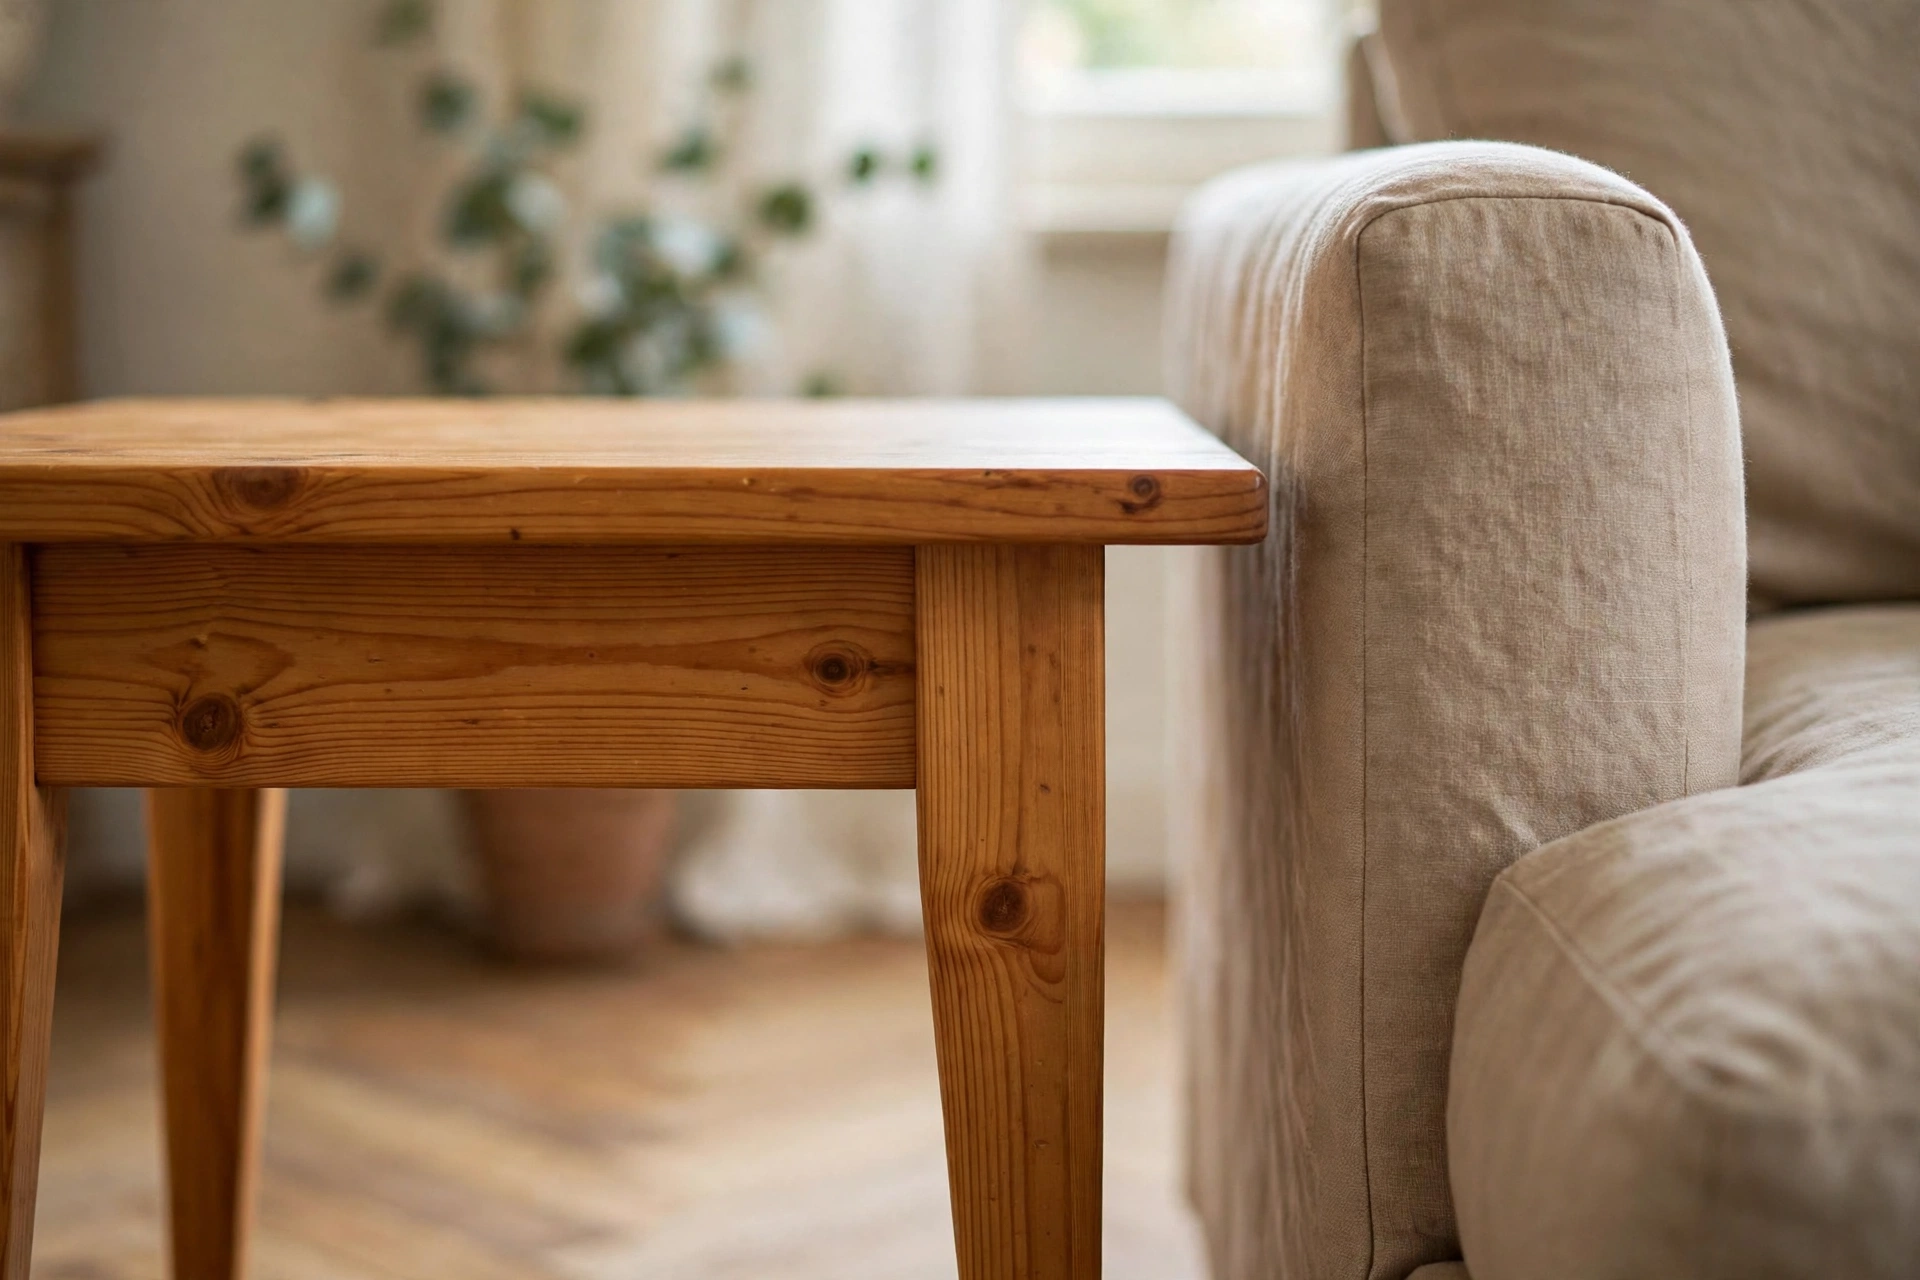
A shop-bought solid wood side table costs anywhere from $80 to $300, and it still might be the wrong height for your sofa, the wrong size for the gap beside your armchair, or the wrong wood for your living room. Learning how to build a wooden side table for beginners is one of the best first furniture projects you can take on: it uses only straight cuts, a small glue-up, and simple pocket-hole joinery, yet the finished piece sits beside your sofa every single day. In this guide, you will learn how to match the table height to your sofa, choose the right wood, cut tapered legs, build a pocket-hole frame, and finish the table so it survives daily use.
This is an indoor living-room side table — a completely different build from an outdoor side table. Our wooden outdoor side table for beginners uses weatherproof wood, an outdoor finish, and a design meant for rain, sun, and garden use. The table in this guide uses ordinary indoor pine and proportions matched to a sofa. Do not take it outside, and do not use outdoor lumber or deck stain on it.
This project takes most beginners a single afternoon — about 3 to 4 hours of hands-on work plus drying time for the glue and the finish. You do not need a table saw, a jointer, or a planer: a circular saw (or a handsaw), a drill, a pocket-hole jig, and a sander are enough. By the end, you will have a solid side table built exactly to your sofa’s height, for roughly a third of the price of a comparable shop-bought one. If you are just starting out, this project sits comfortably alongside other simple builds in our easy woodworking projects for beginners that sell collection.
What Size Side Table Should You Build?
Before you buy a single board, measure your sofa — not the empty space beside it. A side table lives or dies by its height: too tall and it towers over the armrest, too short and you bend down for every coffee. The rule is simple: the top of your side table should sit level with your sofa’s armrest, or 1 to 2 inches (2.5 to 5 cm) below it. Never build a side table taller than the armrest.
Measure the armrest height from the floor to the top of the arm, and the seat height from the floor to the top of the cushion. Write both numbers down. In most living rooms, the armrest sits between 24 and 26 inches (61 to 66 cm) from the floor, and the seat between 17 and 20 inches (43 to 51 cm). This guide builds a table 24 inches (61 cm) tall with an 18 by 18 inch (46 by 46 cm) top, which suits the most common sofas — but if yours is taller or shorter, adjust the leg length using the table below. The top size stays the same; only the legs change.
| Sofa seat height | Sofa armrest height | Best side table height | Top size |
|---|---|---|---|
| 17 in (43 cm) | 22–23 in (56–58 cm) | 22 in (56 cm) | 18 × 18 in (46 × 46 cm) |
| 18 in (46 cm) | 23–24 in (58–61 cm) | 23 in (58 cm) | 18 × 18 in (46 × 46 cm) |
| 19 in (48 cm) | 24–25 in (61–64 cm) | 24 in (61 cm) | 18 × 18 in (46 × 46 cm) |
| 20 in (51 cm) | 25–26 in (64–66 cm) | 25 in (64 cm) | 18 × 18 in (46 × 46 cm) |
| 21 in (53 cm) | 26–27 in (66–69 cm) | 26 in (66 cm) | 18 × 18 in (46 × 46 cm) |
The 18 by 18 inch top is a deliberate choice: wide enough for a lamp, a mug, and a book, but narrow enough to fit beside almost any sofa or armchair. If the space beside your sofa is under 20 inches (51 cm) wide, shrink the top to 16 by 16 inches (41 by 41 cm) and shorten the aprons by 2 inches (5 cm). If you have a deep sectional, you can stretch the top to 20 by 20 inches (51 by 51 cm), but do not go bigger. Also make sure the table does not stick out past the front edge of the seat, or it will be bumped every day.
Choosing the Best Wood for Your Side Table
When you are learning how to build a wooden side table for beginners, pine is the best choice for a first table: cheap, light, easy to cut and sand, and it takes stain and paint beautifully. A pine side table costs about $25 to $40 in lumber. Poplar is a step up if you want a harder surface. White oak and walnut look stunning, but they are heavier, harder to cut, and three to five times the price — save them for your second table. For a deeper dive into species, grain, and cost, read our guide to the best wood for beginner woodworking projects.
Buy 1×8 boards (actual size ¾ × 7¼ inches, or 19 × 184 mm) for the tabletop, 2×2 boards (actual size 1½ × 1½ inches, or 38 × 38 mm) for the legs, and 1×3 boards (¾ × 2½ inches, or 19 × 64 mm) for the aprons. Pick boards that are straight by sighting down each edge, and reject any with large knots on the face, heavy cupping, or twisting. A knot on the underside is fine; a knot in the middle of the tabletop face will show through the finish forever. Because this is an indoor table, do not use pressure-treated lumber — it is meant for outdoor builds, it is heavier and rougher, and it has no place in a living room. Use clean, dry, indoor pine.
Let the boards acclimatise in your house for two to three days before you cut them — wood that moves after the glue-up is the number one cause of a cracked tabletop. Stack them flat with a small gap between them, away from radiators and direct sunlight.
Tools and Materials You Will Need
You probably own most of these tools already, and the rest can be borrowed or bought cheaply. A decent cordless drill and a pocket-hole jig are worth owning, because you will use them on every furniture project after this one.
| Item | Details | Typical cost |
|---|---|---|
| Pine 1×8 boards | 2 boards, 6 ft (1.8 m) long, for the tabletop and optional shelf | $12–$18 |
| Pine 2×2 boards | 1 board, 8 ft (2.4 m) long, for the four legs | $6–$9 |
| Pine 1×3 boards | 1 board, 8 ft (2.4 m) long, for the aprons | $5–$8 |
| Pocket-hole screws | 1¼ in (32 mm) coarse-thread, about 24 screws | $5–$8 |
| Wood glue | One 8 oz (237 ml) bottle | $4–$6 |
| Pocket-hole jig | Single-hole or two-hole jig with drill bit | $25–$40 |
| Tabletop fasteners | Z-clips or figure-8 fasteners, 4 pieces | $3–$5 |
| Sandpaper | 80, 120, and 220 grit sheets | $4–$6 |
| Finish | Wipe-on polyurethane or hard-wax oil, 1 pint (0.47 L) | $10–$15 |
| Tools | Circular saw, drill, sander, tape measure, square, clamps | $0 if owned |
| Total (pine, tools owned) | Lumber, screws, glue, fasteners, finish | $50–$75 |
Wear safety glasses, hearing protection, and a dust mask — pine dust is an irritant. Apply the finish in a well-ventilated space, and lay oil-soaked rags flat outdoors to dry, because bunched-up oily rags can self-heat.
Cut List for an 18 × 18 Inch Side Table
The cut list below is for an indoor side table 18 inches (46 cm) wide, 18 inches (46 cm) deep, and 24 inches (61 cm) tall, built from a glued-up 1×8 tabletop with 2×2 tapered legs and a 1×3 pocket-hole apron frame. If your sofa needs a different height, keep the same structure and change only the leg length: legs are always the finished table height minus the ¾-inch (19 mm) tabletop thickness. Cut the legs first, then the aprons, then the tabletop boards — and always measure twice before every cut.
| Part | Material | Size | Quantity |
|---|---|---|---|
| Tabletop boards | 1×8 pine | 18 in (46 cm) long | 3 |
| Legs | 2×2 pine | 23¼ in (59 cm) long | 4 |
| Long aprons | 1×3 pine | 13½ in (34 cm) long | 2 |
| Short aprons | 1×3 pine | 13½ in (34 cm) long | 2 |
The three tabletop boards, each 7¼ inches (18.4 cm) wide, glue up to about 21¾ inches (55 cm) wide before trimming — you will trim the finished panel to exactly 18 inches (46 cm) square after the glue dries, giving you clean, straight edges on all four sides. The legs are 23¼ inches (59 cm) long because the ¾-inch (19 mm) thick tabletop sits on top of them to reach the full 24-inch (61 cm) height. The aprons sit ¾ inch (19 mm) in from the edge of the tabletop, leaving a small, neat overhang all round.
Step 1: Measure Your Sofa and Mark Your Boards
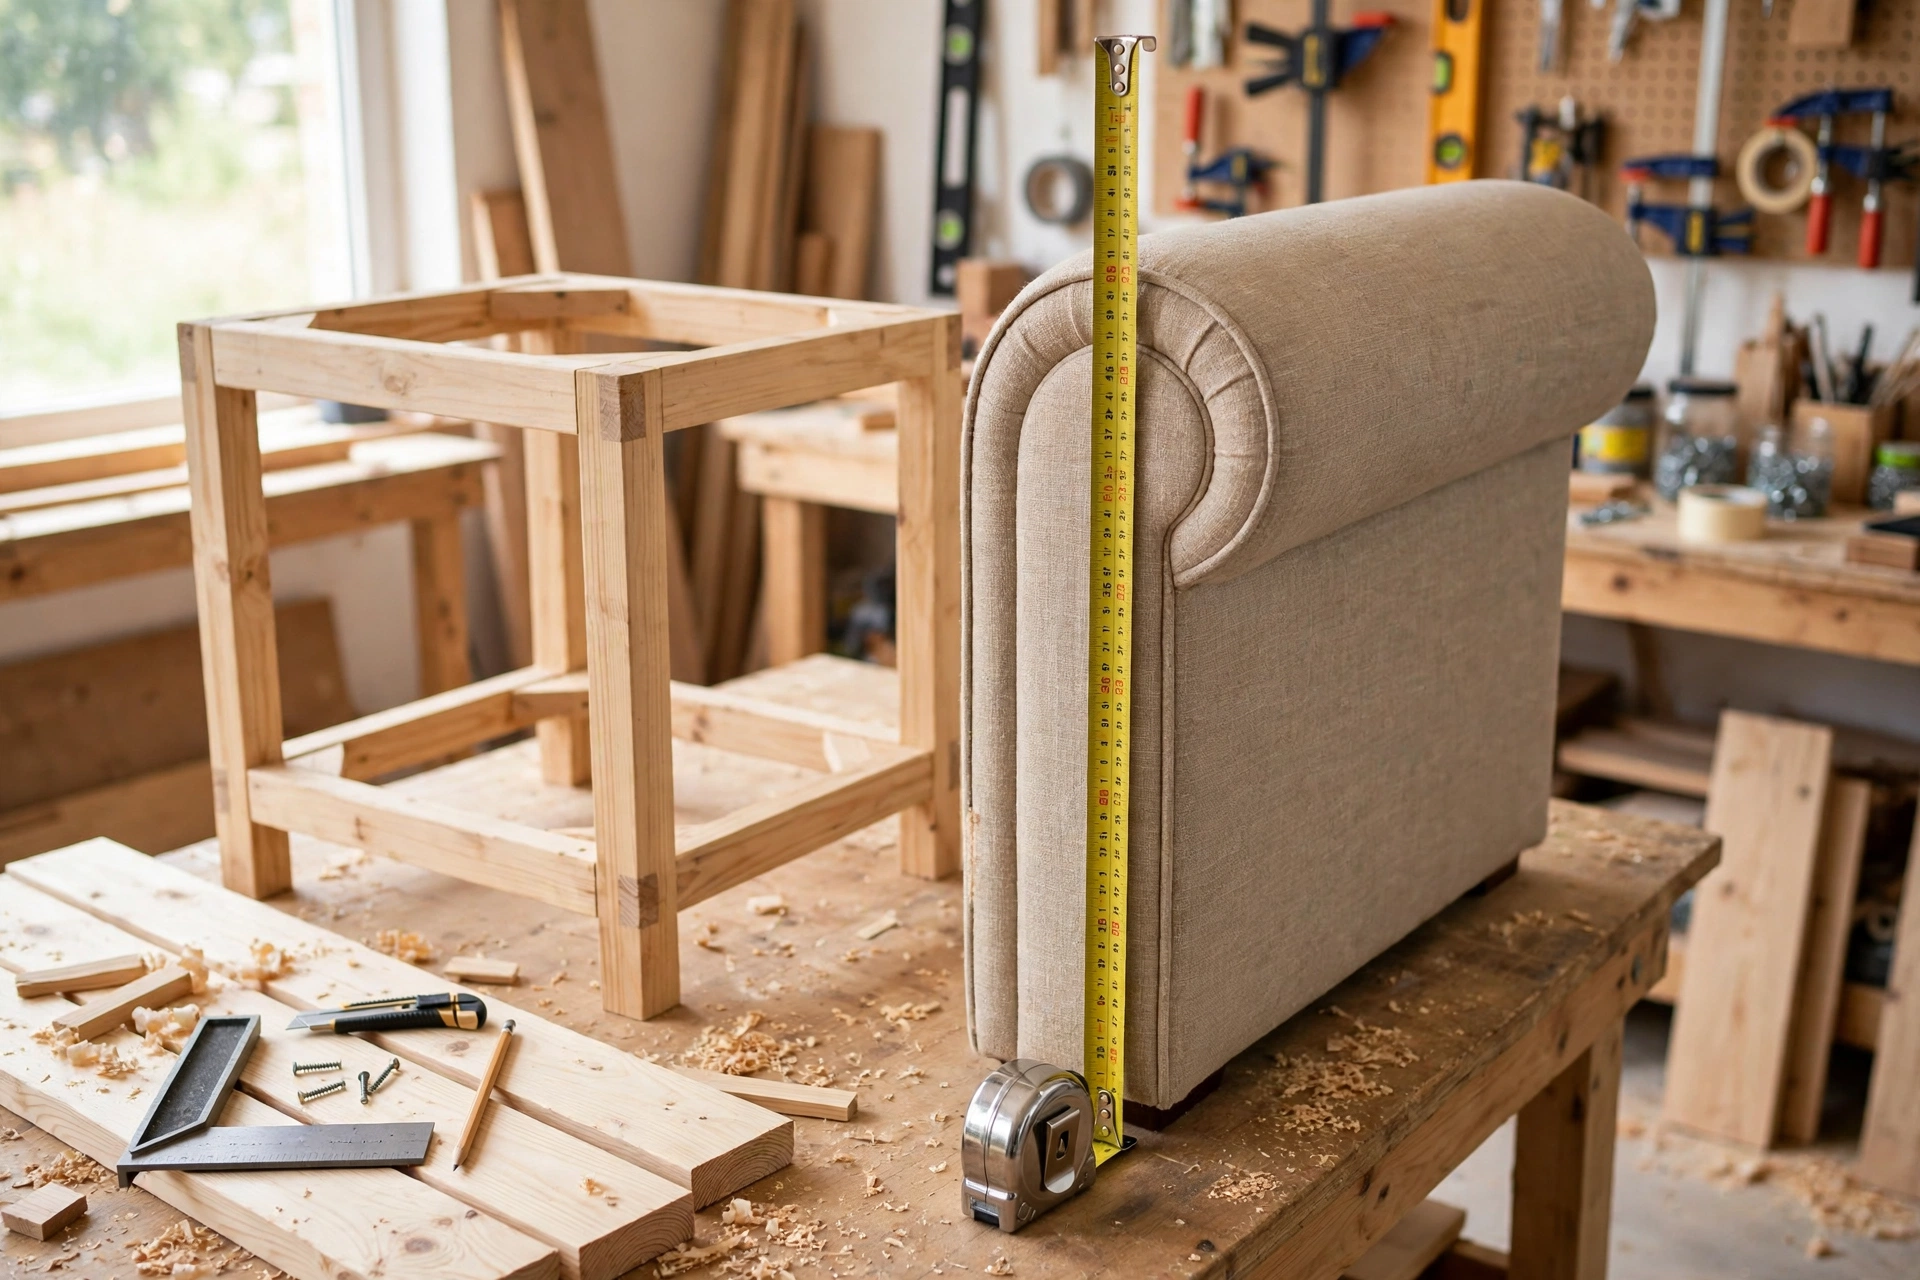
Learning how to build a wooden side table for beginners starts with careful measuring, because every later step depends on it. Measure your sofa’s armrest height from the floor first, and confirm it against the sizing table above. If your armrest is 24 inches (61 cm), build the table at 24 inches as this guide does; if it is 26 inches (66 cm), add 2 inches (5 cm) to the leg length. Write your finished table height on a piece of paper and tape it to the workbench.
Lay your boards on a flat workbench and check each one for straightness. Mark the straightest face of every board with a small pencil tick — that face goes up on the tabletop, where everyone will see it. Then measure and mark each cut with a pencil and a speed square, drawing the cut line squarely across the full width of the board. Label every piece as you mark it: “Top 1” through “Top 3”, “Leg A” through “Leg D”, and “Apron 1” through “Apron 4”. This takes two minutes and saves you from mixing up near-identical boards during assembly. Factory ends are often rough or slightly out of square, so trim a thin slice off each end before measuring your final lengths.
Step 2: Cut the Boards to Size
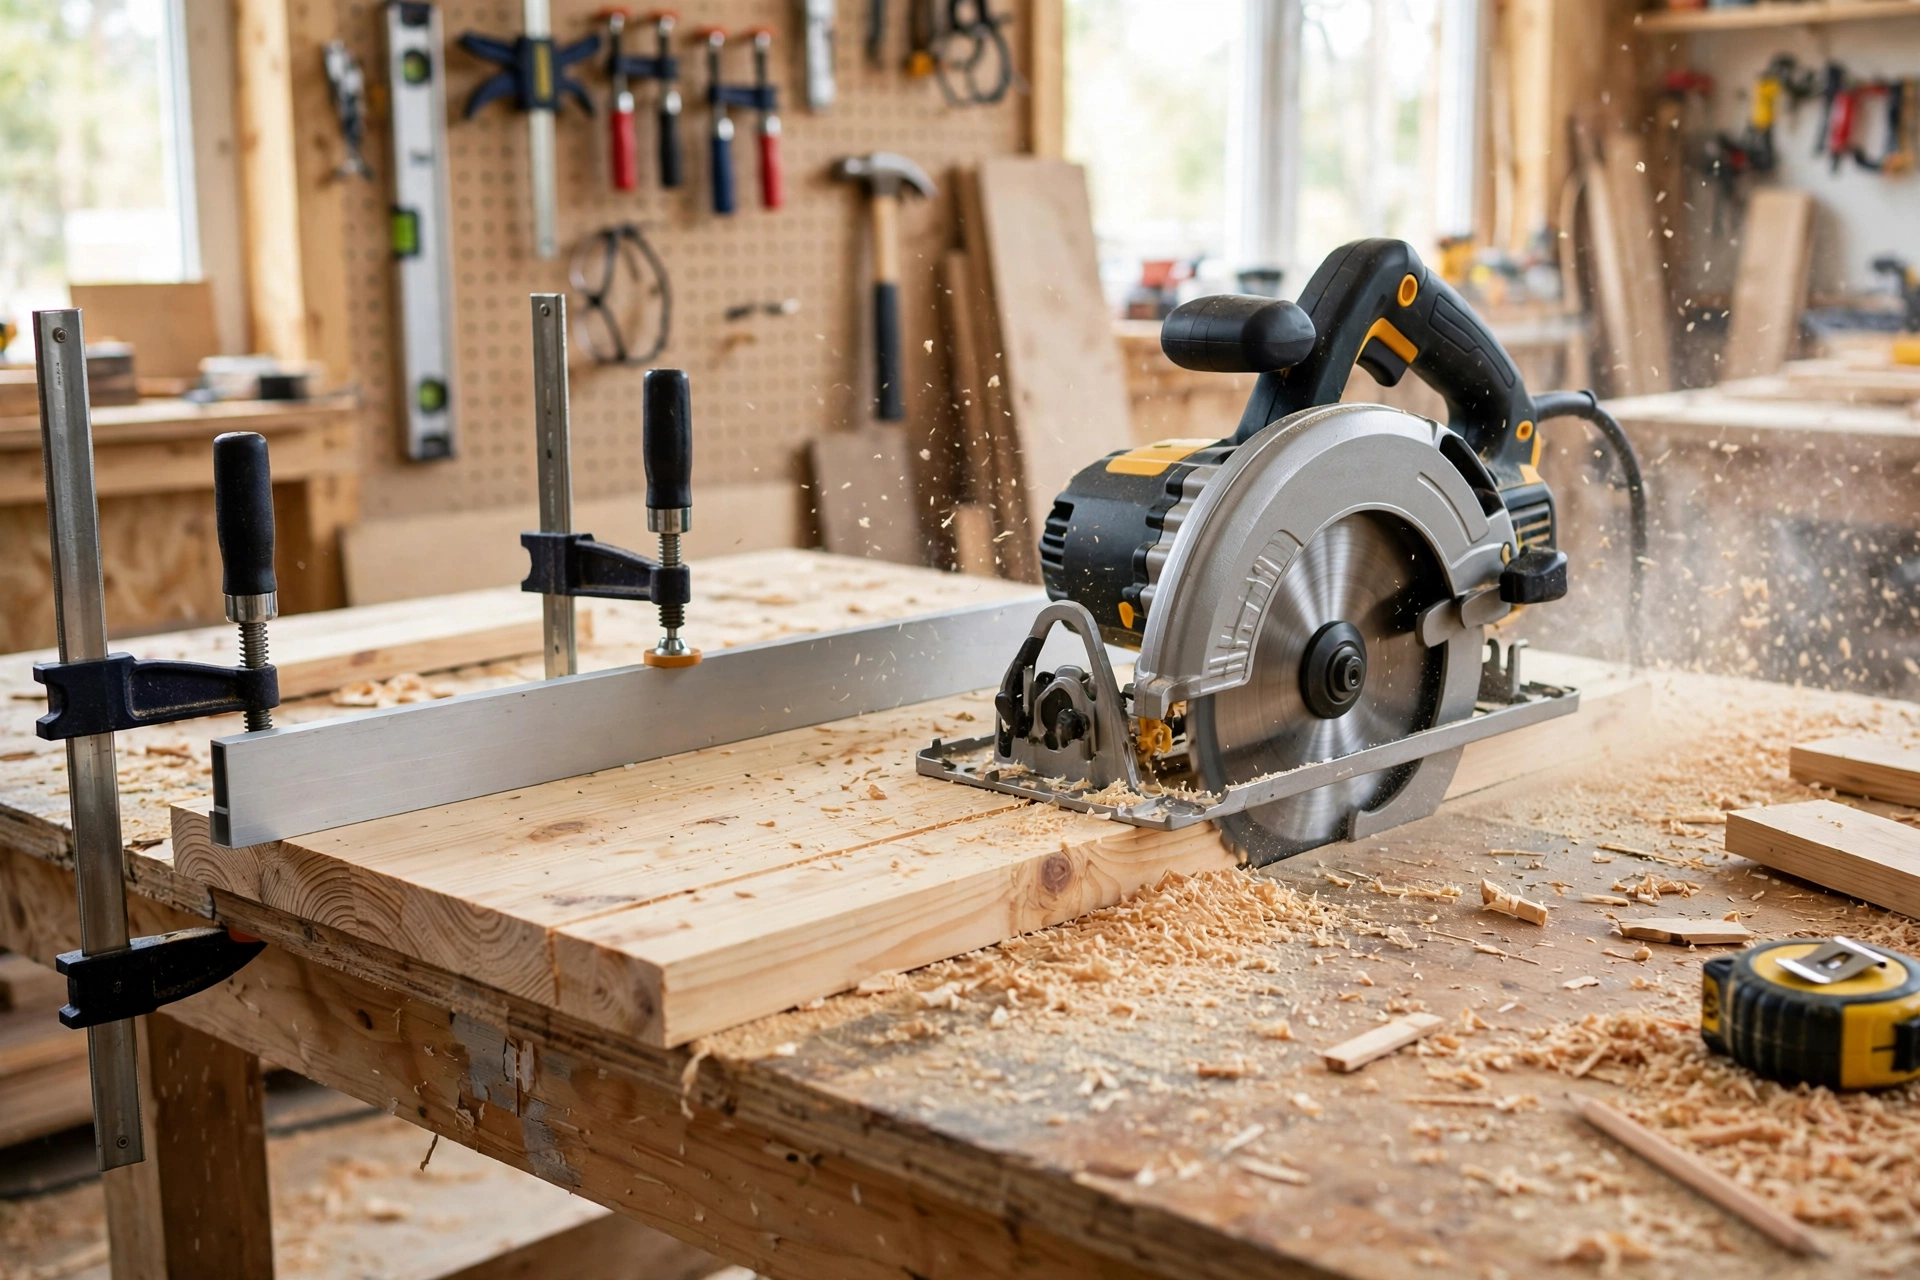
Clamp a straight board or a speed square to your workpiece as a saw guide, and set the circular saw depth so the blade cuts about ¼ inch (6 mm) past the bottom of the board — no deeper. Cut slowly and steadily, letting the saw do the work; pushing hard causes burning and wandering cuts. Cut the legs first, then the aprons, then the tabletop boards.
After cutting, dry-fit the three tabletop boards side by side and check the total width. A small error here — even ¼ inch (6 mm) — is easy to fix now by trimming one board, and almost impossible to fix after the glue has set. Sand the cut ends lightly with 80-grit paper. Keep your offcuts: a short piece of 1×8 makes a perfect stain test piece, and a scrap of 2×2 is ideal for practising the taper cut.
Step 3: Cut the Tapered Legs
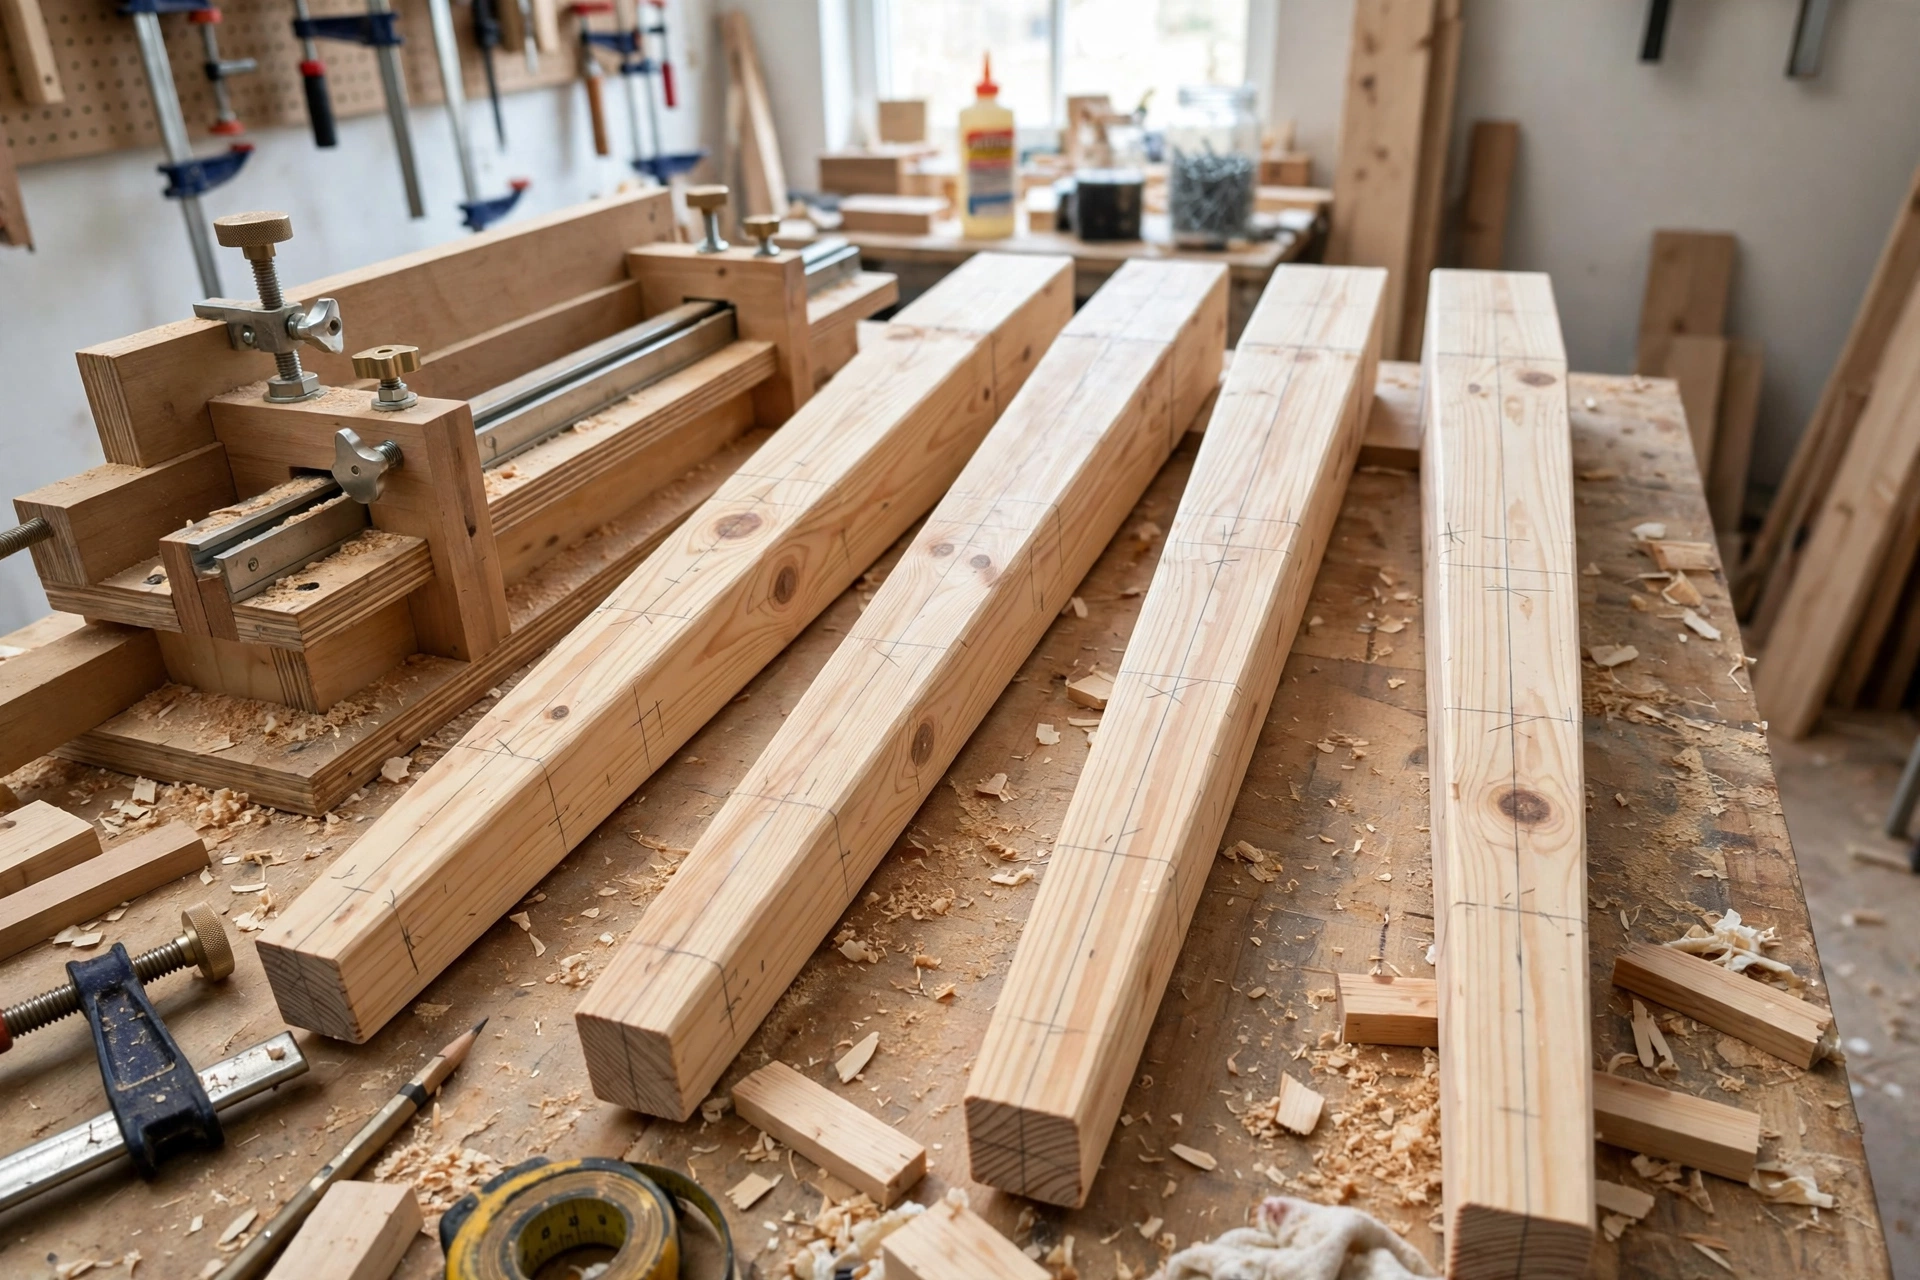
Tapered legs are what make this side table look like furniture instead of a box on sticks. A taper means the leg is full width at the top — 1½ inches (38 mm) square — and narrows gently toward the floor, to about 1 inch (25 mm) square at the bottom. The taper runs on the two inside faces of each leg only, so from the front the legs still look straight and square, while from the side they have a light, elegant slope. The taper starts 6 inches (15 cm) below the top, leaving a square section where the aprons join — never taper into the joint area.
Mark each leg before you cut: on the two inside faces, draw a line from the full 1½-inch width at the 6-inch mark down to the 1-inch width at the bottom end. Use a taper jig if you have one, or clamp a straight-edge guide to the leg and cut along the line with a circular saw, then clean the cut up with a hand plane or 80-grit sandpaper. Cut the first leg, then use it as a template to mark the other three, so all four tapers match exactly.
| Finished table height | Leg length | Taper starts | Bottom width |
|---|---|---|---|
| 22 in (56 cm) | 21¼ in (54 cm) | 6 in (15 cm) below top | 1 in (25 mm) |
| 23 in (58 cm) | 22¼ in (57 cm) | 6 in (15 cm) below top | 1 in (25 mm) |
| 24 in (61 cm) | 23¼ in (59 cm) | 6 in (15 cm) below top | 1 in (25 mm) |
| 25 in (64 cm) | 24¼ in (62 cm) | 6 in (15 cm) below top | 1 in (25 mm) |
| 26 in (66 cm) | 25¼ in (64 cm) | 6 in (15 cm) below top | 1 in (25 mm) |
Step 4: Glue Up the Tabletop
The tabletop glue-up is the step beginners worry about most, and it is also the most forgiving part of the build — if you take it slowly. Lay the three boards face-down in the order you want them, and arrange the grain so the growth rings alternate: one board with the rings curving up, the next with the rings curving down. This keeps the tabletop flatter over time. Mark the arrangement with a large triangle drawn across all three boards — the “cabinetmaker’s triangle” — so you can put them back in the same order after the glue is on.
Spread a thin, even bead of wood glue along each edge — enough that a thin line squeezes out when you clamp, but not so much that glue floods the face. Use at least three clamps: two on top and one underneath, alternating, so the panel does not bow. Tighten gradually, checking with a straightedge that the panel stays flat. Wipe squeeze-out off with a damp cloth while it is wet; dried glue shows up as pale blotches under the finish. Leave the panel clamped for at least an hour, then let it cure overnight.
Once the glue has cured, flatten the tabletop with a random orbit sander and 80-grit paper — work diagonally across the joints first, then with the grain. Check the panel with a straightedge and mark any high spots. When the panel is flat, trim it to exactly 18 by 18 inches (46 by 46 cm) with the circular saw and a straight-edge guide, squaring all four edges.
Step 5: Build the Frame with Pocket-Hole Joinery
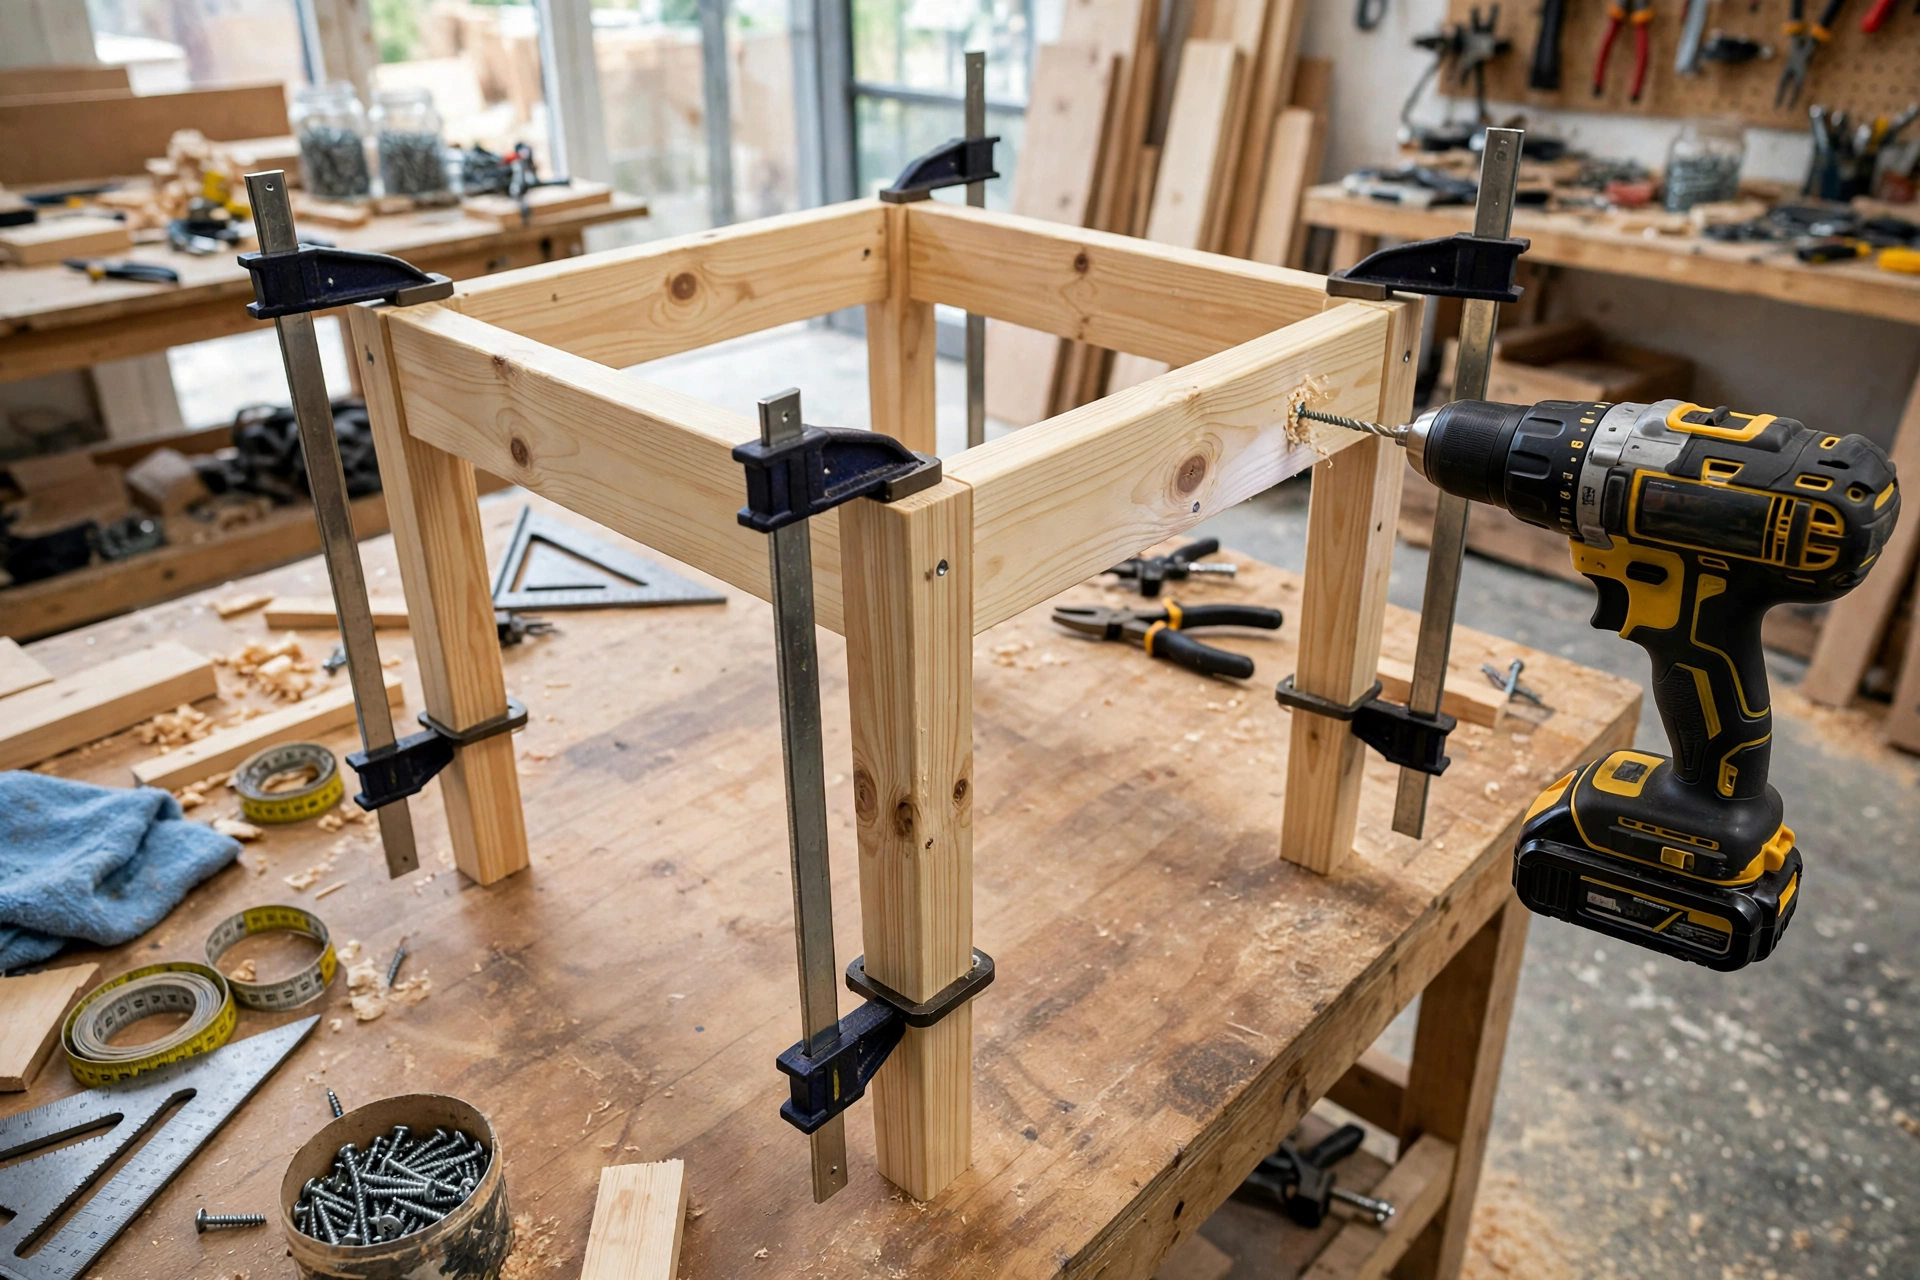
With the tabletop curing, build the frame: four tapered legs joined by four aprons, all the same 13½-inch (34 cm) length in this square design. Drill two pocket holes at each end of every apron, on the inside face that will never be seen, using your pocket-hole jig set for ¾-inch (19 mm) stock. The tapered faces of the legs go on the inside too, so the aprons meet the square section at the top of each leg.
Assemble the frame on a flat floor, not on the workbench, so you can check that all four legs touch the ground. Spread glue on each joint, then drive 1¼-inch (32 mm) coarse-thread pocket-hole screws through the aprons into the legs. Work one corner at a time, checking with a square that each leg sits at 90 degrees to its apron. Clamps hold everything square while you drive the screws; if you only own two clamps, assemble one side at a time — leg, apron, leg — then join the two sides. Once the frame is together, set it on the floor and press down on each corner. If it rocks, find the long leg and trim it — never shim a side table, because shims work loose.
Stand the frame upright and check it for square by measuring diagonally across the top — the two diagonals should match within ⅛ inch (3 mm). If they do not, loosen the screws on one corner, rack the frame square, and re-tighten.
Pocket-Hole Joinery vs Dowels: What Holds a Side Table Together?
Beginners often ask whether pocket holes are strong enough for a side table, and the honest answer is yes — for the apron-to-leg joints in this design, pocket-hole screws are more than strong enough, and far easier to get right than dowels on a first build. A side table carries almost no load — a lamp, a few books, a coffee mug — and the forces on the joints are mostly downward, which pocket screws handle well. Dowels are stronger in theory, but they demand perfectly aligned holes, and a dowel joint even slightly misaligned is weaker than a pocket-hole joint done right.
The real secret to a side table that lasts is not the joint type — it is the glue. Wood glue on a well-fitted joint is stronger than the wood around it, and the screws mainly hold everything tight while the glue cures. That is why every joint in this build gets glue and screws together, never screws alone. Use coarse-thread screws in softwood like pine, because fine threads are designed for hardwood and will not grip pine. If you want to go further, our comparison of pocket-hole vs dowel joint strength breaks down the test results and when dowels are worth the extra effort. For this table, pocket holes are the right call: fast, forgiving, and hidden on the inside of the apron.
Step 6: Attach the Tabletop — Let the Wood Move
This is the step where most beginner side tables fail, so read it twice. Wood moves across its width as the humidity changes — an 18-inch (46 cm) wide pine tabletop can grow and shrink by as much as ⅛ inch (3 mm) between a dry winter and a humid summer. If you screw the tabletop down rigidly to the apron, that movement has nowhere to go, and the tabletop will crack down the middle, usually in the first year. Attach it with fasteners that hold it down firmly but let it slide sideways.
Z-clips are the easiest choice for a first table: rout or saw a shallow groove along the inside top edge of the aprons, hook the clips into the groove, and screw them to the underside of the tabletop. Figure-8 fasteners work the same way and need no groove — just screw one side to the apron and the other to the top. Space four fasteners evenly around the apron, one on each side, and drive the screws into the centre of their adjustment range so they can slide both ways. Centre the tabletop on the frame, leaving an equal ¾-inch (19 mm) overhang on all four sides, and check it with a tape measure before you drive the first screw. Once the top is attached, lift the table by the frame only, never by the tabletop edge. Never use direct screws through the apron into the top: that is the one attachment method that guarantees a cracked tabletop.
Step 7: Sand and Finish Your Side Table
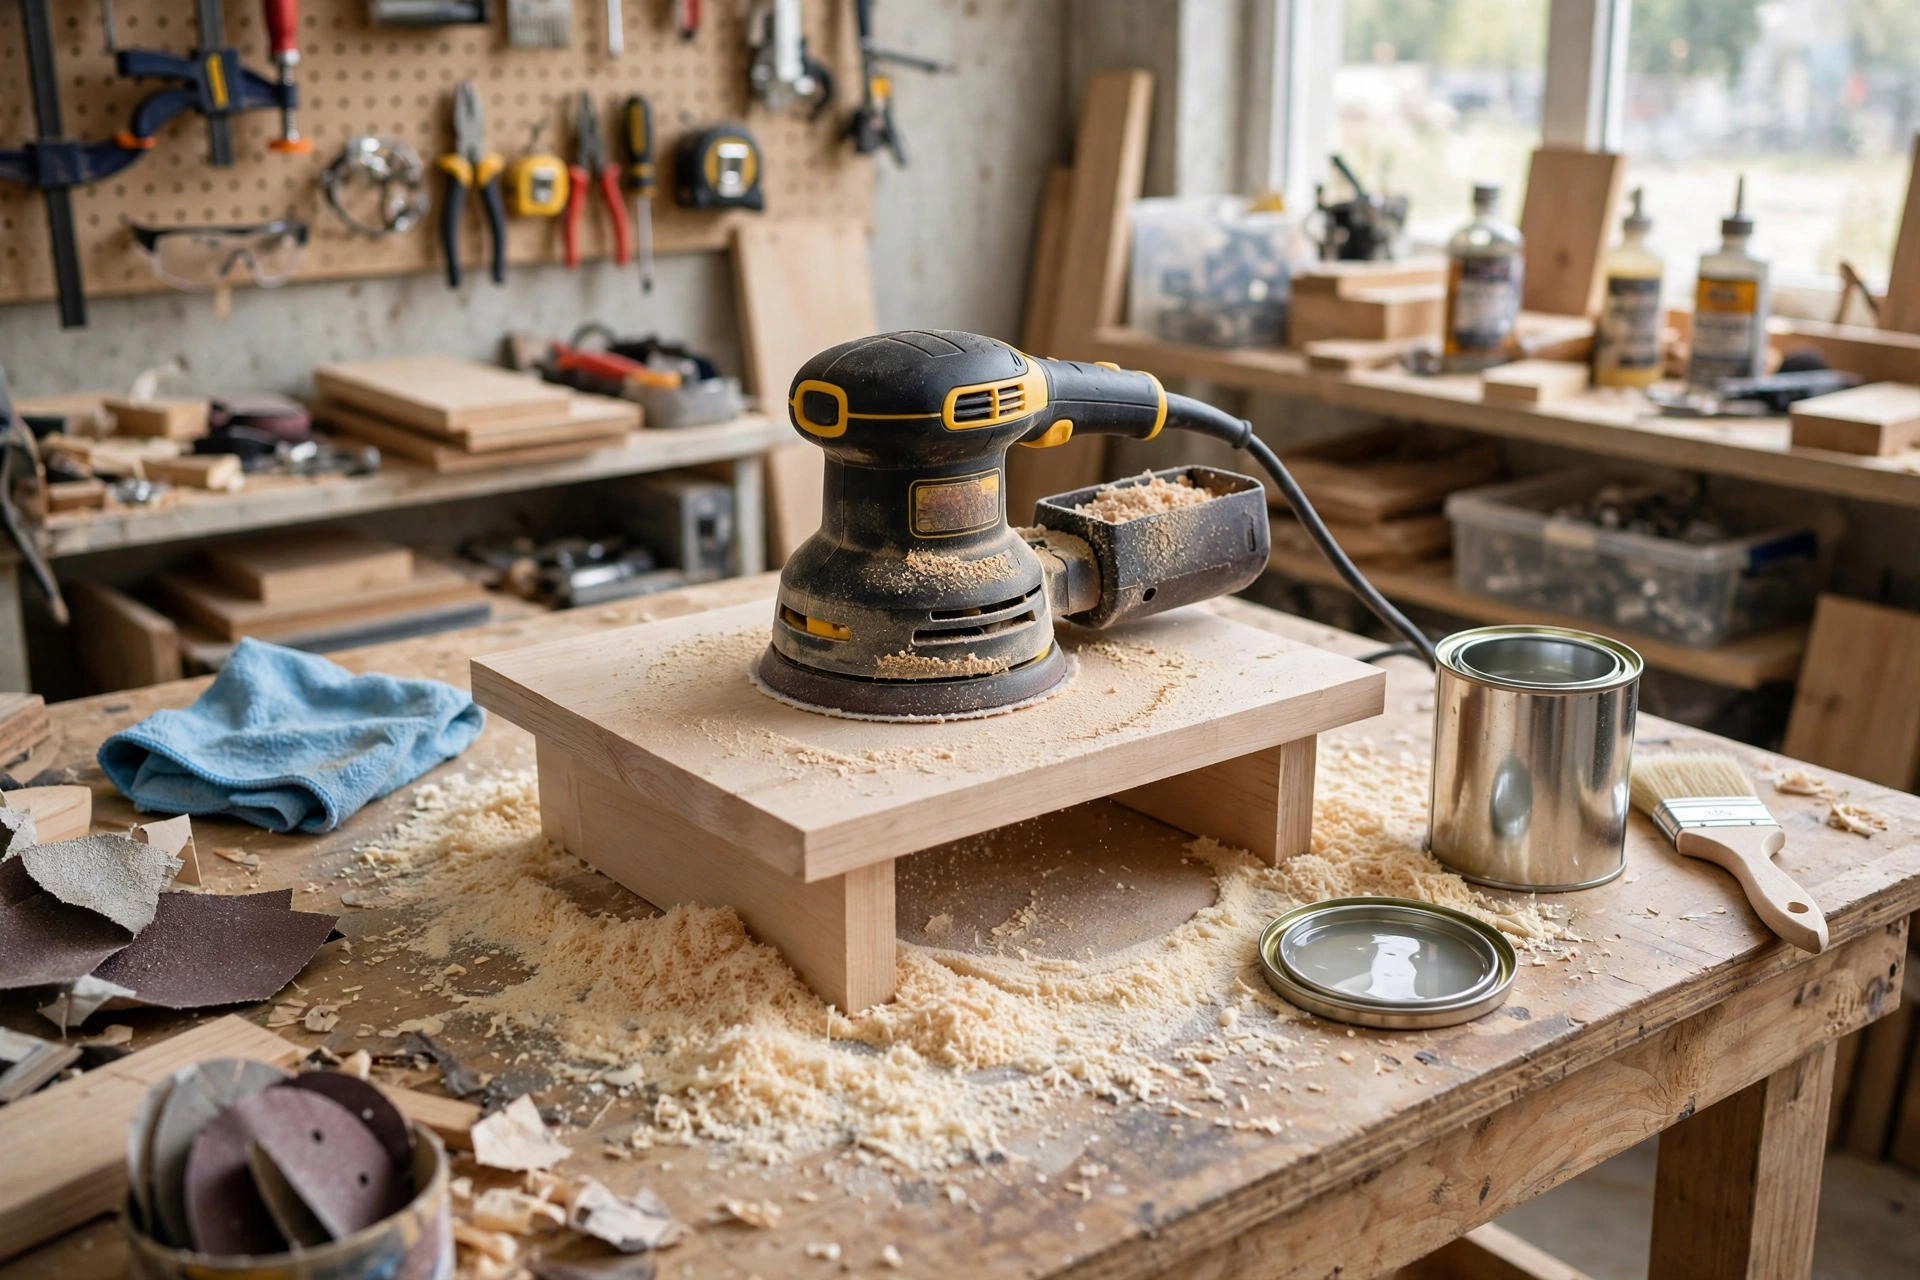
Sanding is where a beginner build starts to look professional, so do not rush it. Sand the tabletop in three passes: 80 grit to level the glue joints and remove saw marks, 120 grit to smooth the surface, and 220 grit for a silky final finish. Always sand with the grain, never across it, and round over the sharp top edges slightly with the 120-grit paper. Sand the legs and aprons the same way. Vacuum or wipe the dust off with a tack cloth between grits; dust left behind shows up as rough spots under the finish. Our full technique guide, how to sand and finish wood for beginners, walks through grit progression and common sanding mistakes in detail.
For the finish, a side table needs something tougher than a decorative oil, because it will hold coffee mugs, cold glasses, and the occasional spilled drink. A wipe-on polyurethane is the most forgiving choice for a first side table: it builds a hard, waterproof film that shrugs off water rings, and it is easy to repair later with a light sanding and one more coat. Apply three thin coats, sanding lightly with 220-grit paper between coats. If you prefer an oil look, use a hard-wax oil rated for tabletops and apply at least three coats. Skip plain Danish oil — it is not waterproof enough for daily coffee rings. Because this table lives indoors, an ordinary indoor furniture finish is exactly right; do not use spar urethane or deck oil, which are made for outdoor furniture and smell strongly indoors for weeks. If you want colour, stain first, let it dry 24 hours, then seal with polyurethane. Let the final coat cure for at least 72 hours before you put a lamp or a mug on the table — a finish that feels dry is not the same as a finish that has cured hard.
Styling Your Finished Side Table
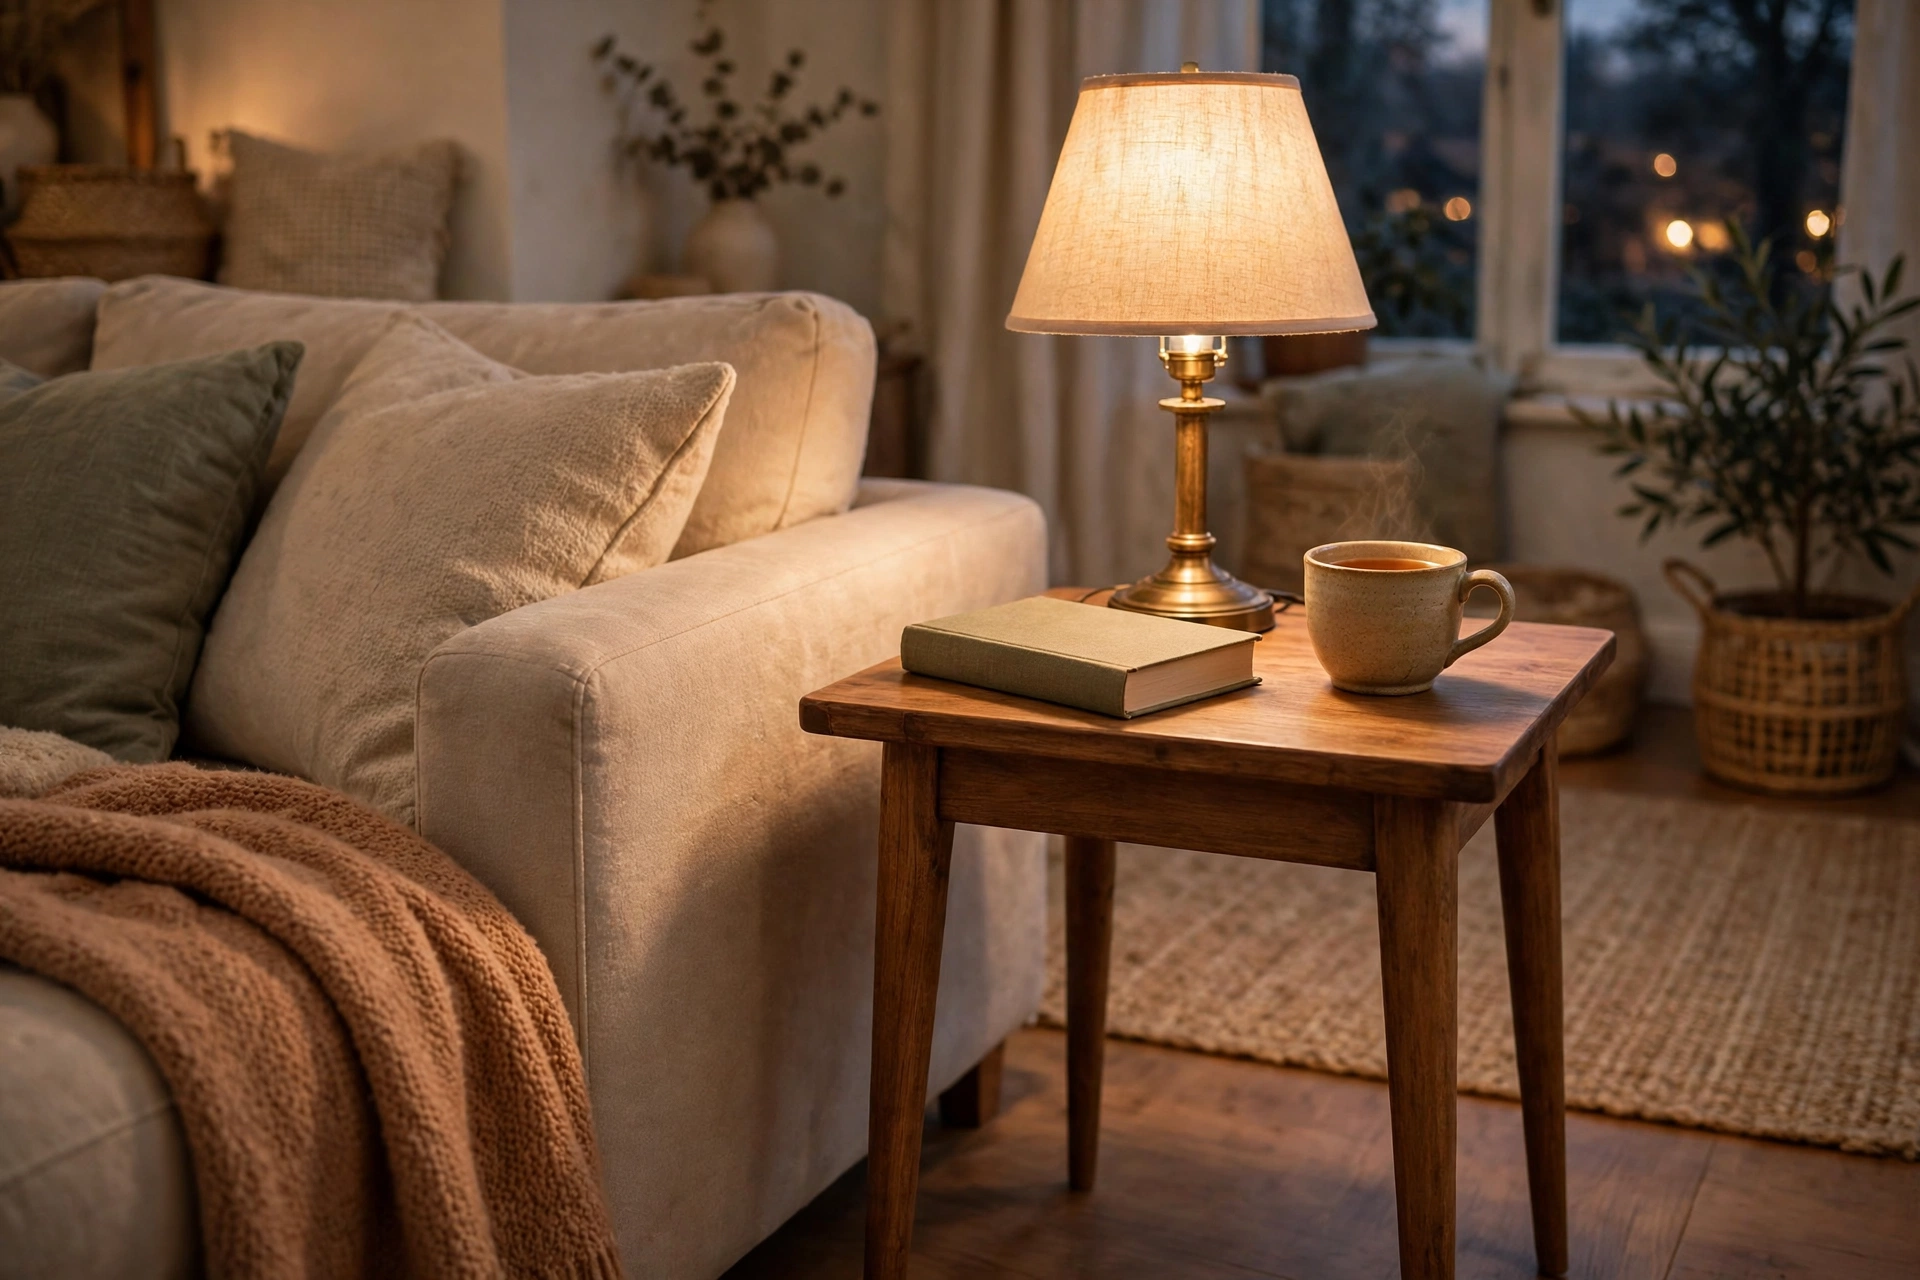
Once the finish has cured, carry the table into the living room and put it beside your sofa. A small lamp, a stack of two or three books, and a coaster for your mug are all the styling a side table needs — resist the urge to fill every inch of the top, because a side table earns its keep by having space free when you sit down with a drink.
A matching wooden nightstand for beginners in the bedroom, built with the same tapered legs and pocket-hole frame, is a natural second project — the two builds share almost every cut and joint. To keep the table looking new, wipe it with a barely damp cloth after spills, use a coaster for every mug and glass, and add a fresh coat of polyurethane once a year, or whenever water stops beading. A side table built this way will last for decades.
Common Mistakes to Avoid
Most problems in this build come from rushing one of these steps.
Building the wrong height. A side table taller than the sofa armrest looks wrong and gets in the way. Measure the armrest first and build to that number.
Using outdoor wood or finish indoors. Pressure-treated lumber and spar urethane belong on the outdoor side table, not in your living room.
Skipping the dry fit. Gluing up without a dry fit hides a bowed board until the glue has set. Always lay out every board and mark the arrangement first.
Tapering into the joint area. The taper must start below the aprons, or the apron has nothing square to screw into and the joint will be weak.
Not alternating the grain. Boards glued with all the rings facing the same way cup together. Alternate them and the panel stays flat.
Screwing the tabletop down rigidly. Wood moves with the seasons; screws straight through the apron into the top will crack it. Use Z-clips or figure-8 fasteners.
Rushing the finish. Stain or polyurethane over dust or a skipped grit looks blotchy forever. Sand through the grits, clean the dust, and let each coat cure fully.
How Much Does It Cost and How Long Does It Take?
For a pine side table like the one in this guide, expect $50 to $75 in materials if you already own the tools — roughly a third of the price of a similar shop-bought solid wood side table, and yours will be sized exactly to your sofa. A hardwood version costs two to three times more in lumber alone. Plan for 3 to 4 hours of hands-on work spread over a weekend: half an hour to measure and cut, an hour for the glue-up, an hour to build the frame and taper the legs, half an hour to sand, and half an hour to finish, plus overnight drying for the glue and at least 72 hours for the final coat to cure.
| Version | Materials cost | Hands-on time | Skill level |
|---|---|---|---|
| Pine, as built here | $50–$75 | 3–4 hours | Beginner |
| Pine, painted finish | $45–$65 | 3–4 hours | Beginner |
| Poplar, clear finish | $65–$90 | 3–4 hours | Beginner |
| White oak, clear finish | $120–$160 | 4–5 hours | Intermediate |
Frequently Asked Questions
How tall should a wooden side table be?
A side table should be level with your sofa’s armrest, or 1 to 2 inches (2.5 to 5 cm) below it — never taller than the armrest. For most sofas that means a table 22 to 26 inches (56 to 66 cm) tall. Measure your armrest from the floor and build the legs to match; this guide builds a 24-inch (61 cm) table.
What is the best wood for a beginner side table?
Pine is the best wood for a first side table: cheap, light, easy to cut and sand, and it takes stain and paint well. Poplar is a good upgrade if you want a harder surface. Save white oak and walnut for a later project, once you are confident with the glue-up and the tapered legs.
Can I build a side table without a table saw?
Yes. A circular saw with a straight-edge guide makes every cut in this project, including the taper cuts on the legs. A handsaw and patience will also work — it just takes longer. Many lumber yards will cut boards to length for a small fee, so you can have the legs and aprons cut at the store and do the glue-up and assembly at home with only a drill.
Are pocket-hole screws strong enough for a side table?
Yes. A side table carries very little weight — a lamp, a few books, a coffee mug — and pocket-hole screws with wood glue are more than strong enough for the apron-to-leg joints. Use coarse-thread screws in softwood like pine.
How do I stop my side table top from cracking?
Let the boards acclimatise in your house for two to three days before cutting, alternate the grain direction when you glue up the panel, and never screw the tabletop rigidly to the frame. Attach it with Z-clips or figure-8 fasteners so the wood can expand and contract with the seasons.
What is the difference between this side table and an outdoor side table?
This table is an indoor living-room side table: indoor pine, a furniture finish, and proportions matched to a sofa. An outdoor side table uses weatherproof wood, an outdoor finish, and a design built for rain and sun. Do not take this table outside — each build belongs in the place it was designed for.
How much does it cost to build a wooden side table?
A pine side table costs about $50 to $75 in materials if you already own the tools. A painted pine version costs roughly $45 to $65, poplar about $65 to $90, and hardwood $120 to $190 in lumber alone. A pocket-hole jig is the only tool you may need to buy, at $25 to $40.
Recommended Products for This Project
As an Amazon Associate, I earn from qualifying purchases.

DEWALT 20V MAX Drill/Driver Kit DCD771C2
Drives every pocket-hole screw in this side table frame and pre-drills clean pilot holes so the pine legs never split.

Titebond III Ultimate Wood Glue 1413 (8 oz)
Strong wood glue that locks the three tabletop boards into one solid panel and strengthens every pocket-hole joint in the frame.
DEWALT 20V MAX Circular Saw DCS391B, 6-1/2-inch
Cordless 20V power for straight, fast cuts in the tabletop boards, the tapered legs, and the apron pieces of this side table.

DEWALT Random Orbit Sander DWE6423, 5-inch
Levels the tabletop glue joints and sands the tapered legs silky-smooth through 80, 120, and 220 grit for a professional finish.
FIXLINK Deck Screws #8 x 2 Inch, 310-Pack
The right 2-inch screws for the side table frame and apron joints, with plenty left over for your next furniture project.


