
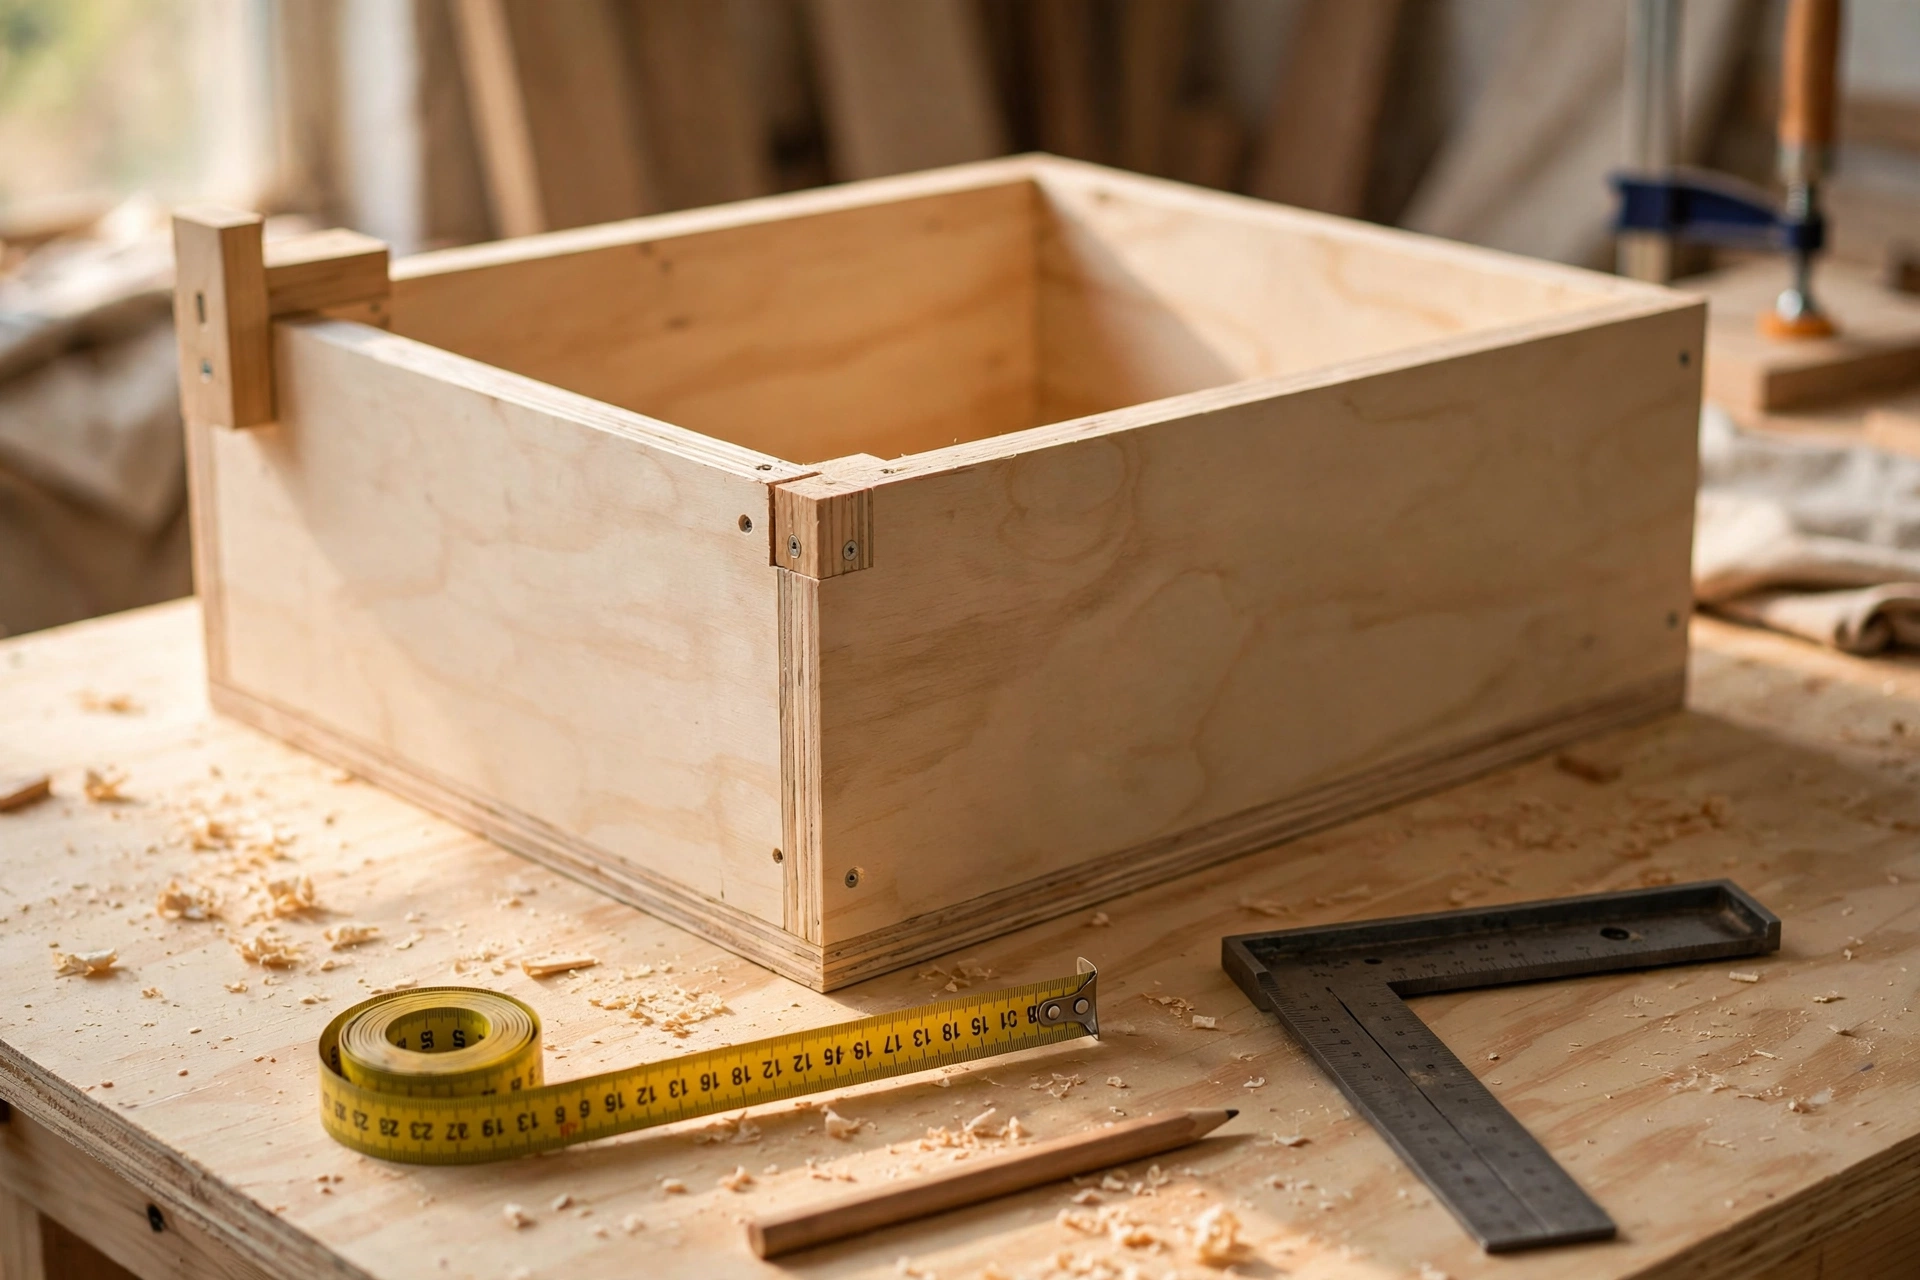
A good storage ottoman does three jobs at once: it hides the blankets, toys, and board games that clutter a living room, it gives you somewhere to put your feet up, and it works as an extra seat when friends come over. Learning how to build a wooden storage ottoman for beginners is one of the most rewarding first furniture projects you can take on, because the whole build is a simple plywood box with a hinged lid — no curves, no angles, no complicated joinery — In this guide: sizing, plywood choice, the cut list, a square box, soft-close lid hardware, and foam upholstery.
This project takes most beginners one weekend — about 5 to 7 hours of hands-on work plus drying time for the glue and the finish. You do not need a table saw or a jointer. A circular saw with a straight-edge guide (or a handsaw), a drill, and a staple gun are enough. If you are just starting out, this project sits comfortably alongside other simple builds in our easy woodworking projects for beginners that sell collection, and the same skills — measuring, cutting, screwing, and gluing a plywood box — transfer to almost every storage project you will ever build.
What Size Storage Ottoman Should You Build?
Before you buy a single sheet of plywood, measure your sofa and your living room — not the ottoman you saw in a shop. A storage ottoman should be about two-thirds the length of your sofa, so a standard three-seat sofa (about 84 inches or 213 cm long) pairs well with an ottoman around 36 inches (91 cm) long. The width should be 16 to 20 inches (41 to 51 cm), deep enough to hold folded blankets but narrow enough to step around easily. Height matters most of all: the top of the ottoman should sit 1 to 2 inches (2.5 to 5 cm) lower than your sofa seat, which is usually 17 to 19 inches (43 to 48 cm) from the floor. This guide builds an ottoman 36 inches (91 cm) long, 18 inches (46 cm) wide, and about 18 inches (46 cm) tall, which suits most standard sofas.
Also think about what will live inside it. A 36 × 18 inch box that is 15 inches (38 cm) deep holds roughly 5.6 cubic feet (158 litres) of storage — enough for four or five folded throws, a stack of magazines, a few board games, and the remote controls that always go missing.
| Ottoman length | Ottoman width | Best for | Storage volume (approx.) |
|---|---|---|---|
| 30 in (76 cm) | 16 in (41 cm) | Loveseat or small sofa | 4.0 cu ft (113 L) |
| 36 in (91 cm) | 18 in (46 cm) | Standard three-seat sofa | 5.6 cu ft (158 L) |
| 42 in (107 cm) | 18 in (46 cm) | Large sofa or sectional | 6.5 cu ft (184 L) |
| 48 in (122 cm) | 20 in (51 cm) | Sectional or end of a queen bed | 8.0 cu ft (227 L) |
Write down three numbers before you shop: your maximum ottoman length, your sofa seat height, and the depth of storage you need. Those three numbers drive every cut in this build.
Choosing the Best Wood for Your Storage Ottoman
When you are learning how to build a wooden storage ottoman for beginners, ¾-inch (18 mm) plywood is the best choice for the box. It is flat, stable, strong in every direction, and it comes in large sheets, so a single 4 × 8 foot (122 × 244 cm) sheet gives you every panel in this project with offcuts to spare. Birch plywood is the nicest option for a first ottoman: it has a clean, pale face with almost no voids, it takes paint beautifully, and the edges look neat enough to leave exposed with a light sanding. For a deeper dive into species, grain, and cost, read our guide to the best wood for beginner woodworking projects.
Avoid MDF for this project. It is heavy, it swells badly if it ever gets damp, and it does not hold screws well along its edges — exactly where this box needs them most. Let the plywood acclimatise in your house for two to three days before you cut it, especially if it has been stored in a cold lumber yard. Check both faces of the sheet in the store before you buy, and reject any sheet with a bowed corner, a delaminated edge, or a large patch on the face that will show.
Tools and Materials You Will Need
You probably own most of these tools already; the rest can be borrowed or bought cheaply. A staple gun is the one tool you may not own yet — a basic manual staple gun costs very little and is the right tool for the upholstery step, so it is worth buying rather than borrowing.
| Item | Details | Typical cost |
|---|---|---|
| ¾-in plywood sheet | One 4 × 8 ft (122 × 244 cm) sheet, birch or pine | $55–$75 |
| 1×2 pine boards | 2 boards, 8 ft (2.4 m) long, lid frame and cleats | $6–$10 |
| 1×3 pine boards | 2 boards, 8 ft (2.4 m) long, base trim | $8–$12 |
| Wood screws | #8 × 1¼ in (32 mm), about 40 screws | $5–$7 |
| Wood glue | One 16 oz (473 ml) bottle | $6–$9 |
| Piano hinge | 36 in (91 cm) continuous hinge, or two 3-in butt hinges | $8–$14 |
| Soft-close lid supports | One pair, rated 60 lb (27 kg) or higher | $12–$18 |
| Upholstery foam | 2 in (5 cm) high-density foam, 34 × 16 in | $25–$40 |
| Batting and fabric | Polyester batting + 1½ yards upholstery fabric | $15–$25 |
| Sandpaper | 120 and 220 grit sheets | $5–$8 |
| Finish | Paint or polyurethane, 1 quart (0.95 L) | $12–$20 |
| Tools | Circular saw, drill, staple gun, tape measure, square, clamps | $0 if owned |
| Total (36-in ottoman) | Lumber, hardware, foam, fabric, finish | $140–$200 |
Safety gear matters too: safety glasses, hearing protection when using the circular saw, and a dust mask for sanding. Work in a well-ventilated space when you apply the finish.
Cut List for a 36-Inch Wooden Storage Ottoman
The cut list below is for a storage ottoman 36 inches (91 cm) long, 18 inches (46 cm) wide, and about 18 inches (46 cm) tall including the upholstered lid, built from ¾-inch plywood with a 1×2 pine lid frame. The box itself is 15 inches (38 cm) tall; the lid panel, foam, and fabric add roughly 3 inches (8 cm) on top. If you are building a different size, keep the same structure and change only the panel lengths.
| Part | Material | Size | Quantity |
|---|---|---|---|
| Front panel | ¾-in plywood | 36 × 15 in (91 × 38 cm) | 1 |
| Back panel | ¾-in plywood | 36 × 15 in (91 × 38 cm) | 1 |
| Side panels | ¾-in plywood | 16½ × 15 in (42 × 38 cm) | 2 |
| Bottom panel | ¾-in plywood | 34½ × 16½ in (88 × 42 cm) | 1 |
| Lid panel | ¾-in plywood | 36 × 18 in (91 × 46 cm) | 1 |
| Lid frame rails (long) | 1×2 pine | 34½ in (88 cm) long | 2 |
| Lid frame rails (short) | 1×2 pine | 15 in (38 cm) long | 2 |
| Corner cleats | 1×2 pine | 13½ in (34 cm) long | 4 |
| Base trim (front/back) | 1×3 pine | 36 in (91 cm) long | 2 |
| Base trim (sides) | 1×3 pine | 18 in (46 cm) long | 2 |
The side panels are 16½ inches wide because the front and back panels overlap them: 18 inches minus two thicknesses of ¾-inch plywood equals 16½ inches. The bottom panel is 34½ × 16½ inches for the same reason — it fits inside the four walls of the box, which makes the joints stronger and hides the bottom edge from view. The lid frame rails sit underneath the lid panel and stop it from flexing when someone sits on it; they also give the lid supports a solid piece of wood to screw into.
Step 1: Measure and Mark Your Plywood
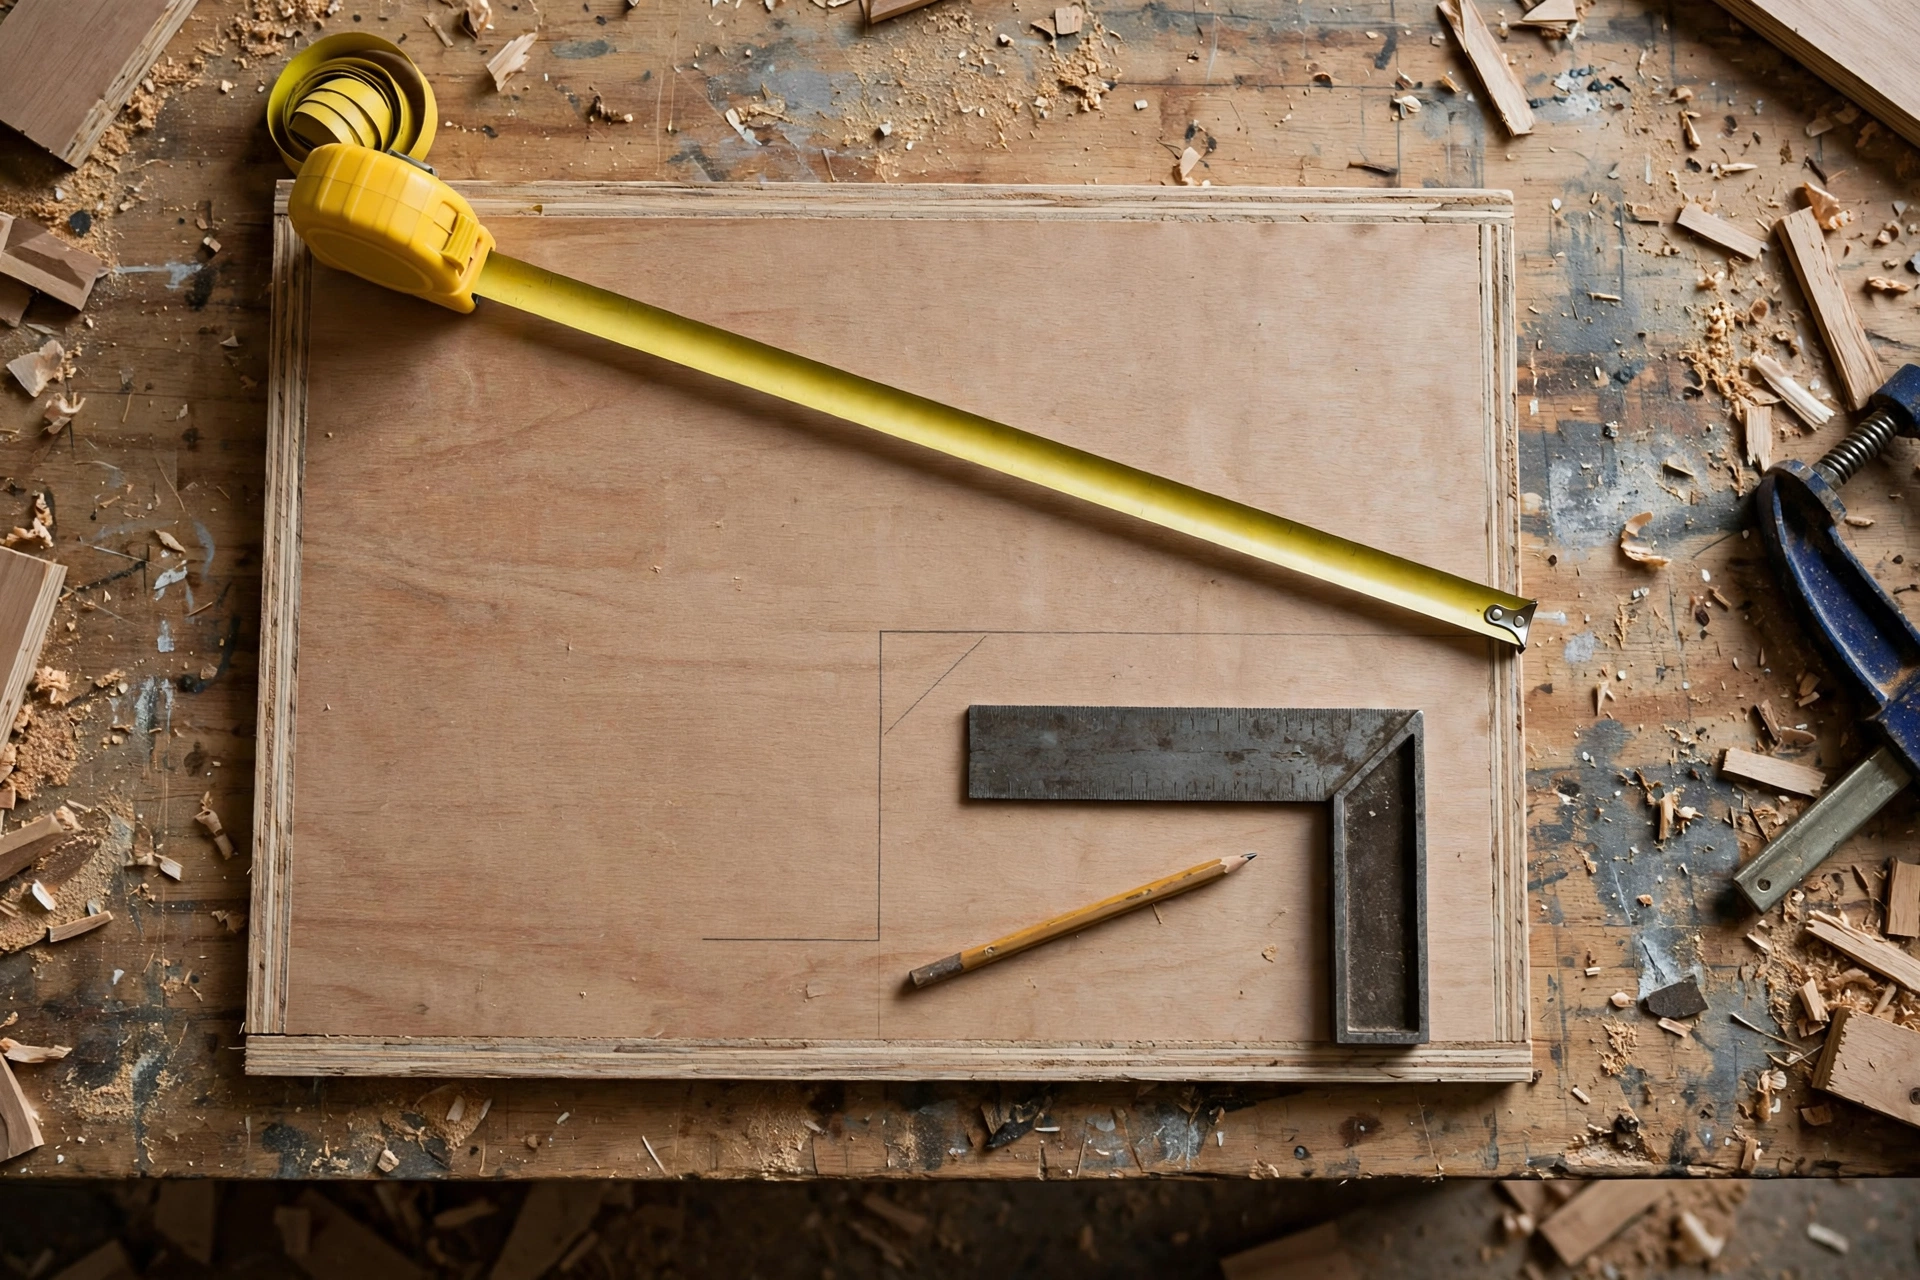
Learning how to build a wooden storage ottoman for beginners starts with careful measuring, because a plywood box only looks good when every panel is square. Lay the plywood sheet on a flat workbench or on the floor on top of a sheet of rigid foam insulation, which protects the blade and supports the sheet while you cut. Measure and mark each panel with a pencil and a straightedge, drawing the cut line squarely across the full width of the sheet. A factory edge is usually straight and square, so use it as your reference edge for the first cut and work from there.
Mark the straightest face of every panel with a small pencil tick — that face goes on the outside of the box, where everyone will see it. Label each piece as you mark it: “Front”, “Back”, “Side L”, “Side R”, “Bottom”, and “Lid”.
Step 2: Cut the Panels to Size
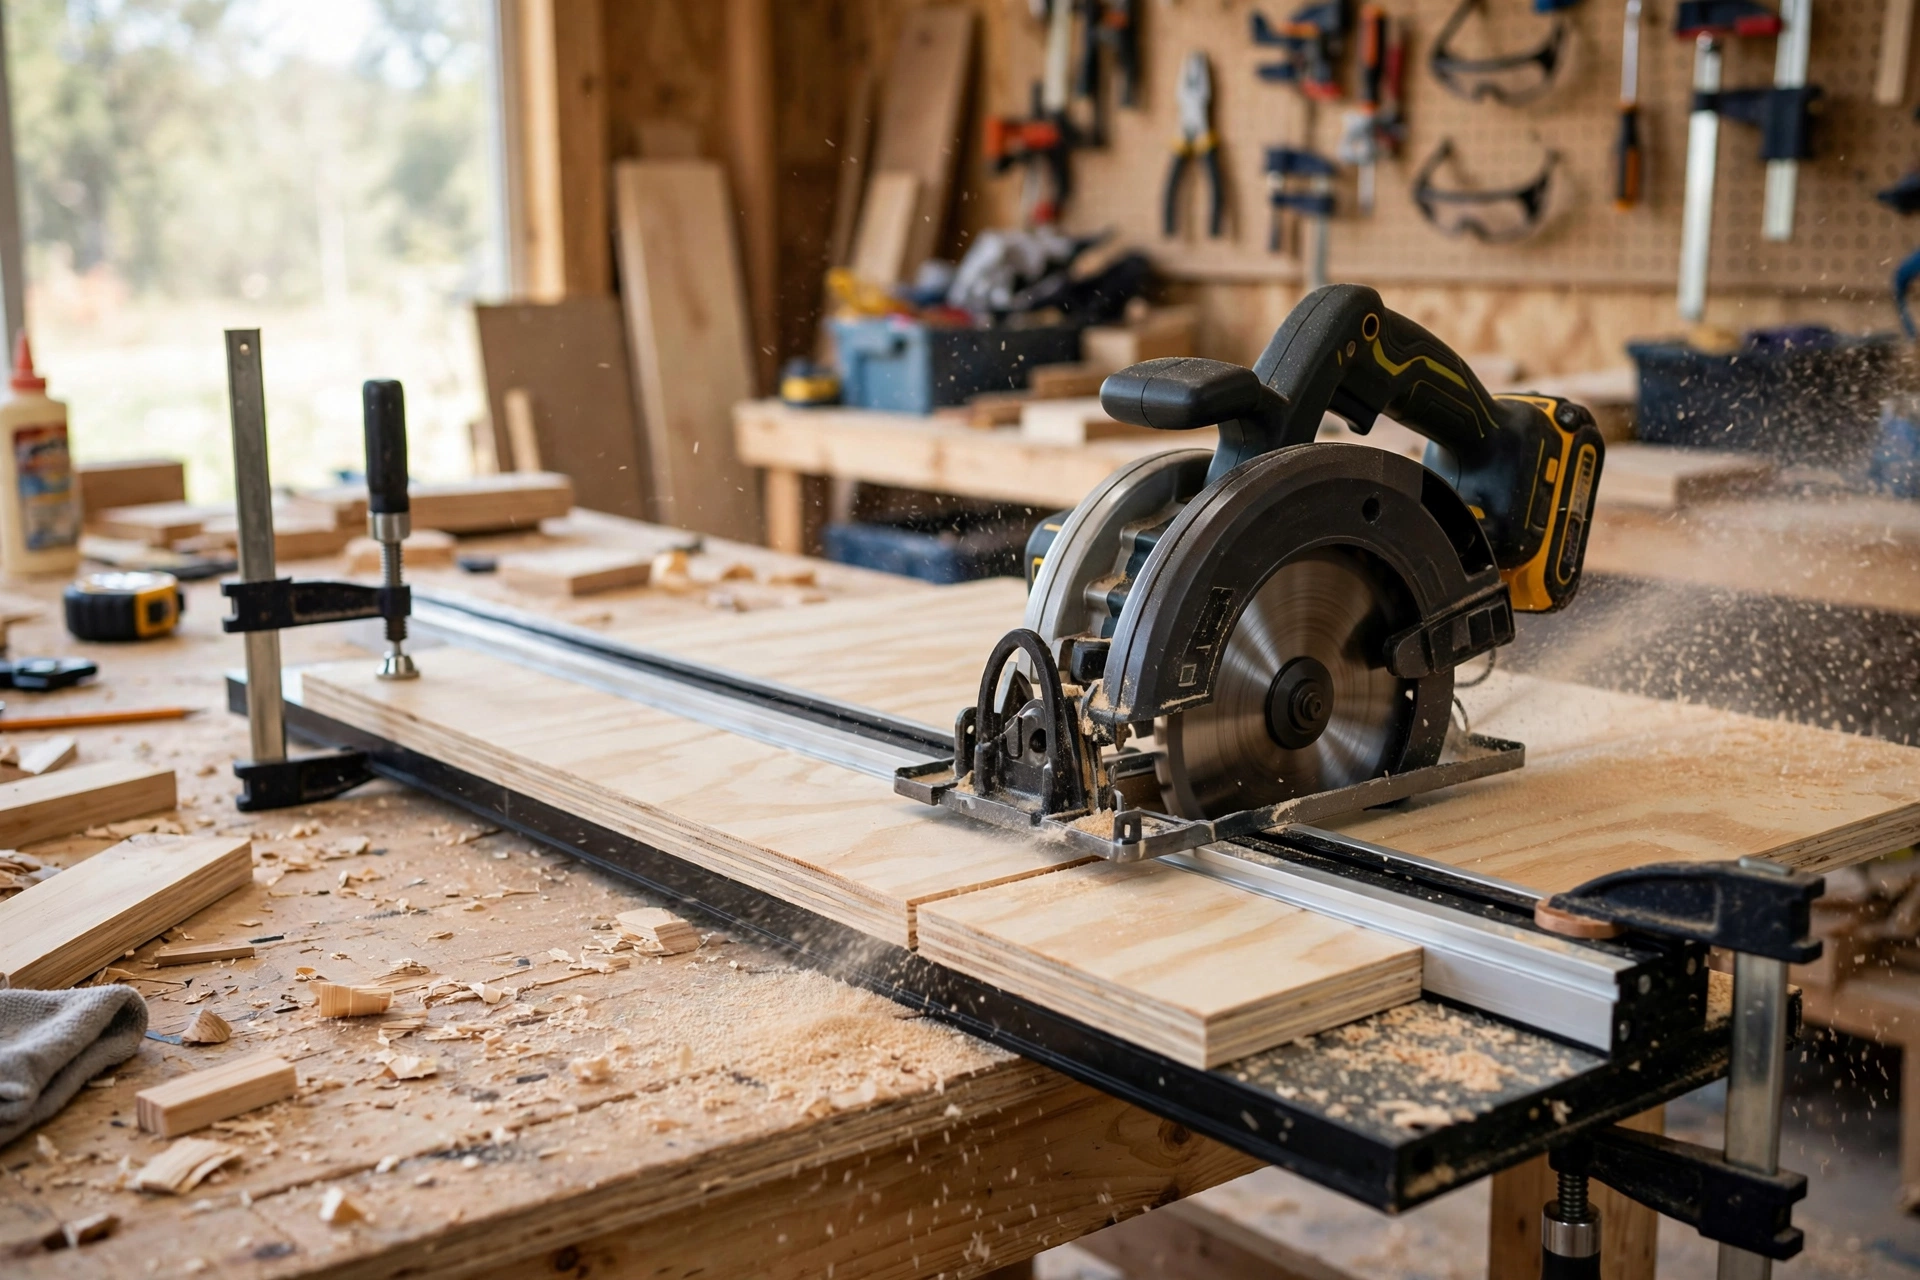
Clamp a straight board or a straight-edge guide to the plywood as a saw guide, and set the circular saw depth so the blade cuts about ¼ inch (6 mm) past the bottom of the sheet — no deeper. Cut slowly and steadily, letting the saw do the work; pushing hard causes burning, tear-out, and wandering cuts. To keep the top face clean, cut with the good face down — a circular saw tears out on the top face as the blade exits, so the face you care about should be on the underside. Cut the largest panels first, because they are the hardest to get right while you are warming up.
After cutting, dry-fit the four box panels on the bench and check that the front and back panels sit flush with the ends of the side panels. A small error here — even ⅛ inch (3 mm) — is easy to fix now by trimming one panel, and almost impossible to fix after the glue and screws are in. Sand the cut edges lightly with 120-grit paper to remove splinters and saw marks.
Step 3: Assemble the Storage Box
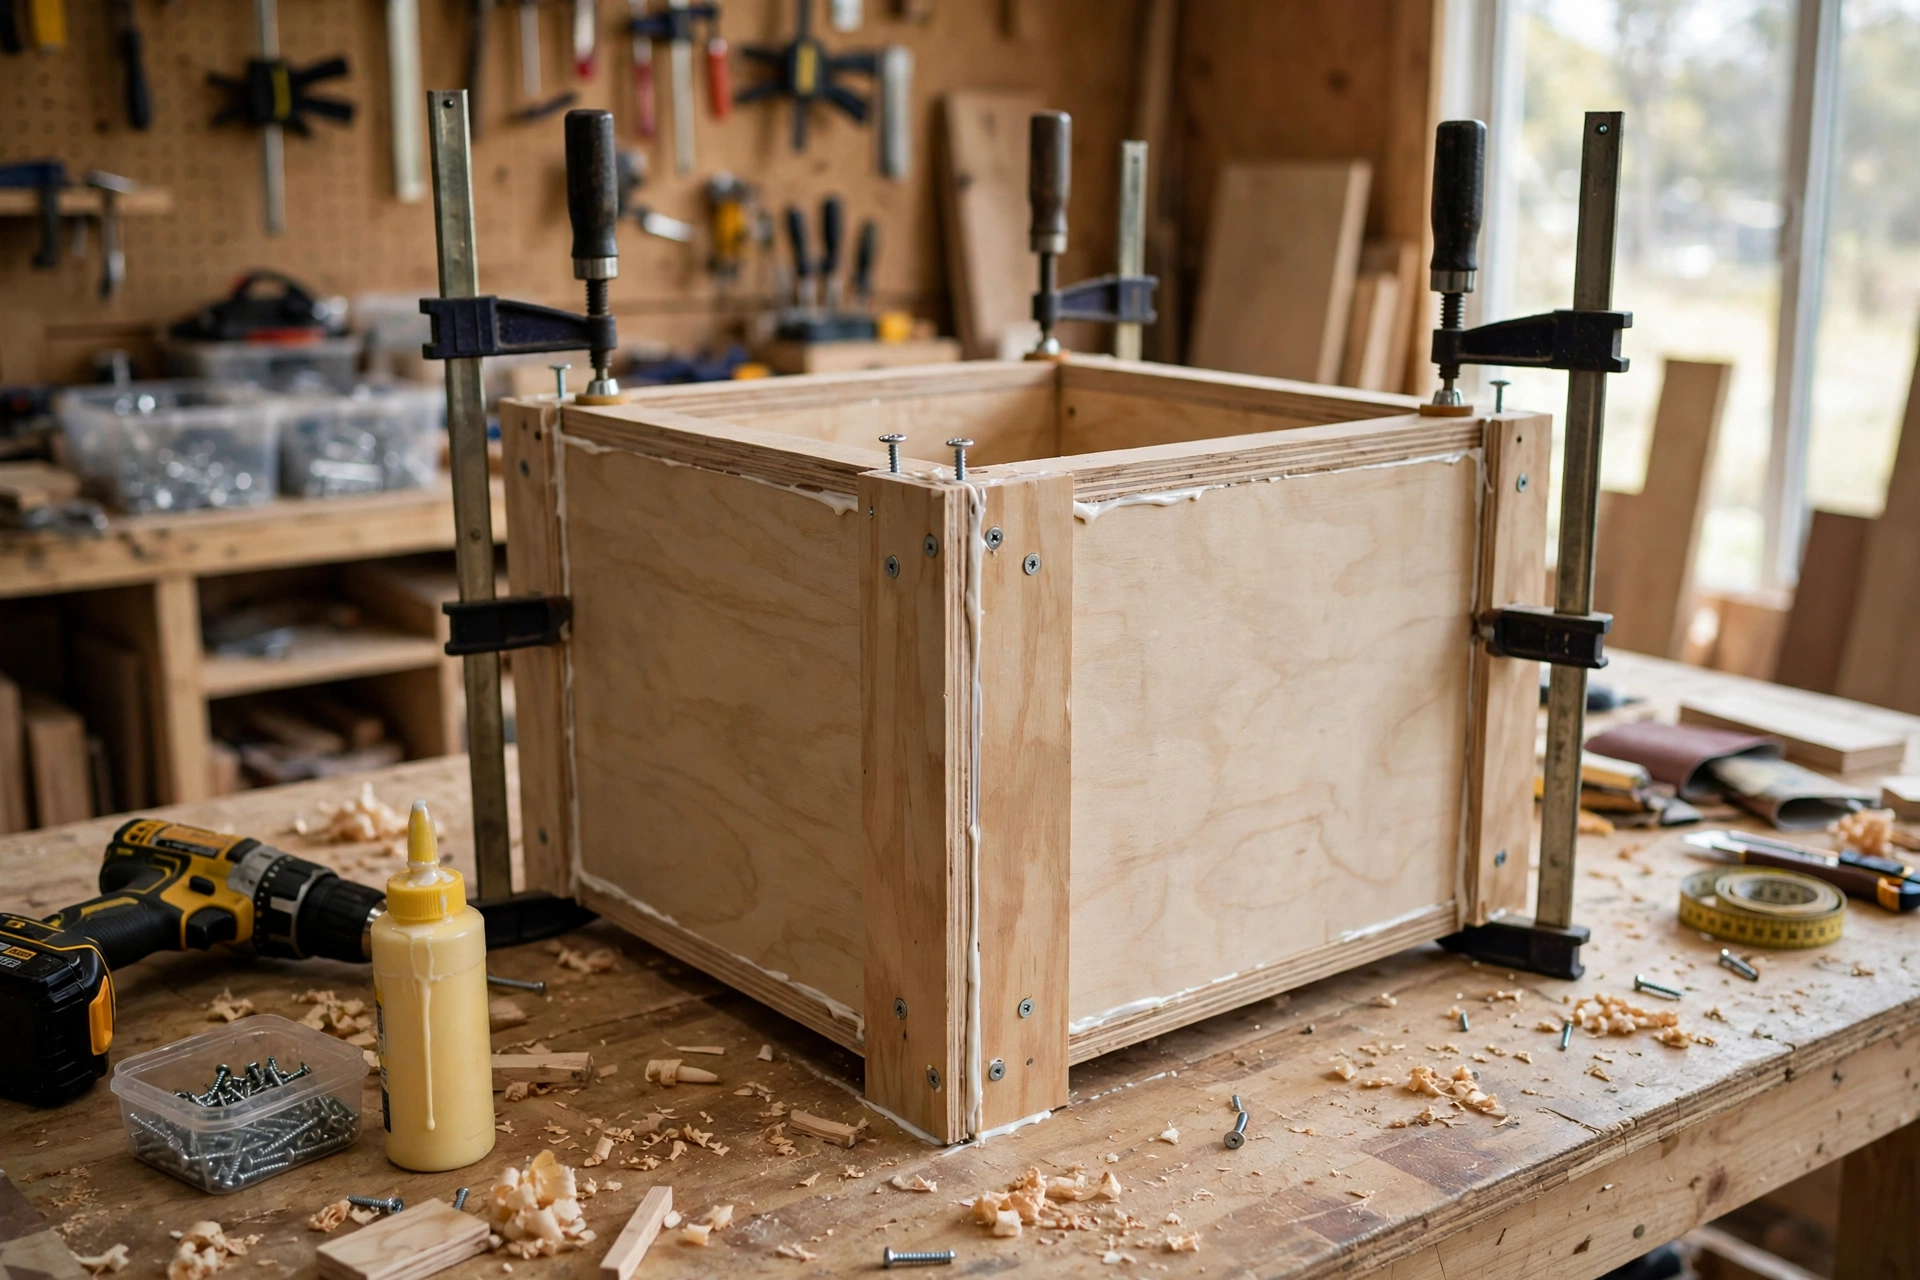
With the panels cut, build the box. The box is a simple rectangle: front and back panels joined to two side panels, with a bottom panel fitted inside and four corner cleats that lock everything square. Start by screwing a corner cleat to the inside face of each side panel, flush with the front and back edges. Spread wood glue on each joint, then drive 1¼-inch (32 mm) screws through the front and back panels into the side panels and the cleats. Pre-drill every screw hole with a countersink bit — plywood splits easily near its edges, and a split in the front panel will show forever.
Assemble the box on a flat floor, not on the workbench, so you can check that all four corners touch the ground at the same time. Work one corner at a time, and check with a square that each side sits at 90 degrees to the front panel before you move on. Once the four walls are together, drop the bottom panel inside and screw it to the cleats and the side panels from underneath. Stand the box upright and check it once more for square by measuring diagonally across the top — the two diagonal measurements should match within ⅛ inch (3 mm).
Before you move on, sand any sharp plywood edges inside the box with 120-grit paper, and paint the interior now, before the lid goes on — it is far easier to paint an open box.
Step 4: Fit the Hinged Lid and Soft-Close Supports
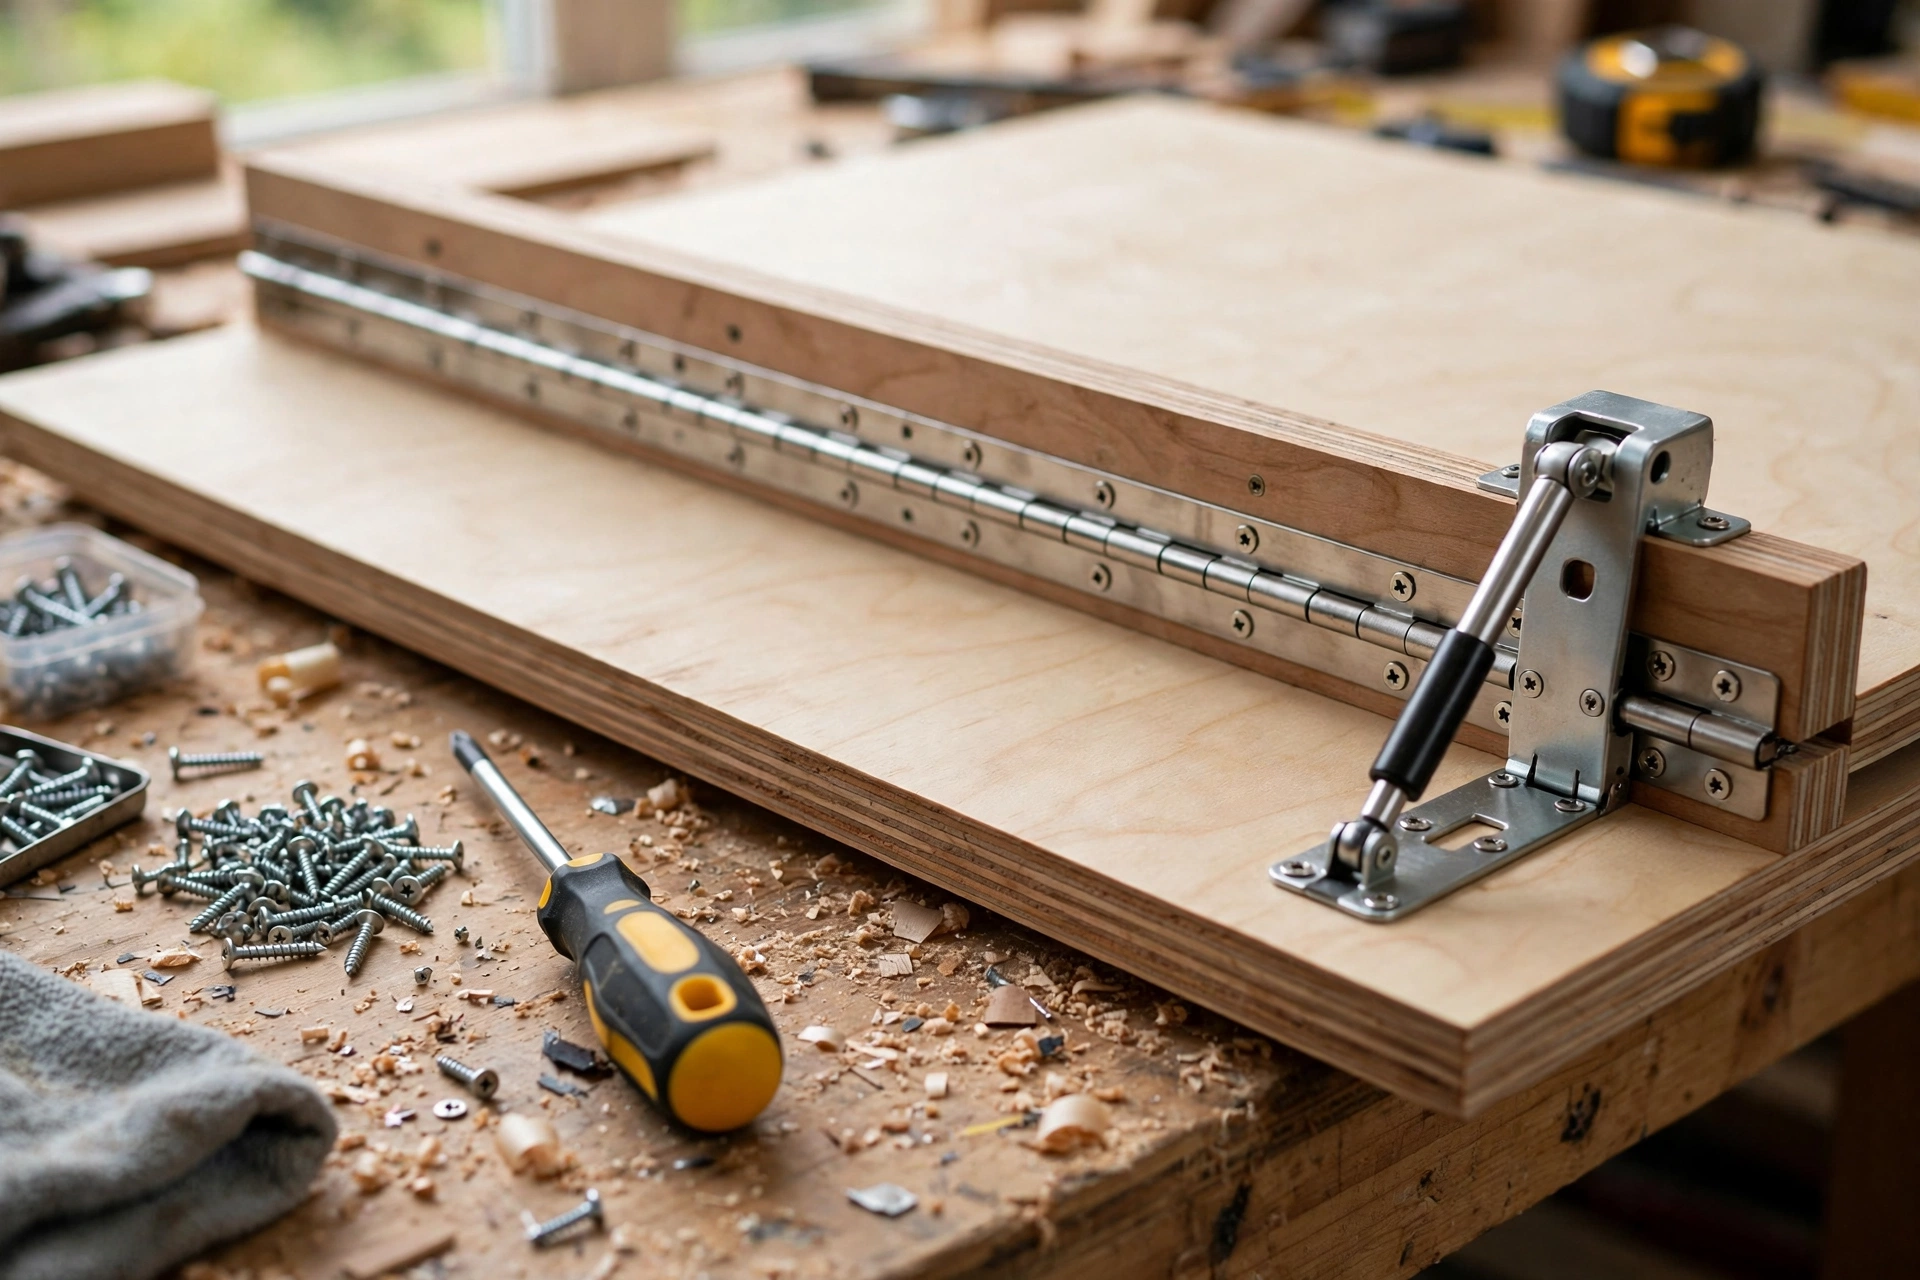
The lid is what turns a plywood box into an ottoman, and the hinges are what make it safe. Start by building the lid frame: glue and screw the two long 1×2 rails and the two short 1×2 rails into a rectangle underneath the lid panel, set in about ¾ inch (19 mm) from the panel edges on all four sides. This frame stiffens the lid so it does not flex when someone sits on it, and it gives the lid supports a solid piece of wood to screw into.
Attach the piano hinge (or the two butt hinges) to the back edge of the lid first, then to the top edge of the back panel, with the lid lying flat on the bench. A continuous piano hinge is the best choice for a first ottoman: it spreads the weight of the lid across the whole back edge, it cannot pull out of the plywood the way a small butt hinge can, and it keeps the lid aligned so it closes evenly.
Now fit the soft-close lid supports, one on each side of the box. These are the most important piece of hardware in the whole project: they hold the lid open at about 90 degrees so it cannot fall shut, and they slow the lid down in the last few inches so it closes gently instead of slamming. Mount each support with the bracket on the inside of the side panel and the arm on the underside of the lid frame, exactly where the manufacturer’s instructions show — the geometry matters, and a support fitted in the wrong position will not hold the lid open. Test the lid ten times before you call this step done: open it fully and let go — it should stay open. Push it gently closed — it should glide down and settle softly, never drop.
Lid Safety: Pinch Points, Weight, and Children
A storage ottoman lid is heavy, and it is opened and closed dozens of times a week — often by children. This section is not optional reading: build the lid safety in from the start, because a lid that slams shut can trap small fingers and a lid that falls can injure a child reaching into the box. The same safety rules apply to any lidded storage you build, including a wooden toy box for beginners, where children open and close the lid even more often.
The pinch point is the narrow gap between the back edge of the lid and the top of the back panel, where the hinge sits. Fingers get caught there when the lid closes, so keep that gap as small as the hinge allows and teach children to lift the lid from the front edge only, never from the back. Fit a small finger pull or a shallow notch in the front edge of the lid so hands naturally grab the front, far from the hinge. Never let a child stand or sit on an open lid: the lid supports are rated to hold the lid open, not to carry a child’s weight, and a child standing on an open lid can tip the whole ottoman forward.
| Lid safety check | What to look for | Safe target |
|---|---|---|
| Lid weight | ¾-in plywood lid + frame + foam + fabric | About 12–14 lb (5.5–6.5 kg) |
| Lid support rating | Pair of soft-close supports, rated load | 60 lb (27 kg) per pair or higher |
| Hold-open angle | Lid stays open hands-free | 90–100 degrees, no creeping shut |
| Closing speed | Lid settles gently in the last few inches | Slow glide, never a slam or drop |
| Hinge gap (pinch point) | Gap at the back edge when closing | As small as the hinge allows; front-edge pull only |
| Tip-over check | Ottoman with lid open, pushed from the front | Stays upright; never stands on an open lid |
| Ventilation | Air holes if children play inside the box | Two 1-in holes in the back panel, or no play inside |
Finally, think about ventilation and entrapment. A storage ottoman is not a toy and children should never climb inside it, but if your ottoman will live in a playroom, drill two 1-inch (25 mm) ventilation holes in the back panel, low down near the bottom, so air can circulate. Test the lid once a month — supports wear out over years, and a weak support is the one that lets a lid slam.
Step 5: Upholster the Lid with Foam and Fabric
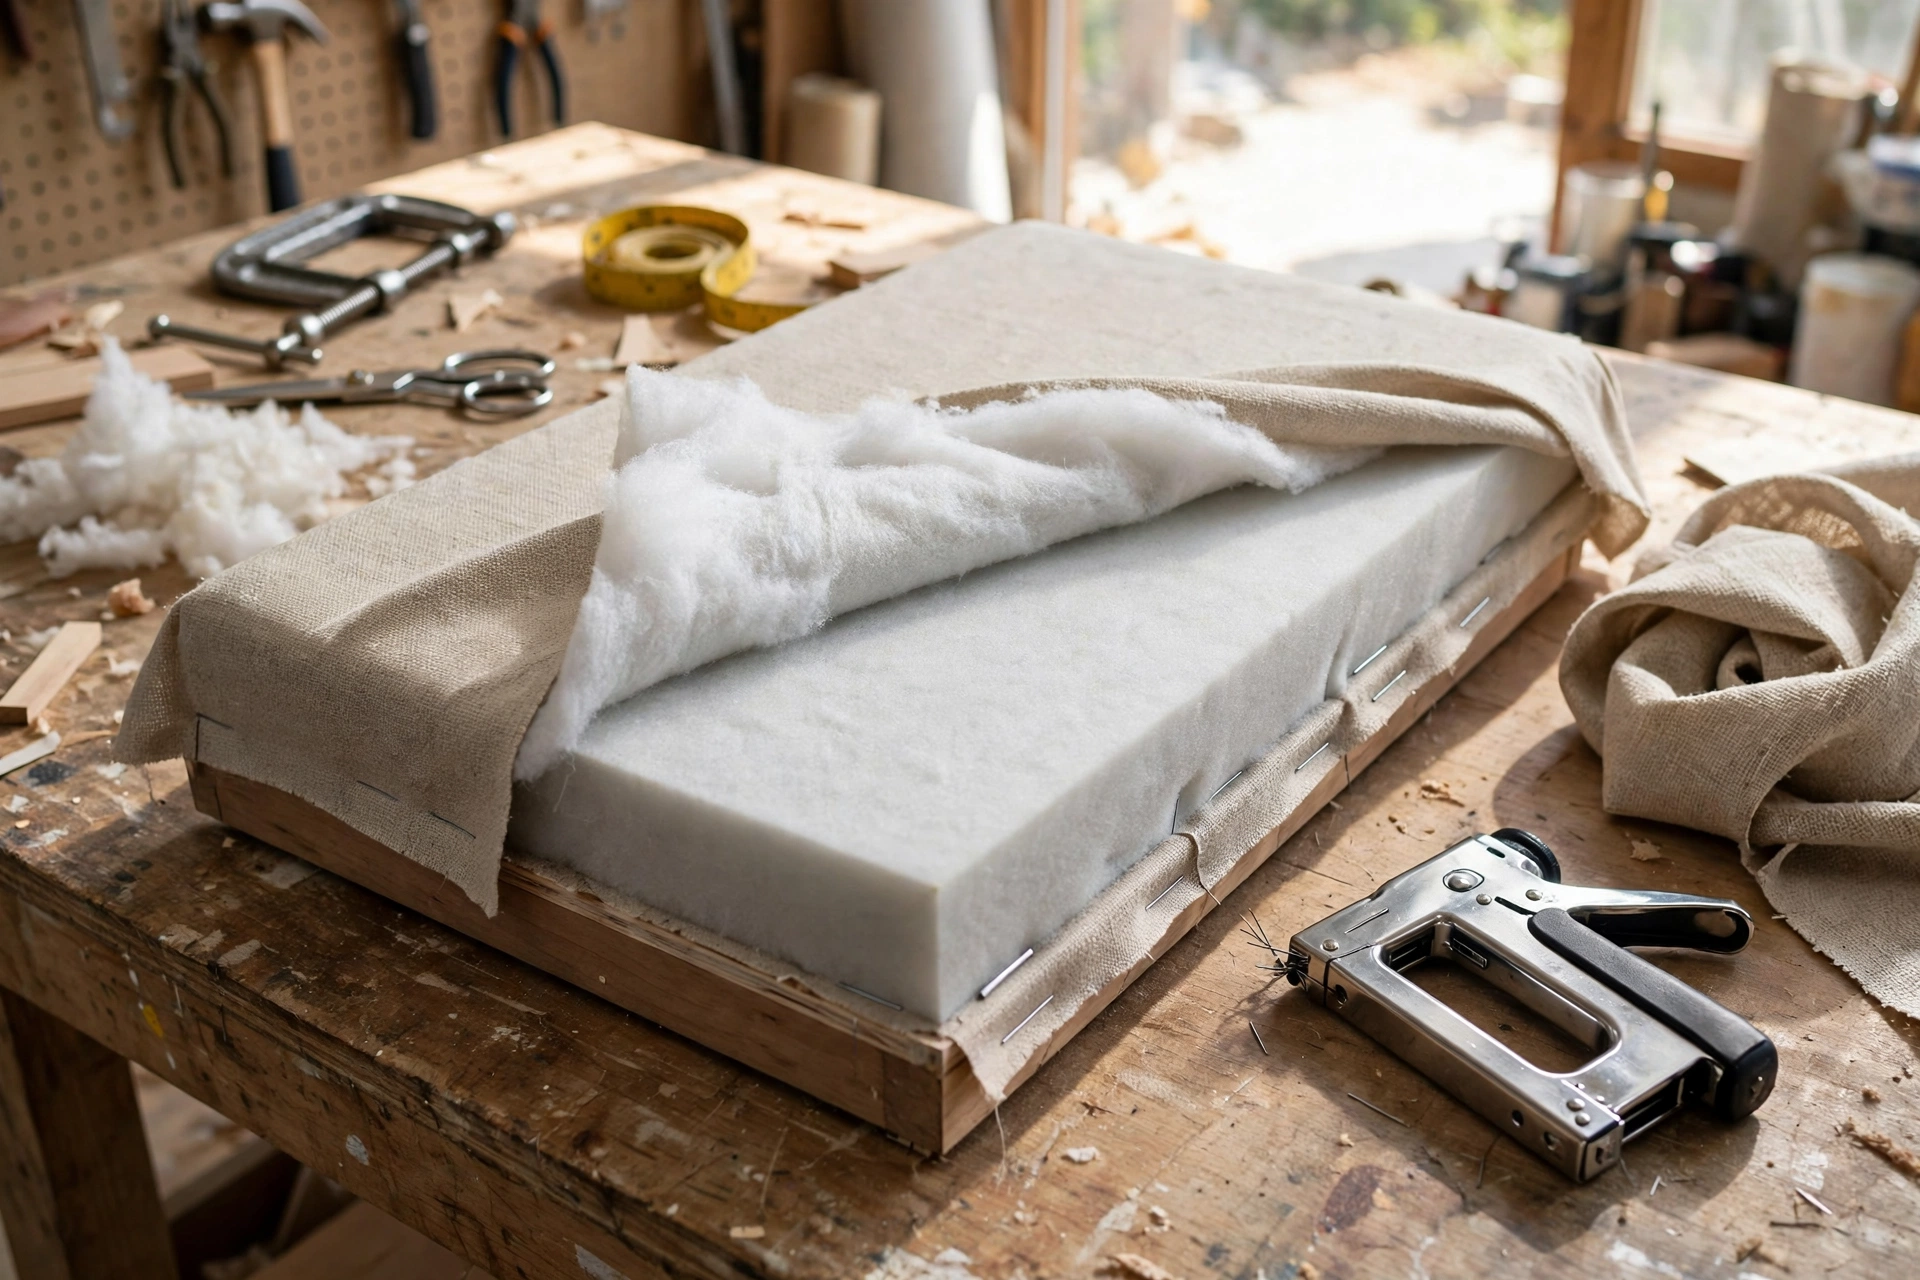
Upholstery is what turns a plywood lid into a comfortable seat, and it is easier than it looks. Start with the foam: cut a piece of 2-inch (5 cm) high-density upholstery foam to 34 × 16 inches (86 × 41 cm), about 1 inch (25 mm) smaller than the lid panel on every side. The foam should be slightly smaller than the lid so the fabric can wrap around the edges and pull tight underneath without bunching at the corners. High-density foam keeps its shape for years; cheap foam flattens within months.
Lay the fabric face-down on the bench, then the batting, then the foam, then the lid panel face-down on top, centred. The batting is a thin layer of polyester wadding that softens the hard edge of the foam and gives the fabric a smooth, rounded profile — do not skip it, because without batting the corners of the foam show through the fabric as hard lines. Cut the fabric with enough extra to wrap around the lid and staple underneath: for this ottoman, that means a piece about 46 × 28 inches (117 × 71 cm). Pull the fabric tight and staple it to the underside of the lid frame, starting in the middle of each side and working toward the corners. Staple every 2 to 3 inches (5 to 8 cm), pulling the fabric evenly so no wrinkles form on the top.
| Upholstery layer | Material | Size for a 36 × 18 in lid | Notes |
|---|---|---|---|
| Foam | 2-in high-density upholstery foam | 34 × 16 in (86 × 41 cm) | 1 in smaller than the lid on all sides |
| Batting | Polyester batting, low loft | 40 × 22 in (102 × 56 cm) | Wraps over the foam edges |
| Fabric | Upholstery-weight fabric | 46 × 28 in (117 × 71 cm) | Allows a 4–5 in wrap underneath |
| Staples | ⅜-in staples, staple gun | About 60 staples | Every 2–3 in, into the lid frame |
Choose a fabric that suits how the ottoman will be used. A tight-weave upholstery fabric or a performance fabric resists stains and wipes clean, which matters if the ottoman will hold drinks, snacks, or muddy boots. Avoid loose weaves and light colours in a house with children or pets — they show every mark. Stapled upholstery is the better choice for a first ottoman: it stays tight, and you can re-cover the lid later by pulling the staples out.
Step 6: Sand, Finish, and Add the Base Trim
Sanding is where a beginner build starts to look professional, so do not rush it. Sand the outside of the box in two passes: 120 grit to remove saw marks and smooth the plywood edges, then 220 grit for a silky final finish. Always sand with the grain, never across it, and round over the sharp top edges of the box slightly with the 120-grit paper — a storage ottoman is something people lean on, sit on, and brush against every day, and sharp plywood edges are uncomfortable and chip easily. Vacuum or wipe the dust off with a tack cloth between grits; dust left behind shows up as rough spots under the finish. Our full technique guide, how to sand and finish wood for beginners, walks through grit progression and common sanding mistakes in detail.
For the finish, paint is the most forgiving choice for a plywood ottoman: it hides the plywood edge lines, it matches any living room, and it is easy to touch up later. Use a primer first, then two coats of durable satin or semi-gloss paint, sanding lightly with 220-grit paper between coats. Let the final coat cure for at least 72 hours before you use the ottoman for sitting. Once the finish has cured, screw the 1×3 base trim around the bottom of the box, and add four small felt pads to the underside so the ottoman slides smoothly across hard floors without scratching them.
Styling Your Finished Storage Ottoman
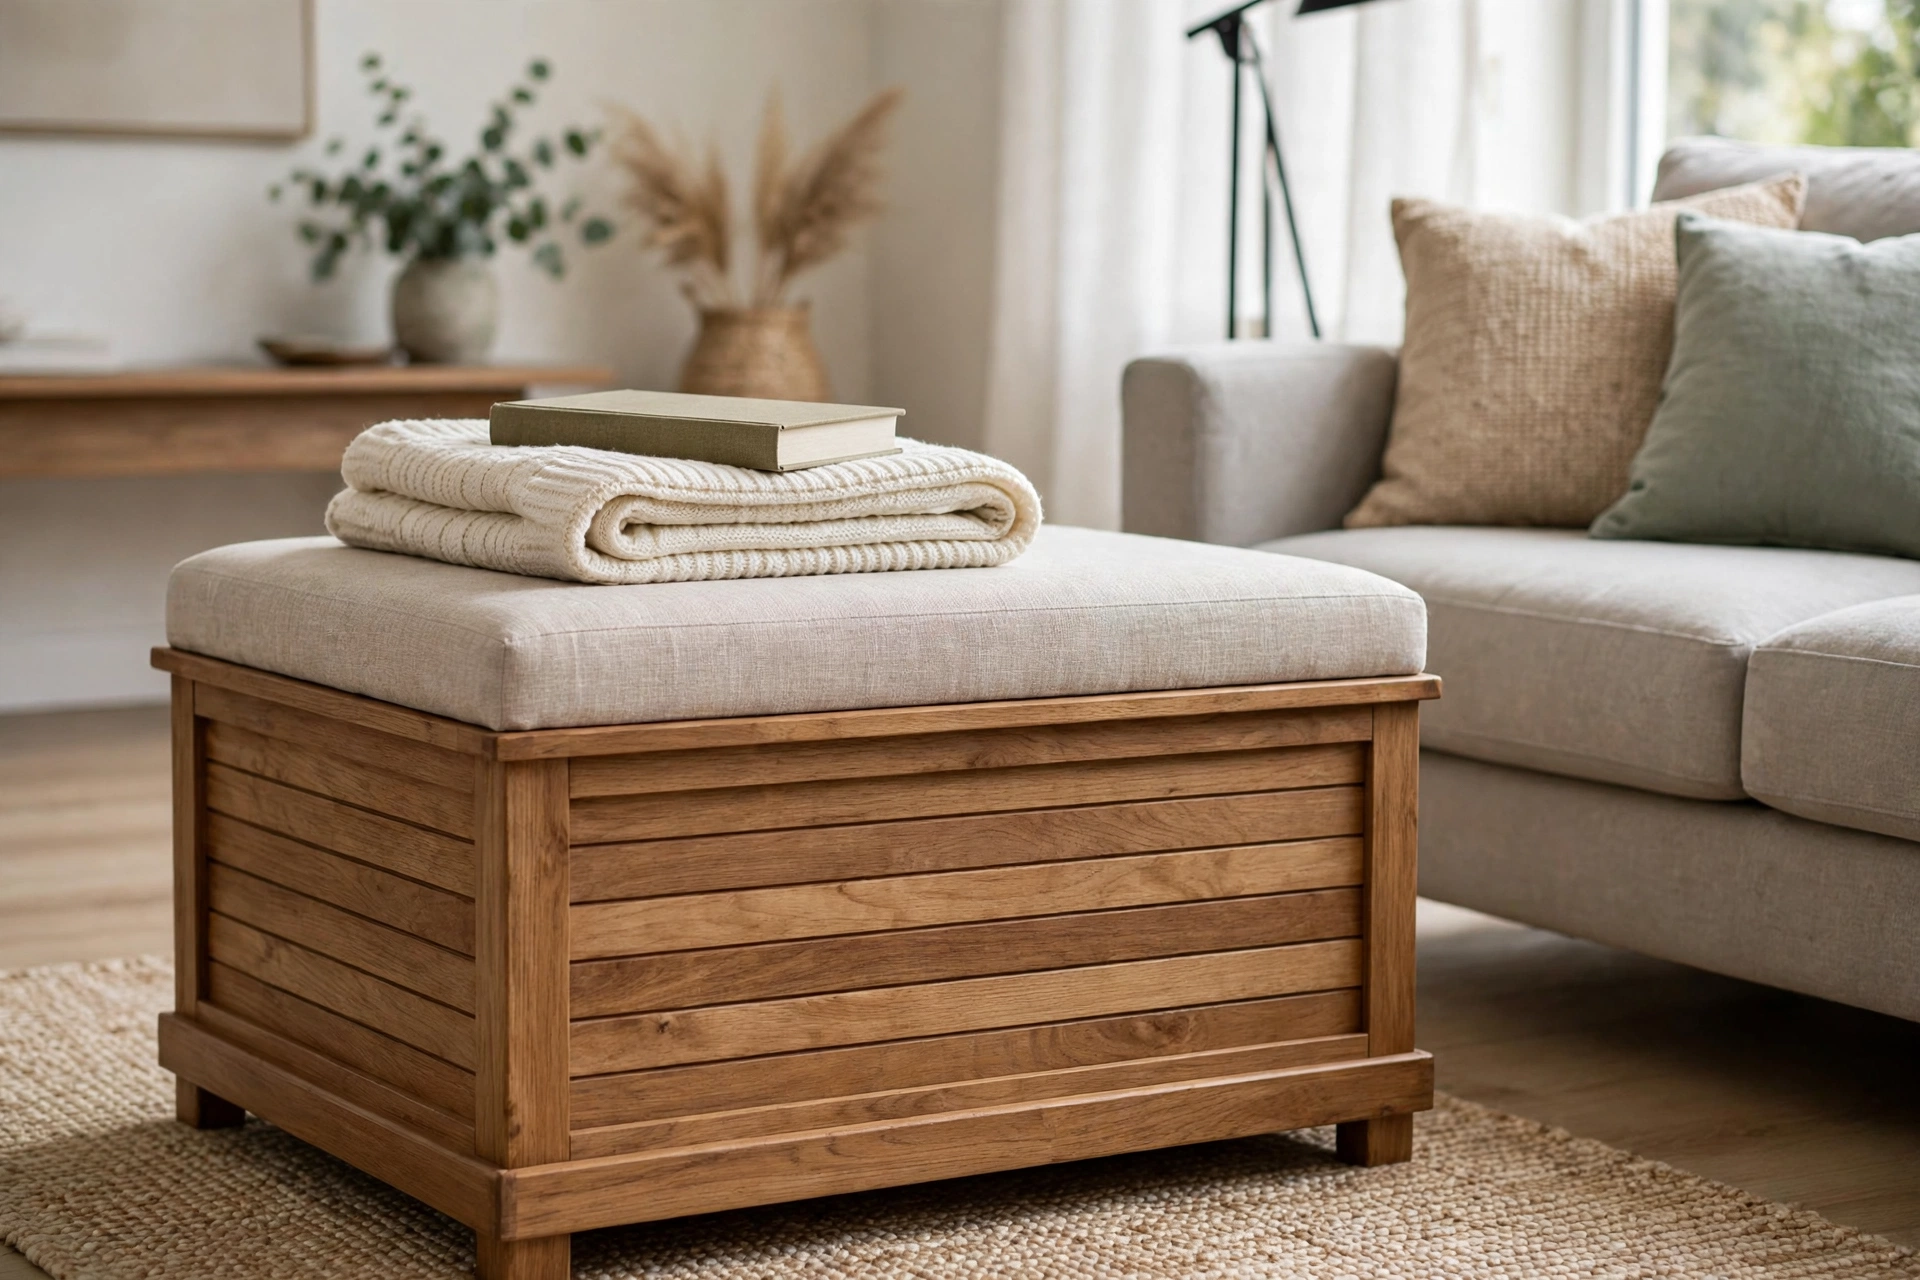
Once the finish has cured, bring the ottoman into the living room and enjoy the result. Place it about 14 to 18 inches (36 to 46 cm) in front of the sofa — close enough to rest your feet on, far enough that you can walk around it. A matching wooden storage bench for beginners along the same wall gives the room a coordinated, intentional look, and the two pieces share the same plywood-box construction, so the bench is a natural second project.
Inside the ottoman, keep things organised with small fabric baskets or a simple divider: one basket for remote controls and chargers, one for throws, one for board games. Loose items tossed into a deep box are hard to find, and an organised ottoman is one you will actually use. If the ottoman lives in a bedroom instead, it works just as well at the foot of the bed for spare bedding — see our guide to a wooden under-bed storage box for beginners for a lower, wider storage build that pairs with it.
Common Mistakes to Avoid
Most problems when you learn how to build a wooden storage ottoman for beginners come from rushing one of these seven steps — slow down here and the rest of the build goes smoothly.
Skipping the lid supports. A hinged lid without soft-close supports will slam shut sooner or later, and a slamming lid traps fingers. Fit the supports before the ottoman goes into the house, and test them ten times.
Making the foam the same size as the lid. Foam cut flush to the lid edges bunches the fabric at the corners and stops the lid from closing cleanly. Cut the foam 1 inch smaller than the lid on every side.
Not pre-drilling screw holes. Plywood splits easily near its edges, and a split in the front panel shows forever. Pre-drill and countersink every screw, especially near the corners.
Forgetting to check for square. A box that is out of square by even ¼ inch (6 mm) will have a lid that gaps on one side and binds on the other. Measure the diagonals before the glue dries.
Stapling the fabric too loosely. Loose fabric wrinkles within weeks and sags under sitting. Pull the fabric tight, staple from the middle of each side outward, and check the top for wrinkles before you finish the corners.
Rushing the finish. Paint or polyurethane applied over dust or over a skipped grit looks blotchy forever. Sand through the grits, clean the dust, and let each coat cure fully before you sit on the ottoman.
How Much Does It Cost and How Long Does It Take?
For a 36-inch plywood storage ottoman, expect $140 to $200 in materials if you already own the tools — roughly a third of the price of a similar shop-bought upholstered storage ottoman, and yours will be sized exactly to your sofa. A smaller 30-inch ottoman is closer to $110 to $160, and a larger 48-inch ottoman around $180 to $250, since you need more foam and fabric and a longer piano hinge. Hardwood plywood versions cost a little more in lumber alone, but the difference is small compared with the cost of the foam and fabric.
| Cost item | 36-in ottoman |
|---|---|
| Plywood, pine boards, screws, glue | $75–$105 |
| Hinges and soft-close lid supports | $20–$32 |
| Foam, batting, and fabric | $40–$65 |
| Sandpaper, paint or polyurethane | $17–$28 |
| Total materials | $140–$200 |
Time-wise, plan for 5 to 7 hours of hands-on work spread over a weekend: an hour to measure and cut, an hour and a half to assemble the box, an hour to fit the lid and the supports, an hour to upholster the lid, and an hour to sand and finish, plus overnight drying for the glue and at least 72 hours for the final finish coat to cure.
Frequently Asked Questions
How much weight can a wooden storage ottoman hold?
A plywood storage ottoman built from ¾-inch plywood with a 1×2 lid frame comfortably holds 200 to 250 lb (90 to 115 kg) of sitting weight — enough for two adults sitting side by side. Never stand on it: it is designed for sitting, not standing.
What size plywood do I need for a storage ottoman?
One 4 × 8 foot (122 × 244 cm) sheet of ¾-inch (18 mm) plywood is enough for a 36-inch ottoman, including the front, back, sides, bottom, and lid, with offcuts to spare. Avoid MDF — it is too heavy and does not hold screws well along its edges.
How do I stop an ottoman lid from slamming shut?
Fit a pair of soft-close lid supports, one on each side of the box, rated at 60 lb (27 kg) per pair or higher. They hold the lid open at about 90 degrees and slow it down in the last few inches so it closes gently instead of slamming.
What thickness of foam should I use on an ottoman lid?
Use 2-inch (5 cm) high-density upholstery foam, rated 1.8 lb per cubic foot or higher. Cut the foam 1 inch (25 mm) smaller than the lid panel on every side so the fabric can wrap neatly around the edges.
Can I build a storage ottoman without a table saw?
Yes. A circular saw with a straight-edge guide makes every cut in this project, including the long rip cuts on the plywood sheet. Many lumber yards will cut a plywood sheet into panels for a small fee, so you can have the box panels cut to size at the store and do the assembly and upholstery at home with only a drill and a staple gun.
How do I keep the lid square so it closes evenly?
Check the box for square before the glue dries by measuring diagonally across the top — the two diagonal measurements should match within ⅛ inch (3 mm). Build the lid frame flat on the bench, and use a continuous piano hinge along the back edge, which keeps the lid aligned across its full width.
Is a storage ottoman safe for a house with small children?
Yes, if you build the lid safety in from the start. Fit soft-close lid supports so the lid cannot slam, teach children to lift the lid from the front edge only, drill two 1-inch ventilation holes in the back panel if the ottoman will live in a playroom, and never let a child climb inside the box or stand on an open lid.
Recommended Products for This Project
As an Amazon Associate, I earn from qualifying purchases.
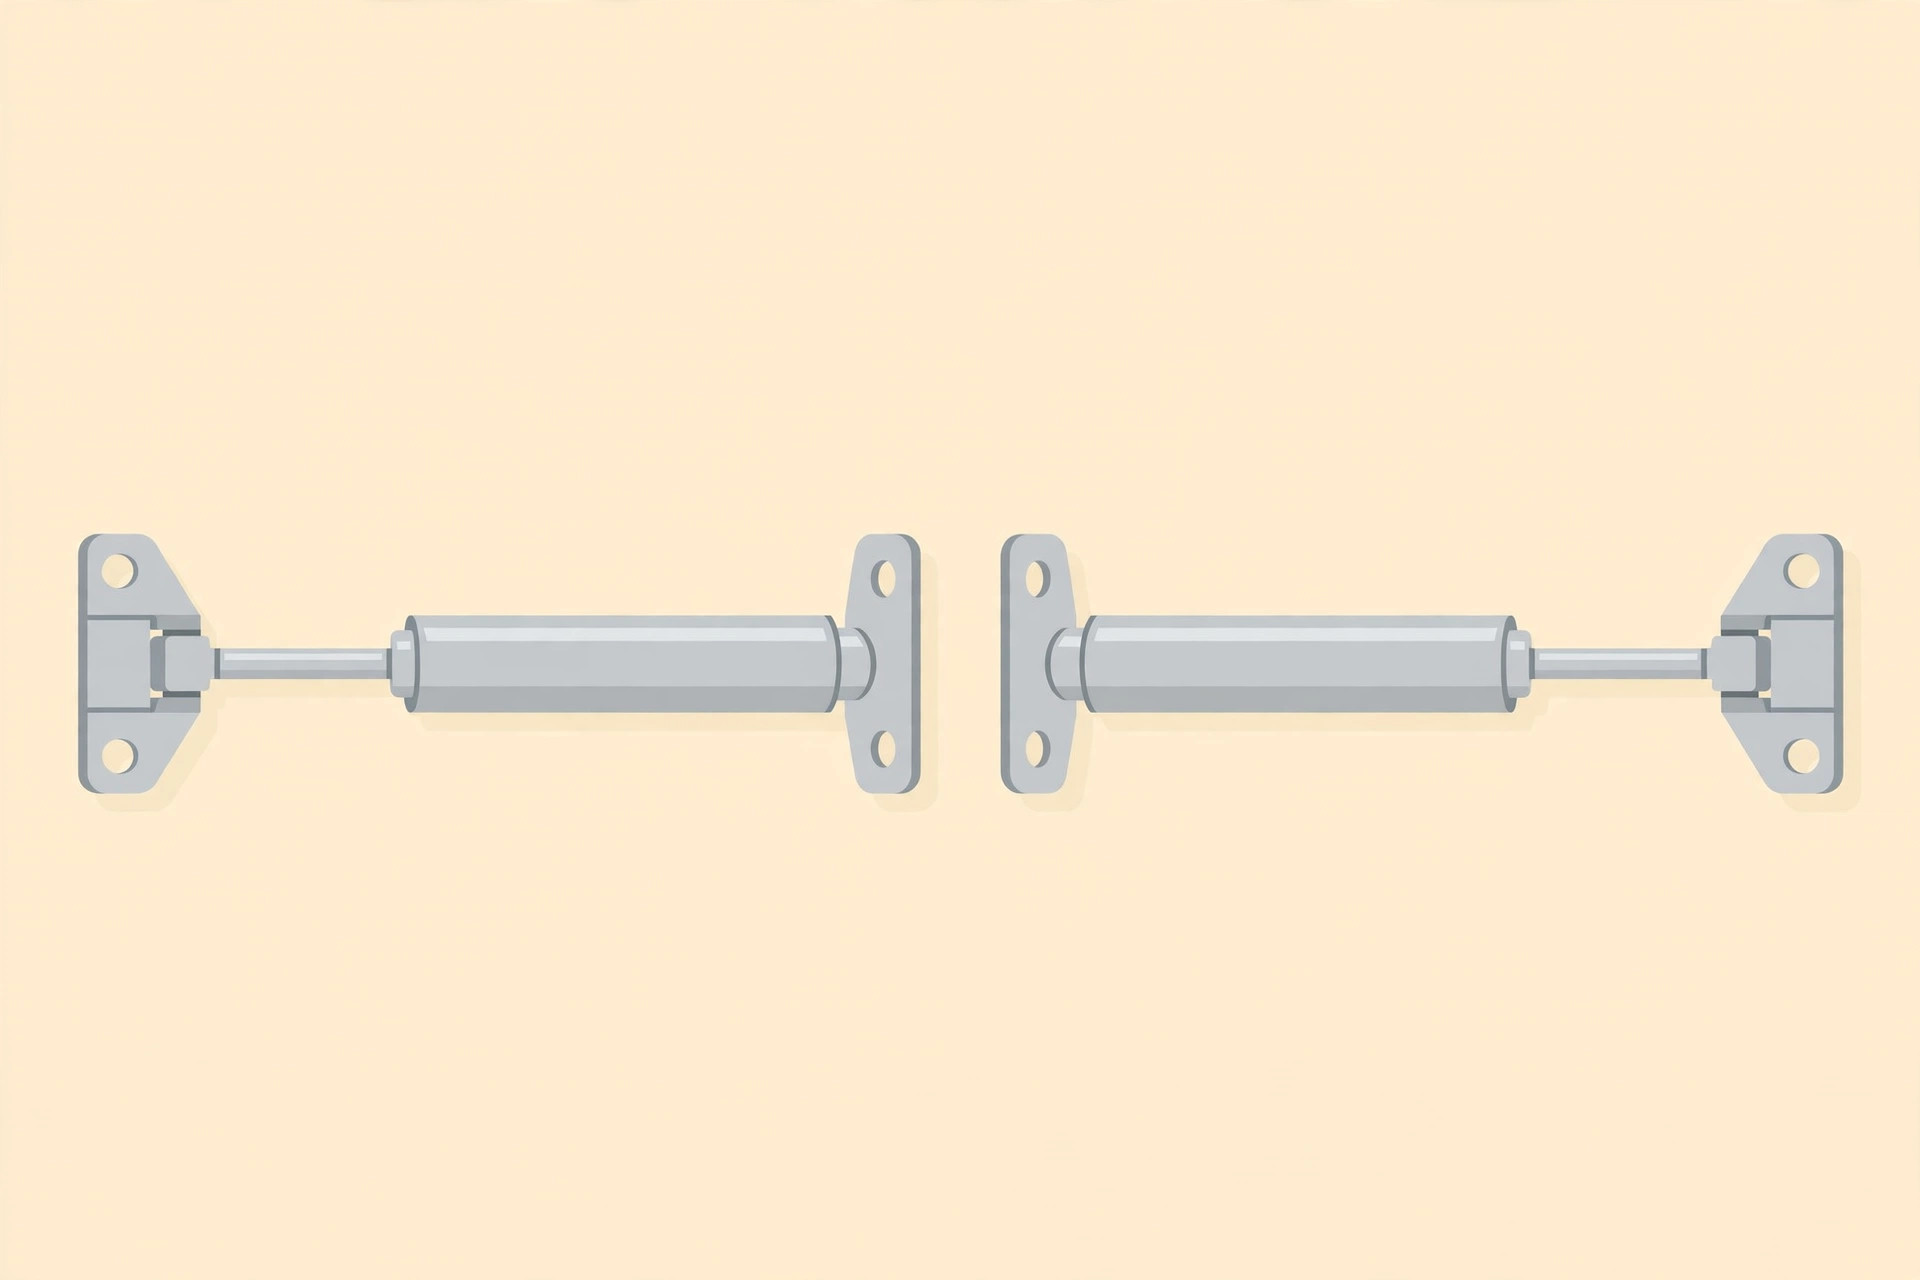
APFFSY Soft Close Lid Support Hinges, 200N / 60 lb, 2-Pack
The exact soft-close supports this ottoman needs — they hold the heavy upholstered lid open and stop it slamming on fingers.

DEWALT 20V MAX Cordless Drill/Driver Kit (DCD771C2)
Drives every screw in this plywood ottoman box and pre-drills clean pilot holes so the plywood edges never split.

Titebond III Ultimate Wood Glue 1413 (8 oz)
Strong, waterproof wood glue that locks the plywood box joints and the lid frame together before a single screw goes in.

IRWIN QUICK-GRIP Clamps Set, 8-Piece (IRHT83220)
Holds the plywood box square while you drive the screws and keeps the lid frame flat against the lid panel.
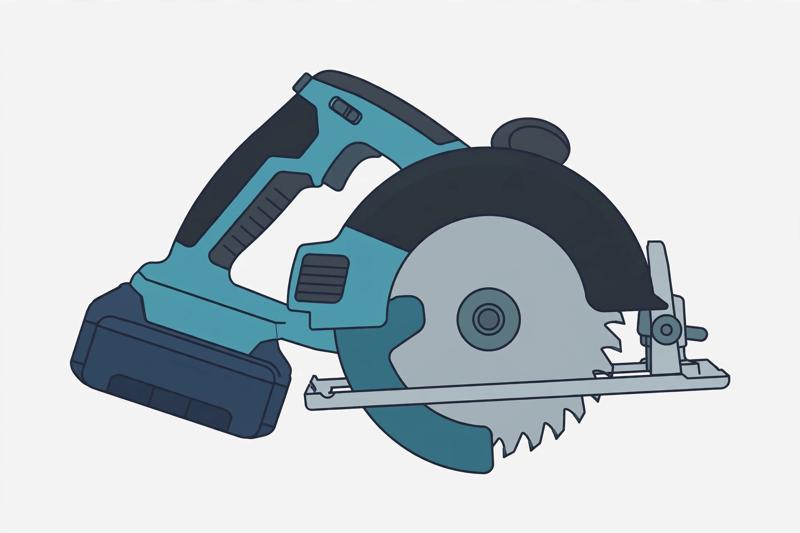
DEWALT 20V MAX Circular Saw DCS391B, 6-1/2-inch
Cordless 20V power for straight, clean cuts in the plywood sheet and the pine lid-frame and base-trim boards.


