
A pile of shoes by the front door is the first thing every visitor sees, and the last thing you want to trip over when you come home. Shop-bought shoe racks are often flimsy, the wrong width for your hallway, or too shallow for real boots. Learning how to build a wooden shoe rack for beginners solves all three problems at once: this measured 30 × 30 × 7-inch (76 × 76 × 18 cm) design is slim enough for a narrow entryway, wide enough for three pairs per shelf, and built from solid pine with simple pocket-hole joinery — no fancy tools and no advanced skills required. In this guide, you will learn how to size the shelves to your shoes, choose the right wood, cut a full set of slats, assemble the rack with pocket holes, and finish it so it survives muddy boots and daily use.
This is the measured, slatted version of the project: every shelf is spaced to a real shoe height, with a tall boot shelf at the bottom for wellies and high-tops. If you want something even simpler first, our guide to how to build a simple wooden shoe rack for beginners is a quicker two-shelf build — this one is the upgrade, with proper measurements, airflow-friendly slats, and room for boots. This project takes most beginners one afternoon — about 3 to 4 hours of hands-on work plus drying time — and it sits comfortably alongside the other entryway builds in our easy woodworking projects for beginners that sell collection.
What Size Shoe Rack Should You Build?
Before you buy a single board, measure your shoes — not your hallway. A shoe rack is sized to what it holds, and shelf spacing is the detail most first-time builders get wrong. Trainers and sneakers need about 7 to 8 inches (18 to 20 cm) of clear height, low shoes and sandals need 5 to 6 inches (13 to 15 cm), and tall boots need 12 to 14 inches (30 to 36 cm). Give every shelf the same height and your boots will never fit; size each shelf to its contents and everything fits with room to spare.
This build is 30 inches (76 cm) wide, 30 inches (76 cm) tall, and just 7 inches (18 cm) deep — a slim profile that hugs the wall in a narrow entryway instead of jutting into the walkway. Three pairs of adult shoes fit side by side on each 30-inch shelf, so the rack holds nine pairs of shoes plus boots on the bottom shelf. The slatted shelves let air circulate under damp shoes, which helps them dry and keeps the rack from smelling musty — a solid shelf traps moisture underneath every pair.
| Shelf | Clear height above it | What fits |
|---|---|---|
| Top shelf | 7 in (18 cm) | Low trainers, flats, sandals, loafers |
| Middle shelf | 8 in (20 cm) | Trainers, sneakers, walking shoes |
| Bottom (boot) shelf | 13 in (33 cm) | Tall boots, wellies, high-tops, hiking boots |
| Top rail to top shelf | 7 in (18 cm) | A spare pair, or hats and gloves |
Measure your tallest boots before you cut anything: if your wellies are 15 inches (38 cm) tall, raise the middle shelf by 2 inches (5 cm) and steal the space from the top shelf, which only holds low shoes. If your household wears mostly trainers, shrink the boot shelf to 10 inches (25 cm) and give the middle shelf 10 inches instead — the structure stays exactly the same, only the shelf positions move. Also measure your hallway: leave at least 30 inches (76 cm) of clear walkway in front of the rack, and check that the front door swings clear of it.
Choosing the Best Wood for Your Shoe Rack
For a first shoe rack, pine is the best choice: cheap, light, easy to cut and sand, and it takes stain and paint beautifully. A 30-inch pine shoe rack costs about $30 to $45 in lumber. If you want a harder surface that resists scuffs from shoe buckles and boot heels, poplar is a step up: still easy to work with, machines cleanly, and costs a little more. White oak looks stunning in an entryway, but it is heavier, harder to cut, and three to four times the price — save it for your second rack.
Buy 1×8 boards (actual size ¾ × 7¼ inches, or 19 × 184 mm) for the two side panels — their 7¼-inch width sets the rack’s slim 7-inch depth. Buy 1×2 boards (actual size ¾ × 1½ inches, or 19 × 38 mm) for the slats, and 1×3 boards (actual size ¾ × 2½ inches, or 19 × 64 mm) for the top and back rails. Pick straight boards by sighting down each edge, and reject any with large face knots, heavy cupping, or twisting. A knot on the inside face of a side panel is fine; one on the front edge of a slat will show every time someone looks at the rack. For a deeper dive into species, grain, and cost, read our guide to the best wood for beginner woodworking projects.
Avoid reclaimed pallet wood for a shoe rack: boards vary in thickness, often hide nails, and need far more sanding to become splinter-free — and splinters plus bare feet are a bad combination. Start with clean, new pine from the lumber yard and you will finish faster with a better result. Let the boards acclimatise in your house for two to three days before you cut them — wood that moves after assembly is the number one cause of a wobbly rack.
Tools and Materials You Will Need
You probably own most of these tools already, and the rest can be borrowed or bought cheaply. Do not buy a tool you will use once if a neighbour or a tool library can lend it — but a decent cordless drill and a pocket-hole jig are worth owning for every furniture project after this one.
| Item | Details | Typical cost |
|---|---|---|
| Pine 1×8 boards | 1 board, 8 ft (2.4 m) long, for the side panels | $8–$12 |
| Pine 1×2 boards | 2 boards, 8 ft (2.4 m) long, for the 12 slats | $6–$10 |
| Pine 1×3 boards | 1 board, 8 ft (2.4 m) long, for the rails | $4–$7 |
| Pocket-hole screws | 1¼ in (32 mm) coarse-thread, about 60 screws | $6–$10 |
| Wood glue | One 8 oz (237 ml) bottle | $5–$8 |
| Pocket-hole jig | Single-hole or two-hole jig with drill bit | $25–$40 |
| Sandpaper | 80, 120, and 220 grit sheets | $5–$8 |
| Finish | Wipe-on polyurethane or hard-wax oil, 1 pint (0.47 L) | $10–$16 |
| Tools | Circular saw or jigsaw, drill, sander, tape measure, square, clamps | $0 if owned |
| Total (30 in, pine) | Lumber, screws, glue, finish | $45–$75 |
Safety gear matters too: safety glasses, hearing protection for the saw, and a dust mask for sanding — pine dust is an irritant. Apply the finish outside or in a well-ventilated garage, and keep oil-soaked rags flat to dry outdoors until stiff, then throw them away — bunched-up oily rags can self-heat.
Cut List for a 30 × 30 × 7-Inch Shoe Rack
This cut list is for a shoe rack 30 inches (76 cm) wide, 30 inches (76 cm) tall, and 7 inches (18 cm) deep, with three slatted shelves and a top and back rail. Cut the sides first, then the slats, then the rails — and always measure twice before every cut.
| Part | Material | Size | Quantity |
|---|---|---|---|
| Side panels | 1×8 pine | 30 in (76 cm) long | 2 |
| Slats | 1×2 pine | 28½ in (72 cm) long | 12 |
| Top rail | 1×3 pine | 28½ in (72 cm) long | 1 |
| Back rail | 1×3 pine | 28½ in (72 cm) long | 1 |
| Cleats (optional support) | 1×2 pine | 6 in (15 cm) long | 6 |
The slats are 28½ inches (72 cm) long because they fit between the two side panels: 30 inches minus two ¾-inch side thicknesses. Each shelf uses four slats, spaced ⅜ inch (10 mm) apart, which fills the 7¼-inch depth of the side panels almost exactly — four 1½-inch slats plus three ⅜-inch gaps equals 7⅛ inches (18 cm). The top and back rails are also 28½ inches long and sit between the sides with pocket holes. The optional cleats — short 6-inch pieces screwed to the inside faces of the sides under each shelf — add extra support if your household owns heavy work boots.
Step 1: Measure and Mark Your Boards
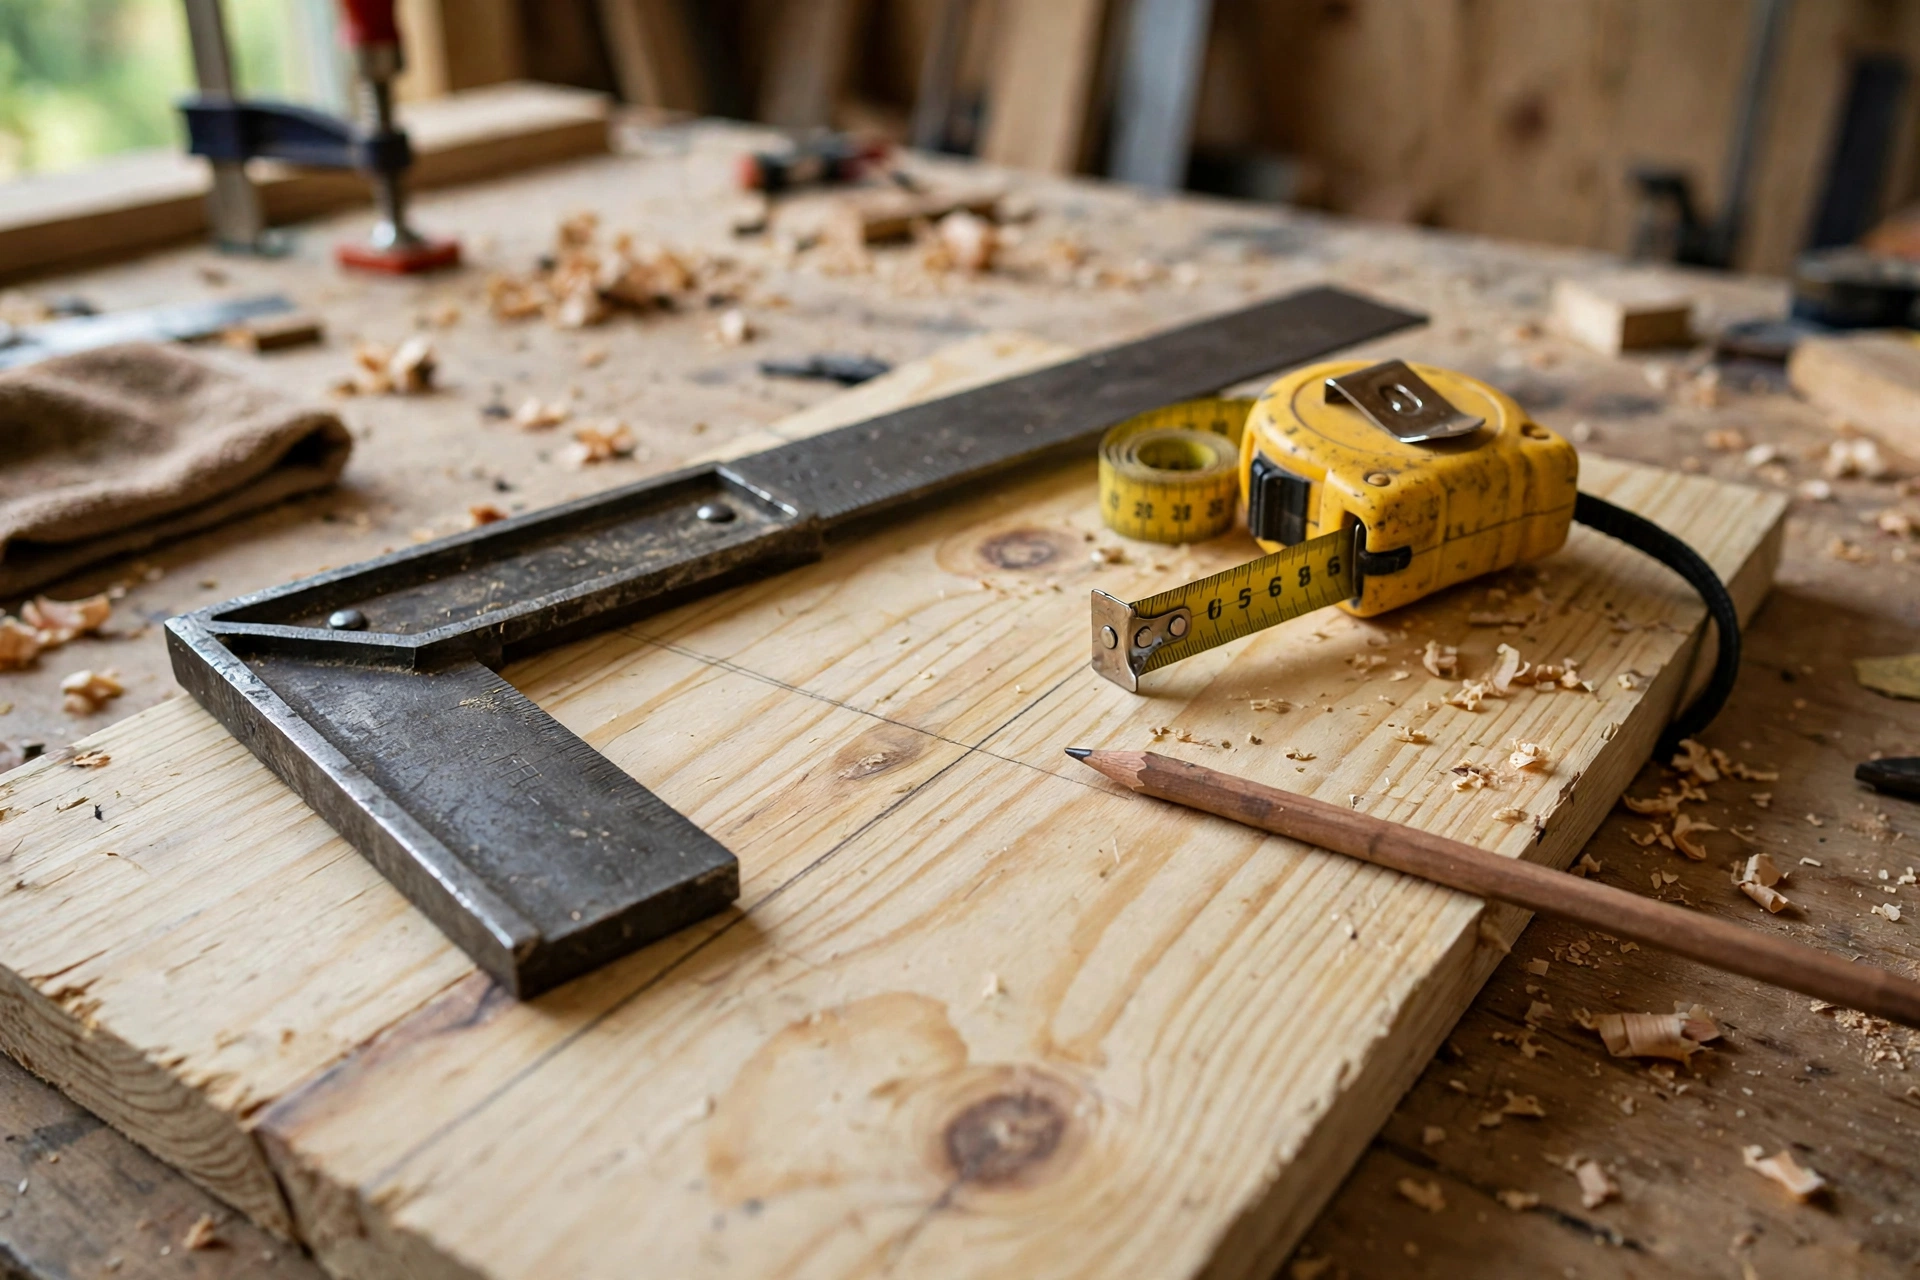
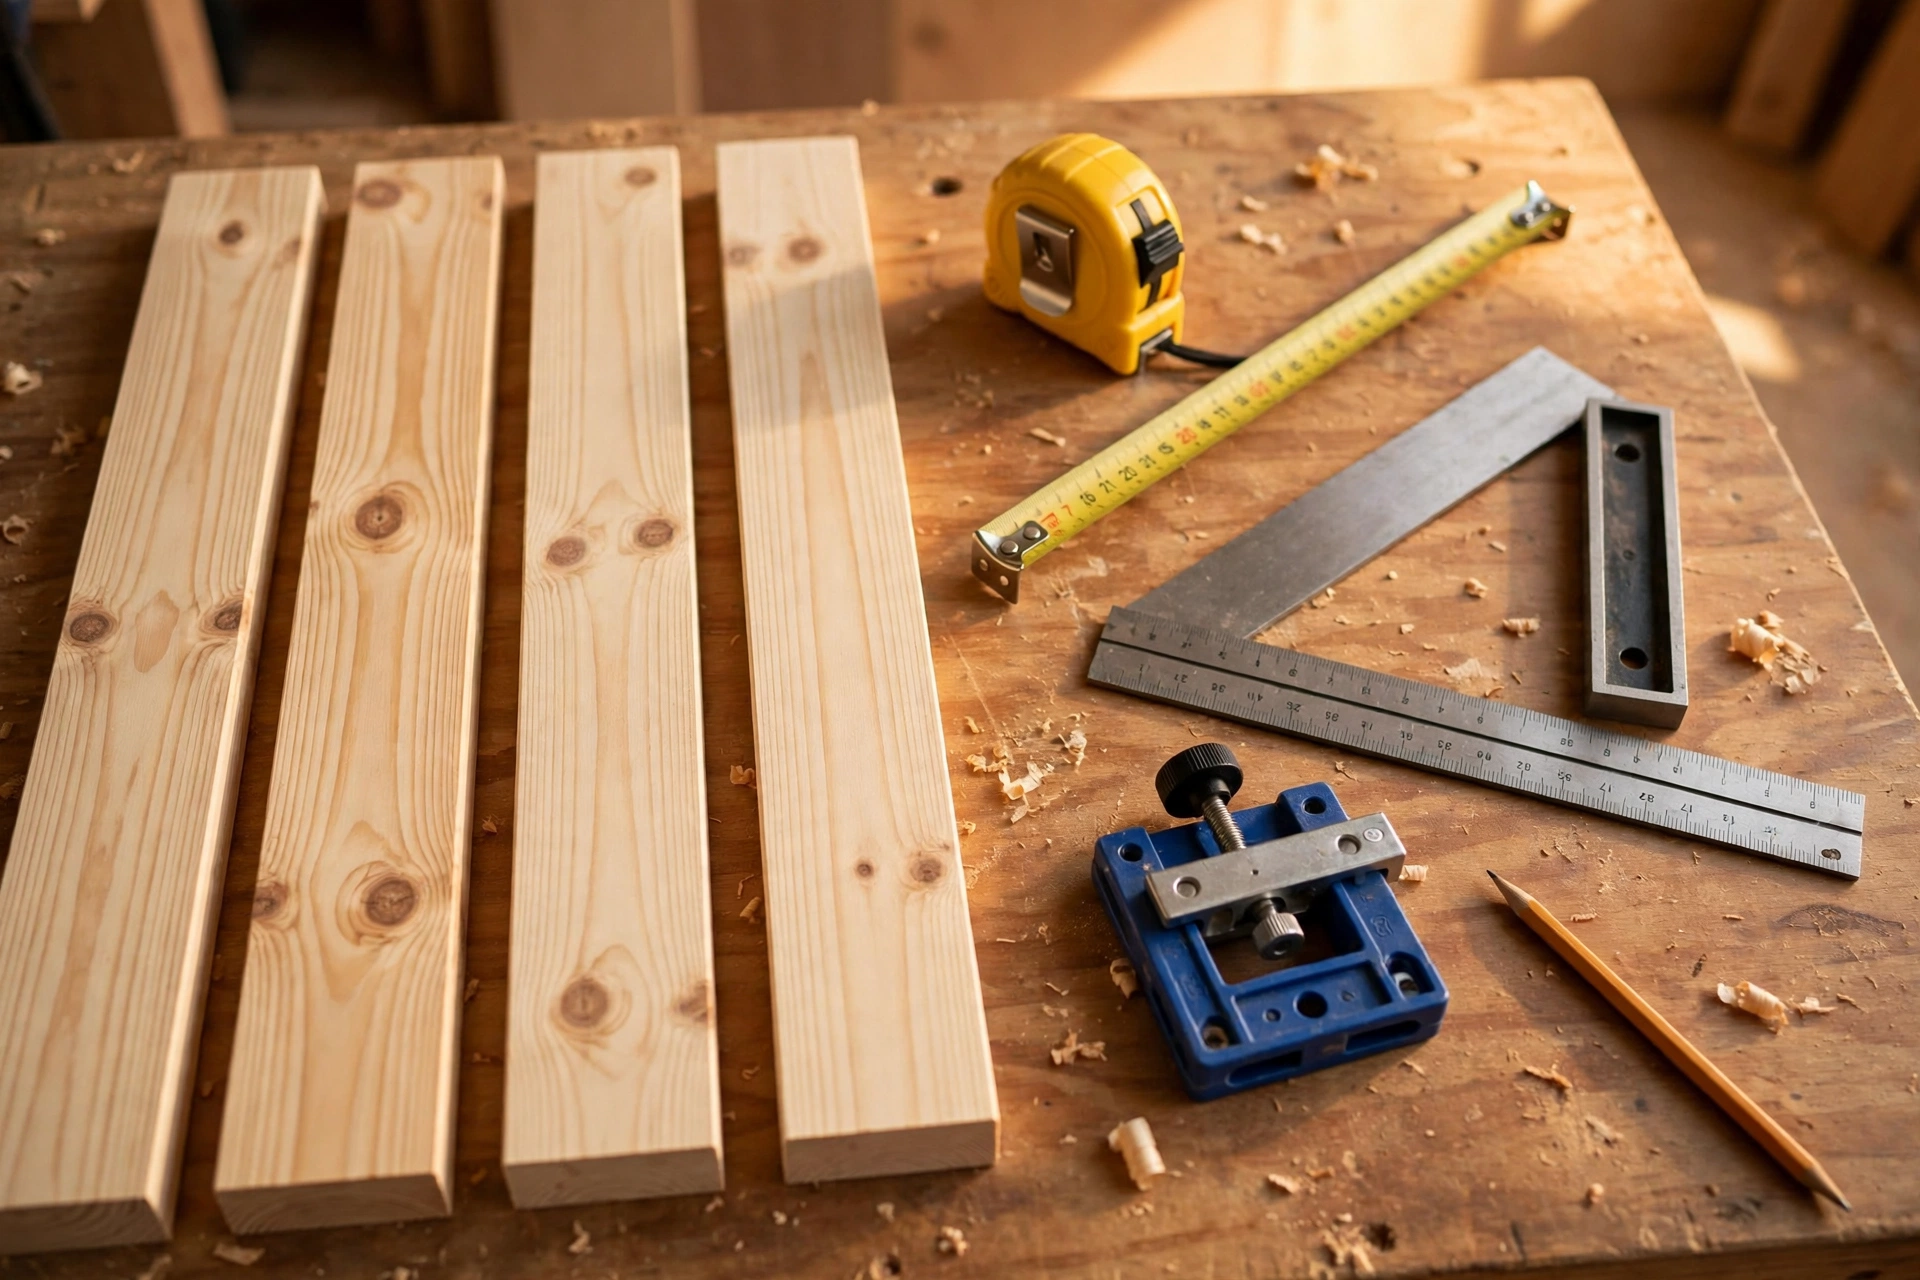
Careful measuring comes first, because every later step depends on it. Lay your boards on a flat workbench and check each one for straightness. Mark the straightest face of every side panel with a small pencil tick — that face goes outward, where everyone sees it. Then measure and mark each cut with a pencil and a speed square, drawing the cut line squarely across the full width of the board.
Label every piece as you mark it: “Side L”, “Side R”, “Slat 1” through “Slat 12”, and “Rail Top/Back”. Twelve slats look identical, so the labels stop you mixing up a slat you already checked for straightness with one you have not. Next, mark the shelf positions on the inside face of each side panel: measure up from the bottom and draw a pencil line for the top edge of each shelf — the bottom shelf at 13 inches (33 cm) of clear height for boots, the middle shelf 8 inches (20 cm) above that, and the top shelf 7 inches (18 cm) above the middle one. Mark both side panels at the same time, clamped together, so the shelves sit perfectly level. Finally, measure your tallest boots once more and confirm the boot shelf height. If anything has changed, adjust the pencil lines now, not after the saw is running.
Step 2: Cut the Boards to Size
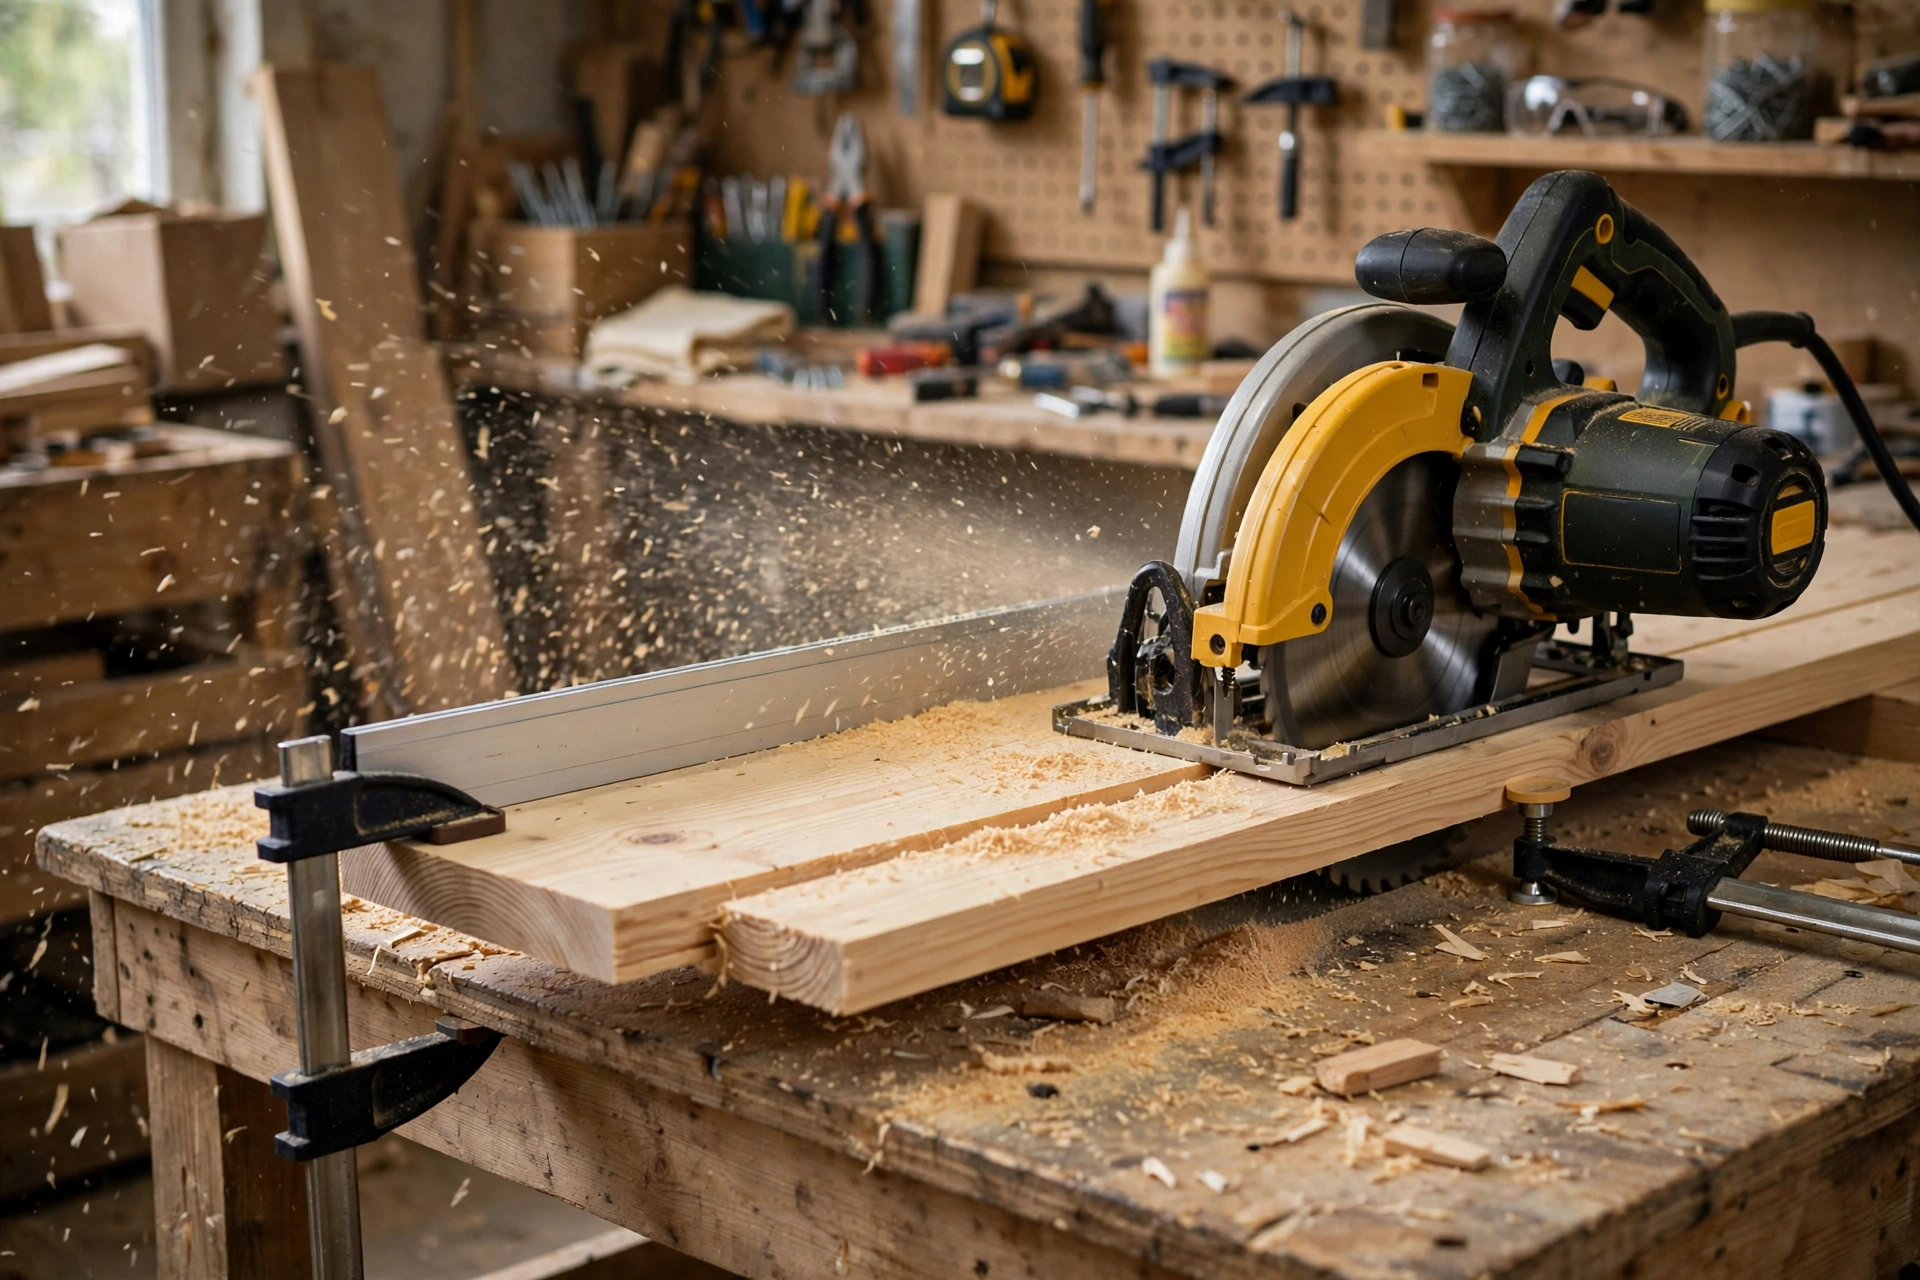
Clamp a straight board or a speed square to your workpiece as a saw guide, and set the circular saw depth so the blade cuts about ¼ inch (6 mm) past the bottom of the board — no deeper. Cut slowly and steadily, letting the saw do the work; pushing hard causes burning and wandering cuts. A jigsaw also works for the slats: clamp a straightedge as a guide and use a fine-tooth blade for a clean edge. Cut the sides first — the longest pieces, and the ones where a square cut matters most — then the twelve slats, then the two rails.
After cutting, dry-fit the four slats of one shelf between the side panels and check the spacing: three even ⅜-inch gaps should leave the slats flush with the front and back edges of the sides. A small error here — even ¼ inch (6 mm) — is easy to fix now by trimming one slat, and almost impossible to fix after the pocket holes are drilled. Sand the cut ends lightly with 80-grit paper to remove splinters and saw marks; slat ends are the edges bare feet and hands touch most. Keep your offcuts: a short piece of 1×2 makes a perfect stain test piece, and a scrap of 1×8 is ideal for setting up the pocket-hole jig.
Step 3: Lay Out the Slatted Shelves
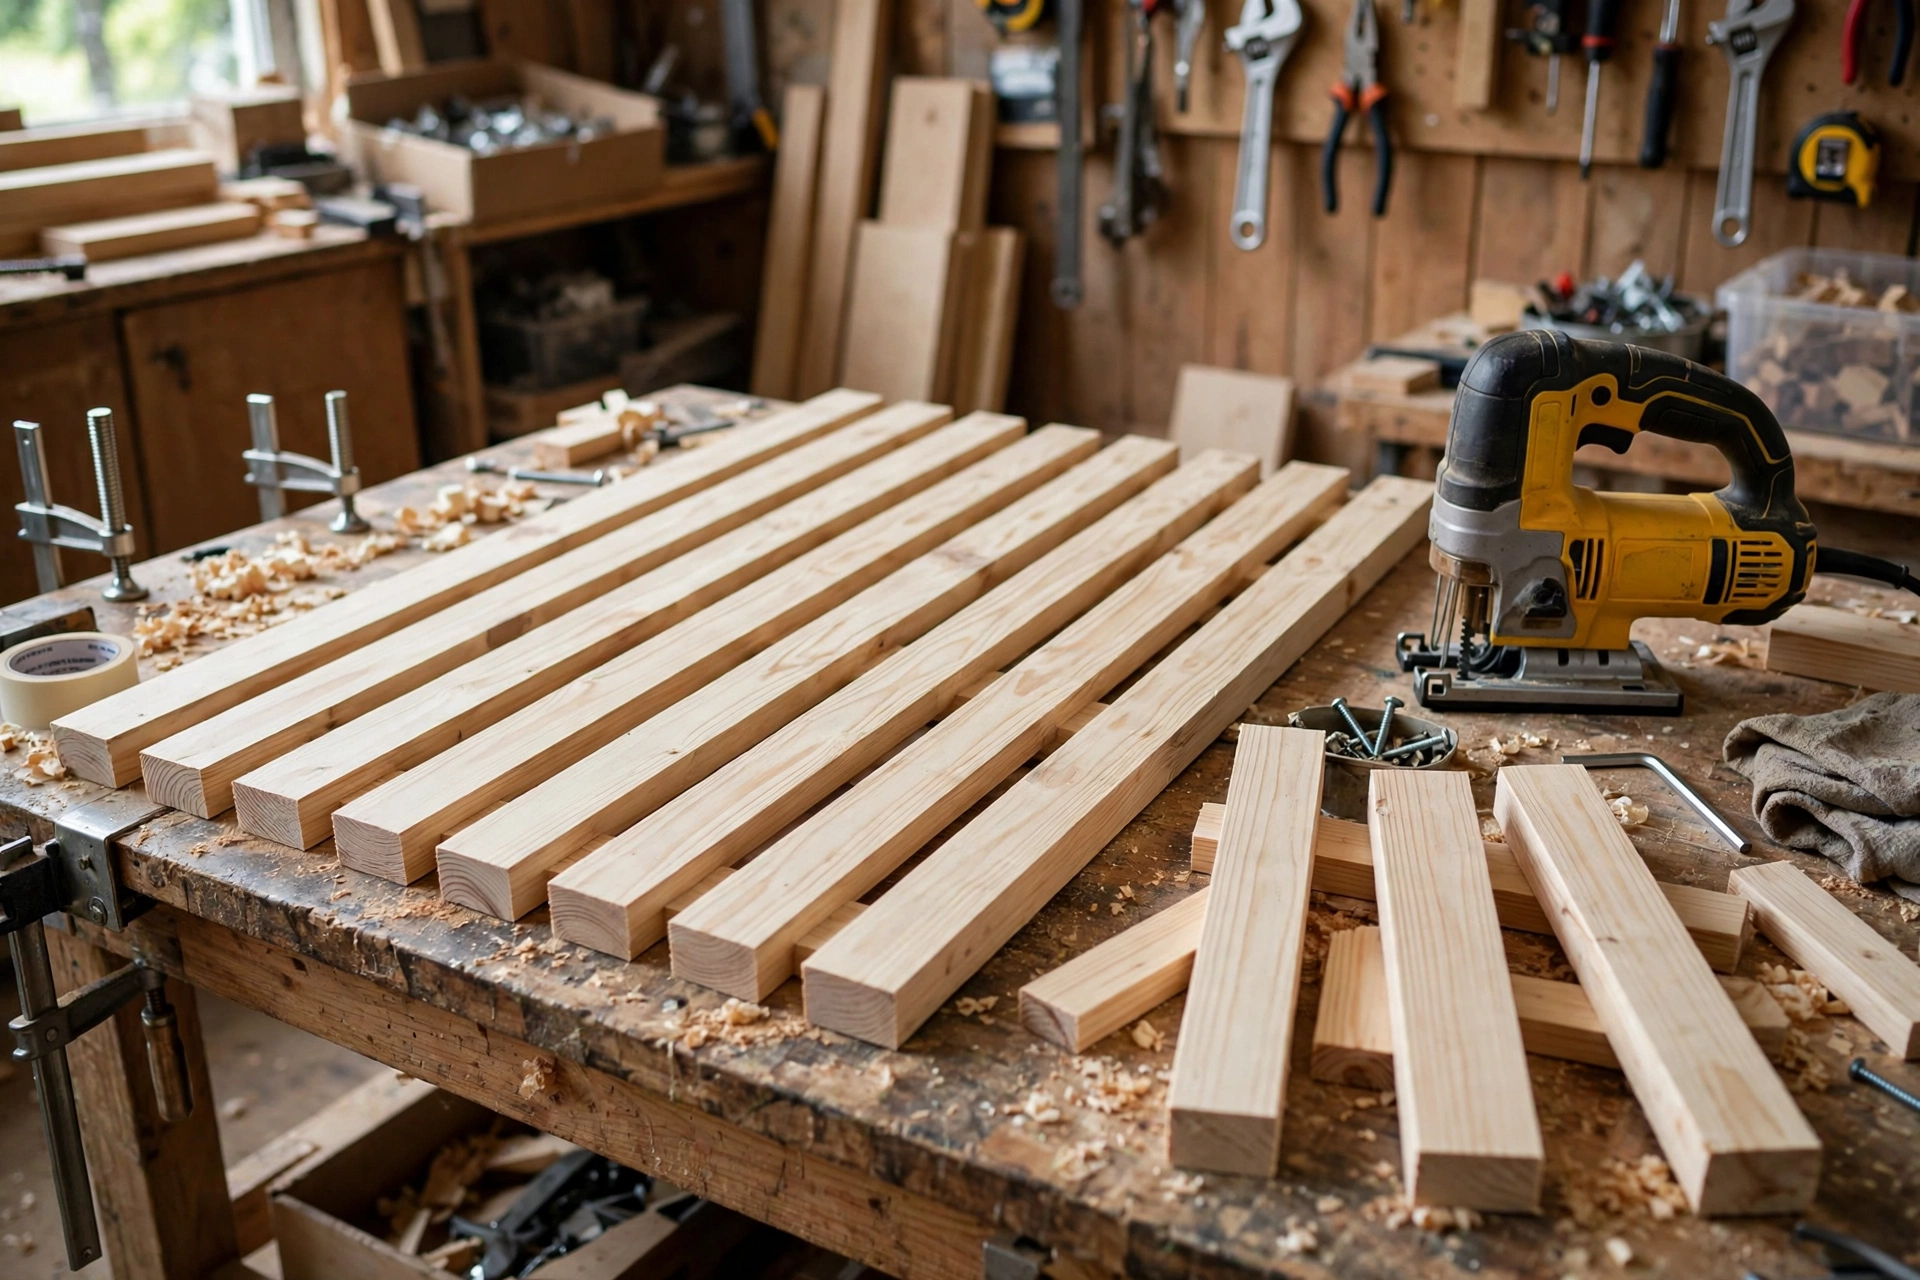
The slatted shelves are what make this rack different from a solid-shelf version: the gaps let air flow under wet shoes, let dirt and grit fall through instead of collecting, and use less wood. Lay out one shelf at a time on the workbench: four slats side by side, front edges lined up, with a ⅜-inch spacer — a scrap of plywood or a couple of stacked coins — between each pair. Check the total width of the four slats plus gaps against the side panel depth; it should be 7⅛ inches (18 cm), just inside the 7¼-inch side.
Drill two pocket holes at each end of every slat, on the underside face, using your pocket-hole jig set for ¾-inch (19 mm) stock — always on the face that will never be seen, the underside of the slat facing the floor. That is 48 pocket holes in total, which sounds like a lot, but once the jig is set up each one takes about fifteen seconds, and the rhythm becomes automatic after the first shelf. Test the jig setting on a scrap slat first: the screw should stop just short of poking through the top face. If the screw tip shows, lower the drill collar one notch and test again. Mark the underside of each slat with a pencil tick as you drill it, so no slat goes into the rack with its pocket holes facing up.
Step 4: Assemble the Rack with Pocket-Hole Joinery
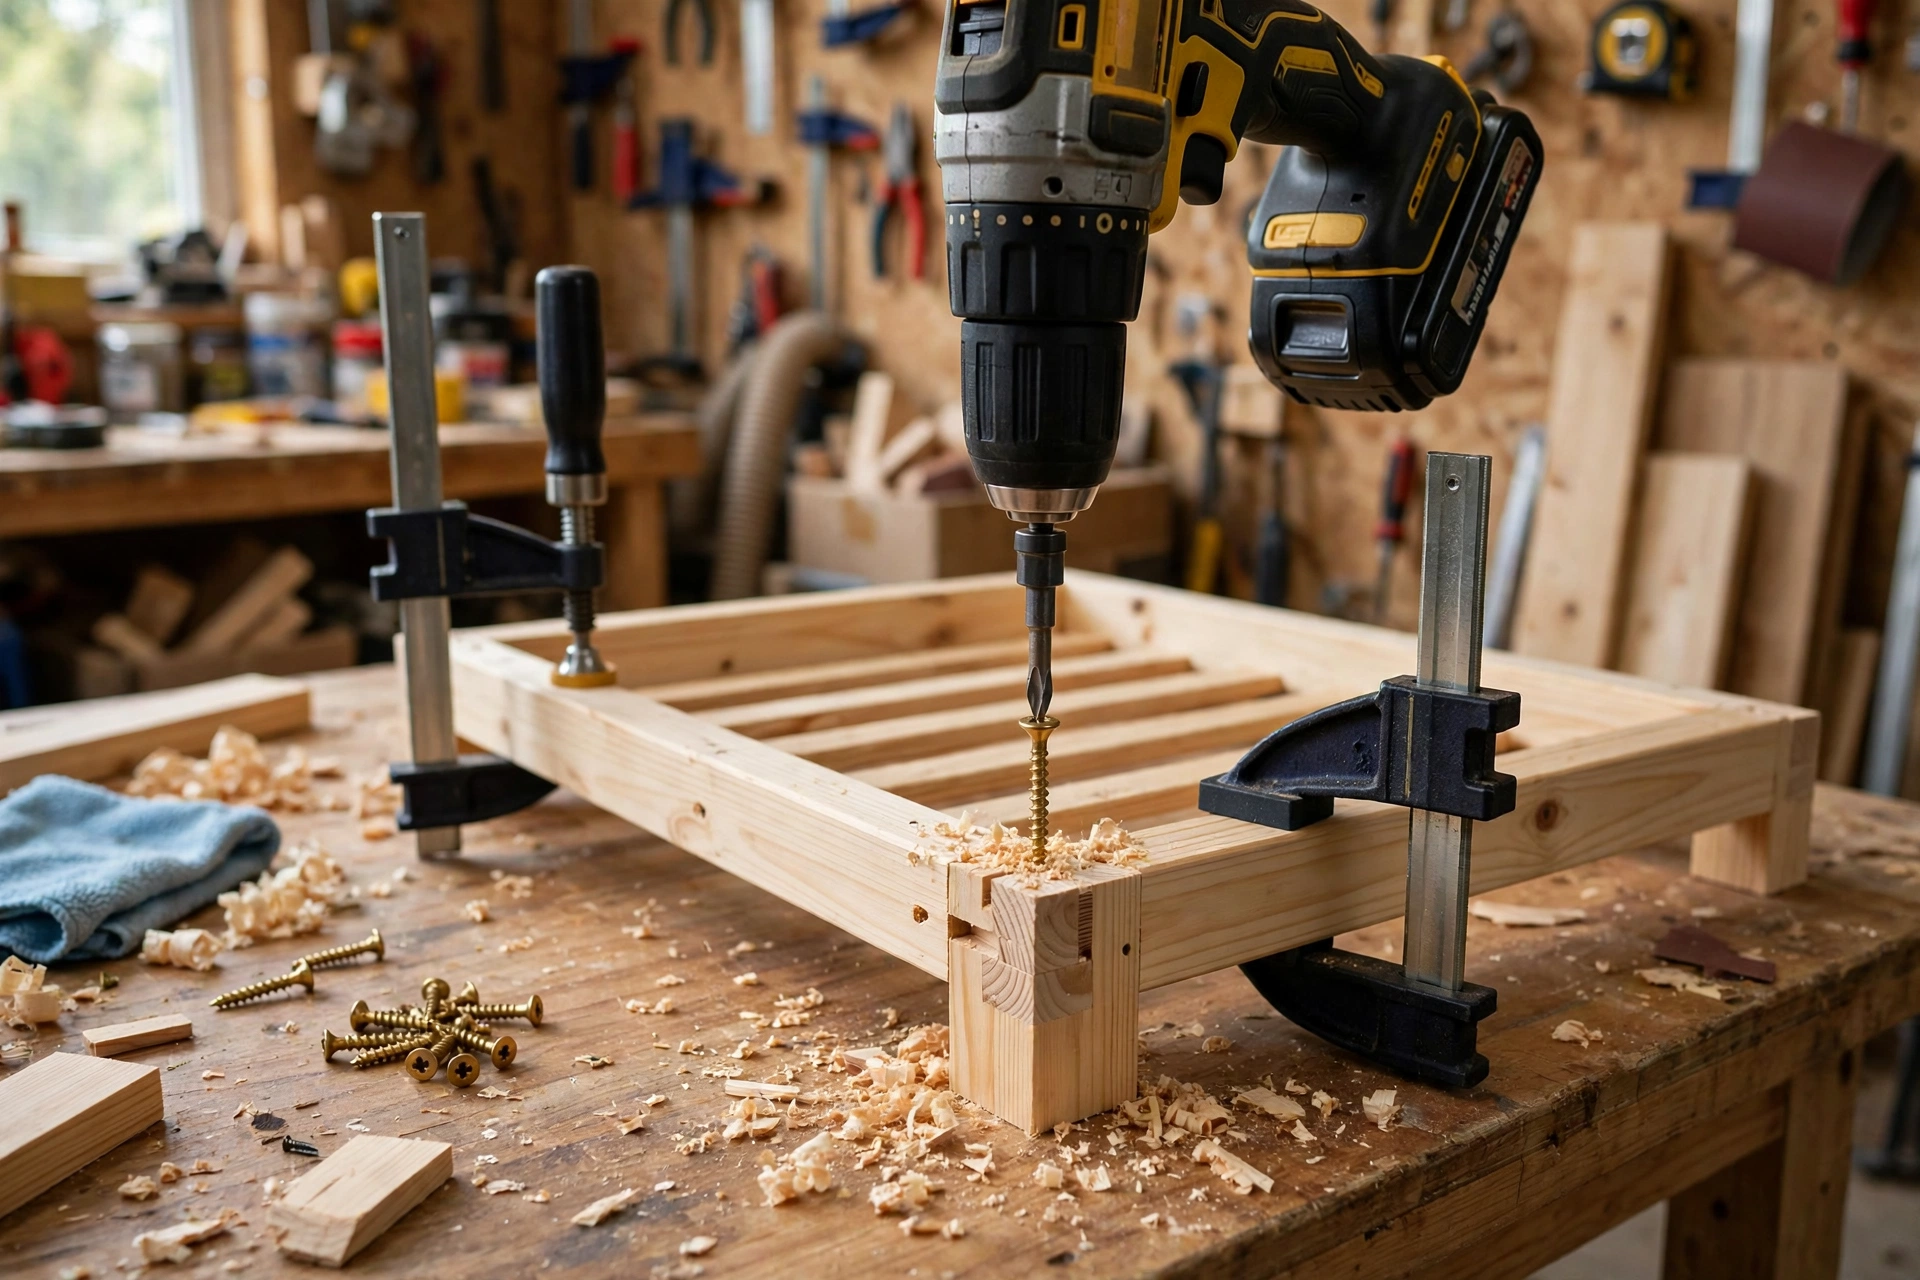
With the slats drilled, build the rack shelf by shelf, starting at the bottom. Lay one side panel flat on the workbench, inside face up, and set the four bottom-shelf slats on their pencil lines. Spread a thin bead of glue on each slat end, then drive 1¼-inch (32 mm) coarse-thread pocket-hole screws through the slats into the side panel — two screws per slat end. Work from the back slat to the front, checking with a square that each slat sits at 90 degrees to the side. Clamps hold everything tight while you drive the screws; with only two clamps, fix one slat at a time and move the clamps along.
Repeat for the middle shelf, then the top shelf, then stand the half-built rack up and fit the second side panel the same way, working from the top down so gravity helps keep the slats seated. Finally, fit the top rail across the top between the sides and the back rail low on the back, both with pocket holes on their hidden faces — the rails stop the rack from racking sideways and give it the rigid, furniture feel. Set the finished rack on a flat floor and press down on each corner in turn. If it rocks, find the long side and trim it — never shim a shoe rack, because shims work loose and it will wobble again. Check the rack for square by measuring diagonally across the front — the two measurements should match within ⅛ inch (3 mm). If they do not, loosen the screws on one corner, rack the frame square, and re-tighten.
Pocket-Hole Joinery vs Dowels: What Holds a Shoe Rack Together?
Beginners often ask whether pocket holes are strong enough for a shoe rack, and the answer is yes — for the slat-to-side joints in this design they are more than strong enough, and far easier to get right than dowels on a first build. A shoe rack carries mostly downward weight, which pocket screws handle well, and no one sits or leans on a slat the way they would on a chair rung. Dowels are stronger in theory, but they demand perfectly aligned holes — a dowel joint even slightly misaligned is weaker than a pocket-hole joint done right.
The real secret is not the joint type — it is the glue. Wood glue on a well-fitted joint is stronger than the wood around it, and the screws mainly hold everything tight while it cures. That is why every joint in this build gets glue and screws together, never screws alone. Use coarse-thread screws in softwood like pine — fine threads are designed for hardwood and will not grip pine. Pre-drill nothing for pocket screws; the jig’s stepped drill bit does that job. If your household owns heavy work boots, add the optional cleats under each shelf: a 6-inch strip screwed to each side under the slats spreads the load and stops any single slat from flexing.
Step 5: Sand and Finish Your Shoe Rack
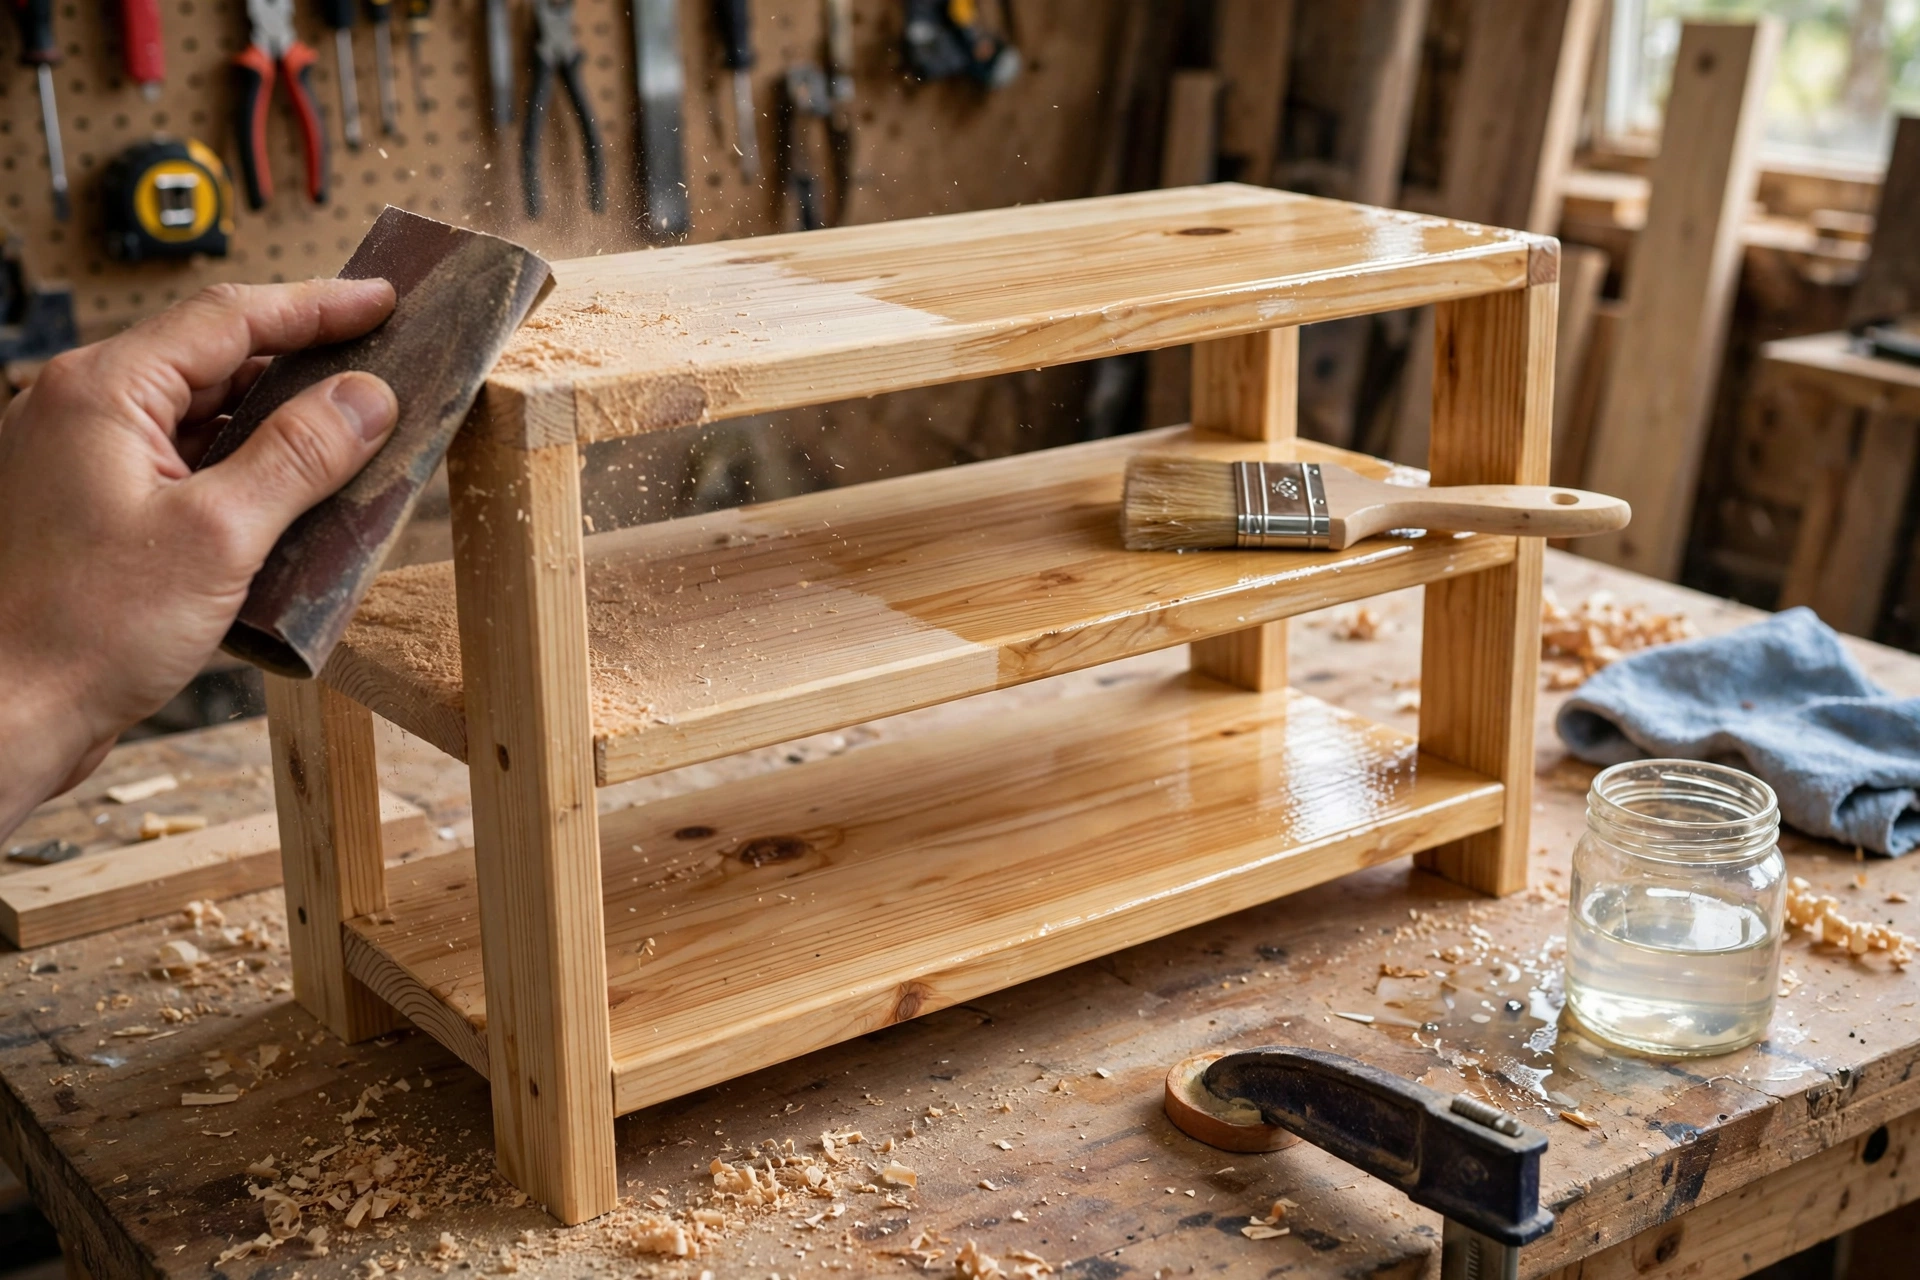
Sanding is where a beginner build starts to look professional, so do not rush it. Sand every slat in three passes: 80 grit to remove saw marks and level the ends, 120 grit to smooth the surface, and 220 grit for a silky final finish. Always sand with the grain, never across it, and round over the front edge of every slat slightly with 120-grit paper — hands, socks, and bare feet touch those edges every day, and sharp edges are uncomfortable and splinter easily. Vacuum or wipe the dust off with a tack cloth between grits; dust left behind shows up as rough spots under the finish. Our full guide, how to sand and finish wood for beginners, walks through grit progression and common sanding mistakes in detail.
A shoe rack needs a tougher finish than a decorative oil, because it meets wet soles, mud, and road salt every day. A wipe-on polyurethane is the most forgiving choice: it builds a hard, waterproof film that shrugs off wet boots and muddy drips, and it is easy to repair later with a light sanding and one more coat. Apply three thin coats, sanding lightly with 220-grit paper between coats, and pay special attention to the slat tops, where the water sits. If you prefer an oil look, use a hard-wax oil rated for floors or tabletops, at least three coats, letting each cure fully. Avoid plain Danish oil unless you are happy to re-oil every few months — it looks beautiful but is not waterproof enough for daily wet shoes. If you want colour, stain first, let it dry fully for 24 hours, then seal it with polyurethane. Let the final coat cure for at least 72 hours before you load the rack with shoes — a finish that feels dry is not the same as a finish that has cured hard.
Finishing Options Compared
| Finish | Water resistance | Coats needed | Best for |
|---|---|---|---|
| Wipe-on polyurethane | Excellent | 3 thin coats | Wet boots, muddy shoes, family entryways |
| Hard-wax oil | Good | 3 coats | Natural look, easy spot repairs |
| Paint (semi-gloss) | Excellent | Primer + 2 coats | Matching hallway trim, hiding pine grain |
| Danish oil | Fair | 2–3 coats | Light-use racks, decorative look only |
| Stain + polyurethane | Excellent | Stain + 3 coats | Matching existing woodwork |
Styling Your Finished Shoe Rack
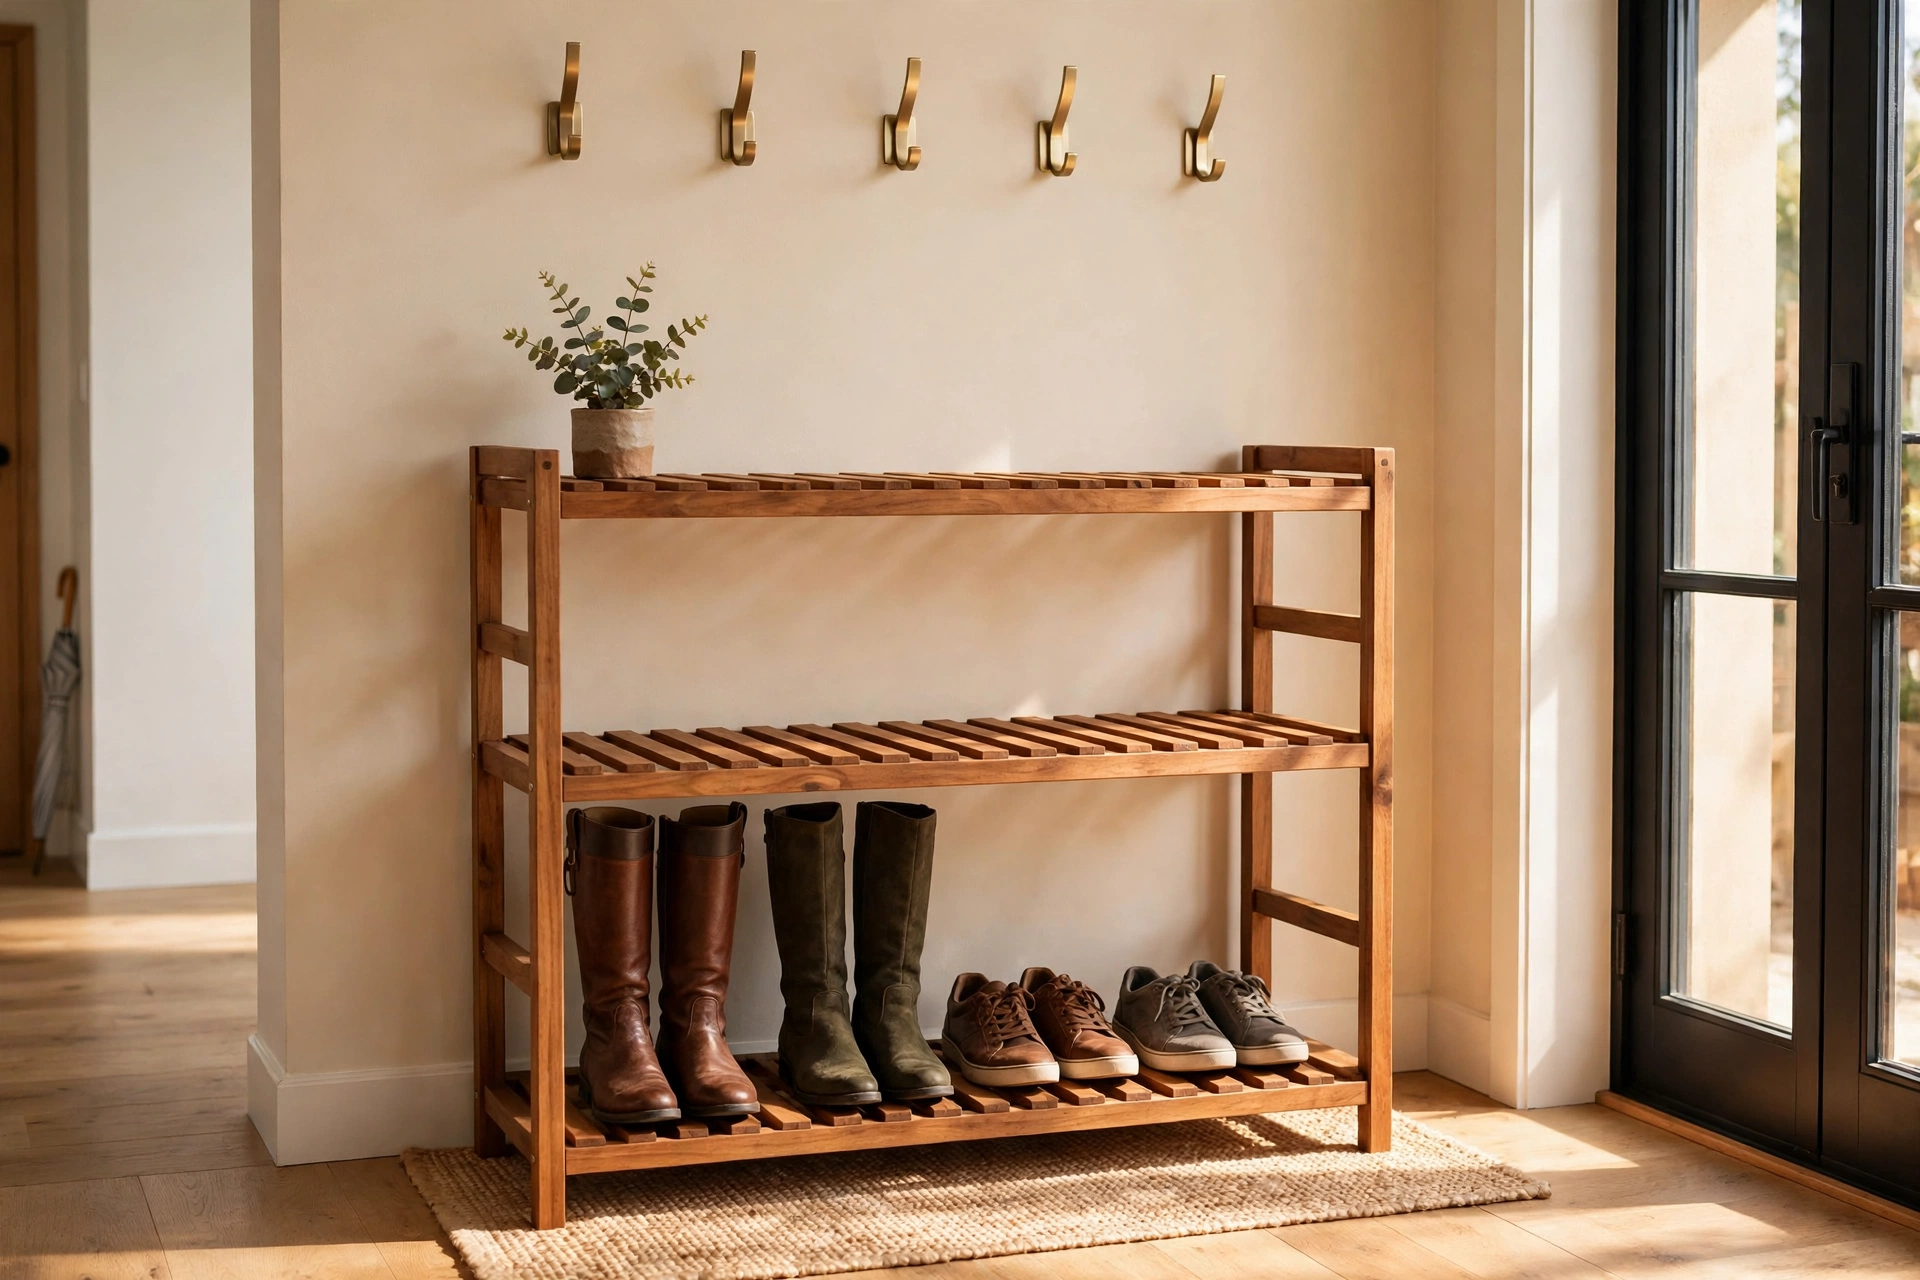
Once the finish has cured, bring the rack into the entryway. Push it flat against the wall by the front door, leaving at least 30 inches (76 cm) of clear walkway in front of it. Load the bottom boot shelf first — tall boots and wellies stand upright there — then trainers on the middle shelf and low shoes on the top shelf, with the most-worn pair at the easiest height. A small tray on the top rail catches keys and sunglasses, and a wall-mounted key holder above the rack keeps the whole coming-and-going routine in one place — our guide to how to build a wooden key holder for beginners makes a matching weekend project.
To keep the rack looking new, shake out the gaps between the slats once a week — dirt falls through instead of collecting, which is the whole point of the slatted design. Wipe muddy drips with a barely damp cloth and dry it straight away, and add a fresh coat of polyurethane once a year, or whenever water stops beading on the slats. A shoe rack built this way will last for years, and because it is sized to your shoes, it will fit your next home too — just check the doorways before moving day. If your entryway needs more storage, the same pocket-hole method builds its bigger cousin, our guide to how to build a wooden storage bench for beginners.
Common Mistakes to Avoid
Most problems come from rushing one of these seven steps — slow down here and the rest of the build goes smoothly.
Making every shelf the same height. Boots need 12 to 14 inches and trainers need 7 to 8. Size each shelf to its contents or your boots will live on the floor beside the rack.
Drilling pocket holes on the wrong face. Pocket holes go on the underside of the slats, where nobody sees them. One slat flipped the wrong way leaves two visible holes on the top of a shelf.
Skipping the dry fit. A bowed slat hides until the screws are in. Lay out every shelf, check the spacing, and mark the arrangement first.
Forgetting the glue. Pocket screws alone will loosen under daily shoe traffic. Glue every joint, and the screws mainly hold everything tight while it cures.
Screwing the slats down without spacers. Eyeballed gaps look uneven forever. Use a ⅜-inch spacer between slats and the shelf looks factory-made.
Rushing the finish. Polyurethane over dust or a skipped grit looks blotchy forever. Sand through the grits, clean the dust, and let each coat cure fully.
Forgetting the acclimatisation. Boards cut the day they arrive will move after assembly. Let them sit in your house for two to three days first.
How Much Does It Cost and How Long Does It Take?
For a 30-inch pine shoe rack, expect $45 to $75 in materials if you already own the tools — roughly a third of a comparable solid wood rack in a shop, sized exactly to your shoes and your hallway. A 24-inch rack is closer to $35 to $60, a 36-inch rack around $55 to $90. Hardwood versions cost two to three times more in lumber alone. Time-wise, plan 3 to 4 hours of hands-on work over one afternoon: half an hour to measure and mark, half an hour to cut, an hour to drill the pocket holes and assemble, an hour to sand, and half an hour to finish, plus overnight glue drying and 72 hours for the final coat to cure. The same skills transfer directly to your next entryway project — a matching key holder or storage bench uses the same cuts, slats, and pocket-hole joints.
Frequently Asked Questions
How tall should the shelves be on a wooden shoe rack?
Trainers and sneakers need 7 to 8 inches (18 to 20 cm) of clear height, low shoes and sandals need 5 to 6 inches (13 to 15 cm), and tall boots need 12 to 14 inches (30 to 36 cm). This build gives the top shelf 7 inches, the middle shelf 8 inches, and the bottom boot shelf 13 inches — measure your tallest boots first and adjust the shelf lines before you cut.
How deep should a wooden shoe rack be?
Seven inches (18 cm) is the slim sweet spot for a hallway rack: deep enough for shoes to sit securely on the slats, shallow enough to hug the wall and keep the walkway clear. Shoes sit with their length across the shelf, so even long trainers fit — if you want shoes stored toe-first instead, build the rack 12 inches (30 cm) deep using 1×12 side panels and the same slat layout.
What is the best wood for a beginner shoe rack?
Pine is the best wood for a first shoe rack: it is cheap, light, easy to cut and sand, and it takes stain and paint well. Poplar is a good upgrade if you want a harder surface that resists scuffs from buckles and boot heels. Save white oak and walnut for a later project, once you are confident with the pocket-hole joinery.
Are pocket-hole screws strong enough for a shoe rack?
Yes — for the slat-to-side joints in this design, pocket-hole screws combined with wood glue are more than strong enough: the glue carries most of the load once it cures, and the screws hold everything tight while it dries. Use coarse-thread screws in softwood like pine, and add the optional cleats under each shelf if your household owns heavy work boots.
How do I stop my wooden shoe rack from wobbling?
Build it on a flat floor, check it for square by measuring diagonally across the front, and make sure the top and back rails are fitted tightly — they are what stop the rack from racking sideways. If it still rocks, trim the long side panel rather than shimming it, because shims work loose and it will wobble again.
Can I build a shoe rack without a table saw?
Yes. A circular saw with a straight-edge guide makes every cut in this project, and a jigsaw with a fine-tooth blade handles the slats easily. Many lumber yards will cut boards to length for a small fee, so you can have the sides and slats cut at the store and do the pocket holes and assembly at home with only a drill.
How much does it cost to build a wooden shoe rack?
A 30-inch pine shoe rack costs about $45 to $75 in materials if you already own the tools. A 24-inch rack costs roughly $35 to $60, a 36-inch rack about $55 to $90. Hardwood costs two to three times more in lumber alone, while a comparable solid wood rack in a shop typically costs $150 to $400.
Recommended Products for This Project
As an Amazon Associate, I earn from qualifying purchases.

DEWALT 20V MAX Drill/Driver Kit DCD771C2
Drives all 48 pocket-hole screws in this shoe rack build and pre-drills clean pilot holes so the thin pine slats never split.

Titebond III Ultimate Wood Glue 1413 (8 oz)
Waterproof, strong wood glue that bonds every slat to the side panels and holds up to wet, muddy shoes dripping on the rack.
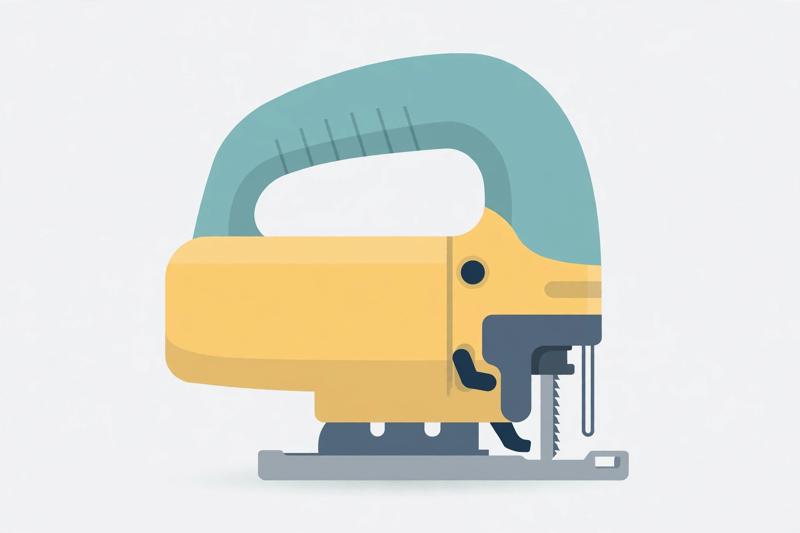
Bosch Top-Handle Jigsaw JS470E, 7.0 Amp
Cuts the twelve slats to length with a clean edge and trims the side panels square, with a fine-tooth blade that leaves pine splinter-free.

IRWIN QUICK-GRIP Woodworking Clamps Set, 8-piece (IRHT83220)
Holds each slat square against the side panel while you drive the pocket-hole screws, and keeps the whole rack square during assembly.

DEWALT Random Orbit Sander DWE6423, 5-inch
Rounds over the front edge of every slat and sands the rack silky smooth through the 80, 120, and 220 grit passes of this build.


