
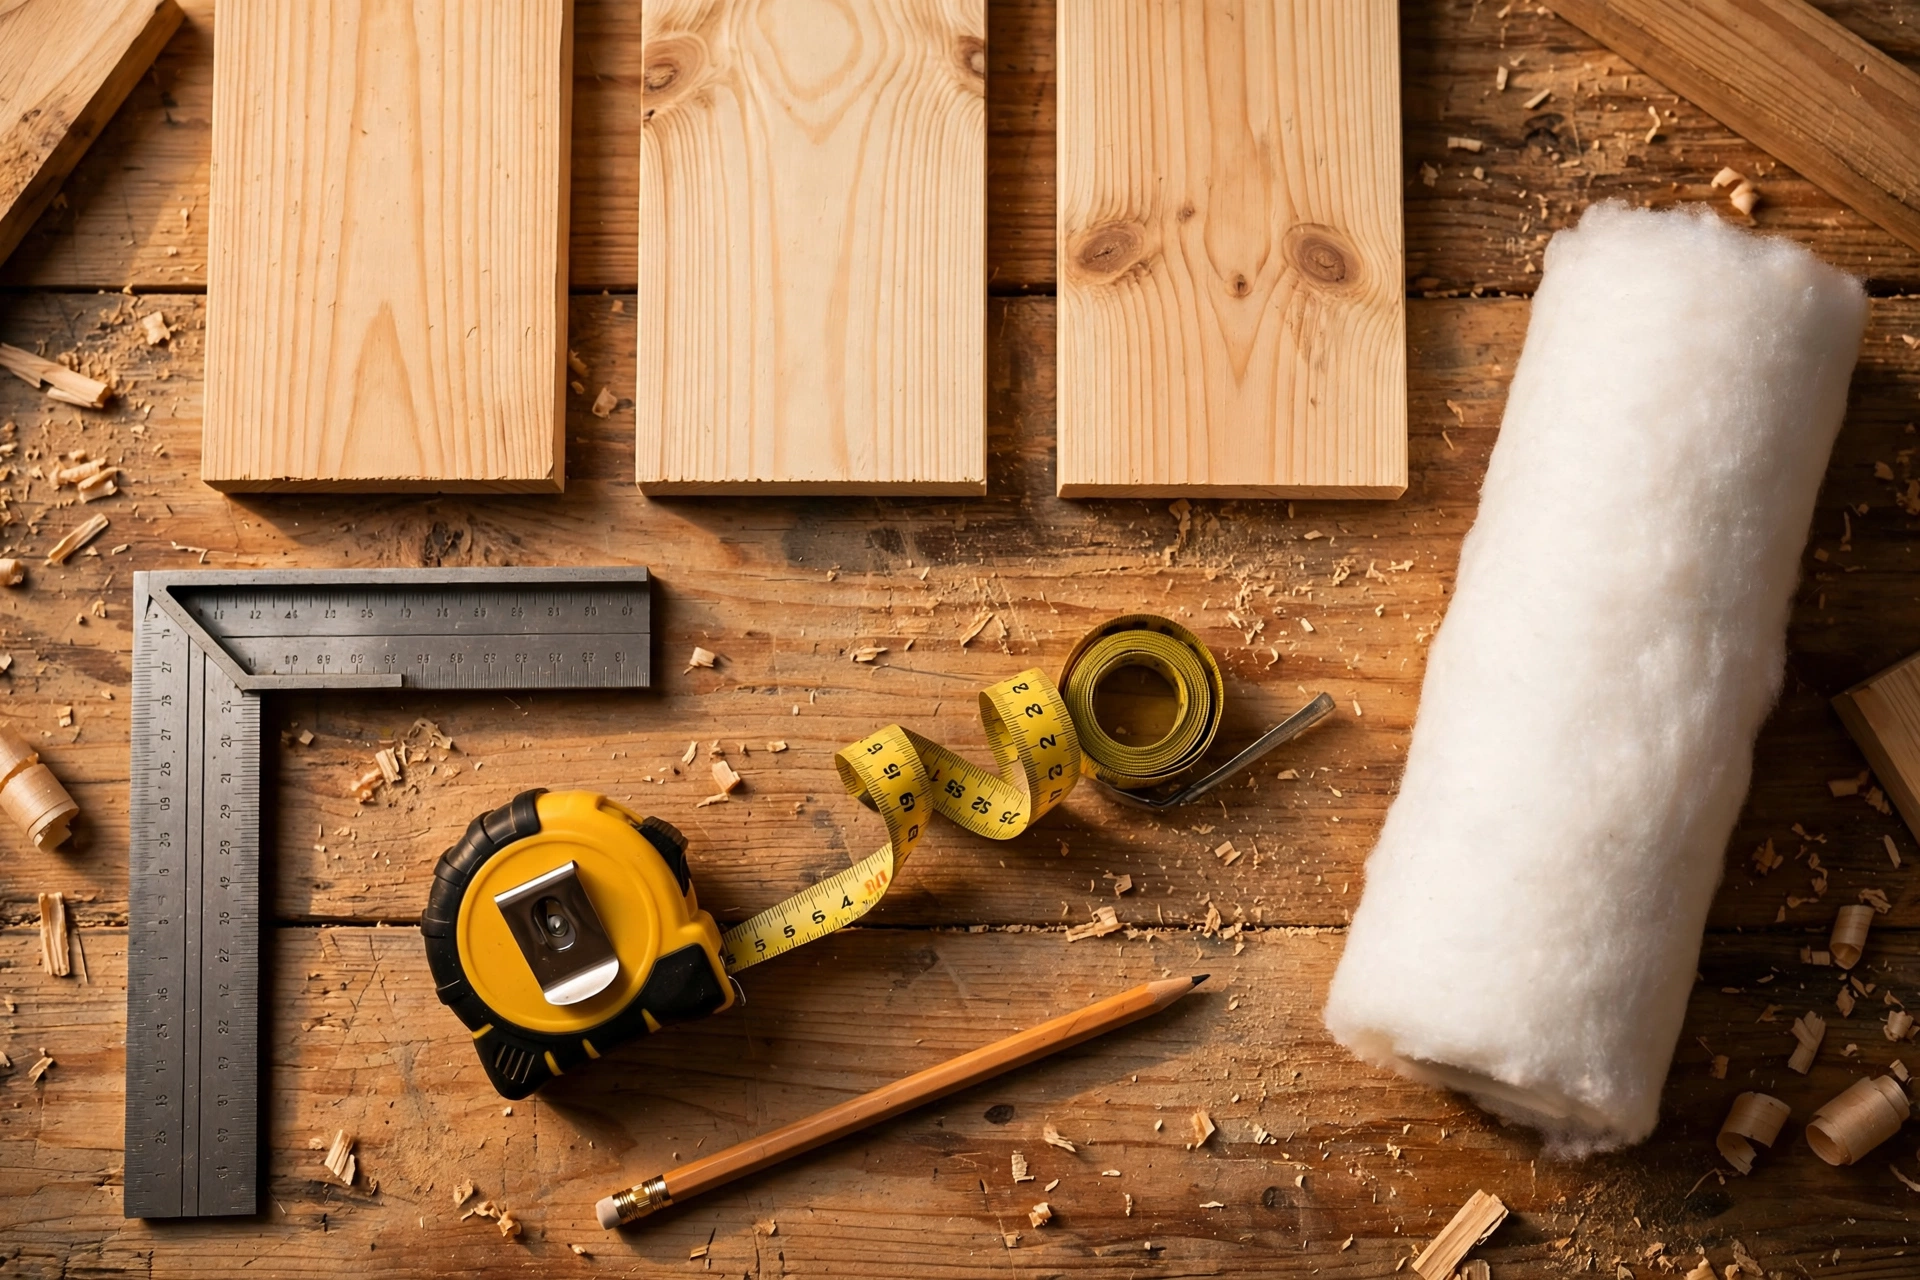
A shop-bought ironing board is almost always a compromise: a thin metal mesh top that leaves grid marks on your shirts, wobbly legs that creep across the floor, or a board so narrow that ironing a bed sheet feels like a wrestling match. Learning how to build a wooden ironing board for beginners fixes all three problems at once. This measured 54 × 15-inch (137 × 38 cm) design gives you a solid, flat, heat-friendly pressing surface — wide enough for a shirt body in one pass, long enough for trousers and pillowcases — with folding wooden legs that tuck flat for storage, a padded heat-resistant cover, and a built-in iron rest at the wide end. It is built from a single sheet of plywood and a few pine boards, needs no advanced joinery, and costs a fraction of a good shop-bought board.
This is the measured, folding-leg version of the project: a real solid-wood board you can press hard on without it flexing, sized to standard ironing height, and finished so steam and heat never damage the wood underneath. Most beginners finish this build in one weekend — about 4 to 5 hours of hands-on work plus drying time — and it sits comfortably alongside the other laundry-room and home builds in our easy woodworking projects for beginners that sell collection. If your laundry room needs matching storage once the board is done, our guide to how to build a wooden storage bench for beginners makes a perfect companion piece for folded laundry and supplies.
What Size Ironing Board Should You Build?
Before you buy a single board, think about what you actually iron — not the space on the shop shelf. An ironing board is sized to your laundry, and width is the detail most first-time builders get wrong. The standard ironing board is 54 inches (137 cm) long and 15 inches (38 cm) wide, which suits most households: long enough for trousers, shirts, and pillowcases, and wide enough to press a shirt body without constant repositioning. The working height is 32 inches (81 cm), which suits most adults standing with a relaxed arm — your forearm should rest lightly on the board with your elbow slightly bent, and you should never have to hunch over it.
This build is 54 inches (137 cm) long, 15 inches (38 cm) wide, and 32 inches (81 cm) tall at the pressing surface. The 15-inch width fits a shirt body in a single pass, while the rounded nose at the narrow end is shaped for sleeves, collars, and children’s clothes. A narrower 48-inch board works in a tight flat or for occasional use, and a 60-inch board suits quilters and anyone who irons king-size sheets — the frame in this guide scales to either length by changing only the top and the leg spacing.
| Board size | Best for | Pressing height | Storage footprint |
|---|---|---|---|
| 48 × 13 in (122 × 33 cm) | Small flat, occasional ironing | 30–32 in (76–81 cm) | Folds to 48 × 13 in |
| 54 × 15 in (137 × 38 cm) | Standard household, shirts and trousers | 32 in (81 cm) | Folds to 54 × 15 in |
| 54 × 18 in (137 × 46 cm) | Wide board, fewer repositions | 32 in (81 cm) | Folds to 54 × 18 in |
| 60 × 18 in (152 × 46 cm) | Quilting, king sheets, heavy use | 32–34 in (81–86 cm) | Folds to 60 × 18 in |
Measure your own comfortable working height before you cut the legs: stand upright, let your arms hang relaxed, and measure from the floor to the crease of your wrist — that is your ideal pressing height. If that number is 30 inches (76 cm), shorten the legs by 2 inches; if it is 34 inches (86 cm), lengthen them by 2 inches. The leg-length table later in this guide shows exactly how to adjust. Also check your storage spot: a folded 54-inch board needs a 55-inch-tall gap behind a door or beside the washer, so measure the space before you build — a board that has nowhere to live ends up leaning in a hallway forever.
Choosing the Best Wood for Your Ironing Board
For a first ironing board, ¾-inch (19 mm) birch plywood is the best choice for the top: flat, stable, strong in every direction, and it will not warp when steam hits it week after week. A half sheet of birch plywood costs about $18 to $25 and leaves enough offcut for the iron rest and a test piece. Solid pine planks can work for a board top, but they need edge-gluing, they move with humidity, and a glued-up top can cup over time — plywood skips all of that. If you want a harder, prettier top, a ¾-inch hardwood plywood such as oak-faced ply costs a little more and looks lovely under a clear finish on the exposed edges.
Buy 1×3 pine boards (actual size ¾ × 2½ inches, or 19 × 64 mm) for the four folding legs and the cross braces — pine is light, easy to cut and drill, and strong enough for legs that only carry downward pressing force. Buy 1×2 pine (actual size ¾ × 1½ inches, or 19 × 38 mm) for the two mounting rails screwed to the underside of the board. Pick straight boards by sighting down each edge, and reject any with large knots, heavy cupping, or twisting — a bowed leg is the number one cause of a wobbly board. For a deeper dive into species, grain, and cost, read our guide to the best wood for beginner woodworking projects.
Avoid MDF for the board top: it is heavy, it swells badly if steam or a spill reaches an unsealed edge, and it holds screws poorly at the leg mounts. Avoid reclaimed pallet wood for the same reason you would avoid it for a desk top — boards vary in thickness, often hide nails, and need far more sanding to become flat enough to press on. Let the plywood and pine acclimatise in your house for a day or two before you cut them — wood that moves after assembly is what makes folding legs bind instead of folding smoothly.
Tools and Materials You Will Need
You probably own most of these tools already, and the rest can be borrowed or bought cheaply. Do not buy a tool you will use once if a neighbour or a tool library can lend it — but a decent cordless drill and a circular saw are worth owning for every furniture project after this one.
| Item | Details | Typical cost |
|---|---|---|
| Birch plywood, ¾ in (19 mm) | Half sheet, 4 × 4 ft (122 × 122 cm), for the board top and iron rest | $18–$25 |
| Pine 1×3 boards | 2 boards, 8 ft (2.4 m) long, for the four legs and braces | $8–$12 |
| Pine 1×2 boards | 1 board, 8 ft (2.4 m) long, for the mounting rails and rest brackets | $4–$7 |
| Carriage bolts, ⅜ in (10 mm) | 2 bolts, 2½ in (64 mm) long, with washers and lock nuts, for the leg pivots | $4–$6 |
| Wood screws, 1¼ in (32 mm) | About 30 screws, for rails, braces, and the iron rest | $5–$7 |
| Wood glue | One 8 oz (237 ml) bottle | $5–$8 |
| Cotton batting | One piece, 56 × 17 in (142 × 43 cm), for padding under the cover | $5–$8 |
| Cover fabric | Heat-resistant cotton canvas or ironing-board cover fabric, 60 × 20 in (152 × 51 cm) | $8–$12 |
| Staples, ⅜ in (10 mm) | One box, for stapling the cover under the board | $3–$5 |
| Finish | Wipe-on polyurethane or hard-wax oil, 1 pint (0.47 L), for the legs and edges | $10–$16 |
| Felt pads | 4 self-adhesive pads for the leg feet | $2–$3 |
| Tools | Circular saw or jigsaw, drill, sander, tape measure, square, clamps | $0 if owned |
| Total (54 in, plywood + pine) | Materials only, tools owned | $65–$100 |
Safety gear matters too: safety glasses, hearing protection for the saw, and a dust mask for sanding — plywood dust is an irritant. Apply the finish outside or in a well-ventilated garage, and keep oil-soaked rags flat to dry outdoors until stiff, then throw them away — bunched-up oily rags can self-heat.
Cut List for a 54 × 15-Inch Ironing Board
This cut list is for a board 54 inches (137 cm) long, 15 inches (38 cm) wide, and 32 inches (81 cm) tall at the pressing surface, with folding X-frame legs, a padded heat-resistant cover, and a fixed iron rest at the wide end. Cut the top first, then the legs, then the rails and braces — and always measure twice before every cut.
| Part | Material | Size | Quantity |
|---|---|---|---|
| Board top | ¾ in (19 mm) birch plywood | 54 × 15 in (137 × 38 cm), nose shaped | 1 |
| Legs | 1×3 pine | 34 in (86 cm) long | 4 |
| Cross braces | 1×3 pine | 13 in (33 cm) long | 2 |
| Mounting rails | 1×2 pine | 13 in (33 cm) long | 2 |
| Iron rest | ¾ in (19 mm) birch plywood | 12 × 10 in (30 × 25 cm) | 1 |
| Rest support brackets | 1×2 pine | 6 in (15 cm) long | 2 |
| Pivot bolts | ⅜ in (10 mm) carriage bolts | 2½ in (64 mm) long, with washers + lock nuts | 2 |
The board top is 54 inches long because that is the standard ironing length: a shirt body, a pair of trousers, or a pillowcase fits in one pass without repositioning. The legs are 34 inches long because, splayed in an X at the pivot, they hold the board at a 32-inch pressing height — the pivot bolt sits at the midpoint of each leg, 17 inches from each end. The cross braces are 13 inches long because they fit between the two legs of each pair: 15 inches of board width minus two ¾-inch leg thicknesses, with a little clearance so the legs fold freely. The mounting rails are 13 inches long for the same reason, and they are what the top ends of the legs pivot against under the board.
Step 1: Measure and Mark Your Boards
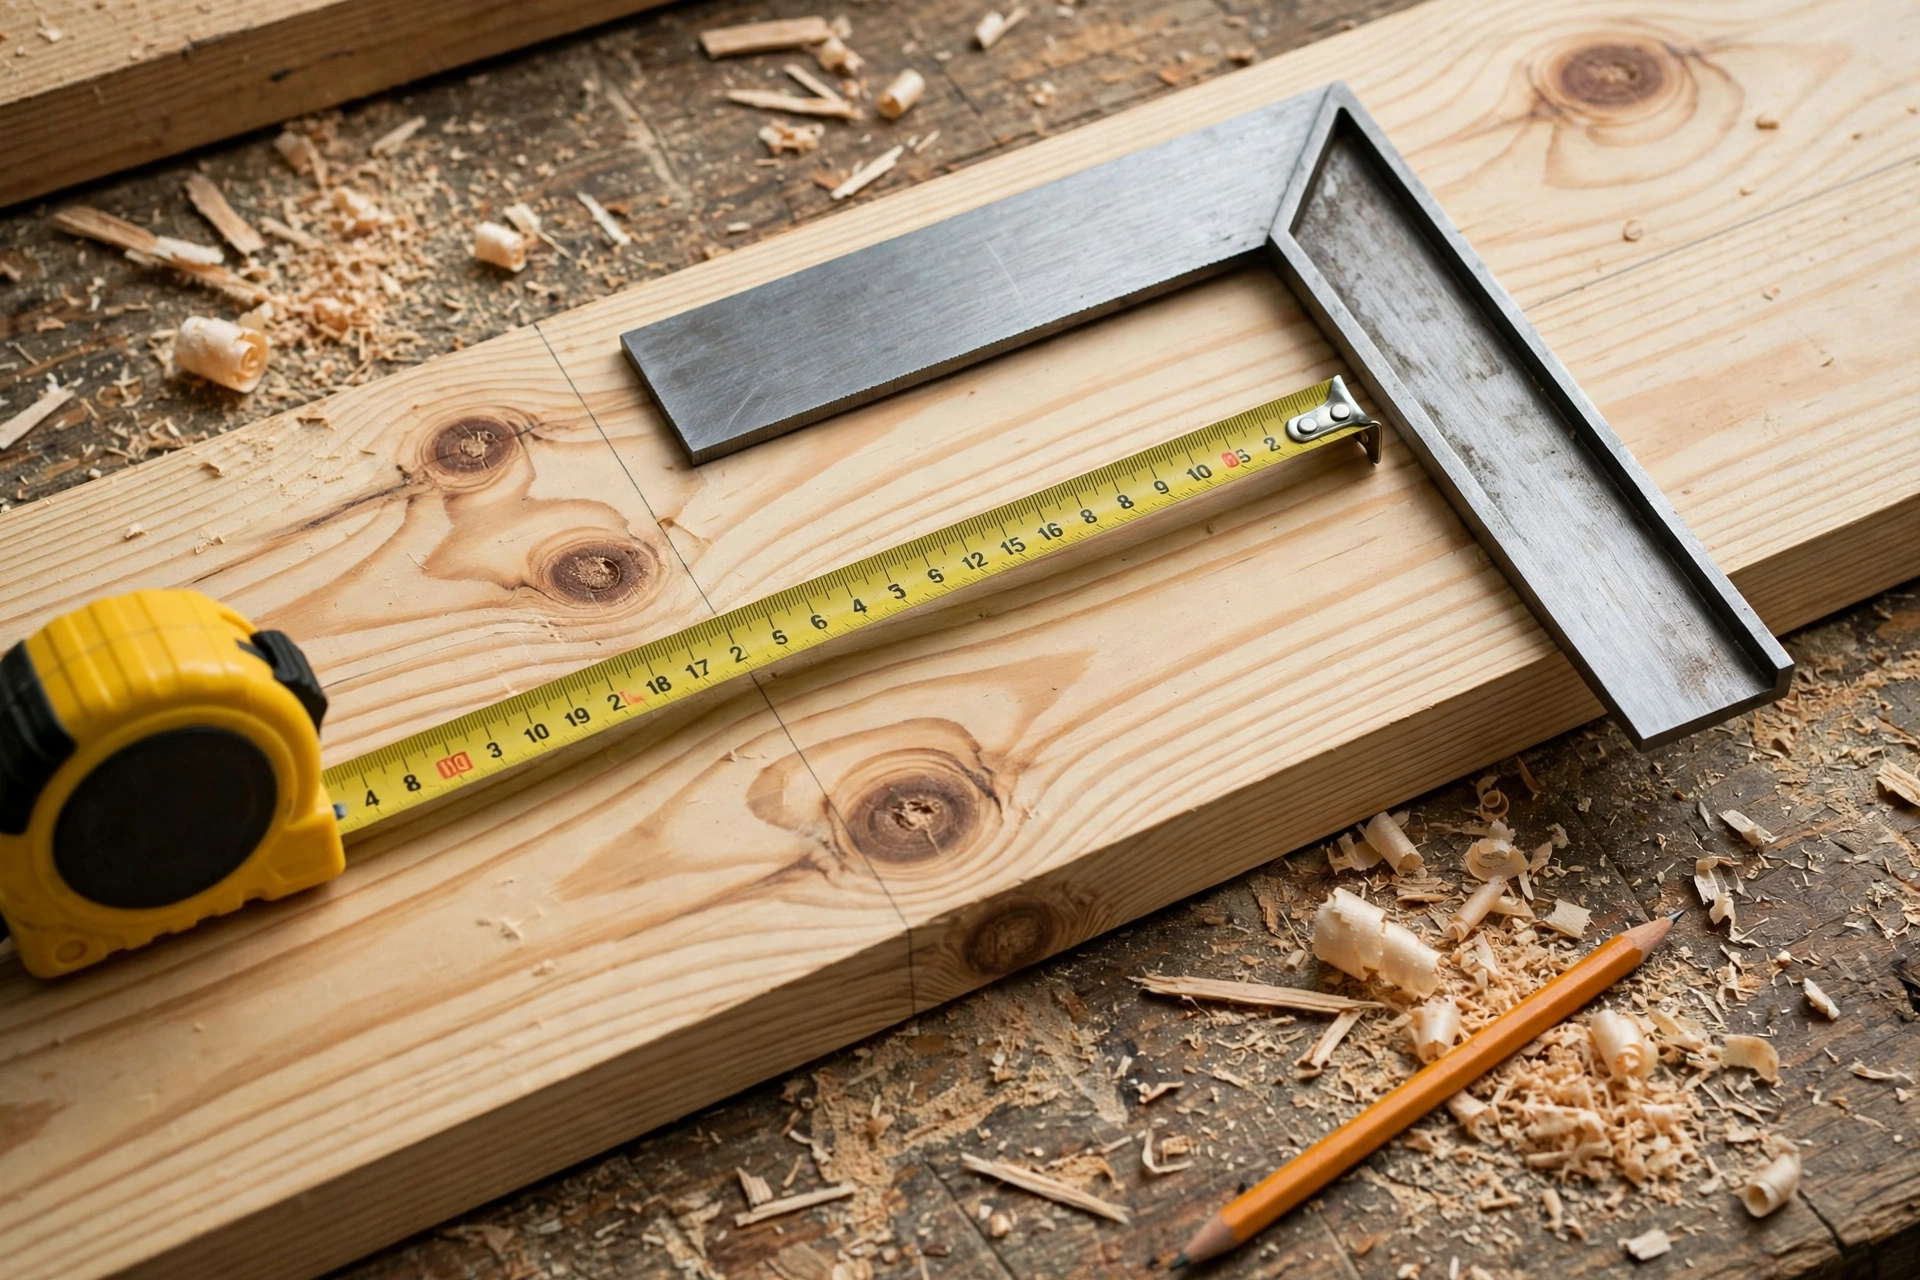
Careful measuring comes first, because every later step depends on it — and the board shape is the one part you cannot fix after the saw has run. Lay the plywood sheet on a flat workbench and mark the board outline: a 54-inch centreline down the length, 15 inches wide for the first 36 inches from the wide end, then a smooth taper to a rounded nose at the narrow end. The nose is the part that makes sleeves and collars easy to press, so do not rush it: mark the taper with a flexible batten or a long strip of thin wood bent gently between two points, and draw the rounded tip with a compass or a dinner plate as a guide.
Mark the straightest face of every pine leg with a small pencil tick — that face goes outward, where everyone sees it. Then measure and mark each cut with a pencil and a speed square, drawing the cut line squarely across the full width of the board. Label every piece as you mark it: “Leg A” through “Leg D”, “Brace 1”, “Brace 2”, “Rail Front”, “Rail Back”, “Rest”, and “Bracket” twice. The four legs look identical, so the labels stop you mixing up a leg you already checked for straightness with one you have not. Next, mark the pivot holes on the legs: a ⅜-inch hole dead centre on each leg, 17 inches from each end, marked on all four legs at the same time, clamped together, so the pivots line up perfectly. Finally, measure your comfortable pressing height once more and confirm the 32-inch target. If anything has changed, adjust the leg length now, not after the saw is running.
Step 2: Cut the Boards to Size
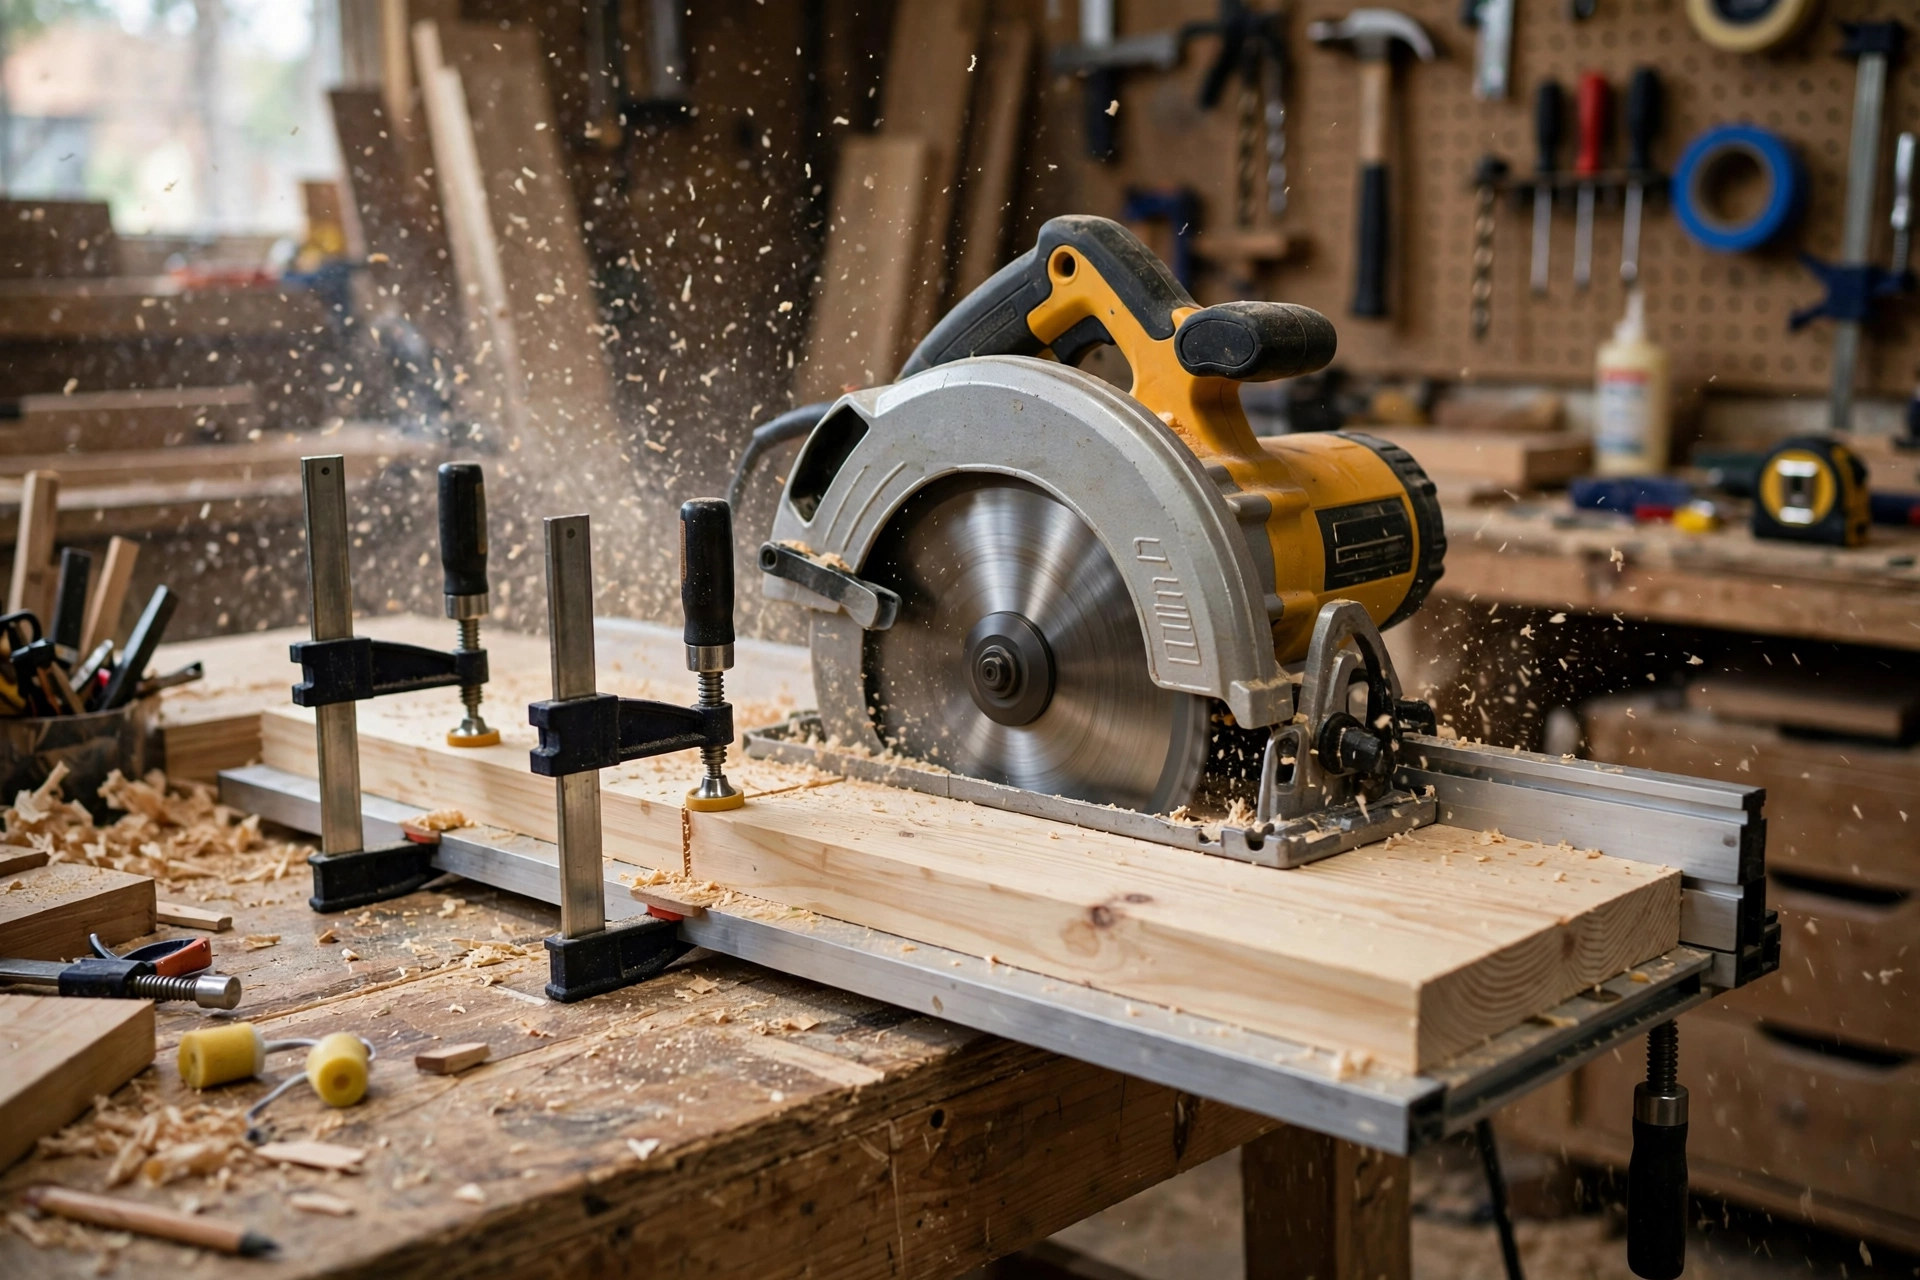
Clamp a straight board or a speed square to your workpiece as a saw guide, and set the circular saw depth so the blade cuts about ¼ inch (6 mm) past the bottom of the board — no deeper. Cut slowly and steadily, letting the saw do the work; pushing hard causes burning and wandering cuts. Cut the plywood top first — the biggest piece, and the one where a square cut matters most — then the four legs, then the braces, rails, and brackets.
The board shape needs a jigsaw for the taper and the rounded nose: cut the straight sides with the circular saw, then follow the marked curve with the jigsaw, keeping the blade just outside the pencil line so you can sand to the line afterwards. If you do not own a jigsaw, a coping saw works for the curve — it is slower, but the cut is short and the curve is gentle. After cutting, dry-fit the four legs in an X on the workbench and check the pivot holes line up: push a pencil through all four holes at once — if it slides through cleanly, the legs will fold smoothly. Sand the cut ends lightly with 80-grit paper to remove splinters and saw marks. Keep your offcuts: a short piece of plywood makes a perfect cover-staple test piece, and a scrap of 1×3 is ideal for testing the pivot bolt fit.
Step 3: Shape the Nose, Drill the Pivots, and Join the Top
The nose is what separates a proper ironing board from a flat plank, so shape it carefully. Sand the jigsaw curve down to the pencil line with 80-grit paper wrapped around a sanding block, working in long strokes along the curve — a flat block keeps the edge fair instead of lumpy. Then round over the entire top edge of the board with 120-grit paper: the cover and batting wrap around this edge, and a sharp plywood edge will cut through the fabric within months. Run your hand along the edge when you think you are done — it should feel smoothly rounded all the way around, with no sharp corners anywhere.
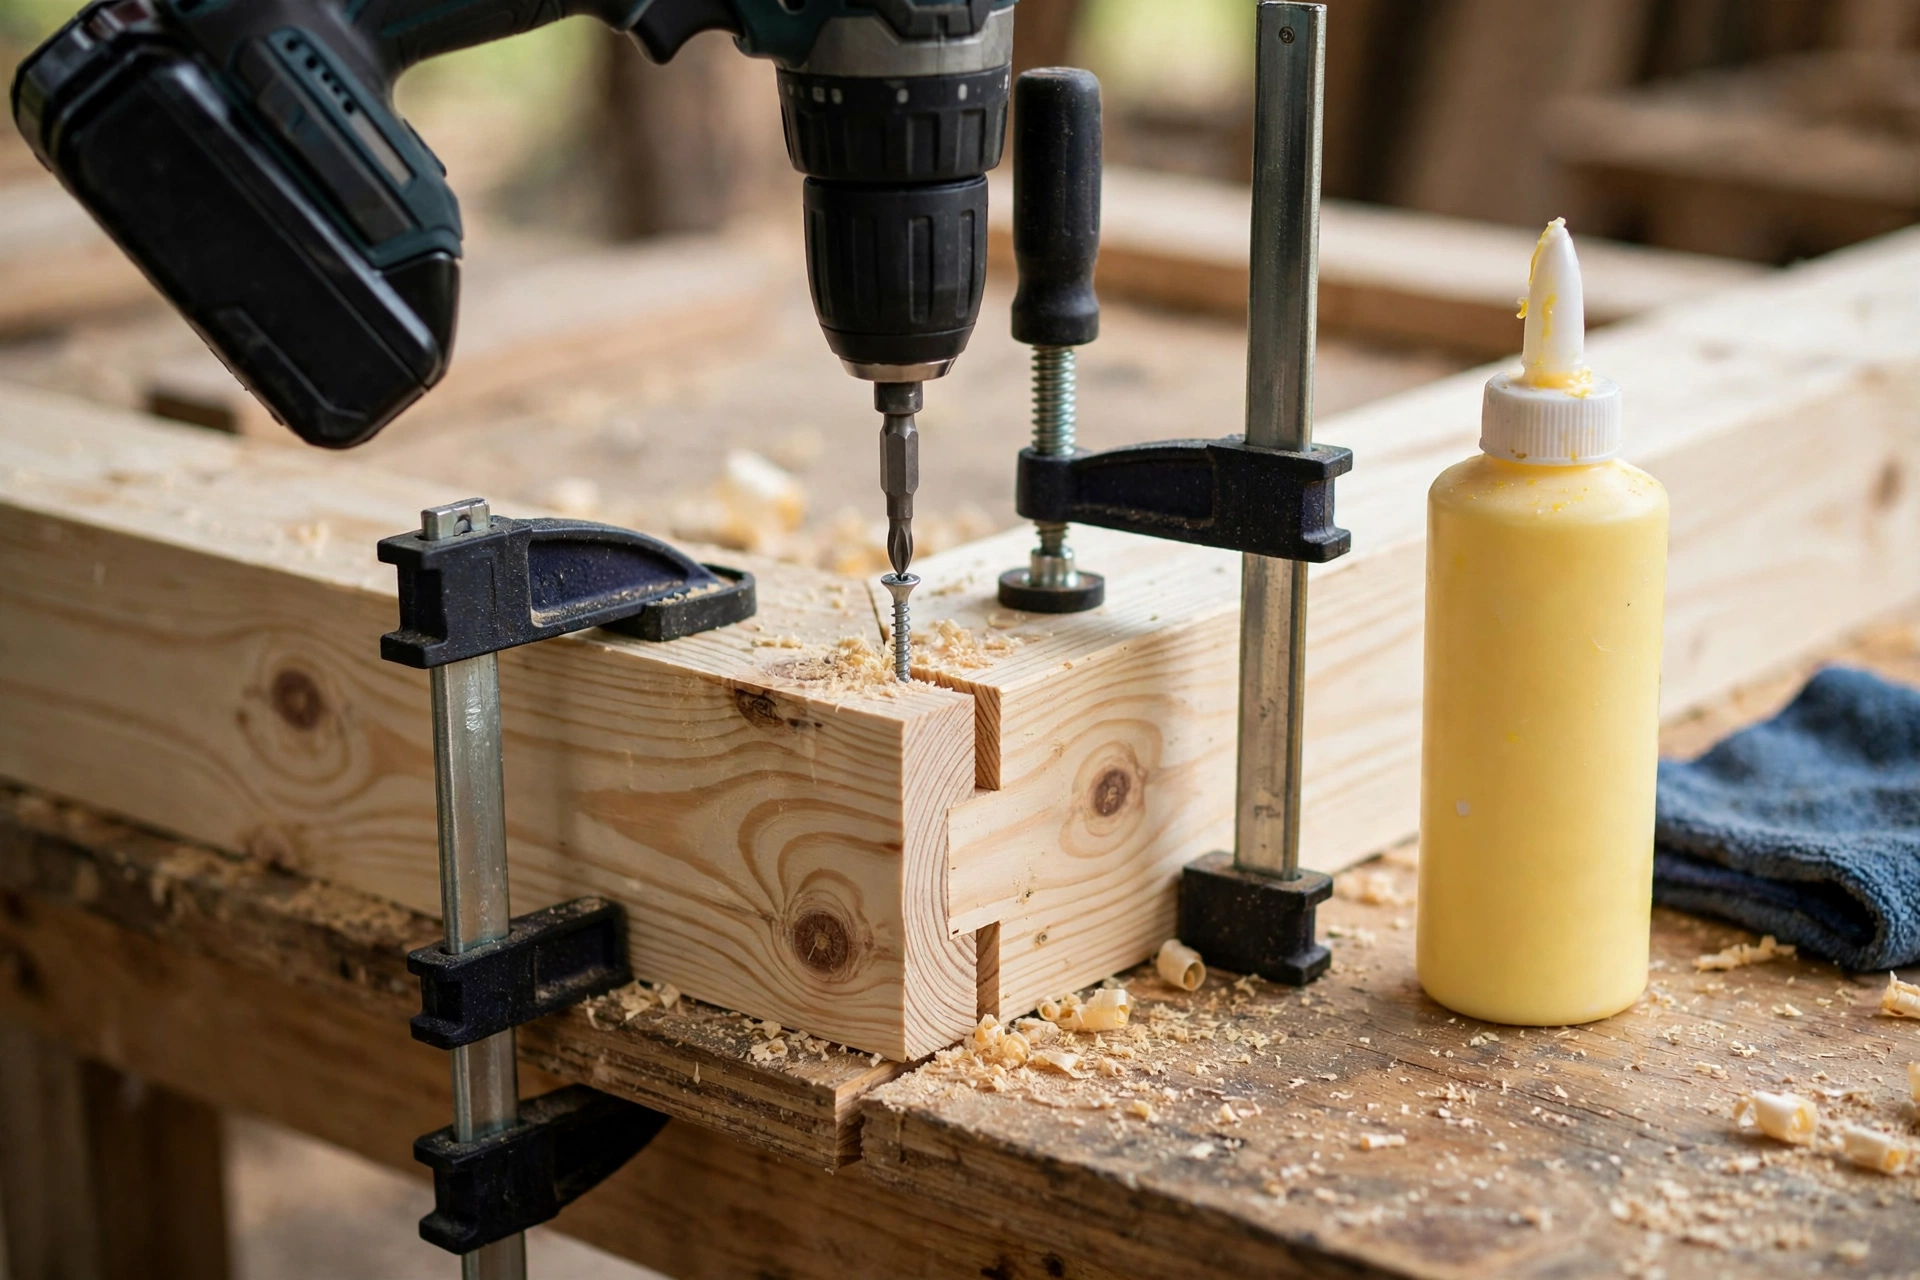
Now drill the pivot holes. Clamp all four legs together in a stack, flat faces together, and drill the ⅜-inch pivot hole through all four at once with a brad-point bit — drilling them as a stack is the only way to guarantee the holes line up. Drill slowly and back the bit out often to clear the chips; a wandering hole here means legs that bind instead of folding. Test the fit with a carriage bolt: it should slide through all four legs with light finger pressure. If it binds, ream the holes gently with the same bit rather than forcing the bolt. Next, drill the mounting rails: two ⅛-inch pilot holes in each rail, 2 inches from each end, so the screws that fix the rails to the board never split the pine.
The board top itself needs no joinery — it is one piece of plywood, which is exactly why this build is so beginner-friendly. What it does need is a flat, sealed underside: brush a thin coat of wipe-on polyurethane on the underside and the edges now, while you can still flip the board freely, and let it dry. This seals the plywood against steam and stops the edges from raising grain under the cover. Spread a thin bead of wood glue along each mounting rail, set the rails across the underside of the board — one 8 inches from the wide end, one 8 inches from the narrow end — and drive 1¼-inch screws up through the rails into the board. Do not let the screws poke through the top face: ¾-inch plywood plus a ¾-inch rail takes a 1¼-inch screw with ¼ inch to spare, but check the first one before you drive the rest.
Step 4: Build the Folding Legs and Pivot
With the top sealed and the rails fixed, build the folding X-frame. Lay two legs flat on the workbench, crossing them in an X with the pivot holes aligned, and push a carriage bolt through both holes with a washer under the head and a washer under the lock nut. Tighten the lock nut only until the legs still swing freely with light hand pressure — too tight and the board will not fold, too loose and it will wobble. The lock nut is the secret here: unlike a standard nut, it holds its position without crushing the legs together, so the pivot stays smooth for years. Repeat for the second pair of legs.
Now fit the cross braces. Each brace joins the two legs of one pair near the floor end, 4 inches up from the feet, and it is what stops the pair from splaying sideways under load. Glue and screw each brace across the inside faces of its leg pair with two 1¼-inch screws per end, pre-drilling pilot holes so the thin pine never splits. Check the brace is square to the legs with a speed square before the glue sets — a brace fitted at an angle will pull the whole pair out of square. Stand both leg pairs upright on a flat floor and open them to their working angle: the feet of each pair should sit about 22 inches apart, and the board should rest level when you set it on top.
To join the legs to the board, set the board face down on the workbench and lower the leg pairs onto the mounting rails. The top end of one leg pair pivots on a bolt through the front rail, and the top end of the other pair slides in a shallow slot — in this beginner build, the slot is simply a second bolt through the back rail with the legs free to slide 2 inches along it as the frame opens and closes. Drill a ⅜-inch hole through the top end of the fixed pair and bolt it to the front rail; for the sliding pair, drill a ⅜-inch hole through the top ends and a 2-inch-long slot in the back rail with a jigsaw, then fit the bolt with washers so the legs slide smoothly. Test the fold: open the legs, set the board upright, press down hard on the centre — it should feel rock solid. Fold it flat — the legs should lie parallel against the underside with nothing binding. If the fold sticks, loosen the pivot nuts a quarter turn and try again.
Leg Length, Pivot Position, and Finished Height
The folding geometry is simple once you see it: longer legs mean a taller board, and the pivot always sits at the midpoint of each leg. This table shows the three most useful heights — pick the row that matches your wrist-crease measurement and cut the legs to that length.
| Leg length | Pivot from each end | Feet spread | Finished pressing height |
|---|---|---|---|
| 32 in (81 cm) | 16 in (41 cm) | 20 in (51 cm) | 30 in (76 cm) |
| 34 in (86 cm) | 17 in (43 cm) | 22 in (56 cm) | 32 in (81 cm) |
| 36 in (91 cm) | 18 in (46 cm) | 24 in (61 cm) | 34 in (86 cm) |
The feet spread matters as much as the height: wider feet mean a more stable board, but feet wider than 24 inches make the folded board bulky to store. If your laundry room floor is uneven tile, stick with the 34-inch legs and add the felt pads — they forgive small bumps far better than bare wood. And if two people of very different heights share the board, build to the taller person’s height: pressing on a board that is too low hurts your back within minutes, while a board 2 inches too high is merely a little less comfortable.
Step 5: Sand, Seal, and Fit the Cover and Iron Rest
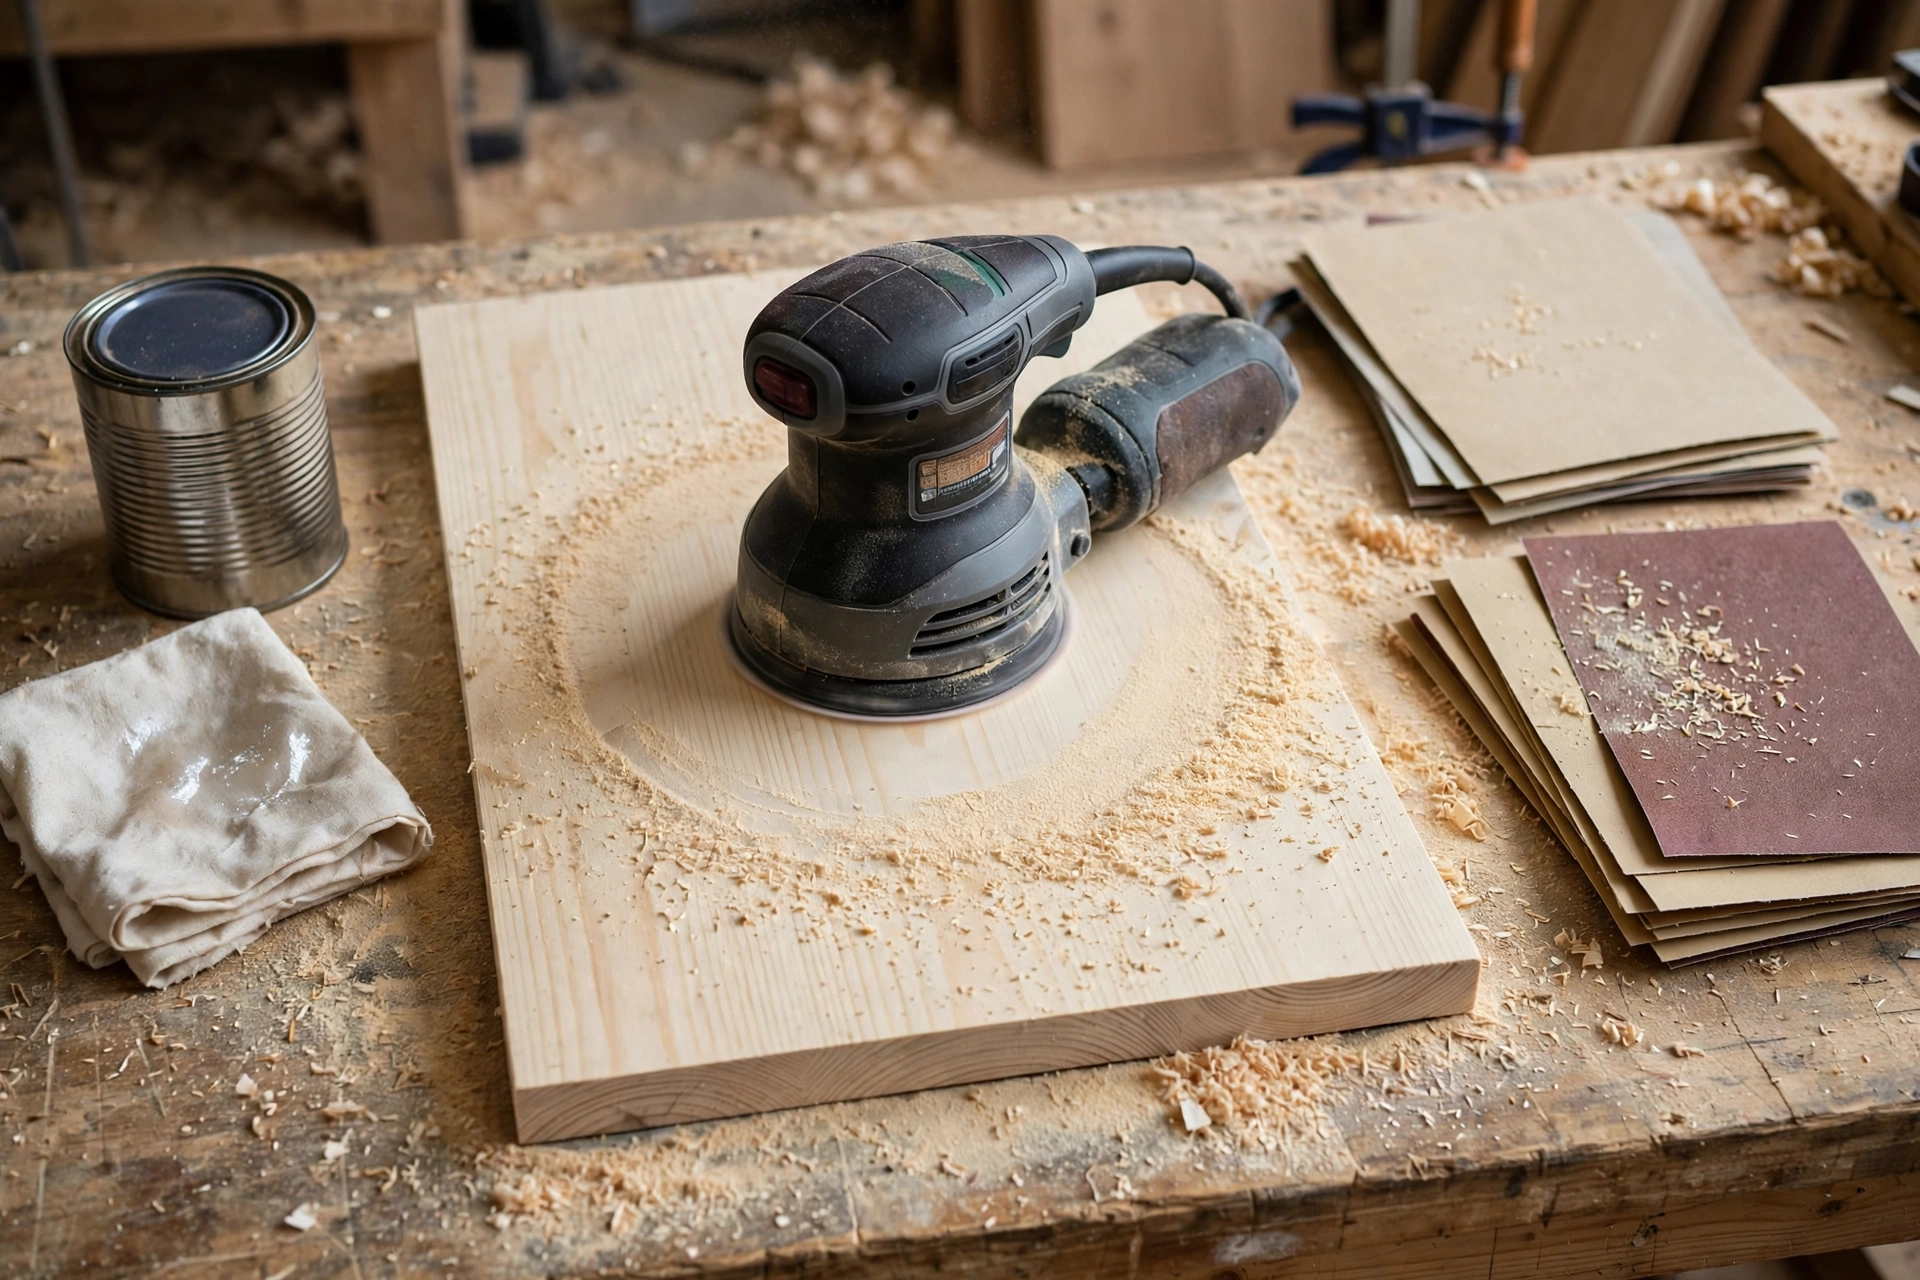
Sanding is where a beginner build starts to look professional, so do not rush it. Sand the board top in three passes: 80 grit to level the jigsaw curve and remove saw marks, 120 grit to smooth the surface, and 220 grit for a silky final finish — the cover sits directly on this surface, so every bump will show through as a hard spot under the iron. Always sand with the grain on the pine legs, never across it, and round over the leg edges slightly with 120-grit paper so the folding frame never snags the cover. Vacuum or wipe the dust off with a tack cloth between grits; dust left behind shows up as rough spots under the finish. Our full guide, how to sand and finish wood for beginners, walks through grit progression and common sanding mistakes in detail.
Seal the legs, braces, and rails with two thin coats of wipe-on polyurethane, sanding lightly with 220-grit paper between coats — the legs live in a steamy laundry room, and bare pine will grey and raise grain within months. Let the final coat cure for at least 24 hours before you fit the cover; a finish that feels dry is not the same as a finish that has cured hard. Now fit the padding: lay the cotton batting over the board top, centred with about an inch of overhang on every side, and smooth it flat with your hands — no wrinkles, no folds, no doubled-up patches. Batting is what gives the board its soft, forgiving press: too thin and the iron hits hard wood, too thick and the board feels spongy and the cover will not stay tight.
Lay the cover fabric over the batting, patterned side up, and pull it taut from the centre outward. Flip the board over and staple the fabric to the underside, starting at the middle of each long side and working toward the ends — staples every 2 inches, pulling the fabric tight as you go, exactly like stretching a canvas. At the rounded nose, fold the fabric in small overlapping pleats and staple each pleat flat; a smooth nose is what makes sleeves press cleanly. Trim the excess fabric ½ inch past the staples. Finally, fit the iron rest: screw the two support brackets to the underside at the wide end, set the 12 × 10-inch plywood rest on them so it sits level with the board top, and screw it down from underneath. The rest holds a hot iron safely while you reposition a garment, and it doubles as a handy shelf for a spray bottle. If your laundry room is short on wall space, the same folding-leg idea builds its workshop cousin — our guide to how to build a simple workbench for beginners uses the same pivot-bolt method on a larger frame.
Cover and Padding Options Compared
| Cover option | Heat resistance | Feel under the iron | Best for |
|---|---|---|---|
| Cotton canvas + cotton batting | Good | Firm, smooth, classic | Everyday ironing, beginners |
| Silicone-coated cotton cover | Excellent | Slightly slick, very smooth | Heavy steam use, delicate fabrics |
| Wool pressing mat (on top) | Excellent | Soft, grips fabric | Quilters, crisp seams |
| Aluminised cotton cover | Very good | Firm, reflects heat back | Fast ironing, thick fabrics |
| Thick felt pad + cotton cover | Good | Soft, forgiving | Beginners who press hard |
A cotton canvas cover with one layer of cotton batting is the right starting point for a first board: cheap, easy to staple, easy to replace, and it presses beautifully. Replace the cover when it scorches, thins, or stops holding tension — a fresh cover takes twenty minutes and makes the board feel new again. Never iron directly on bare wood or bare plywood: the heat scorches the surface, steam raises the grain, and the board will be ruined within weeks.
Storing and Using Your Finished Ironing Board
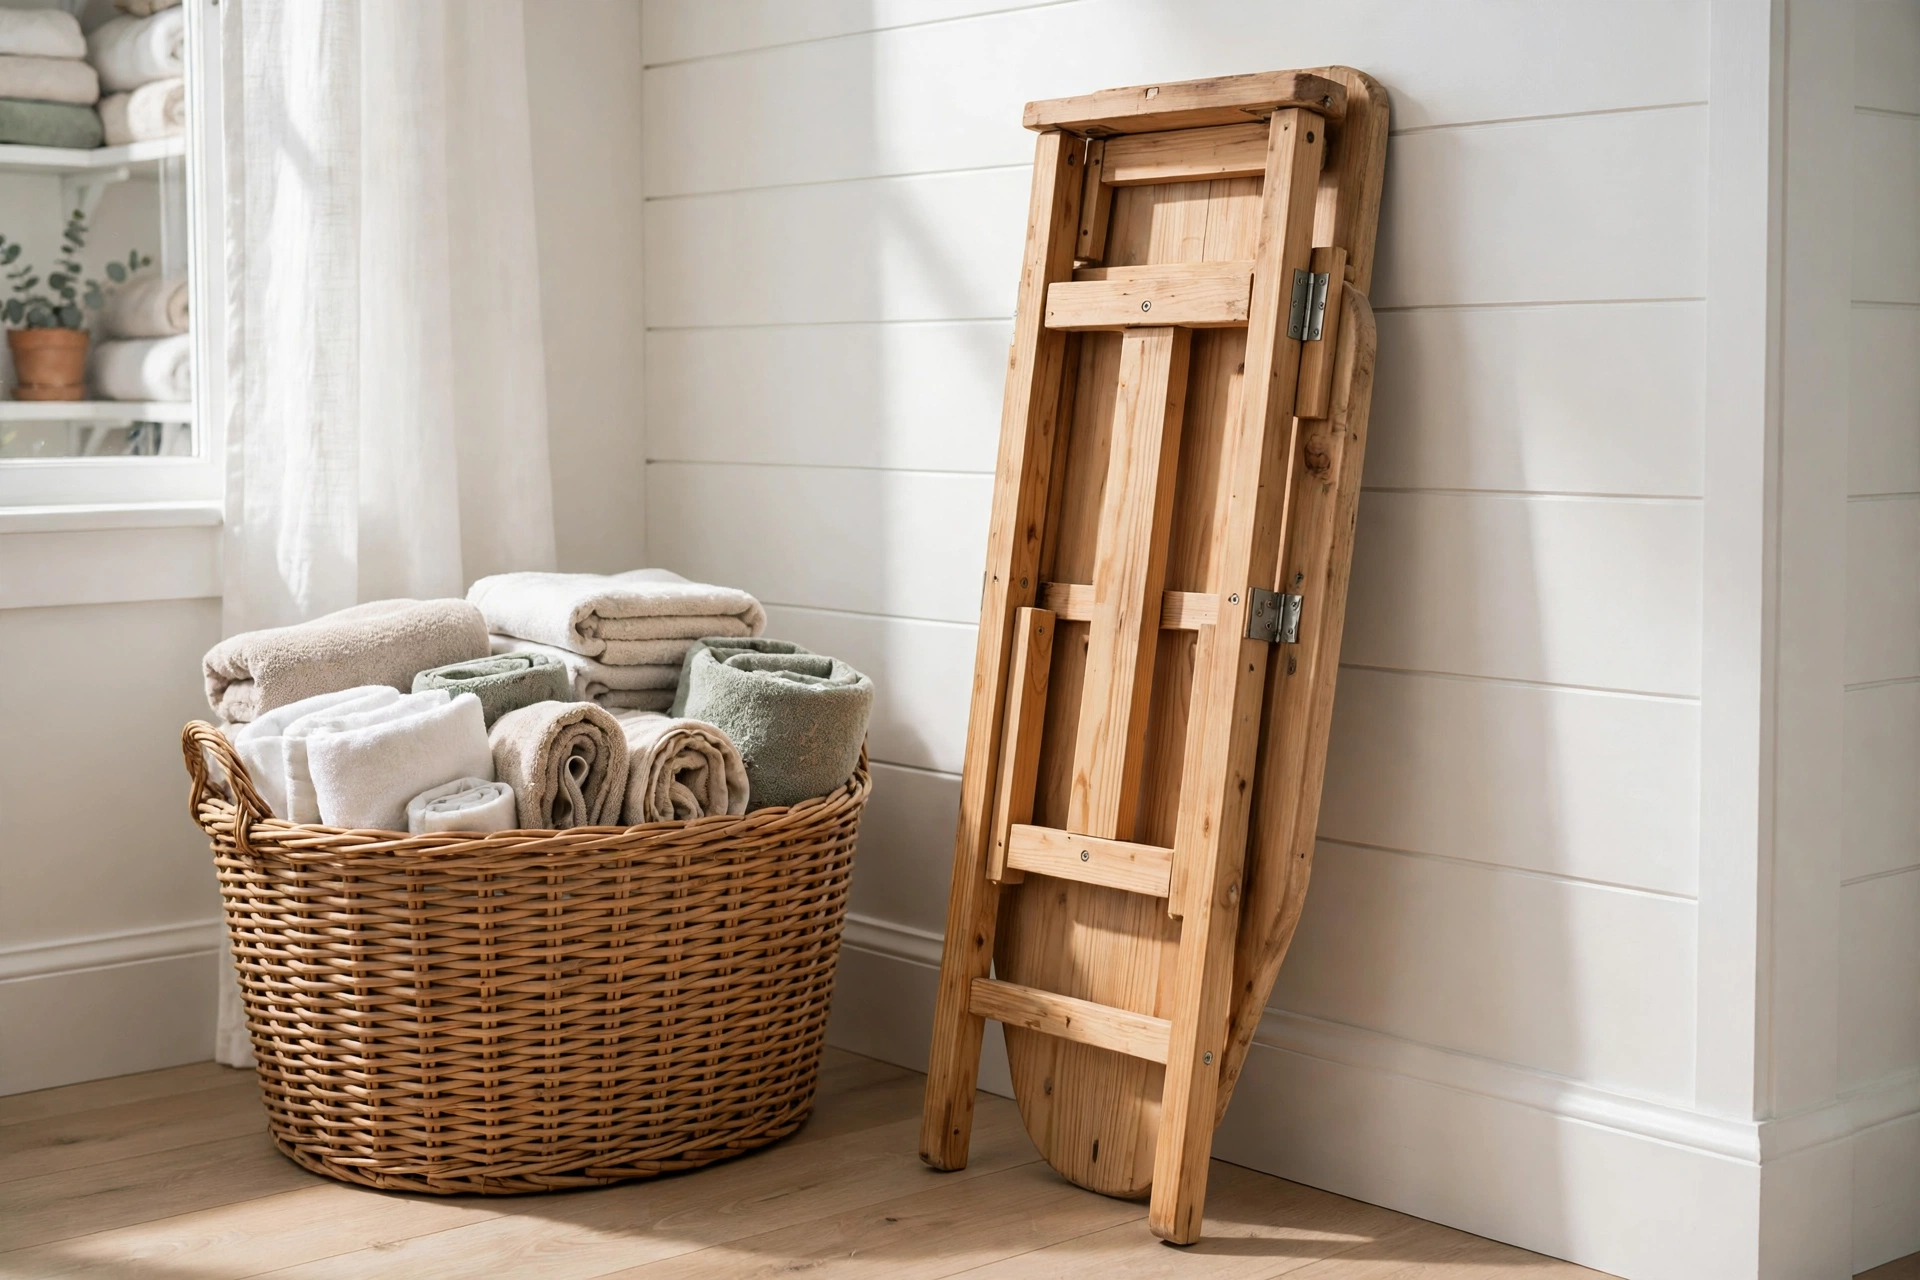
Once the cover is fitted and the finish has cured, bring the board into your laundry room. Open the legs until they lock at their working angle, press down on the centre of the board, and check it does not rock — if it does, check the floor first, then the pivot nuts. Stand at the board with the iron in your dominant hand and the nose pointing away from you: the wide end with the iron rest sits on your dominant side, so the iron travels the shortest distance between the rest and the fabric. Keep a small spray bottle and a pressing cloth on the iron rest, and the whole setup stays within arm’s reach.
To store the board, fold the legs flat against the underside and lean it against the wall behind the door or beside the washer — the folded board is only about 3 inches thick, so it slips into gaps a metal board never would. A simple wall hook through the pivot bolt hole holds it upright and off the floor, and keeps the cover from picking up dust. If you want matching laundry-room storage on the wall above it, our guide to how to build a wooden towel ladder for beginners makes a matching weekend project that sits perfectly over a folded board.
To keep the board pressing well, re-tension the cover every few months by pulling the staples on one side, tugging the fabric taut, and re-stapling — cotton relaxes with steam and time. Wipe the legs down with a barely damp cloth when they get dusty, and add a fresh coat of polyurethane once a year, or whenever water stops beading on the pine. A board built this way will last for years, and because it is sized to you, it will fit your next laundry room too — just check the doorways before moving day.
The Folding Mechanism and Final Details
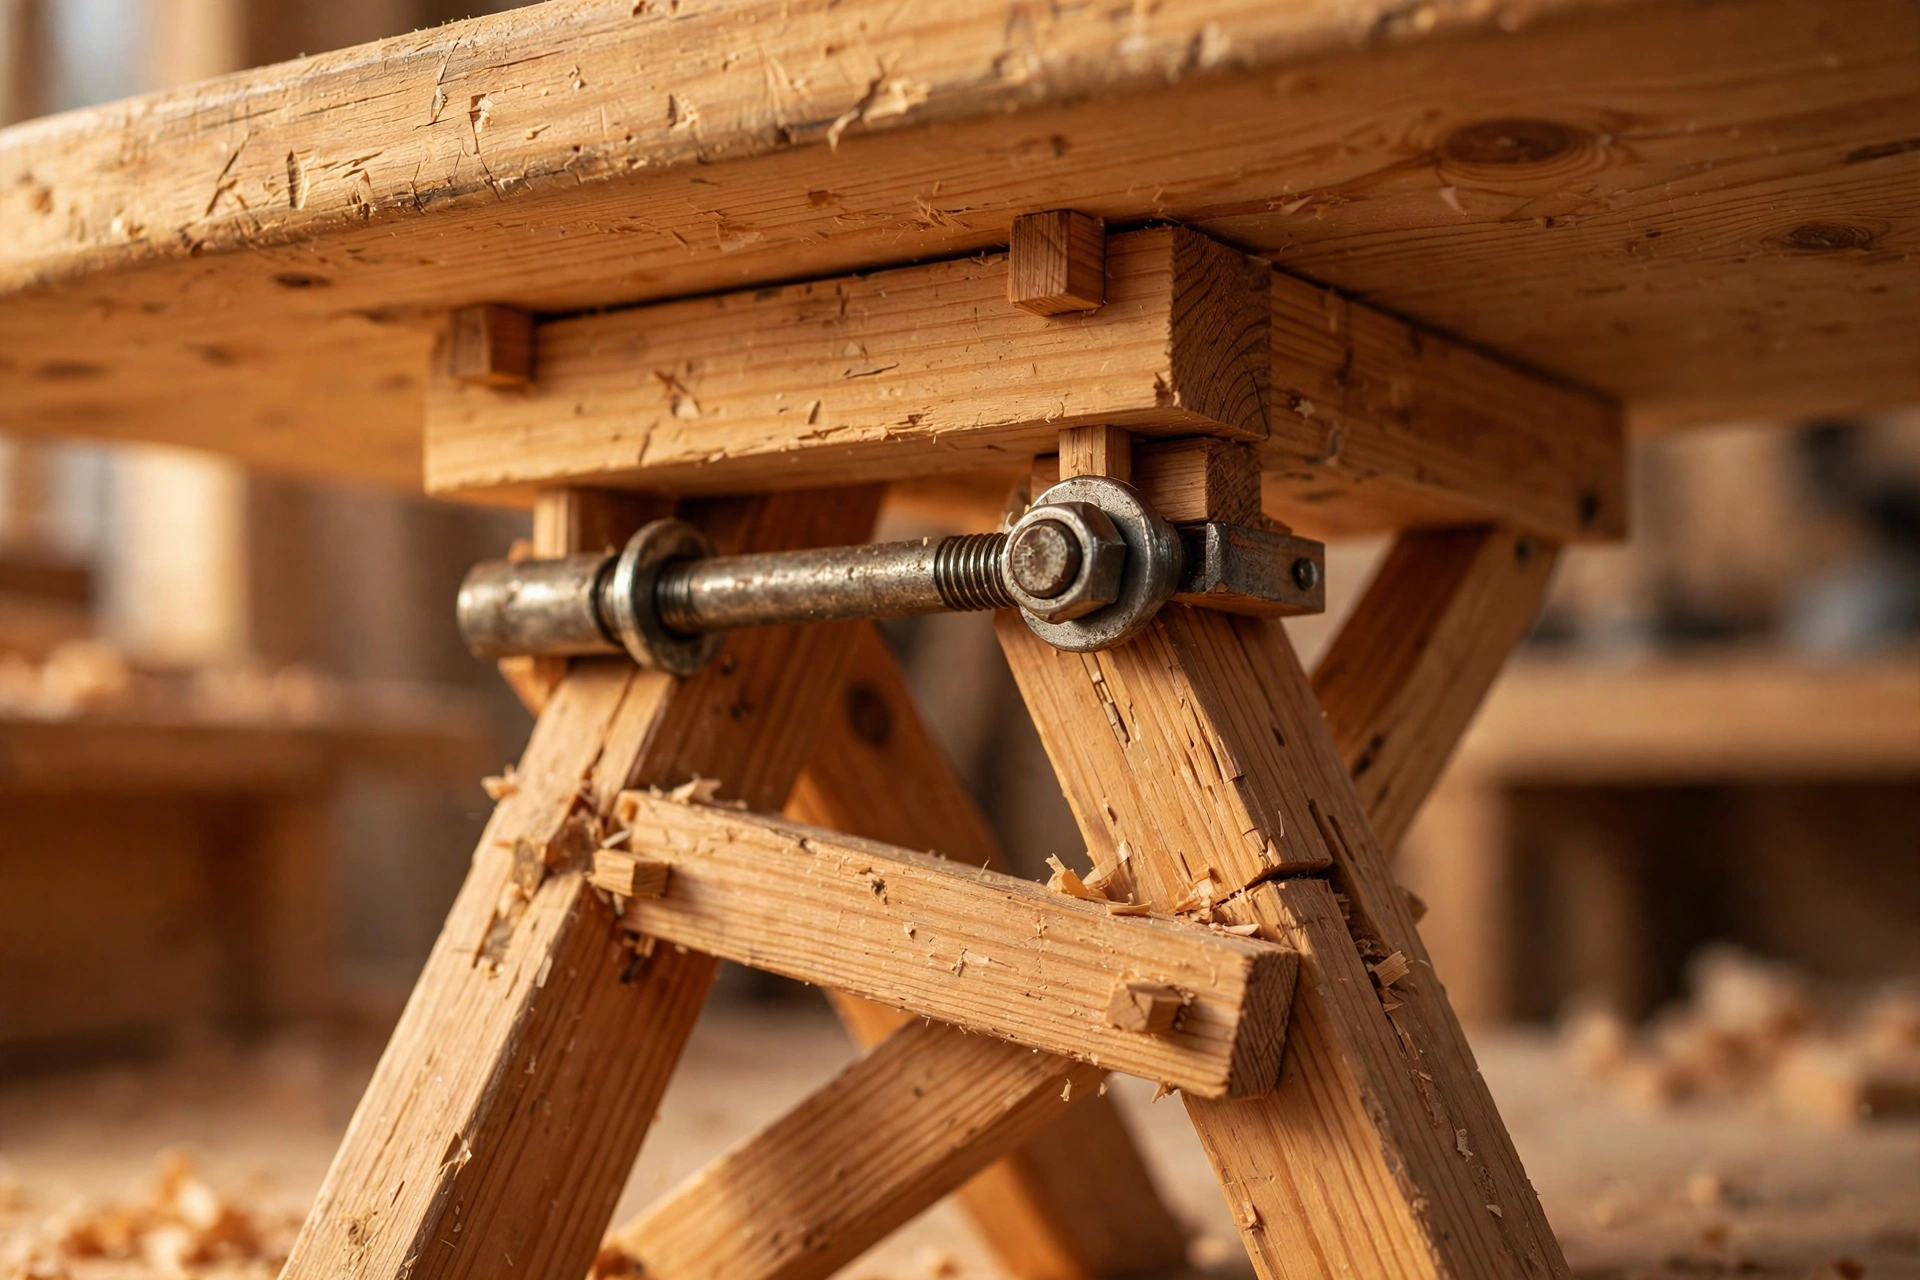
A board is only finished when the folding mechanism works smoothly every single time. Open and close the legs ten times in a row: they should swing freely, stop at the same open angle each time, and never need a shove or a wiggle. If the legs stick halfway, the cause is almost always a pivot nut tightened a quarter turn too far — back it off, add a drop of paste wax to the pivot faces, and try again. The wax also stops the pine faces from squeaking as the legs swing, which is the kind of small detail that makes a handmade board feel shop-bought.
Check the whole board one last time before you call it done. Run your hand along the nose — it should feel smoothly rounded, with no sharp plywood edge under the cover. Press down hard on the centre of the board: it should feel solid, with no flex and no wobble. Lift the board by the wide end and shake it gently: nothing should rattle, and the iron rest should stay firmly fixed. If the legs fold shut on their own when the board is upright, the sliding bolt in the back rail needs a washer added to increase the friction slightly. These last ten minutes of checking are what separate a board that feels shop-bought from one that feels homemade.
Common Mistakes to Avoid
Most problems come from rushing one of these seven steps — slow down here and the rest of the build goes smoothly.
Building the wrong height. A board built to a number instead of your body will hurt your back within a week. Measure your wrist crease standing upright and match the leg-length table before you cut.
Skipping the nose shape. A square-ended board cannot press sleeves or collars properly. Take the extra twenty minutes to mark and cut the taper and the rounded nose.
Drilling the pivot holes separately. Four legs drilled one at a time will never line up perfectly. Clamp all four together and drill the pivot hole through the whole stack at once.
Overtightening the pivot nuts. Crushed legs cannot fold. Tighten the lock nut only until the legs swing freely with light hand pressure, and use lock nuts so they stay put.
Ironing on bare wood. Heat and steam scorch plywood and raise the grain fast. Always fit batting and a cover before the first use, and replace the cover when it wears thin.
Forgetting the cover tension. A loose cover wrinkles under the iron and leaves creases in your clothes. Staple from the centre outward, pulling tight, and re-tension every few months.
Rushing the finish. Polyurethane over dust or a skipped grit looks blotchy forever, and steam will find every unsealed spot on the legs. Sand through the grits, clean the dust, and let each coat cure fully.
How Much Does It Cost and How Long Does It Take?
For a 54-inch plywood-and-pine ironing board, expect $65 to $100 in materials if you already own the tools — roughly half the price of a comparable good-quality shop-bought wooden board, sized exactly to you and your laundry room. A 48-inch board is closer to $55 to $85, a 60-inch board around $80 to $115. Hardwood plywood costs a little more than birch, while a comparable solid wood board in a shop typically costs $150 to $300. Time-wise, plan 4 to 5 hours of hands-on work over one weekend: half an hour to measure and mark, half an hour to cut, an hour to shape the nose and drill the pivots, an hour to build the folding legs, an hour to sand and seal, and half an hour to fit the cover and iron rest, plus overnight glue drying and 24 hours for the final coat to cure. The same skills transfer directly to your next furniture project — a storage bench, a towel ladder, or a workbench all use the same measuring, cutting, and pivot-bolt joints.
Frequently Asked Questions
What size should a wooden ironing board be?
The standard ironing board is 54 inches (137 cm) long and 15 inches (38 cm) wide, with a pressing height of 32 inches (81 cm). That size fits shirts, trousers, and pillowcases in a single pass and suits most adults standing upright. If you are shorter than 5 ft 4 in (163 cm), build the 48-inch board at 30 inches high; if you are taller than 6 ft (183 cm), use the 60-inch board at 34 inches high.
What is the best wood for a beginner ironing board?
Birch plywood, ¾ inch (19 mm) thick, is the best wood for a first ironing board top: it is flat, stable, strong in every direction, and it will not warp when steam hits it week after week. Pine 1×3 boards are the best choice for the folding legs — light, easy to cut and drill, and strong enough for the job. Avoid MDF, which swells with steam, and avoid pallet wood, which varies in thickness and hides nails.
Can I use plywood for an ironing board?
Yes — plywood is the best beginner material for an ironing board top. A single ¾-inch sheet gives you a flat, stable surface with no glue-up, no cupping, and no seasonal movement to worry about. Seal the underside and edges with polyurethane, round over the top edge before fitting the cover, and the plywood will last for years under steam and heat.
What fabric should I use for an ironing board cover?
Heat-resistant cotton canvas is the best cover fabric for a first board: it is cheap, easy to staple, presses smoothly, and is easy to replace when it wears out. Pair it with one layer of cotton batting underneath for a soft, forgiving press. Silicone-coated cotton is a good upgrade if you use a lot of steam, and a wool pressing mat on top is the quilter’s favourite for crisp seams.
How do I stop my wooden ironing board from wobbling?
Build it on a flat floor, make sure the pivot holes were drilled through all four legs clamped together as a stack, and check that the cross braces are square to the legs. Tighten the pivot lock nuts only until the legs swing freely — overtightening binds the fold and undertightening lets the frame rack. If it still rocks, check the floor first: laundry room tiles are often uneven, and the felt pads on the feet forgive small bumps.
How high should an ironing board be?
Thirty-two inches (81 cm) suits most adults. The rule is simple: stand upright, let your arms hang relaxed, and measure from the floor to the crease of your wrist — that is your ideal pressing height. Use the leg-length table in this guide to match your measurement: 32-inch legs for a 30-inch board, 34-inch legs for a 32-inch board, and 36-inch legs for a 34-inch board.
How much does it cost to build a wooden ironing board?
A 54-inch plywood-and-pine ironing board costs about $65 to $100 in materials if you already own the tools. A 48-inch board costs roughly $55 to $85, a 60-inch board about $80 to $115. A comparable good-quality wooden board in a shop typically costs $150 to $300, so you save money and get a board sized exactly to you and your laundry room.
Recommended Products for This Project
As an Amazon Associate, I earn from qualifying purchases.

DEWALT 20V MAX Drill/Driver Kit DCD771C2
Drills the pivot holes through all four legs in one stacked pass and drives every screw in this ironing board build — the mounting rails, the braces, and the iron rest — with clean pilot holes so the thin pine never splits.

Titebond III Ultimate Wood Glue 1413 (8 oz)
Strong waterproof wood glue that locks the cross braces and mounting rails tight while the screws hold them in place — and waterproof matters on a board that lives with steam.
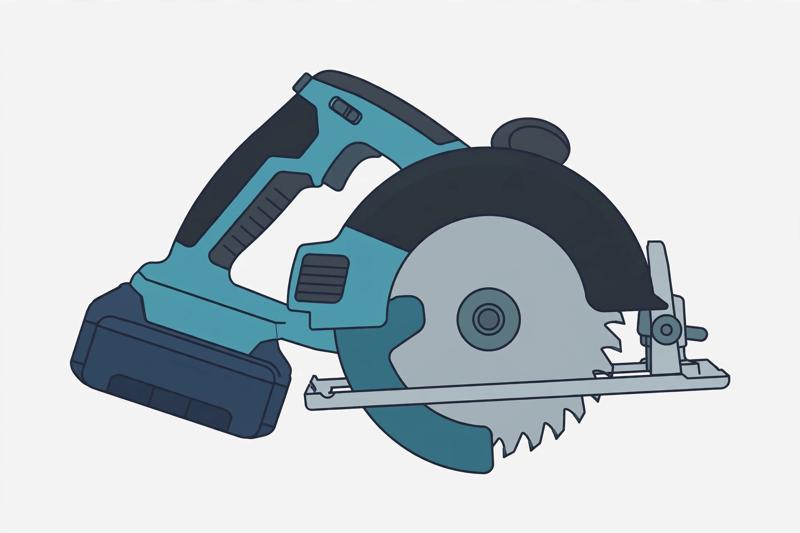
DEWALT 20V MAX Circular Saw DCS391B, 6-1/2-inch
Cuts the 54-inch plywood board top, the four legs, and the braces and rails to length, with a straight-edge guide for the long rip cuts that keep the board square.

IRWIN QUICK-GRIP Woodworking Clamps Set, 8-piece (IRHT83220)
Clamps all four legs together in a stack so the pivot holes drill perfectly aligned, and holds each brace square to the legs while the glue sets.

DEWALT Random Orbit Sander DWE6423, 5-inch
Shapes the rounded ironing board nose and sands the top silky smooth through the 80, 120, and 220 grit passes, and rounds over the edge so the cover never snags or wears through.


