
Walk into any home center and the glue aisle can stop a beginner cold. Dozens of bottles, big promises, and three versions of Titebond that look nearly identical. The wrong choice means a joint that creeps apart in summer heat, a cutting board that delaminates in the dishwasher, or squeeze-out that ruins a finish you spent hours building. The right choice is cheaper than the wood it holds together — a properly glued and clamped joint is often stronger than the boards themselves.
This guide is the shortcut nobody gave you. We will settle the Titebond I vs II vs III debate once and for all, walk through the five glue families every woodworker should know, give you the open-time and clamp-time numbers you actually need, and teach you a glue-up technique that works the first time. Whether you are building your first beginner projects that sell, assembling joinery you want to last a lifetime, or laminating a cutting board for the kitchen, you will finish this article knowing exactly which bottle to grab.
The short version for the impatient: for most beginners, one bottle of Titebond III covers the widest range of projects. But the longer answer — the one that saves you from ruined glue-ups — is worth ten minutes of your time. Let us start with why this choice matters more than most beginners realize.
Why Choosing the Right Wood Glue Actually Matters
Glue is not filler. A common beginner belief is that glue is the stuff you squirt into a sloppy joint to make up for a bad fit. In reality, wood glue creates a bond that is routinely stronger than the surrounding wood — when a glued joint breaks in testing, the wood fibers tear and the glue line holds. The bond fails only when the wrong glue meets the wrong conditions, or when technique goes wrong.
Three factors decide whether your glue-up succeeds: the glue type (matched to the job), the joint fit (glue cannot bridge gaps), and the technique (surface prep, thin even coverage, correct clamping pressure, full cure time). Get all three right and your joints will outlive you. Get one wrong and you will learn a frustrating lesson about creep, squeeze-out stains, or joints that pop apart with the seasons.
Glue also plays a starring role in joinery strength for beginners: a mortise-and-tenon or dovetail is mechanically strong, but it is the glue that turns it into a single rigid structure. Understanding which glue to pair with which joint is one of the highest-leverage skills in woodworking, and it costs about the price of a single bottle.
PVA Glue: The Beginner’s Workhorse
PVA — polyvinyl acetate — is the yellow (or white) “carpenter’s glue” that belongs on every beginner’s bench. It is inexpensive, non-toxic, cleans up with water while wet, dries in about an hour, sands easily, and bonds wood to wood with tremendous strength. If you only ever buy one category of glue, this is it. Titebond, the brand most woodworkers reach for, sells its PVA lineup in three grades: Original (I), II Premium, and III Ultimate. The numbers are not about strength rankings — they describe water resistance and working properties. Here is what each one actually is.
Titebond Original (I) is the classic interior wood glue. It sets the fastest of the three, with a short open time of about 4–6 minutes, which makes it excellent for quick assemblies where you want to move on fast — face frames, picture frames, small boxes, edge banding. It sands to a clean line, takes stain reasonably, and is the least expensive of the three. Its limitation is water: it is rated for interior use only. For anything that will see rain, humidity swings, or a steamy bathroom, look elsewhere.
Titebond II Premium is the versatile middle child. It is water-resistant (ANSI/HPVA Type II), meaning it survives occasional moisture — damp basements, humid shops, the odd splash — but not constant wetness. It has a slightly longer open time than Original (around 3–5 minutes of working time in practice, with the pieces needing clamping quickly), requires a minimum use temperature of about 55°F, and is FDA approved for indirect food contact, which makes it a legitimate choice for cutting boards that get hand-washed. For years this was the default “one bottle” glue for many shops.
Titebond III Ultimate is the premium option and the easiest recommendation for beginners. It is the only one of the three rated Type I waterproof, it carries the highest published bond strength (around 4,000 psi in ASTM D-905 shear testing, versus roughly 3,750 for II and lower published figures for Original), it is FDA approved for indirect food contact, and it gives you the longest open time — 8–10 minutes — which is pure gold when you are still learning to fumble clamps into position. It works down to about 47°F, so it is friendlier in a cold garage. The trade-offs: it costs a few dollars more per bottle, it needs a longer clamp time (around 90–120 minutes of handling time versus 30–60 for I and II), and its bond can creep slightly more under sustained heat — so for a sun-baked entry door, Original is still the traditional pick.
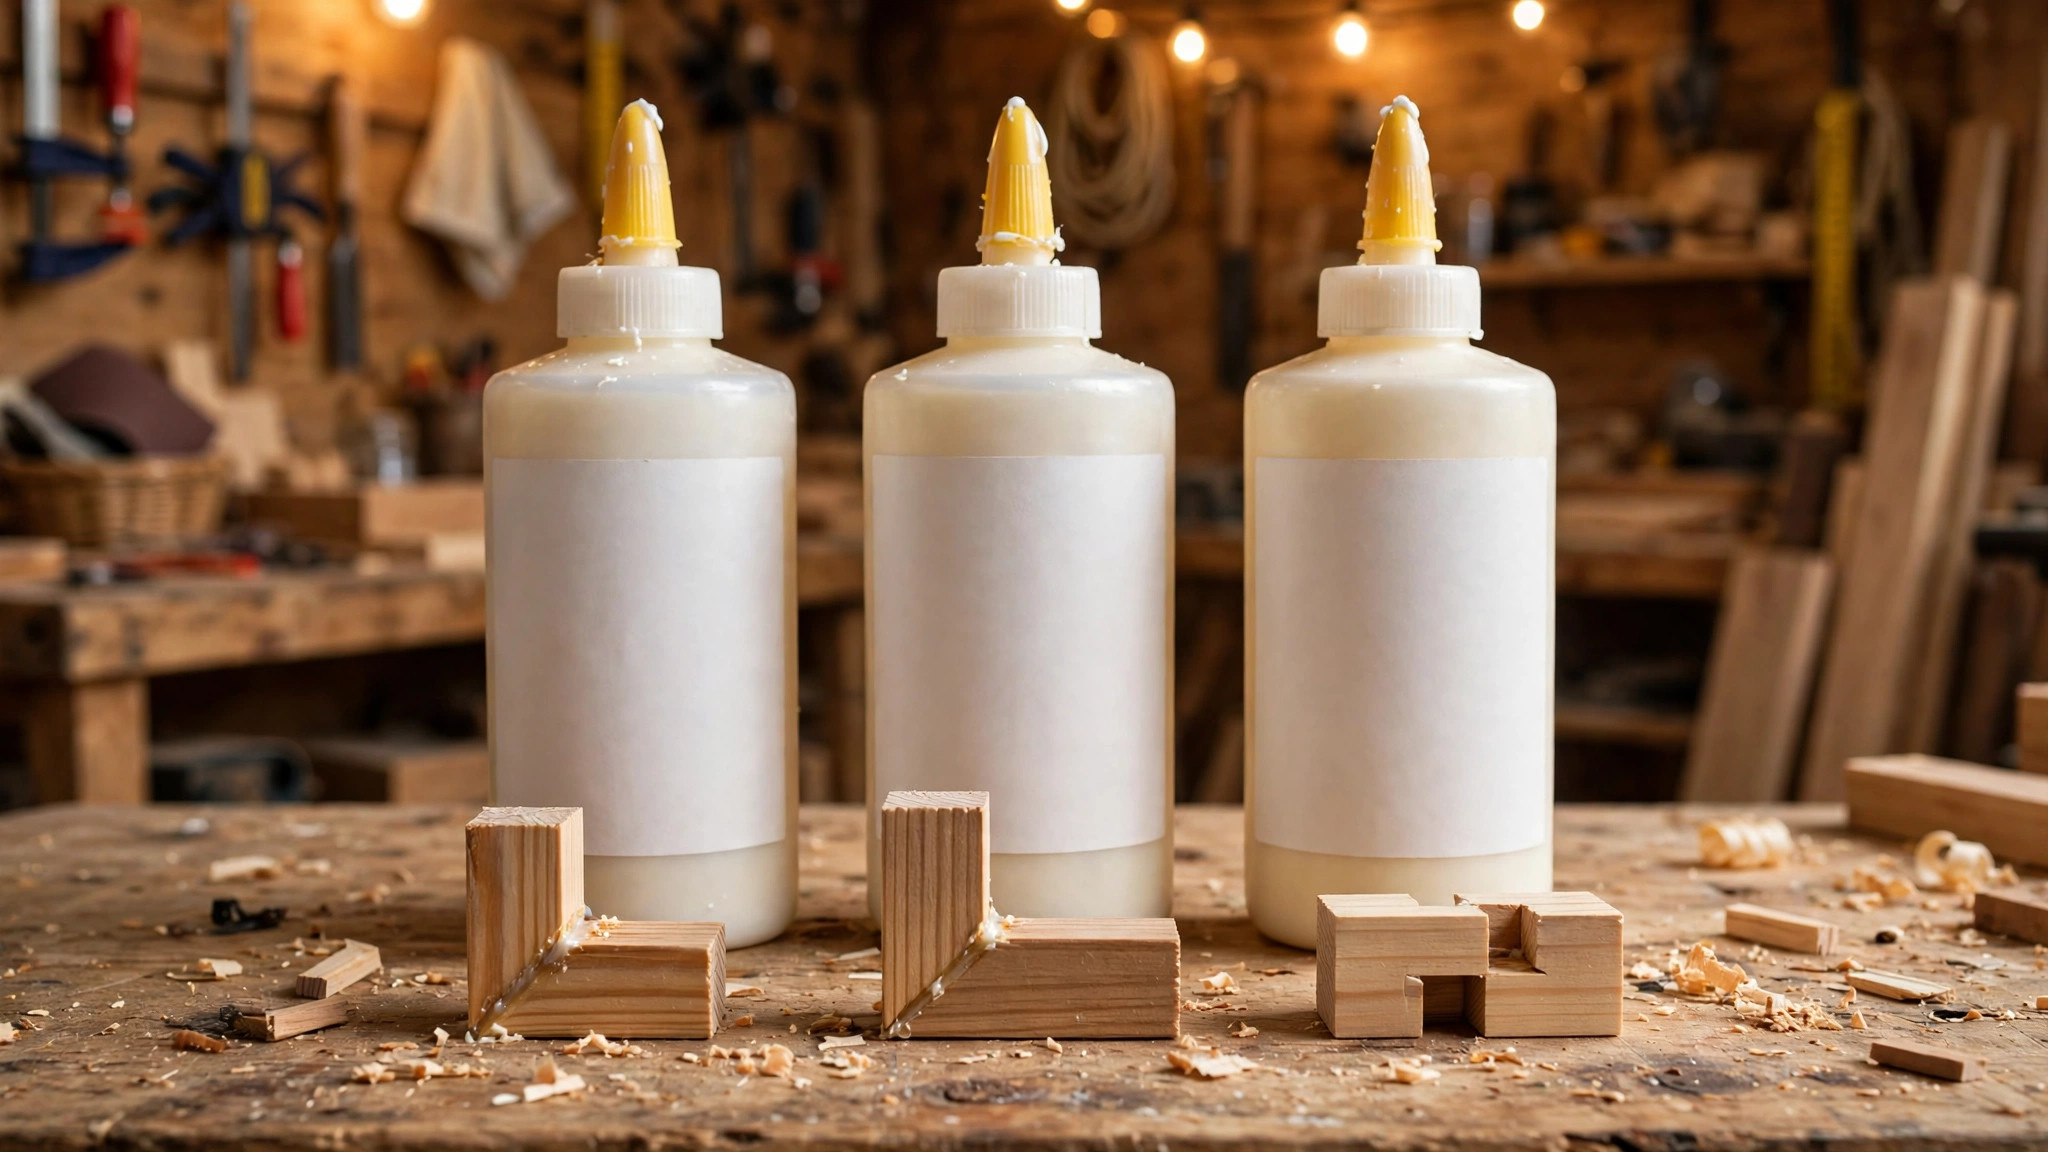
Notice what the numbers do not say: “III is always better.” Experienced woodworkers keep Original around specifically for fast interior work and heat-sensitive assemblies. But if you are buying your very first bottle and want maximum forgiveness, Titebond III’s longer open time alone justifies the premium. Beginners run out of working time far more often than they run into III’s downsides.
Titebond I vs II vs III: Head-to-Head Comparison
Here is the full spec comparison in one place, so you can stop guessing at the store:
| Property | Titebond Original (I) | Titebond II Premium | Titebond III Ultimate |
|---|---|---|---|
| Water resistance | Interior only (Type III rating) | Water-resistant (Type II) | Waterproof (Type I) |
| Published bond strength | ~2,000+ psi (lab) | ~3,750 psi | ~4,000 psi |
| Open / working time | ~4–6 min | ~3–5 min | ~8–10 min |
| Minimum clamp time | 30–60 min | 30–60 min | 90–120 min |
| Full cure before stress | 24 hours | 24 hours | 24 hours |
| Minimum application temp | ~50°F | ~55°F | ~47°F |
| FDA indirect food contact | No | Yes | Yes |
| Dried color | Slightly amber | Slightly amber | Lighter, less yellowing |
| Best for | Fast indoor assemblies | Indoor/outdoor versatility | Cutting boards, outdoor, complex glue-ups |
| Relative cost (16 oz) | $ | $$ | $$$ |
A note on those psi figures: they come from different test setups (lab shear coupons on maple), so treat them as directional, not gospel. In real furniture, all three produce joints stronger than the wood around them when the joint fits well. The practical difference between them is working time, water resistance, and temperature — which is exactly what a beginner should choose on.
When each one wins:
- Titebond I wins when speed matters and water never will: cabinet face frames, drawer boxes, picture frames, interior trim, and anything in a hot location like a sun-facing door.
- Titebond II wins when you want one bottle for mixed indoor projects with occasional moisture exposure, and you want it cheap — humid shops, garage storage pieces, birdhouses under an eave.
- Titebond III wins for cutting boards and butcher blocks, outdoor furniture, planters, anything that gets rained on, large multi-piece glue-ups where you need time to think, and cold workshops. If you buy exactly one bottle today, make it this one.
Beyond PVA: Polyurethane, Epoxy, Hide Glue, and CA Glue
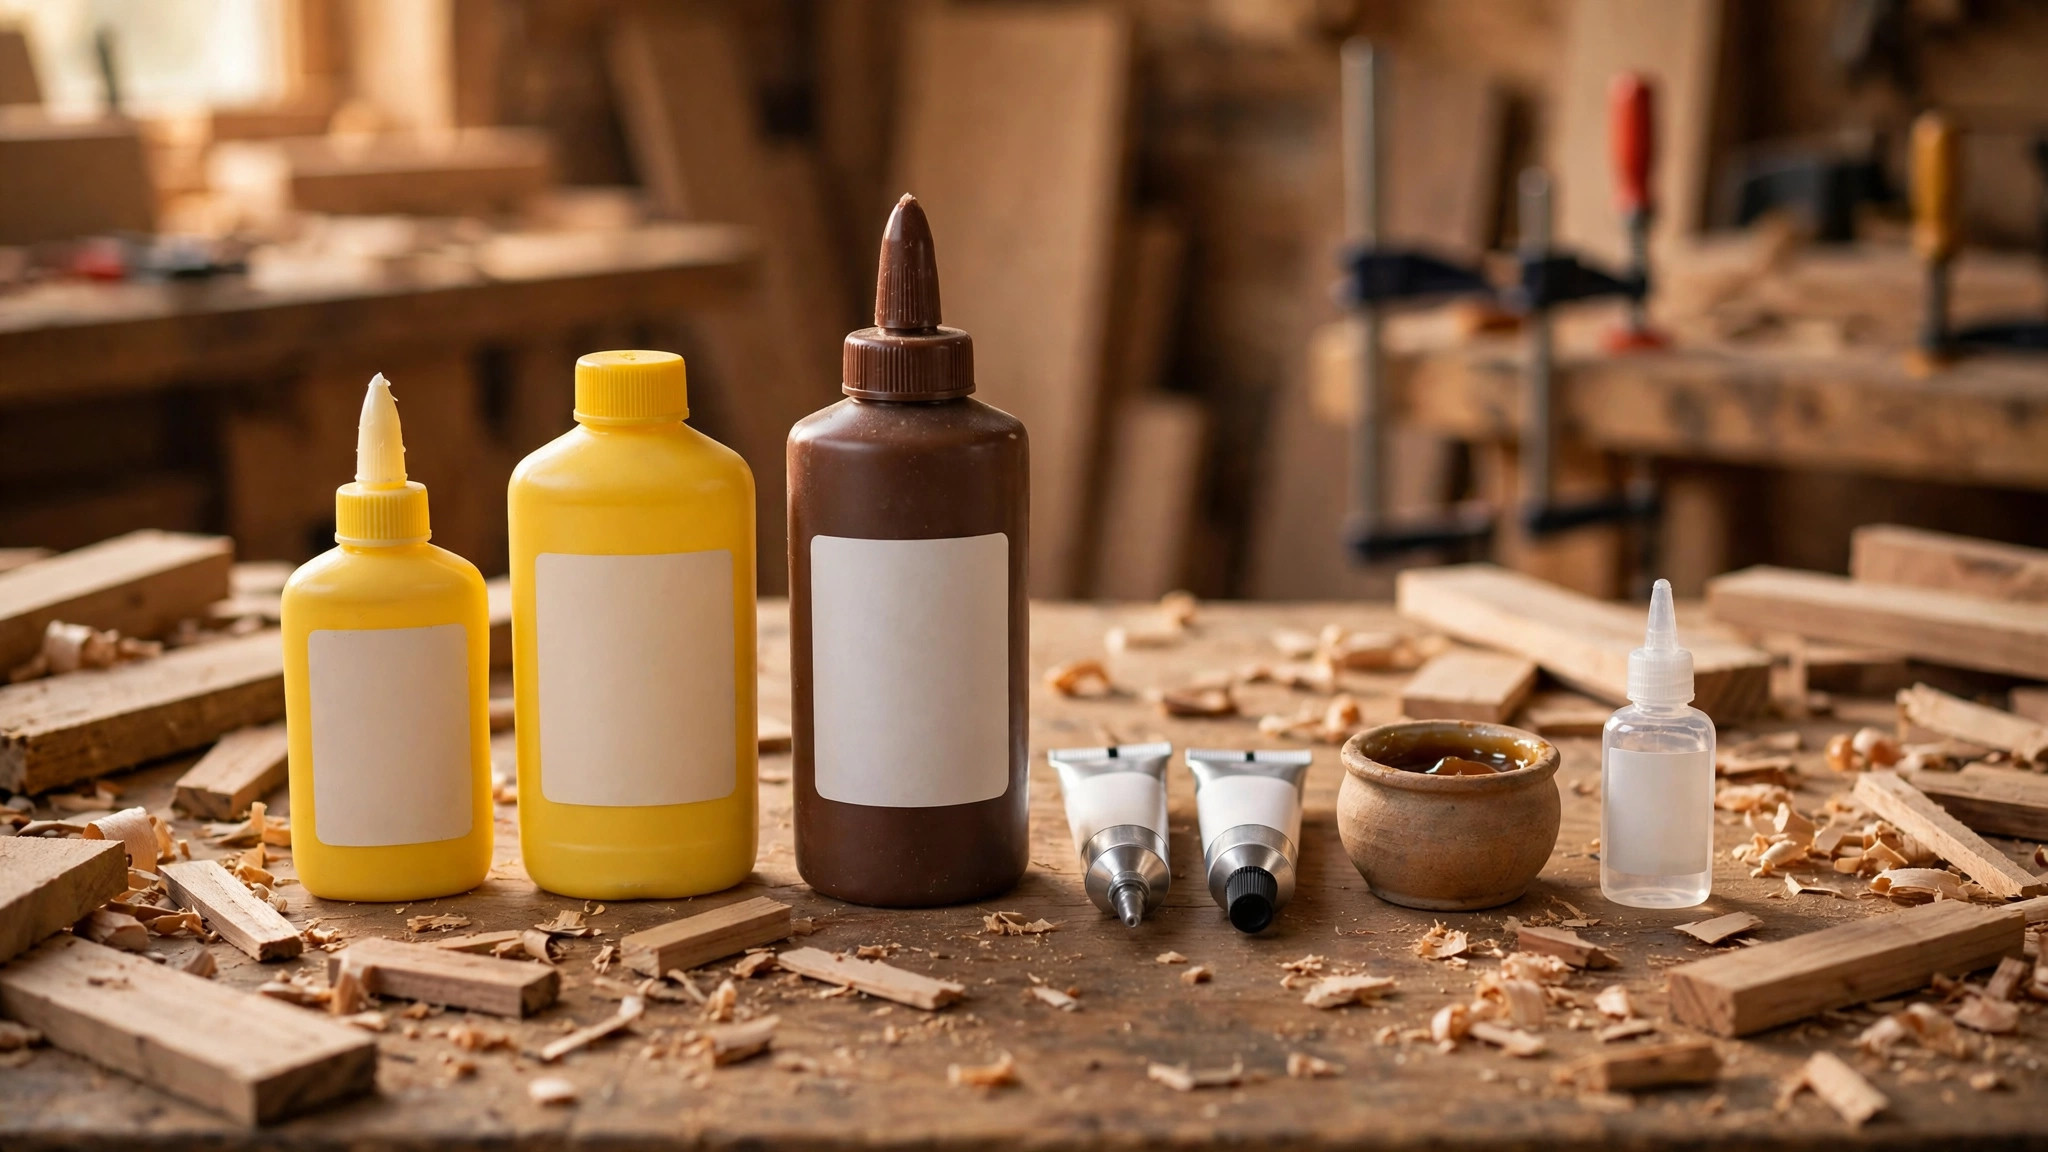
PVA covers perhaps 90% of a beginner’s wood-to-wood joints. The other glue families exist for the jobs PVA cannot do. You do not need to master them now — you need to recognize when to reach for them.
Polyurethane glue (the foaming kind, e.g., Gorilla Glue) bonds wood to almost anything: wood to metal, stone, ceramic, foam, and plastic. It is waterproof and it expands as it cures, which means it fills small gaps that PVA cannot. The price of that superpower is mess — the foam squeezes out everywhere, it stains skin dark for days (wear gloves), and cleanup requires mineral spirits. It also needs moisture to cure, so in very dry shops you lightly dampen one surface first. Use it for dissimilar materials and outdoor repairs, not for fine furniture.
Epoxy is a two-part system (resin + hardener) that you mix before use. It is the strongest option for damaged, gapped, or oily woods, it fills voids beautifully, and it bonds to nearly anything including metal and fiberglass. Marine-grade epoxies are the standard for boats. Downsides for beginners: precise mixing ratios, limited working time once mixed, higher cost, and it is unforgiving — a bad mix never fully cures. Reach for epoxy for structural repairs, loose joints that cannot be re-cut, and laminating bent parts.
Hide glue (hot hide glue or bottled liquid hide glue) is the traditional cabinetmaker’s adhesive, made from animal collagen. Its superpower is reversibility: heat and moisture soften it, so antique restorers can disassemble a 200-year-old joint without damage. It also “grabs” quickly and does not interfere with finishes. Liquid hide glue in a bottle needs no heating pot, making it beginner-accessible. Use it when you want a joint you can undo — instrument work, antiques, or anything you may need to repair in the future.
CA glue (cyanoacrylate / “super glue”) is the speed demon. Thin CA wicks into hairline cracks and bonds in seconds; medium and thick formulas, often paired with an activator spray, tack small parts instantly. Woodturners use it constantly. But CA is brittle — it has poor shear strength on large joints and fails under shock and heat — so it is not a structural furniture glue. Think of it as your third hand: tacking trim in place, filling small cracks, stabilizing punky wood, and quick repairs.
Which Glue for Which Job: The Decision Table
| Job | Best choice | Why |
|---|---|---|
| Indoor furniture, cabinets, frames | Titebond Original (PVA) | Fast, strong, cheap, easy cleanup |
| Cutting boards, butcher blocks | Titebond II or III (PVA) | FDA indirect food contact; III if it gets soaked |
| Outdoor furniture, planters | Titebond III (PVA) | Only Type I waterproof of the three |
| Wood to metal, stone, plastic | Polyurethane | Bonds dissimilar materials, foams to fill gaps |
| Gapped/damaged joints, repairs | Epoxy | Gap-filling, highest raw strength, structural |
| Large complex glue-ups | Titebond III (PVA) | 8–10 min open time gives you room to work |
| Small trim, instant tacks, crack fill | CA glue | Bonds in seconds; not structural |
| Antiques, reversible joints | Liquid hide glue | Heat-reversible for future repairs |
| Cold workshop (<55°F) | Titebond III (PVA) | Usable down to ~47°F |
| Bent laminations | Epoxy or urea-formaldehyde | Creep-resistant under sustained stress |
Open Time, Clamp Time, and Full Cure: The Numbers That Matter
Beginners lose more glue-ups to timing than to any other cause. Three different clocks are running, and they are not the same thing.
Open time (working time) is how long the glue stays liquid enough to assemble and adjust after you apply it. For Titebond Original and II this is only a few minutes; for Titebond III it is 8–10 minutes; polyurethane gives 20–30. The moment you spread glue, start a mental timer. If a glue-up has many parts, do a full dry run first — clamps positioned, cauls ready, pieces labeled — so the real run is choreography, not improvisation.
Clamp time is the minimum time the joint must stay clamped before you can handle it. Typical minimums: 30–60 minutes for Titebond I and II, 90–120 for Titebond III, several hours for polyurethane and epoxy. Removing clamps early is one of the classic beginner mistakes — the joint feels solid but has only a fraction of its final strength, and any flex breaks the forming bond.
Full cure is when the glue reaches maximum strength: 24 hours for all three Titebonds and most PVAs, longer for some epoxies. Do not sand, plane, machine, or stress the joint before the full cure. Gluing in the evening and working the piece the next day is the rhythm that never fails.
| Glue | Open time | Min. clamp time | Full cure |
|---|---|---|---|
| Titebond Original (PVA) | ~4–6 min | 30–60 min | 24 hrs |
| Titebond II (PVA) | ~3–5 min | 30–60 min | 24 hrs |
| Titebond III (PVA) | ~8–10 min | 90–120 min | 24 hrs |
| Polyurethane | ~20–30 min | 2–4 hrs | 24 hrs |
| 5-min epoxy | ~5 min | 1 hr | 24 hrs |
| 30-min epoxy | ~30 min | 4–6 hrs | 24–72 hrs |
| Liquid hide glue | ~5–10 min | 1–2 hrs | 24 hrs |
| CA glue (medium) | seconds | n/a (instant) | 24 hrs (full strength) |
Temperature and humidity shift these numbers: cold slows everything down, heat speeds it up, and dry air shortens open time. In a hot, dry shop, Titebond III’s longer open time is not a luxury — it is the difference between a calm glue-up and a panicked one.
The Perfect Glue-Up: Step by Step
Here is the technique that professionals use, distilled for a beginner’s first panel or box. It assumes PVA glue — the same principles apply to the others with their own timing.
Step 1: Dry-fit everything first
Assemble the entire joint with clamps, no glue. Check that every joint closes fully with light hand pressure — glue cannot fix a gap, and PVA bonds best in joints with essentially zero clearance. Confirm your clamps reach, your cauls (flat boards that spread pressure) sit flat, and you know the exact order of operations. Mark mating pieces with light pencil triangles so nothing gets flipped in the rush.
Step 2: Prep the surfaces
Both surfaces should be freshly worked, flat, clean, and dry. A surface planed or sanded within the last day or two bonds best — wood that has sat for weeks develops an oxidized, slightly contaminated surface layer that weakens the bond. Wipe off all dust with a dry cloth or tack cloth (never a wet rag, which raises grain and adds moisture). One hard rule: glue before you finish, never after. Glue does not bond well to oiled, waxed, or varnished surfaces, and stain or finish under a joint starves it. If you must pre-finish parts, mask the joint areas with painter’s tape first.
End grain deserves special treatment: it drinks glue like a sponge. For end-grain joints (butt joints, miter joints), apply a thin “sizing” coat of glue, let it soak in and get tacky for a few minutes, then apply a second coat and assemble. Without sizing, the joint starves and fails.
Step 3: Apply a thin, even layer
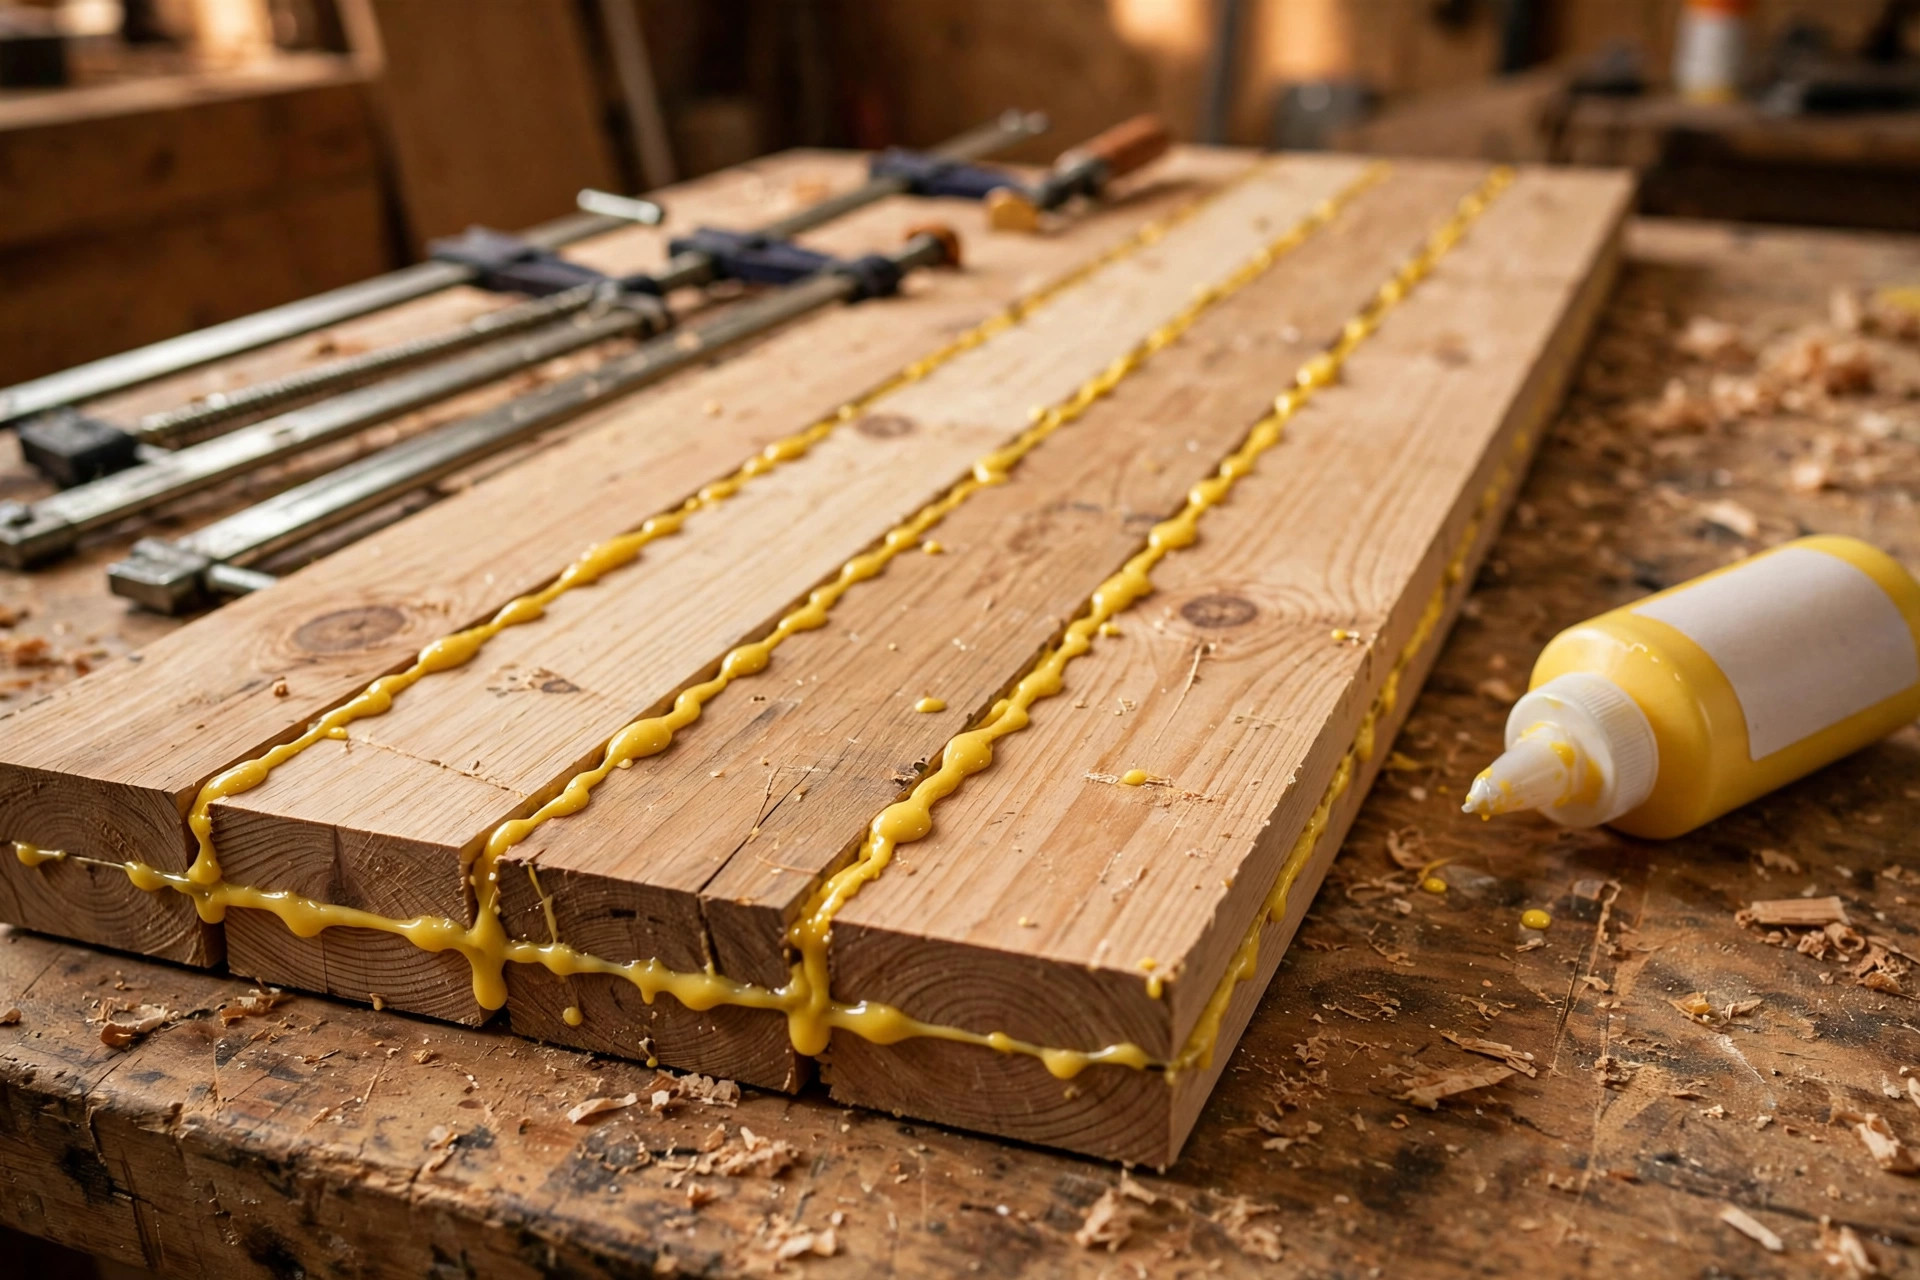
Less is more — but too little starves the joint. The target is a thin, continuous film on one or both surfaces. A glue roller or a small brush spreads far more evenly than squeezing straight from the bottle. You want complete coverage with no dry spots and no thick puddles. For a typical edge joint, a serpentine bead down the middle followed by spreading covers it. If you are spreading on both mating faces, use slightly less on each.
Step 4: Assemble within the open time
Bring the pieces together and slide them slightly to distribute the glue, then align to your marks. Work calmly but without dawdling — check the clock against your glue’s open time. For multi-board panel glue-ups, some woodworkers alternate the end grain (growth rings up, down, up) to balance seasonal movement, but the priority for a beginner is flat, tight joints.
Step 5: Apply even clamping pressure
This is where most beginners go wrong in both directions. Too little pressure leaves a thick, weak glue line; too much squeezes out all the glue and starves the joint (“clamp-starved”). The manufacturer’s guidance for PVA is roughly 100–150 psi on softwoods and up to 175–250 psi on hardwoods — in practical terms, snug the clamps until you see a thin, continuous bead of squeeze-out along the whole joint, then stop. Use cauls to spread pressure across wide panels so the middle gets clamped as firmly as the edges. If you are still building your clamp collection, our guide to the best clamps for woodworking beginners covers exactly which types to buy first and how many you really need.
Step 6: Check for square and flat, then leave it alone
Sight down the assembly for twist, check diagonals for square on boxes and frames, and confirm panels are flat against your bench. Make small adjustments now — this is what open time is for. Then walk away. Resist the urge to keep tightening, tapping, and “checking” the joint; every disturbance while the glue is gelling weakens the final bond. Set a timer for the minimum clamp time, and leave the piece untouched for the full 24-hour cure.
Dealing With Squeeze-Out Without Ruining Your Finish
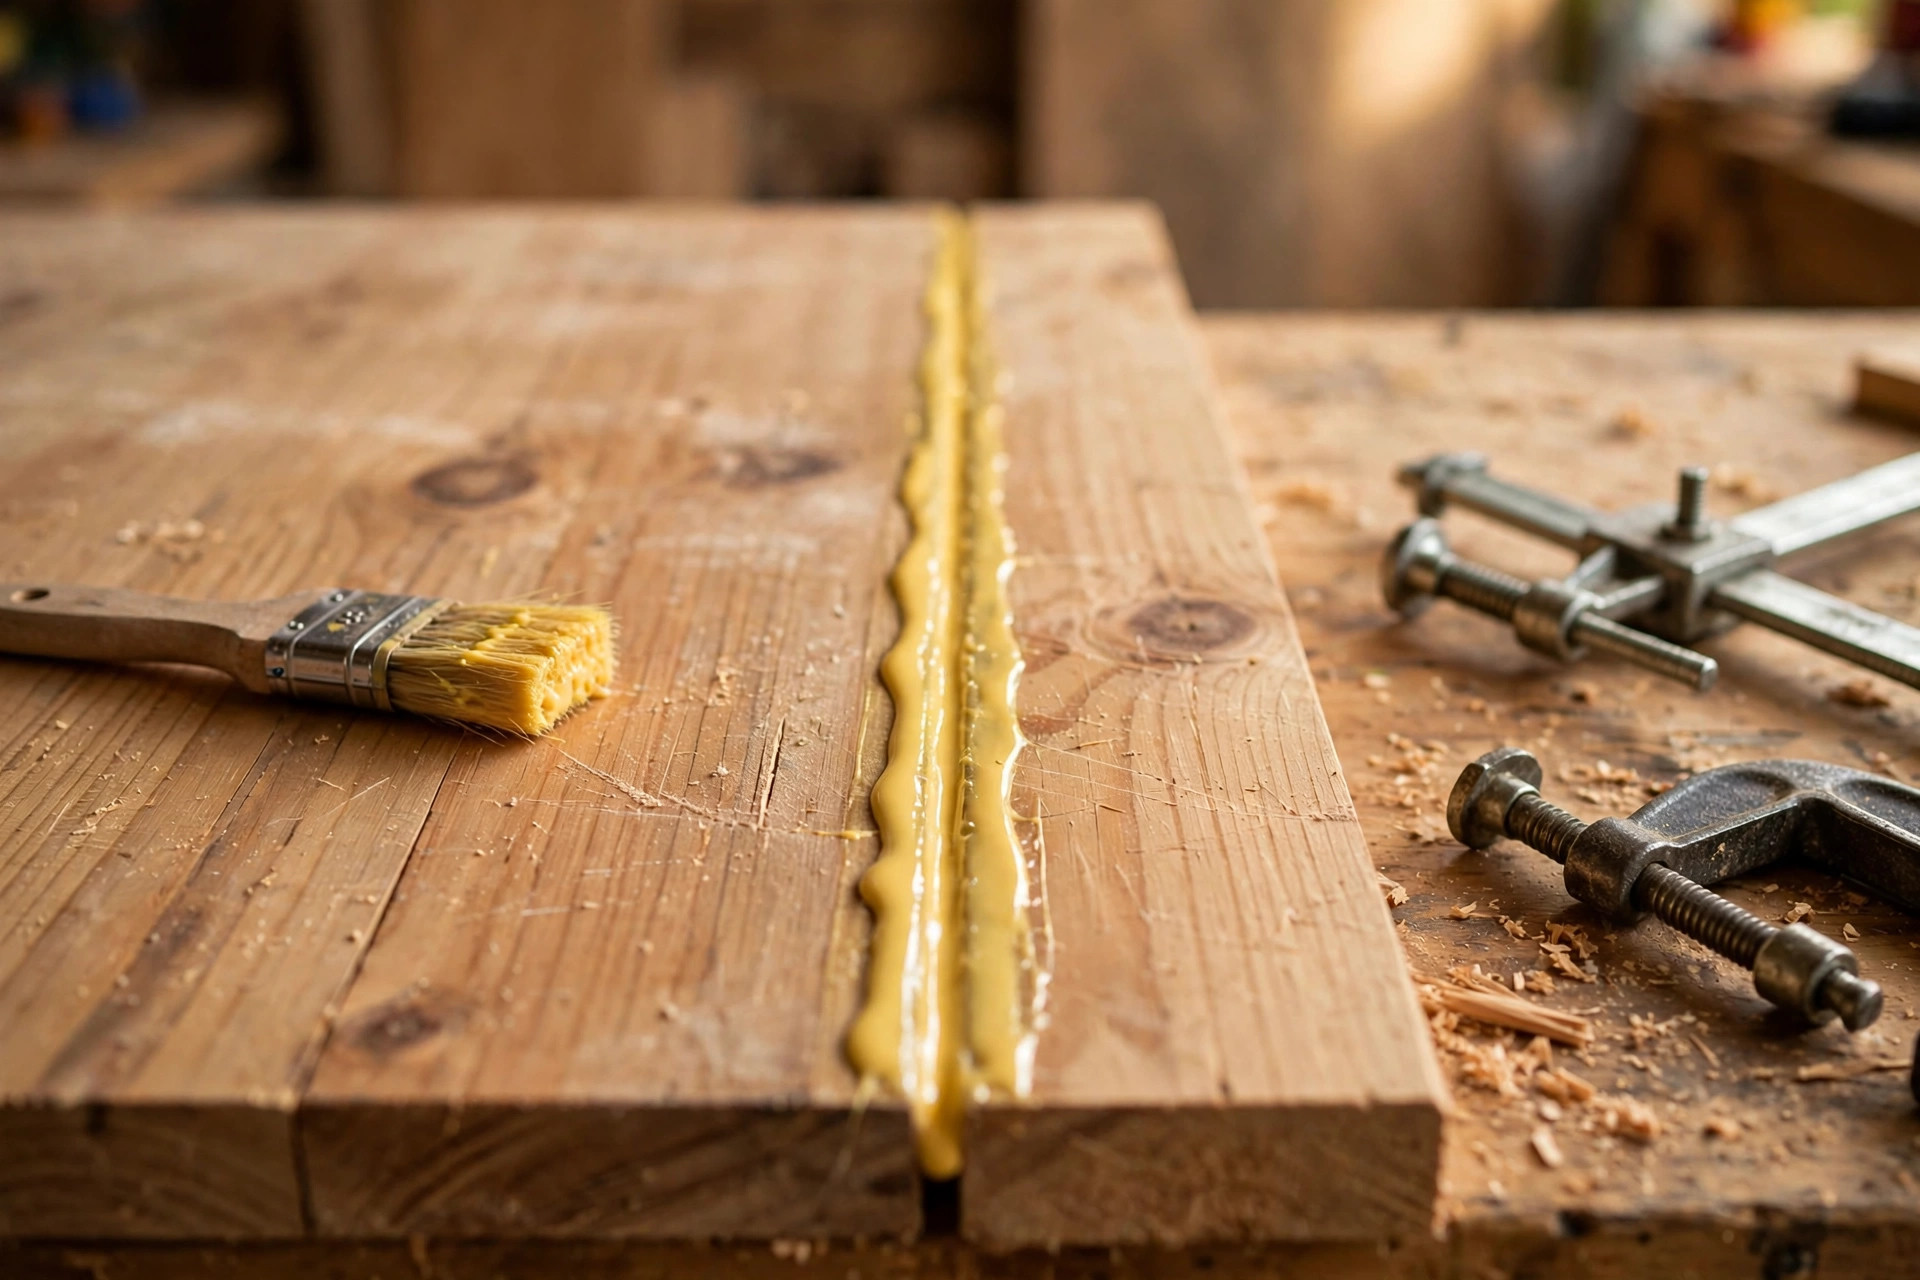
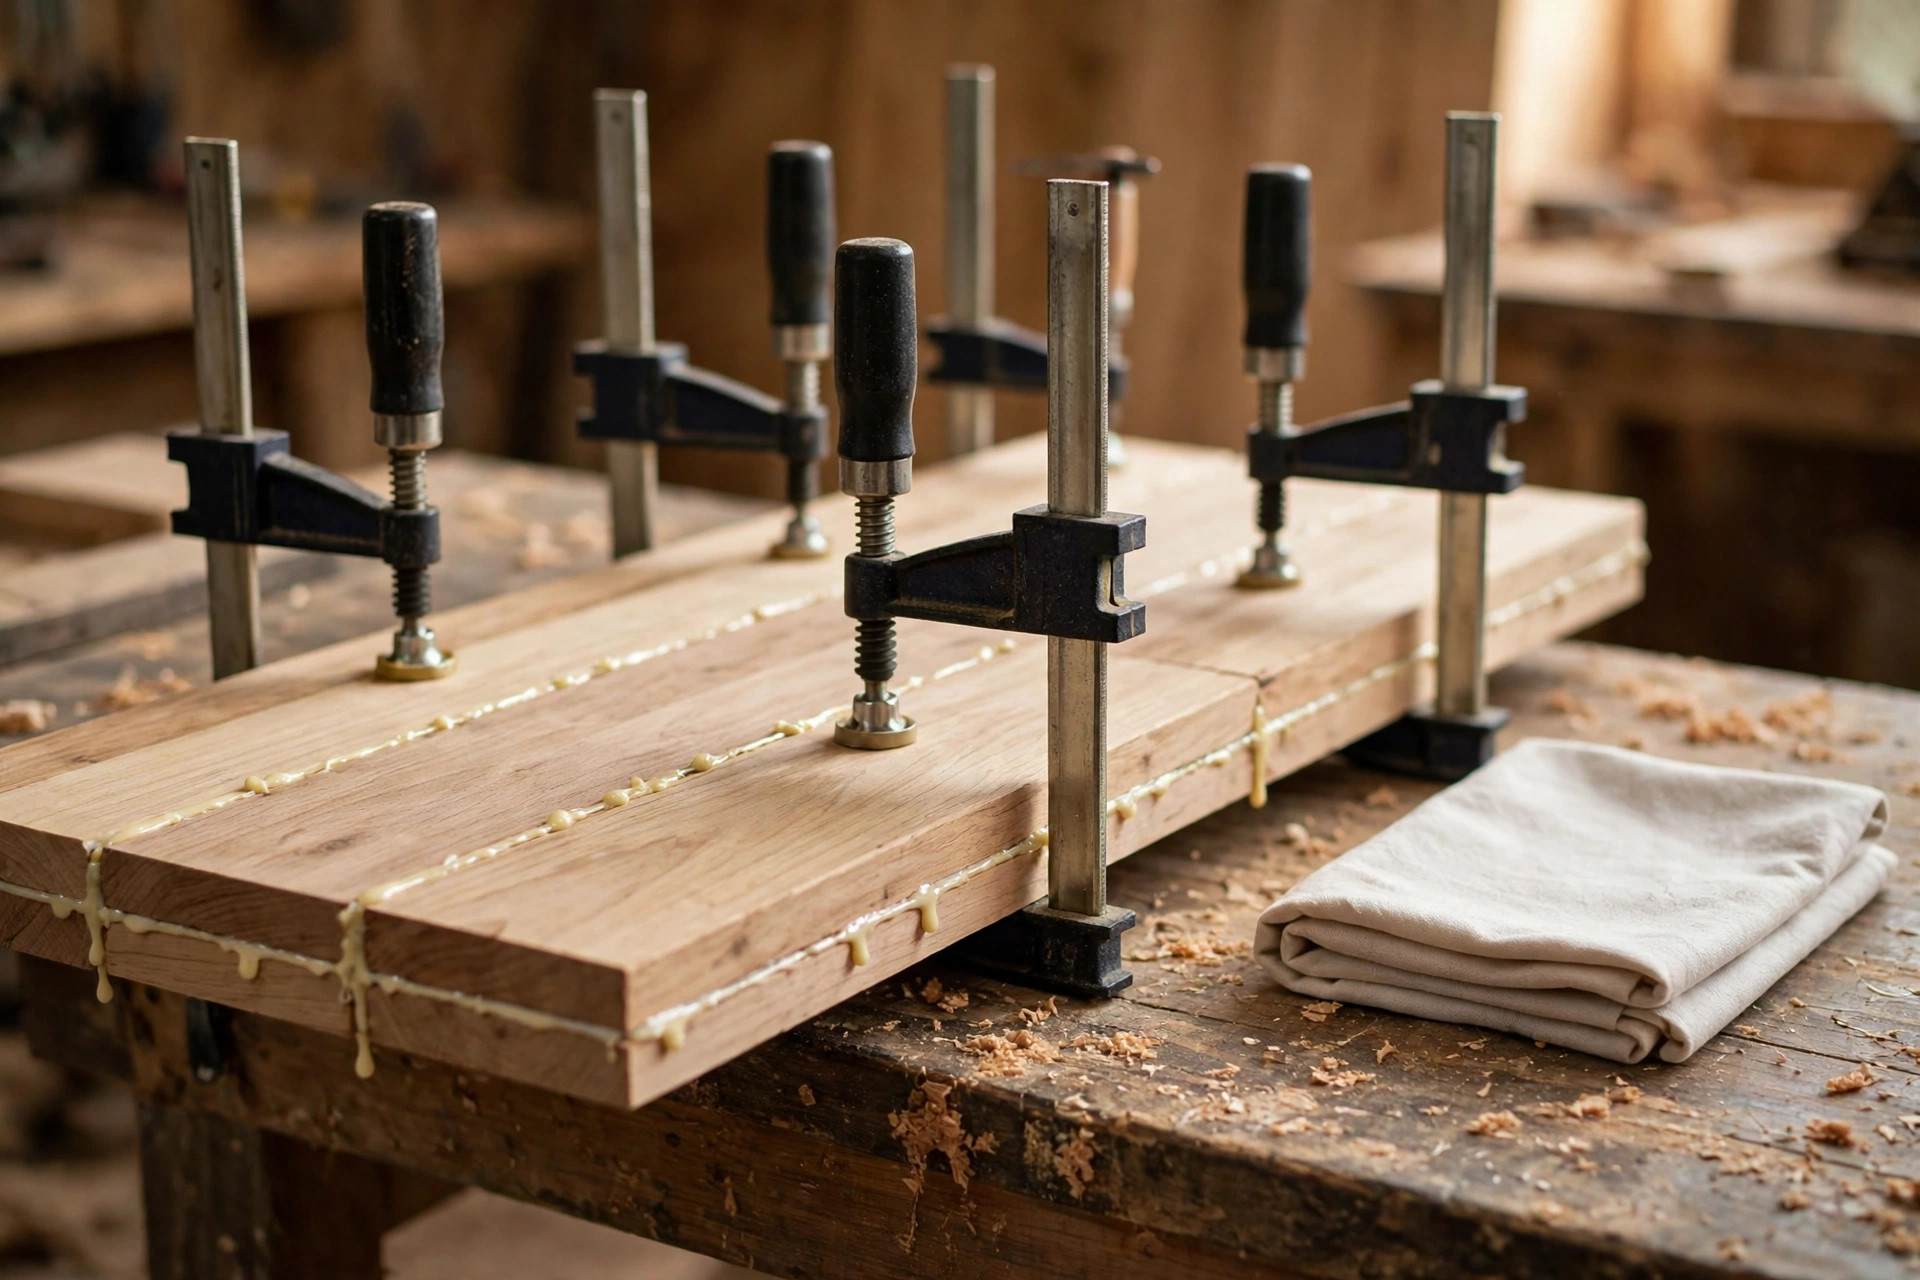
Squeeze-out — the bead of glue that oozes from the joint under clamping pressure — is actually a good sign: it means you used enough glue and enough pressure. The problem is what happens next. Dried PVA is nearly invisible until you apply stain or oil, at which point every glue smear shows up as a pale, blotchy scar that refuses to take color. Here is how the pros handle it:
Option 1: Wipe while wet — carefully. A damp (not soaking) cloth removes most wet PVA squeeze-out. The risk: you push diluted glue into the surrounding wood pores, creating an invisible film that still blocks stain. If you wipe, rinse the cloth often and wipe away from the joint, not along it. Never use a soaking-wet rag — it swells the wood around the joint.
Option 2: Let it skin over, then scrape. Many experienced woodworkers prefer this. Wait 30–60 minutes until the squeeze-out turns rubbery and translucent (the “gel” stage), then peel or shave it off with a chisel, a cabinet scraper, or even a sharpened paint stirrer. The gelled glue lifts cleanly without smearing into the grain. This is the safest method before staining.
Option 3: Mask before you glue. Apply painter’s tape along both sides of the joint before glue-up. Squeeze-out lands on tape, and you peel it away after clamping. Slightly fussy, but nearly foolproof for visible show surfaces.
For polyurethane glue, never wipe the foam while wet — it smears into an unremovable stain. Let the foam cure fully, then cut or sand it off. For epoxy, wipe excess with a rag dampened in denatured alcohol before it cures; cured epoxy only comes off mechanically.
One more finish-saver: keep a dedicated “glue hand” and “clean hand” during glue-ups. The number of mysterious glue fingerprints discovered at finishing time is a running joke in every shop — do not become the punchline.
Food Safety: Which Glues Are Safe for Cutting Boards?
Cutting boards, butcher blocks, and wooden utensils put glue in contact with food, so this question deserves a straight answer. The relevant standard is FDA approval for indirect food contact — meaning the fully cured glue is considered safe where food may touch it incidentally (as on a cutting board surface), not that you should eat the glue.
Titebond II and Titebond III both carry FDA approval for indirect food contact, which is why they are the standard choices for cutting boards. Titebond Original does not carry the approval. Between the two approved options, Titebond III is the better cutting board glue: its Type I waterproof rating survives repeated washing far better than II’s water resistance, and its longer open time helps when you are aligning a dozen strips.
Three safety rules that matter more than the label: always let the glue cure fully (24 hours minimum) before the board touches food — uncured glue is not food-safe regardless of the approval; never put a wooden cutting board in the dishwasher, because the heat and soaking will destroy even the best glue line over time; and re-oil the board regularly with food-grade mineral oil, since a dry, cracked board exposes glue lines to water intrusion.
Avoid for food-contact projects: polyurethane glue (not rated for food contact and the foam is hard to clean from crevices), standard epoxies (unless specifically rated food-safe), and CA glue (brittle, and not meant for surfaces that get knife work and washing). When in doubt, Titebond III is the answer — which is one more reason it is the beginner’s best first bottle.
Shelf Life and Storage: Don’t Glue With Dead Glue
Wood glue does not last forever, and dead glue is one of the sneakiest causes of joint failure — everything looks normal until the joint lets go months later. PVA glues typically last 12–24 months from manufacture in an unopened bottle (Titebond lists about 12 months for Original and II, longer for III). Once opened, heat cycles and contamination shorten that. Polyurethane has the shortest shelf life of all — often 6–12 months once opened, because every exposure to air starts the cure. Epoxy components last years if kept sealed.
The string test: pour a little glue and pull the bottle away. Fresh PVA flows smooth and creamy. If it comes out lumpy, stringy like snot, smells sour, or has separated into watery liquid and curds, it is dead — throw it out. A $10 bottle is never worth a failed project. Many bottles carry a lot code; Titebond’s code lets you decode the manufacture date on their website.
Storage rules that double shelf life:
- Store upright with the cap clean and tight, at room temperature (ideally 50–75°F). Never let PVA freeze — freezing permanently damages the emulsion. A garage that drops below freezing in winter will kill a bottle.
- Wipe the nozzle and cap threads clean before closing; dried glue in the threads lets air in.
- Keep bottles off concrete floors (moisture and cold wick up) — a shelf is better.
- Write the purchase date on the bottle with a marker. Future you will be grateful.
- For polyurethane, squeeze the bottle to expel air before capping, and consider transferring to smaller bottles as you use it — less air space means slower degradation.
When you are unsure, do a test joint: glue two scraps, wait 24 hours, then try to break them. The wood should fail before the glue line does. This two-minute test has saved more projects than any forum thread.
7 Common Wood Glue Mistakes Beginners Make
- Gluing a joint that does not fit. Glue is not gap filler (except epoxy, and even then within limits). If you can see daylight through a dry-fitted joint, fix the fit first — recut, re-plane, or shim. A starved, gappy joint fails no matter which glue you use.
- Using too much glue. Beginners drown joints. Excess glue does not make a stronger bond — it makes a mess, lengthens cleanup, and risks squeeze-out staining. A thin, even film is stronger than a puddle. You want a thin continuous bead of squeeze-out under pressure, not rivers of it.
- Starving the joint with too much clamp pressure. The opposite error: cranking clamps until every drop of glue squeezes out leaves a dry, weak glue line. Snug the clamps until you see that thin bead of squeeze-out along the joint, then stop. Cauls and the right clamps for the job make even pressure easy without brute force.
- Skipping the dry run. Every complex glue-up should be rehearsed glue-free first. Discovering mid-glue-up that a clamp does not reach or a piece is flipped — while your 4-minute open time evaporates — is how panels get glued up twisted. Dry runs are free; panic is expensive.
- Removing clamps too early. The joint feels rock solid at 45 minutes, so you unclamp and start sanding. Then it creeps, shifts, or pops. Respect the minimum clamp time on the bottle, and respect the 24-hour full cure before machining or stressing. Overnight is the beginner’s best friend.
- Gluing over finish, dust, or old glue. Glue bonds to clean, bare wood. Dust, oil from your hands, wax, dried finish, and especially old dried glue in a re-glued joint all weaken the bond. Scrape or plane re-glued surfaces back to fresh wood — fresh PVA does not bond well to old dried PVA.
- Wiping wet squeeze-out into the grain. As covered above, a sopping rag pushes diluted glue into the pores where it becomes an invisible stain-blocker. Wipe with a barely-damp cloth and rinse often, or better, let it gel and scrape it off. Your future finishing self will thank you — and if you are building something like floating shelves for beginners, where every surface is visible, clean glue lines are what separate amateur work from professional-looking work.
Which Glue Should You Buy First?
If you are standing in the aisle right now, here is the shopping list in order of priority:
- One 16 oz bottle of Titebond III Ultimate. Your everyday glue for nearly everything: furniture, cutting boards, outdoor projects, complex glue-ups. The long open time forgives beginner fumbling.
- One small bottle of medium CA glue (plus activator). For instant tacks, small repairs, and holding trim while the real glue cures. You will reach for this weekly.
- Later, as projects demand: Titebond Original for fast interior work, a small epoxy kit for repairs, and polyurethane for the day you need to bond wood to something that is not wood.
That is under $25 for a glue kit that handles 95% of beginner woodworking. Write the purchase date on each bottle, store them upright at room temperature, and test old bottles before trusting them with a real project.
Glue is the quiet partner in every project you will ever build — invisible when it works, unforgettable when it does not. Pair the right bottle with tight joints, thin even coverage, sensible clamping pressure, and a full 24-hour cure, and your glue-ups will be stronger than the wood itself. Now grab that bottle of Titebond III and go build something.
Frequently Asked Questions
Is Titebond III really stronger than Titebond I and II?
By published lab shear numbers, yes — Titebond III is rated around 4,000 psi versus roughly 3,750 for II and lower published figures for Original. In real furniture with well-fitted joints, all three produce bonds stronger than the surrounding wood, so the practical differences are working time, water resistance, and temperature tolerance rather than raw strength. Choose based on your project’s conditions, not the psi chart alone.
Can I use Titebond III for everything, including indoor projects?
Yes, and many woodworkers do exactly that. Titebond III works fine indoors — it is just more expensive per bottle, needs a longer clamp time (90–120 minutes), and can creep slightly more under sustained heat than Original. For a sun-baked door or a quick interior assembly where you want fast turnaround, Original is still the traditional choice.
How long should I leave clamps on wood glue?
Follow the bottle: 30–60 minutes minimum for Titebond Original and II, 90–120 minutes for Titebond III, and several hours for polyurethane and epoxy. Those are minimums for handling — the joint does not reach full strength until the 24-hour cure is complete. When in doubt, leave clamps on overnight.
Is wood glue stronger than screws?
For a well-fitted wood-to-wood joint, a PVA glue bond is typically stronger than the wood fibers around it — when it fails, the wood tears, not the glue line. Screws add mechanical holding power and are useful for alignment and for joints under tension or racking forces, but glue alone, properly clamped, is remarkably strong. Many fine furniture joints use glue as the primary bond.
Why did my glued joint fail?
The most common causes are a poor fit (glue cannot bridge gaps), too little glue or clamp-starved joints, clamps removed before the minimum time, gluing over dust/finish/old glue, dead expired glue, or gluing below the minimum temperature. Check the fit and the bottle’s date first — those two solve most failures.
Can I glue oily woods like teak or ipe with regular wood glue?
Oily exotic woods resist PVA glue because surface oils block adhesion. Wipe the joint surfaces with acetone or denatured alcohol 15–30 minutes before glue-up to temporarily draw oils out, then glue promptly — or use epoxy, which tolerates oily woods far better. Always test on scraps first with exotics.
Does wood glue expire?
Yes. PVA wood glue typically lasts 12–24 months from manufacture (check the lot code), and less once opened or if frozen. Polyurethane lasts about 6–12 months once opened. If the glue is lumpy, stringy, sour-smelling, or separated, discard it. When unsure, glue two scraps, wait 24 hours, and break them — the wood should fail before the glue line.


