
A wood router is the tool that turns a plain, sharp-edged board into something that looks finished: a shelf with a soft rounded edge, a picture frame with a chamfer, a sign with clean lettering, or a box lid that sits perfectly flush. It is also, frankly, the power tool that intimidates beginners the most. It spins at twenty thousand revolutions per minute, it is loud, it throws chips everywhere, and if you push it the wrong way it can grab the board and run. None of that means you should avoid it. It means you should learn it in the right order: what the parts do, how a bit is held safely, which direction to move, and how deep to cut in a single pass. Get those four things right and a router becomes one of the most rewarding tools in your shop.
This guide is written for a complete beginner. You do not need to know router jargon, you do not need an expensive machine, and you do not need a router table. Everything here uses a handheld router, a straight piece of scrap pine, and a single round-over bit. By the end you will have made your first profiled edge, and you will understand why it came out smooth instead of burnt, chipped, or wavy. If you are still building your first projects, this skill pairs naturally with the easy woodworking projects for beginners that sell — a router is what gives simple shelves, trays, and signs their professional-looking finish.
What a Router Actually Does
At its simplest, a router is a motor held vertically above a flat base, with a spinning cutter — the bit — sticking out below the base. You guide the base along the edge or face of a board, and the bit removes a controlled strip of wood. Change the bit and you change the shape: a straight bit cuts grooves and dados, a round-over bit softens an edge, a chamfer bit cuts a bevel, a rabbet bit cuts a step, and a flush-trim bit copies the shape of a template.
Unlike a saw, which removes wood along a line, a router removes wood to a precise depth and profile. That is why it is a finishing and joinery tool as much as a shaping tool. It can cut the groove a shelf sits in, the recess a hinge fits into, the slot a spline fills, and the decorative edge that makes a plain board look like furniture. The trade-off is that the bit spins very fast and cuts on all sides, so control matters more than strength. A router rewards a steady pace, a firm two-handed grip, and shallow cuts. It punishes rushing, deep cuts, and one-handed operation every single time.
Fixed Base vs Plunge Base: Which One Should a Beginner Buy?
Most mid-range routers come with two bases you can swap the same motor into, and beginners often wonder which one to use first. The answer is simple: start with the fixed base for edge profiling, and learn the plunge base later for stopped grooves, mortises, and inlays.
A fixed base locks the motor at one depth. You set the depth, tighten the clamp, and the bit stays exactly there for the whole cut. That stability is exactly what a beginner needs for edge work. You set it once, test it on scrap, and every pass comes out the same. A fixed base is also lower and easier to balance on a narrow board edge.
A plunge base lets you lower the spinning bit into the middle of a board and raise it back out, using springs and a depth stop. That is essential when you need to start a cut away from an edge — a mortise, a stopped dado, a hinge recess — because you cannot tip a fixed-base router into a cut safely. But a plunge base has more moving parts, more things to lock and unlock, and a taller, springier feel that can confuse a first-timer. Learn edge profiling on the fixed base first, then add plunge cuts as your second skill. If you can only afford one base, buy the fixed base and add the plunge base later; you will use the fixed base for the majority of beginner edge work anyway.
One more buying note: a compact or trim router (usually 1 to 1.25 horsepower) is a genuinely good beginner machine. It is lighter, easier to control one-handed for small chamfers, and less tiring on long edges. A full-size 2-plus horsepower router has more power for big bits and deep dados, but it is heavier and more intimidating. Start compact if you mostly build shelves, signs, and small furniture; move up to full-size when you start cutting large raised-panel profiles or heavy joinery.
Router Anatomy: The Parts You Actually Need to Know
You do not need to memorise every screw on the machine, but you do need to know the six parts you will touch on every cut:
- Motor housing: the body you grip. Most routers have two handles, or a barrel grip on compact models. Always use both hands, and keep your hands on the handles, never near the base opening.
- Collet and collet nut: the chuck that grips the bit shank. The nut tightens the collet around the shank. This is the single most important safety part on the tool, and we cover it in detail below.
- Base plate: the flat plate that rides on the wood. It must sit fully flat on the workpiece at all times. If the base tips, the bit digs in and the cut goes wrong.
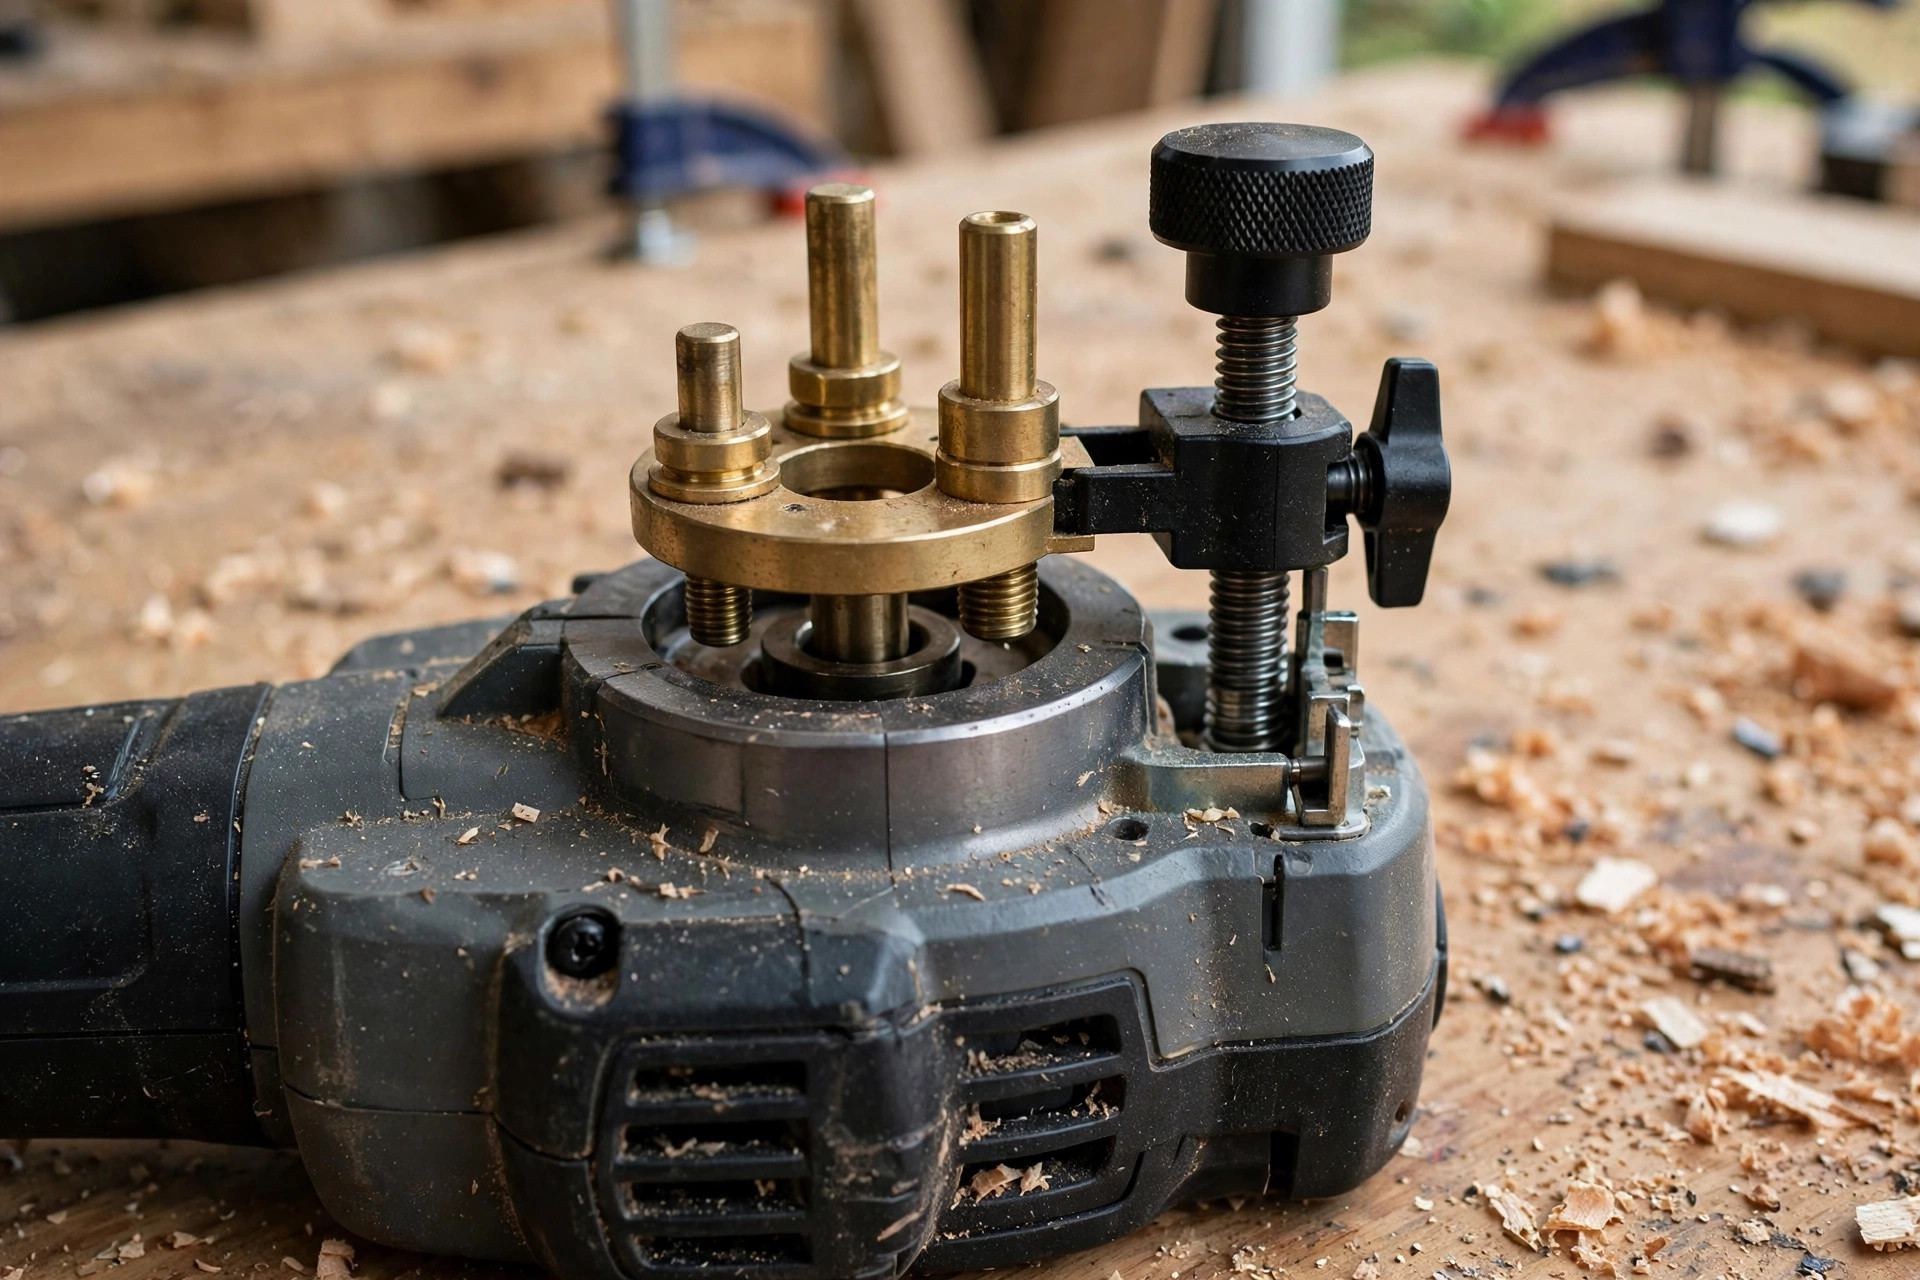
- Depth adjustment: a rack, ring, or screw that raises and lowers the motor in the base. On a fixed base it is usually a large ring or a fine-adjustment knob.
- Depth stop and turret: on plunge routers, a stepped turret lets you set several depth stops and work down in stages. Even on a fixed base, marking your depth and testing on scrap serves the same purpose.
- On/off switch and variable speed dial: the switch should be reachable without moving your grip. The speed dial matters because large bits must spin slower than small bits — a big panel-raising bit at full speed is dangerous and burns wood, while a small straight bit at low speed cuts poorly.
Before your first cut, practise the motions with the router unplugged: hold it with both hands, slide it along a board edge, and feel how the base plate stays flat. Get comfortable with the weight and balance before you add a spinning bit to the picture.
Choosing Your First Router Bits
Router bits are where beginners waste the most money. A 50-piece bargain set looks like a deal, but most of those bits will never leave the box, and cheap bits dull fast, burn wood, and vibrate. Buy five good bits first, learn them properly, and add specialist bits only when a project demands them.
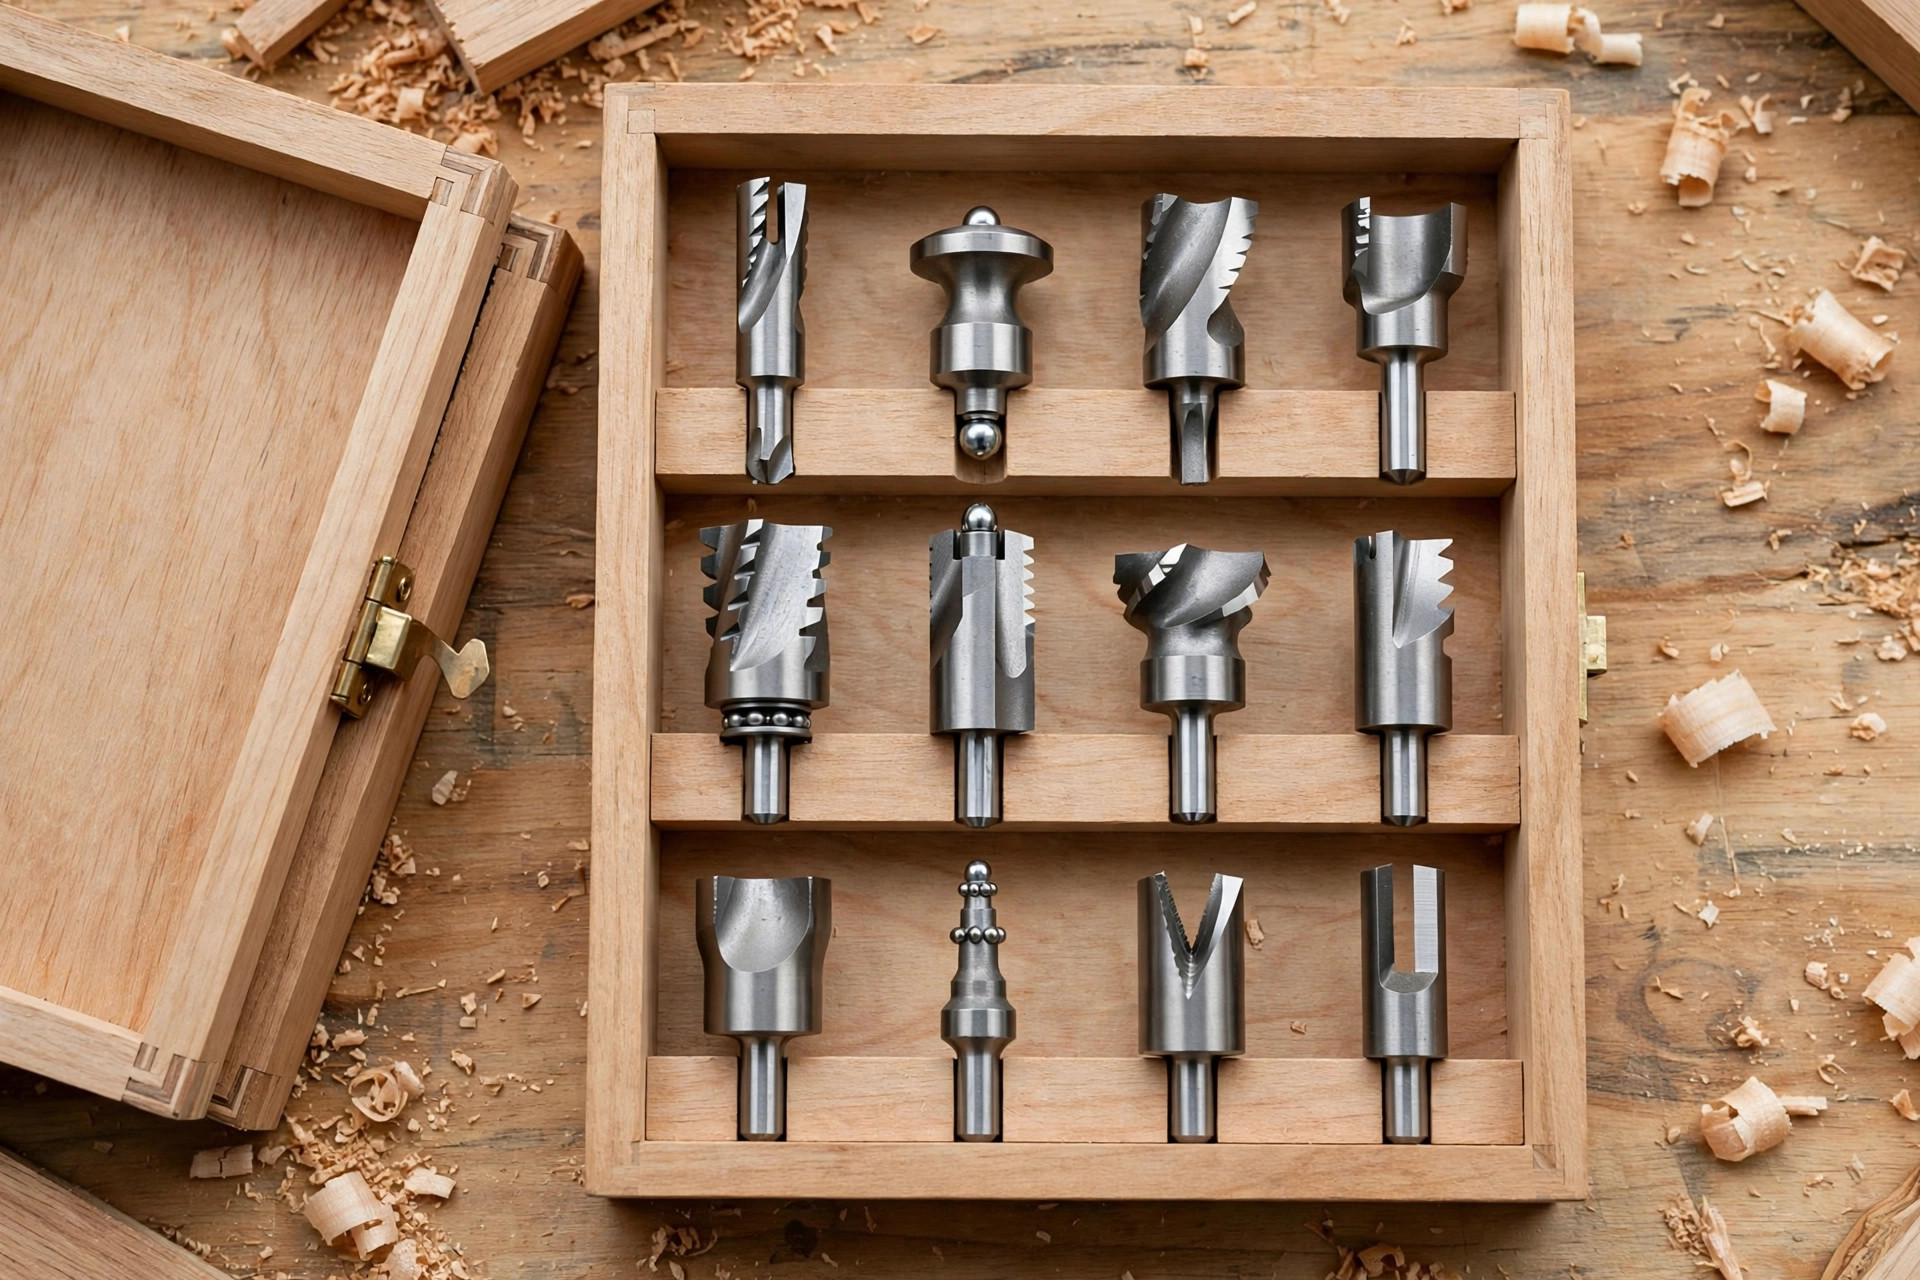
| Bit type | What it cuts | Best first use | Beginner notes |
|---|---|---|---|
| Straight bit (1/4 in and 1/2 in) | Flat-bottomed grooves, dados, rabbets | Shelves grooves, sign carving | The workhorse; buy a 1/4 in straight bit first |
| Round-over bit (1/4 in radius) | Soft, rounded edge | Shelf edges, table tops, cutting boards | The most forgiving first profile bit |
| Chamfer bit (45 degrees) | Angled bevel edge | Picture frames, box lids, sign edges | Clean, crisp look; easy to set up |
| Rabbeting bit (with bearing) | L-shaped step along an edge | Box backs, picture-frame rebates, cabinet backs | Bearing rides the edge and controls the cut width |
| Flush-trim bit (bearing) | Copies a template exactly | Curved parts, template routing, pattern work | Bearing must ride the template, not the workpiece |
A few buying rules that will save you frustration. First, prefer 1/2-inch shank bits when your router accepts them; they vibrate less, deflect less, and cut more smoothly than 1/4-inch shank bits, especially in larger profiles. Second, buy carbide-tipped bits from a reputable brand rather than high-speed steel bargain bits; carbide stays sharp far longer and burns less. Third, a bit with a guide bearing is a beginner’s best friend, because the bearing rides along the board edge and controls how deep the profile cuts — you guide the router, and the bearing does the measuring. Finally, keep bits clean: resin build-up on a bit causes burning and rough cuts, so wipe bits with a resin remover and a brass brush after heavy use, and store them in their case rather than loose in a drawer where the cutting edges chip.
Seating a Bit Safely: The Collet and the Two-Thirds Rule
If you learn only one safety rule from this guide, make it this one: a bit shank must be gripped by at least two-thirds of its length inside the collet, and the bit must never bottom out in the collet.
Here is why. The collet grips the shank by squeezing around it. If only a short stub of shank is inside, the bit can wobble, vibrate, or work loose at speed — and a loose bit at twenty thousand revolutions per minute is genuinely dangerous. If the bit is pushed all the way in until it hits the bottom of the collet, the collet cannot squeeze properly and the bit can slip for the opposite reason. The correct method is simple:
- Unplug the router. Never change a bit with the router plugged in.
- Insert the bit until it bottoms out, then pull it back out by about 1/16 inch (roughly the thickness of a coin edge) so it is not bottomed out.
- Check that at least two-thirds of the shank is inside the collet. On a standard 1-inch shank, that means at least 2/3 inch is gripped. If you cannot achieve that — for example with a very short bit — do not use that bit in that collet.
- Tighten the collet nut firmly with the wrenches, using the shaft lock or a second wrench. Snug is not enough; firm is correct. But do not over-tighten with a cheater bar, which can damage the collet.
- After tightening, tug the bit gently to confirm it does not move, and spin it by hand to check it runs true without wobbling.
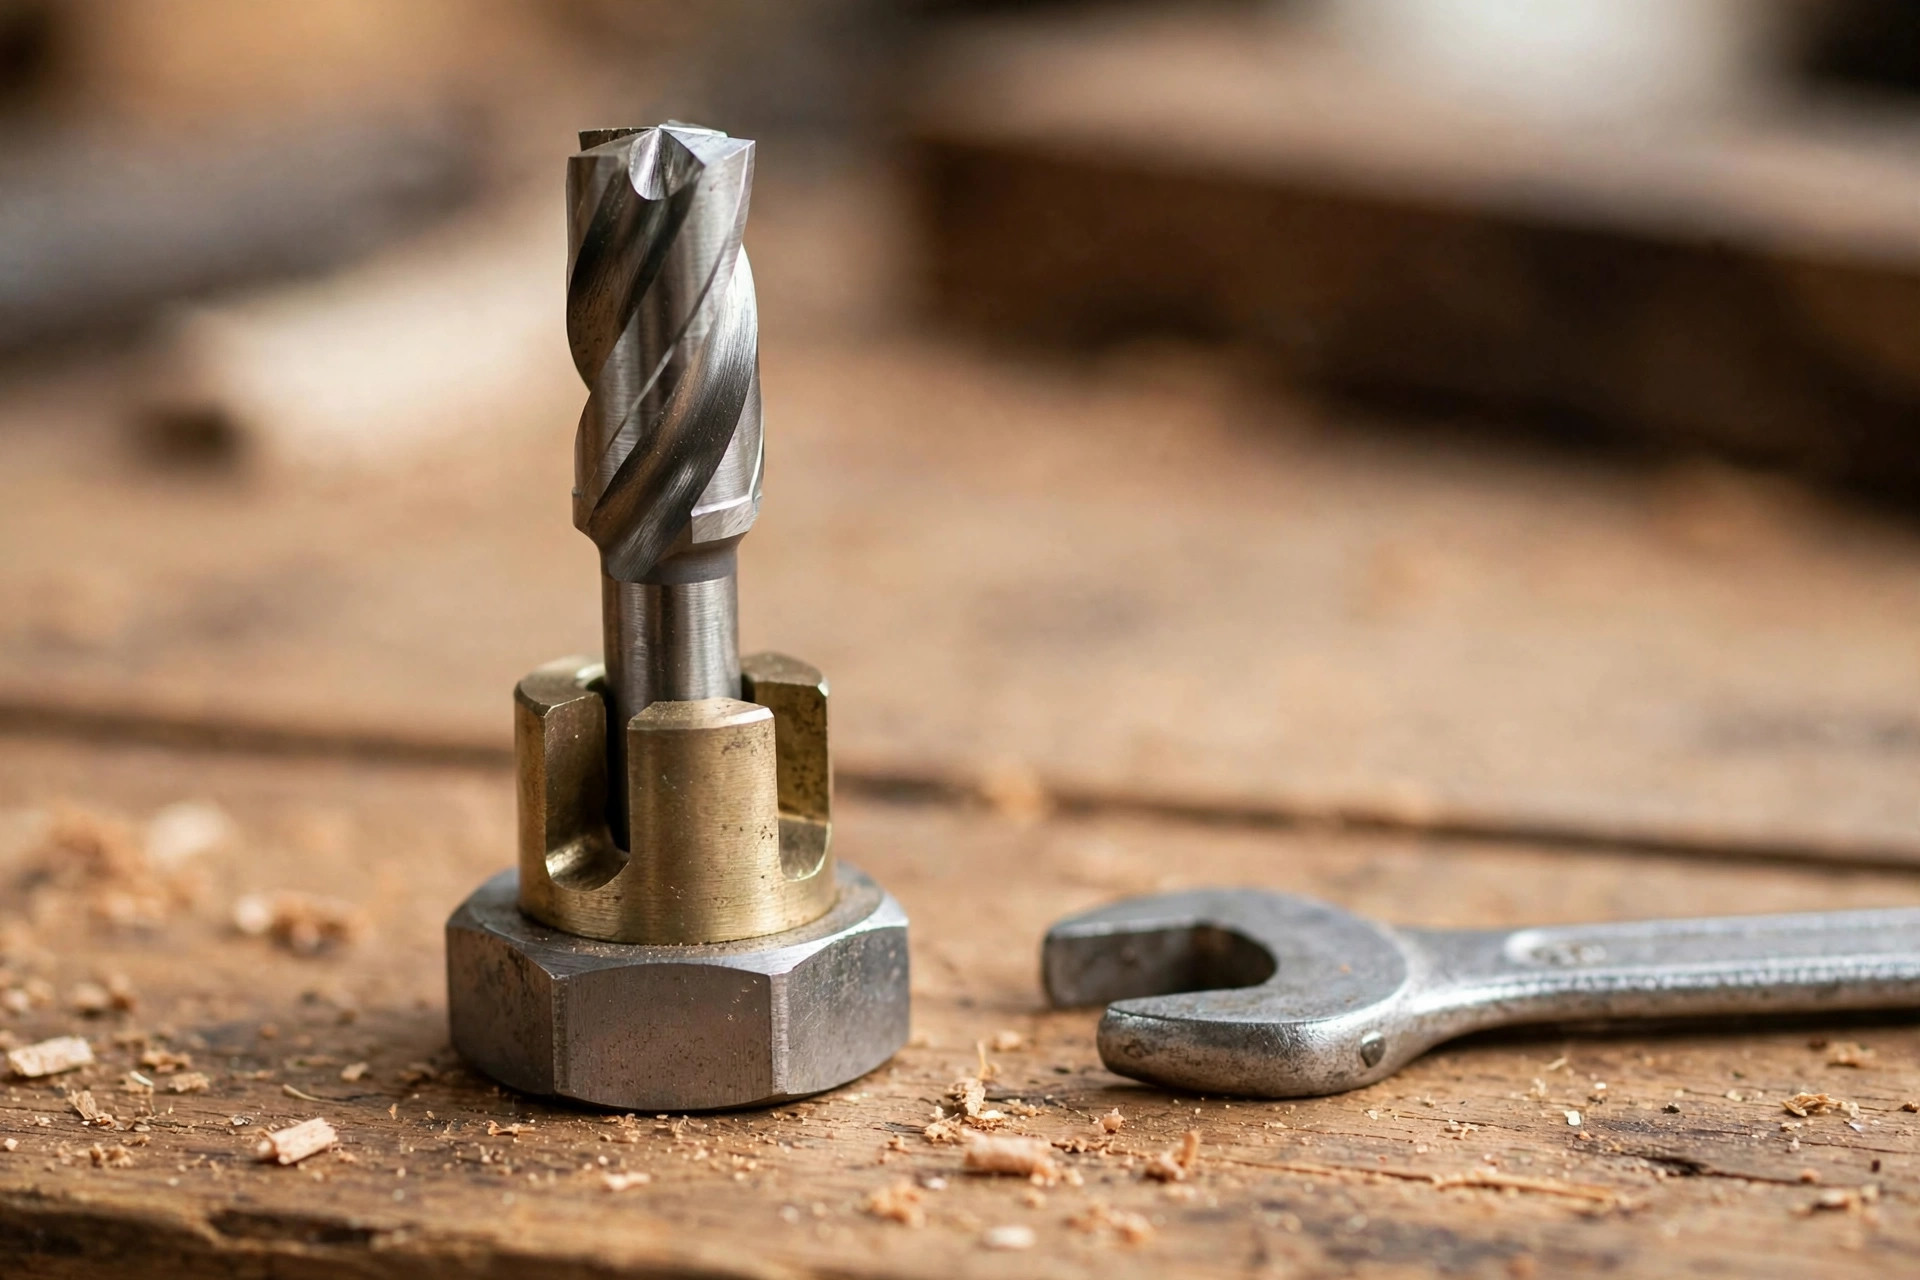
Two more collet habits matter. First, match the collet to the shank size: a 1/4-inch bit needs a 1/4-inch collet, and a 1/2-inch bit needs a 1/2-inch collet. Never use an adapter sleeve to force a small bit into a large collet if you can avoid it; buy the right collet. Second, replace a worn collet. If a collet is scored, rusty, or no longer grips tightly, replace it — collets are cheap, and a worn collet is one of the most common causes of bit slippage. This is also why woodworking safety tips for beginners matter before you switch any power tool on: the habits you build with your first tool carry into every tool that follows.
Setting Depth: Shallow Passes Beat One Deep Cut
Beginners almost always try to cut too deep in one pass. The result is predictable: burning, chattering, tearout, a strained motor, and a rough surface that needs heavy sanding. The professional rule is the opposite: never remove more than about 1/8 inch of material in a single pass with a profile bit, and less with a large bit or hard wood.
Depth setting on a fixed base works like this. With the router unplugged and the bit installed, place the router on a flat surface with the bit hanging below the base. Loosen the depth clamp, lower the motor until the bit touches the surface, then lock it — that is zero depth. Now raise or lower the motor by your desired cutting depth using the fine adjustment, and lock the clamp firmly. Always test the depth on a piece of scrap from the same board before cutting your real workpiece. A test cut takes thirty seconds and saves a ruined shelf.
For deeper profiles, work down in stages. If you need a 3/8-inch deep round-over, make three passes at roughly 1/8 inch each, lowering the bit slightly between passes. The final pass should be a very light skim — sometimes called a climb-free finishing pass in the correct direction — which leaves the smoothest surface. On a plunge router, the depth turret makes this easy: set the turret stops to increasing depths and rotate to the next stop between passes, so each pass is exactly as deep as you planned.
| Total profile depth needed | Recommended passes | Depth per pass |
|---|---|---|
| 1/8 in (light chamfer or round-over) | 1 pass | 1/8 in |
| 1/4 in (standard round-over or rabbet) | 2 passes | 1/8 in each |
| 3/8 in (large round-over) | 3 passes | 1/8 in each |
| 1/2 in or deeper (deep groove or dado) | 4+ passes | 1/8 in or less each |
| Hardwood (oak, maple) | Add one extra pass | Reduce depth by about 25% |
The table is a guideline, not a law, but the principle behind it is absolute: shallow passes keep the bit cool, the cut smooth, and the router under control. If you smell burning, see smoke, or hear the motor labouring, you are cutting too deep or moving too slowly — stop, reduce the depth, and try again on scrap.
Clamping and Workholding: The Router Must Never Chase the Board
A router needs a workpiece that does not move. If the board slides, lifts, or vibrates, the bit catches and the cut goes wrong — and a moving board is how hands end up near a spinning bit. Before every cut, clamp the board firmly to your bench so the edge you are routing overhangs the bench edge slightly, or so the router base has full support on the board surface.
For edge profiling, the simplest setup is two clamps holding the board flat to the bench, with the edge to be routed sticking out just past the bench edge so the bit and bearing clear the bench. The router base must still sit mostly on the board, not half on air. If the board is narrow, clamp a second board of the same thickness beside it to widen the support surface for the base plate. That support board also prevents the router from tipping at the start and end of the cut, which is where most beginners gouge the edge.
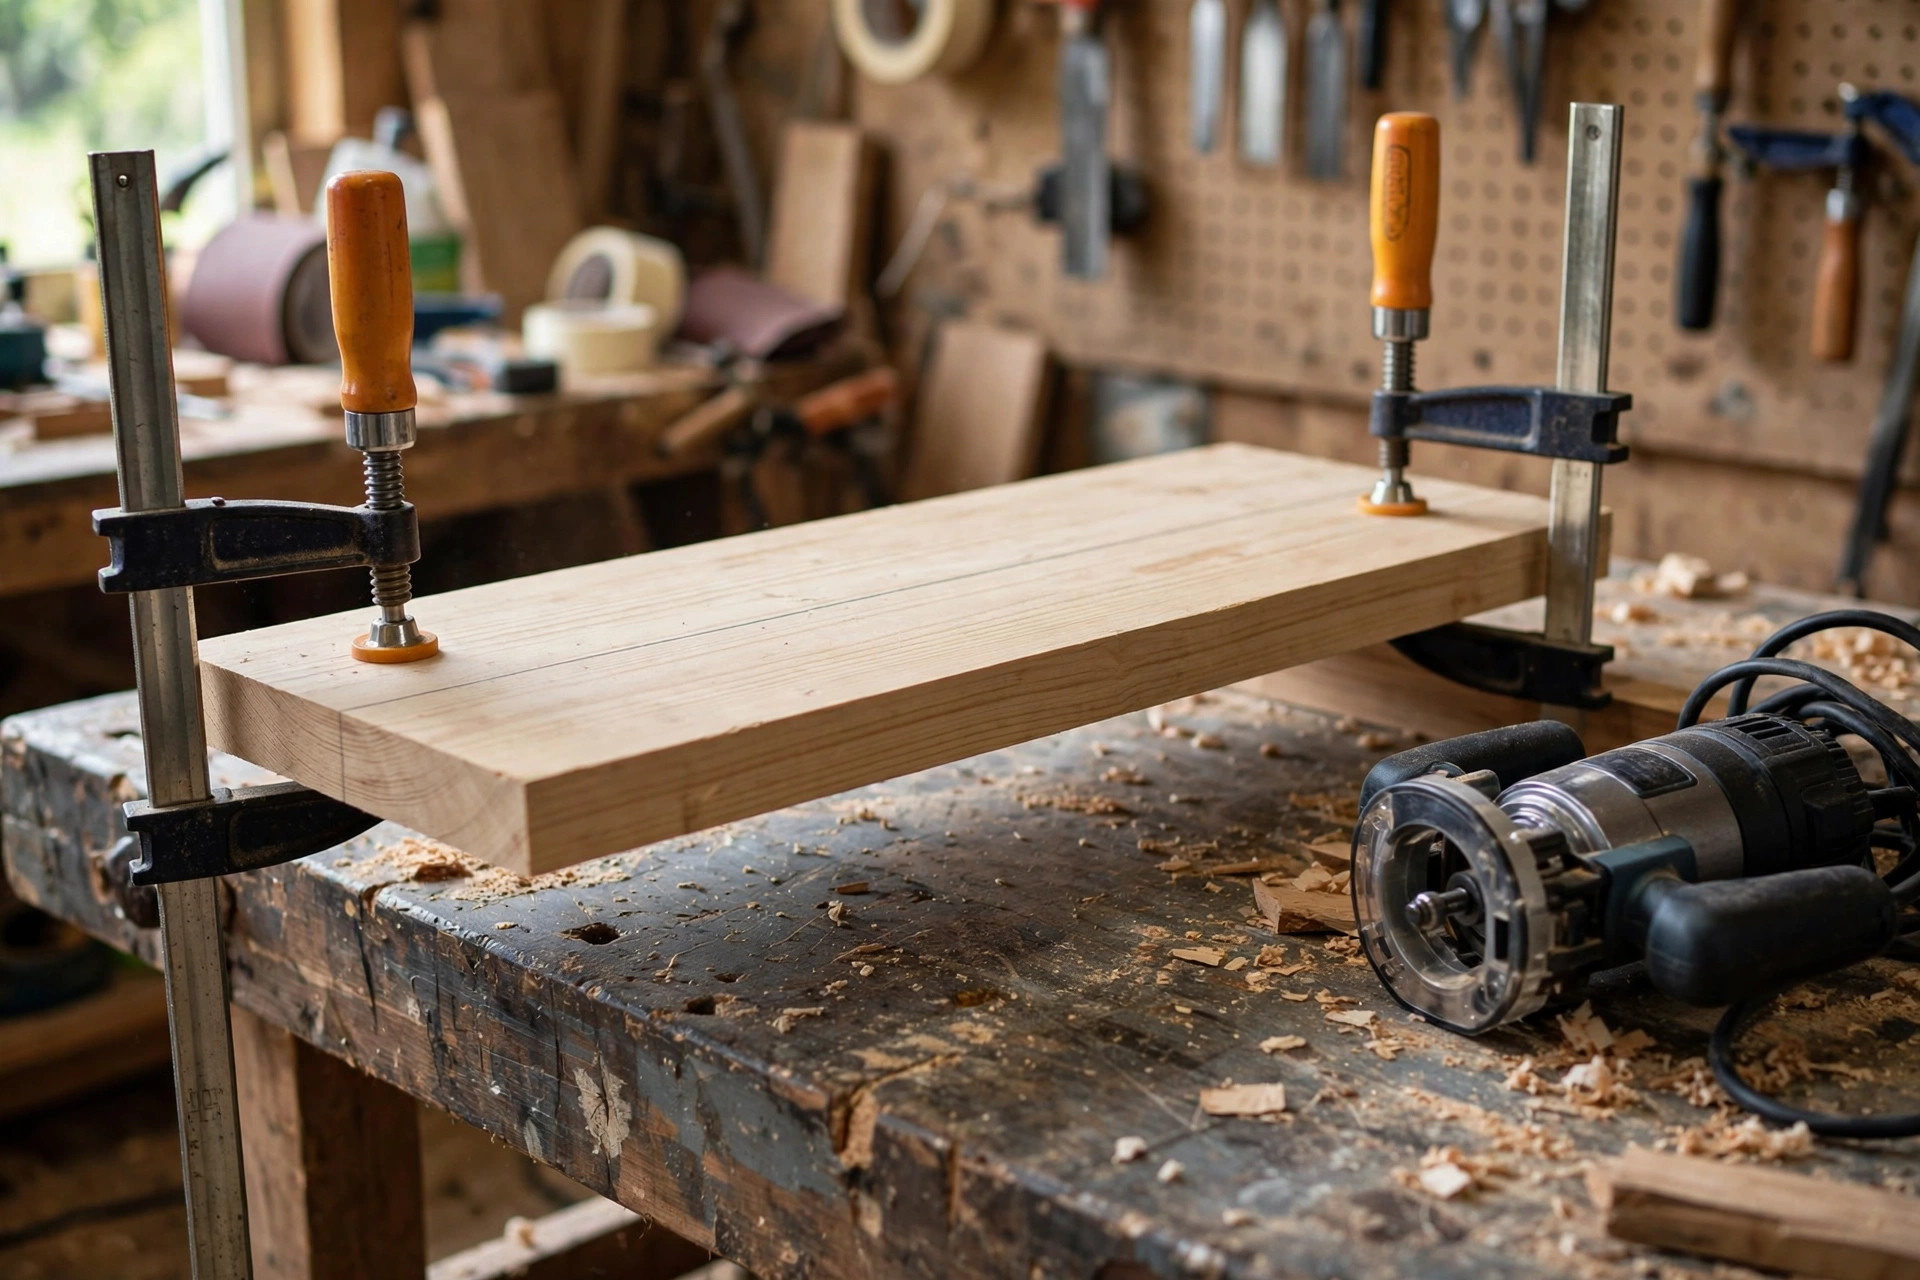
Good clamping is a skill in itself, and it is worth reading up on the best clamps for woodworking beginners before you buy. As a rule, use at least two clamps for any board longer than about 18 inches, place them away from the router’s path, and check that the board does not rock when you press on it. If it rocks, re-clamp. Never hold a board with your free hand while routing — that hand is exactly where a slipping router goes.
Feed Direction: The Rule That Prevents Climb Cutting
Feed direction is the concept beginners find most confusing, and it is the one that matters most for safety. Here is the plain version: the bit spins clockwise when viewed from above, so you must feed the router against the rotation of the bit — that is, so the bit’s cutting edge meets the wood head-on rather than grabbing it and pulling the router forward.
For the most common beginner cut — profiling the outside edge of a board — the rule works out to this: move the router counter-clockwise around the outside of the board. Picture the board as a clock face. Start at one corner and walk the router counter-clockwise around the perimeter. On each edge, the bit is cutting against its own rotation, which gives you control: the router resists slightly, you push steadily, and the cut is smooth.
If you go the wrong way — clockwise around the outside edge — you are climb cutting. The bit’s rotation now pulls the router forward in the same direction you are moving, so the router suddenly accelerates, grabs, and can run away from you or gouge a deep scallop into the edge. Climb cutting has a legitimate place in advanced work (a very light final skim to prevent tearout on tricky grain), but a beginner should never climb cut. If a cut feels like the router is pulling itself forward, stop immediately, switch off, and reverse your direction.
For inside cuts — routing the inside edge of a frame, a hole, or a recess — the rule reverses: move clockwise around the inside edge. The logic is the same (feed against rotation), but because you are on the inside of the shape, the direction flips. A simple way to remember it: on an outside edge go counter-clockwise, on an inside edge go clockwise, and if you ever feel the router pulling you forward, you are going the wrong way.
Here is the feed-direction diagram in words. Imagine a square board on your bench, with its top edge nearest you, its bottom edge farthest away, its left edge on your left, and its right edge on your right. For an outside profile, start at the bottom-left corner and move left-to-right along the bottom edge (away from you), then up the right edge, then right-to-left along the top edge (toward you), then down the left edge back to the start. You have just travelled counter-clockwise. On each edge, the bit cuts into the wood as it meets the uncut section ahead of it, not behind it. Practise this walk with the router unplugged on a scrap board until the path feels automatic — it should be muscle memory before you ever switch the motor on.
Your First Cut, Step by Step
You have a clamped scrap pine board, a 1/4-inch round-over bit seated correctly, a fixed base, and a depth set to about 1/8 inch. Here is the full first cut, in order:
- Safety check. Safety glasses on, hearing protection on, dust mask on. No loose clothing, jewellery, or dangling sleeves. Router unplugged while you installed the bit; now plug it in only when you are ready to cut.
- Test on scrap. Hold the router with both hands, base flat on the scrap board, bit clear of the wood. Switch on and let the bit reach full speed before touching the wood — never start the cut with the bit already in contact.
- Ease into the cut. With the base flat and the bearing touching the edge, move the router steadily along the edge in the correct feed direction (counter-clockwise on an outside edge). Do not stop mid-cut if you can avoid it; a pause leaves a burn mark.
- Keep a steady pace. Move at roughly the speed you would push a shopping trolley — not a crawl, not a rush. Too slow burns the wood; too fast leaves chatter marks and a rough surface. Listen to the motor: a steady hum is right, a labouring groan means you are cutting too deep or pushing too hard.
- Support through the end. Keep the base fully supported until the bit has cleared the end of the board. Beginners tip the router at the end of a cut, which rounds over the corner and ruins the edge. If the board is short, use a support board beside it.
- Switch off clear of the wood. Lift the router away from the edge, switch off, and wait for the bit to stop spinning before setting the router down. Never set a spinning router on the bench.
- Inspect and adjust. Look at the test edge. Is the profile even? Is there burning or tearout? If the profile is too shallow, lower the bit slightly and make a second pass. If there is burning, reduce depth or increase your feed speed slightly. Only when the scrap edge looks right should you cut your real workpiece.
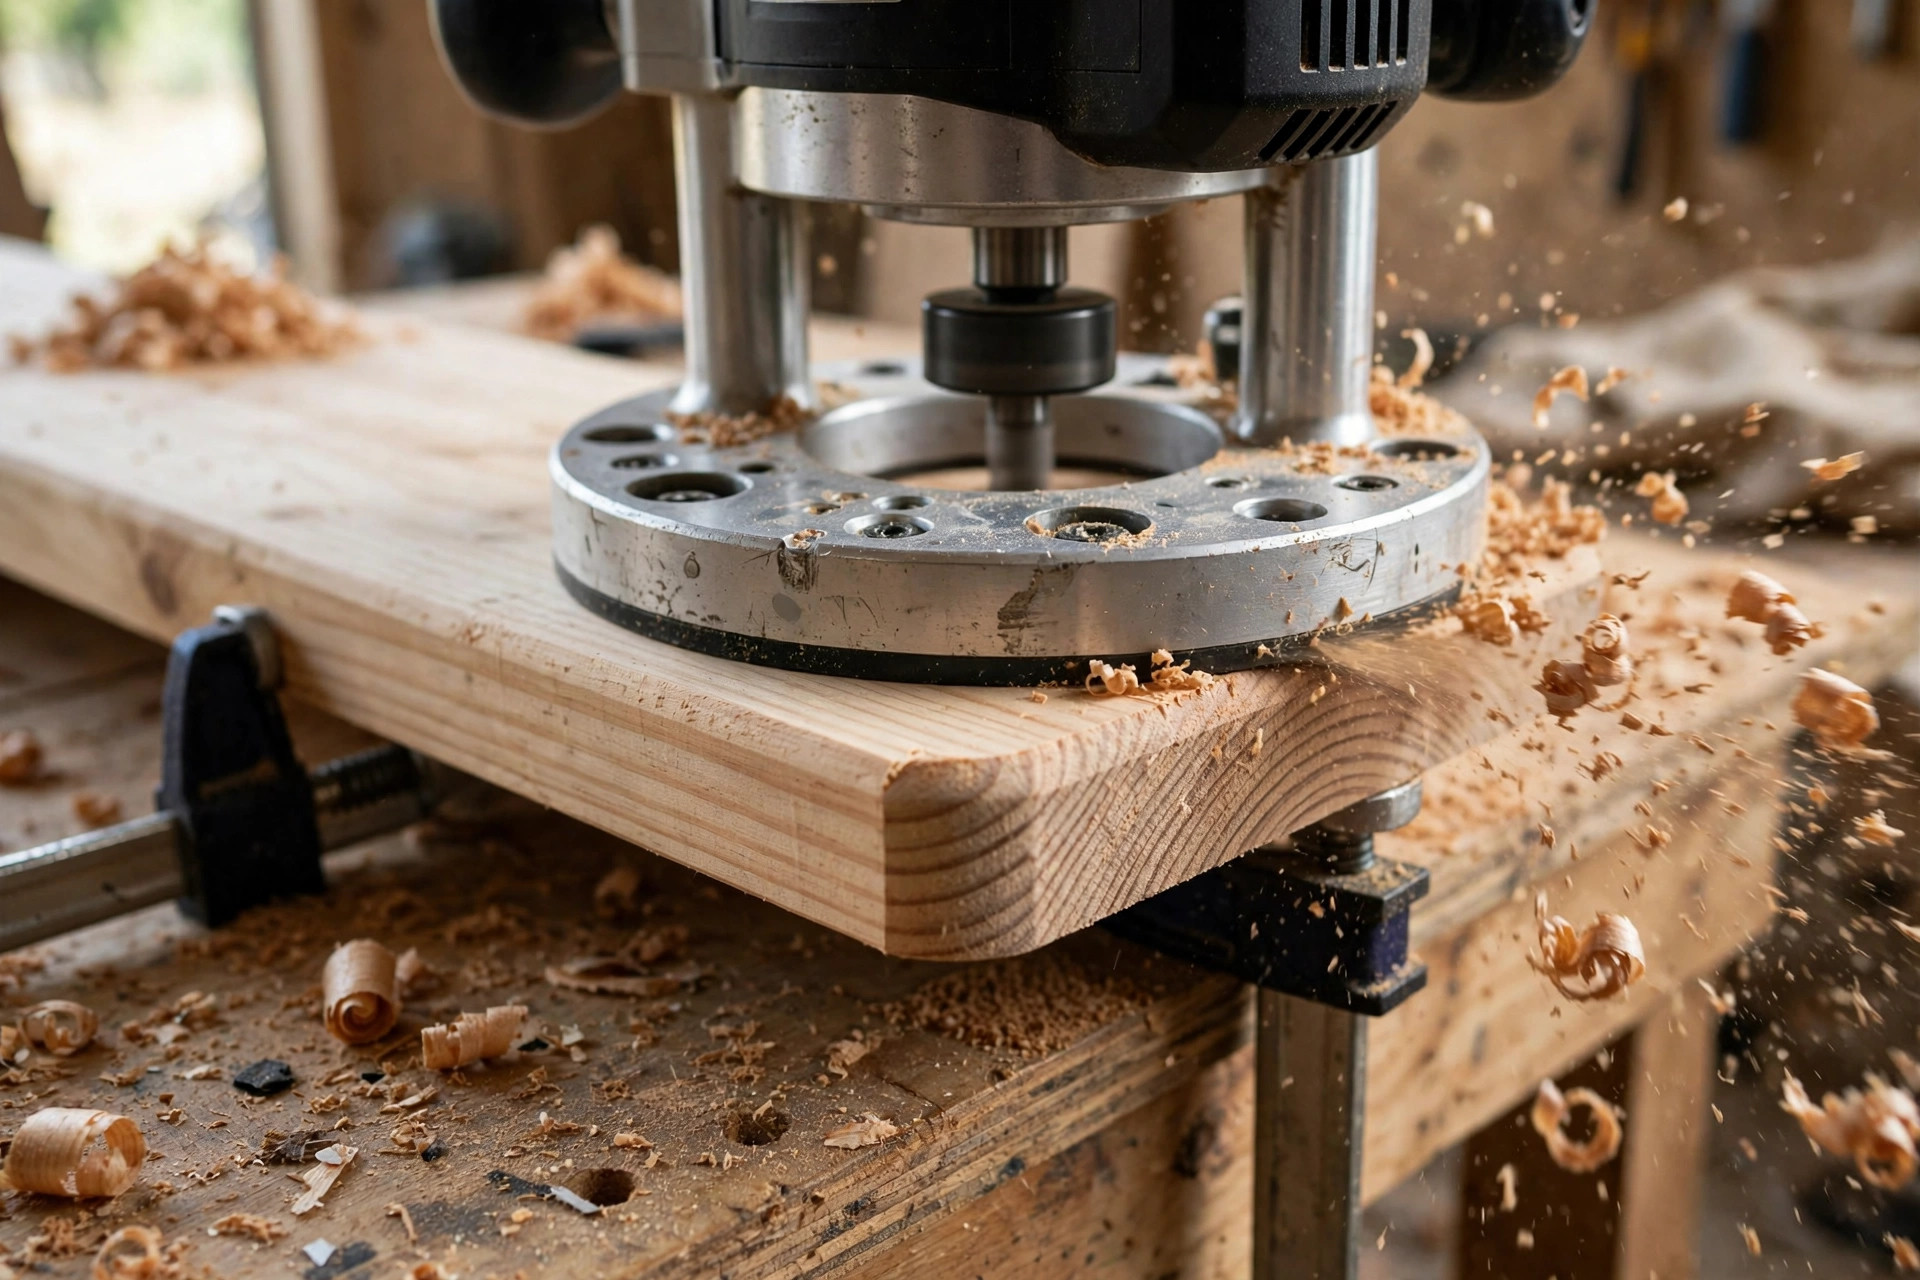
That is the whole first cut. It should take about a minute of actual routing, and most of that minute is set-up and checking. Do it three or four times on scrap, changing the depth slightly each time, and you will develop a feel for what a good cut sounds and feels like. That feel is worth more than any number of videos, because every board, bit, and router combination behaves slightly differently.
First Edge Profiles to Practise
Once the round-over feels comfortable, practise the other beginner profiles in this order, because each one teaches a new control skill:
- Round-over (1/4 inch radius): the forgiving starter profile. The bearing controls the depth, the cut is shallow, and the result looks good on shelves, cutting boards, and table tops. Sand lightly with 150-grit after routing to remove any fuzz.
- Chamfer (45 degrees): a crisp bevel that teaches you to keep the base flat, because any tilt shows immediately as an uneven bevel. Excellent on picture frames, box lids, and sign edges.
- Rabbet (with bearing-guided rabbeting bit): a stepped cut that teaches depth control, because the rabbet depth determines how a back panel or frame sits. Practise on scrap until the step is exactly the thickness of the panel it will hold.
- Flush-trim (template routing): clamp a template to your board, let the bearing ride the template, and the bit copies the shape exactly. This is how curved parts, signs, and repeated shapes are made accurately, and it is a natural next step after edge profiling.
Finish each practice edge the same way: a light sanding with the grain, a wipe with a damp cloth to raise the grain, a final light sand, and then your chosen finish. A routed edge that is sanded properly looks like it came from a furniture shop; a routed edge left fuzzy looks homemade in the worst sense. The router does the shaping, but sanding does the finishing.
Common Beginner Mistakes (and How to Fix Them)
Climb cutting. Symptom: the router suddenly lunges forward and gouges the edge. Cause: feeding in the wrong direction. Fix: stop, re-check the feed direction, and always move counter-clockwise on outside edges. Never climb cut as a beginner.
Burning. Symptom: dark brown or black marks along the profile, often with a burnt smell. Causes: cutting too deep in one pass, moving too slowly, or a dull or resin-coated bit. Fix: reduce depth, increase feed speed slightly, clean or replace the bit, and always test on scrap first.
Tearout. Symptom: chunks of grain torn away, especially at the end of a cut or on cross-grain. Causes: cutting against the grain, exiting the board at a corner, or taking too deep a cut. Fix: rout the end grain first and the long grain second (so any end-grain tearout is cleaned up by the long-grain pass), back up the exit corner with a scrap block clamped behind it, and take shallower passes.
Wavy or uneven profile. Symptom: the profile depth varies along the edge. Causes: tipping the base, inconsistent pressure, or the board moving. Fix: keep the base flat with even downward pressure, re-clamp the board firmly, and use a support board on narrow workpieces.
Chatter marks. Symptom: fine ripples across the cut surface. Causes: a loose collet, a dull bit, or moving too fast. Fix: re-seat and tighten the bit, sharpen or replace the bit, and slow down to a steady, even pace.
Starting the cut with the bit in the wood. Symptom: a deep gouge at the start of the cut and a jolt as the router starts. Cause: switching on while the bit touches the board. Fix: always start the router clear of the wood, let it reach full speed, and then ease into the cut.
If you hit a problem you cannot diagnose, stop and check the simplest things first: is the bit tight, is the depth locked, is the board clamped, and are you feeding in the right direction? Nine times out of ten, the problem is one of those four.
Router Safety Essentials
A router deserves more respect than most beginner tools, and the safety rules are simple enough to follow every time:
- Eye, ear, and lung protection, every cut. Chips fly fast, routers are loud, and fine dust is harmful. Glasses, hearing protection, and a dust mask are not optional extras.
- Both hands on the router, always. Never hold the workpiece with one hand while routing with the other.
- Unplug to change bits. No exceptions, even for a quick bit swap.
- Wait for full speed before cutting, and for a full stop before setting down. A spinning bit on a bench surface skates dangerously.
- Keep the cord clear. Route so the cord trails behind you, not across the workpiece where it can snag.
- Use a dust extractor or shop vacuum if you have one. It improves visibility as well as air quality, and seeing the cut line clearly is a safety issue in itself.
These rules overlap with the broader woodworking safety tips for beginners, and they are worth re-reading before your first session with any new power tool. Routers also pair naturally with joinery work: once you can cut clean grooves and rabbets, the woodworking joinery types for beginners guide shows you where those cuts become real joints — dados for shelves, rabbets for box backs, and grooves for panels.
Your First Real Project: A Profiled Shelf
Here is a project that uses everything in this guide and produces something useful in under an hour. Cut a pine board to shelf length, sand the faces to 120-grit, and clamp it to your bench. Rout a 1/4-inch round-over along the front edge and both ends, in two shallow passes, feeding counter-clockwise around the outside. Sand the profile lightly, wipe off the dust, and finish with oil or varnish. You now have a shelf that looks store-bought rather than workshop-rough, and you have practised bit seating, depth setting, clamping, feed direction, and finishing in a single session.
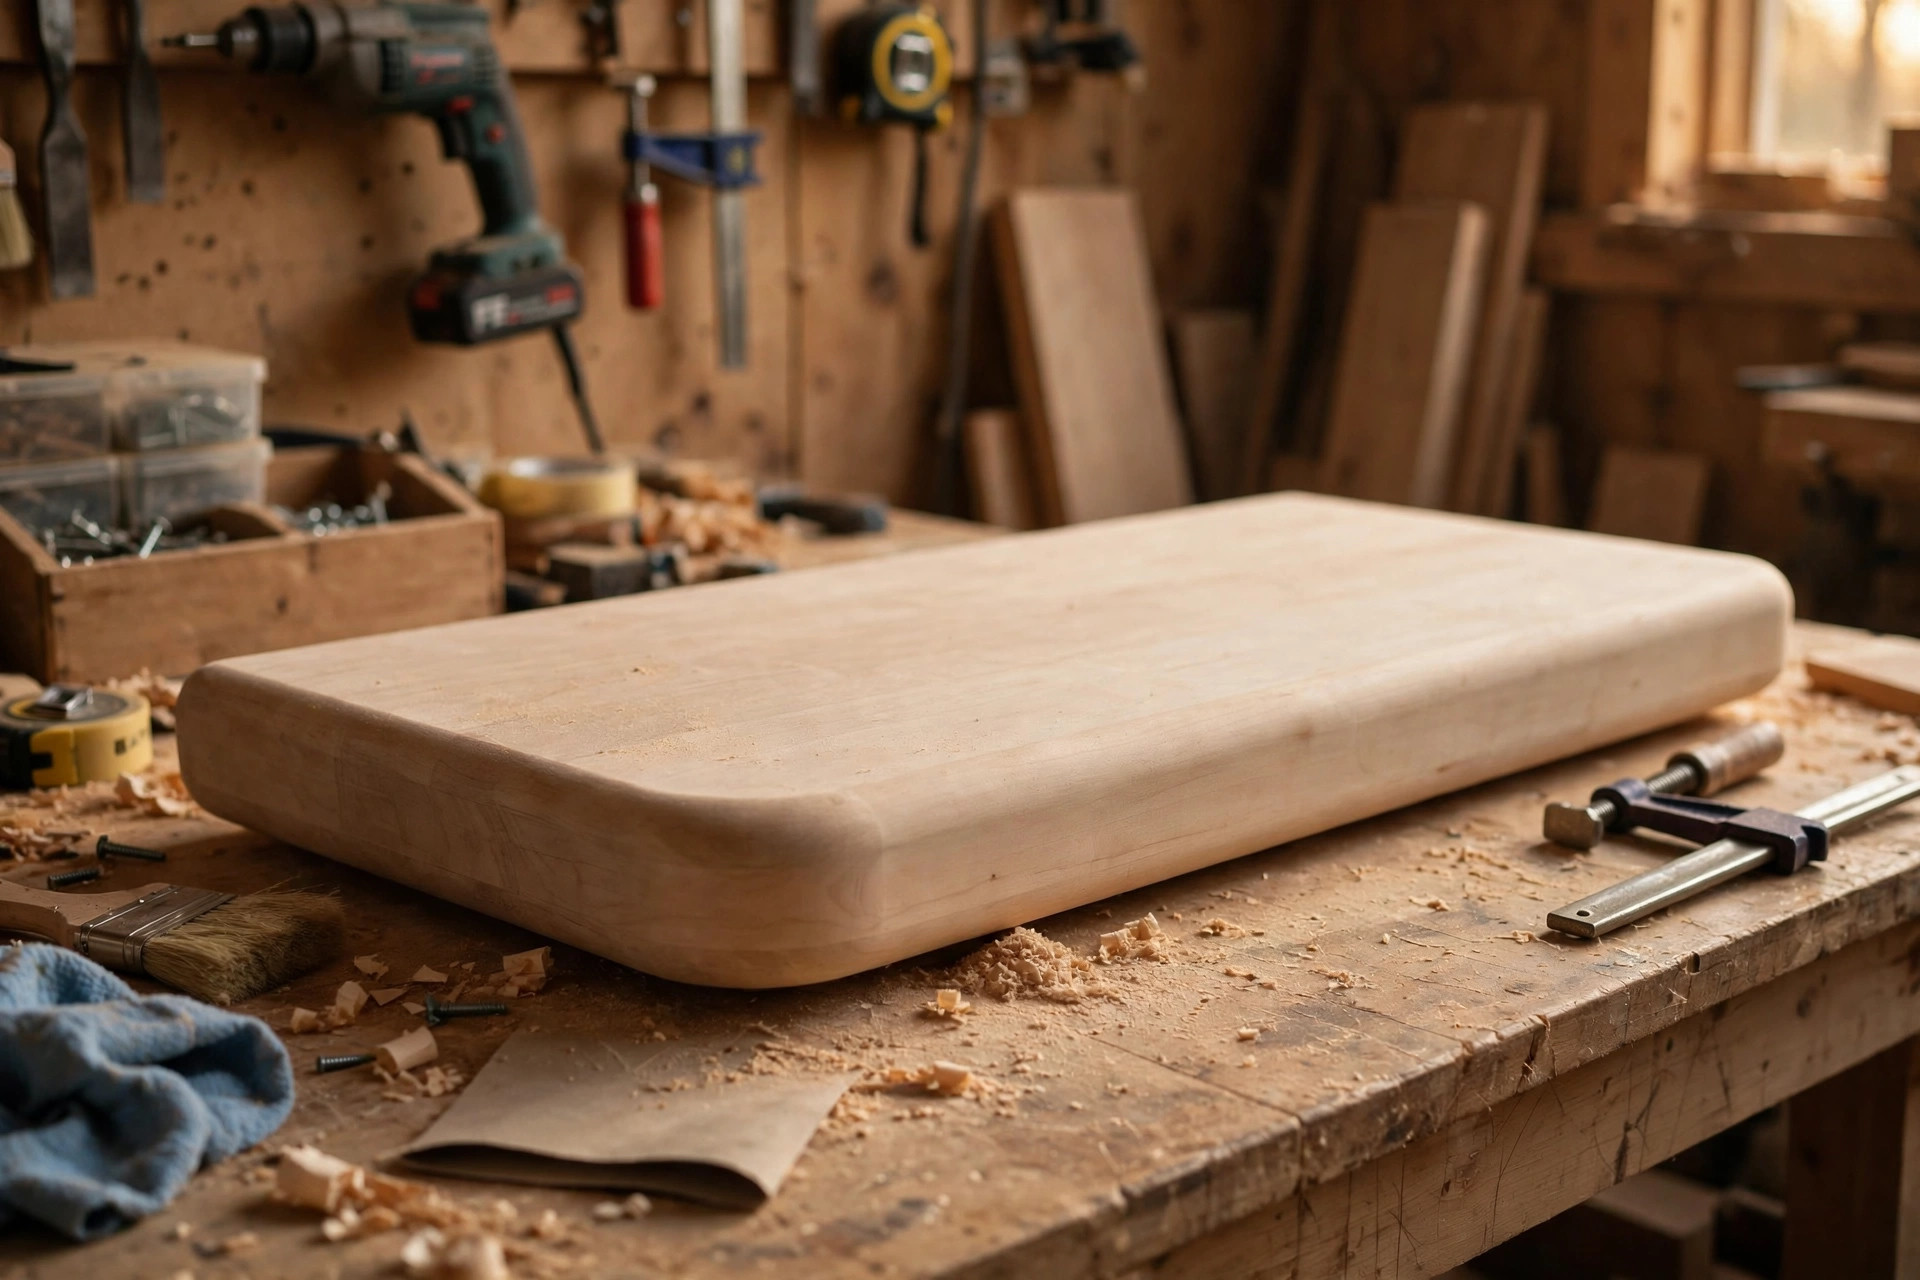
From there, the natural progression is: chamfered picture frames, rabbeted box backs, template-routed signs, and then plunge-router mortises and grooves. Each step reuses the same four fundamentals — bit seating, depth in shallow passes, correct feed direction, and firm workholding — so the learning curve flattens quickly after the first few edges. The router stops feeling intimidating once you have made twenty good edges, and it starts feeling like the tool you reach for whenever a plain board needs to look finished.
Frequently Asked Questions
What is the easiest router bit for a beginner to start with?
A 1/4-inch radius round-over bit with a guide bearing. It cuts a shallow, forgiving profile, the bearing controls the depth for you, and the result looks good on shelves, cutting boards, and table tops. Practise on scrap pine before cutting a real workpiece.
Should a beginner buy a fixed-base or plunge router first?
Start with a fixed base for edge profiling, because the depth stays locked and the machine is lower and more stable. Learn plunge cuts later for mortises, stopped grooves, and hinge recesses, where you need to lower the bit into the middle of a board.
Which way do I move a router around a board?
Counter-clockwise around the outside edge of a board, and clockwise around an inside edge such as a frame opening. This feeds the router against the bit’s rotation and gives you control. If the router pulls itself forward, you are climb cutting in the wrong direction — stop and reverse.
How deep should I cut in one router pass?
About 1/8 inch per pass for profile bits, less for large bits or hardwoods. Work down to the full depth in stages, and make the last pass a light skim for the smoothest finish. One deep pass causes burning, tearout, and loss of control.
Why is my router burning the wood?
Usually because the cut is too deep, the feed speed is too slow, or the bit is dull or coated in resin. Reduce the depth, move at a steadier pace, clean the bit with resin remover, and test on scrap before cutting your workpiece. A sharp, clean bit at the right depth rarely burns.
Can I use a router without a router table?
Yes — every cut in this guide is handheld, and most beginner edge profiling, chamfering, and grooving is done handheld. A router table becomes useful later for small parts, large bits, and repeated profiles, but it is not required to learn the fundamentals.
Final Thoughts
Learning how to use a router for beginners in woodworking comes down to four habits, practised in order: seat the bit correctly with at least two-thirds of the shank in the collet, set depth in shallow passes and test on scrap, feed counter-clockwise on outside edges, and clamp the workpiece so it cannot move. Master those, and the router changes from the most intimidating tool in the shop to one of the most satisfying. Start with a round-over bit, a scrap pine board, and a single shelf edge — and let the smooth, professional-looking result convince you that the router was worth learning properly.


