
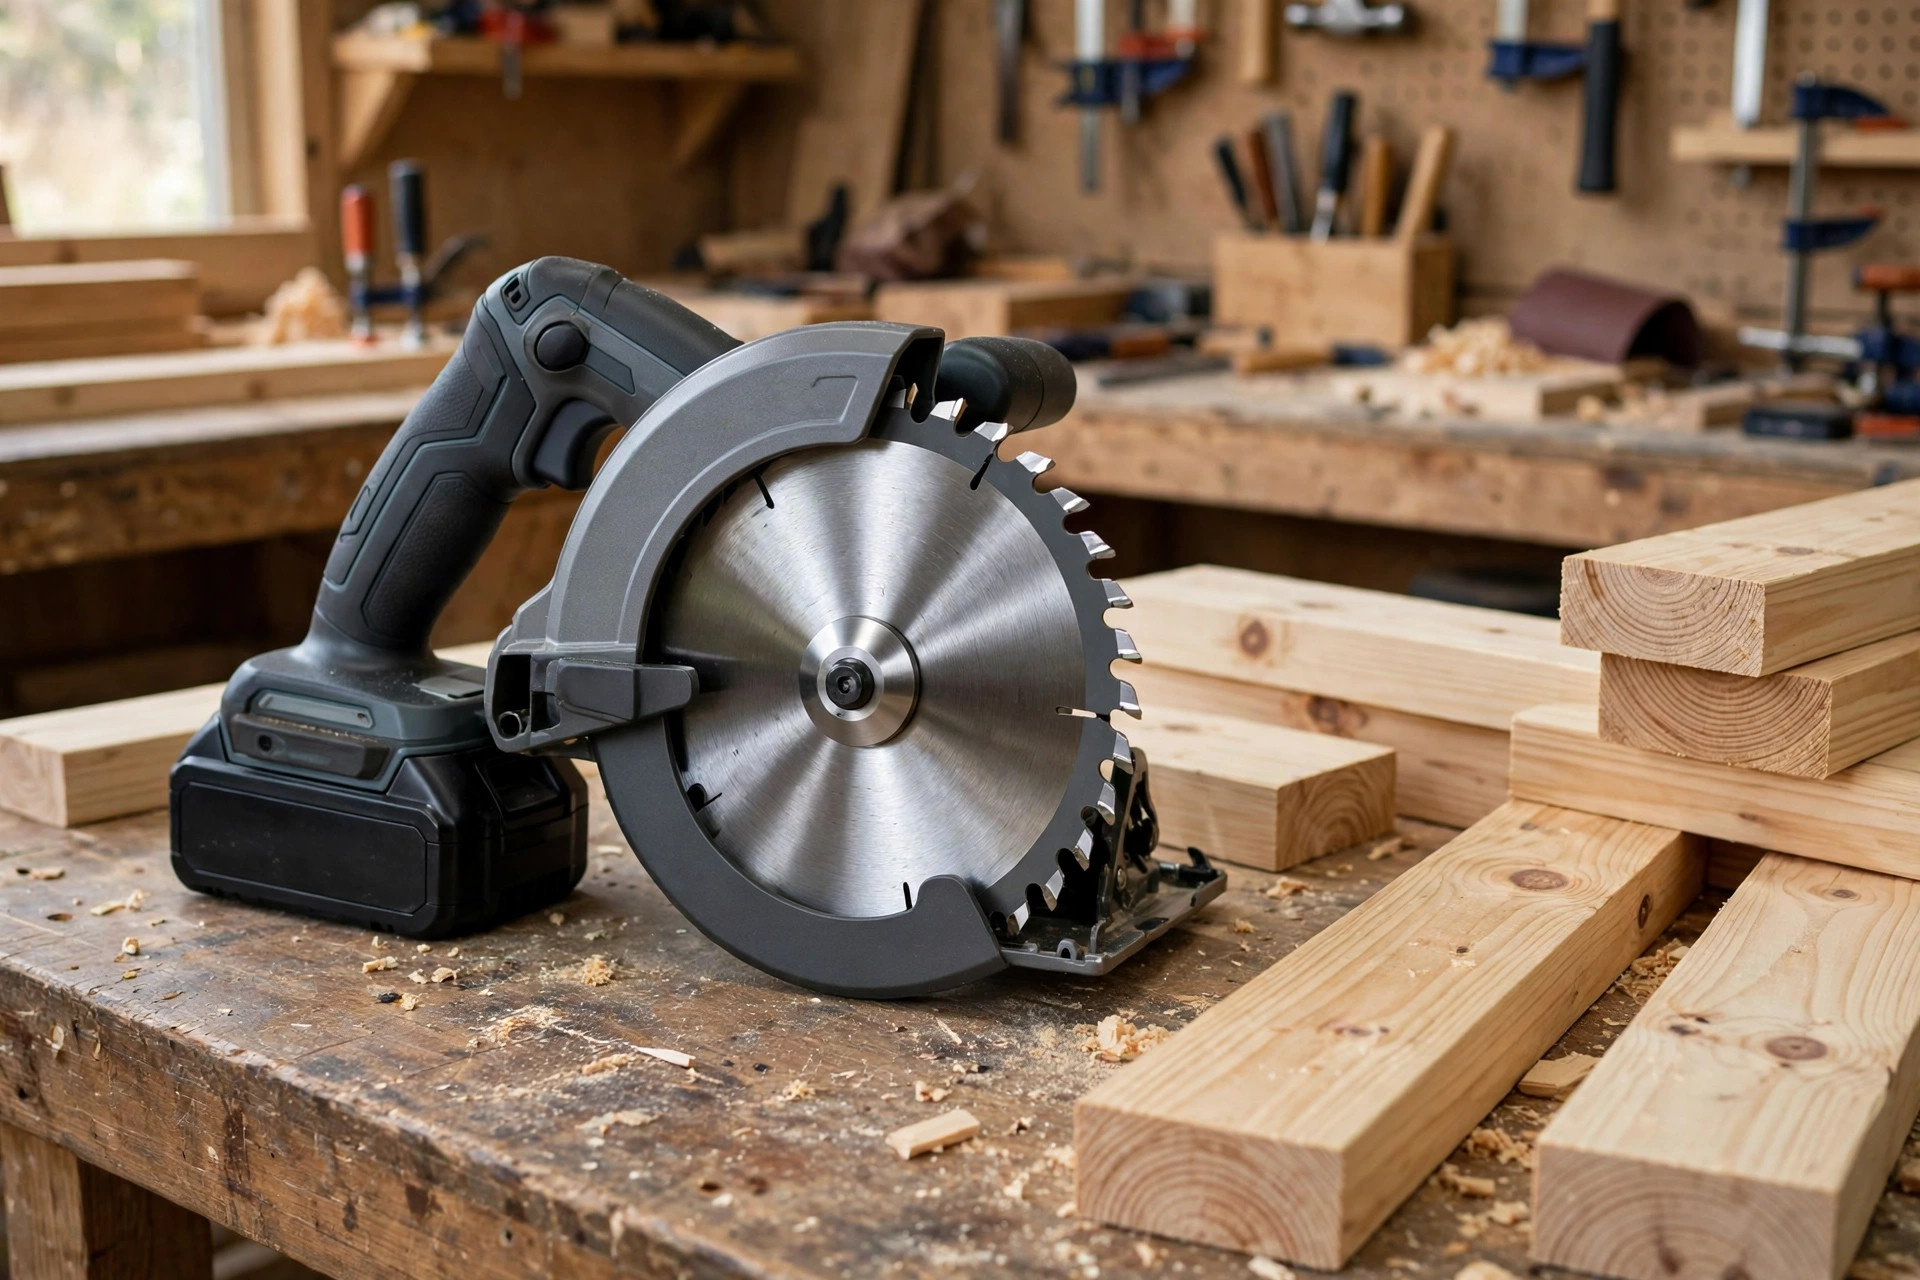
If you already own a circular saw, the blade that came in the box is probably holding your work back. Stock blades are built to a price, not to a finish: they cut, but they tear, burn, and wander more than a decent blade should, and beginners often blame themselves for rough edges that are really the blade’s fault. Choosing the best circular saw blade for beginners woodworking is therefore one of the highest-value upgrades in a beginner workshop. A good blade costs far less than a new saw, yet it changes every cut you make — cleaner edges, less sanding, less burning, and more confidence.
The good news is that you do not need a wall full of blades to get those results. Most beginners need just three blades, and this guide explains exactly which three, why each one earns its place, and how to tell them apart in the shop. You will learn what tooth count really means, why a 24-tooth blade rips fast but leaves a rough edge, why a 60-tooth blade leaves plywood almost sandpaper-smooth, and why the 40-tooth blade in the middle does most of the work. You will also learn the two checks that prevent a dangerous and expensive mistake — diameter and arbor size — the difference between carbide-tipped, plain steel, and diamond blades, and how to change a blade safely, cut straight with a guide, fix tear-out, and know when a blade should be cleaned, sharpened, or replaced.
Here is the short answer, so you can act on it right away. The beginner kit that covers almost every first-year project is: a 24-tooth rip and framing blade, a 40-tooth general-purpose combination blade, and a 60-tooth to 80-tooth fine-finish blade for plywood, melamine, and trim. Start with the 40-tooth blade fitted to your saw for everyday work, switch to the 24-tooth blade when you are ripping framing lumber or breaking down long boards, and switch to the 60-tooth or 80-tooth blade when the visible face matters — plywood shelves, cabinet panels, and trim. Buy all three in your saw’s size, almost always 7-1/4 inch with a 5/8 inch arbor, choose carbide-tipped blades, and keep the blade that came with your saw for rough work you would not want to waste a good blade on. That is the whole system. The rest of this guide explains why it works, so you can adapt it to your own projects instead of memorising a shopping list.
One point of scope first. This guide is about the blade, not the saw itself. If you have not bought a saw yet, or you are wondering whether a circular saw is the right first saw for your projects, read our guide to the best circular saw for beginners first, then come back here to choose blades for it. If your projects are mostly boards and trim cut to length rather than sheets and panels, you may also want to compare your options in our guide to the best miter saw for beginners. The blade advice here applies to handheld circular saws, which is what most beginners own; the tooth-count principles also transfer to table saws and miter saws, but always check the size and arbor for the specific saw you are fitting.
The Short Answer: The 3-Blade Beginner Kit

Every beginner faces the same shelf problem: dozens of blades, all claiming to be the best, with tooth counts from 18 to 100 and prices from a few pounds or dollars to many times that. The three-blade kit cuts through that confusion by giving each blade one clear job, so you never have to guess mid-project.
The first blade is the 24-tooth rip and framing blade. Its large, widely spaced teeth clear sawdust quickly as the blade travels along the grain, which is what ripping means: cutting a board lengthwise, parallel to its grain. That speed is exactly what you want when you are cutting 2×4 framing lumber, ripping a pine board to width, or breaking down construction lumber for a workbench or a planter box. The trade-off is finish. A 24-tooth blade leaves a noticeably rougher edge, with visible tooth marks, so it is the wrong choice for a shelf edge or a tabletop that people will see and touch. Use it where speed and power matter more than appearance, and where the edge will be hidden, sanded heavily, or joined to another piece.
The second blade is the 40-tooth general-purpose combination blade, and it is the blade that should live on your saw most of the time. Combination blades are designed to do both jobs reasonably well: they rip acceptably and crosscut acceptably, which is why they are the best single-blade compromise for a beginner. Crosscutting means cutting across the grain, for example cutting a board to length. A 40-tooth blade leaves a much cleaner crosscut edge than a 24-tooth blade, it rips without bogging down too badly in softwoods, and it handles plywood better than a framing blade. If you could own only one blade, this is the one to own. For shelves, boxes, crates, small tables, and general workshop projects, the 40-tooth blade is the default, and you switch away from it only when a job clearly calls for one of the other two.
The third blade is the 60-tooth to 80-tooth fine-finish blade, and it is the blade that makes plywood and trim look professional. Its many small teeth take tiny bites, so each tooth cuts less wood and leaves a smoother surface with far less tear-out, which is the splintering that happens when fibres are lifted rather than cut cleanly. Use this blade for plywood sheets, melamine-coated panels, hardwood shelves, picture-frame moulding, and any trim where the edge will be visible. It cuts more slowly and it works harder, so it is not the blade for ripping a stack of framing lumber — that is slow work that dulls a fine blade quickly — but for visible work it is worth every minute of the slower feed rate. A 60-tooth blade is enough for most beginner plywood and trim work; an 80-tooth blade gives an even finer finish on veneered plywood and melamine, at the cost of slower cutting and faster heat build-up if you push it.
Put together, the kit works because each blade covers the others’ weakness. The 24-tooth blade gives you speed where finish does not matter. The 40-tooth blade gives you a reliable everyday cut. The 60-tooth or 80-tooth blade gives you a finish you would be proud to leave unsanded. As a rough price guide, expect each decent carbide-tipped blade in this kit to sit in an approximate budget to mid-range band, with fine-finish blades usually costing a little more than framing blades; prices vary by brand, size, and retailer, so treat any figure you see as approximate and check the current price before buying. Buying three decent blades is still cheaper than buying one premium blade and using it for everything, because using the right blade keeps each one sharp for longer.
| Blade | Tooth count | Best use | Finish |
|---|---|---|---|
| Rip / framing blade | 24T | Ripping along the grain, framing lumber, breaking down boards | Rough, visible tooth marks |
| General-purpose combination blade | 40T | Everyday ripping and crosscutting, shelves, boxes, crates | Good, light sanding needed |
| Fine-finish blade | 60T–80T | Plywood, melamine, hardwood shelves, trim, veneer | Smooth, minimal tear-out |
| Thin-kerf version of any of the above | Same tooth counts | Lower-powered or cordless saws, easier cutting | Same as the matching full-kerf blade |
Tooth Count Explained: Fewer Teeth, Faster and Rougher; More Teeth, Slower and Cleaner
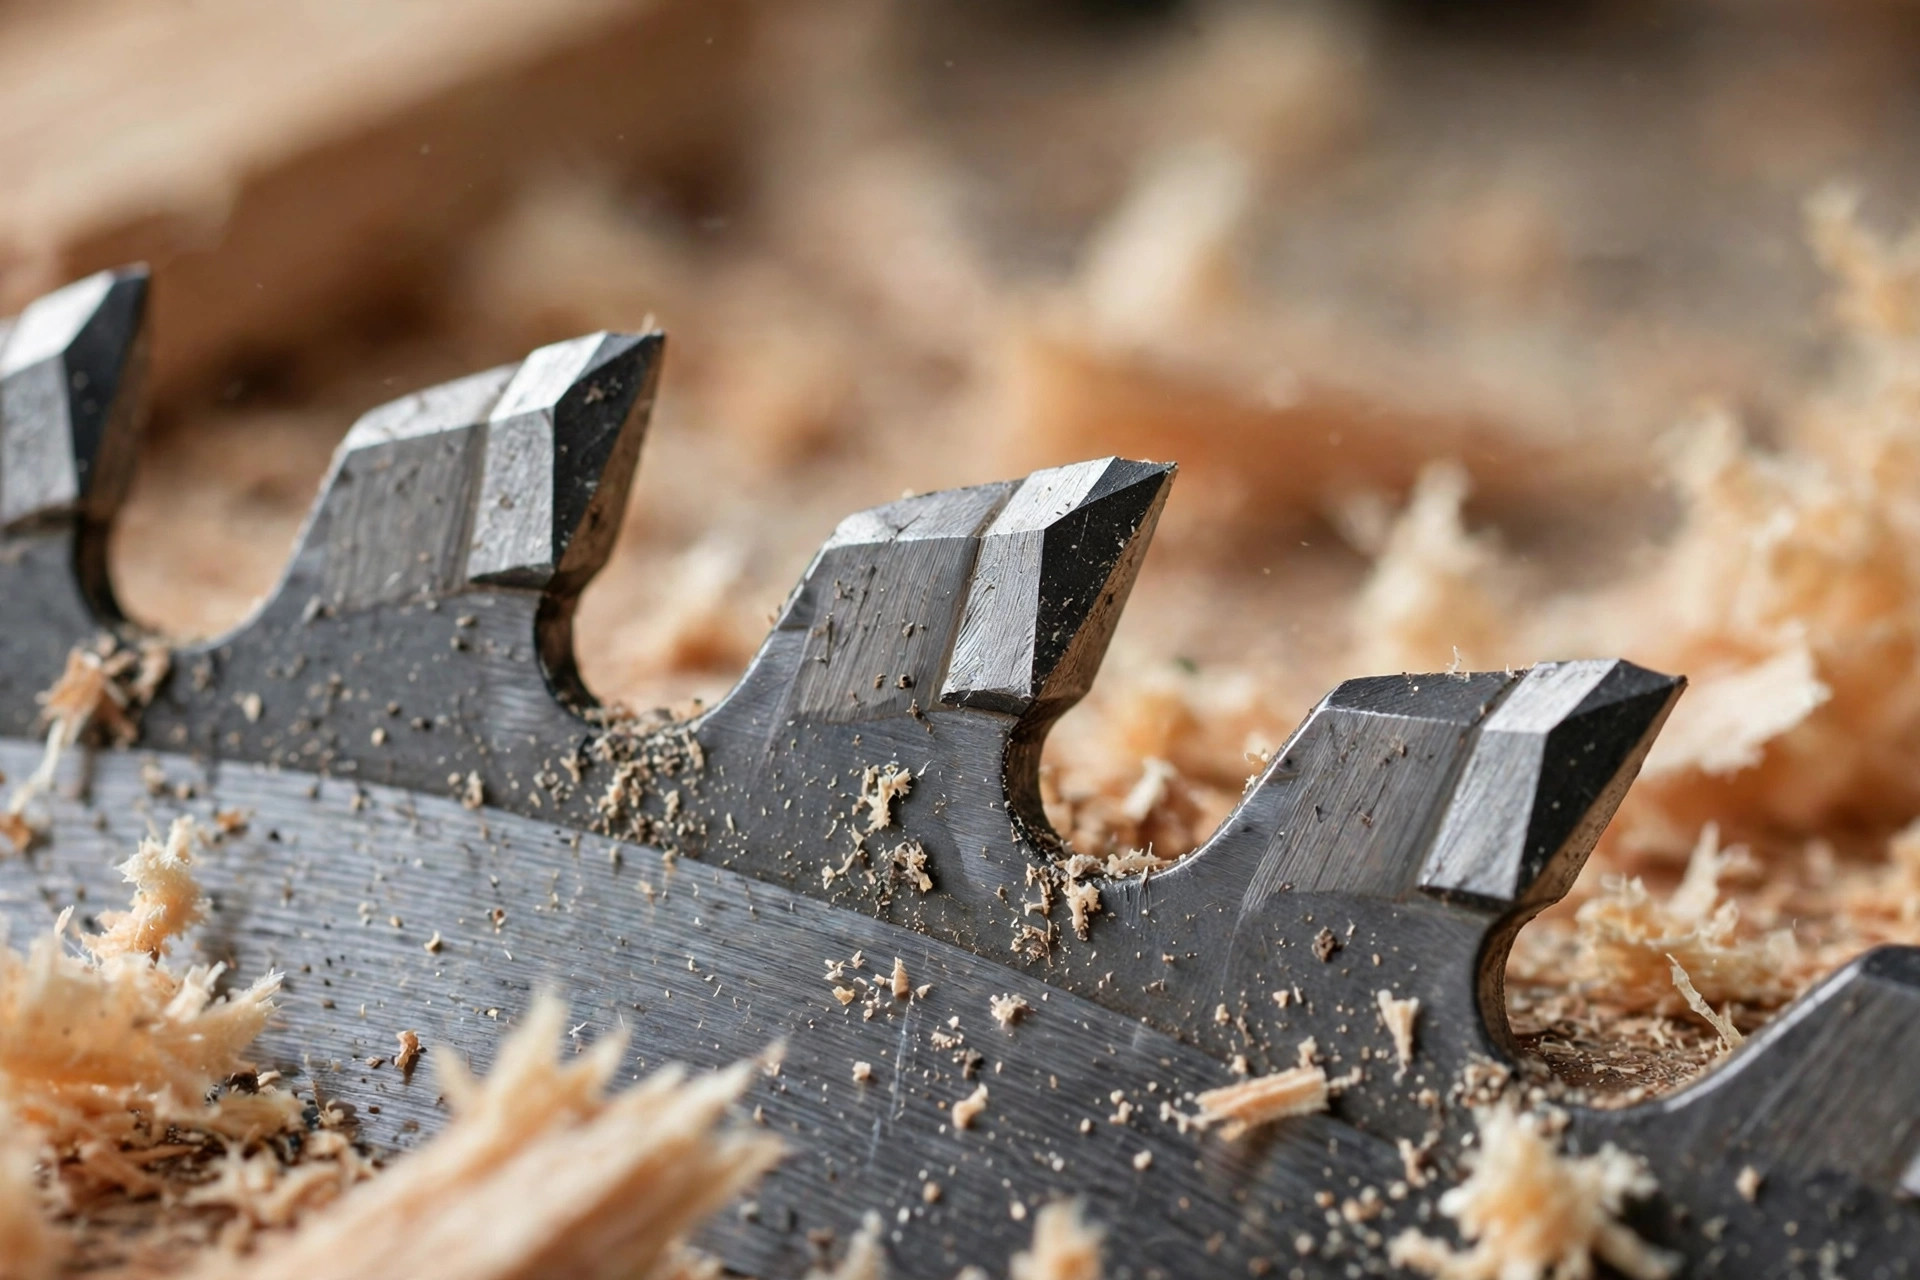
Tooth count, usually written as “T” — 24T, 40T, 60T — is the number of teeth around the blade, and it is the single most useful number on the packaging. The rule is simple and it never changes: fewer teeth means each tooth takes a bigger bite, clears waste faster, and leaves a rougher edge; more teeth means each tooth takes a smaller bite, cuts more slowly, and leaves a cleaner edge. Once you understand that trade-off, you can choose a blade for any cut without memorising a chart.
Why does this happen? A saw blade does not cut in one smooth action. Each tooth scoops out a small chip as it passes through the wood, and the gap between teeth, called the gullet, carries that chip away. With 24 teeth, the gullets are large, so the blade clears a lot of waste quickly and does not clog when ripping long grain, where the chips are long and stringy. The cost is that each tooth leaves a deeper mark. With 60 or 80 teeth, the gullets are small and each tooth removes only a sliver, so the surface is smooth, but the blade must work harder to clear waste and it moves through the wood more slowly. Push a fine blade too fast and it heats up, which causes burning — dark marks along the cut — and can dull the teeth prematurely. The right feed rate is therefore part of the blade choice: let a fine blade cut at its own pace, and let a rip blade run at a confident, steady pace.
Tooth shape matters too, though beginners do not need to master it on day one. Most general-purpose and fine-finish blades use alternate top bevel teeth, where each tooth is angled alternately left and right, which slices fibres cleanly on both sides of the cut and reduces tear-out. Rip blades often use flat-top teeth, which chisel straight through the grain efficiently. Combination blades mix tooth shapes to handle both ripping and crosscutting. When you are shopping, you do not need to compare tooth geometry in detail; tooth count and the blade’s stated purpose — rip, combination, or fine-finish — tell you almost everything you need. If a blade says “rip” and has around 24 teeth, it is a rip blade. If it says “fine finish” or “plywood” and has 60 teeth or more, it is a finish blade. Trust those labels alongside the tooth count.
Kerf is the second number worth understanding. Kerf is the width of the cut the blade makes, which is slightly wider than the blade plate itself because the teeth stick out a little on each side. A standard full-kerf 7-1/4 inch blade cuts a kerf of about 1/8 inch, while a thin-kerf blade cuts a narrower kerf, roughly 3/32 inch or less. Thin-kerf blades remove less wood, so they need less power, which makes them a good match for cordless saws and lower-powered corded saws, and they waste less of an expensive hardwood board. The trade-off is that a thinner plate can flex slightly more and can be more prone to wobble if it is poor quality, so buy thin-kerf blades from reputable brands and never use a thin-kerf blade that is bent or damaged. For most beginners, a thin-kerf 40-tooth combination blade is an excellent everyday blade, especially on a cordless saw, while a full-kerf blade suits a powerful corded saw and heavy ripping. Whichever kerf you choose, remember the kerf when measuring: the blade removes that width of wood, so always cut on the waste side of your marked line, not on the line itself.
A final tooth-count trap to avoid is buying a very high tooth count for every job in the hope that more teeth always means better. An 80-tooth or 100-tooth blade used to rip framing lumber will cut slowly, heat up, burn, and dull fast, and the result will look worse, not better, than a 24-tooth blade would have produced. More teeth is not better in general; it is better only for the jobs that need a fine finish. Match the tooth count to the cut, keep the other blades in the kit for their own jobs, and your blades will stay sharp and your edges will stay clean.
Diameter, Arbor, and Blade Materials: The Checks Before You Buy
Diameter and arbor size are not details you can fudge, and getting them wrong is the one blade mistake that can be genuinely dangerous. Diameter is the overall size of the blade, measured across its full circle. For handheld circular saws, the overwhelmingly common size is 7-1/4 inches, and that is almost certainly the size your saw takes if it is a standard full-size circular saw. Smaller saws exist — compact and mini circular saws often take 4-1/2 inch or 6-1/2 inch blades — so check your saw’s manual or the marking on the saw itself rather than assuming. A blade that is too large for your saw will not fit under the guard, and a blade that is too small will cut less deeply than you expect and may not be properly guarded. Always buy the diameter your saw is designed for, and never modify a guard to fit a larger blade.
Arbor size is the diameter of the hole in the centre of the blade, which fits onto the saw’s arbor shaft. The standard arbor for a 7-1/4 inch circular saw blade is 5/8 inch, and most 7-1/4 inch blades you buy will have that size. Some blades come with a reducing ring or a knockout centre that adapts a larger hole to a smaller arbor, and some saws use a diamond-shaped arbor hole. The rule is absolute: the blade must fit the arbor snugly and exactly, with no wobble, and it must be clamped firmly by the saw’s flange and bolt or nut. Never force a blade onto the wrong arbor, never enlarge the hole, never stack washers to make a loose blade fit, and never use a blade whose centre hole is damaged or cracked. A blade that is not centred and clamped correctly can wobble, vibrate, cut inaccurately, and in the worst case work loose. If a blade does not fit your saw’s arbor, it is the wrong blade for that saw, however good the price was. Check both numbers — 7-1/4 inch diameter and 5/8 inch arbor — before you pay, and check them again when the blade arrives, before the packaging goes in the bin.
Blade materials are the third choice, and here the answer for woodworking is straightforward. Carbide-tipped blades are the right choice for almost every beginner. Each tooth has a small piece of tungsten carbide brazed onto a steel body, and carbide stays sharp far longer than plain steel, cuts cleaner for longer, and can be resharpened several times by a professional sharpening service. Plain steel blades, sometimes called high-speed steel blades, are cheaper, but they dull quickly, especially in plywood and hardwoods, and a dull blade is a dangerous blade because it tempts you to push harder. Diamond blades are a different tool entirely: they are made for cutting masonry, concrete, tile, and stone, not wood. A diamond blade on wood cuts poorly, burns, and wastes an expensive blade, so never buy a diamond blade for a woodworking project, however tough it sounds. For the beginner kit, buy carbide-tipped blades throughout, keep the plain steel blade that came with your saw for rough or dirty work such as cutting reclaimed lumber that might hide a nail, and you will have the right material for every woodworking cut.
Blade Choice by Project: What to Fit for Each Job
Once you know the three-blade kit, the next question is practical: which blade do I fit for the project in front of me? The table below answers that for the four projects beginners build most often, with a cutting tip for each one. Keep it near your saw until the choices become habit.
| Project | Blade to fit | Cut tips |
|---|---|---|
| Framing lumber (2×4 studs, workbench frame, planter box) | 24T rip / framing blade | Cut with a steady, confident feed; support both ends; finish does not matter, speed does |
| Plywood sheet (shelves, cabinet panels, bookcase sides) | 60T–80T fine-finish blade | Good side down, score or tape the cut line, use a straight-edge guide, feed slowly |
| Hardwood shelf (oak, maple, or walnut board) | 40T combination or 60T fine-finish blade | Use 40T for ripping to width, 60T for crosscutting to length; watch for burning and slow down if you smell it |
| Trim and moulding (skirting, picture frames, architrave) | 60T–80T fine-finish blade | Cut slowly, support the piece fully, test the angle on scrap first |
Framing lumber is the most forgiving project in the table, which is why it is a good first project. Pine and spruce framing lumber is soft, cheap, and hides a rough edge well, especially when the joint will be screwed and the piece will be painted or stored in a workshop. Fit the 24-tooth blade, mark your length, and cut with a speed square as a guide for square crosscuts. Do not worry about a perfectly smooth edge here; worry about accurate length and square cuts, because a frame that is square matters far more than a frame whose edges are silky.
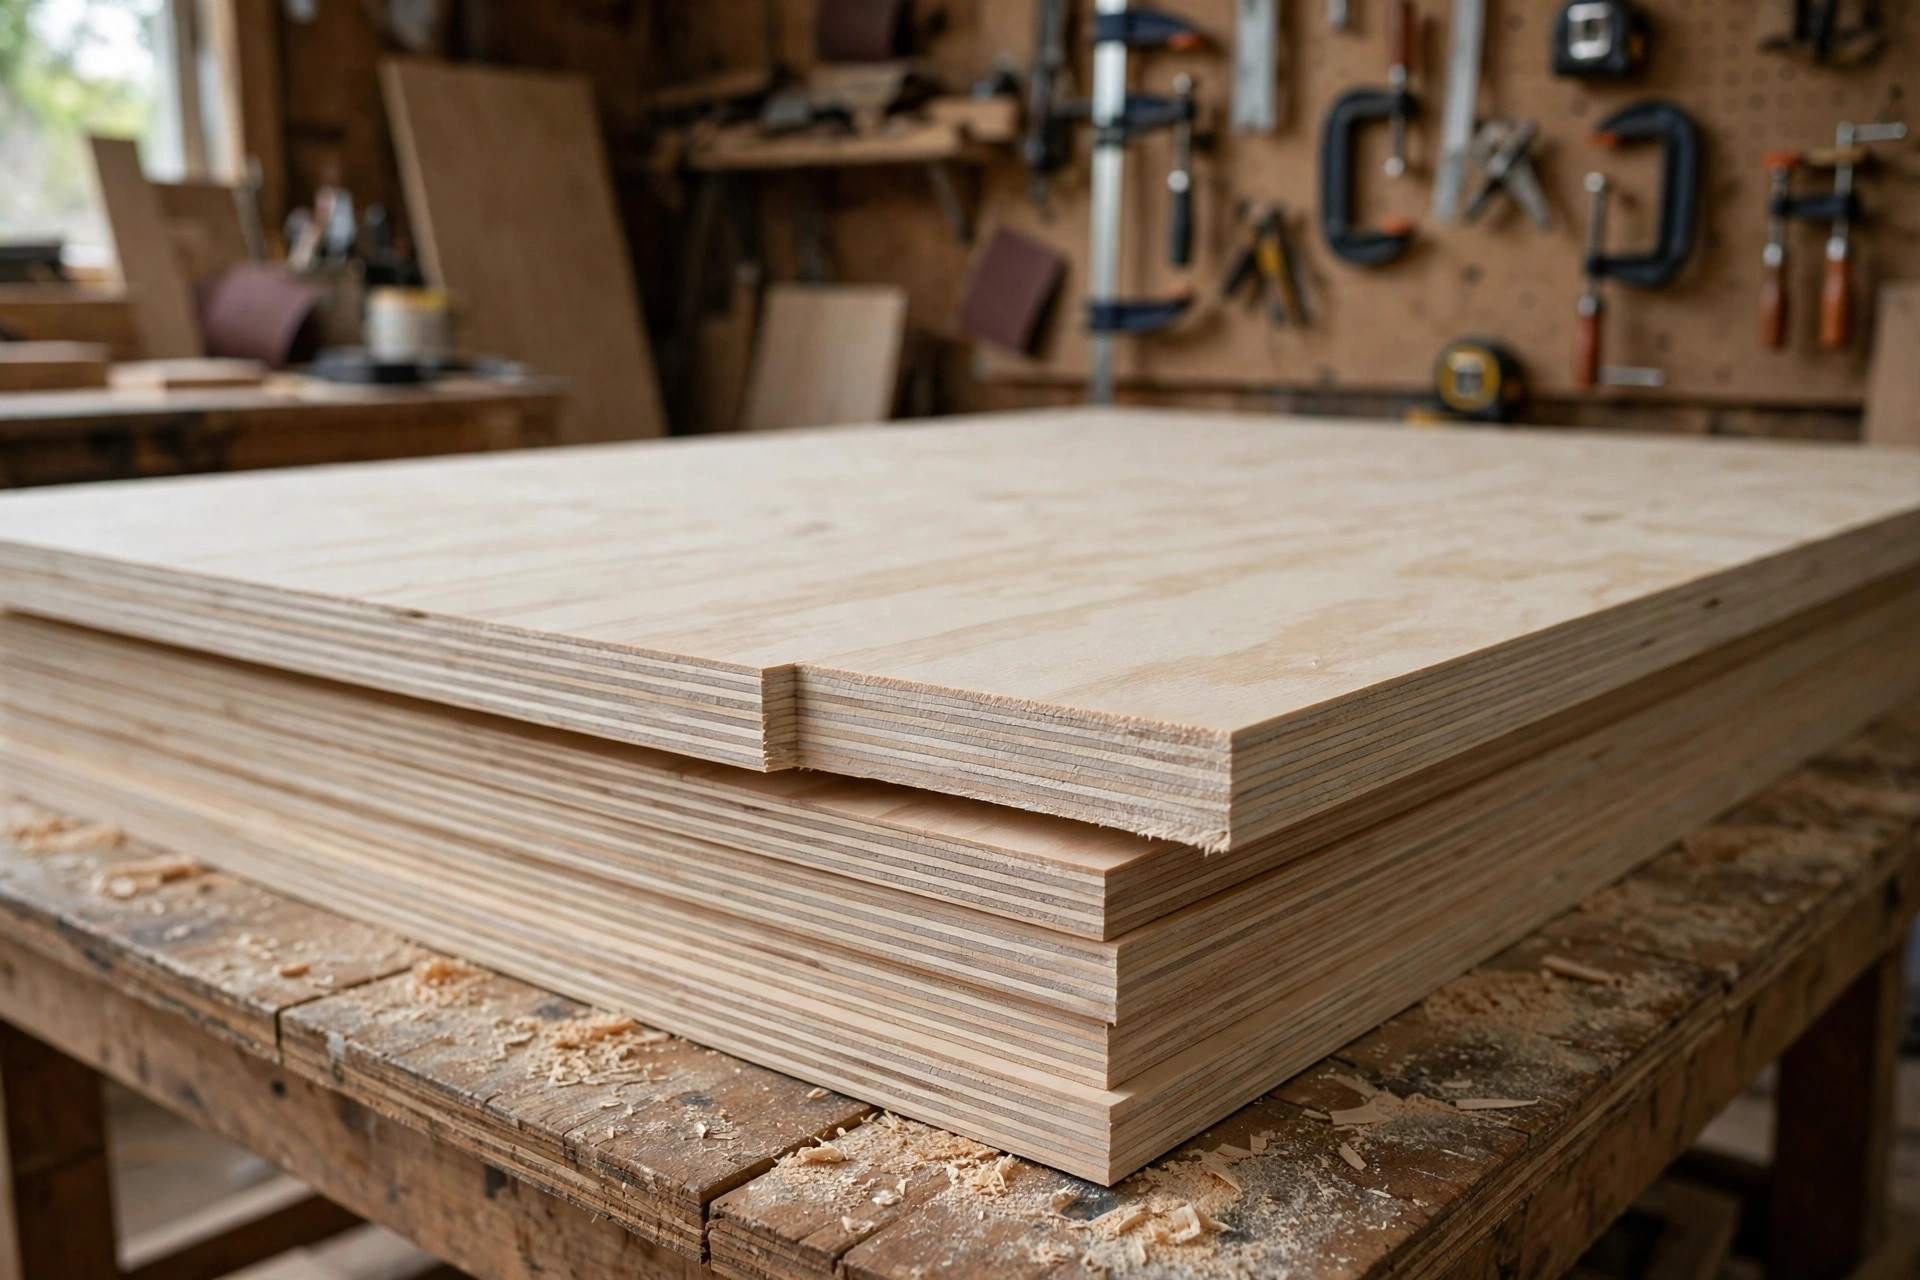
Plywood is the project where blade choice makes the most visible difference, and it is also where beginners lose heart, because a framing blade tears the thin face veneer and leaves a ragged, splintered edge that looks ruined. Fit the fine-finish blade, place the good face down so any tear-out happens on the hidden face, and cut along a straight-edge guide rather than freehand. You will be surprised how clean the result is: a 60-tooth blade on plywood, cut slowly with the good side down, often needs only a light pass with sandpaper. If you are building shelves or a bookcase from plywood, this single change — fine blade, good side down, guide clamped — is the difference between a project you hide and a project you show off.
Hardwood shelves sit in the middle, and they are a good lesson in switching blades within one project. Rip the shelf board to width with the 40-tooth combination blade, which handles the long grain cut without bogging down, then switch to the 60-tooth blade to crosscut the shelf to its final length, where the end grain and the visible front edge matter. That blade change takes two minutes and it is worth it: the front edge of a hardwood shelf is the edge everyone sees, and a fine blade leaves it crisp. Watch for burning on hardwoods such as oak and maple. Burning usually means the blade is dull, the feed is too slow, or the board is pinching the blade because it is not supported properly. Slow down or speed up deliberately rather than forcing the cut, check the blade, and check your supports before you blame the wood.
Trim and moulding are the finest work in the table and the least forgiving of a wrong blade. A 24-tooth blade on thin trim will chip the profile and splinter the ends, and the joint will show every defect. Fit the fine-finish blade, support the trim fully so it cannot flex or vibrate, and always test a mitre or a square cut on a scrap offcut from the same piece before cutting the real length. Trim is usually bought in exact lengths with little spare, so a test cut on scrap is cheap insurance. For mitred trim joints, remember that a circular saw can cut mitres with a guide, but a miter saw makes them far more repeatably; if trim becomes a regular project for you, the companion guide to the best miter saw for beginners will help you decide whether that second saw is worth it.
Changing a Blade Safely and Cutting Straight With a Guide
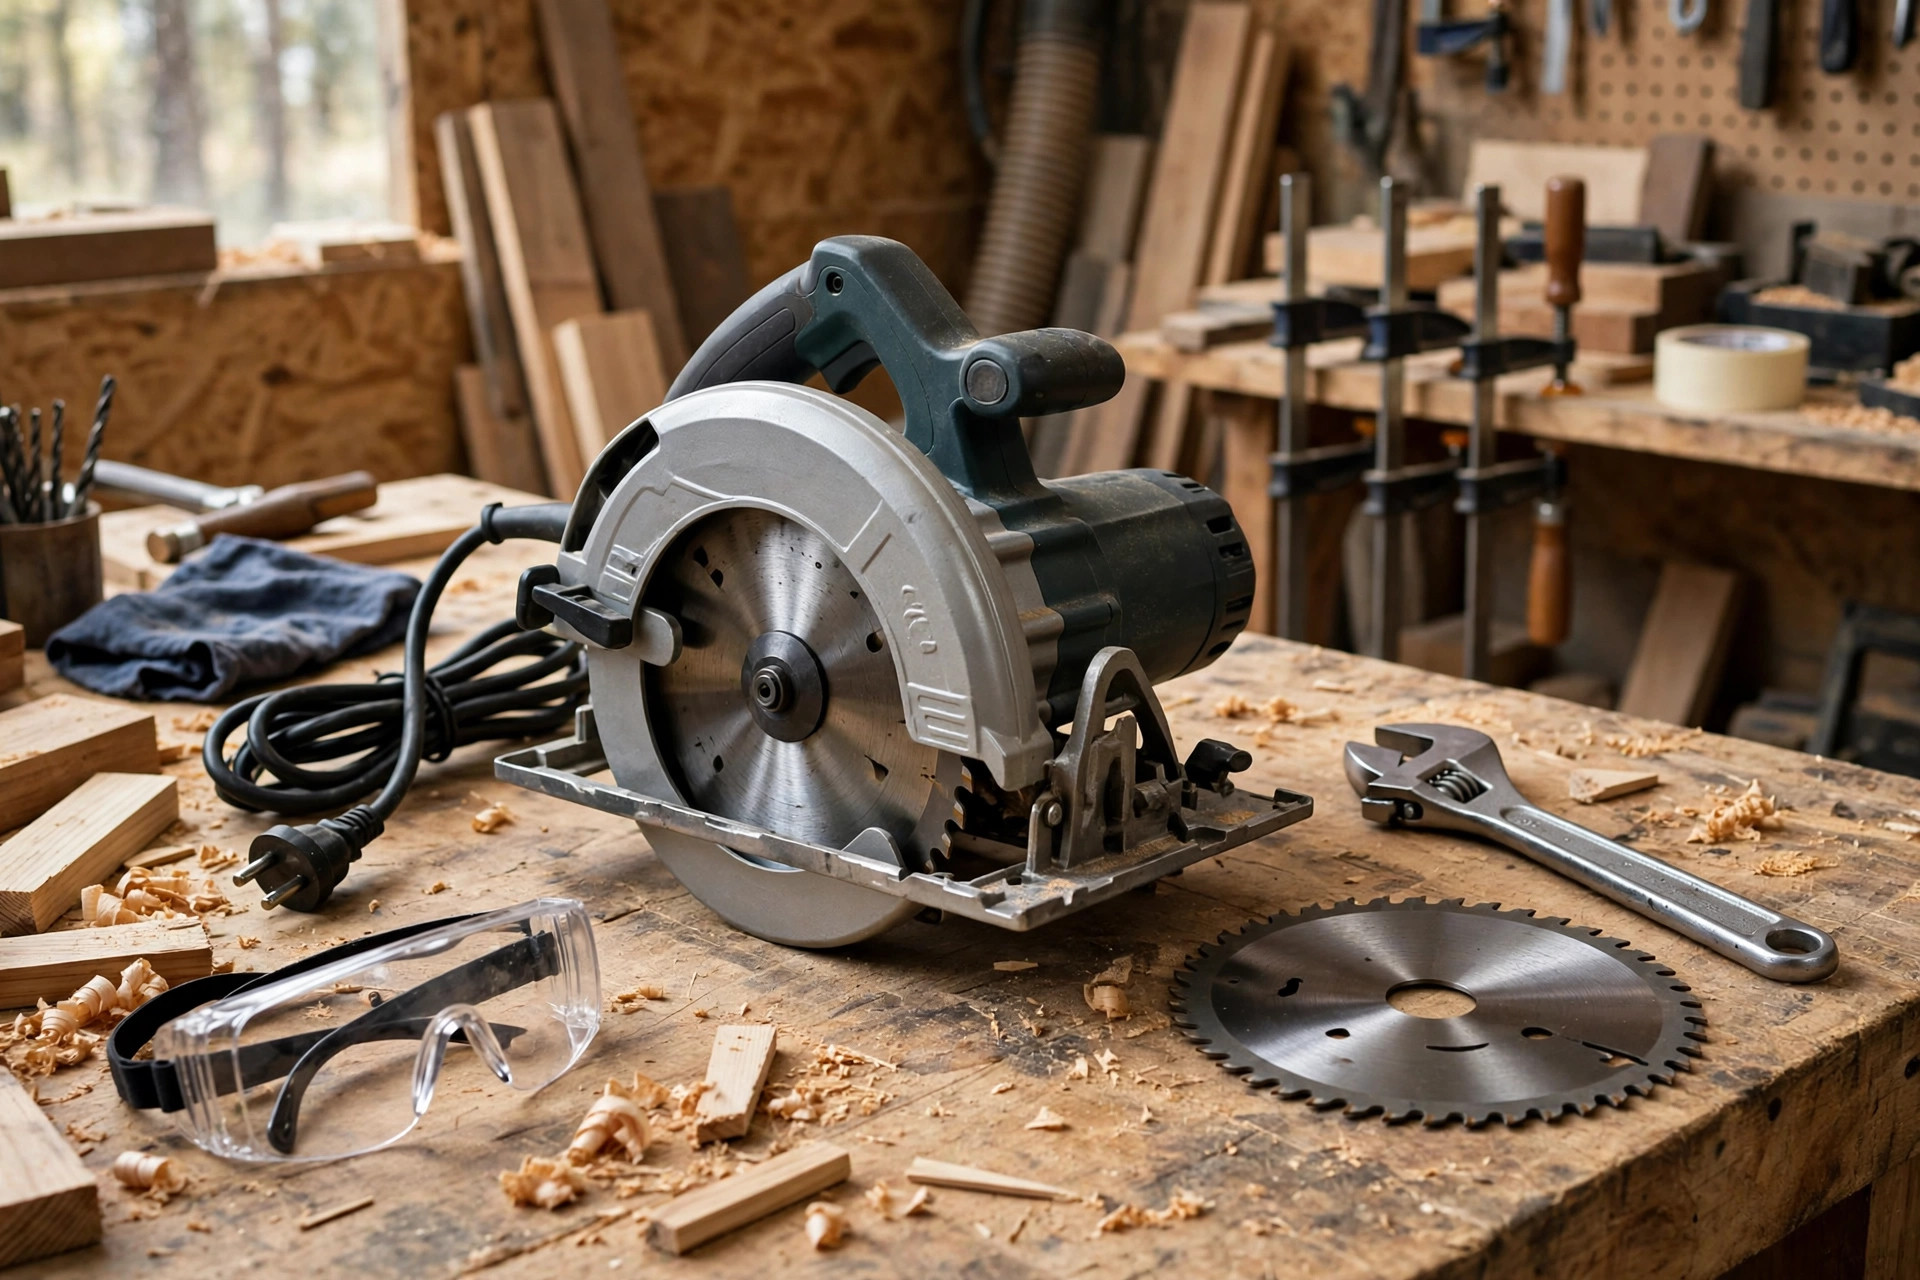
Changing a blade is a routine job, and it becomes quick and safe once you follow the same steps every time. Start by unplugging the saw, or removing the battery on a cordless saw, and keep it unplugged until the new blade is fitted and the guard moves freely. This is not a step to skip because you are in a hurry; a saw that cannot start cannot cut you, and every blade-change injury story starts with a saw that was still connected to power. Next, engage the arbor lock if your saw has one, or hold the blade firmly with a gloved hand or a block of wood if it does not, and loosen the arbor bolt or nut with the wrench supplied with the saw. Note the direction: on most circular saws the arbor bolt loosens in the direction the blade rotates, which is the opposite of a normal bolt, so check your manual rather than forcing it. Remove the outer flange, lift the old blade off, and set it aside safely, teeth away from your hands.
Before fitting the new blade, check the rotation direction. Every circular saw blade has an arrow printed on it showing the direction it must rotate, and the saw has a matching arrow on its guard or body. The teeth at the front of the saw, where the blade meets the wood, must point upward toward the front of the saw as it cuts — in practice, align the blade arrow with the saw arrow and you cannot go wrong. Fit the blade onto the arbor, replace the outer flange the right way round, tighten the arbor bolt firmly with the wrench while holding the arbor lock, and then check by hand that the blade is centred, snug, and does not wobble. Retract the guard by hand and let it spring back to confirm it moves freely and covers the blade. Only then reconnect power, run the saw briefly with no load to listen for vibration or rubbing, and make a test cut in scrap. If anything sounds or feels wrong — vibration, a scraping guard, a blade that wobbles — unplug the saw and check the fitting again before cutting your project piece. For the wider safety picture, including eye, ear, and dust protection, read our guide to woodworking safety tips for beginners before your first blade change.
Cutting straight is the second skill that makes a good blade look good, because even the finest blade cannot fix a wandering cut. A circular saw cuts freehand only as straight as your hand is, which is never straight enough for a shelf or a cabinet side. The fix is a straight-edge guide: a long, straight board, a spirit level, or a shop-made guide clamped to the workpiece, with the saw’s base plate running against it. To set it up, measure the distance from the saw blade to the edge of the saw’s base plate — this is the offset — and clamp the guide that distance away from your cut line, on the side that keeps the saw on the good part of the board. Measure the offset at both ends of the guide, clamp both ends firmly, and double-check that the clamps are clear of the saw’s path. Then cut slowly and steadily with the base plate pressed against the guide throughout the cut, without lifting or tilting the saw. The result is a cut as straight as the guide, which is straight enough for furniture.
A guide also helps with tear-out and accuracy in plywood. Clamp the guide, cut with the good side down and a fine-finish blade, and the guide supports the fibres right up to the cut line on the top face. For repeated cuts to the same width — shelf sides, for example — make a simple jig by fixing a guide to a base board at the exact offset once, then butt the jig against the edge of each new board and cut without measuring again. That one jig saves measuring errors on every shelf in a bookcase, and it is a project in itself that teaches you why woodworkers love jigs: measure once, cut many times, and every piece matches.
Tear-Out, Burning, and Binding: Fixing the Three Common Problems
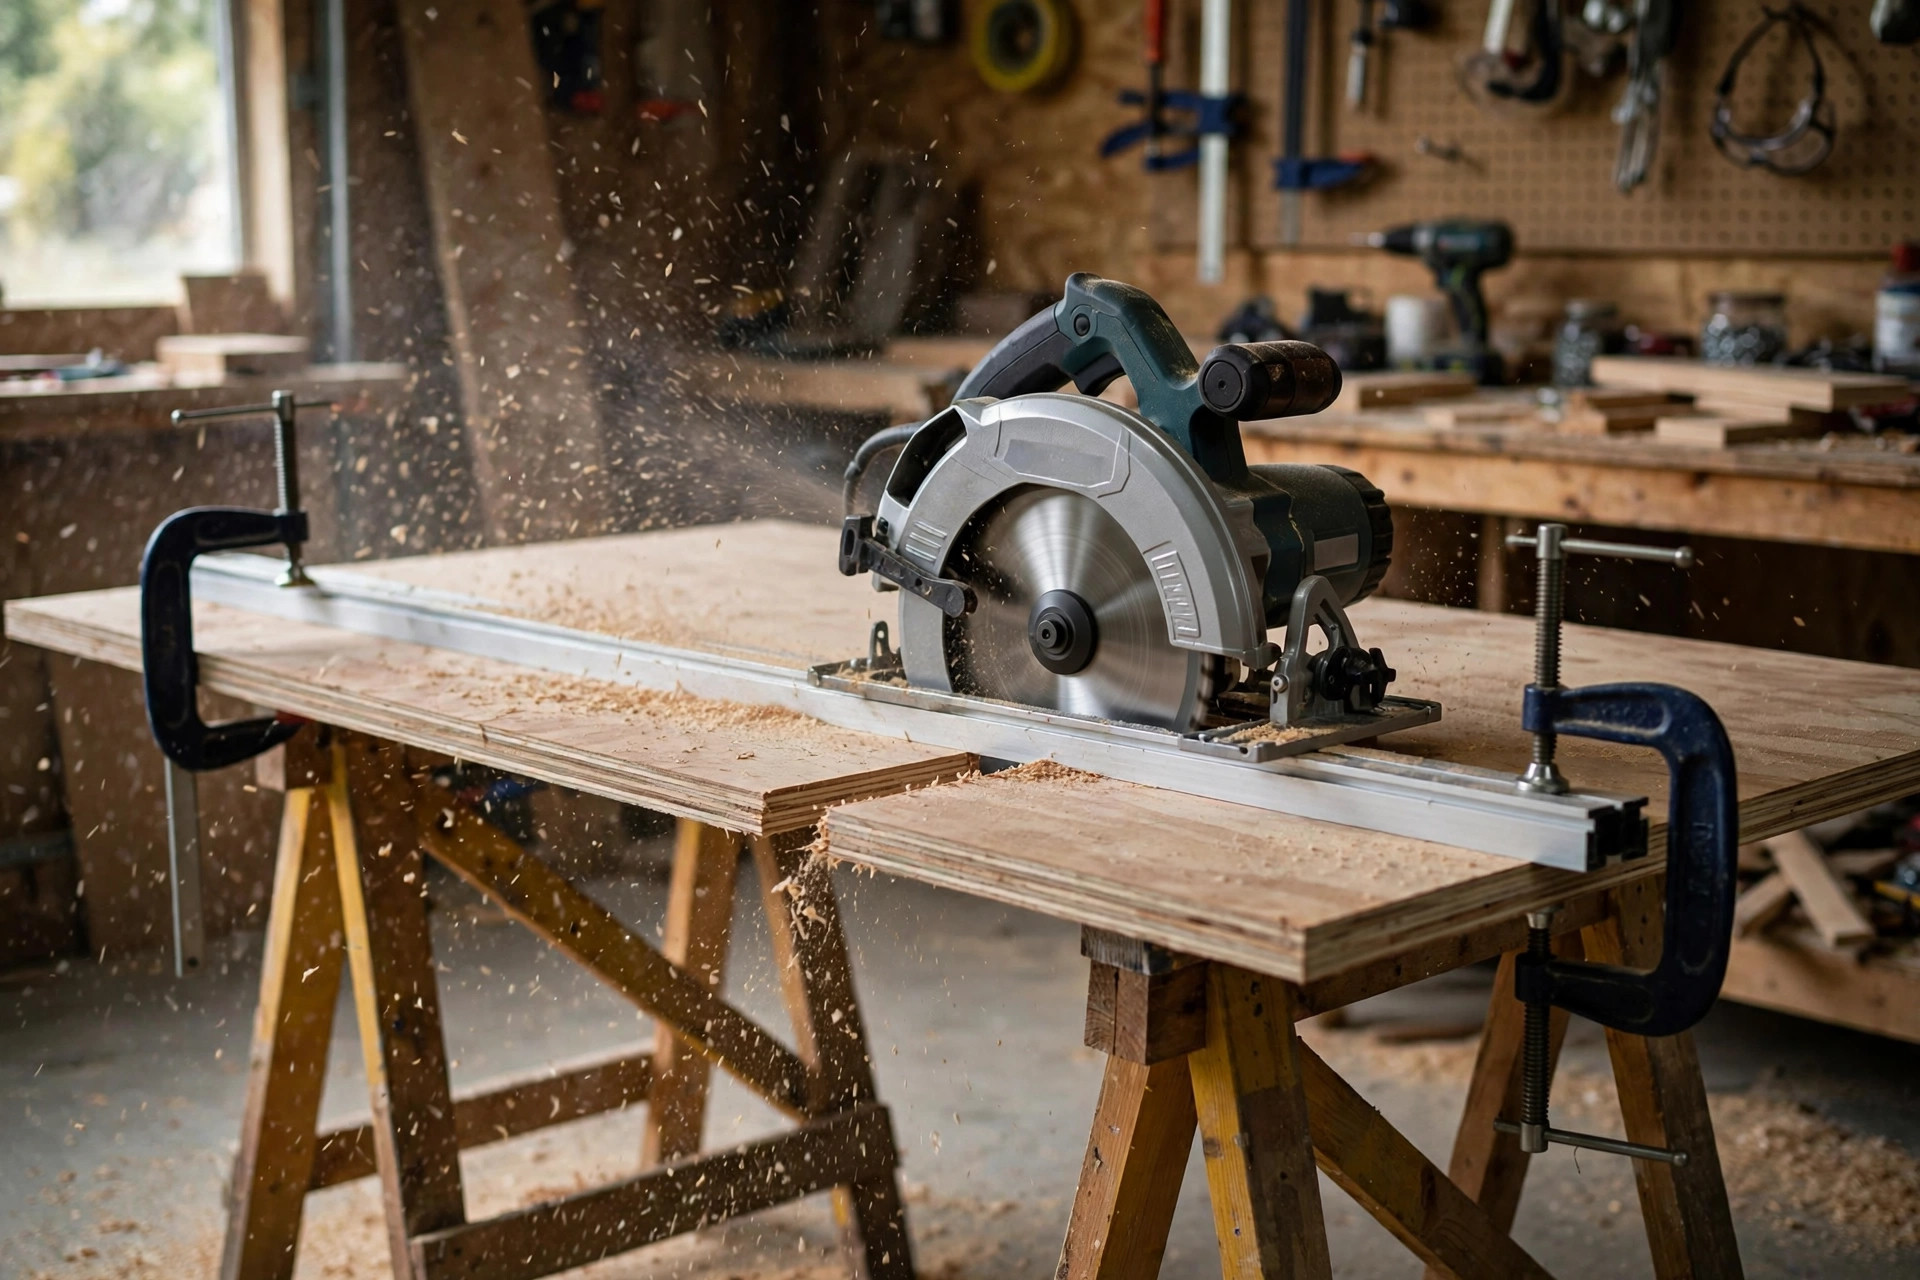
Tear-out is the most disheartening problem for beginners, because it makes a careful project look damaged. It happens when the blade lifts fibres instead of slicing them, which is worst on plywood veneer, crosscutting hardwood, and cutting melamine. The fixes, in order of effectiveness, are: fit the right blade, cut with the good side down, and support the cut. A fine-finish blade with many teeth slices rather than tears. Cutting with the good side down works because a circular saw blade cuts upward through the board: the teeth enter from below and exit at the top, so tear-out appears on the top face, which should be the hidden face. Painter’s tape along the cut line on the top face helps further by holding the surface fibres in place while the blade passes. A zero-clearance insert or a splinter strip — a thin strip fixed to the saw’s base so the blade cuts a slot exactly its own width — supports the fibres right at the cut and reduces tear-out dramatically, and it is worth making for plywood projects. If tear-out still appears, slow your feed slightly, check that the blade is sharp, and check that the board is fully supported so it cannot vibrate.
Burning shows up as dark brown or black marks along the cut, sometimes with a scorched smell, and beginners often assume the wood is at fault. Usually it is the blade, the feed rate, or the support. A dull blade rubs instead of cutting and generates heat, so a blade that used to cut cleanly and now burns is telling you it needs cleaning or sharpening. Feeding too slowly also causes burning, because the blade spins in one spot and heats the wood, while feeding too fast causes the motor to labour and the blade to deflect. The correct feed is steady and confident: fast enough that the blade is always cutting fresh wood, slow enough that the motor sounds unstrained. Binding is related: the board pinches the blade because the offcut end drops, the board is under internal tension, or the cut closes up behind the blade. Support both sides of the board at the same height, keep the offcut supported until the cut is complete, and never reach across the blade to catch a falling offcut. If the saw suddenly feels tight or the motor note drops, stop pushing, hold the saw steady, release the trigger, wait for the blade to stop, and then investigate — do not force a binding cut, because a bound blade can kick back, which is the saw jerking violently backward toward you.
Kickback deserves a plain explanation because it is the most serious circular saw hazard. It happens when the blade binds, when the board closes on the blade, or when the blade hits a knot or a nail, and the saw is thrown back toward the operator in a fraction of a second. Prevention is mostly the same advice as above: sharp blade, correct blade for the cut, full support on both sides, firm two-handed grip, body positioned to the side of the blade rather than directly behind it, and never cutting a board that is not clamped or supported. Keep the guard working, never wedge it open to see the cut better, and keep your free hand away from the cut line. These habits, practised on every cut, are what make a circular saw a safe everyday tool rather than a frightening one, and they are covered in more depth in our safety guide linked above.
When to Replace, Sharpen, Clean, and Store Your Blades
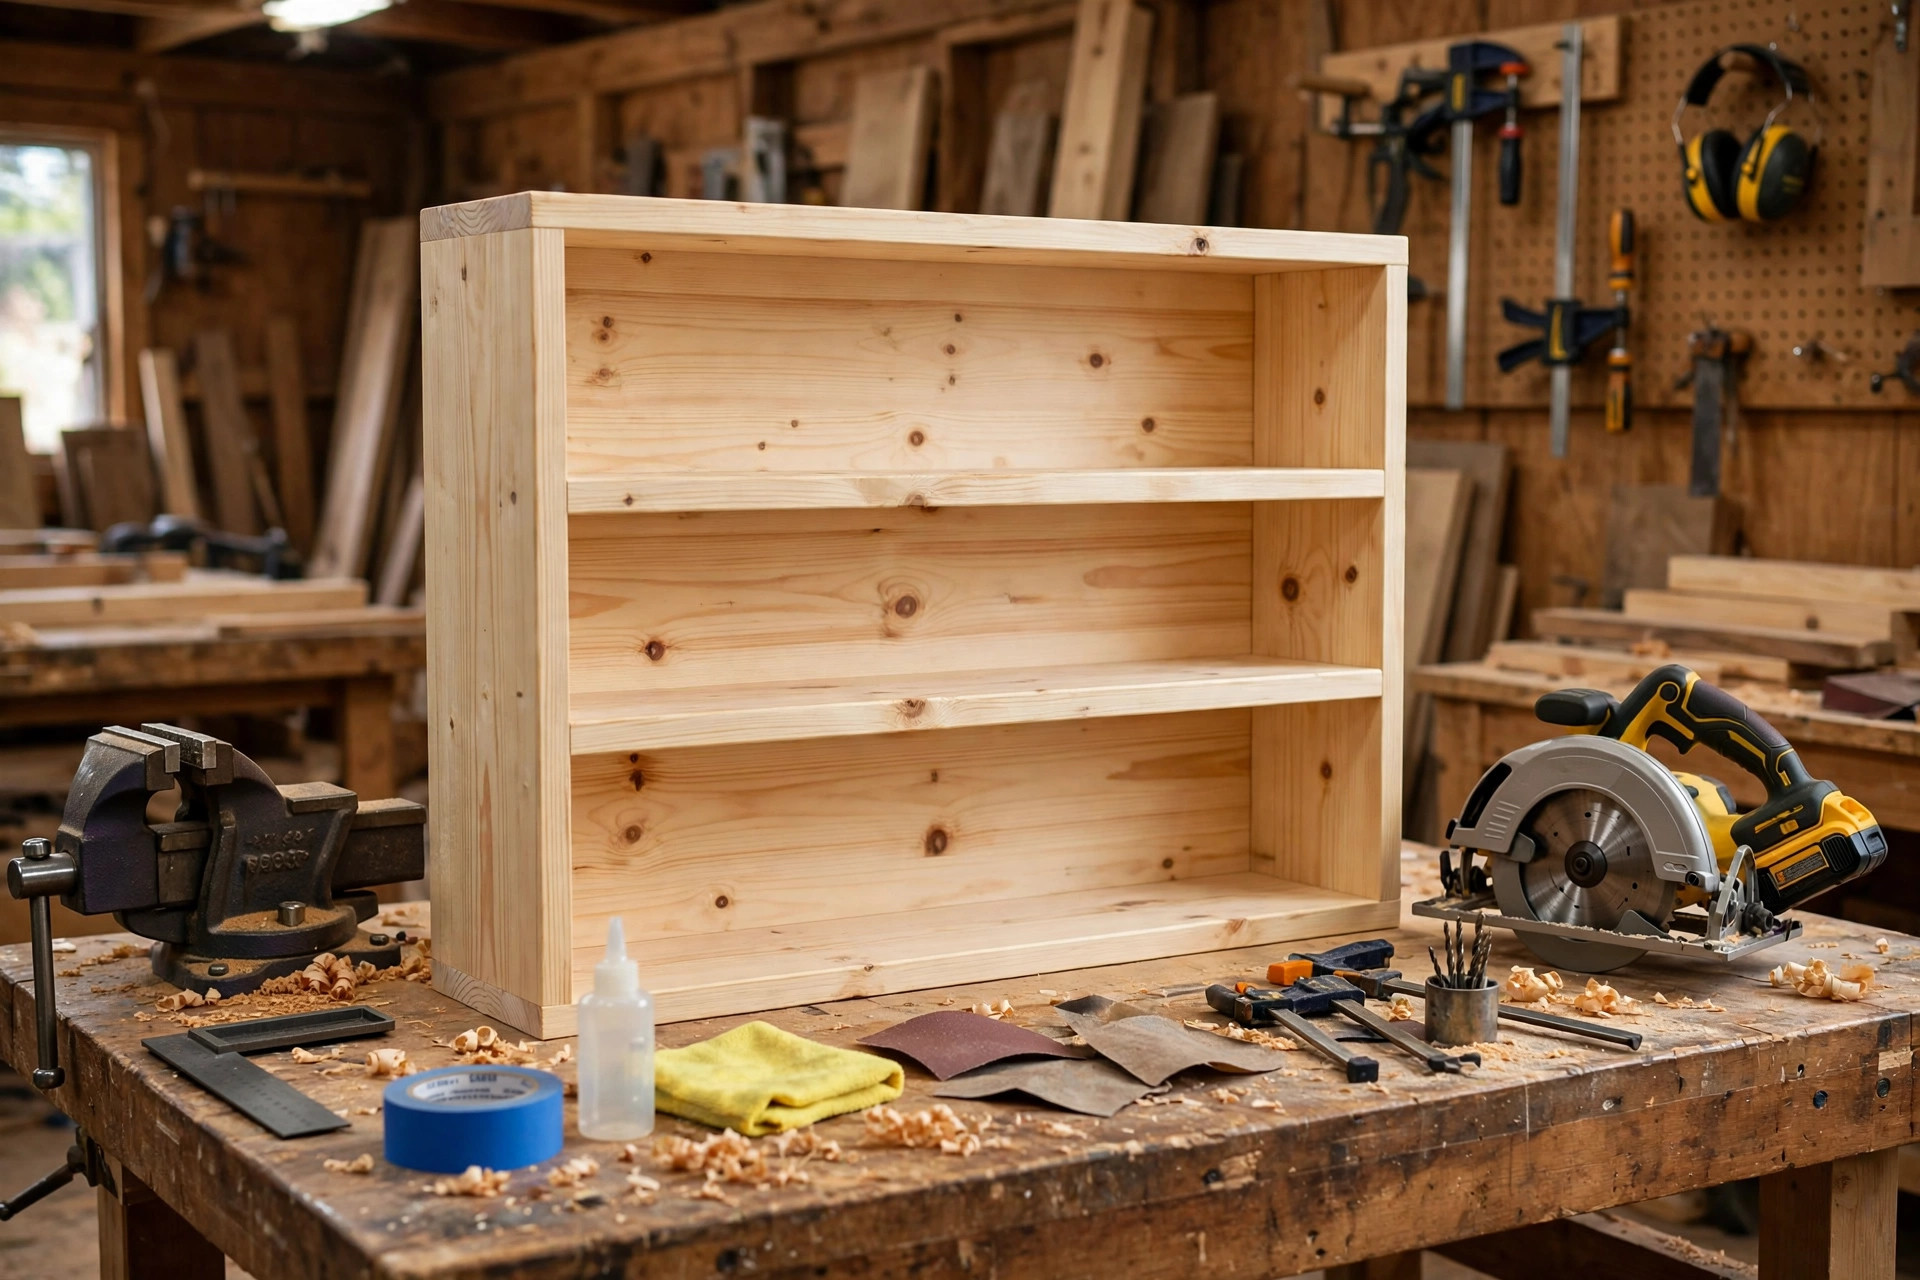
A good carbide blade lasts a long time, but it does not last forever, and knowing when to clean, sharpen, or replace it saves both money and frustration. Start with cleaning, because a dirty blade is often mistaken for a dull blade. Resin and pitch from pine and plywood build up on the teeth and the blade plate, increasing friction, causing burning, and making the blade feel dull when the teeth are actually still sharp. Clean a blade by removing it from the saw, soaking it briefly in a dedicated blade cleaner or warm soapy water, scrubbing gently with an old toothbrush or a nylon brush, rinsing, and drying it thoroughly before storing or refitting. Never use an oven cleaner or a harsh chemical that could damage the carbide brazing, and never clean a blade while it is fitted to a powered saw. A cleaned blade often cuts like new, and cleaning every few projects in pine or plywood is a habit worth forming.
Sharpening is the next step when cleaning no longer restores the cut. Carbide teeth can be resharpened several times by a professional sharpening service, which grinds each tooth to its original shape far more accurately than a hand file can. For a beginner, professional sharpening is the sensible route: it costs a fraction of a new blade, it extends the life of a good blade significantly, and it avoids the risk of ruining the tooth geometry with a do-it-yourself attempt. Replace a blade when teeth are chipped, cracked, or missing, when the plate is bent or cracked, when the centre hole is damaged, or when sharpening no longer restores a clean cut. A blade with even one missing carbide tip should be retired from fine work immediately, because that gap tears the surface on every revolution. Keep the old blade for rough demolition cuts only if it is structurally sound, and discard it if it is cracked or bent.
Storage matters more than beginners expect. Blades stored loose in a drawer bang against each other, chip their carbide tips, and become dull before they are ever used. Store each blade in its original sleeve, a blade case, or a dedicated holder, hung or laid flat where it cannot slide around, and keep blades dry to prevent rust on the steel plate. Label each blade with its tooth count and purpose — a piece of tape on the sleeve with “40T combination” or “60T finish” — so you can grab the right blade without inspecting teeth in poor light. A small habit here pays off: the blade you reach for in a hurry is the blade you will use, so make the right blade the easy blade to find.
Common Mistakes Beginners Make With Circular Saw Blades
The most common mistake is using one blade for everything, usually the stock blade, and accepting rough edges as normal. The three-blade kit exists precisely to end that habit, and switching blades takes less time than sanding a torn plywood edge. The second mistake is buying the wrong size: a blade that does not match the saw’s diameter or arbor, bought in a sale without checking, that then sits unused or, worse, is forced onto the saw. Check diameter and arbor before buying, every time, even when you are sure you remember them. The third mistake is cutting with a dull blade and pushing harder to compensate. Pushing harder causes burning, binding, and kickback risk, and it dulls the blade further. If a cut suddenly needs much more force than it did last week, stop and check the blade: clean it, and if cleaning does not help, sharpen or replace it.
Other mistakes are easy to fix once named. Cutting plywood with the good side up guarantees tear-out on the face you care about; flip the sheet. Cutting without a guide guarantees a wandering line; clamp a guide. Measuring to the line instead of the waste side of the line makes every piece short by one kerf; decide the waste side before you cut. Forgetting to check rotation direction after a blade change makes the saw cut poorly and dangerously; check the arrows every time. And buying a diamond blade for wood, or a steel blade for fine plywood work, wastes money on the wrong tool for the job. None of these mistakes means you are bad at woodworking. They are the normal beginner errors, and every experienced woodworker has made each of them at least once. The difference is that experienced woodworkers recognise the symptom — tear-out, burning, a wandering cut — and know which fix to reach for, and after reading this guide, you do too.
If you cut curves, notches, or interior cutouts, a circular saw blade is the wrong tool regardless of tooth count, and a jigsaw is the right one. Our companion article on the best jigsaw blades for beginners covers that choice in the same plain language, so you can pick a jigsaw blade with the same confidence you now have for circular saw blades.
Frequently Asked Questions
What is the best circular saw blade for beginners woodworking?
For most beginners, a 40-tooth carbide-tipped general-purpose combination blade in 7-1/4 inch with a 5/8 inch arbor is the best single blade, because it handles everyday ripping and crosscutting well. Add a 24-tooth rip blade for framing and a 60-tooth to 80-tooth fine-finish blade for plywood and trim, and you have a kit that covers almost every first-year project.
Should a beginner use a 24-tooth or a 40-tooth blade?
Use a 24-tooth blade for ripping framing lumber and breaking down boards where speed matters and finish does not. Use a 40-tooth blade for general work, shelves, boxes, and crosscuts where you want a reasonably clean edge. If you own only one blade, make it the 40-tooth combination blade.
What size circular saw blade do beginners need?
Most full-size handheld circular saws take a 7-1/4 inch blade with a 5/8 inch arbor. Always check your saw’s manual or the marking on the saw itself, because compact saws take smaller blades, and never force a blade with the wrong arbor size onto your saw.
Why is my circular saw blade burning the wood?
Burning is usually caused by a dull or dirty blade, a feed rate that is too slow, or a board that is pinching the blade because it is not supported on both sides. Clean the blade first, check that it is sharp, support both sides of the board, and feed at a steady, confident pace without forcing the cut.
How do I stop tear-out when cutting plywood with a circular saw?
Fit a 60-tooth to 80-tooth fine-finish blade, cut with the good side of the plywood facing down, apply painter’s tape along the cut line, clamp a straight-edge guide, and feed slowly. Those four steps together reduce tear-out from a ruined edge to a light sanding job.
When should I replace a circular saw blade instead of sharpening it?
Replace a blade when teeth are chipped, cracked, or missing, when the plate is bent or cracked, when the centre hole is damaged, or when professional sharpening no longer restores a clean cut. Clean a dirty blade first, because pitch build-up often looks like dullness, and sharpen a sound carbide blade several times before replacing it.
Final Verdict
The best circular saw blade for beginners woodworking is not one blade at all — it is a small, well-chosen kit used with intention. Fit the 40-tooth carbide-tipped combination blade for everyday work, reach for the 24-tooth rip blade when you are framing and ripping, and switch to the 60-tooth or 80-tooth fine-finish blade whenever the visible face matters. Check diameter and arbor before every purchase, keep your blades clean and stored properly, cut with a guide and the good side down, and replace a blade that is chipped or cracked rather than forcing it through one more cut. Do those things, and your circular saw will stop feeling like a rough demolition tool and start feeling like the precise, satisfying workshop tool it is meant to be. If you are planning projects to build with those clean cuts, our pillar guide to easy woodworking projects for beginners that sell is the natural next read, because buyers notice square assembly and smooth, splinter-free edges far more than they notice the brand of blade that made them.


