
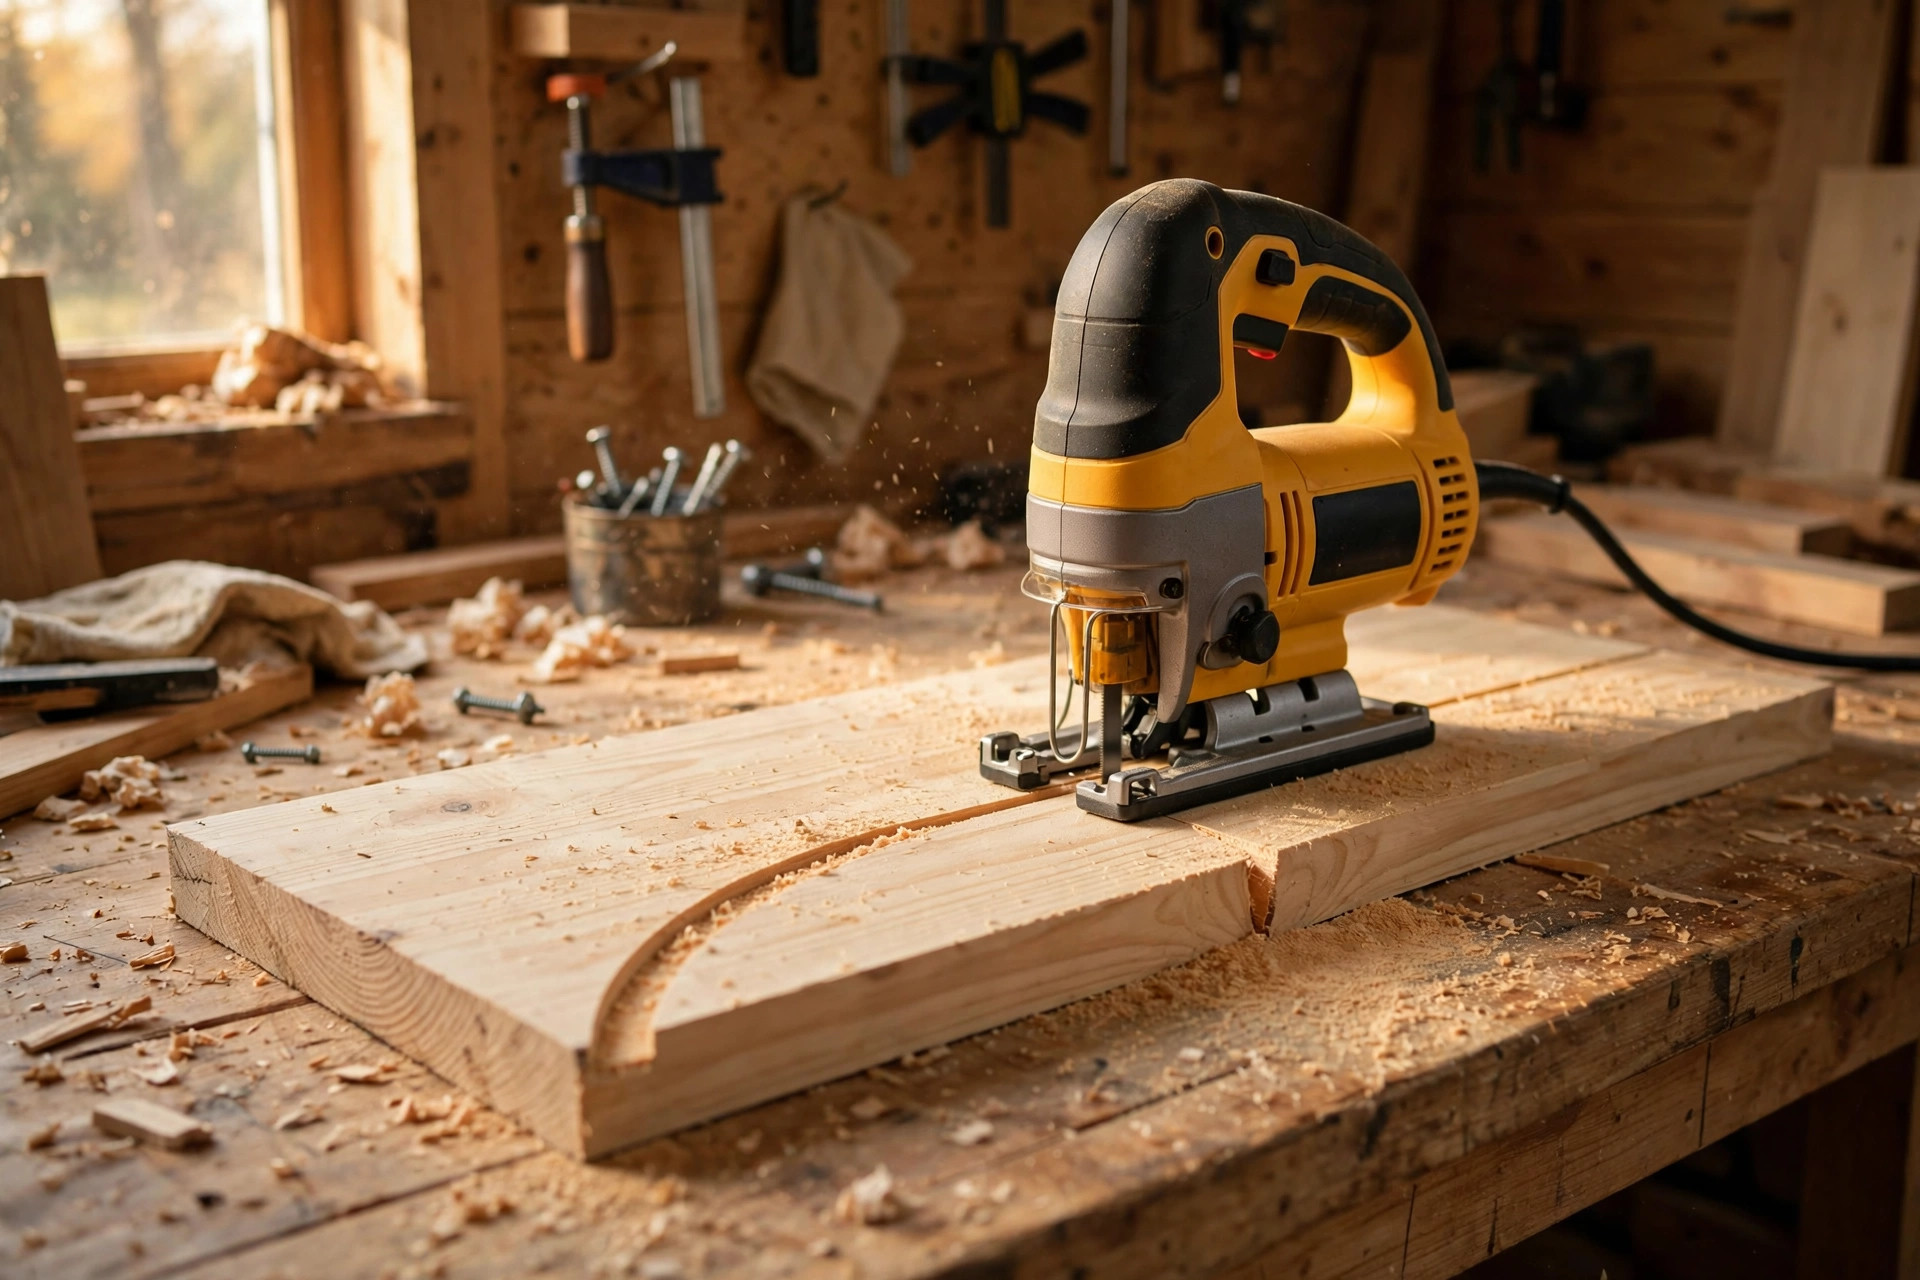
If you have just bought your first jigsaw, you have probably discovered something surprising: the saw itself is only half the tool. The blade does the actual cutting, and the wrong blade can turn an easy job into a splintered, wandering, burnt mess, while the right blade makes the same cut feel almost effortless. That is why choosing the best jigsaw blades for beginners woodworking matters more than choosing a premium saw. A modest jigsaw fitted with a sharp, correct blade will outperform an expensive saw fitted with a dull or mismatched blade, every single time.
The good news is that you do not need a drawer full of blades to start. Beginners get confused by the wall of blade packs in the hardware store — dozens of lengths, tooth counts, materials and shank types, all promising clean cuts in wood, metal, plastic and laminate. Most of those blades are for specialist jobs you will not meet in your first year. What you need is a small, sensible kit that covers the cuts beginners actually make: straight cuts in pine and plywood, gentle curves, tighter curves for decorative shapes, and clean cuts in plywood and laminate where the visible face must stay splinter-free.
This guide explains jigsaw blades in plain language, without assuming you already know what TPI means or why one blade bends while another snaps. It starts with the short answer — the three-blade kit to buy first — then explains TPI with the simple rule that lets you pick a blade for any thickness, compares blade materials honestly, and shows you how to check that a blade fits your saw before you buy it. It includes two tables you can keep beside your workbench: a comparison of blade types and a blade chart by project. Finally, it covers changing a blade safely, cutting technique, fixing bending, wandering, burning and breakage, knowing when a blade is done, and the mistakes that cost beginners the most time and lumber.
If you have not bought a saw yet, read our guide to the best jigsaw for beginners first, then come back here for blades. And if you are still choosing lumber for your first projects, our guide to the best wood for beginner woodworking projects will help you pick pine, poplar and plywood that are forgiving to cut and finish.
The Short Answer: The 3-Blade Beginner Kit
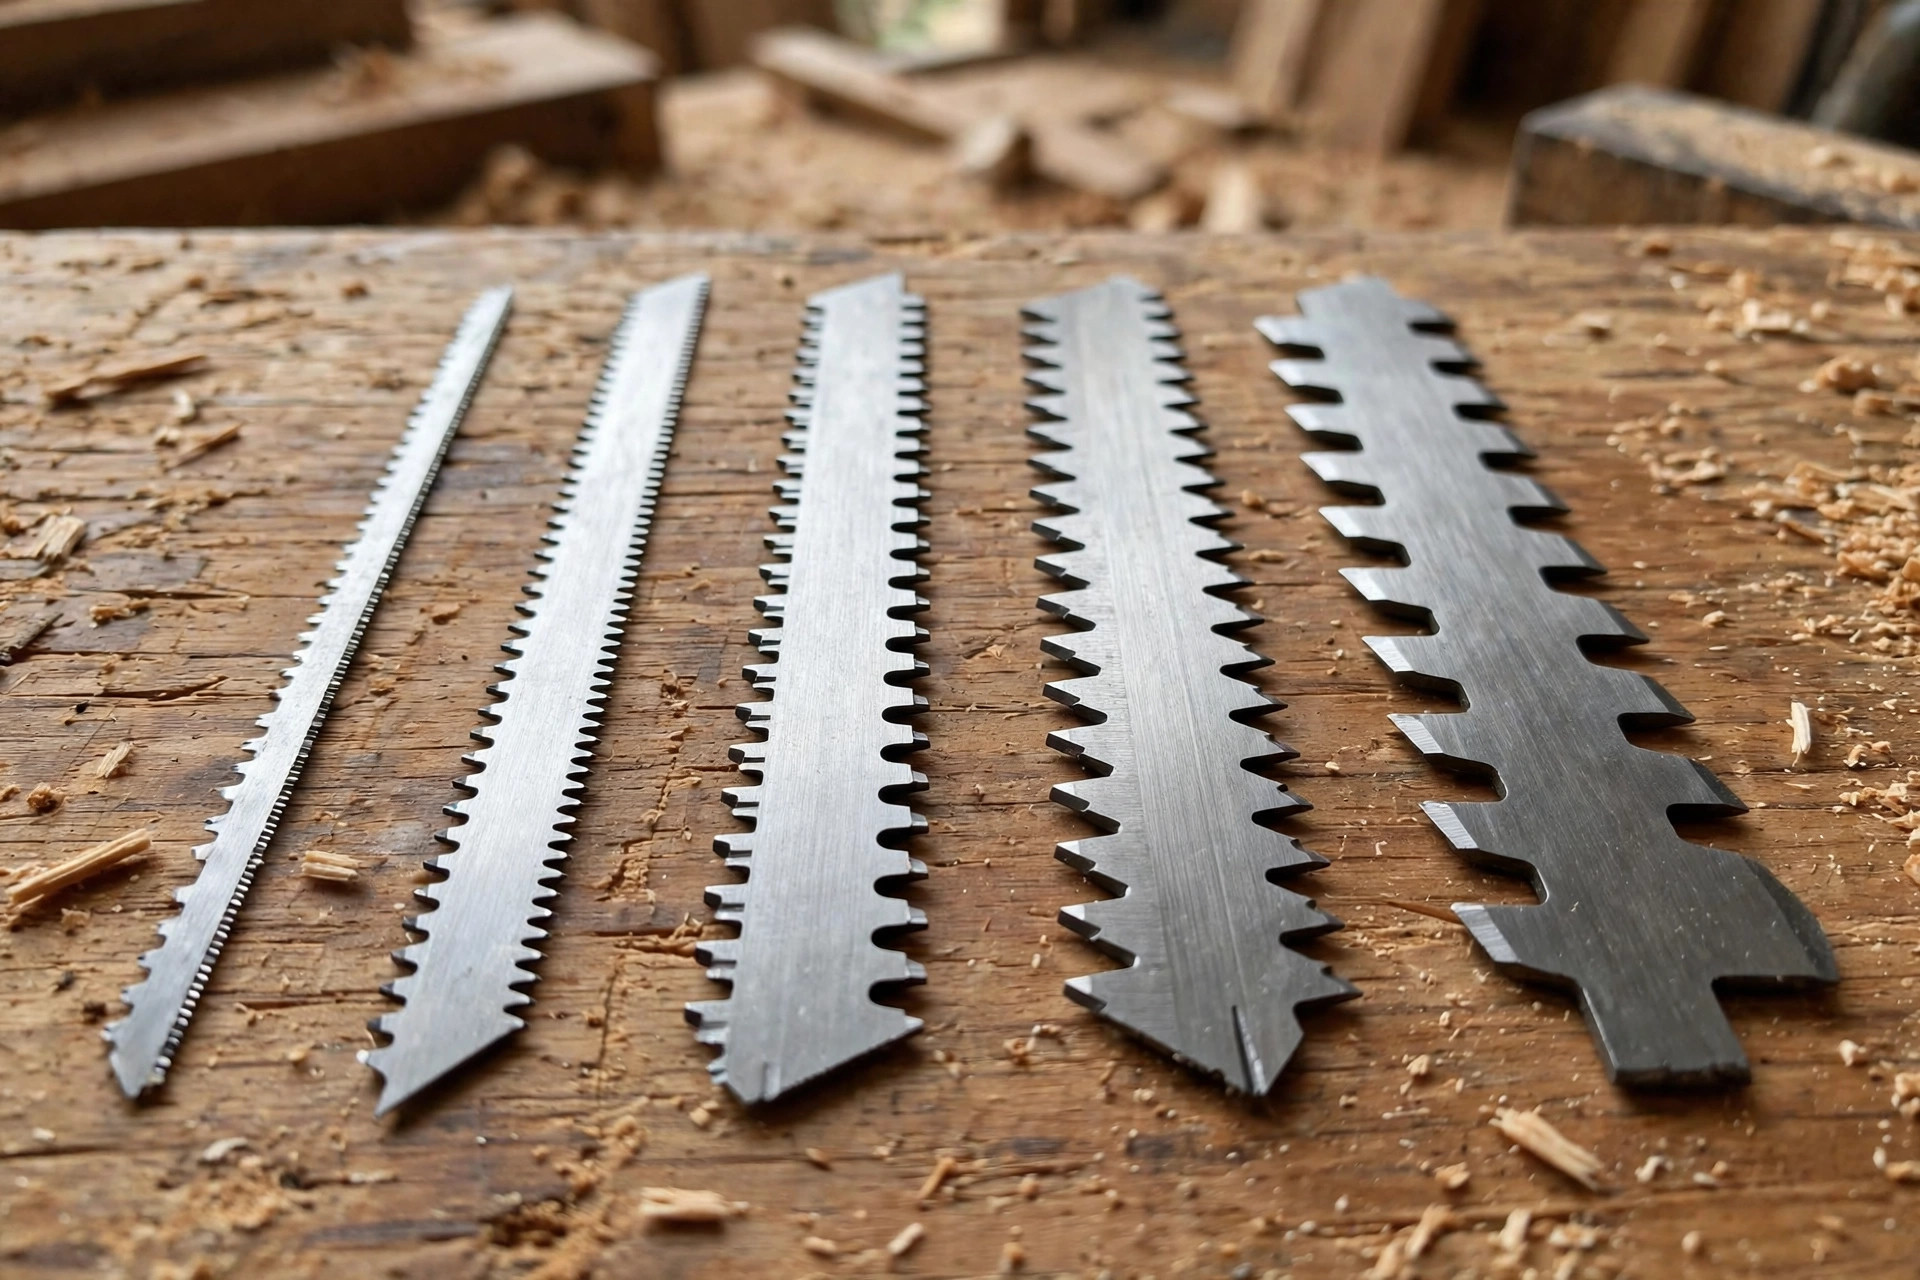
Start with three blades, and you will cover almost every beginner project. Buy them as a small multi-pack or individually, whichever is cheaper where you shop, and keep a spare of the one you use most. Approximate price bands only: a basic multi-pack of wood blades typically costs around the budget end of the range, while a branded multi-pack with several blade types costs a little more. Prices vary by brand and store, so treat any band here as approximate, not as a current store price.
1. General-purpose wood blade, 6–10 TPI. This is your everyday blade. It is medium-toothed, medium-width, and happy cutting pine, poplar, plywood and MDF up to about 25 mm (1 inch) thick. Use it for shelf boards, planter boxes, crates, simple furniture parts and any straight or gently curved cut where the edge will be sanded or hidden. If you buy only one blade, buy this one.
2. Clean-cut or reverse-tooth blade for plywood and laminate. This blade has finer teeth, and in a reverse-tooth version the teeth point downward on part of the blade, so it cuts on the downstroke and reduces splintering on the top face of plywood and laminate. Use it whenever the visible face matters: shelving, cabinet panels, picture-frame backs, and any plywood project you plan to paint or stain without hiding the edge. It cuts more slowly than a general-purpose blade, and that slower pace is exactly what produces the cleaner edge.
3. Narrow scroll blade for curves. This blade is much narrower than a general-purpose blade, so it can turn tight corners without binding or snapping. Use it for decorative curves, rounded shelf brackets, puzzle-style shapes, Christmas ornaments, and any cut where the radius is tight enough that a wide blade would struggle to turn. It is not a good straight-cut blade — it wanders more on long straights — but for curves it is essential, and trying to force a wide blade around a tight curve is one of the fastest ways to break a blade or spoil a workpiece.
That is the whole kit. Everything else — extra-long blades for thick beams, coarse blades for fast rough cuts, fine metal-cutting blades, carbide-grit blades for tile and fibreglass — can wait until a project actually demands it. Beginners waste money buying a 30-piece set and using three blades from it. Buy the three blades above, learn what each one feels like, and add a specialist blade only when you can name the project it is for. If your projects later include routed edges or drilled holes for joinery, the companion guides to the best router bits for beginners and the best drill bits for beginners follow the same principle: a small kit, learned well, beats a big kit gathering dust.
A practical tip before you shop: check the length of blade you need as well as the tooth count. A blade that is too short for thick material will not clear sawdust properly and will overheat, while a very long blade on thin material flexes and wanders. For most beginner work in boards up to 25 mm thick, a blade around 75–100 mm long is a comfortable choice. For thicker pine, step up to a longer blade rather than forcing a short one through.
TPI Explained: The 2–3 Teeth Rule That Picks Your Blade
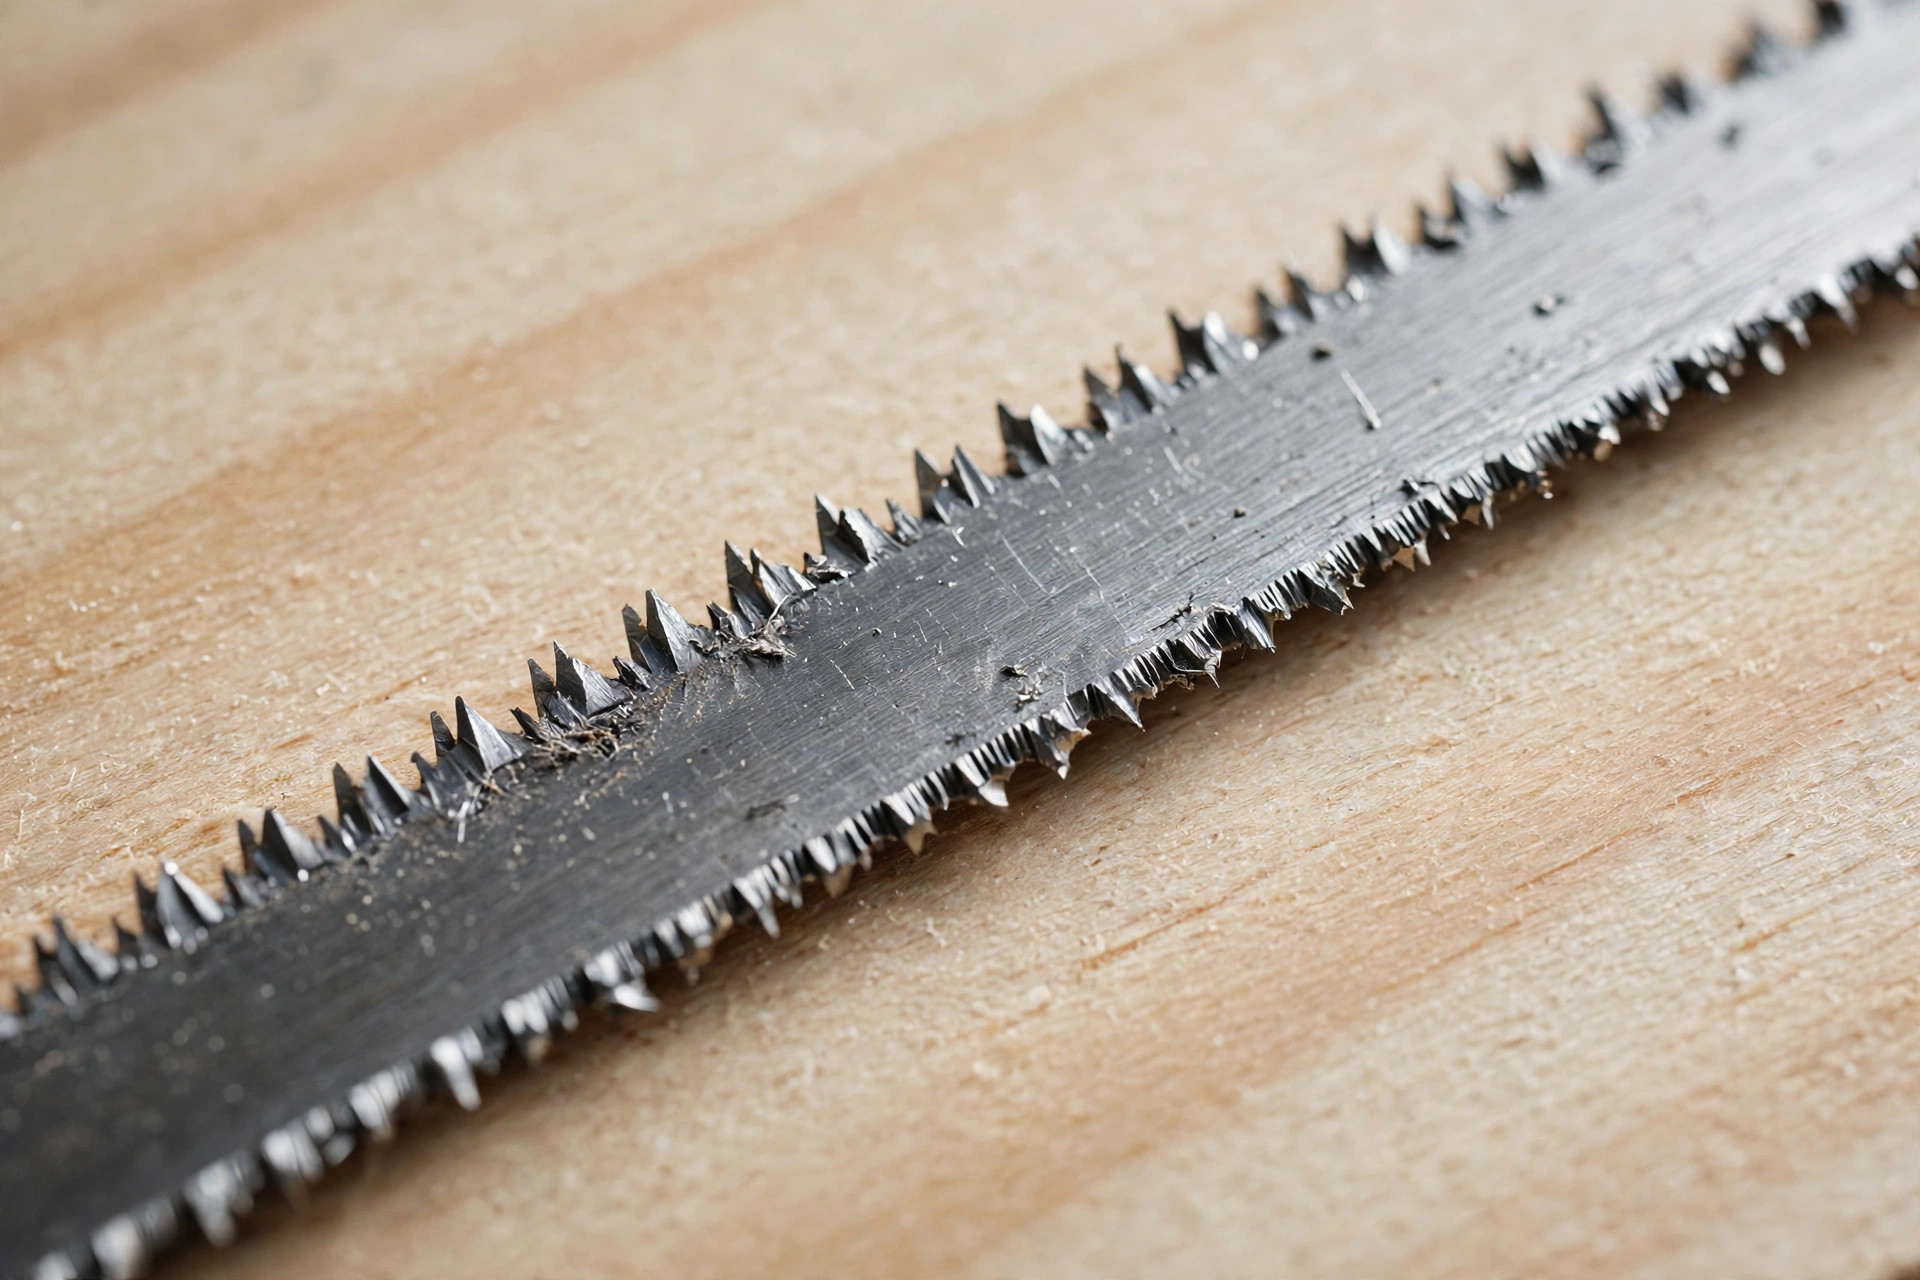
TPI stands for teeth per inch, and it is the single most useful number on a jigsaw blade pack. A low TPI blade has fewer, larger teeth. It cuts fast and clears sawdust well, but leaves a rougher edge. A high TPI blade has more, smaller teeth. It cuts slowly and leaves a smoother edge, but it can clog and overheat in thick material if you push it too hard. The best jigsaw blades for beginners woodworking are not the highest or the lowest TPI on the shelf; they are the ones whose TPI suits the thickness and the finish you need.
The rule that makes TPI easy is this: at least 2–3 teeth should be in contact with the material at all times. If fewer than two teeth are engaged, each tooth takes too big a bite, the blade grabs and vibrates, and the cut feels rough and uncontrolled. If many more teeth are engaged than necessary, each tooth takes a tiny bite, progress slows to a crawl, sawdust packs into the gullets between teeth, and the blade overheats and may burn the wood.
Work through two examples to see how the rule works in practice. Take a 19 mm (3/4 inch) pine board, the thickness of most shelf boards. With a 6 TPI blade, about four to five teeth are in the material at once, which is comfortably above the minimum and gives a fast, controlled cut. With a 20 TPI blade on the same board, roughly fifteen teeth are engaged, so the blade creeps along, clogs, and is more likely to burn the edge. Now take a thin 6 mm plywood sheet. With a 6 TPI blade, only about one and a half teeth are in the material, so the blade grabs, chips the veneer, and leaves a ragged edge. With a 12–20 TPI blade, three or more teeth are engaged, the cut is smooth, and the thin veneer is supported rather than torn.
That is why the beginner kit uses a range rather than a single number. A 6–10 TPI blade suits boards from about 12 mm to 25 mm thick. A 10–14 TPI blade suits thinner boards and plywood where a cleaner edge matters more than speed. A 20 TPI or finer blade suits very thin plywood, laminate and veneer, where chipping is the main risk. When you are unsure between two blades, choose the one that puts 2–3 teeth in your material and favours a cleaner edge if the face will be visible. Speed is easy to recover by feeding a little faster; a splintered veneer face is much harder to fix.
Tooth shape matters too, though less than TPI for beginners. Most wood blades have teeth angled forward, which cut on the upstroke and can lift and splinter the top face. Reverse-tooth blades cut partly on the downstroke and protect the top face, which is why they are the clean-cut choice for plywood. Skip-tooth blades, with a gap between teeth, clear sawdust well in thick softwood and are useful for fast rough cuts. Ground teeth, sharpened on both sides, cut cleaner than milled teeth but dull faster in dirty or reclaimed wood. You do not need to memorise these shapes yet; just know that when a cut splinters on top, a reverse-tooth blade is the first thing to try, and when a cut clogs in thick pine, a coarser skip-tooth blade is worth trying.
One more TPI warning: do not use a metal-cutting blade, often 24–32 TPI, for ordinary woodwork. It will cut wood, slowly, but it will clog, overheat and wear out quickly, and the edge will often be burnt. Metal blades have their place — cutting nails, screws, thin metal trim and plastic — but they are not a substitute for a wood blade, and they are not a shortcut to a smoother wood finish.
Cutting Curves, Clean Plywood, and the Tape Trick
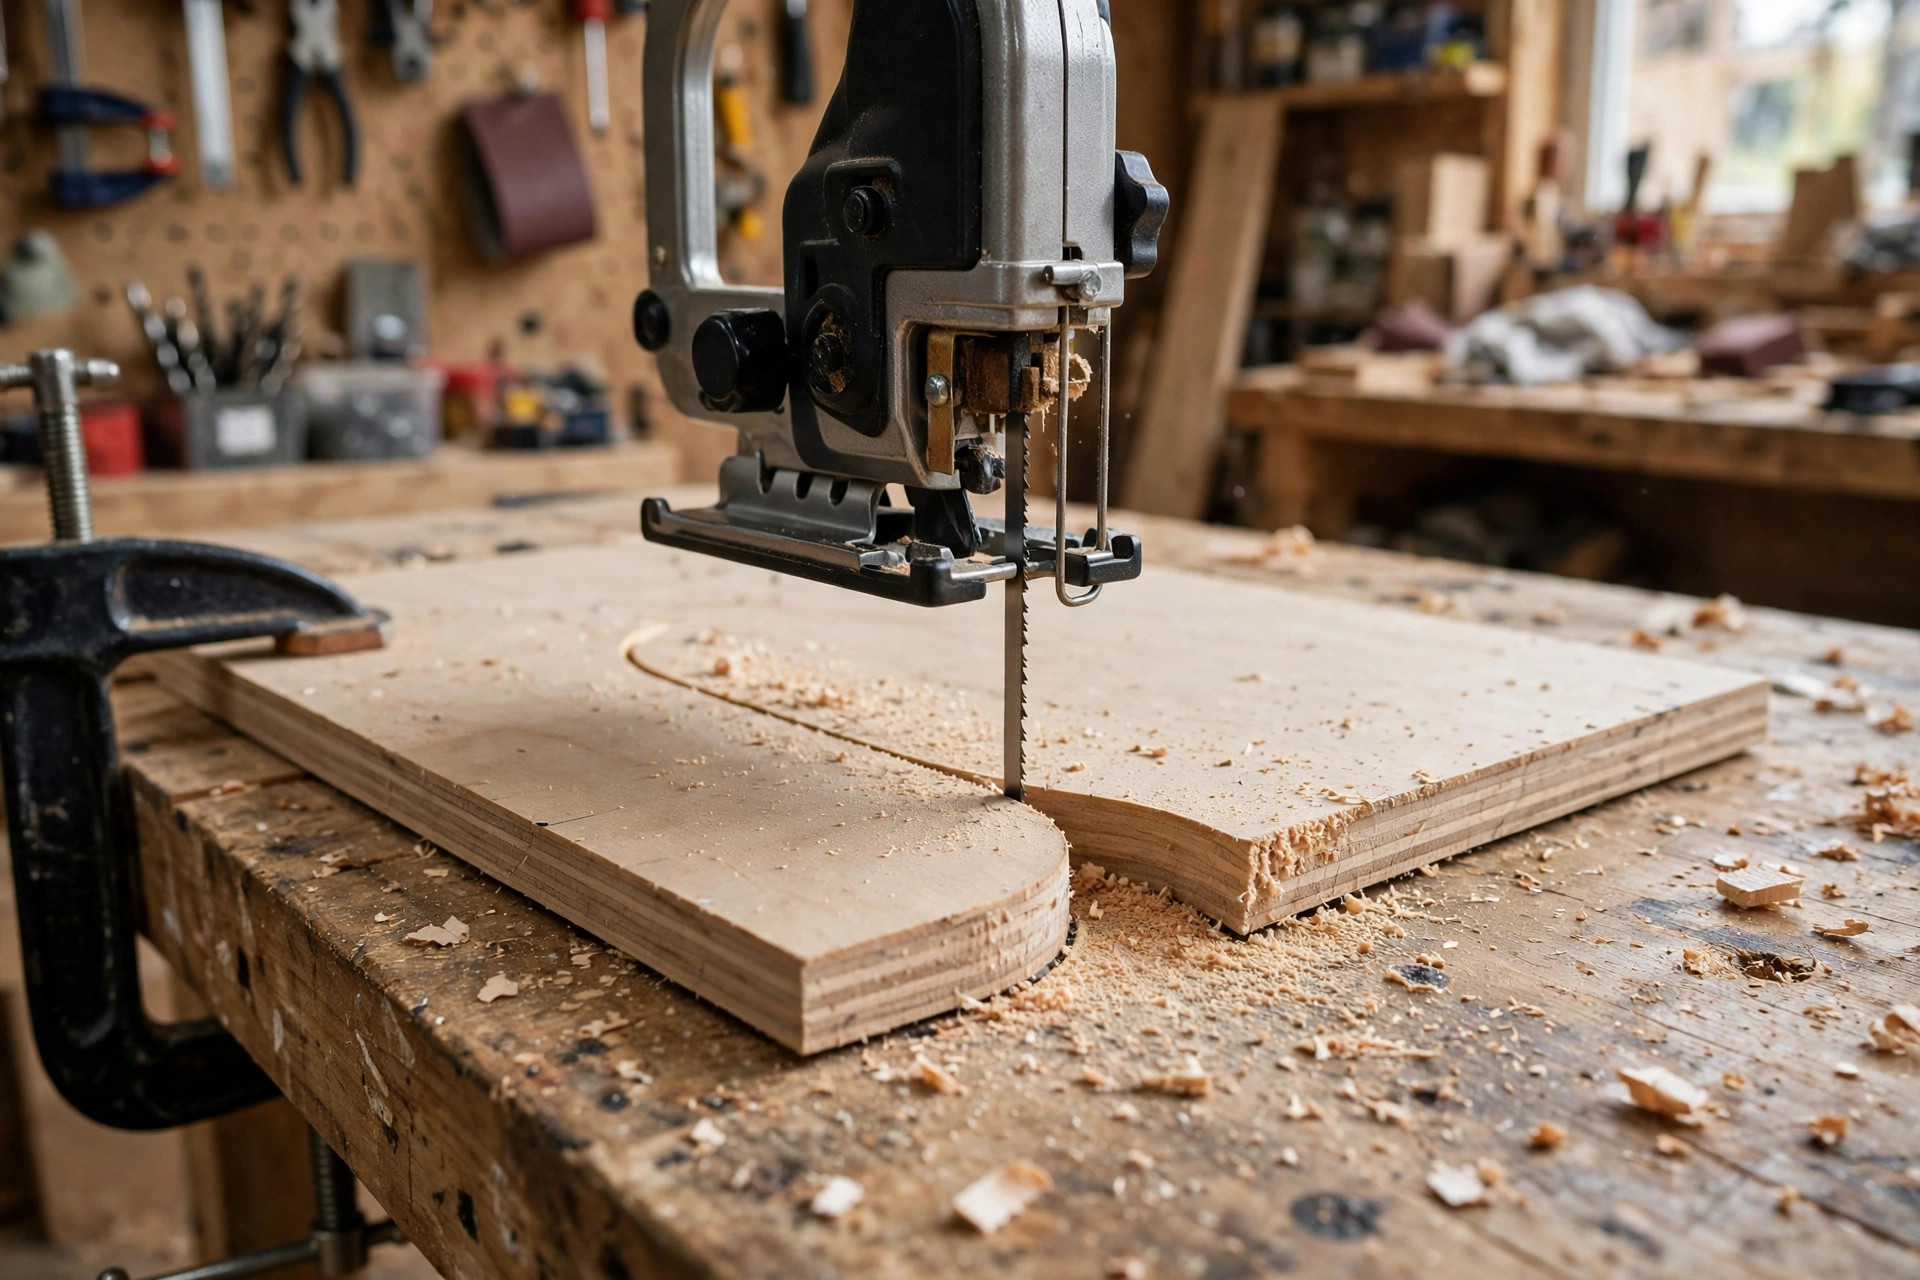
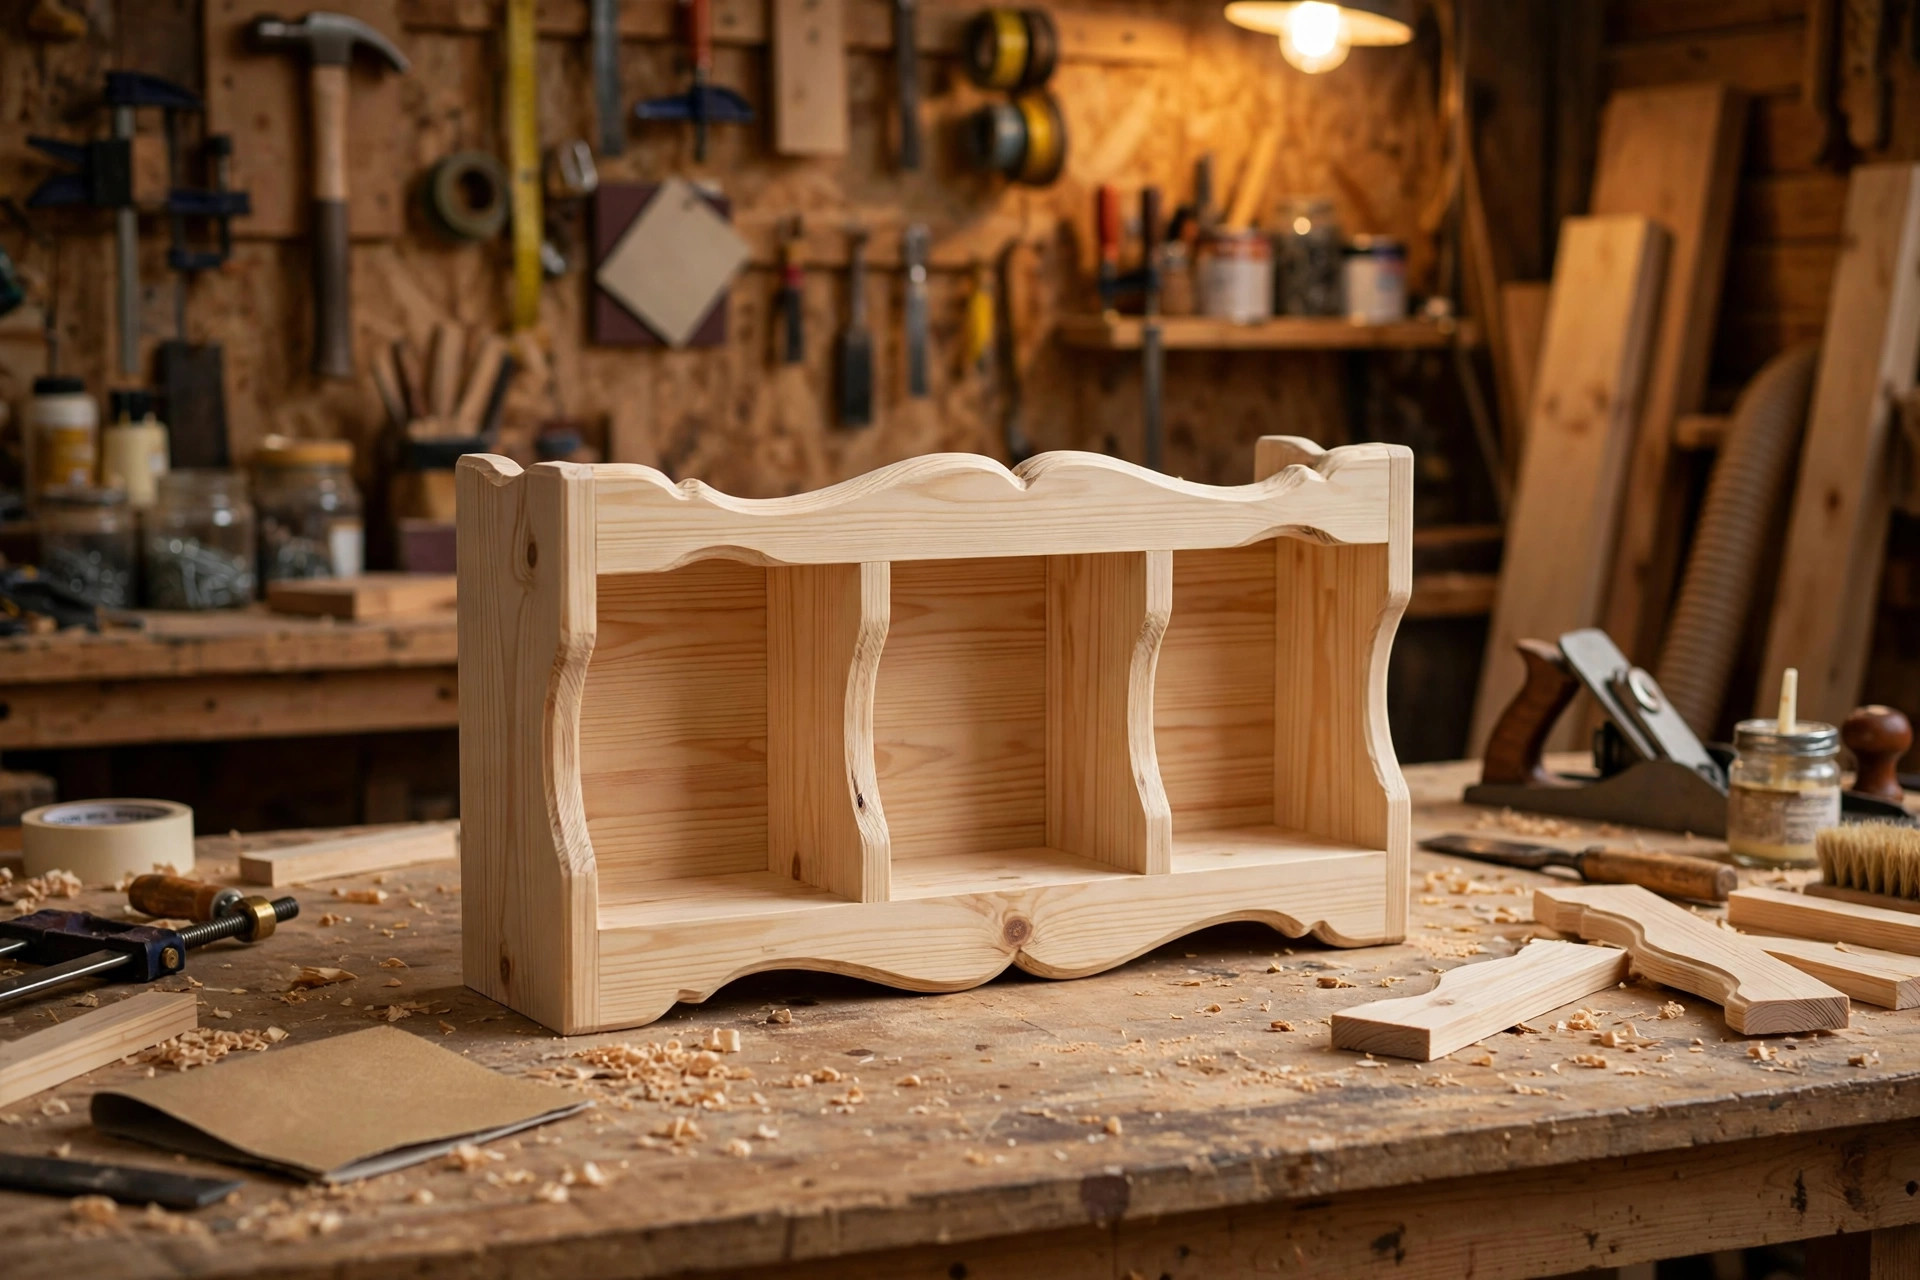
Curves are where a jigsaw earns its place in a beginner workshop, and where blade choice shows most clearly. A wide blade cannot turn a tight radius: it binds, bends sideways, and either breaks or wanders off the line, leaving a wavy curve that no amount of sanding fully rescues. A narrow scroll blade turns the same radius easily because there is less blade width to drag around the corner. The rule of thumb is simple: the tighter the curve, the narrower the blade. For gentle curves with a radius wider than a dinner plate, a general-purpose blade is fine. For curves tighter than that, switch to the scroll blade, slow down, and let the blade steer rather than forcing it around.
Cutting technique for curves matters as much as blade width. Feed slowly, keep the saw base flat on the workpiece, and steer with small, steady movements rather than twisting the saw hard. If the blade starts to bind on a tight turn, back up slightly along the cut, clear the sawdust, and re-enter the curve gently. For very tight inside curves, drill a starter hole inside the waste area, thread the blade through it, and cut outward to the line. Relief cuts help too: on a tight outside curve, cut a few straight slots from the edge of the board up to, but not across, your curve line, so waste pieces fall away as you cut and the blade never has to push a large waste section around a corner. These small habits are what separate a smooth curve from a wobbly one, and they cost nothing but patience.
Clean plywood cuts deserve their own technique, because plywood’s thin top veneer splinters easily. First, use the clean-cut or reverse-tooth blade from your kit, not the general-purpose blade. Second, put masking tape or painter’s tape along the cut line on the top face, mark the line on the tape, and cut through the tape. The tape supports the veneer fibres and dramatically reduces chipping, and it costs almost nothing. Third, consider cutting with the good face down if your blade cuts on the upstroke and you are using a standard blade, since splintering happens worst on the face the teeth exit. With a reverse-tooth blade, the good face can stay up. If you are unsure which face your blade favours, test on a scrap piece of the same plywood first; a two-minute test saves a ruined panel.
Speed and orbital action also affect plywood. Use a medium to low speed for thin plywood and a clean-cut blade, and turn the orbital action off or to its lowest setting. Orbital action moves the blade forward and back as well as up and down, which cuts faster but rougher, and on plywood it is a common cause of splintering. For a general-purpose cut in pine, a low or medium orbital setting is fine and speeds things up. For a show face in plywood, orbital off and a steady, unhurried feed give the cleanest result. The same logic applies to laminate: fine teeth, low orbital action, tape on the cut line, and a slow feed.
Finally, support the workpiece properly for curves and plywood alike. A board that vibrates as you cut will chip more, wander more, and tire you out faster. Support both sides of the cut, clamp the board to your bench or sawhorses, and make sure the blade has clearance below the board so it does not hit the bench. A simple trick is to cut on top of a sacrificial board or a sheet of rigid foam, which supports the plywood fully, prevents tear-out on the underside, and protects your bench. When you finish a cut, keep holding the saw steady until the blade stops, then lift it clear; lifting a spinning blade through a finished edge is an easy way to nick a curve you just cut perfectly.
Blade Materials, Shank Types, and the Two Tables to Keep
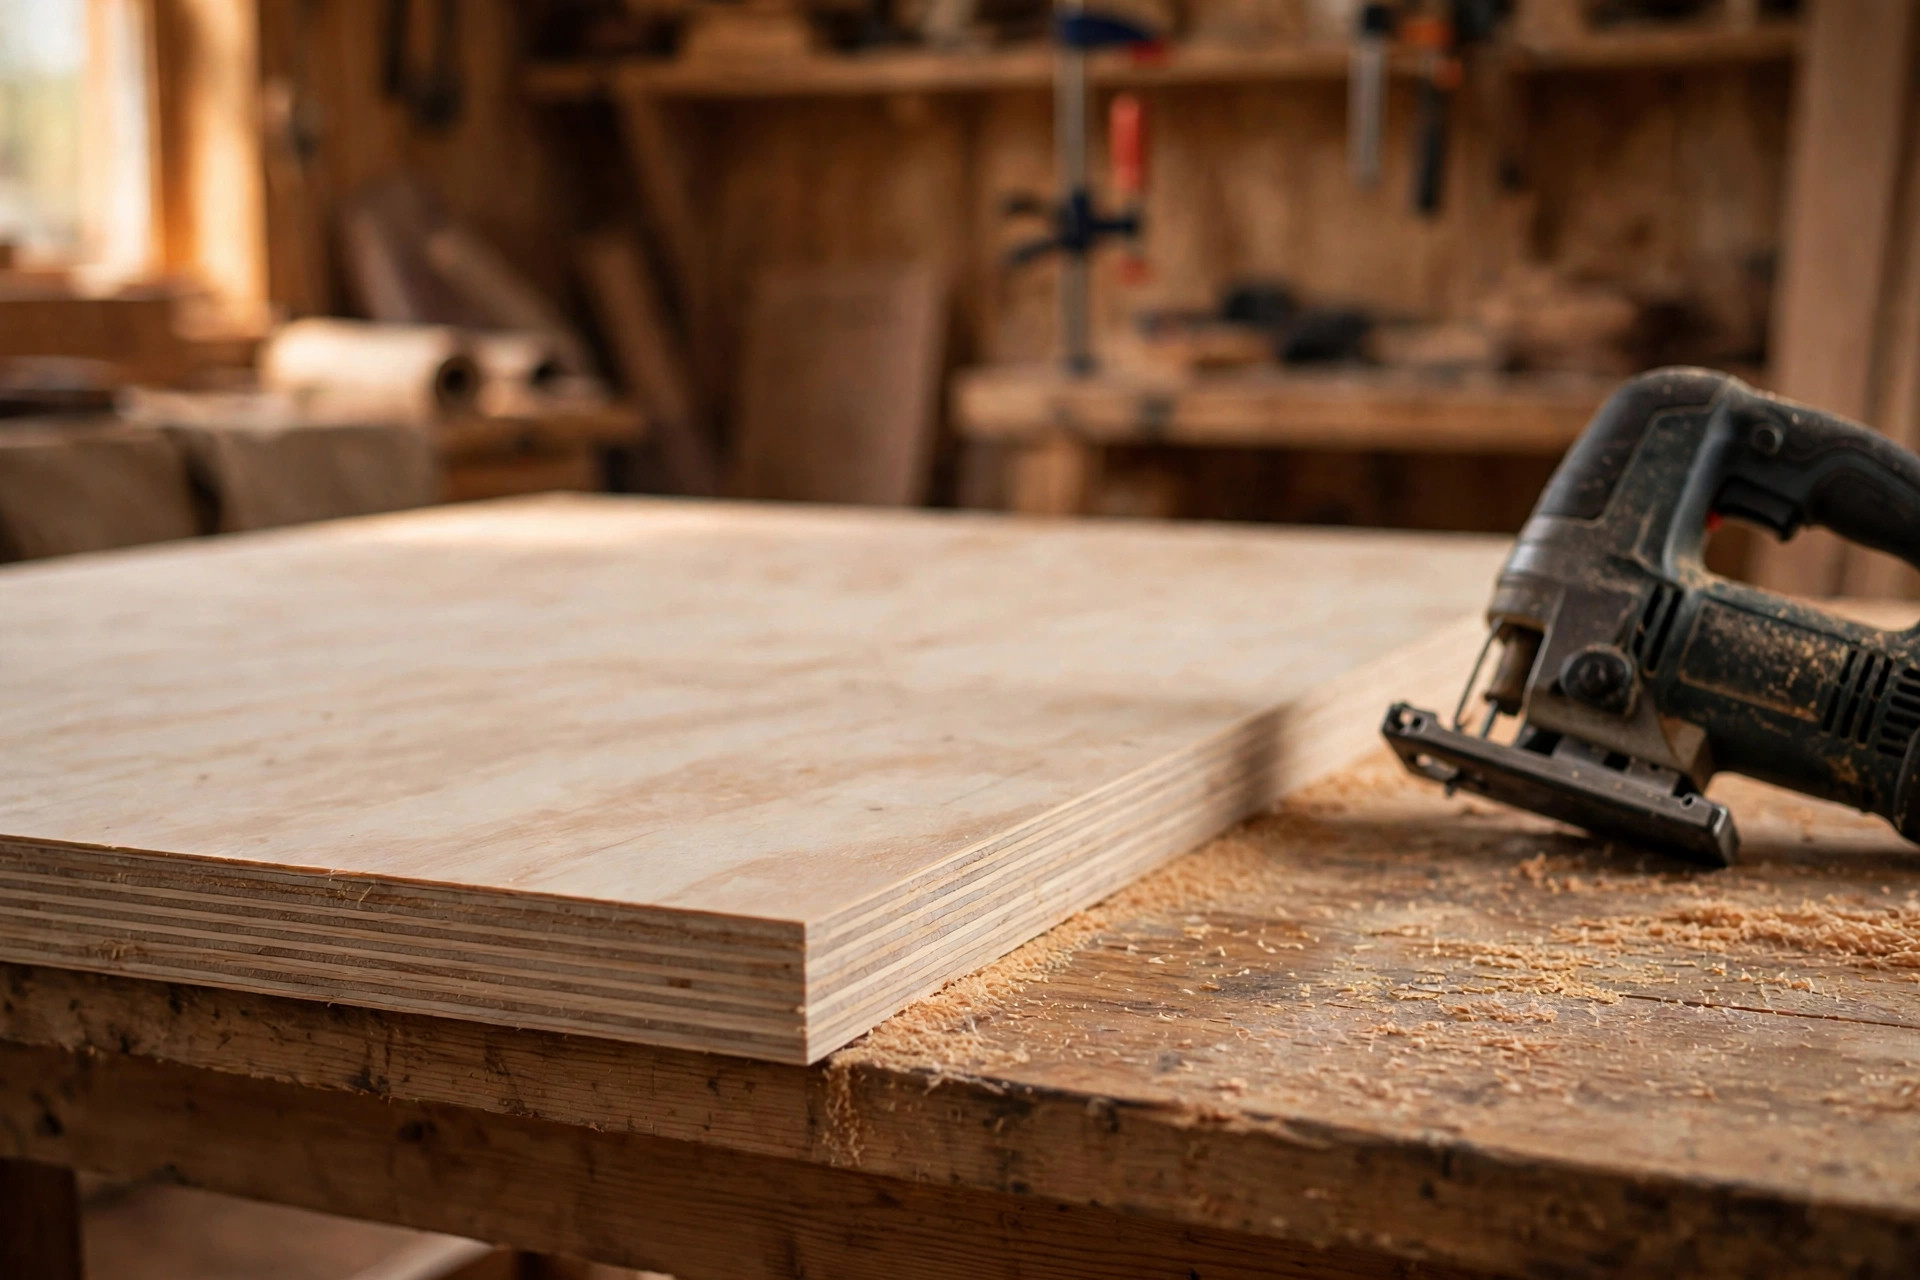
Blade material decides how long a blade stays sharp, what it can cut, and how much it costs. For beginners, the comparison is mainly between high-carbon steel (HCS), high-speed steel (HSS), bi-metal, and carbide-grit blades, and the honest answer is that most beginner woodwork needs only the first and third of these.
HCS blades are the workhorses of wood cutting. They are relatively soft and flexible, which means they bend rather than snap when they hit a tight curve or a knot, and they are cheap enough that replacing a dull one never feels wasteful. Their downside is that they dull faster than harder steels, especially in hardwood, plywood glue lines and dirty or reclaimed wood. For pine, poplar, plywood and MDF, HCS is an excellent, economical choice, and most general-purpose and scroll blades in a beginner kit are HCS. Replace them without guilt when they dull; a fresh cheap blade beats a dull expensive one.
HSS blades are harder and stay sharp longer than HCS, but they are more brittle and more expensive. They are a better choice for metal, plastic and harder materials than for everyday woodwork, and a beginner who buys HSS wood blades is paying for durability they will rarely notice before the blade is damaged by a nail or a knot anyway. Bi-metal blades combine the best of both: a flexible HCS-style body with HSS teeth welded on, so they stay sharp longer than HCS while still flexing rather than snapping. They cost more than HCS, but they are the sensible upgrade for a blade you use every week, and for cutting wood that may hide nails or screws, such as reclaimed boards. Carbide-grit blades have no teeth at all; they are coated with abrasive grit and are used for tile, fibreglass, brick and other abrasive materials that would destroy a toothed blade in seconds. Beginners do not need a carbide-grit blade for woodwork, and using one on wood gives a slow, rough, dusty cut.
Shank type is the compatibility check you must make before buying. The shank is the top end of the blade that locks into the saw. Most modern jigsaws use a T-shank blade, which has a T-shaped top and clicks into a tool-free holder. Older or very basic saws may use a U-shank blade, which has a U-shaped top and is held by a screw. The two are not interchangeable. Check your saw’s manual or look at the blade holder: if it has a lever or a quick-release collar, it almost certainly takes T-shank blades. If it has a screw that clamps the blade, check whether it accepts U-shank, T-shank, or both, because some universal holders accept both. When in doubt, buy T-shank, since it is the current standard, but confirm before opening a multi-pack you cannot return. Length and width are printed on the pack alongside TPI and material, so check all three numbers, not just the tooth count, before you pay.
Table 1: Blade Types Compared
| Blade type | Typical TPI | Best use | Finish quality | Watch out for |
|---|---|---|---|---|
| General-purpose wood (HCS) | 6–10 | Pine, poplar, plywood, MDF; straight and gentle curves | Good; light sanding needed | Splinters thin veneer on the exit face |
| Clean-cut / reverse-tooth | 10–20 | Plywood, laminate, veneer; visible faces | Very good; minimal splintering on top face | Slower cutting; clogs in thick material |
| Narrow scroll blade | 10–14 | Tight curves, decorative shapes, ornaments | Good on curves; wanders on long straights | Breaks if forced; not for straight cuts |
| Coarse / skip-tooth wood | 6 | Fast rough cuts in thick softwood | Rough; needs sanding | Tears thin material; poor for visible edges |
| Bi-metal wood / nail-embedded wood | 10–14 | Reclaimed wood, wood with hidden nails, frequent use | Good; stays sharp longer than HCS | Costs more; still dulls on nails eventually |
| Metal-cutting (HSS / bi-metal) | 18–32 | Thin metal trim, nails, screws, plastic | Good on metal; poor on wood | Clogs and burns in wood; not a wood blade |
| Carbide-grit | No teeth (grit) | Tile, fibreglass, brick, abrasive materials | Rough; grinding action, not cutting | Slow and dusty on wood; do not use for woodwork |
Table 2: Blade Chart by Project
| Project | Blade to use | Speed | Orbital setting | Extra tip |
|---|---|---|---|---|
| Plywood shelf (visible face) | Clean-cut / reverse-tooth, 10–14 TPI | Medium-low | Off or lowest | Tape the cut line; test on scrap first |
| Curve cut (decorative bracket, ornament) | Narrow scroll blade, 10–14 TPI | Medium-low | Off or lowest | Relief cuts on tight curves; steer gently |
| Thick pine board (25 mm+) | General-purpose, 6–10 TPI, longer blade | Medium-high | Low to medium | Let the blade clear sawdust; do not force it |
| Laminate worktop or panel | Clean-cut / reverse-tooth, 14–20 TPI | Low-medium | Off | Tape the line; good face up with reverse-tooth |
| Metal trim or a nail in the cut line | Bi-metal metal blade, 18–24 TPI | Low | Off | Go very slowly; expect the blade to wear faster |
| General beginner project (mixed cuts) | General-purpose, 6–10 TPI | Medium | Low | Switch to scroll or clean-cut blade when the cut demands it |
Keep these tables where you store your blades. After a few projects, you will stop looking them up, because the pattern will be familiar: coarse and fast for thick rough work, fine and slow for thin visible work, narrow for curves, and bi-metal when metal might be hiding in the wood.
Changing a Blade and Cutting Technique That Keeps Cuts Clean
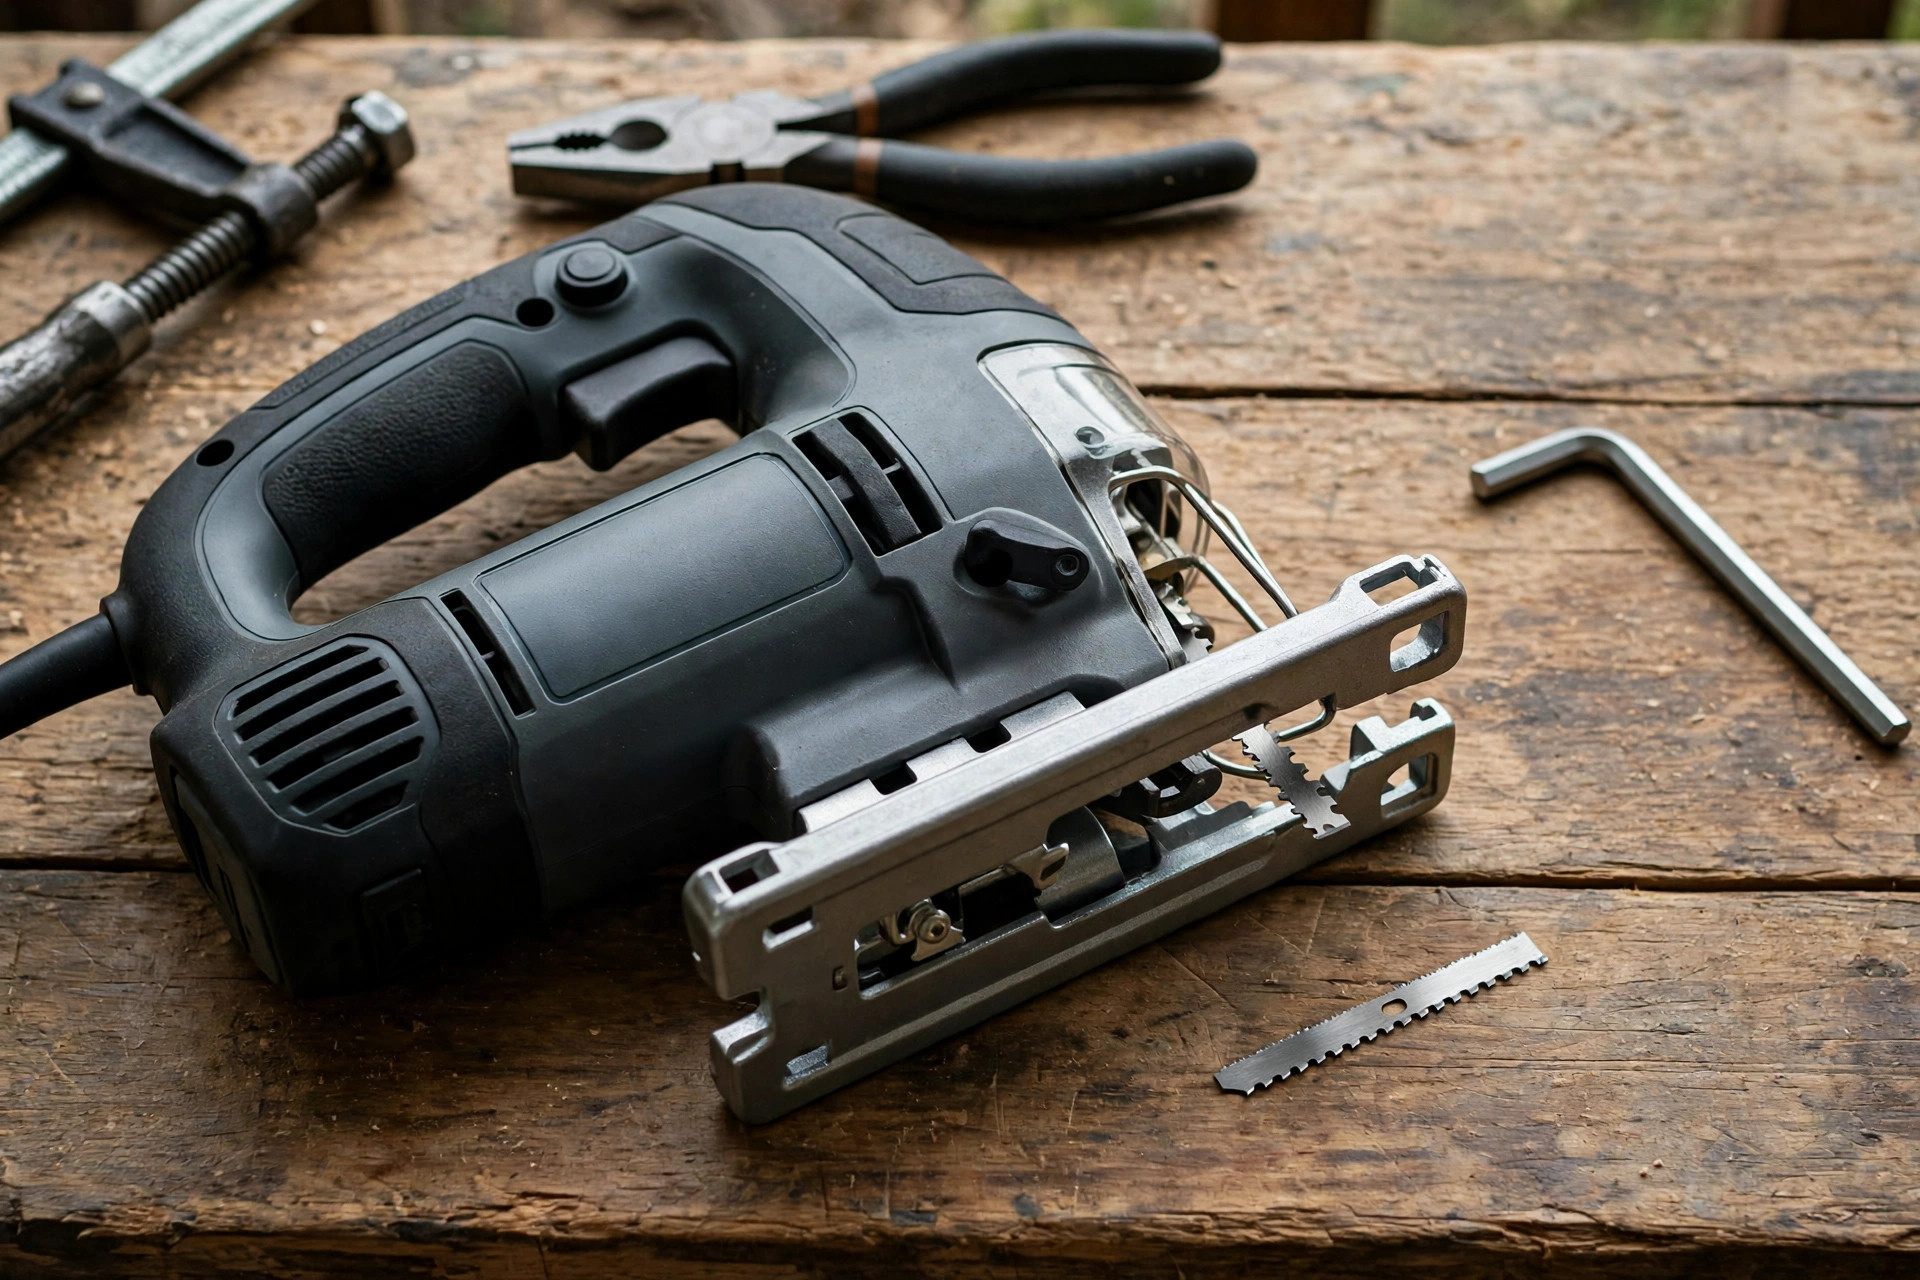
Changing a jigsaw blade is a two-minute job once you have done it twice, and it is worth practising on purpose rather than learning it in the middle of a project. Unplug the saw first, or remove the battery on a cordless saw; this is not optional, because a jigsaw trigger is easy to bump while your fingers are near the blade holder. Put on safety glasses, since a blade under spring tension can flick when released. Then follow your saw’s holder: on a tool-free T-shank holder, pull or twist the release lever, pull the old blade straight out, push the new blade fully into the holder until it clicks or seats, and tug it gently to confirm it is locked. On a screw-type holder, loosen the screw, remove the old blade, insert the new blade with its teeth facing forward, and tighten the screw firmly without over-tightening. Always check that the teeth point forward, away from the saw body, and that the blade is seated straight, not at an angle.
Cutting technique is mostly about patience. Let the blade cut at its own pace, and use the saw’s speed and orbital settings rather than arm force to control the cut. Pushing hard does not make a jigsaw cut faster; it bends the blade, overheats the teeth, burns the wood, and produces a wavy edge. Instead, guide the saw lightly along the line, keep the base flat, and listen to the saw: a steady cutting sound means you are feeding well, while a labouring, slowing sound means you are pushing too hard or the blade is dull. On long straight cuts, use a clamped straightedge guide if you have one, because a jigsaw’s freehand straight cut is rarely as straight as a guided one, and a guide turns a good blade into a great edge.
Splinter guards and anti-splinter inserts are small plastic pieces that fit around the blade on the saw base and support the wood fibres right at the cut. If your saw came with one, use it for plywood and laminate, and replace it when it gets chewed up, since a worn guard stops supporting the fibres. If your saw did not come with one, the tape trick above is the free alternative, and it works well. A zero-clearance insert — a thin plate with a slot exactly the width of the blade — serves the same purpose and can be made from scrap hardboard for saws that accept one. These small accessories are unglamorous, but they are the difference between a plywood edge you can finish directly and one that needs filler and heavy sanding.
Safety belongs in this section too, because blade changes and cutting are when beginners get hurt. Wear safety glasses and hearing protection, keep both hands on the saw’s handles and away from the blade path, and never reach under the workpiece while the blade is moving. Clamp the workpiece rather than holding it with a free hand near the cut line, and keep the cord behind you so it cannot snag or pull the saw off line. Unplug the saw for every blade change, every adjustment, and every time you clear a jam. Keep these as your minimum safety rules: glasses, hearing protection, a dust mask for MDF and plywood, clamped work, unplugged blade changes, and a clear floor. If you later sand and finish the piece, our guide to how to sand and finish wood for beginners will take you from a clean cut to a smooth, durable finish.
Troubleshooting, Replacement, Storage, and Common Mistakes
Blade bending and wandering. A blade that bends sideways or wanders off the line is usually being pushed too hard, is too narrow for a straight cut, is dull, or is cutting a curve tighter than its width allows. Fix it in this order: slow down and ease off the pressure, switch to a wider blade for straight cuts or a narrower blade for curves, replace a dull blade, and check that the blade is seated straight in the holder. Also check that the saw base is flat on the workpiece; tilting the saw, even slightly, bends the blade and steers the cut off line. If the blade bends repeatedly in the same material, you may need a thicker, stiffer blade or a lower feed rate, not more force.
Burning. Burn marks, dark edges and a smell of scorched wood mean the blade is dull, the feed is too slow for the speed, sawdust is clogging the teeth, or the blade is the wrong TPI for the thickness. Replace a dull blade first, because no technique rescues a blunt edge. Then increase the feed slightly, clear sawdust by backing out of the cut occasionally on long cuts, and check the TPI rule: a very fine blade in thick pine will almost always burn. Burning is worse in hardwood and plywood glue lines, so expect to change blades more often there.
Breakage. Blades break when they are forced around tight curves, twisted in the cut, pushed sideways, or used past their life in hard material. A scroll blade is especially easy to snap if you twist the saw instead of steering it gently. Prevent breakage by using relief cuts, steering with small movements, keeping the base flat, and replacing blades that have a visible kink or a chipped tooth. A blade that has already bent sideways once is weakened; retire it rather than straightening it and hoping.
When to replace a blade. Replace a blade when cuts feel slower, need more pushing, leave rougher or burnt edges, or wander more than they used to, or when you can see missing, chipped or rounded teeth. Do not wait for a blade to snap. HCS blades are cheap, and a fresh blade is the cheapest accuracy upgrade in woodworking. As a rough guide, a general-purpose HCS blade may last several beginner projects in pine, fewer in hardwood or plywood, and much less in reclaimed wood with hidden nails. Keep a spare of your most-used blade in your kit so a dull blade never tempts you to finish a project badly.
Storage. Store blades in their original pack, a blade case, or a labelled envelope, with the teeth protected and the blades separated so they do not rub and dull each other. Do not toss loose blades into a toolbox drawer, where they blunt each other, nick your fingers, and become impossible to identify. Label the pack with TPI and material if the original label wears off, and keep clean-cut blades separate from rough-cut blades so you never grab the wrong one in a hurry. A small, organised blade kit is a sign of a workshop that is starting to work well.
Common mistakes to avoid. The most expensive beginner mistake is using one blade for everything, usually the blade that came with the saw, long after it has dulled. The second is cutting plywood with a coarse blade and then trying to sand out splintering that a clean-cut blade and tape would have prevented. The third is forcing curves with a wide blade instead of switching to a scroll blade. The fourth is buying a huge blade set instead of the three-blade kit and never learning any blade properly. The fifth is forgetting the shank check and bringing home blades that do not fit the saw. Avoid those five, and your jigsaw work will look noticeably better within your first three projects, without buying a new saw or a single extra accessory.
Frequently Asked Questions
What are the best jigsaw blades for beginners woodworking?
A three-blade kit: a general-purpose wood blade at 6–10 TPI for everyday pine, plywood and MDF, a clean-cut or reverse-tooth blade at 10–20 TPI for visible plywood and laminate faces, and a narrow scroll blade at 10–14 TPI for tight curves. That kit covers almost every beginner project.
What TPI should a beginner use for plywood?
Use 10–14 TPI for ordinary plywood and 14–20 TPI for thin plywood or laminate where chipping matters most. The 2–3 teeth rule explains why: thinner material needs finer teeth so enough teeth are engaged to support the veneer rather than tear it.
What is the difference between HCS and bi-metal jigsaw blades?
HCS blades are softer, flexible, cheap, and ideal for everyday wood cutting, but they dull faster. Bi-metal blades have a flexible body with harder HSS teeth, so they stay sharp longer and cope better with nails in reclaimed wood, but they cost more. Start with HCS, and upgrade your most-used blade to bi-metal if you use it weekly.
How do I know if a blade fits my jigsaw?
Check the shank type. Most modern saws take T-shank blades, which click into a tool-free holder. Older or basic saws may take U-shank blades held by a screw. Check your saw’s manual or holder before buying, and confirm the blade length suits your material thickness as well as the TPI.
Why does my jigsaw blade bend or wander?
Usually because of too much pushing force, a dull blade, a blade that is too narrow for a straight cut or too wide for a tight curve, a tilted saw base, or a blade seated crookedly in the holder. Slow down, ease off pressure, match blade width to the cut, replace dull blades, and keep the base flat.
When should I replace a jigsaw blade?
Replace it when cuts slow down, need more force, burn, wander, or leave rough edges, or when teeth are missing, chipped or visibly rounded. HCS blades are inexpensive, so replace early rather than forcing a dull blade through a project and spoiling the edge.
Final Verdict
The best jigsaw blades for beginners woodworking are not the most expensive blades, the biggest set, or the finest teeth you can find. They are the three blades that match the cuts you actually make: a general-purpose 6–10 TPI blade for everyday wood, a clean-cut reverse-tooth blade for plywood and laminate faces you want to show off, and a narrow scroll blade for curves that a wide blade cannot turn. Learn the 2–3 teeth rule, check the shank before you buy, use tape and low orbital action on plywood, change blades without guilt when they dull, and let the blade cut instead of forcing it. Do that, and a modest jigsaw will cut clean shelves, smooth curves and splinter-free plywood from your very first projects — which is exactly what a good blade should do. If those projects are ones you hope to sell, our pillar guide to easy woodworking projects for beginners that sell shows which jigsaw-friendly projects buyers actually want, and how a clean cut and a smooth finish turn a simple shelf or bracket into something worth paying for.


