
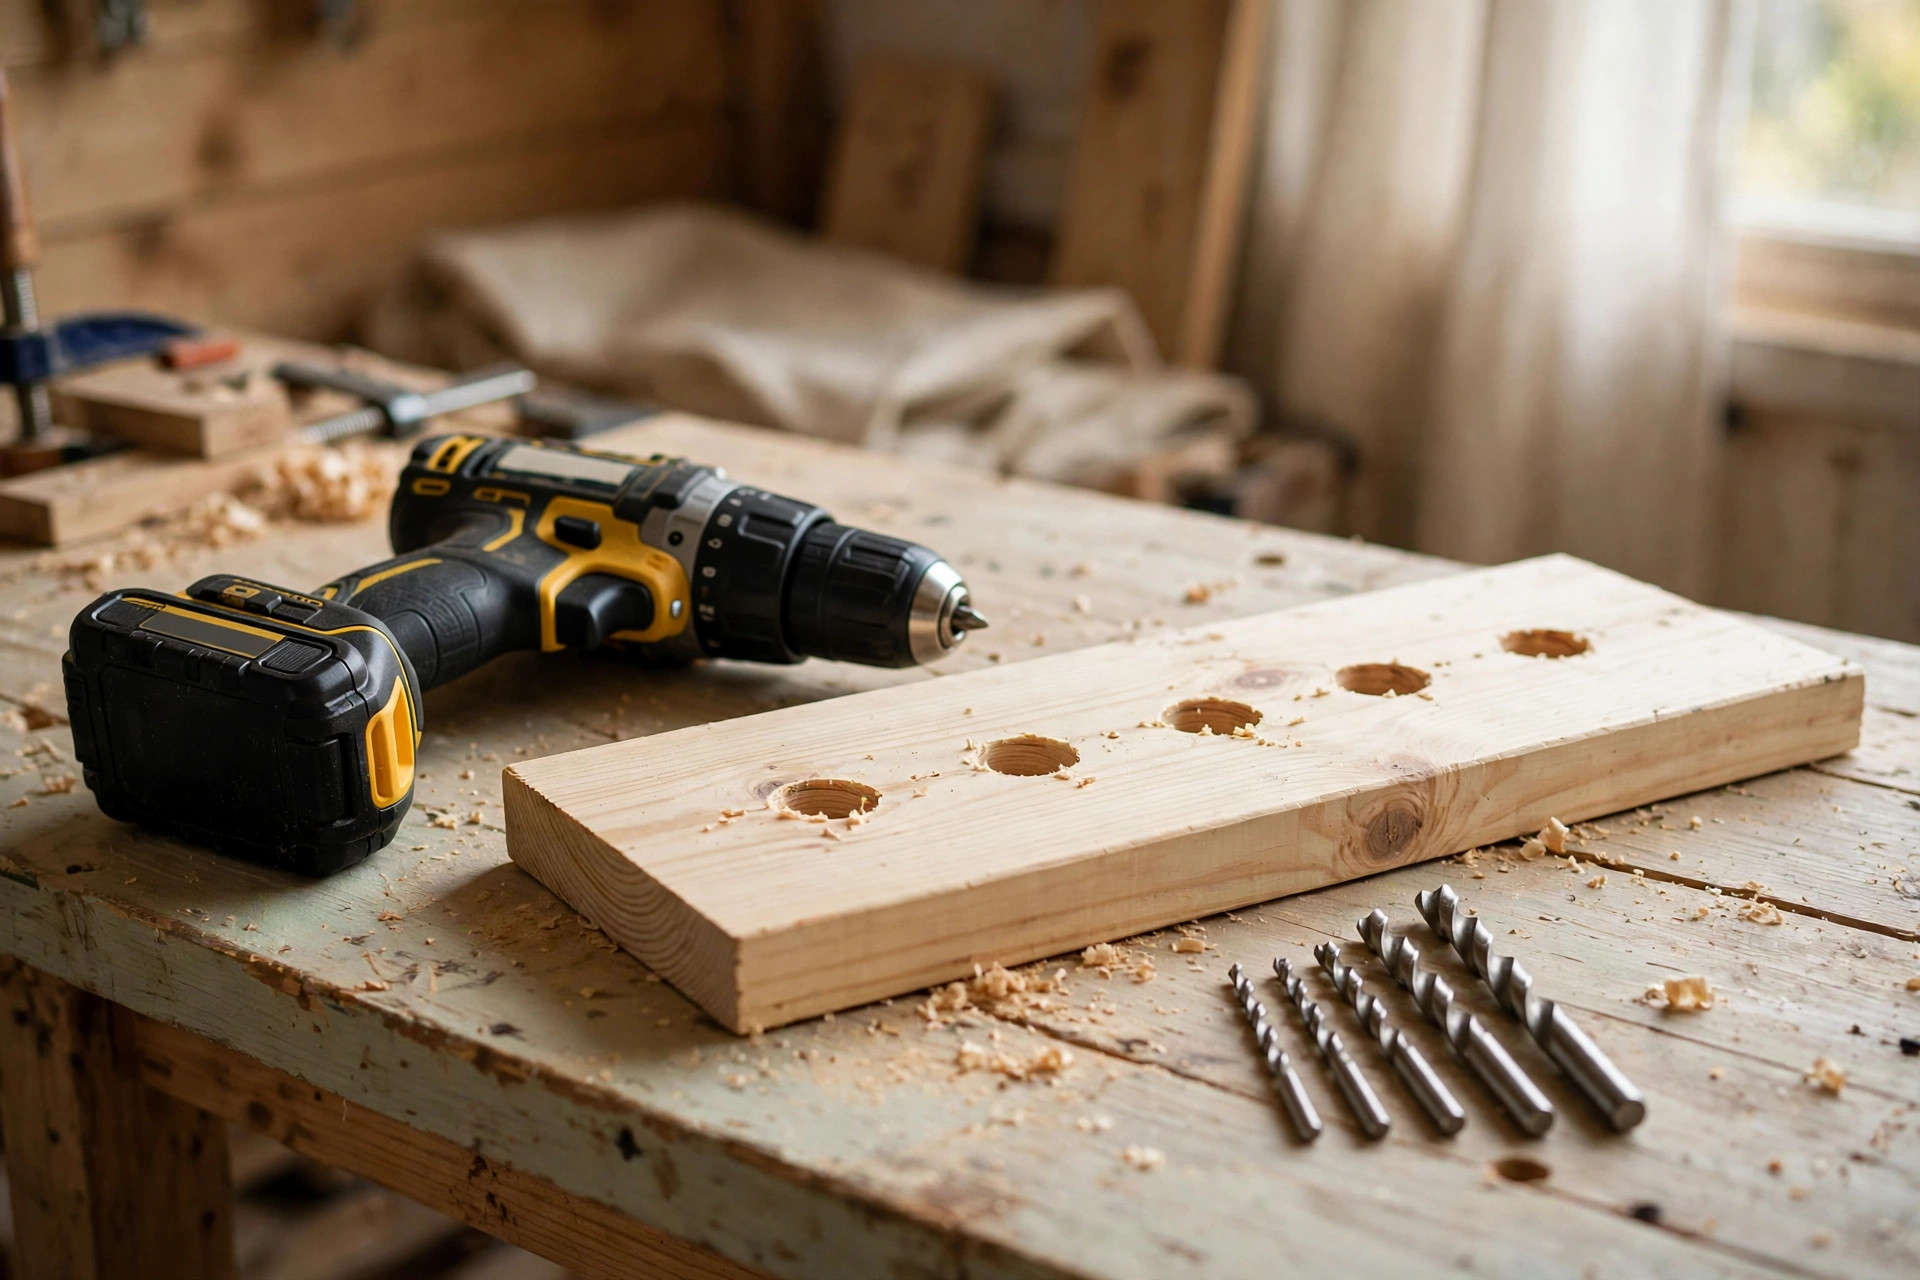
A drill is usually the first power tool a beginner buys, but the drill itself is only half the story. The bit in the chuck decides whether a hole comes out clean and exactly where you wanted it, or wanders off, tears the surface, and leaves you filling a mistake with putty. Walk into any hardware store and you will face a wall of bits in dozens of shapes, sizes, and sets, and it is genuinely hard to know which ones a beginner actually needs. That is what this guide is for. It explains the best drill bits for woodworking beginners in plain language, names the small kit that covers almost every beginner project, and teaches you the techniques that make holes look like they were drilled by someone with years of experience.
Here is the short answer first. The beginner drill-bit kit is: a brad-point set (roughly 3 mm to 10 mm, or 1/8 inch to 3/8 inch), a few twist bits for pilot holes and metal hardware, one countersink bit, one Forstner bit in the size your cabinet hinges need (usually 35 mm), and one or two spade bits for rough large holes where appearance does not matter. That kit, plus the drill you already own, handles shelves, frames, boxes, furniture, hinges, and cable holes. Everything else — big hole-saw kits, long auger bits, specialty plug cutters — can wait until a project actually demands it. If you are choosing a drill to go with these bits, our guide to the best drill for woodworking beginners will help you pick the right one, and if you want perfectly square holes every time, read our guide to the best drill press for beginners.
The Beginner Drill-Bit Kit: What to Buy First
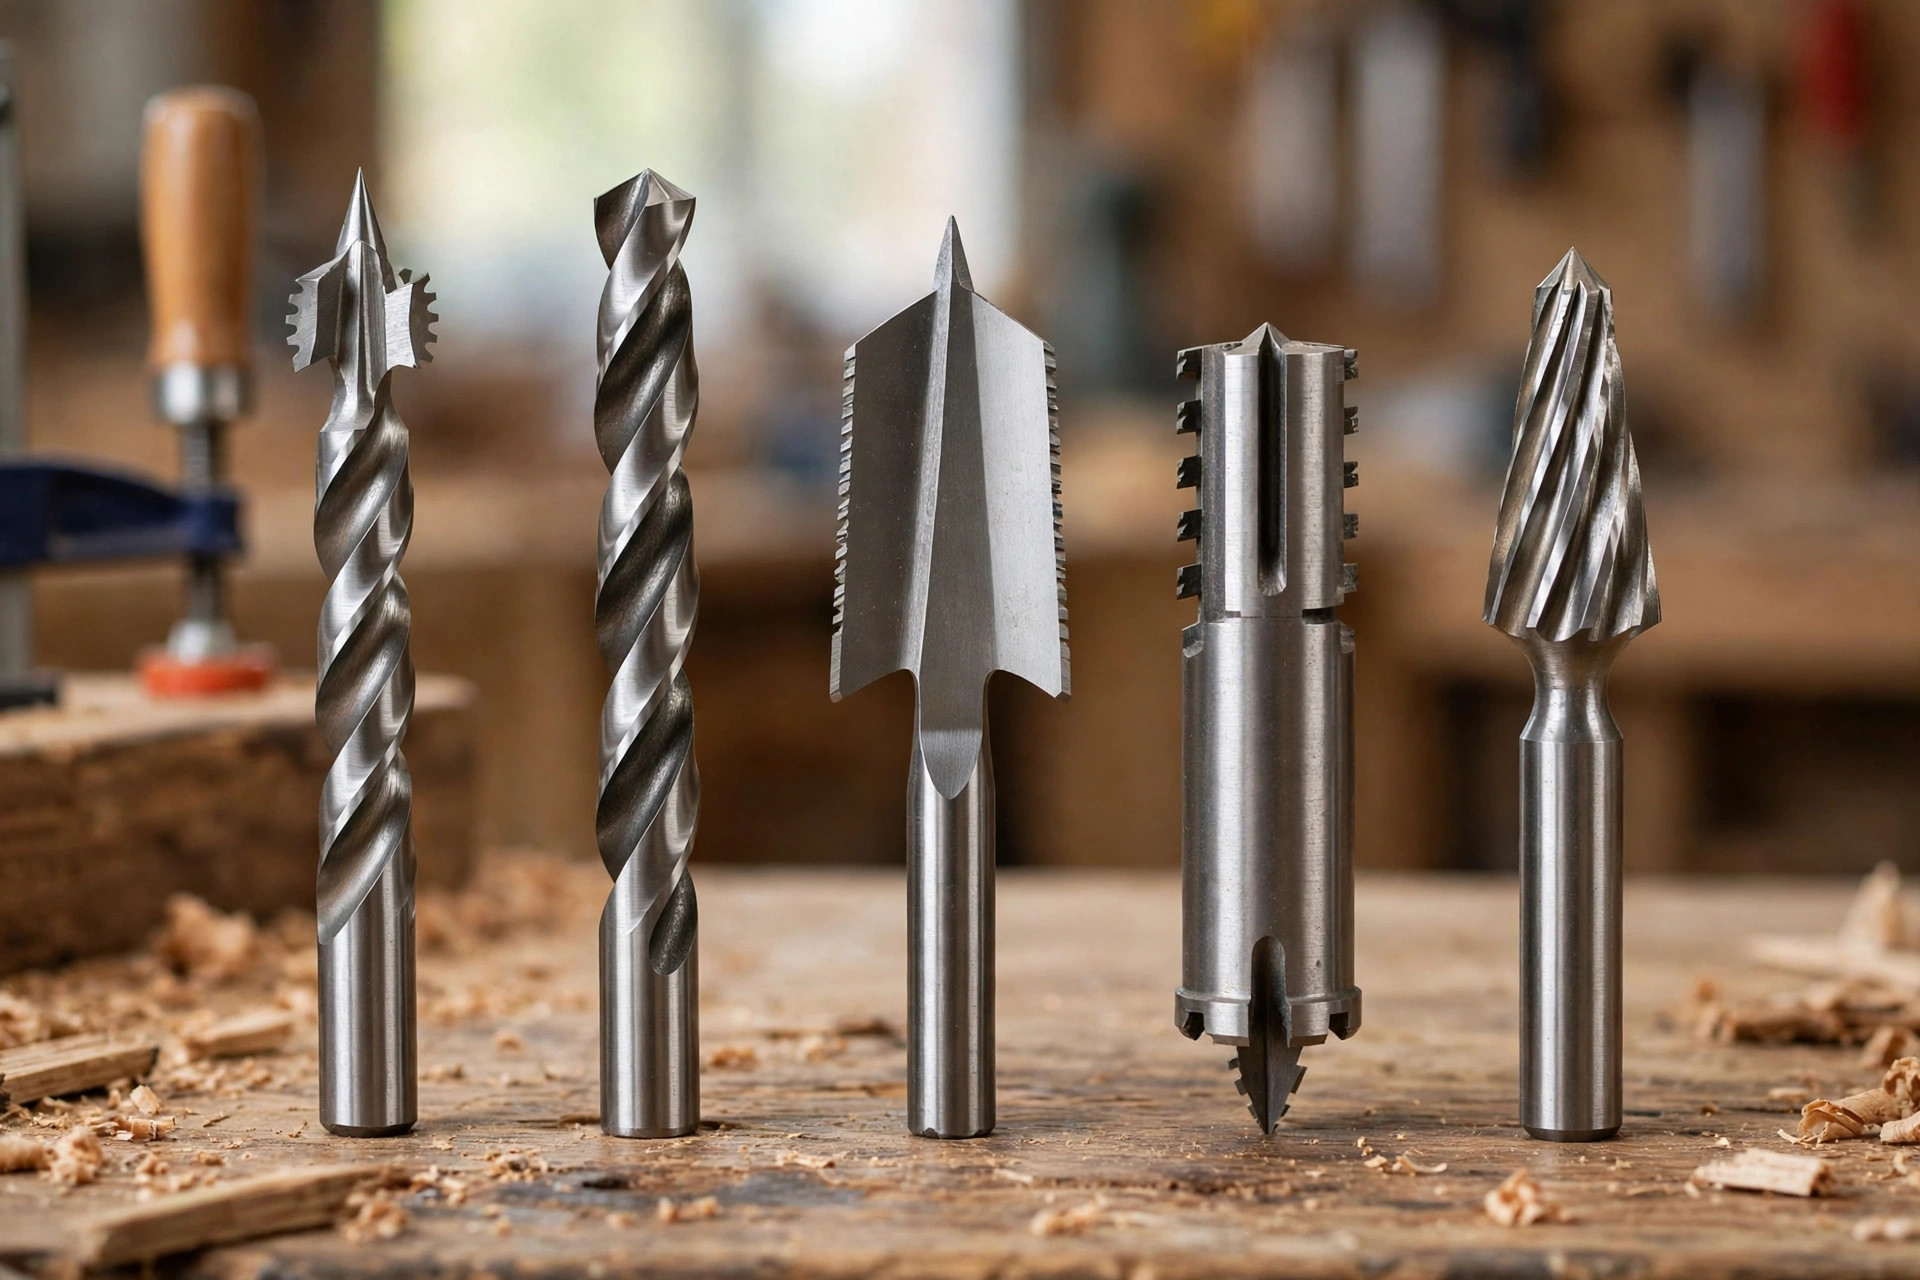
Start with a brad-point set, because it will do most of your drilling. Brad-point bits have a sharp centre spur and two cutting spurs on the edges, which is why they start exactly on your mark and cut clean-edged holes in wood. A set covering roughly 3 mm to 10 mm handles dowel holes, shelf-pin holes, pilot holes for larger screws, and most general drilling in pine, plywood, and hardwood. Buy a set rather than single bits where you can, because you will reach for several sizes in a single project and a set keeps them organised.
Add a small set of standard twist bits, the familiar spiral bits with a pointed tip. Twist bits are general-purpose: they drill wood, but also plastic and thin metal, which matters when you are fitting hinges, brackets, or hardware that needs a pilot hole through a metal plate. They wander more than brad-point bits on a wood surface, so always start them with a centre-punch mark or a small pilot dent made with an awl. Keep a few common sizes — 2 mm, 3 mm, 4 mm, 5 mm, and 6 mm — and you are covered for most screws.
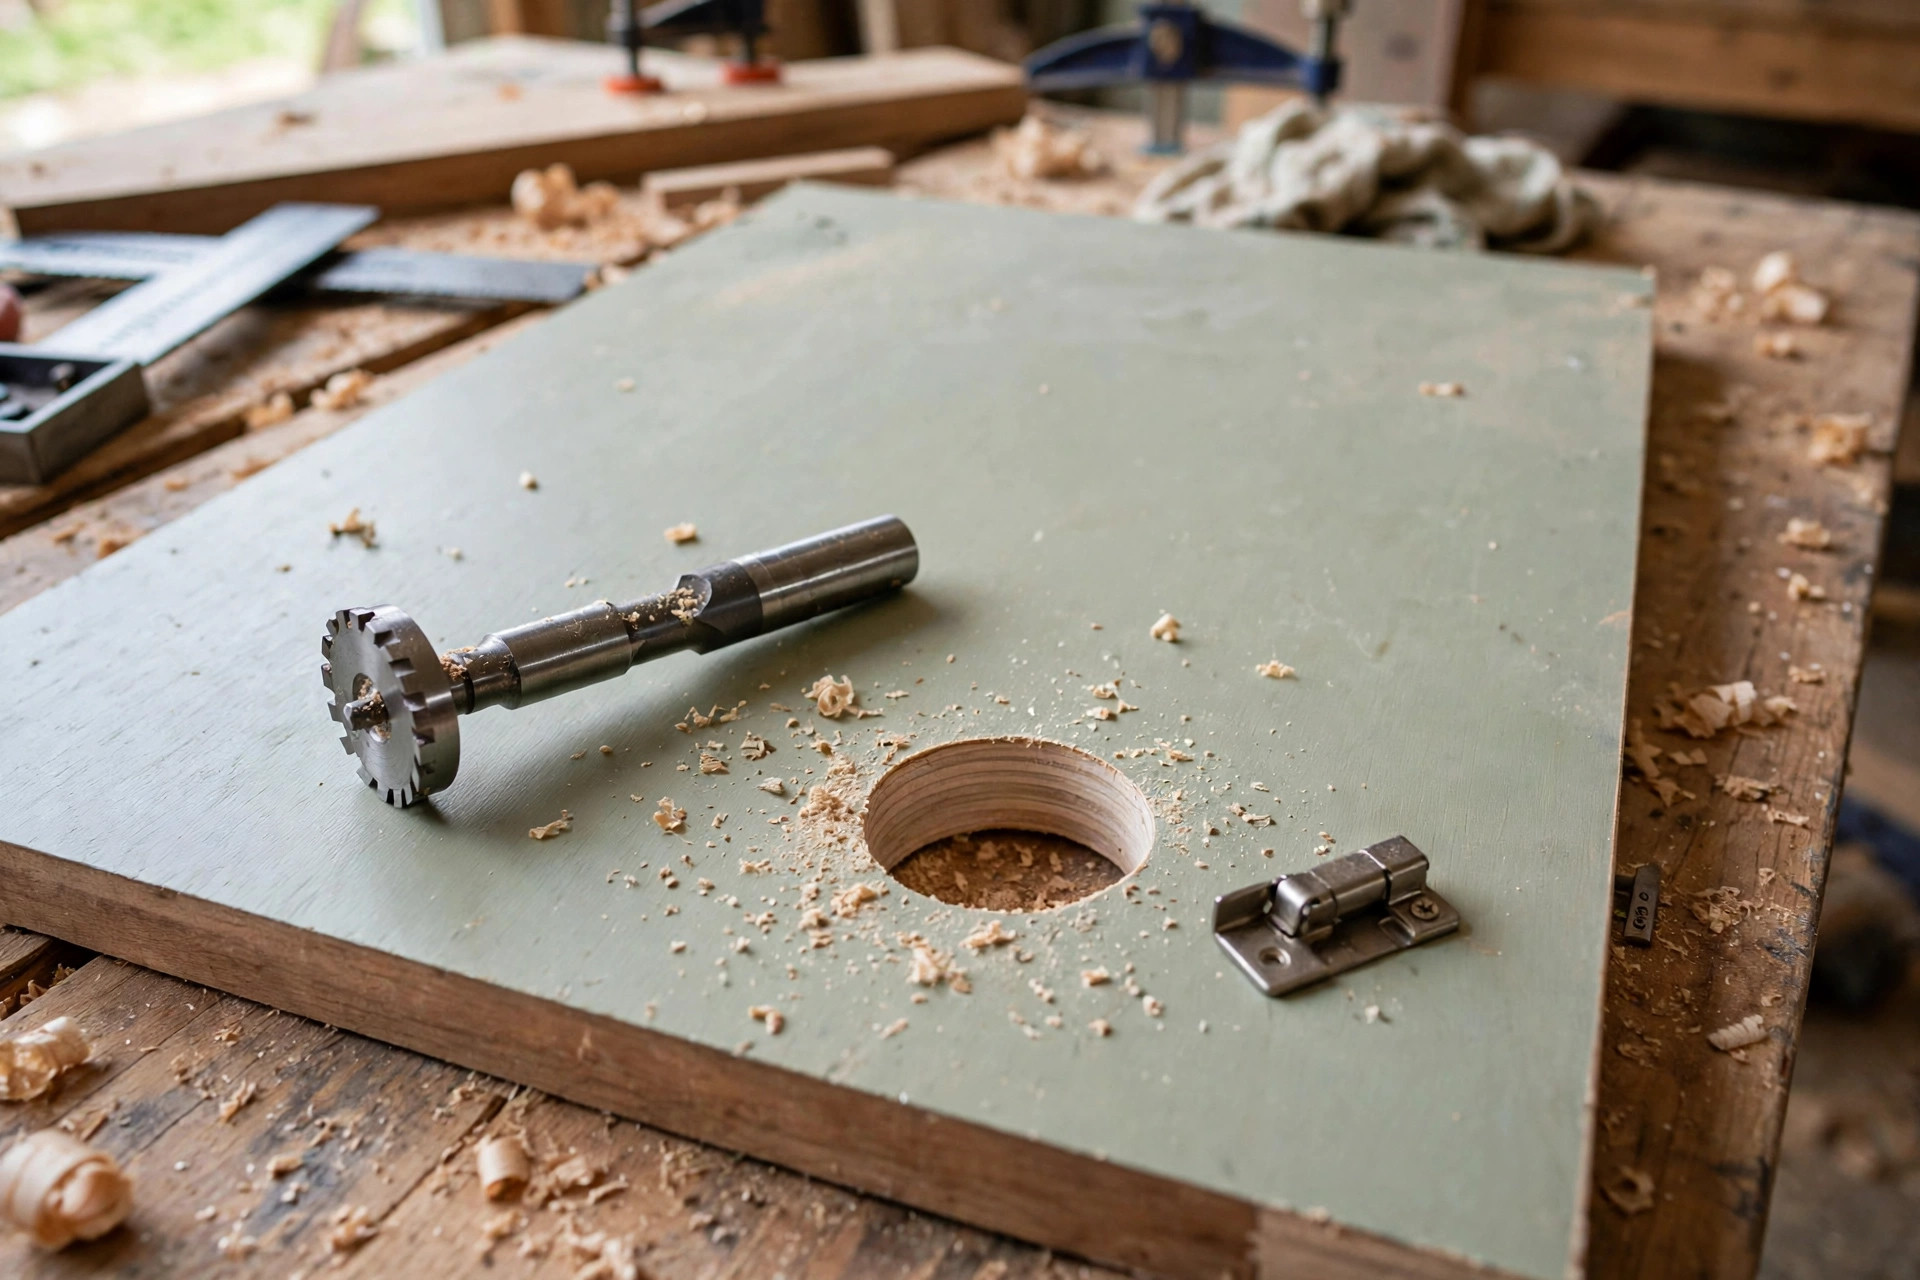
Then add three single bits that each solve one job beautifully. A countersink bit drills a shallow cone-shaped recess so a screw head sits flush with, or just below, the wood surface — the difference between a project that looks finished and one that looks like the screws were an afterthought. One 35 mm Forstner bit covers standard concealed cabinet hinges, the most common reason a beginner suddenly needs a large, flat-bottomed hole. And one or two spade bits, say 20 mm and 25 mm, handle rough large holes for cables, plumbing, or dowels where the inside of the hole will never be seen. With those five groups — brad-point set, twist bits, countersink, Forstner, spade — you have the complete beginner kit.
What should you skip for now? Large hole-saw kits, unless you are cutting holes for downlights or door locks; long auger bits, which are wonderful for deep holes in framing timber but aggressive and unnecessary for furniture-scale work; and bargain-bin 100-piece sets. Those giant sets look like value, but they are usually made of soft steel that dulls fast, and half the bits are sizes you will never use. A smaller set of decent-quality bits beats a huge set of poor ones every time. Expect to pay an approximate mid-range price band for a good brad-point set — cheap sets frustrate, premium professional sets are overkill — and replace individual bits as they wear rather than buying a whole new set.
Drill Bit Types Explained: When Each One Is the Right Choice
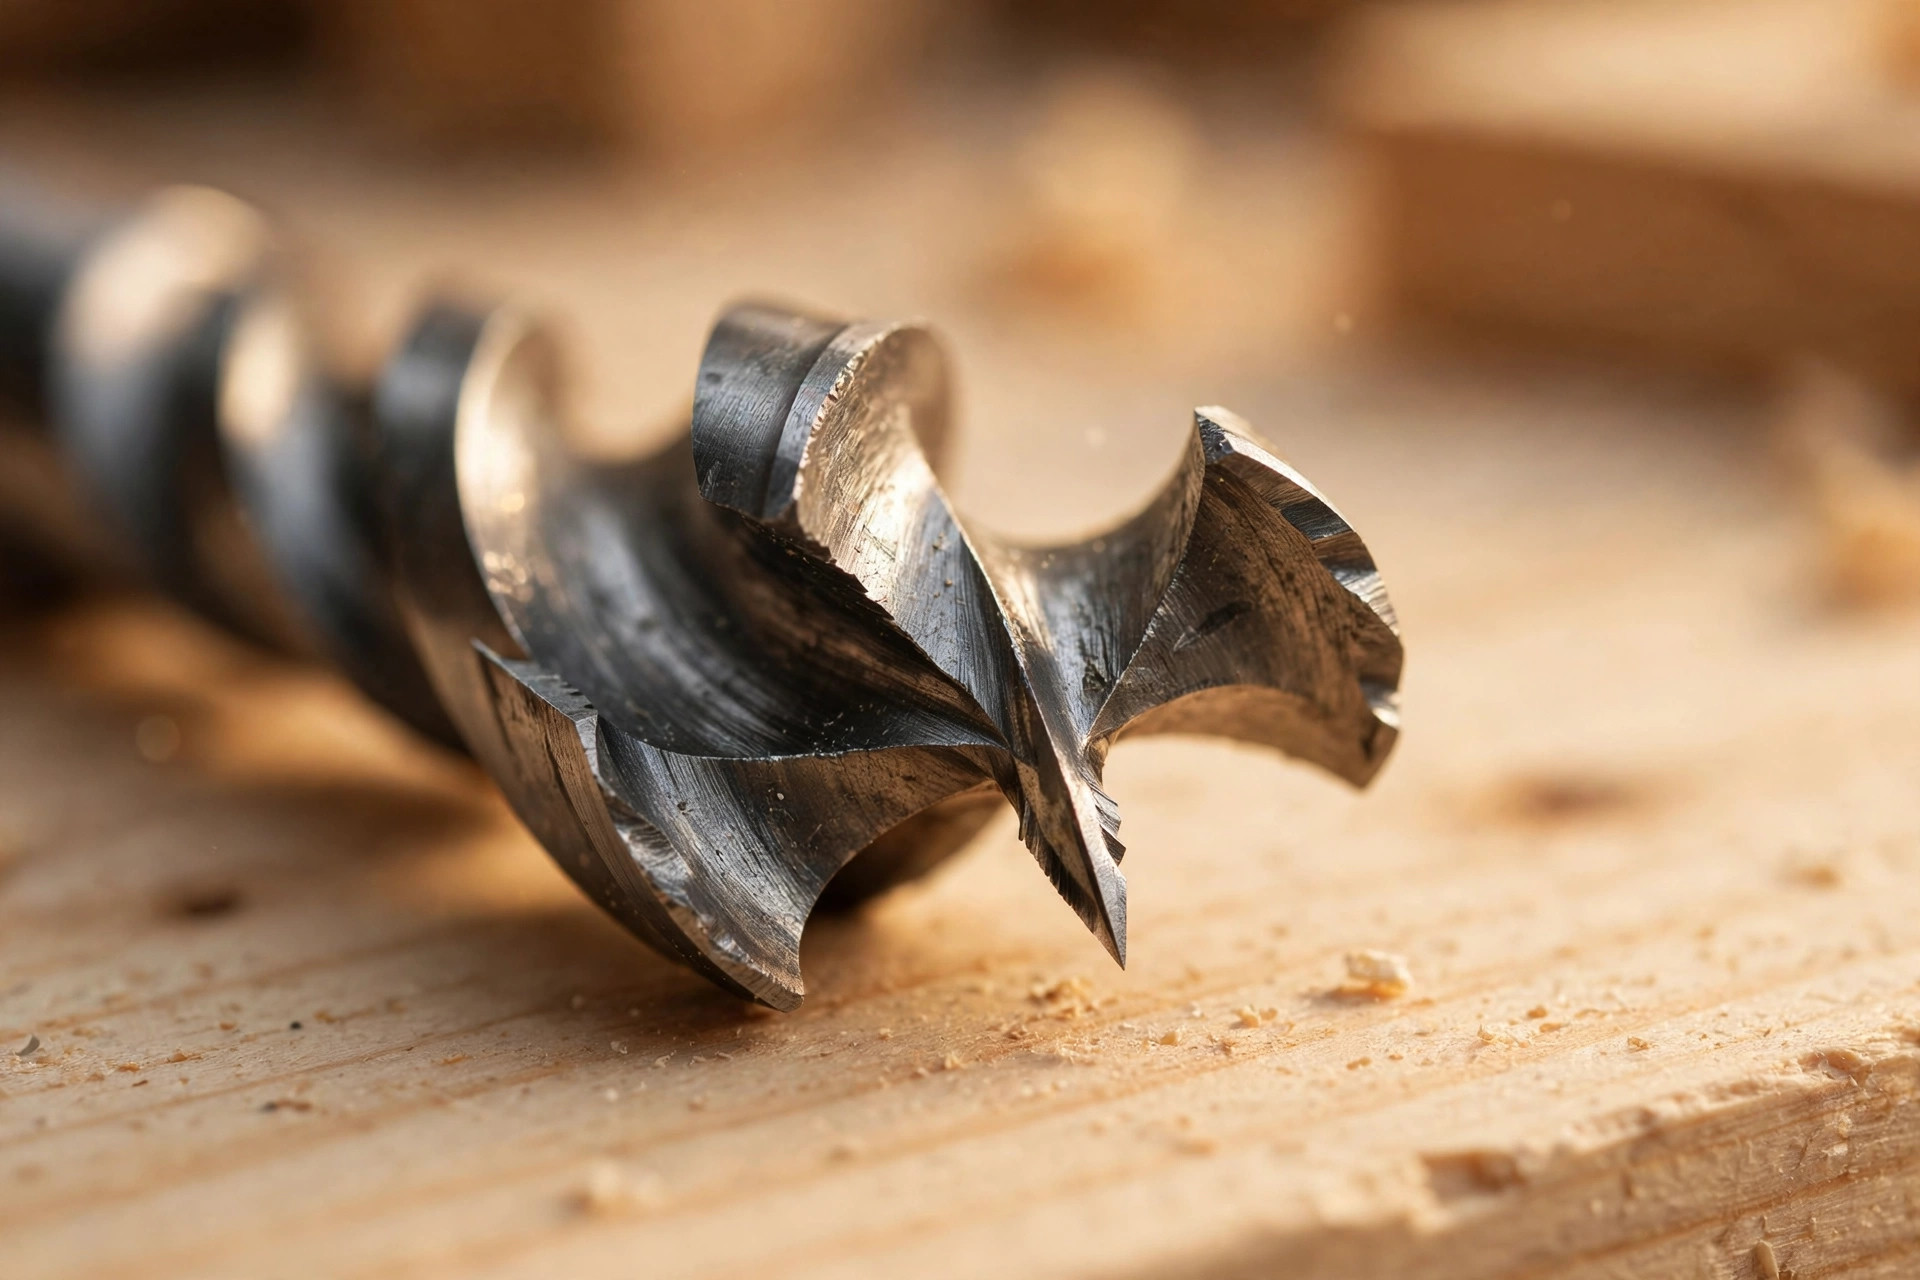
Brad-point bits are the woodworker’s default. The centre spur sits in your mark and stops the bit wandering, while the outer spurs slice the wood fibres cleanly before the main cutting edges remove the waste. That is why brad-point holes have crisp rims with almost no tear-out on the entry side. Use them for dowel holes, shelf pins, through-holes in furniture parts, and any hole where the rim will be visible. Their one weakness is depth: in thick timber, the flutes clog with chips, so withdraw the bit regularly to clear waste, especially in hardwood.
Twist bits are the all-rounders. Their spiral flutes carry chips out of the hole well, and they work in wood, plastic, and metal, which makes them the right choice for pilot holes through hardware and for mixed-material jobs. In bare wood they are second-best to brad-point bits because the pointed tip can skate across the surface before it bites. Fix that with a punch mark, and drill at moderate speed. If you only ever buy one type of bit for a household toolbox, it is the twist bit — but for woodworking specifically, brad-point bits deserve the top spot.
Spade bits, also called paddle bits, are flat blades with a pointed centre spur and two cutting wings. They drill large holes fast and cheaply — 16 mm to 38 mm and beyond — which makes them ideal for rough work: cable runs through studs, holes in the back of a cabinet, or a quick large hole in a planter box. The trade-off is hole quality: spade bits tear the entry and exit more than other bits, and they can grab and jerk the drill if you push too hard. Never use a spade bit where the hole edge will be on show, and always clamp the workpiece firmly because a grabbing spade bit can spin a loose board.
Forstner bits cut large, flat-bottomed holes with clean, vertical walls, and they can even drill overlapping holes and holes at an angle — things no other common bit can do. That is why they are the standard for concealed cabinet hinges, which need a precise 35 mm flat-bottomed cup. Forstner bits cut by scraping rather than screwing, so they need a firm grip: they work best in a drill press, and in a handheld drill they need a slow speed, steady pressure, and both hands on the tool. They also generate a lot of heat, so clear chips often and let the bit cool. If you are building cabinets, a Forstner bit is not optional; it is the bit the job is designed around.
Countersink bits do not drill a hole at all — they shape the top of one. After drilling a pilot or clearance hole, a countersink bit cuts a cone-shaped recess so the screw head sits flush. Some countersinks are standalone bits; others are combination bits that drill and countersink in one pass. For beginners, a standalone countersink with an adjustable depth stop is the easiest to control, and it instantly makes screwed joints look professional. Countersink every visible screw in a project, and your work will look a level above its price tag.
Hole saws are cup-shaped saws with teeth around the rim, used for very large holes — door-lock holes, speaker cutouts, downlight holes, and cable grommets. They cut a plug of wood out of the middle, which is why a hole saw leaves a large round waste disc. Beginners need them only occasionally, and they demand care: they catch easily, they need low speed, and you should drill from both sides on thick boards to avoid a torn exit. Buy a single hole saw in the size you need rather than a kit, unless you are doing a whole house of downlights.
Auger bits are long spiral bits with a screw tip that pulls the bit into the wood. They drill deep, fast holes in framing timber, beams, and posts, and they clear chips brilliantly through their deep flutes. They are the right tool for timber framing and garden structures, and overkill for furniture. If your projects move outdoors into pergolas and raised beds, an auger bit set becomes worth owning — but it is not part of the first kit.
One related note: drill bits and router bits are different tools that beginners often confuse, since both spin and cut wood. If you later add a router to your workshop, our companion guide to router bits for beginners explains that world separately.
Bit Type Comparison Table
| Bit type | Best use | Hole quality | Beginner notes |
|---|---|---|---|
| Brad-point | Dowel holes, shelf pins, visible holes in furniture | Excellent — crisp rim, minimal tear-out | Buy a set first; clear chips in deep holes |
| Twist | Pilot holes, hardware, mixed wood/metal/plastic | Good, but can wander at the start | Always start with a punch mark |
| Spade | Rough large holes, cables, hidden holes | Fair — tears entry and exit | Cheap and fast; clamp work firmly; never for visible holes |
| Forstner | Hinge cups, flat-bottomed holes, overlapping holes | Excellent — flat bottom, clean walls | Best in a drill press; slow speed, clear chips, watch heat |
| Countersink | Recessing screw heads flush | Excellent finish on visible joints | Use an adjustable depth stop for consistent depth |
| Hole saw | Very large holes: locks, speakers, downlights | Good if drilled from both sides | Low speed; buy single sizes as needed |
| Auger | Deep holes in framing timber and posts | Good in thick timber | Aggressive feed; for outdoor and framing work, not furniture |
Pilot Holes and Speeds: The Two Tables That Save Your Projects
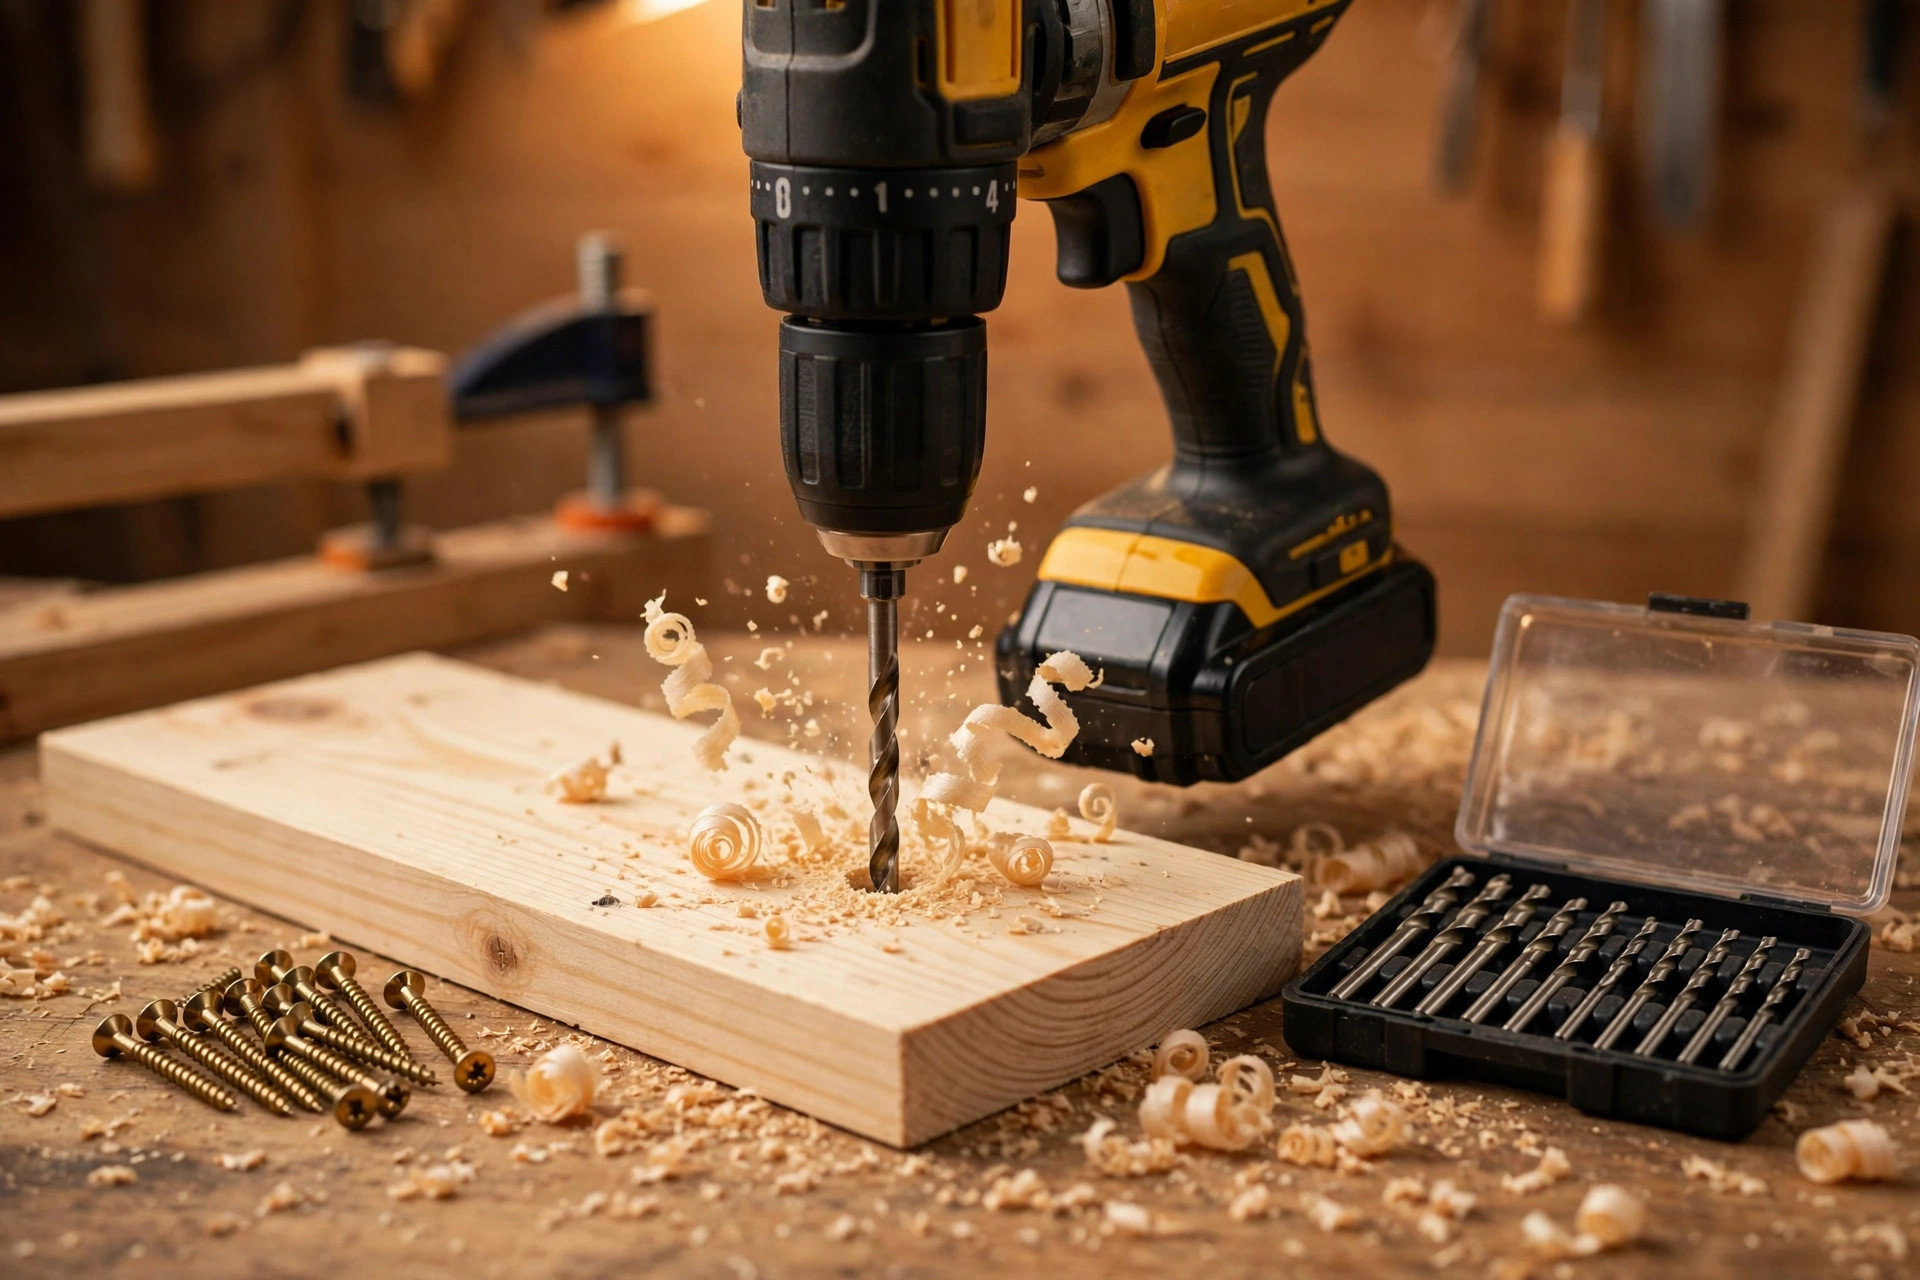
Two beginner errors cause most drilling disasters: skipping the pilot hole, and drilling at the wrong speed. A pilot hole is a smaller hole drilled first so the screw can follow it without splitting the wood. In softwood near the end of a board, or in any hardwood, skipping it is how boards split — often at the last screw of a nearly finished project. The rule is simple: the pilot hole should be roughly the diameter of the screw’s inner core (the shank without the threads), not the full thread diameter. When in doubt, drill a test hole in scrap and drive the screw: it should go in with firm resistance, not spin freely and not need force that splits the wood.
| Screw size (gauge) | Approx. screw diameter | Pilot hole in softwood | Pilot hole in hardwood |
|---|---|---|---|
| 6 gauge | ~3.5 mm | 2.0 mm | 2.5 mm |
| 8 gauge | ~4.0 mm | 2.5 mm | 3.0 mm |
| 10 gauge | ~5.0 mm | 3.0 mm | 3.5 mm |
| 12 gauge | ~5.5 mm | 3.5 mm | 4.0 mm |
| 14 gauge | ~6.0 mm | 4.0 mm | 4.5 mm |
Speed matters just as much. Small bits can spin fast; large bits must spin slowly, or they overheat, burn the wood, and dull the cutting edges. The pattern to remember is: bigger bit, slower speed; harder wood, slower speed. A drill press makes this easy because you set the belt or dial to a speed range, but with a handheld drill you control it with the trigger and the gearbox — use the low gear for large bits and hardwood.
| Bit size | Softwood (pine, poplar) | Hardwood (oak, maple) | Notes |
|---|---|---|---|
| 3–6 mm | Fast (2,000+ rpm) | Medium-fast (~1,500 rpm) | Let the bit cut; do not force it |
| 8–12 mm | Medium (~1,200 rpm) | Medium-slow (~800 rpm) | Withdraw often to clear chips |
| 16–25 mm spade | Medium-slow (~800 rpm) | Slow (~500 rpm) | Clamp firmly; spade bits can grab |
| 35 mm Forstner | Slow (~500 rpm) | Slow (~300–500 rpm) | Drill press preferred; clear chips constantly |
| Hole saw 50 mm+ | Slow (~300–500 rpm) | Slow (~300 rpm) | Drill from both sides on thick boards |
These speeds are guidance, not gospel — your drill’s settings and the bit manufacturer’s advice take priority — but following the pattern will immediately reduce burning, tear-out, and dull bits.
Clean-Hole Technique: Backing Boards, Tape, and Depth Stops
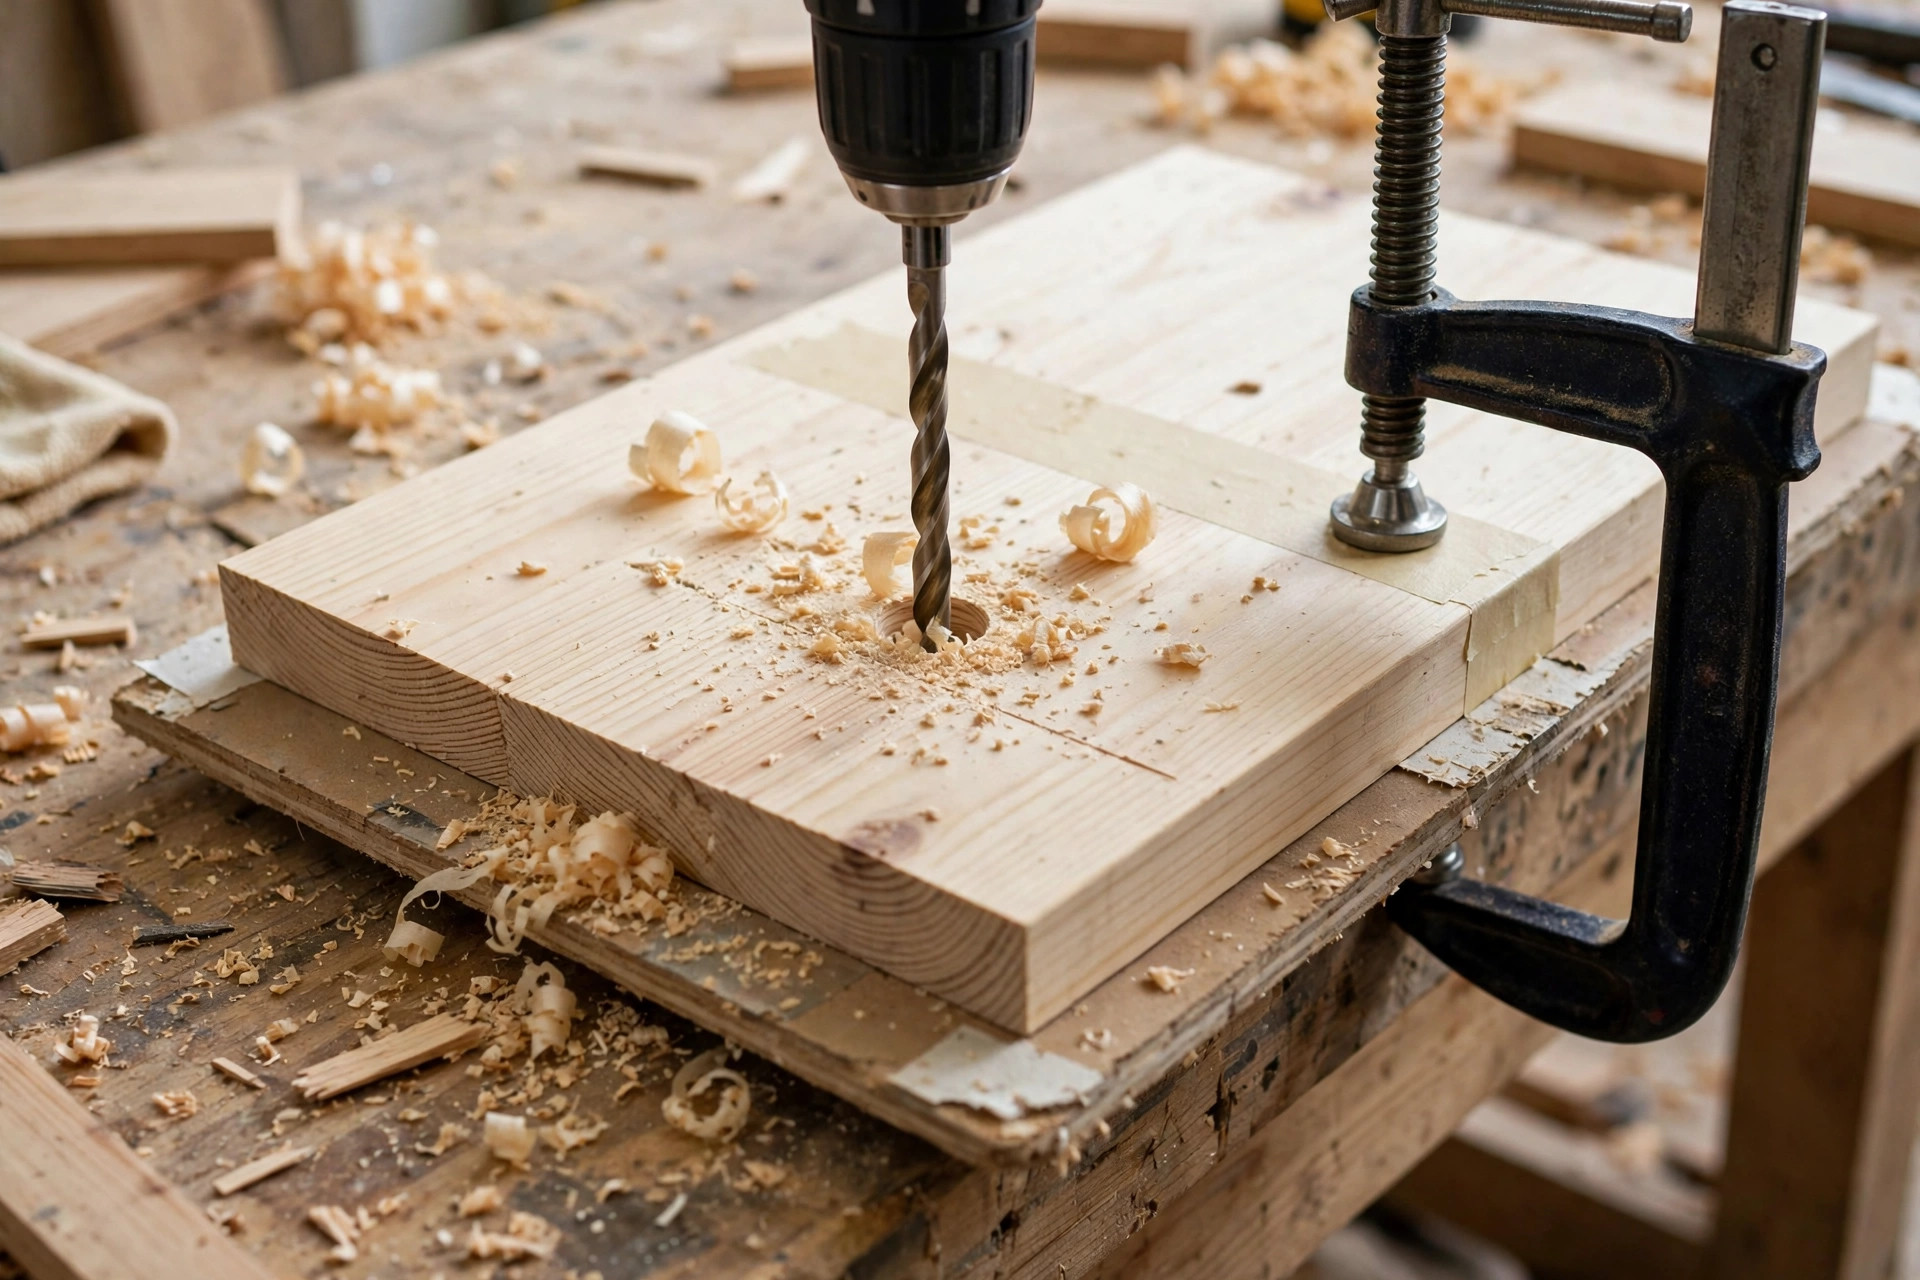
A clean hole is mostly decided before you pull the trigger. The single most effective trick is a backing board: clamp a piece of scrap wood tightly behind your workpiece, and drill through into it. The exit side of a hole tears because the fibres have nothing supporting them as the bit breaks through; a backing board gives them that support, and the tear-out happens in the scrap instead of your project. This one habit will improve your holes more than any bit upgrade.
Masking tape helps on the entry side, especially in plywood and veneered boards, where the surface layer chips easily. Lay a strip of tape over the mark, mark through it, and drill through the tape — it holds the surface fibres down and the entry rim comes out noticeably cleaner. Score the outline with a sharp knife for the very best results on veneer: a light knife cut severs the fibres before the bit reaches them.
Depth control is the next skill. For stopped holes — dowel holes, hinge cups, shelf-pin holes — you need the bit to stop at the same depth every time. A drill press has a built-in depth stop and is the accurate way to do this, which is why a drill press for beginners is such a useful second machine. With a handheld drill, wrap a ring of masking tape around the bit at the target depth, or better, fit a collar-style depth stop that clamps onto the bit. Check the depth on scrap first, and mark both sides of the workpiece so you know how deep you can go before breaking through.
The drill-press versus handheld question comes down to accuracy versus convenience. A drill press holds the bit perfectly vertical, sets exact depth, and drills the same hole ten times identically — it is the right tool for dowel joints, repeated shelf holes, and Forstner hinge cups. A handheld drill goes anywhere, drills at angles, and works on assembled furniture and walls. Most beginners start handheld and add a drill press later; if you do, your existing bits transfer straight across, since drill-press chucks take the same bits. For a deeper look at joints that depend on accurate holes, see our comparison of pocket-hole versus dowel joint strength.
Finally, clear chips as you drill. In a deep hole, withdraw the bit every centimetre or so and let the flutes empty. Packed chips cause friction, friction causes burning, and burning dulls bits and discolours the hole. A slow, steady feed with regular clearing beats a fast, forced plunge every time, in every wood.
Fixing Problems: Tear-Out, Wandering, Burning, and Stuck Bits
Tear-out on the exit side is the most common complaint, and the fix is prevention plus repair. Prevent it with a backing board and by drilling from the show face toward the hidden face wherever possible. If it still happens, a sharp chisel can pare away the torn fibres, and a dab of wood filler followed by sanding hides small damage. For a through-hole that must look good on both sides, drill halfway from one side, flip the board, and finish from the other side using the first hole as a guide — the two halves meet in the middle and both faces stay clean.
Wandering bits happen when the bit starts off your mark, usually because the surface is hard or the bit tip is dull. Fix it before drilling: make a clear centre-punch or awl dent, start at low speed until the bit has bitten, and hold the drill square to the surface. A brad-point bit almost eliminates wandering because its centre spur locks into the dent. If a hole has already wandered, do not try to force it back — plug it with a dowel and glue, let it set, and re-drill in the right place.
Burning shows up as dark scorch marks around the hole and a smell of hot wood. It means the bit is dull, the speed is too high for the bit size, or you are pushing without clearing chips. Stop, let everything cool, and check the bit’s cutting edges: a sharp bit cuts clean curls of wood, a dull one makes dust. Sharpen or replace the bit, drop the speed, and clear chips more often. Burning is especially common with Forstner bits in hardwood, where patience is part of the technique.
Stuck bits happen when a bit binds in the hole, usually a spade bit or a large twist bit in thick timber. Do not yank the drill or force the trigger — that snaps bits and can twist your wrist. Switch the drill to reverse at low speed and gently work the bit out, or if it is badly jammed, unplug the drill, grip the bit with pliers, and turn it backwards by hand. Prevent sticking by clearing chips, using the right speed, and not forcing the feed rate. And if a bit snaps off inside a hole, drill it out with a slightly larger bit if the hole can be enlarged, or plug and re-drill if it cannot.
Sharpening, Storage, and Common Mistakes
A dull bit is not a dead bit — but sharpening drill bits is a skill with a learning curve. Small twist bits can be sharpened on a bench grinder or with a dedicated sharpening jig, keeping the two cutting edges symmetrical and the angle around 118 degrees. Brad-point bits are harder to sharpen well because of their spurs, and Forstner bits need a fine file or diamond stone on their rims. For beginners, the honest advice is: learn to sharpen twist bits, and replace brad-point and Forstner bits when they dull. A replacement bit costs little, while a badly sharpened bit drills wandering, burning holes. Keep a couple of spare bits in your most-used sizes so a dull bit never stalls a project.
Storage matters more than it seems. Bits rolling loose in a drawer bang against each other and dull their cutting edges, and a loose bit in a toolbox is how you lose the exact size you need. Keep bits in their case, in a labelled index, or in a drilled wooden block with one hole per bit. Wipe bits dry after use, especially in damp workshops, and a light wipe with oil on carbon-steel bits prevents rust. Organised bits also save time: when you can find the 5 mm brad-point in five seconds, you actually use the right bit instead of making do with the wrong one.
The common mistakes list is short and worth memorising. Drilling without a pilot hole near board ends, which splits the wood. Drilling at full speed with a large bit, which burns and dulls. No backing board, which tears the exit. Holding the workpiece by hand instead of clamping it, which lets a grabbing bit spin the board. Drilling into a bench because you forgot what was underneath — always know what is below your workpiece. And using a wood bit in metal, or a metal bit in wood, without understanding the difference: it works badly in both directions and shortens the bit’s life. Avoid these six, and your drilling is already better than most beginners’.
Frequently Asked Questions
What are the best drill bits for woodworking beginners to buy first?
A brad-point set (about 3–10 mm), a few twist bits for pilot holes and hardware, one countersink bit, one 35 mm Forstner bit for cabinet hinges, and one or two spade bits for rough large holes. That kit covers shelves, frames, boxes, furniture, and hinges.
Should beginners use brad-point or twist bits for wood?
Brad-point bits for visible holes in wood, because their centre spur prevents wandering and their outer spurs cut clean rims. Twist bits are the better all-rounders for pilot holes, hardware, and mixed materials, but they need a punch mark to start accurately on wood.
What size drill bit do I need for a pilot hole?
Match the pilot hole to the screw’s inner core diameter, not the thread diameter: roughly 2.5 mm for an 8-gauge screw in softwood and 3 mm in hardwood. Test on scrap — the screw should drive in with firm resistance, neither spinning freely nor splitting the wood.
Why do my drill holes tear out on the back?
Because the wood fibres have no support as the bit breaks through. Clamp a scrap backing board tightly behind the workpiece and drill into it, and the tear-out happens in the scrap. For holes that must look good on both sides, drill halfway from each face.
Can I use a Forstner bit in a handheld drill?
Yes, at slow speed with firm two-handed control, but a drill press is better: it holds the bit vertical, controls depth, and keeps the large bit stable. Forstner bits generate heat, so clear chips often and let the bit cool between holes.
How do I know when a drill bit is dull?
A sharp bit cuts clean curls and needs light pressure; a dull bit makes fine dust, needs force, burns the wood, and wanders. Sharpen twist bits with a jig or grinder, and replace brad-point and Forstner bits when they dull.
Final Verdict
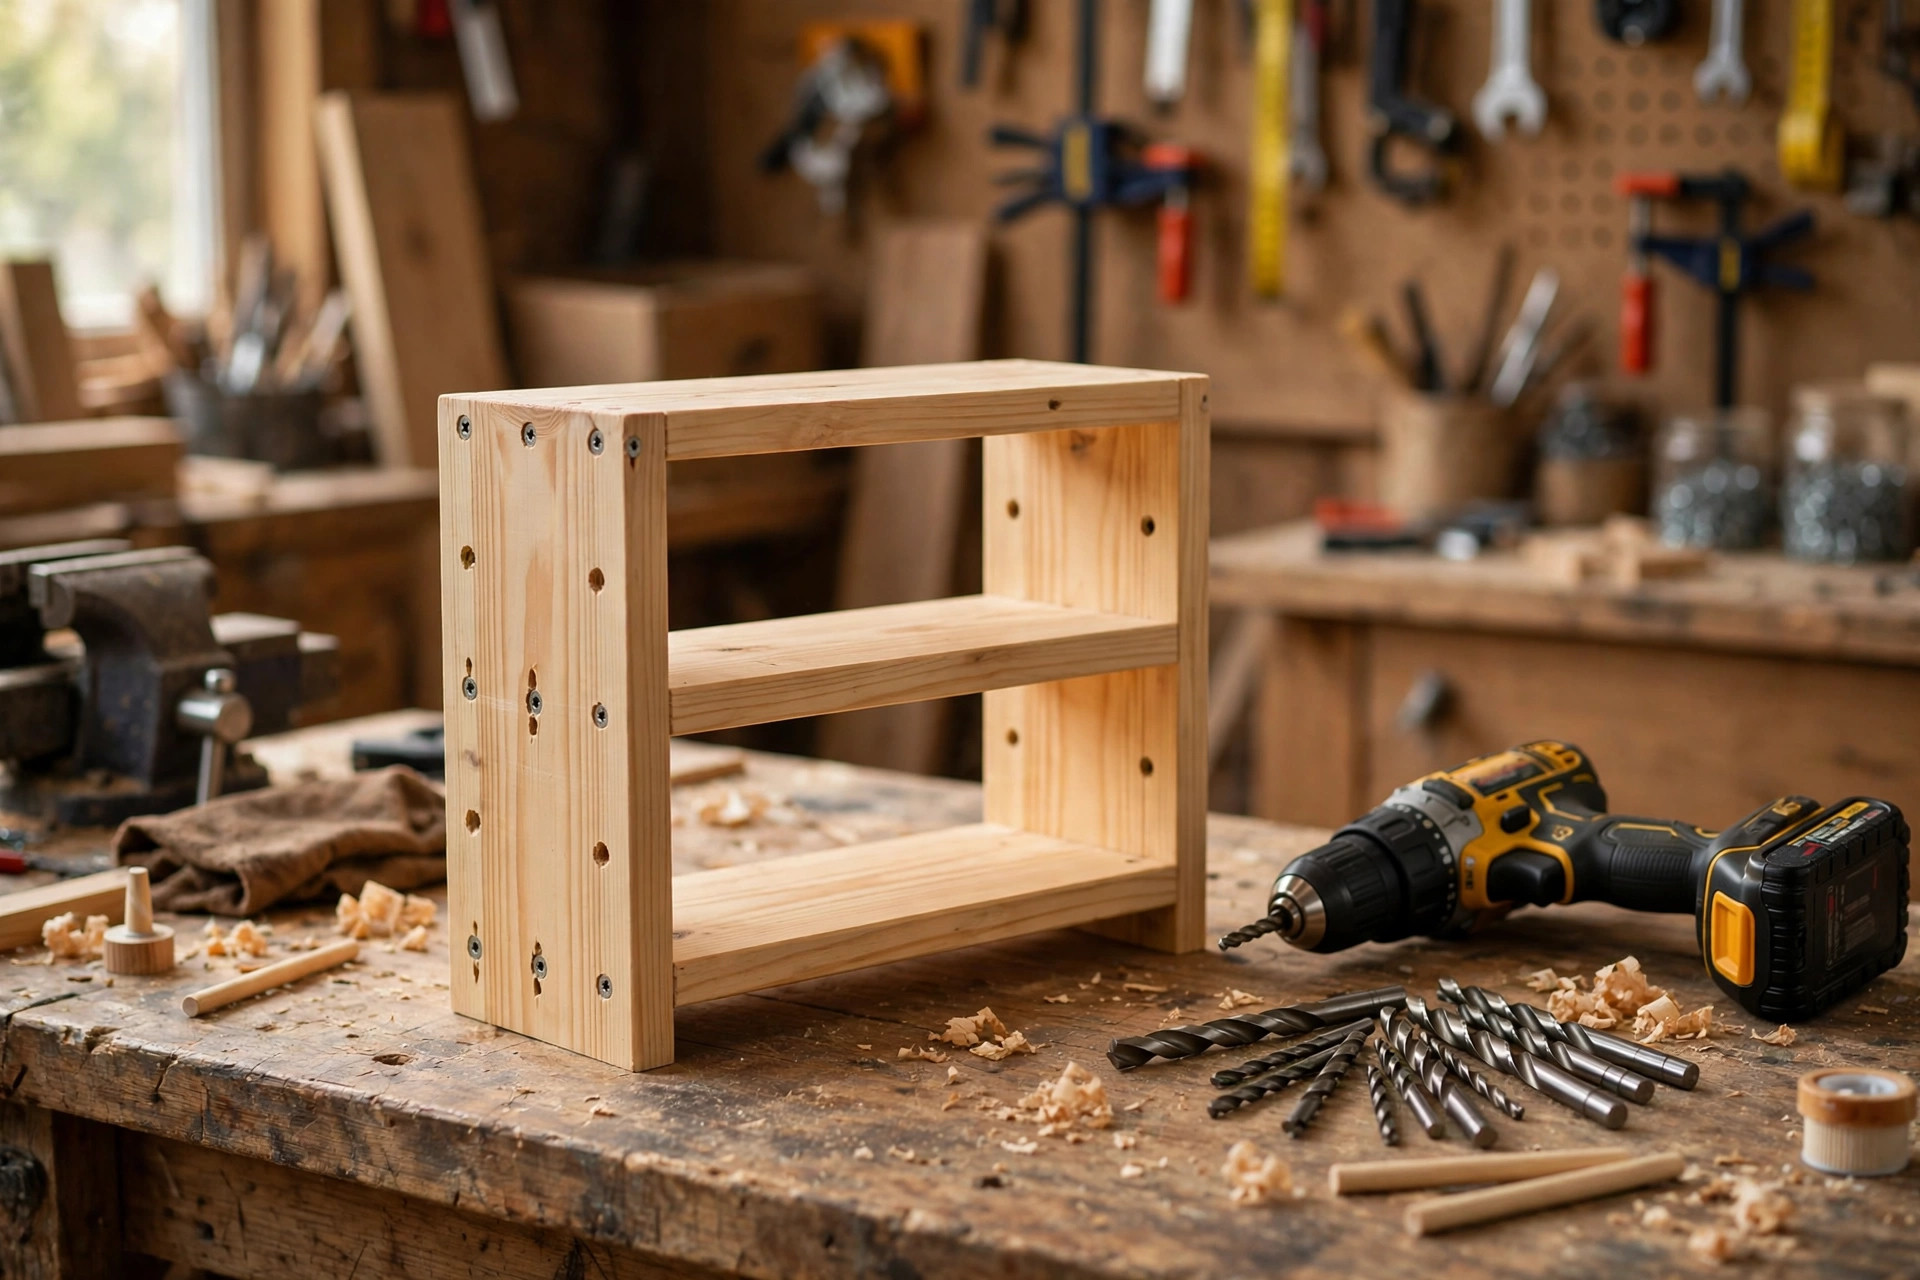
The best drill bits for woodworking beginners are not the biggest set on the shelf — they are the right five types, in good quality, used with a backing board, a pilot hole, and the right speed. Buy a brad-point set first, add twist bits, a countersink, a 35 mm Forstner bit, and a spade bit or two, and you can drill cleanly through almost any beginner project, from a simple shelf to a cabinet full of hinges. Learn the pilot-hole sizes, remember that bigger bits spin slower, and clamp a scrap board behind every hole that matters. Do that, and your holes will look like they were drilled by someone who has been woodworking for years — which, hole by hole, is exactly how you get there. If those holes are leading you toward your first pieces to sell, our pillar guide to easy woodworking projects for beginners that sell shows which projects reward clean drilling most.


