
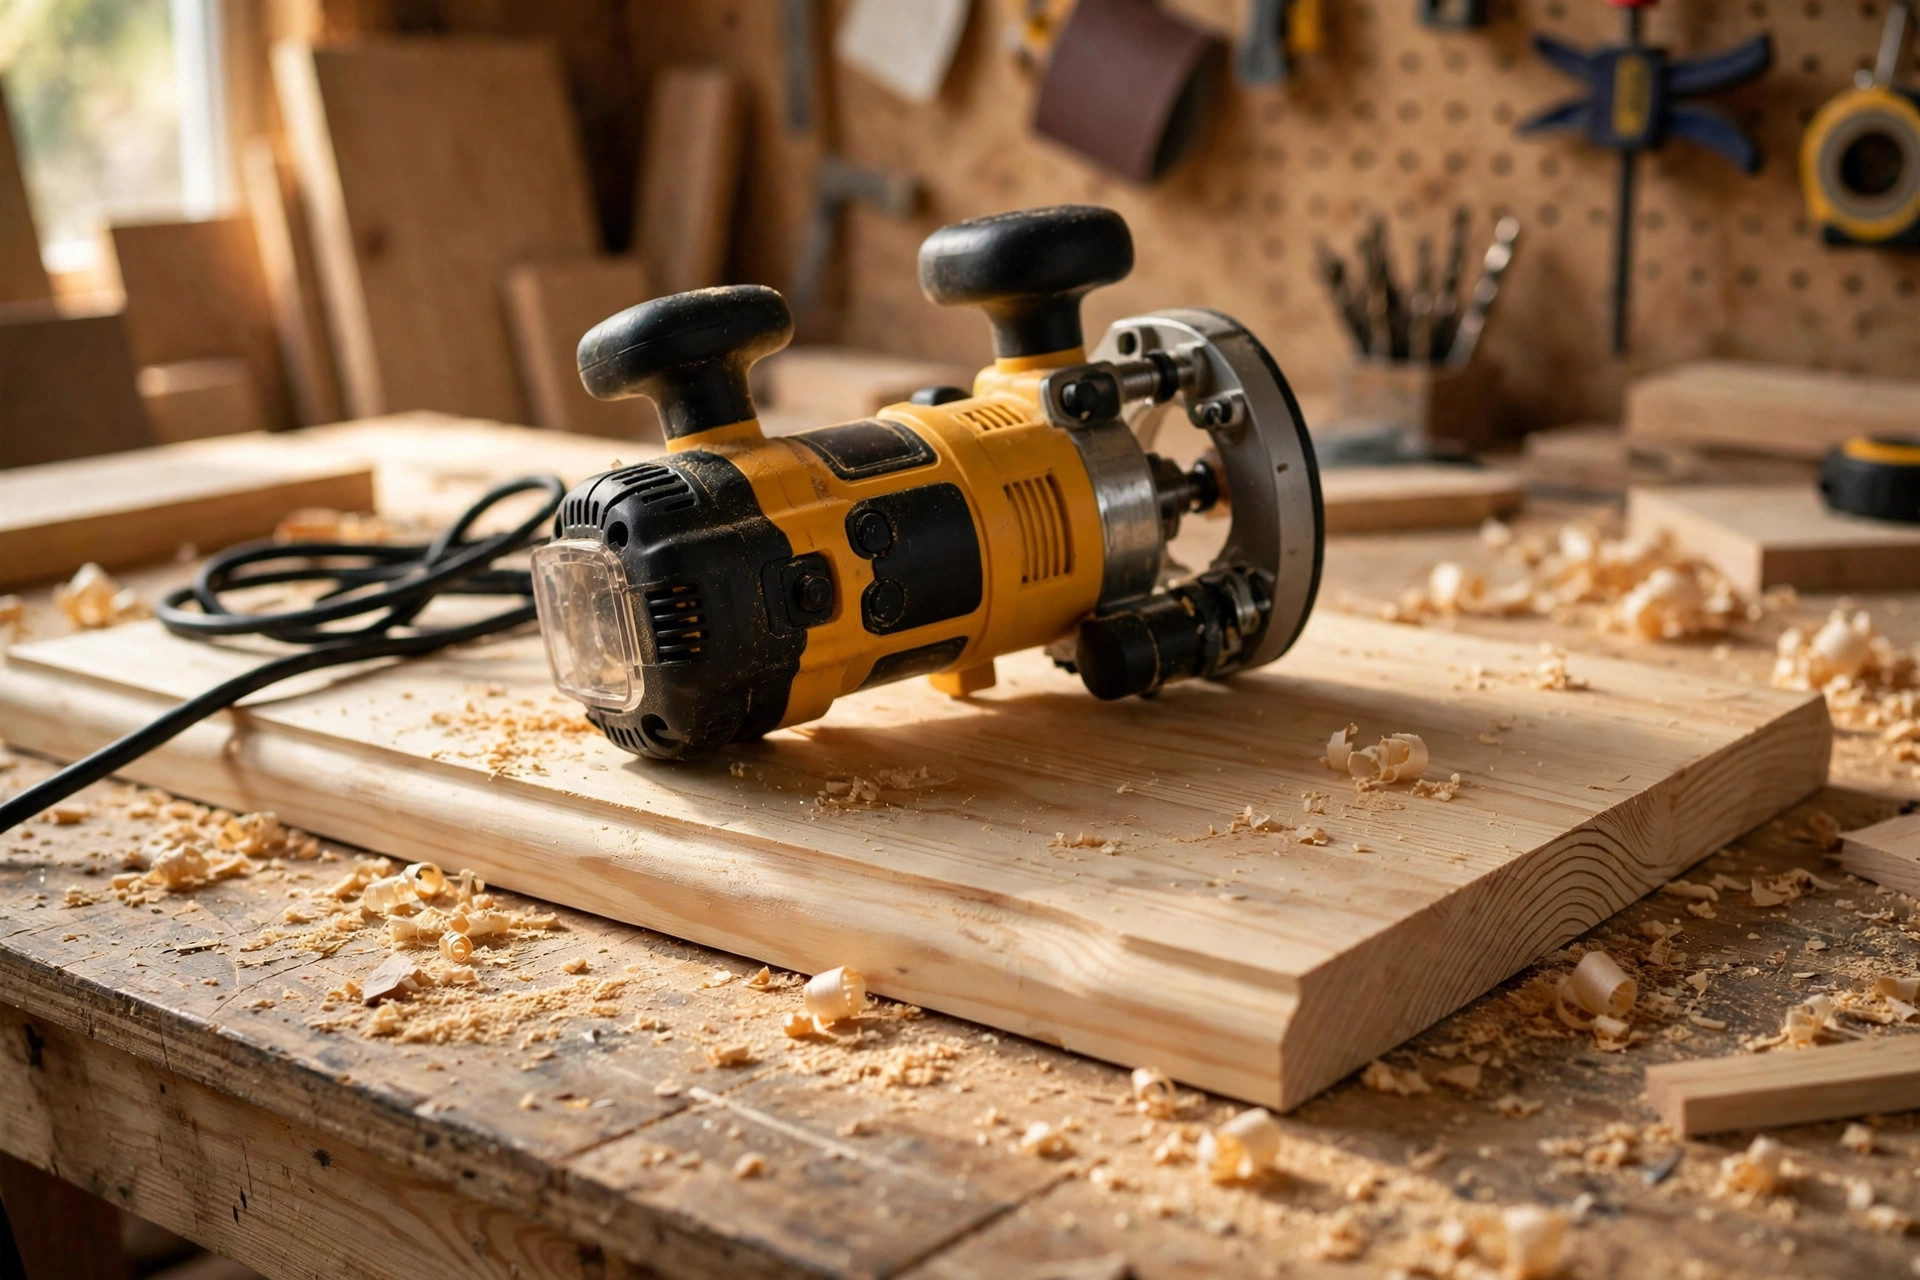
A router is one of the most versatile tools in a beginner’s workshop, but it is only as useful as the bit in its collet. Walk into any tool shop or browse online and you will find router bits in bewildering variety: dozens of profiles, sizes, shank diameters, and price points, sold singly or in giant boxed sets that promise to cover every job you will ever do. If you are looking for the best router bits for beginners woodworking, that wall of choice is the first problem to solve, because buying the wrong bits first wastes money and, worse, can teach you bad habits with bits you do not yet need.
This guide solves that problem in a simple way. It names the five bits a beginner should buy first, explains what each one cuts and which first projects it unlocks, and then covers the knowledge that keeps those bits cutting cleanly and safely: shank sizes, collet safety, carbide versus steel, bit anatomy, feed direction, shallow passes, and how to fix tear-out and burning. By the end, you will know exactly what to buy, what to skip, and how to use your first set with confidence. If you have not yet used a router at all, read this alongside our guide to how to use a router for beginners before you make your first cut, and if you are still choosing your first projects, our pillar guide to easy woodworking projects for beginners that sell shows which simple builds reward clean router work most.
Here is the short answer. Buy five bits first: a 1/4-inch straight bit, a 1/2-inch straight bit, a roundover bit, a chamfer bit, and a flush-trim bit, plus a rabbeting bit if your budget stretches to a sixth. That small set covers grooves, dados, edge softening, decorative chamfers, pattern copying, and rabbets — in other words, nearly every cut a beginner actually makes in their first year. A big 15-piece or 24-piece set looks like better value, but most beginners use only four or five bits from it and the rest sit unused in the box, often in lower quality than the same money would have bought as individual bits. Buy the five you will use, buy them in carbide, and add specialty bits one at a time when a real project demands them.
The Short Answer: The 5-Bit Starter Set
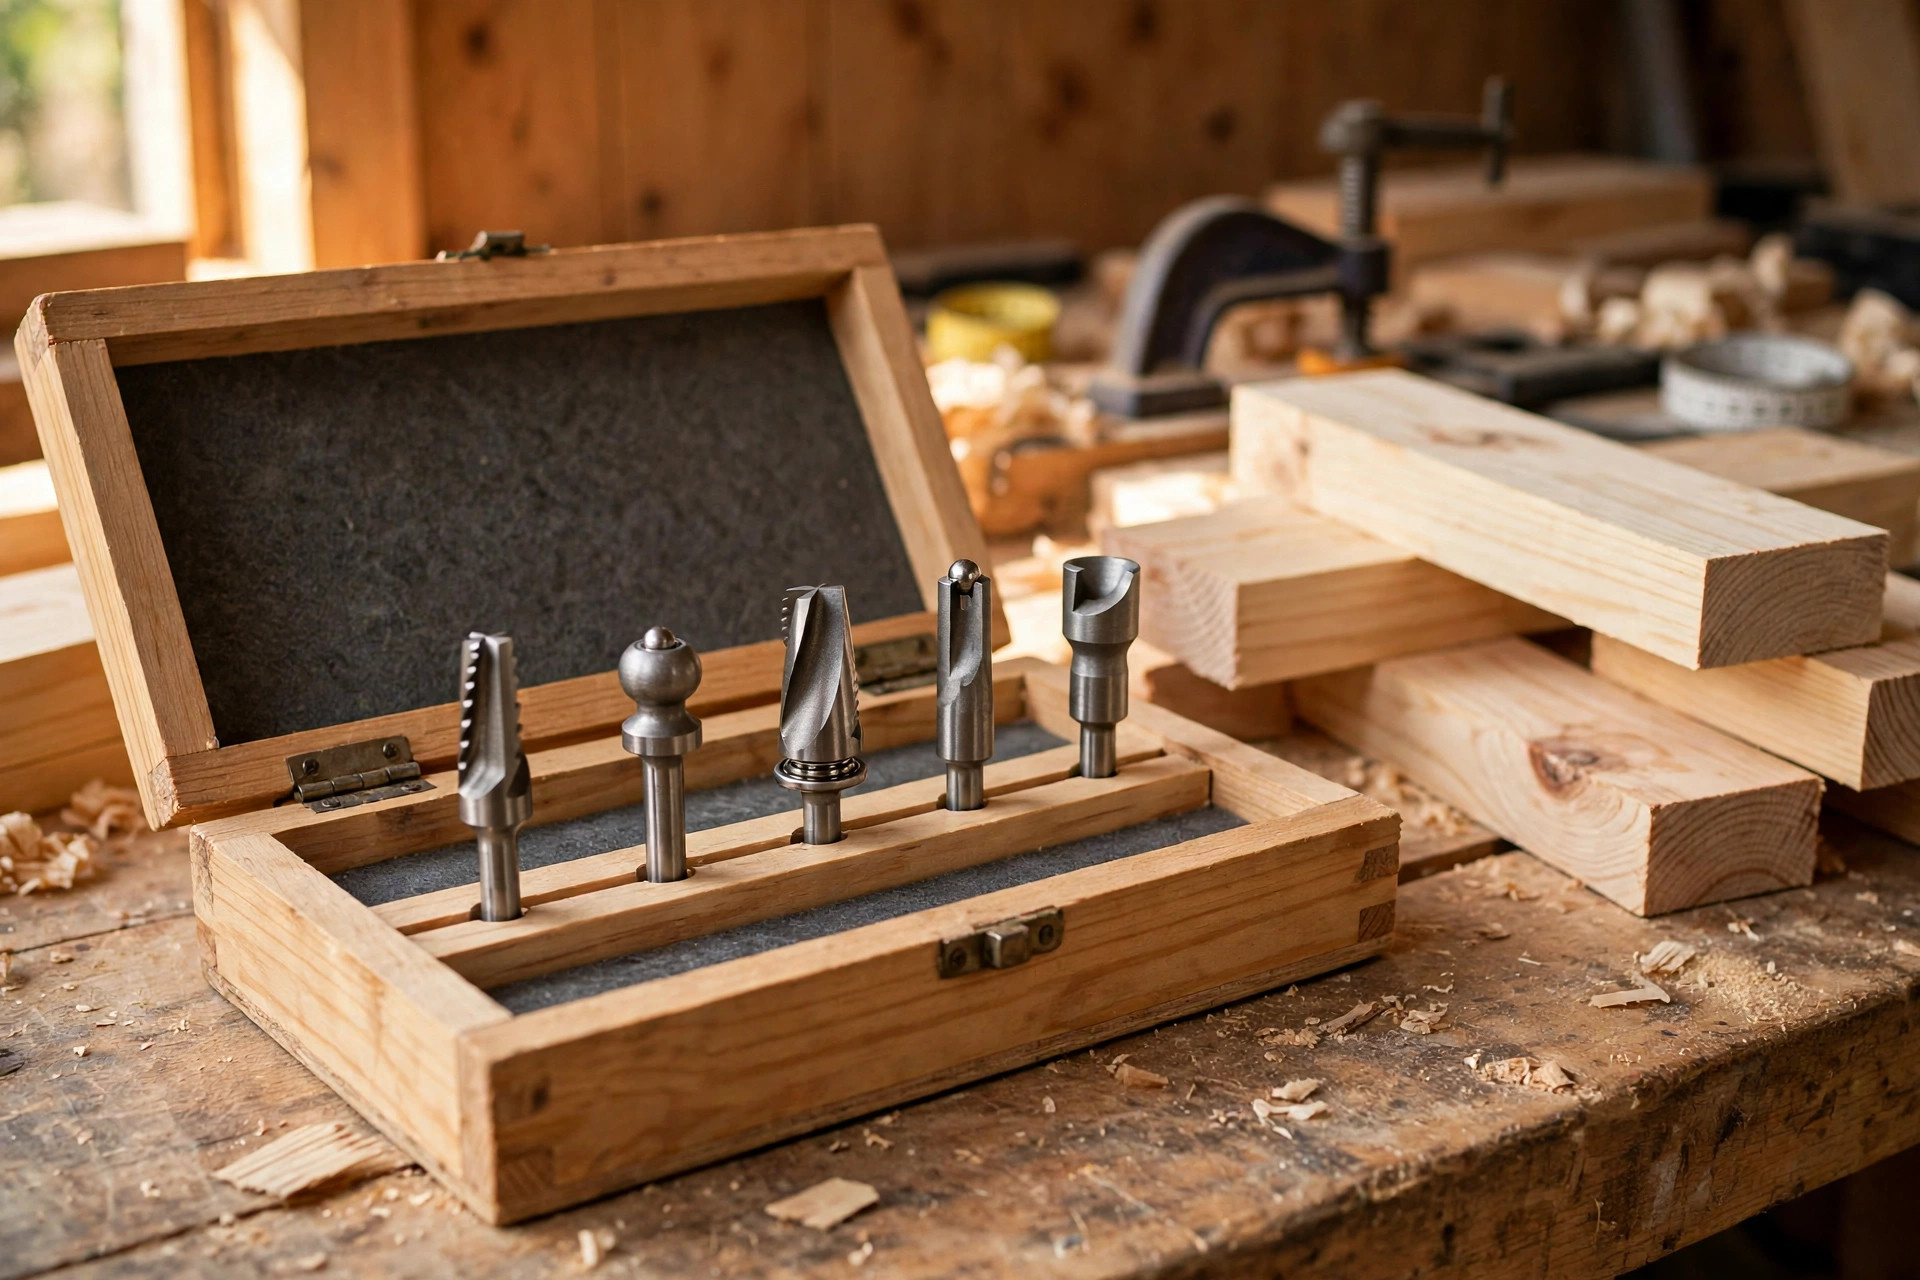
Start with these five bits, and you will be surprised how far they take you. A 1/4-inch straight bit cuts narrow grooves, slots, and dados for shelves, drawer bottoms, and box joints, and it is the bit for cutting the shallow channels that hold a back panel in a small cabinet. A 1/2-inch straight bit does the same jobs at a wider, more useful scale: dados for bookshelf shelves, mortises cleaned out after drilling, and the grooves for a sliding drawer bottom. Together, the two straight bits are the work horses of the set, and if you could only buy two bits, these would be them.
The roundover bit is the bit that makes your work feel finished. It rounds over a sharp 90-degree edge into a smooth curve, which is kinder to hands, safer on furniture that children will touch, and far more forgiving of small sanding mistakes than a crisp square edge. A 1/4-inch radius roundover is the most useful first size: big enough to notice, small enough to use on almost any board thickness. The chamfer bit cuts a clean 45-degree bevel along an edge, giving table tops, cutting boards, picture frames, and shelf fronts a crisp, professional-looking detail in a single pass. It is also the fastest way to take the sharpness off an edge while adding a deliberate design detail rather than just softening it.
The flush-trim bit is the bit beginners underestimate and then wonder how they lived without. It has a bearing that rides along a template or an existing edge while the cutter trims the workpiece exactly flush with it. That means you can cut a curved table leg from a template, trim edge banding or laminate flush, or duplicate a shape perfectly, time after time. Choose a flush-trim bit with a bearing on the bottom for table use, which is how most beginners start, and you will use it for signs, templates, and pattern work within your first few projects.
The optional sixth bit is a rabbeting bit, which cuts an L-shaped notch along an edge — the rabbet that holds a cabinet back, a picture-frame glass and backing, or a drawer bottom. A rabbeting bit with interchangeable bearings lets you change the width of the rabbet, which makes one bit do several jobs. If your first projects include boxes, frames, or small cabinets, add it now. If they are mostly shelves and cutting boards, wait until a project asks for it, and spend the money on a better straight bit instead.
Why not the big set? Three reasons. First, waste: a typical large set includes ogee, cove, beading, dovetail, V-groove, and core-box bits that a beginner may not touch for a year, if ever. Second, quality: to fit fifteen or more bits into a low price, manufacturers often use thinner carbide, looser tolerances, or weaker bearings, so the bits you do use cut worse than a smaller set of good bits. Third, learning: five bits learned well teach you feed direction, depth of cut, and bearing control far better than fifteen bits tried once each. The table below summarises the starter set so you can shop with it in hand.
| Bit | What it cuts | First projects | Beginner notes |
|---|---|---|---|
| 1/4-inch straight bit | Narrow grooves, slots, and dados | Drawer bottoms, box joints, back-panel channels | Take shallow passes; clear chips often so the bit does not overheat |
| 1/2-inch straight bit | Wider dados, grooves, and mortise cleanup | Bookshelf shelves, cabinet carcasses, sliding lids | The most-used bit in the set; buy carbide and a good brand |
| Roundover bit (1/4-inch radius) | Rounded, hand-friendly edges | Cutting boards, shelves, toy boxes, table tops | Bearing rides the edge; keep steady pressure against the fence or edge |
| Chamfer bit (45 degrees) | Angled bevel along an edge | Picture frames, cutting boards, shelf fronts, table tops | One pass gives a crisp detail; test depth on scrap first |
| Flush-trim bit | Edge trimmed exactly flush with a template | Template-cut legs, signs, edge banding, pattern copies | The bearing must ride the template, not the workpiece; check it spins freely |
| Rabbeting bit (optional sixth) | L-shaped notch along an edge | Cabinet backs, picture frames, drawer bottoms | Interchangeable bearings change the rabbet width; a versatile extra |
A second comparison helps with the buying decision itself. Buying the starter set as individual quality bits costs more per bit than a big boxed set, but you use every bit you buy and each one lasts longer. Buying a big set costs less per bit, but you pay for bits you do not use, and the bits you do use may need replacing sooner. Buying one bit at a time as projects demand it is the cheapest path in the long run, but it means waiting for deliveries mid-project. For most beginners, the sweet spot is the five-bit starter set in carbide, bought individually or as a small quality set, with specialty bits added later.
| Buying approach | Approximate cost band | What you actually use | Best for |
|---|---|---|---|
| 5-bit starter set (carbide, quality brands) | Mid-range overall; a moderate one-time spend | All five bits, regularly | Most beginners — the recommended path |
| Big 15-piece or 24-piece set | Lower cost per bit, similar or higher total spend | About four or five bits; the rest sit unused | Only if you know you will try many profiles quickly |
| One bit at a time, as projects demand | Lowest upfront cost; higher per-bit cost | Every bit bought, but only when needed | Patient builders on a tight budget |
| Cheap steel bits in bulk | Lowest total cost | They dull fast and burn wood sooner | Not recommended — false economy for a beginner |
Prices vary by brand, region, and sales, so treat these bands as approximate and check current listings before buying. What matters is the pattern: money spent on five good bits beats money spread across fifteen mediocre ones.
Router Bit Anatomy: What Each Part Does
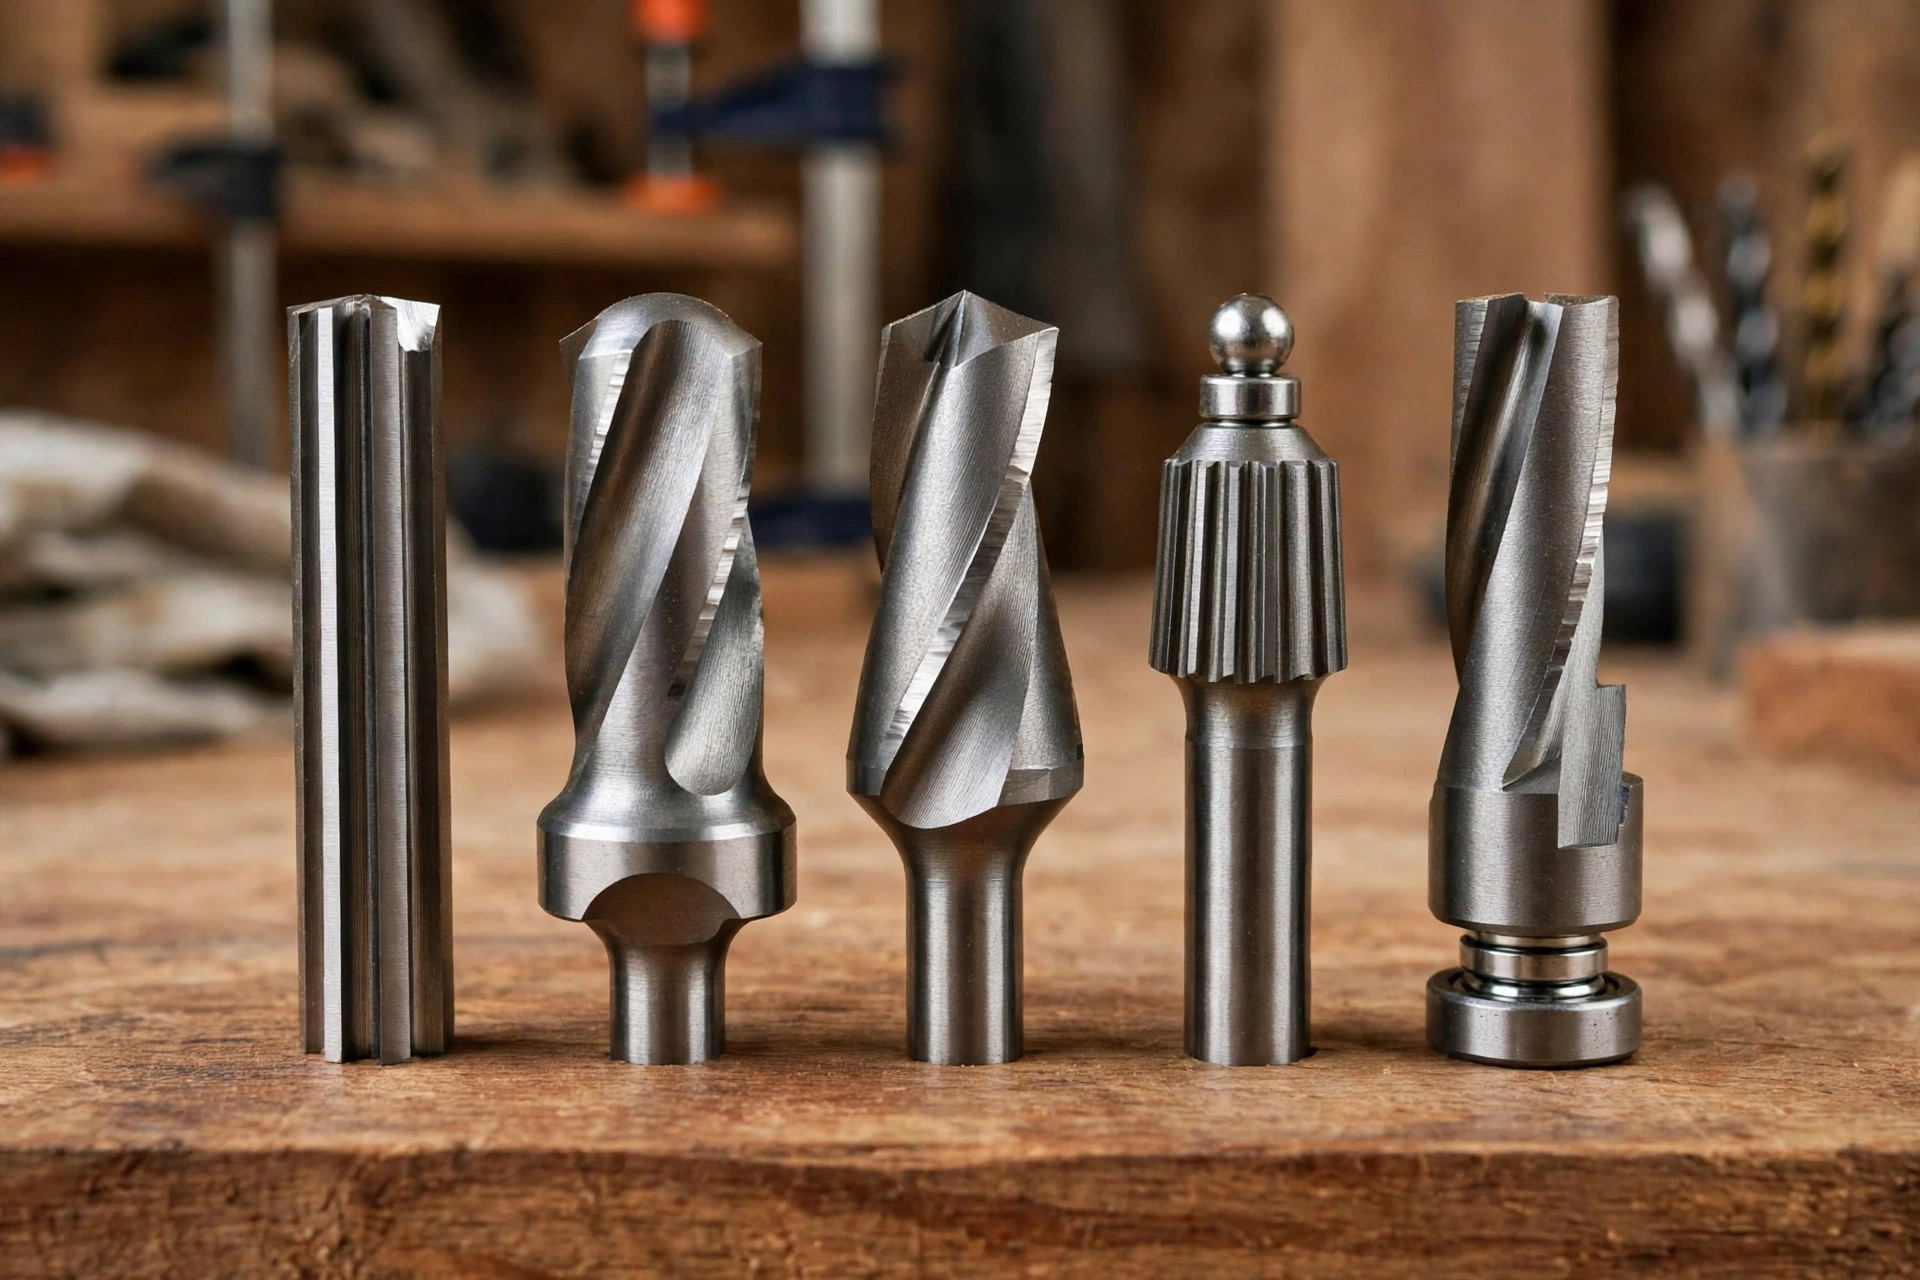
Every router bit, whatever its profile, is made of the same few parts, and knowing them helps you buy wisely and diagnose problems. At the top is the shank, the smooth steel shaft that goes into the router’s collet. Below it is the body, which carries the cutting edges and, on many bits, a guide bearing. The cutting edges are the sharpened carbide or steel flutes that actually remove wood, usually two of them, and their shape decides the profile the bit cuts. The bearing, a small wheel at the top or bottom of the bit, rolls along a template or the edge of the workpiece and controls how deep the cutter reaches. On a flush-trim bit, the bearing is the same diameter as the cutter, so the cut ends exactly flush. On a roundover or chamfer bit, the bearing is smaller than the cutter, and the difference between the two diameters decides how much wood the profile removes.
Two details deserve a beginner’s attention. First, the number of flutes: most beginner bits have two cutting edges, which is a good balance of cut quality and chip clearance. Single-flute bits clear chips well in softwood but can leave a rougher finish; three-flute bits cut more smoothly but cost more and clog faster in soft, resinous wood. Second, the bearing: spin it with your finger before every use. It should turn smoothly and freely. A seized or gritty bearing will burn a dark track along your workpiece instead of rolling along it, and it is one of the most common causes of mysterious burn marks on an otherwise good cut. Bearings are cheap and replaceable, so keep a spare or two and swap a rough one rather than fighting it.
The cutting edge itself tells you about quality. On a carbide bit, you should see a clean, silver-grey carbide tip brazed onto the steel body, with a sharp, even edge and no chips or rough grinding marks. On a cheap bit, the carbide may be thin, uneven, or poorly brazed, and it will dull quickly. You do not need to become a metallurgist to shop well: buy from a reputable brand, look for a clean brazed joint and a smooth edge, and be suspicious of any bit that is dramatically cheaper than its competitors. That price gap usually comes out of the carbide, the bearing, or the steel, and you will pay for it in burning, tear-out, and early replacement.
Shank Sizes: 1/4-Inch vs 1/2-Inch, and Collet Safety
Shank size is the first specification to check before you buy any bit, because it must match your router. Most beginner routers accept 1/4-inch shanks, many accept both 1/4-inch and 1/2-inch shanks with a change of collet, and some larger routers accept 1/2-inch only. Check your router’s manual or the collets supplied with it before ordering. If your router accepts both, prefer 1/2-inch shank bits for the larger profiles — roundover bits above 1/4-inch radius, big chamfer bits, and panel-raising bits — because the thicker shank vibrates less, deflects less under load, and gives a smoother, safer cut. For small straight bits and light edge work, a 1/4-inch shank is perfectly fine and often the only option in that size.
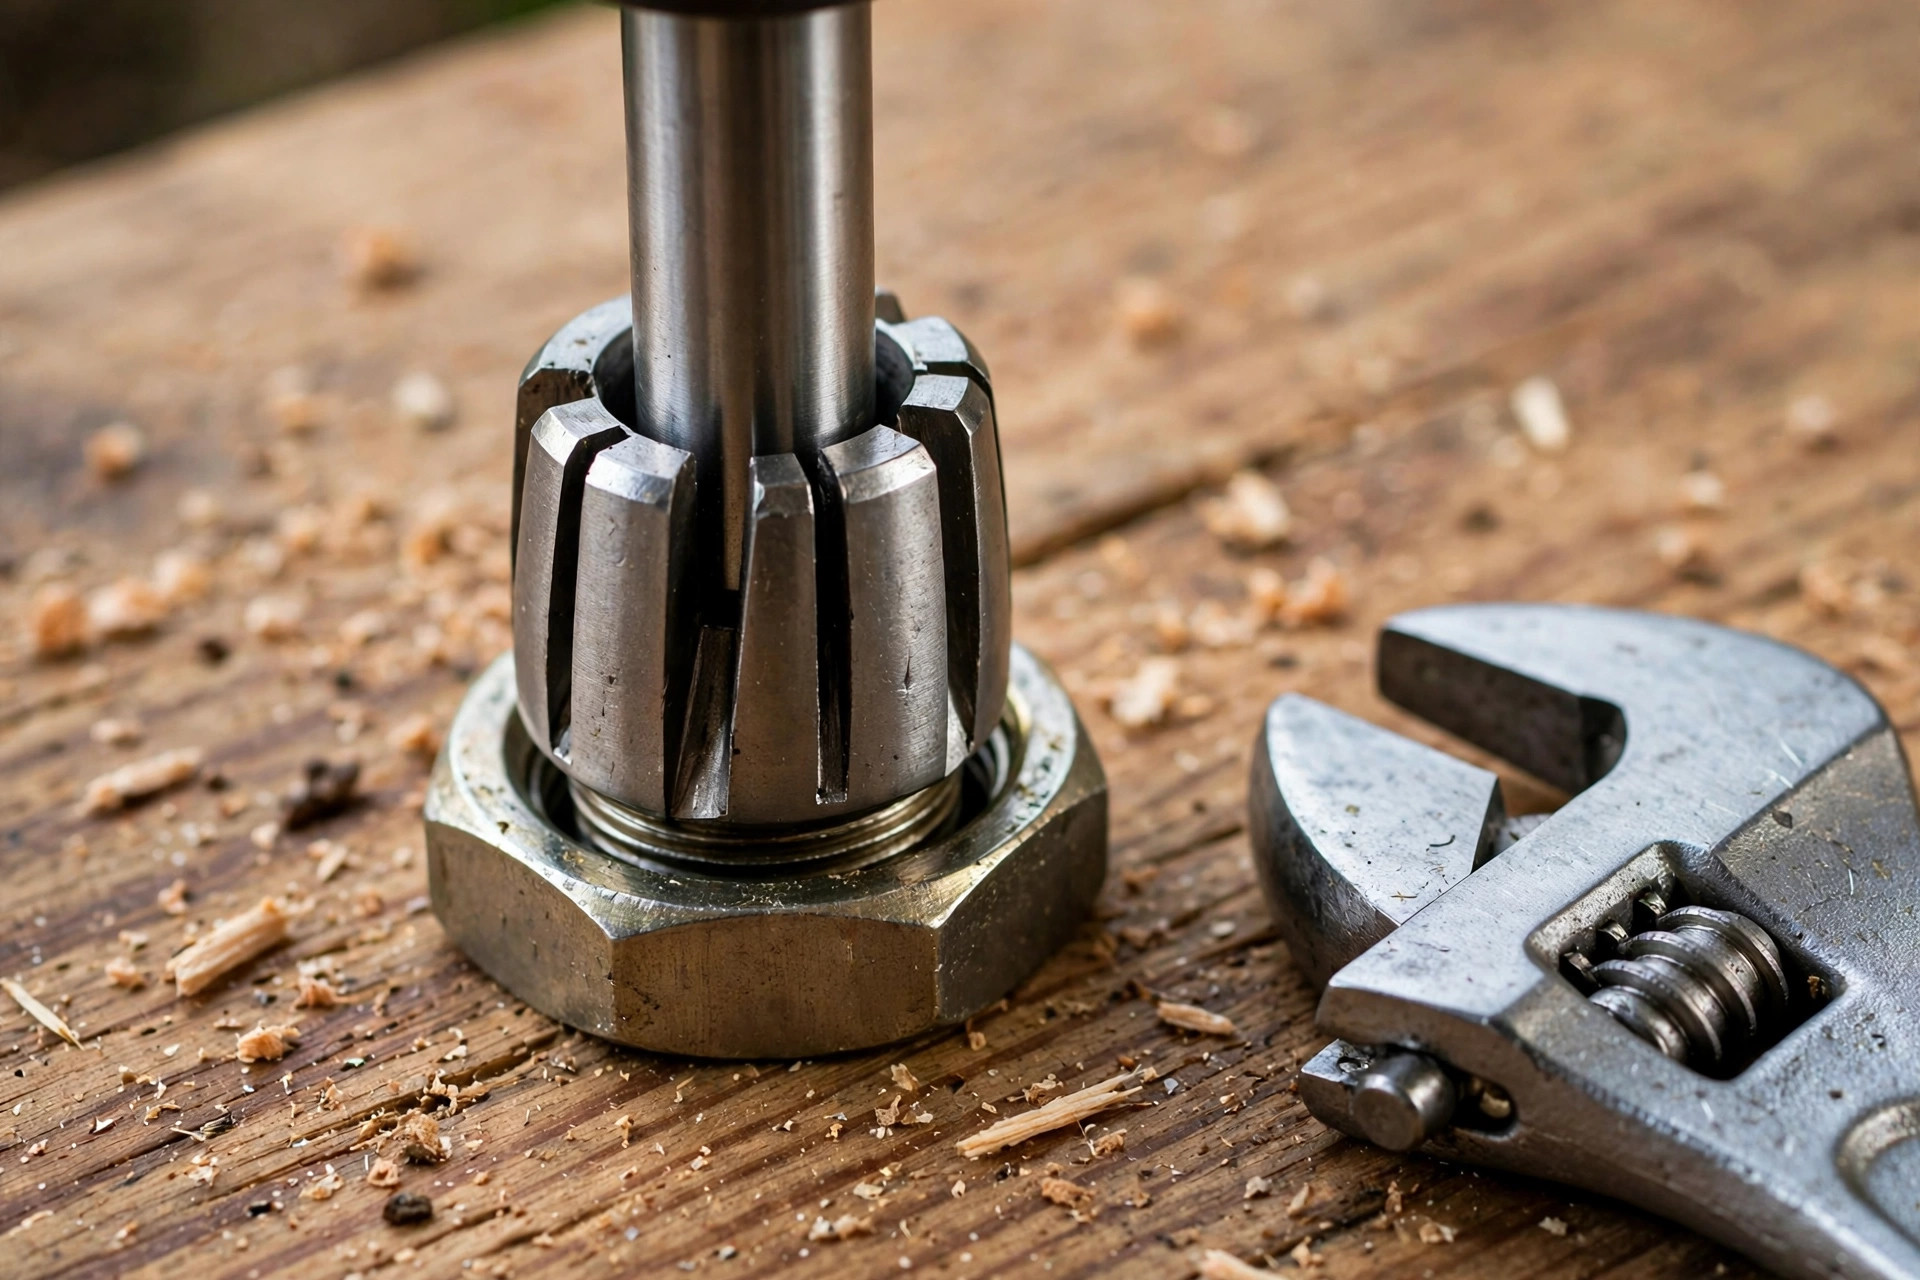
Collet safety is where beginners must be strict, because a bit that slips in the collet is dangerous. The collet is the split sleeve inside the router that grips the shank when you tighten the collet nut. To fit a bit safely, first unplug the router — every time, no exceptions. Insert the shank fully into the collet, then pull it back out by about 2 millimetres, roughly the thickness of a coin. This small gap matters: if the shank bottoms out against the inside of the collet, tightening the nut can fail to grip it properly, and the bit can creep or slip during a cut. Tighten the nut firmly with the wrenches supplied, following your router’s manual, but do not over-tighten to the point of damaging the collet. Keep the collet clean: sawdust and resin inside the collet reduce grip, so brush it out whenever you change a bit.
Three more collet rules will keep you safe. Never use a bit with a shank that does not match the collet — no sleeves, adapters, or forcing a 1/4-inch bit into a 1/2-inch collet, because adapters introduce runout and reduce grip. Never change a bit while the router is plugged in, even if you are only swapping quickly, because an accidental trigger press with your fingers on the collet is a serious injury risk. And inspect the shank each time you fit a bit: a shank with rust, burrs, dents, or a bent profile should be retired, not used, because it will not run true. A bit that wobbles, vibrates unusually, or sounds different from normal should be stopped and checked immediately, not pushed through the cut. These rules are simple, they take seconds, and they are the difference between a routine bit change and an accident. For the full safety picture, read our guide to woodworking safety tips for beginners before your first routing session.
Carbide vs HSS vs Steel: What a Beginner Should Buy
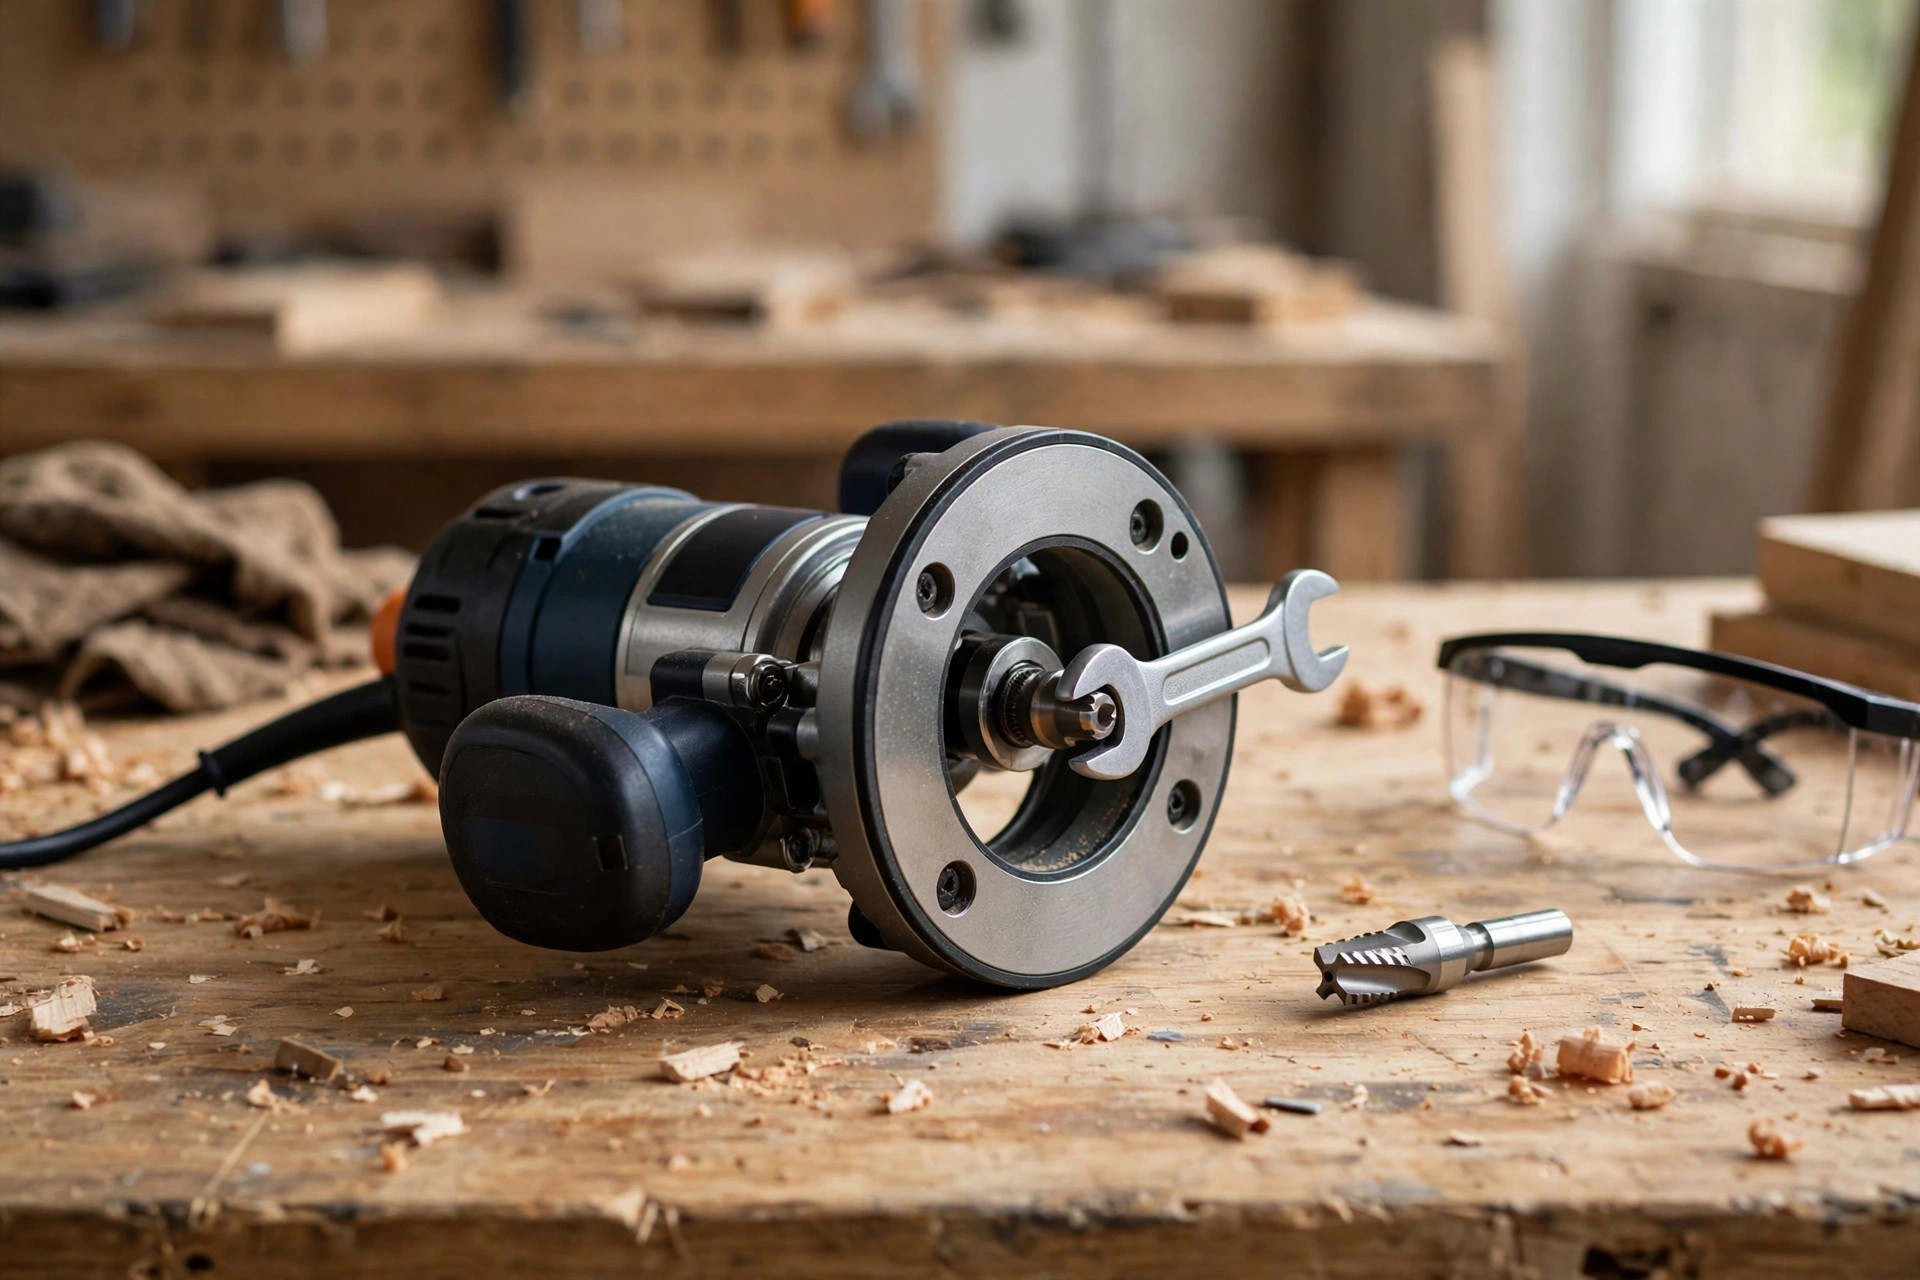
Router bits are usually made from one of three materials, and the choice affects how long the edge lasts, how cleanly it cuts, and how much it costs. Carbide-tipped bits are the standard recommendation for beginners, and for good reason. Carbide is much harder than steel, so it stays sharp far longer, especially in hardwoods, plywood, and MDF, which dull steel quickly. A carbide bit costs more upfront, but it cuts cleaner for longer, needs sharpening far less often, and is cheaper per project over its life. For the five starter bits, carbide is the right buy, and it is where your budget should go first.
High-speed steel (HSS) bits are cheaper and can be sharpened more easily, and they cut very cleanly when sharp, but they dull noticeably faster, particularly in hardwood and sheet goods. They suit a beginner who is practising on soft pine and wants to try a profile cheaply before committing to carbide, or a woodworker who sharpens their own tools and enjoys maintaining them. Solid steel bits, the cheapest of all, dull fastest of all and are best avoided for anything but the lightest practice work in softwood. They burn wood sooner, tear out more, and teach you to blame your technique for what is actually a dull edge.
The practical rule is simple. Buy carbide for the bits you will use often — the straight bits, the roundover, and the chamfer bit. Consider HSS only for a specialty profile you want to try once, such as a V-groove bit for a single sign project, where the low price lets you experiment without commitment. Never buy a big set of solid steel bits because it looks like a bargain; you will replace the bits you use within months, and the frustration of burnt, torn cuts in between will cost you more in ruined lumber than the savings were worth. One more shopping tip: buy bits from brands with replaceable bearings and a reputation for consistent grinding, and keep the packaging or a note of the bit’s size and profile, because six months later, every silver bit in the drawer looks the same.
Changing a Bit Safely, Feed Direction, and Shallow Passes
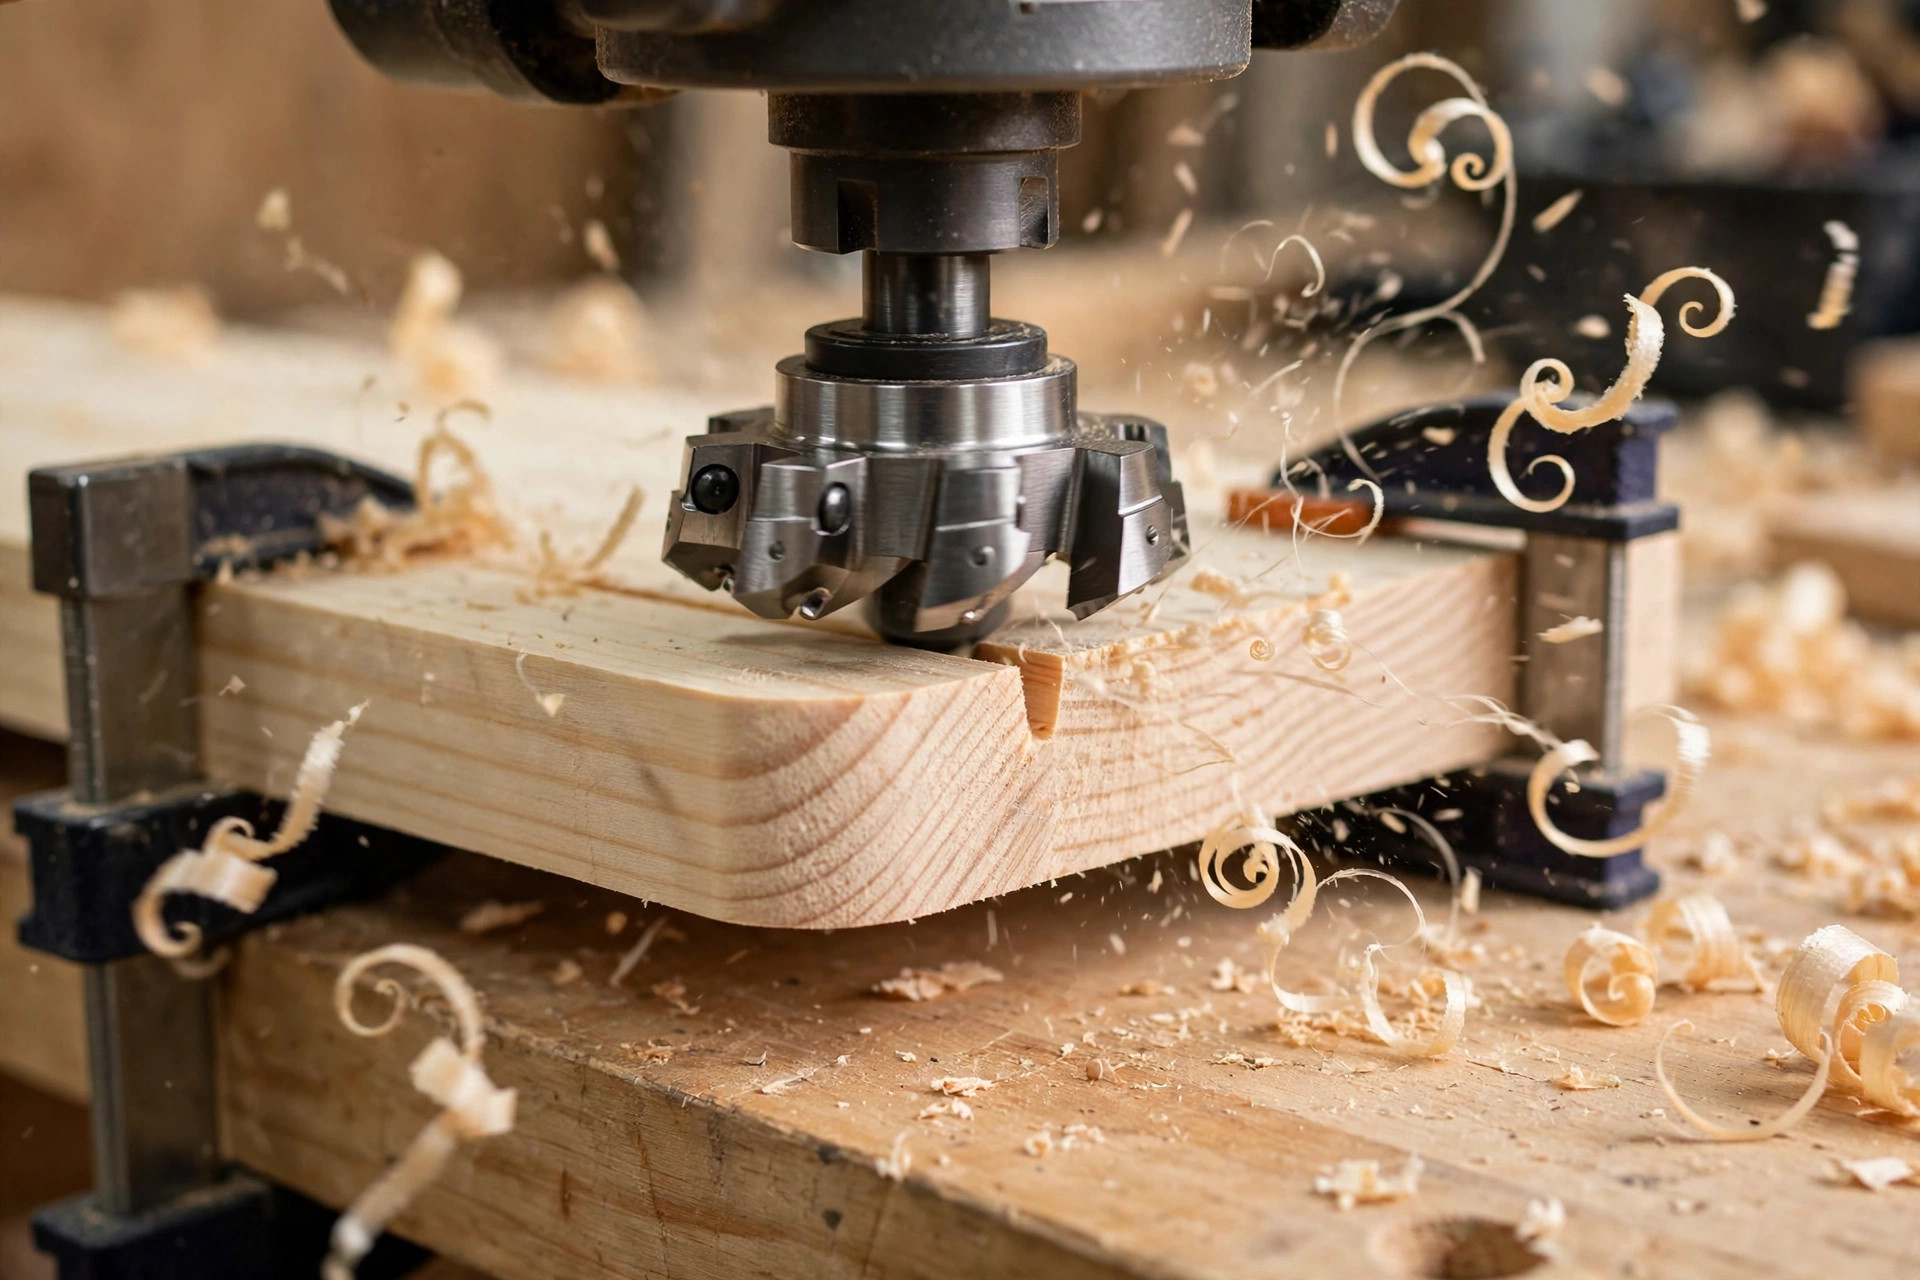
Changing a bit safely is a short routine worth memorising. Unplug the router. Lay it on its side or clamp it securely, with the bit pointing away from you. Use the wrenches from the manufacturer to loosen the collet nut, turning in the direction your manual specifies, and remove the old bit. Brush dust and resin out of the collet, inspect the new bit’s shank and bearing, insert the shank fully and back it out about 2 millimetres, and tighten the nut firmly. Before you cut, spin the bit by hand to check it runs true, and give the bearing a flick to confirm it spins freely. Then, and only then, plug the router back in.
Feed direction is the rule that surprises most beginners, because it feels backwards at first. On a handheld router, you move the router against the rotation of the bit, so the cutter bites into the wood rather than being pulled along it. For most edge work, that means moving the router from left to right along the edge facing you, or anticlockwise around the outside of a workpiece. On a router table, the rule reverses because the bit is upside down: you feed the workpiece from right to left. If you feed in the wrong direction, the bit grabs the wood and pulls the router forward suddenly — a climb cut — which is hard to control and can gouge the workpiece or throw it. If you are unsure, test on scrap: the correct direction feels steady and controlled, with the router resisting you slightly, while the wrong direction feels as if the router wants to run away. Never climb-cut on purpose as a beginner, whatever a video suggests; it is an advanced technique with real kickback risk.
Shallow passes are the other habit that separates clean work from burnt, torn work. A router bit should rarely remove more than about 3 millimetres of depth in a single pass in hardwood, and a little more in softwood, depending on the bit size and the wood. For a deep groove or dado, make two or three progressively deeper passes instead of one deep one. Shallow passes reduce strain on the bit and the router, produce far less tear-out and burning, and give you a chance to correct a wandering cut before it becomes a ruined board. They take a few extra minutes, and they save hours of sanding and rework. Between passes, clear chips from the cut: packed chips overheat the bit, and an overheated bit burns wood and dulls fast. A quick brush or a puff of air between passes is enough.
Speed matters too. Most routers have variable speed, and larger bits must run slower than smaller ones because their cutting edges travel faster at the same revolutions per minute. As a rough guide, small straight bits can run near full speed, while large roundover and panel bits should run noticeably slower — check the bit manufacturer’s recommended speed and your router’s manual, and start at the lower end if you are unsure. If the cut smells of burning, slows the router audibly, or leaves dark marks, stop: you are probably feeding too slowly, cutting too deep, or using a dull bit. Speed up the feed slightly, reduce the depth, and check the edge before continuing.
Fixing Tear-Out and Burning, Plus Care, Storage, and Common Mistakes
Tear-out is what happens when the cutter lifts wood fibres instead of slicing them, leaving a rough, splintered edge, usually where the bit exits the wood or cuts against the grain. The fixes are straightforward. Take a shallower pass, so the cutter slices less wood at once. Score the cut line first with a sharp knife, which severs the surface fibres before the bit reaches them. Use a backing board or sacrificial piece behind the workpiece so the bit exits into scrap instead of your finished edge. And check grain direction: routing against the grain tears far more than routing with it, so on a board with changing grain, plan your passes so the bit meets the grain favourably wherever possible. For end grain, which tears easily, take very light passes and consider a climb-free approach with a backing block clamped behind the piece.
Burning — dark scorch marks along the cut — has a short list of causes, and each has a fix. A dull bit is the most common: replace or sharpen it rather than pushing harder. Feeding too slowly lets the bit spin in one spot and heat the wood, so keep a steady, confident feed rate. Cutting too deep in one pass overheats the bit, so split the cut into shallower passes. A seized bearing burns a dark line exactly where it drags, so spin the bearing before every cut and replace it if it feels gritty. And resin build-up on the bit insulates it and increases friction, so clean bits regularly with a resin remover or warm soapy water, dry them thoroughly, and lightly oil the steel to prevent rust.
Care and storage are simple but worth doing from day one. Clean bits after use, especially after resinous pine or MDF, and dry them before storing. Store bits upright in a case, a rack, or a drawer with dividers, never loose in a bag or a toolbox drawer where the carbide edges chip against each other. A chipped carbide edge is a ruined bit, and it chips far more easily than beginners expect. Keep bits away from damp workshops, because rust on the shank affects collet grip, and label each slot or pocket with the bit’s size and profile so you can find the right bit without handling every one. Finally, never drop a bit onto concrete or a steel bench; the carbide may look intact while a tiny chip guarantees a rough cut next time.
The common mistakes to avoid are almost all avoidable. Buying the big set first and learning none of the bits well. Using a dull bit and blaming your technique. Cutting too deep in one pass and wondering why the edge burns. Feeding in the wrong direction and fighting a router that wants to run away. Forgetting the 2-millimetre collet gap and wondering why a bit slips. Skipping the test cut on scrap and discovering a wrong depth setting on a finished board. And routing without eye and hearing protection and dust control — a router is loud, throws chips at speed, and produces fine dust, so glasses, hearing protection, and a mask or extraction are not optional. Avoid those seven mistakes and your first set will serve you far longer than you expect.
First Projects, FAQs, and Final Verdict
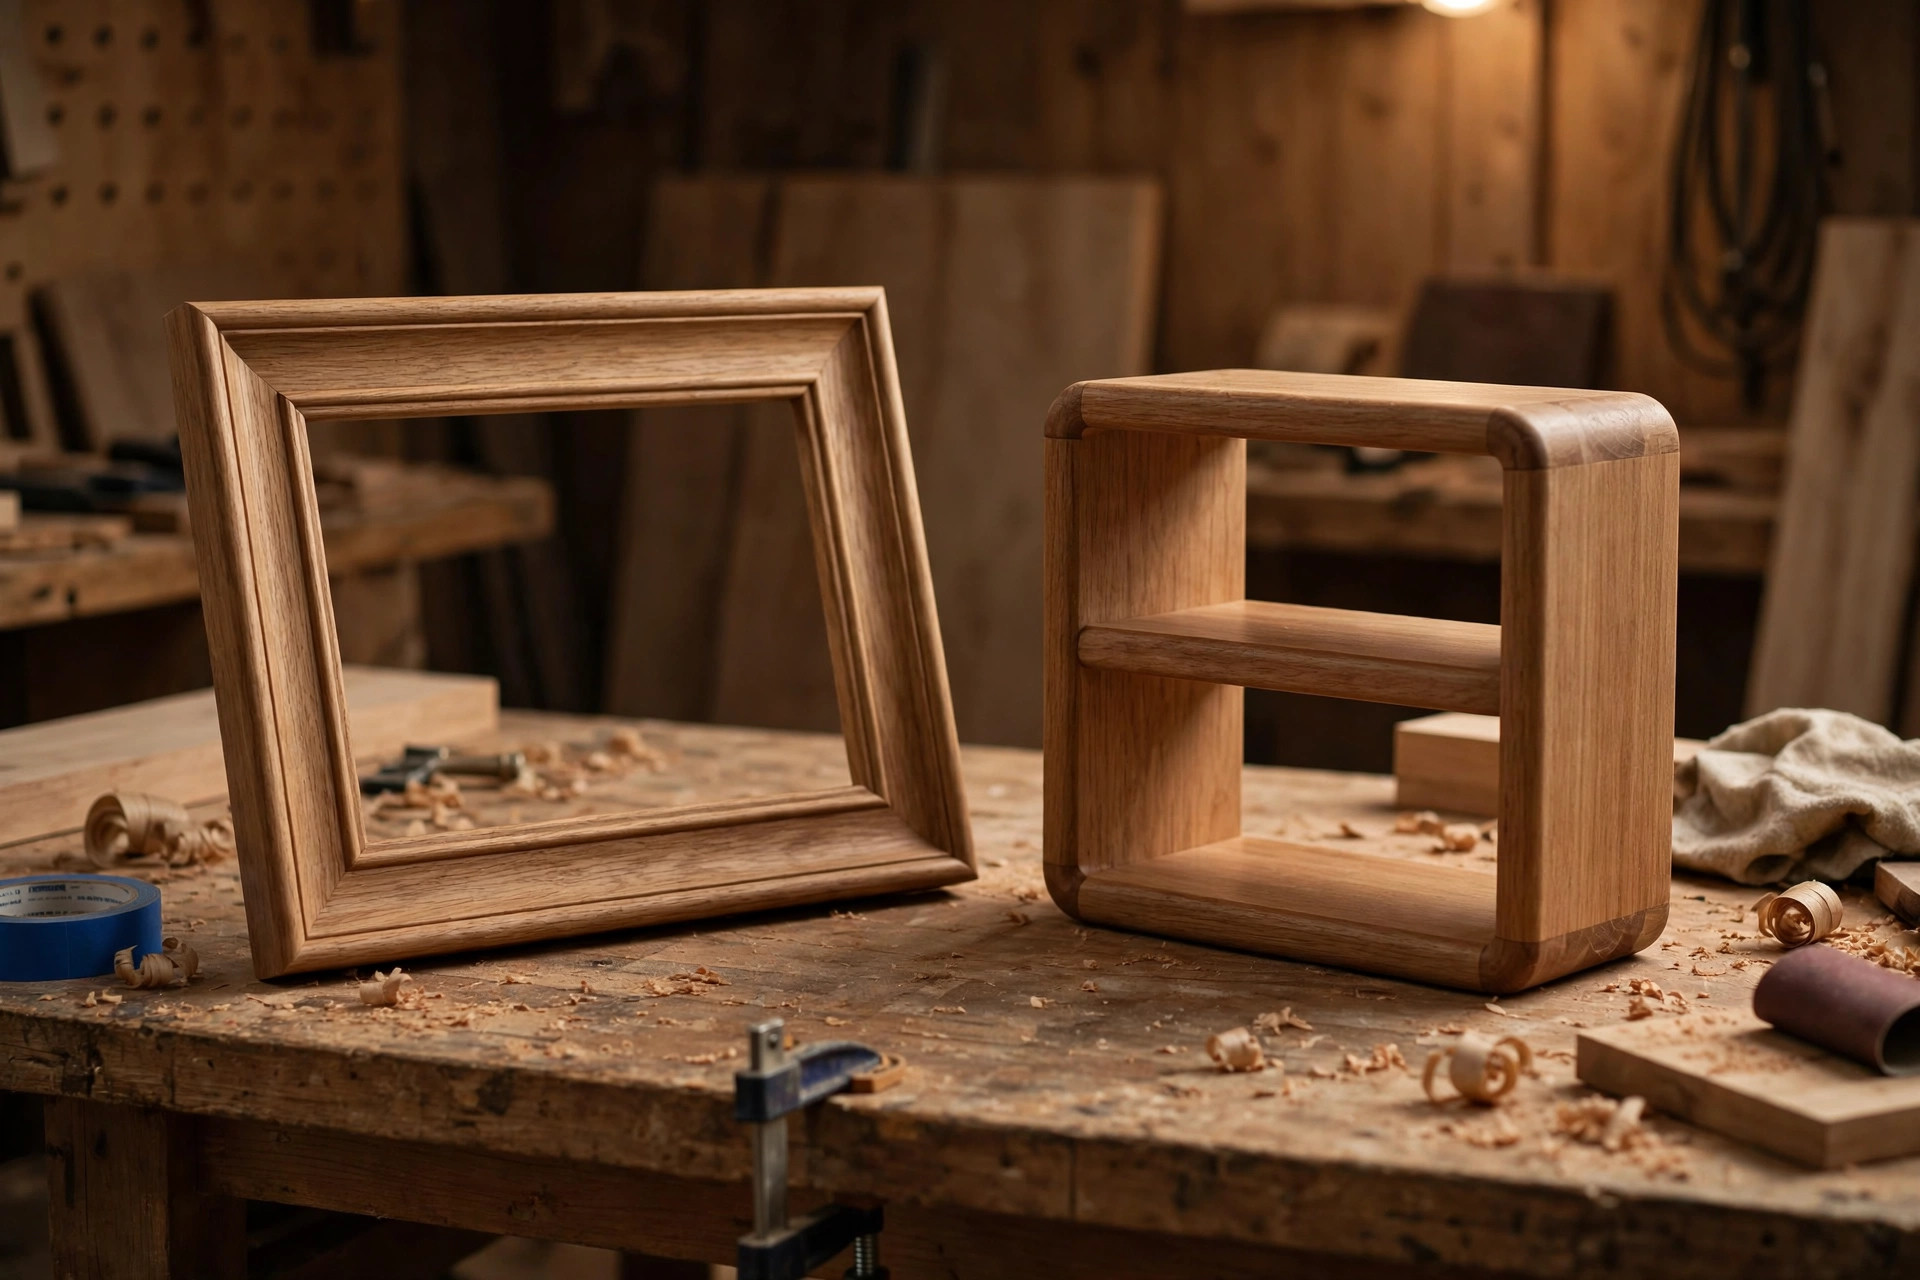
Start with projects that use one new bit at a time. A cutting board uses the roundover bit on every edge and the chamfer bit for a decorative bevel, and it teaches feed direction on a forgiving piece of hardwood. A wall shelf uses straight bits for dados and a roundover for the front edge, and it is a project you will use every day. A picture frame uses the chamfer bit for a crisp outer edge and the rabbeting bit for the glass recess, and it is small enough to practise on scrap first. A simple box or crate uses straight bits for grooves and a flush-trim bit for template-cut sides. Each of these projects is also easier in the right timber, so choose your boards with our guide to the best wood for beginner woodworking projects rather than buying whatever is cheapest. Build one, learn one bit, and let the next project teach you the next.
Frequently Asked Questions
What are the best router bits for beginners woodworking?
The best starter set is a 1/4-inch straight bit, a 1/2-inch straight bit, a 1/4-inch radius roundover bit, a 45-degree chamfer bit, and a flush-trim bit, with a rabbeting bit as an optional sixth. These five bits cover grooves, dados, edge softening, chamfers, and template work, which is nearly every cut a beginner makes in their first year.
Should a beginner buy a big router bit set or individual bits?
Buy the five-bit starter set, individually or as a small quality set, rather than a big 15-piece or 24-piece set. Most beginners use only four or five bits from a big set, and the quality of the bits they do use is often lower than the same money spent on five good carbide bits.
Should beginners buy 1/4-inch or 1/2-inch shank router bits?
Match the shank to your router’s collet first, and prefer 1/2-inch shanks for larger profiles when your router accepts them, because they vibrate less and cut more smoothly. Small straight bits in 1/4-inch shank are fine for light work and are often the only option in that size.
Are carbide router bits worth the extra cost for beginners?
Yes. Carbide stays sharp far longer than steel or high-speed steel, especially in hardwood, plywood, and MDF, so it cuts cleaner for longer and is cheaper per project over its life. Buy carbide for the bits you use often and consider cheaper steel only for a specialty profile you want to try once.
Why is my router bit burning the wood?
Burning is usually caused by a dull bit, feeding too slowly, cutting too deep in one pass, a seized bearing, or resin build-up on the bit. Sharpen or replace the bit, take shallower passes, keep a steady feed rate, check that the bearing spins freely, and clean the bit regularly.
How deep should a beginner cut in one router pass?
As a guide, remove no more than about 3 millimetres per pass in hardwood, and a little more in softwood, depending on the bit size. For deep grooves or dados, make two or three progressively deeper passes instead of one deep cut, and clear chips between passes.
Final Verdict
The best router bits for beginners woodworking are not the most bits, or the cheapest bits, or the most exotic profiles. They are five good carbide bits — two straight bits, a roundover, a chamfer, and a flush-trim bit — learned well, fitted safely, and fed in the right direction in shallow passes. Buy that set, practise each bit on scrap pine before your first real project, and add new profiles only when a project you are actually building asks for them. Your edges will be cleaner, your lumber will last longer, and the router will change from the most intimidating tool in your workshop into the one that makes your work look finished.
What Router Bits Do You Actually Need in a Starter Set?
A beginner starter set only needs five bits: a straight bit for dados and grooves, a flush-trim bit for template work, a round-over bit for softening edges, a chamfer bit for crisp bevels, and a cove or ogee bit for decorative edges. Buy them in quarter-inch shank to match a compact router, and choose carbide-tipped bits — they stay sharp far longer than plain steel and are worth the small extra cost. Skip the big 30-piece sets: most of those bits will never leave the box, and a cheap set dulls fast and burns the wood. Learn these five properly, then add specialist bits only when a project actually calls for one.


