
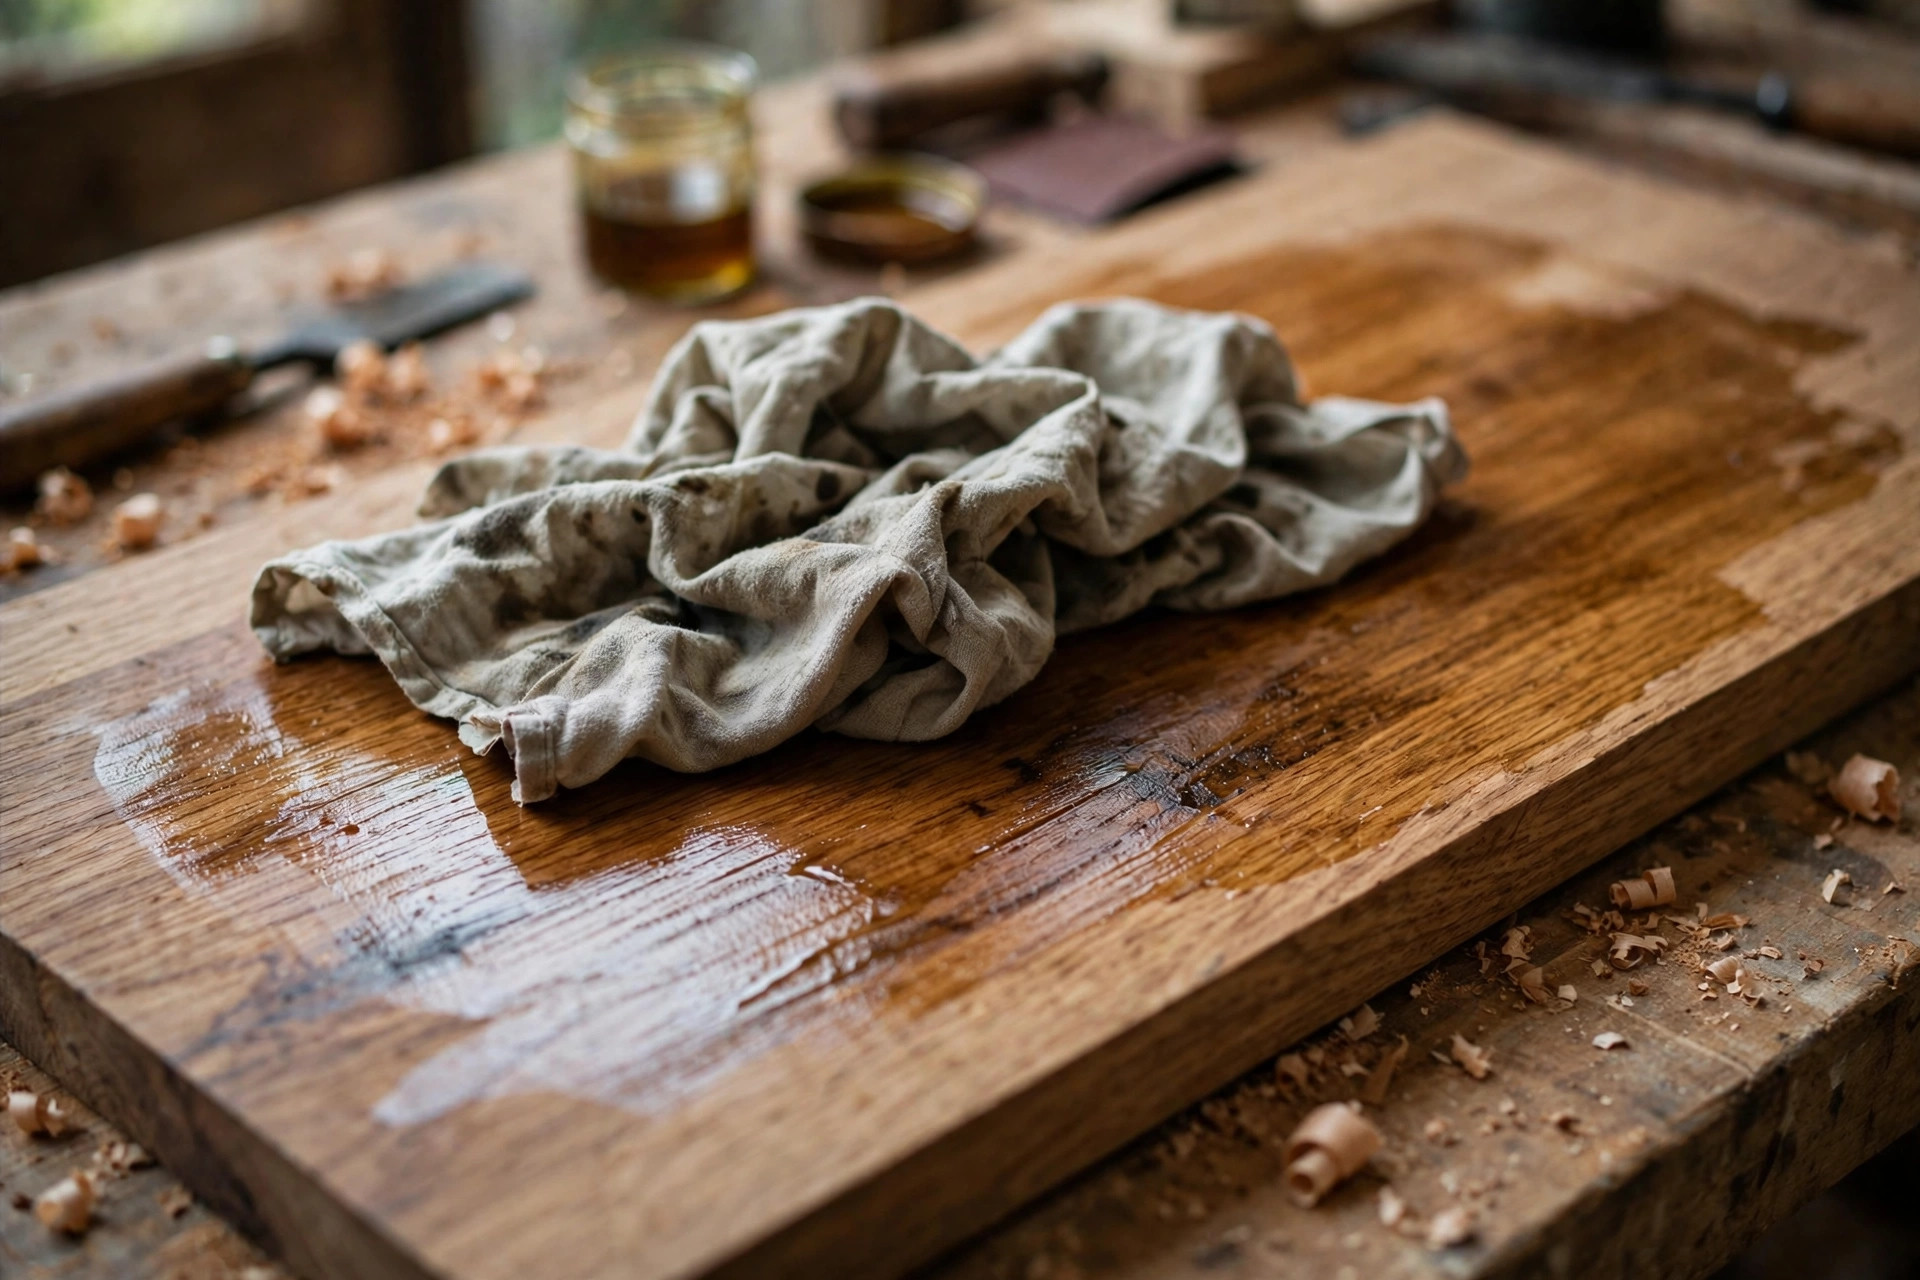
Walk into any woodworking shop, online or in person, and ask how to finish a cutting board, a coffee table, or a small oak shelf, and you will hear two names again and again: tung oil and Danish oil. Both are oil finishes. Both soak into the wood instead of sitting on top of it like polyurethane. Both give wood that warm, natural, hand-rubbed look that beginners love. And yet they are not the same product, they do not behave the same way in the can, and they do not suit the same projects. If you are researching tung oil vs danish oil for beginners woodworking, the confusion is understandable — and much of it is caused by the labels on the cans themselves.
Here is the short answer before we get into the detail. Danish oil is the easier, faster, more forgiving choice for most beginners, especially for furniture, shelves, and decorative pieces. Pure tung oil is the better choice for items that touch food or water regularly — cutting boards, wooden spoons, and butcher blocks — provided you buy genuine pure tung oil and you are patient enough to wait for it to cure. The catch is that many products sold as "tung oil finish" are neither pure tung oil nor Danish oil: they are wiping varnishes with a little tung oil in the mix. Learning to tell the three apart is the single most useful skill in this guide, and it will save you from finishing a salad bowl with a product you would never have chosen if the label had been honest.
This guide explains exactly what is in each can, how long each finish really takes to dry and cure, how many coats you need, which one is safe for food contact, how they look and wear over time, and how to apply each one step by step. It finishes with a project-by-project decision table, honest costs, the mistakes beginners make most often, and answers to the questions beginners ask most. By the end, you will be able to walk into a store, read a label, and pick the right oil for the project in front of you — not the one with the prettiest can.
If you are still at the stage of preparing your wood, start with our guide to how to sand and finish wood for beginners before you open any can. An oil finish shows every sanding scratch and every glue smear, because it soaks in rather than covering up. Good preparation is half the finish.
The Quick Answer: Which Oil Should You Buy First?
If you are building furniture, shelves, picture frames, or decorative boxes, buy Danish oil. It dries faster, builds a soft satin sheen in two or three coats, is very forgiving of imperfect technique, and gives a warm, rich look that flatters almost every wood. It is the oil most beginners enjoy using first, because the results look good quickly and the process is hard to mess up.
If you are finishing something that will touch food — a cutting board, a serving board, a wooden spoon, a salad bowl — buy pure, food-grade tung oil, and only pure tung oil. Read the ingredients. The label should say 100 percent pure tung oil, with nothing else added. Pure tung oil polymerizes into a tough, water-resistant, food-safe finish, but it takes days between coats and up to a month to fully cure, so it demands patience that Danish oil does not.
If you are finishing something that will get hard daily use and regular spills — a kitchen table, a bathroom shelf, a workbench top — consider neither oil as your only finish, and think about a harder topcoat instead. Our guide to how to apply polyurethane for beginners explains when a film finish beats an oil finish, and how to apply it without bubbles or brush marks. Oil finishes are beautiful and repairable, but they are not the toughest finish in the shop, and knowing that limit is part of choosing well.
What Is Actually in the Can? Pure Tung, Danish Blends, and the "Tung Oil Finish" Trap
This is the section that matters most, because the labels are misleading by design. Three very different products share similar names, and buying the wrong one is the most common beginner mistake in oil finishing.
Pure tung oil is pressed from the seeds of the tung tree. It contains one ingredient: tung oil. When exposed to air, it polymerizes — it hardens through a chemical reaction with oxygen — into a tough, flexible, water-resistant film inside and on the surface of the wood. It is naturally food-safe once fully cured, it does not yellow as much as linseed oil over time, and it gives a warm, matte to satin glow that deepens the wood's color without hiding its grain. The downsides are real: it is slow, it needs many thin coats, and it must be applied thinly or it stays gummy. Some people are allergic to tung oil, so test it on a small patch of skin before you spend a day rubbing it into a project, and keep it away from anyone with a known nut or seed allergy concern, since the oil comes from a tree nut.
Danish oil is not a single oil at all. It is a blend, typically of an oil (often linseed oil, tung oil, or both) mixed with varnish resins and solvents. The exact recipe varies by brand, and most brands do not print the full formula on the can. That blend is what makes Danish oil so beginner-friendly: the oil penetrates and warms the wood, the varnish resins add a little surface build and durability, and the solvents thin the mixture so it wipes on easily and dries faster than pure oil. The trade-off is that Danish oil is not automatically food-safe. Some brands are marketed as food-safe once cured, others are not, and the solvents and resins in the blend mean you must read the specific product's label rather than assuming. Never use Danish oil on a food-contact surface unless the manufacturer states clearly, in writing, that the cured finish is food-safe.
Then there is the trap: products labelled "tung oil finish." Despite the name, most of these are not tung oil. They are wiping varnishes — varnish thinned with solvents, sometimes with a small amount of tung oil added — that build a film on the surface of the wood. They are easy to apply and dry quickly, and they are not bad products, but they are not pure tung oil, they are not Danish oil, and they are not food-safe unless the label says so. If the ingredients list mentions petroleum distillates, varnish resins, or polyurethane, or if the can promises a hard, glossy, one-coat finish, you are holding a wiping varnish, not pure tung oil. A true pure tung oil label will say 100 percent pure tung oil and nothing else.
The rule is simple: read the ingredients, not the front of the can. If you want pure tung oil, the ingredient list must be one item long. If you want Danish oil, accept that it is a blend and check the food-safety statement on that exact brand. If you want a quick, hard, glossy finish, a wiping varnish may be what you actually need — just buy it knowing what it is.
Pure Tung Oil: The Slow, Honest Classic
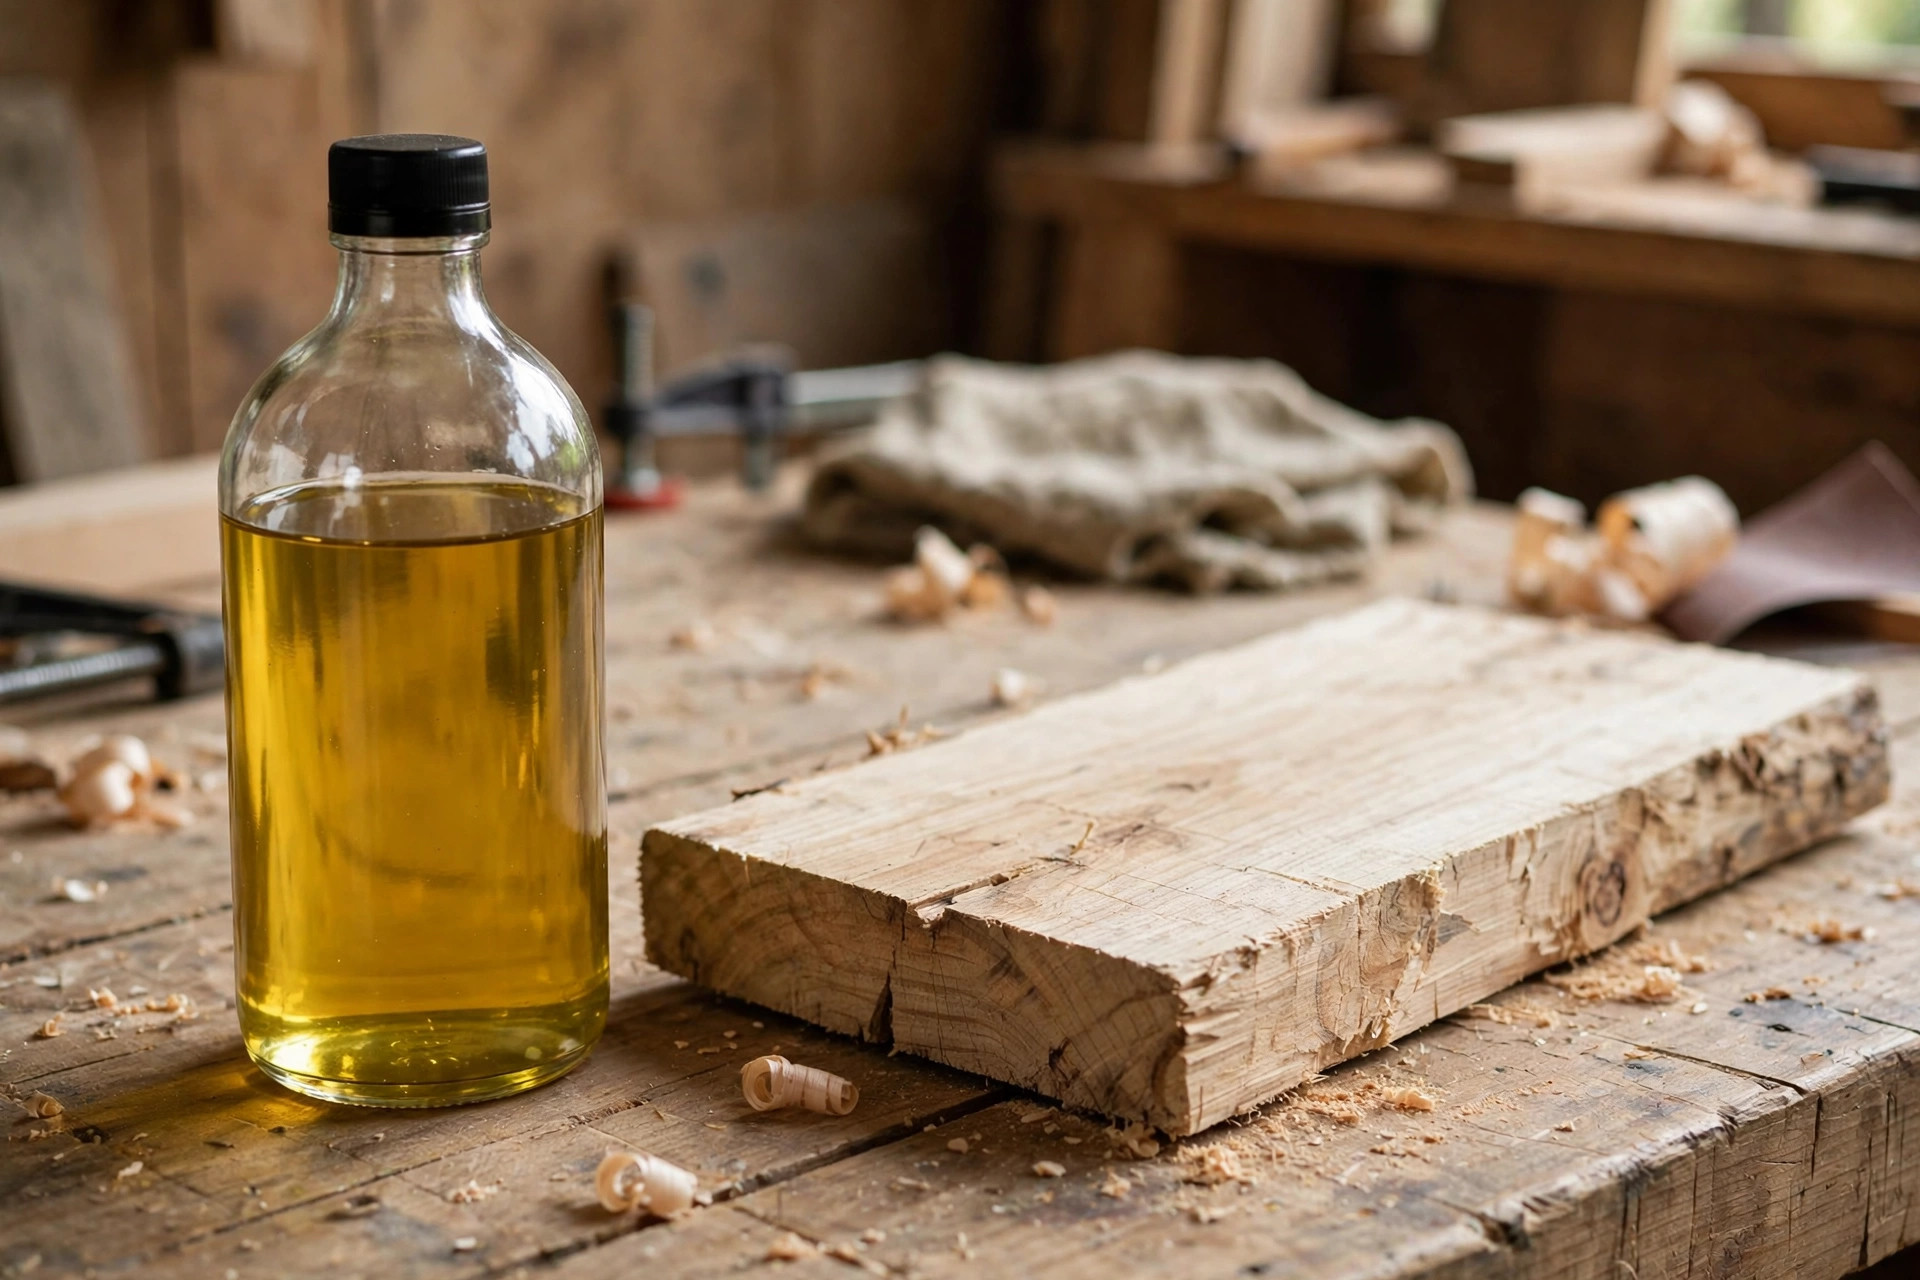
Pure tung oil rewards patience and punishes shortcuts. A typical project needs four to six thin coats, sometimes more for open-grained woods like oak or ash that drink oil hungrily. Each coat must be wiped on thinly, left to soak for 20 to 40 minutes, and then wiped completely dry — every trace of excess oil must come off, or the surface will stay tacky for days. Between coats, allow at least 24 hours, and in cool or humid conditions, 48 hours is safer. After the final coat, the finish needs two to four weeks to fully cure before the piece should see heavy use, water, or food. That sounds like a long time, and it is, but the result is a deep, matte, water-resistant finish that can be repaired by simply rubbing in another coat, with no sanding or stripping.
Pure tung oil slightly darkens most woods and warms their tone, but it does not hide grain or figure — if anything, it makes figured wood look better, because the oil penetrates and highlights the structure of the grain. The sheen is naturally low: matte to a soft satin if you buff the final coat. If you want a high gloss, pure tung oil is the wrong product, and you will be disappointed trying to force it there. Its water resistance is genuinely good once cured — a cutting board finished with pure tung oil can handle regular washing — but it is not waterproof, and standing water should still be wiped up promptly.
Choose pure tung oil when the piece will touch food, when you want the most natural, repairable, low-sheen finish possible, and when you have the patience for a multi-week cure. Do not choose it when you are in a hurry, when you want a glossy or satin showroom look in a weekend, or when you need a finish that resists heavy scrubbing and standing water without regular re-oiling.
Danish Oil: The Beginner-Friendly Blend
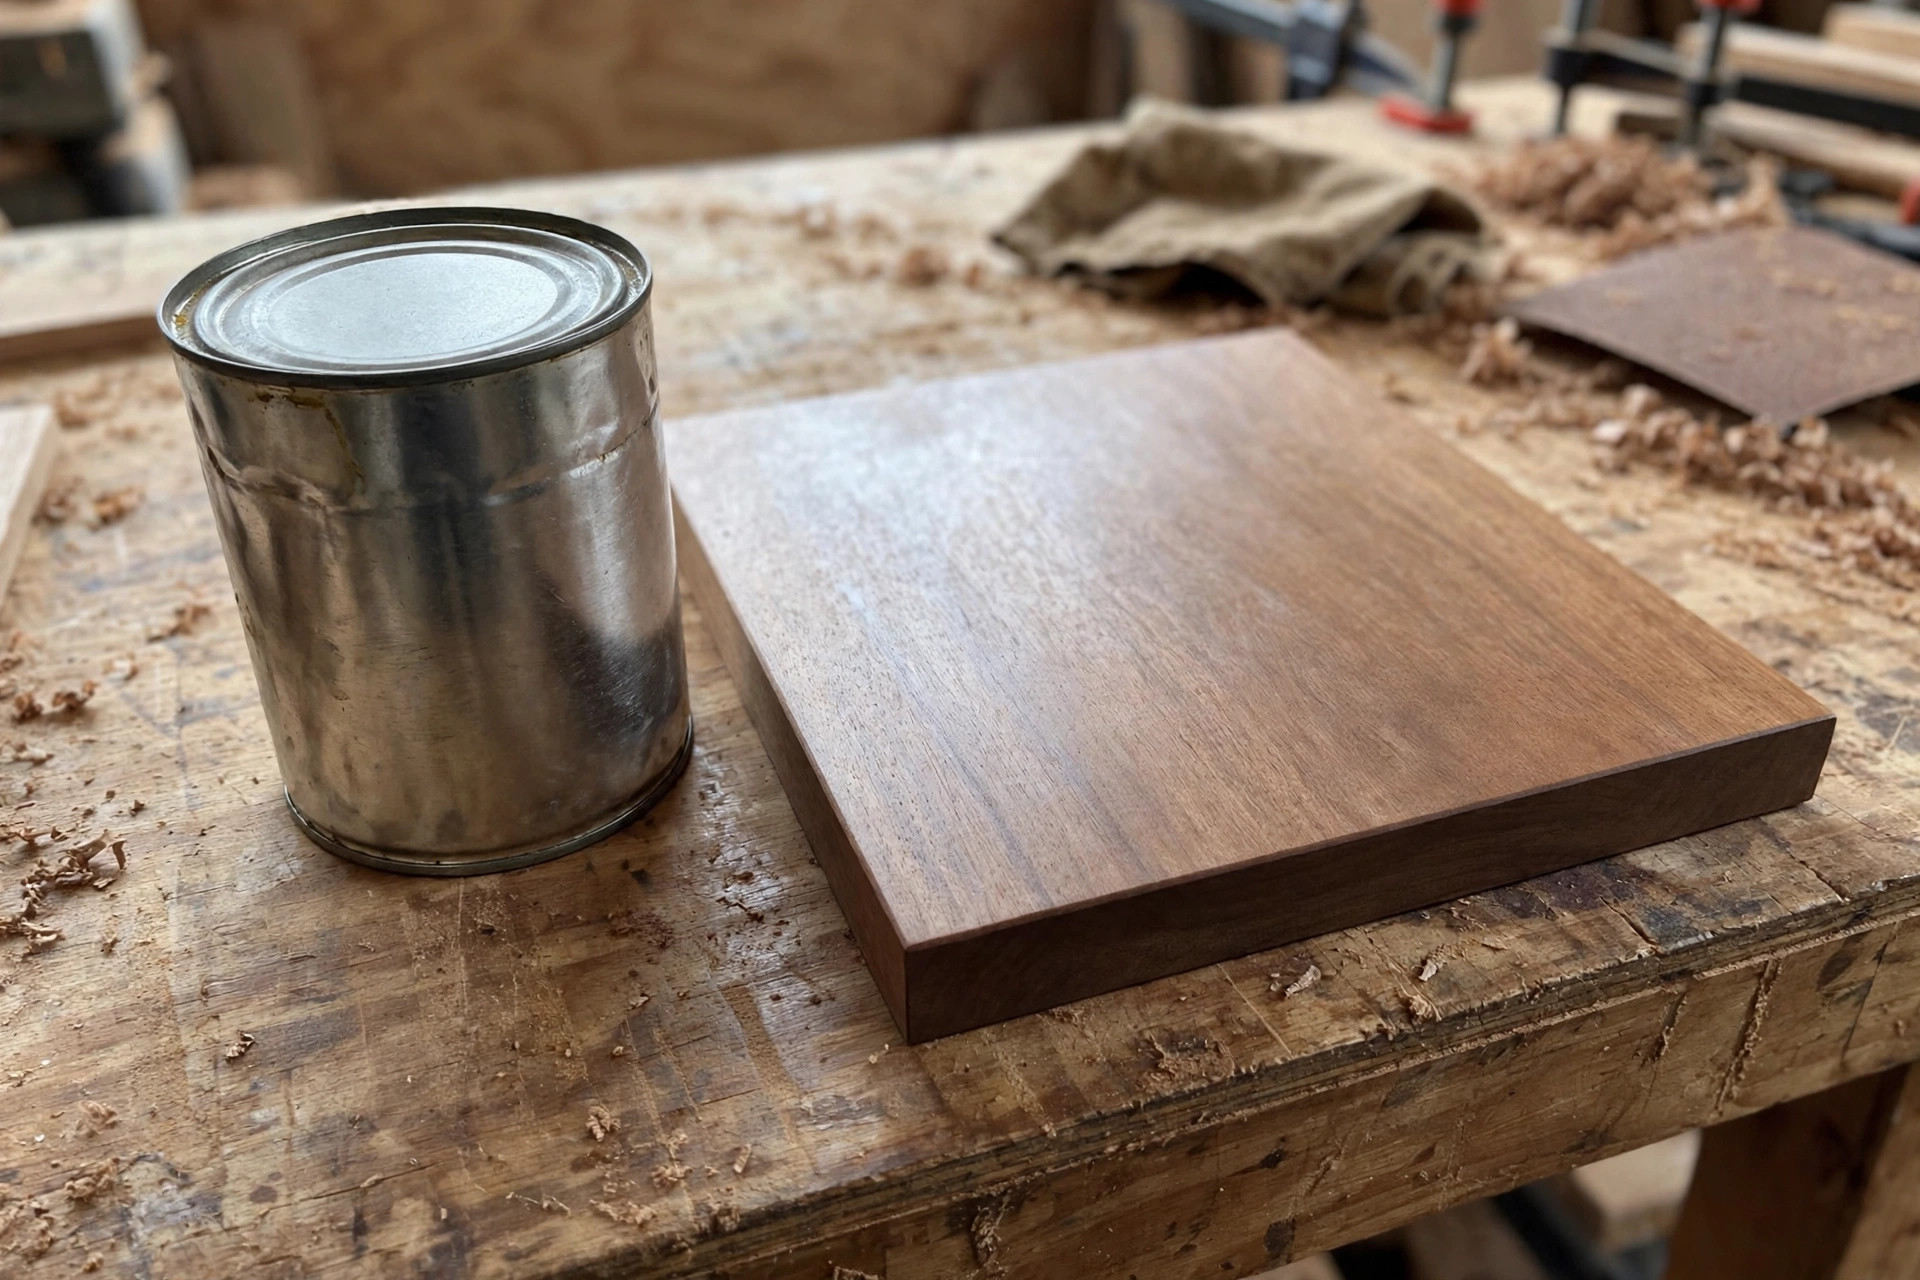
Danish oil is the finish most beginners fall in love with first, and for good reason. A typical project needs two to three coats, sometimes four for thirsty woods. Each coat is wiped on, left for 15 to 30 minutes, and wiped off, much like tung oil, but the solvents help it dry faster and the resins give a slightly harder, more satin surface. Between coats, 4 to 8 hours is usually enough in a warm, well-ventilated room, and the final coat is typically dry to handle in 24 hours and reasonably cured within a week — far faster than pure tung oil. That speed is the reason Danish oil fits weekend projects: you can finish a shelf on Saturday and hang it the following weekend with confidence.
The look is warm and rich, with a soft satin sheen that suits furniture, shelves, boxes, and frames beautifully. Danish oil deepens color a little more than pure tung oil on some woods, which many beginners prefer, because the piece looks "finished" after the first coat rather than after the fourth. Durability is good for normal indoor use — a bookshelf, a side table, a picture frame — but it is not a heavy-duty finish. A Danish-oiled tabletop will show water rings if a wet glass sits on it overnight, and it will need a maintenance coat every year or two in a busy household.
The important caveat, repeated because it matters, is food safety. Danish oil is a blend, and blends vary. Some manufacturers state that their Danish oil is food-safe once fully cured; many do not, and the presence of solvents and resins means you cannot assume it. If a food-contact project is the goal, do not reach for Danish oil unless you have the manufacturer's food-safety statement for that exact product in front of you. When in doubt, choose pure tung oil for food contact, and save Danish oil for everything else.
Choose Danish oil when you want a beautiful, forgiving, fast finish for furniture and decorative pieces, when you are still learning finishing technique, and when a soft satin look is what you have in mind. Do not choose it for cutting boards or food-contact items without a clear food-safety statement, and do not expect it to survive a wet kitchen table without regular maintenance.
Head-to-Head Comparison: Tung Oil vs Danish Oil at a Glance
| Feature | Pure tung oil | Danish oil |
|---|---|---|
| What it really is | 100% oil from tung tree seeds | Blend of oil, varnish resins, and solvents |
| Typical coats | 4–6 thin coats | 2–3 coats |
| Time between coats | 24–48 hours | 4–8 hours |
| Full cure time | 2–4 weeks | About 1 week |
| Sheen | Matte to soft satin | Soft satin |
| Food contact | Yes, once fully cured (pure, food-grade only) | Only if the brand states food-safe when cured — check the label |
| Water resistance | Good once cured | Moderate — rings from standing water |
| Durability for furniture | Good, very repairable | Good for normal indoor use |
| Ease for beginners | Demanding — thin coats, long waits | Very forgiving — fast, easy wipe-on |
| Maintenance | Re-oil every 6–12 months for food items | Re-oil every 1–2 years for furniture |
| Typical cost | Higher per litre, but a little goes far | Moderate, widely available |
Read that table with your project in mind. The finish that wins on cure time loses on food safety, and the finish that wins on food safety loses on speed. There is no universal winner — there is only the right oil for the piece you are finishing today.
Dry Times, Coats, and Curing: The Patience Problem
Beginners confuse three different things: dry to the touch, ready for the next coat, and fully cured. Dry to the touch means the surface no longer feels wet, and for Danish oil that can happen in a few hours, while pure tung oil may still feel slightly tacky at the same point. Ready for the next coat means the previous coat has hardened enough that the next coat will bond rather than dissolve it — roughly 4 to 8 hours for Danish oil, 24 to 48 hours for pure tung oil. Fully cured means the finish has completed its chemical hardening and reached its full water resistance and food safety — about a week for Danish oil, two to four weeks for pure tung oil. Rushing any of these stages is how finishes end up sticky, soft, or blotchy.
Temperature, humidity, and airflow matter enormously. Oil finishes cure by reacting with oxygen, so a warm, dry, well-ventilated room cures faster than a cold, damp garage. In winter, move the piece indoors if you can, or accept that every coat will take longer. Never try to speed curing with a heat gun or by placing the piece next to a heater — uneven heat causes uneven curing and can blister the finish. And never stack, wrap, or lean finished pieces against each other before they are fully cured, or they will stick together and ruin each other's surfaces.
The single most common beginner error with both oils is leaving excess oil on the surface. A thick coat does not cure faster; it cures slower, stays tacky, and attracts dust. Thin coats, wiped fully dry, are the whole secret. If a coat is still tacky after 48 hours, you almost certainly left too much oil on. Wipe it down firmly with a clean, dry cloth, give it another day, and it will usually recover. If it is still gummy after that, wipe it with a cloth dampened with mineral spirits, let it dry completely, and start that coat again, thinner this time.
Step-by-Step: Applying Pure Tung Oil
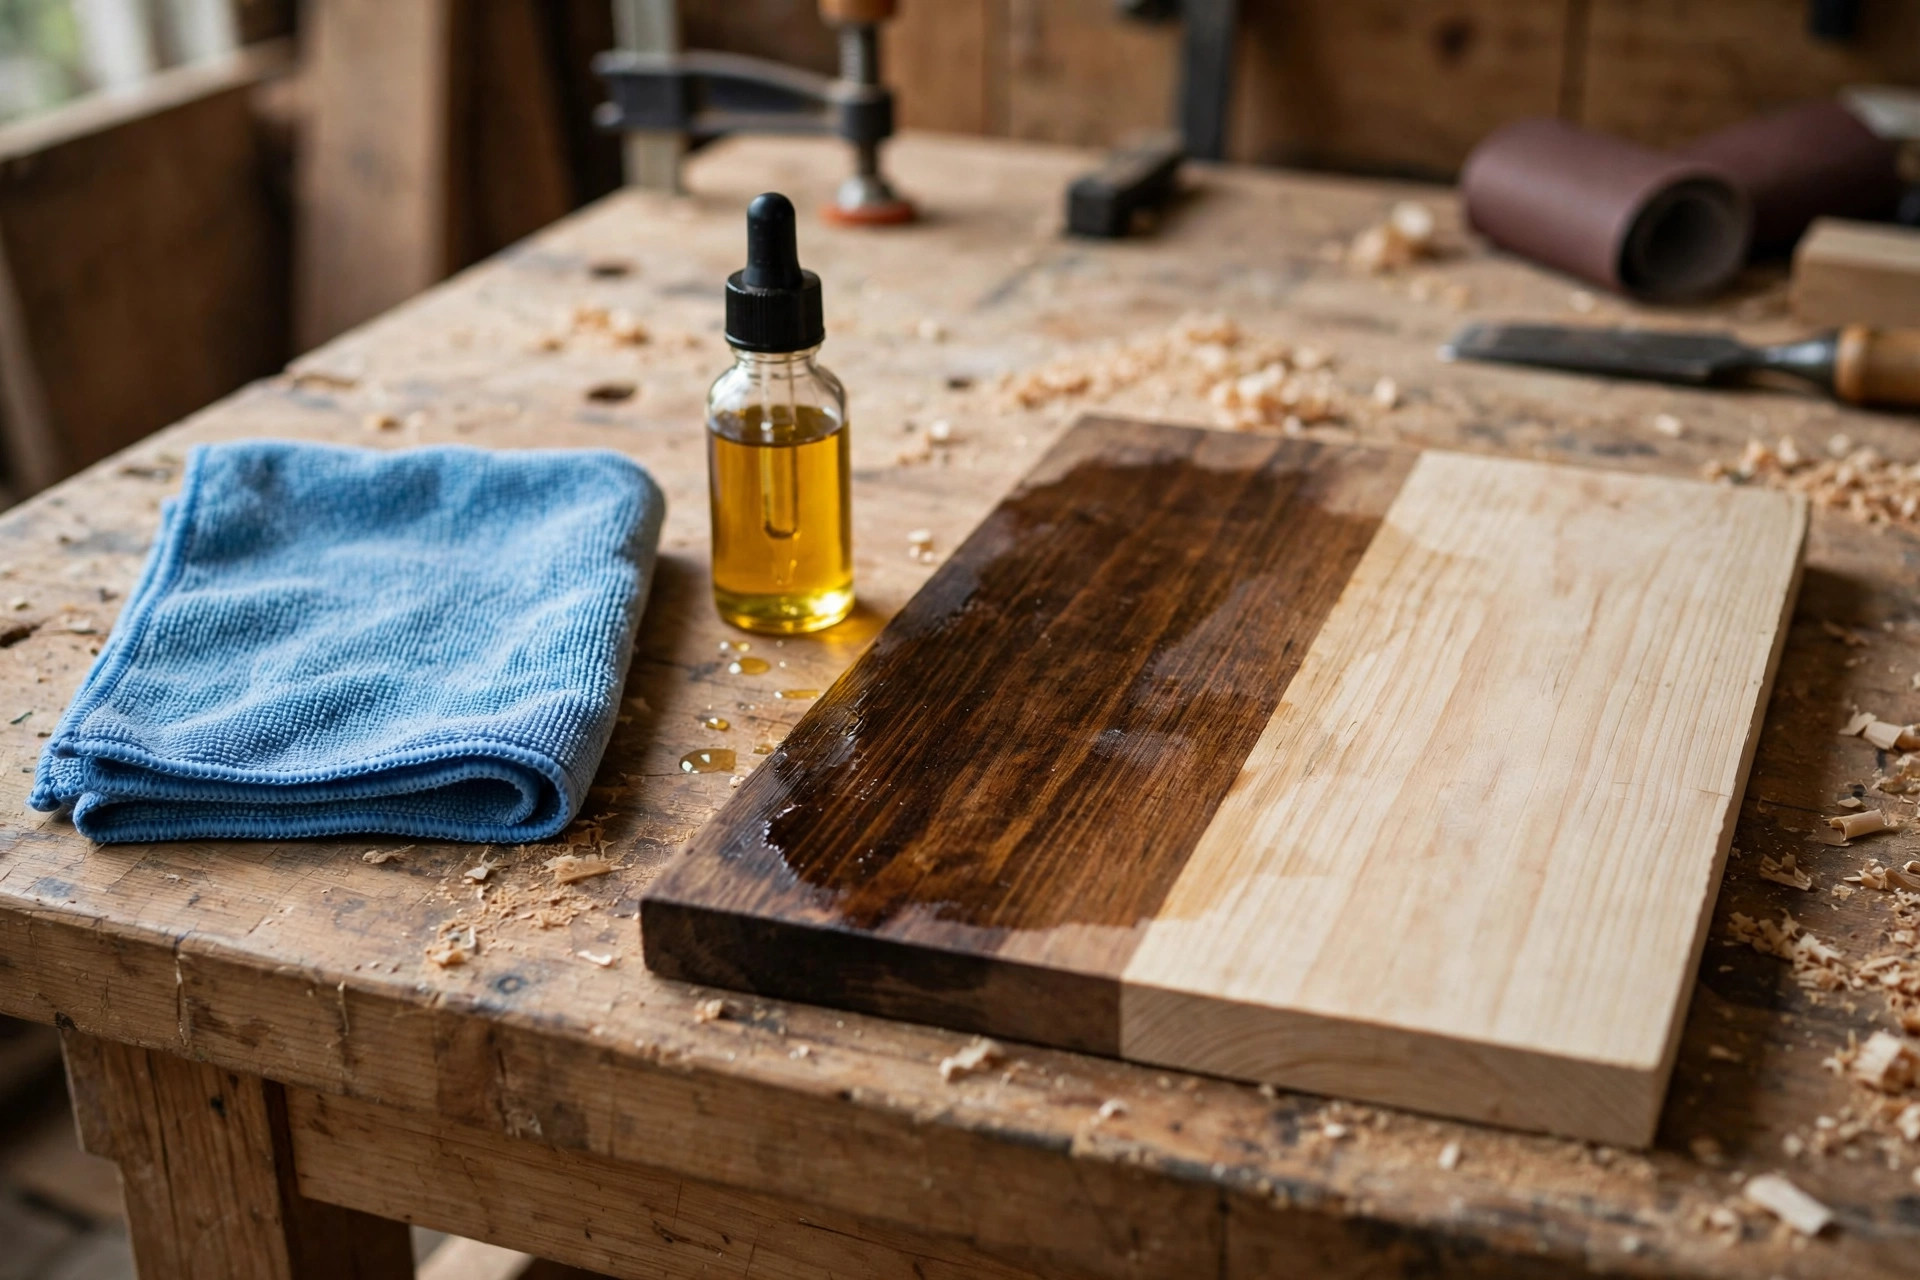
Work in a well-ventilated room, wear nitrile gloves if you prefer, and keep a clean rag in each hand — one for applying, one for wiping off. Remember the safety rule that applies to every oil finish: rags soaked in drying oils can spontaneously combust as they cure. Lay used rags flat outdoors to dry, or soak them in water in a sealed metal container, and never leave a crumpled pile of oily rags in a bin or on a bench.
- Sand and clean. Sand to 220 grit for most projects, or 320 grit for a cutting board or a piece you want extra smooth. Vacuum or brush off all dust, then wipe the surface with a clean, dry cloth. Any dust left behind will be locked into the finish.
- Flood the first coat. Pour a small amount of pure tung oil onto the surface, or onto a clean lint-free cloth, and spread it evenly. The first coat can be a little generous, because raw wood drinks it in, but do not leave puddles.
- Let it soak. Leave the oil for 20 to 40 minutes so it penetrates the wood. Watch for dry patches where the wood has absorbed everything, and add a little more oil to those spots.
- Wipe it completely dry. With a fresh, clean, lint-free cloth, wipe off every trace of excess oil. Rub firmly. The surface should look damp, not wet, with no shiny pools anywhere. This step is the difference between a beautiful finish and a sticky mess.
- Wait 24 to 48 hours. Let the coat cure in a warm, ventilated space. Lightly scuff with 320 or 400 grit sandpaper, or a fine Scotch-Brite pad, only if the surface feels rough, and wipe off the dust.
- Repeat for coats two to five. Later coats need less oil than the first. Apply thinly, soak briefly, wipe fully dry, and wait again. For a cutting board, aim for at least four coats; for a decorative piece, three may be enough, though four gives a deeper look.
- Cure before use. After the final coat, wait two to four weeks before heavy use, washing, or food contact. The piece can be handled gently after a few days, but the finish is still hardening, so be patient.
Step-by-Step: Applying Danish Oil
The Danish oil process is nearly identical, which is one reason beginners like it — learn one method and you know both. The differences are speed and forgiveness.
- Sand and clean. Sand to 220 grit, remove all dust, and wipe the surface clean, exactly as above.
- Apply the first coat. Wipe on a generous coat with a lint-free cloth or a foam brush. Danish oil's solvents help it spread evenly, so this step feels easier than pure tung oil.
- Let it soak. Leave it for 15 to 30 minutes. Do not let it dry on the surface — if a patch starts to look dry, add a little more oil.
- Wipe it fully dry. As with tung oil, wipe off all excess with a clean cloth until the surface looks evenly damp, with no wet patches.
- Wait 4 to 8 hours, then repeat. Lightly scuff only if needed, wipe off dust, and apply the second coat. Most furniture looks finished after two coats; a third coat adds depth and a little more protection.
- Cure for about a week. After the final coat, let the piece cure for at least a few days, ideally a week, before heavy use. It will feel dry much sooner, but the resins are still hardening.
- Dispose of rags safely. The same spontaneous-combustion warning applies to Danish oil rags — lay them flat outdoors or soak them in water in a metal container.
If you want a slightly glossier Danish oil finish, you can wet-sand the final coat with 600 grit sandpaper and a little Danish oil as lubricant, then wipe it dry. This fills the pores and gives a smoother, more polished surface. Try it on a test piece first, because it changes the look noticeably.
Food-Contact Rules: What Is Safe and What Is Not
Food safety is where beginners must be strictest, because a mistake here is not just cosmetic. The rules are simple, and they are worth memorizing.
Pure, food-grade tung oil is food-safe once it has fully cured. That means the ingredient list is one item — 100 percent pure tung oil — and the product is sold as food-grade or food-contact safe. It must be fully cured, not just dry: wait the full two to four weeks before cutting food on a board or serving from a bowl. Some people have tung allergies, so if you are making a gift, mention that the finish is tung oil, just in case.
Danish oil is food-safe only if the manufacturer says so for that exact product. The blend's resins and solvents are the reason for the caution. If the label is silent on food safety, treat it as not food-safe and do not use it on cutting boards, spoons, bowls, or serving trays. When a brand does claim food safety, the claim applies to the fully cured finish, so the same waiting rule applies.
"Tung oil finish" wiping varnishes follow the same rule as Danish oil: food-safe only if the manufacturer states it clearly. Most do not, and a varnish film on a cutting board will also chip and flake under knife work, which is a second reason to avoid it for food items.
Finally, maintenance matters for food safety too. A cutting board finish wears away with washing and cutting, so re-oil it regularly — every month or two for a board in daily use, or whenever water stops beading and starts soaking in. A dry, unsealed board absorbs food juices and bacteria far more readily than a freshly oiled one.
Curing, Maintenance, and Repair: Keeping an Oil Finish Beautiful
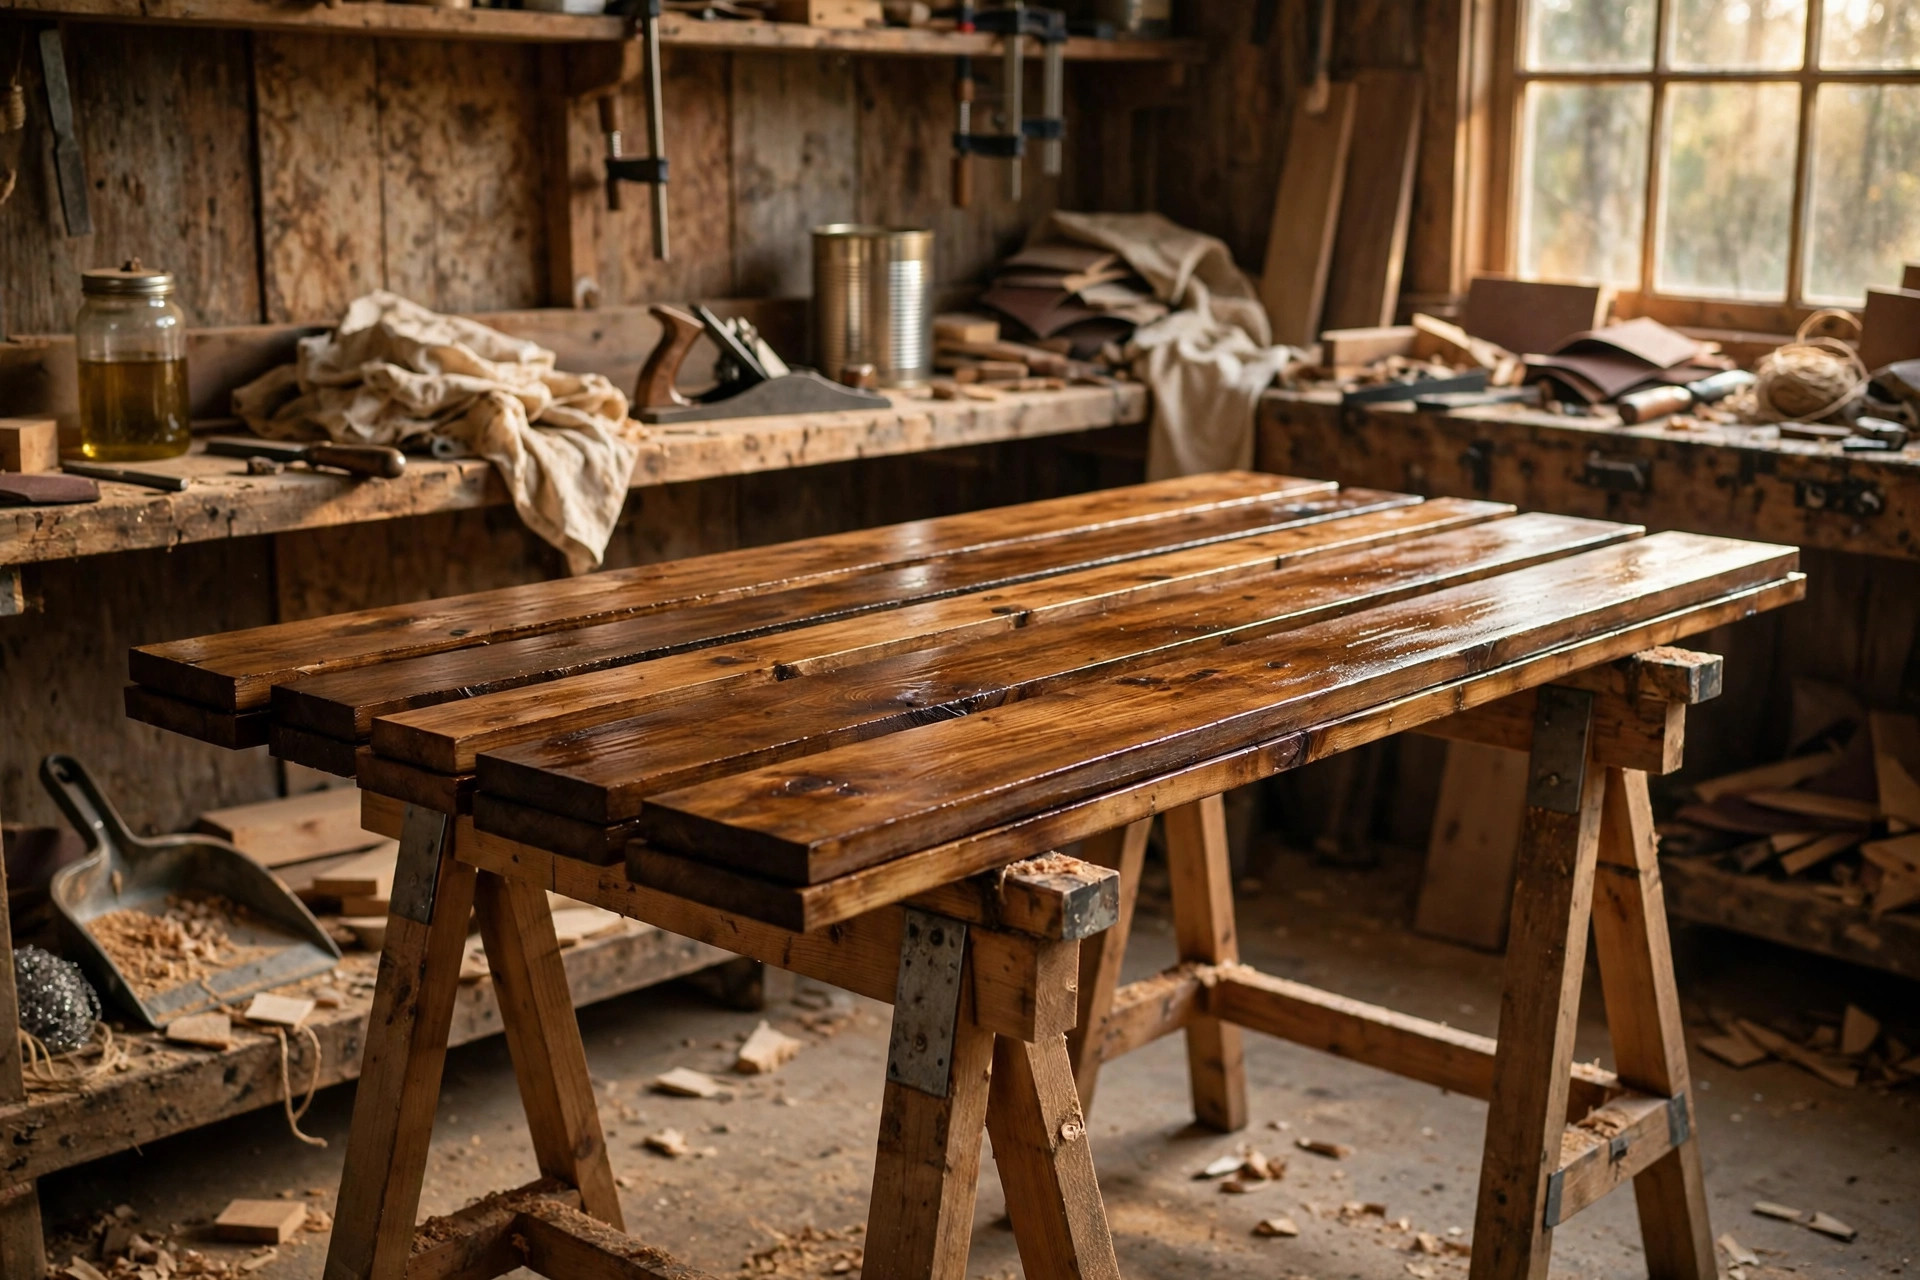
An oil finish is not a fit-and-forget finish. It is a living finish, and that is both its weakness and its greatest strength. Unlike polyurethane, which chips and peels and must be stripped and refinished, an oil finish wears gradually and can be renewed in minutes with a fresh coat.
For furniture, the maintenance routine is simple. Dust regularly, wipe up spills promptly, and once a year — or whenever the surface starts to look dry or dull — clean the piece, let it dry, and rub in one thin maintenance coat of the same oil you used originally. Wipe it dry, let it cure for a day or two, and the piece looks new again. No sanding, no stripping, no drama. For cutting boards and food items, the same routine applies more often: re-oil whenever the surface looks pale or water soaks in rather than beading, and always let the maintenance coat cure fully before food contact.
Repairs are equally simple. A scratch, a water ring, or a worn patch on an oil finish can usually be fixed by cleaning the area, lightly scuffing it with fine sandpaper if needed, and rubbing in a thin coat of oil. The new oil blends into the old finish, because there is no hard film edge to show a repair line. That repairability is the reason many experienced woodworkers prefer oil finishes for furniture they live with every day: the finish ages gracefully instead of failing suddenly.
Storage matters too. Keep oil-finished pieces out of prolonged direct sunlight where possible, because UV light breaks down oil finishes faster than film finishes. Wipe up standing water promptly, use coasters under drinks on oil-finished tables, and avoid harsh chemical cleaners — a damp cloth and mild soap are enough. With that small amount of care, an oil finish can look beautiful for decades, and the piece will develop a rich patina that no plastic-like film can match.
Which Oil for Which Project? The Decision Table
| Project | Best pick | Why |
|---|---|---|
| Cutting board, butcher block | Pure tung oil | Food-safe when cured, water-resistant, easy to re-oil |
| Wooden spoons, salad bowls | Pure tung oil | Food-safe, natural, repairable |
| Serving tray (food contact) | Pure tung oil | Food-safe; re-oil often since trays see spills |
| Bookshelf, wall shelf | Danish oil | Fast, satin look, easy weekend finish |
| Side table, coffee table | Danish oil (or polyurethane for heavy use) | Beautiful satin sheen; add coasters and re-oil yearly |
| Picture frame, decorative box | Danish oil | Quick, forgiving, warm color |
| Dining table (daily use) | Danish oil with regular maintenance, or polyurethane | Oil looks great but needs upkeep; see the polyurethane guide for a tougher option |
| Outdoor furniture | Neither alone — use a dedicated exterior oil | Indoor oils break down quickly outdoors; buy an exterior-rated finish |
| Workbench top | Danish oil (cheap and easy to renew) | Easy to re-coat when stained or damaged |
If your project is not on this list, use the rule behind it: food contact means pure tung oil, furniture and decoration mean Danish oil, and heavy daily abuse means either oil with regular maintenance or a harder film finish instead.
Costs: What You Will Actually Spend
Pure tung oil costs more per litre than Danish oil, and the price difference surprises beginners who assume a single-ingredient product should be cheaper. A small bottle of pure, food-grade tung oil is enough for several cutting boards, because each coat is thin and a little goes a long way, so the cost per project is modest even though the bottle price looks high. Danish oil is cheaper per litre and available in larger cans, which suits furniture projects that need more finish. In both cases, you will also need lint-free cloths, fine sandpaper, and nitrile gloves, all of which cost very little.
The hidden cost of pure tung oil is time, not money. Four to six coats at 24 to 48 hours apart, plus a two-to-four-week cure, means a cutting board project spans a month from first coat to first use. Danish oil's hidden cost is maintenance: a dining table finished with Danish oil will need a fresh coat every year or two, while a polyurethane table might go years without attention. Neither cost is a reason to avoid oil finishes — both are the price of the natural look and easy repair that make oils so appealing — but knowing them in advance prevents disappointment.
Buy small at first. A small can of each oil is enough to finish several test boards and one real project, and testing both on scrap wood of the same species as your project is the best money a beginner can spend. You will see the color, the sheen, and the feel of each finish on your actual wood, and you will learn the wipe-on, wipe-off technique on scrap rather than on a piece you care about.
Common Beginner Mistakes (and How to Fix Them)
The most common mistake, as noted above, is leaving too much oil on the surface. The fix is to wipe until the surface looks damp, not wet, and to remember that the next coat will add more — you are building the finish in layers, not in one thick pour.
The second mistake is buying the wrong product because of the label. "Tung oil finish" is not pure tung oil, and Danish oil is not automatically food-safe. The fix is to read the ingredients and the food-safety statement on the exact can you are holding, every time, even if you have bought the brand before, because formulas change.
The third mistake is rushing the cure. Using a cutting board after three days because it feels dry is the classic error, and it leaves a soft, easily damaged finish that can transfer taste to food. The fix is to wait the full cure time — a week for Danish oil, two to four weeks for pure tung oil — and to make the wait part of the project plan, not an afterthought.
The fourth mistake is skipping the rag-safety rule. Rags soaked in drying oil generate heat as they cure, and a crumpled pile in a warm bin can catch fire. The fix is automatic: lay rags flat outdoors until dry, or soak them in water in a sealed metal container, and dispose of them properly.
The fifth mistake is finishing over dust, glue, or unsanded scratches. Oil makes every flaw more visible, not less. The fix is preparation: sand to 220 grit, remove every trace of dust, check for glue squeeze-out under a raking light, and only then open the can. Our guide to how to sand and finish wood for beginners walks through that preparation step by step.
Seeing the Finished Result
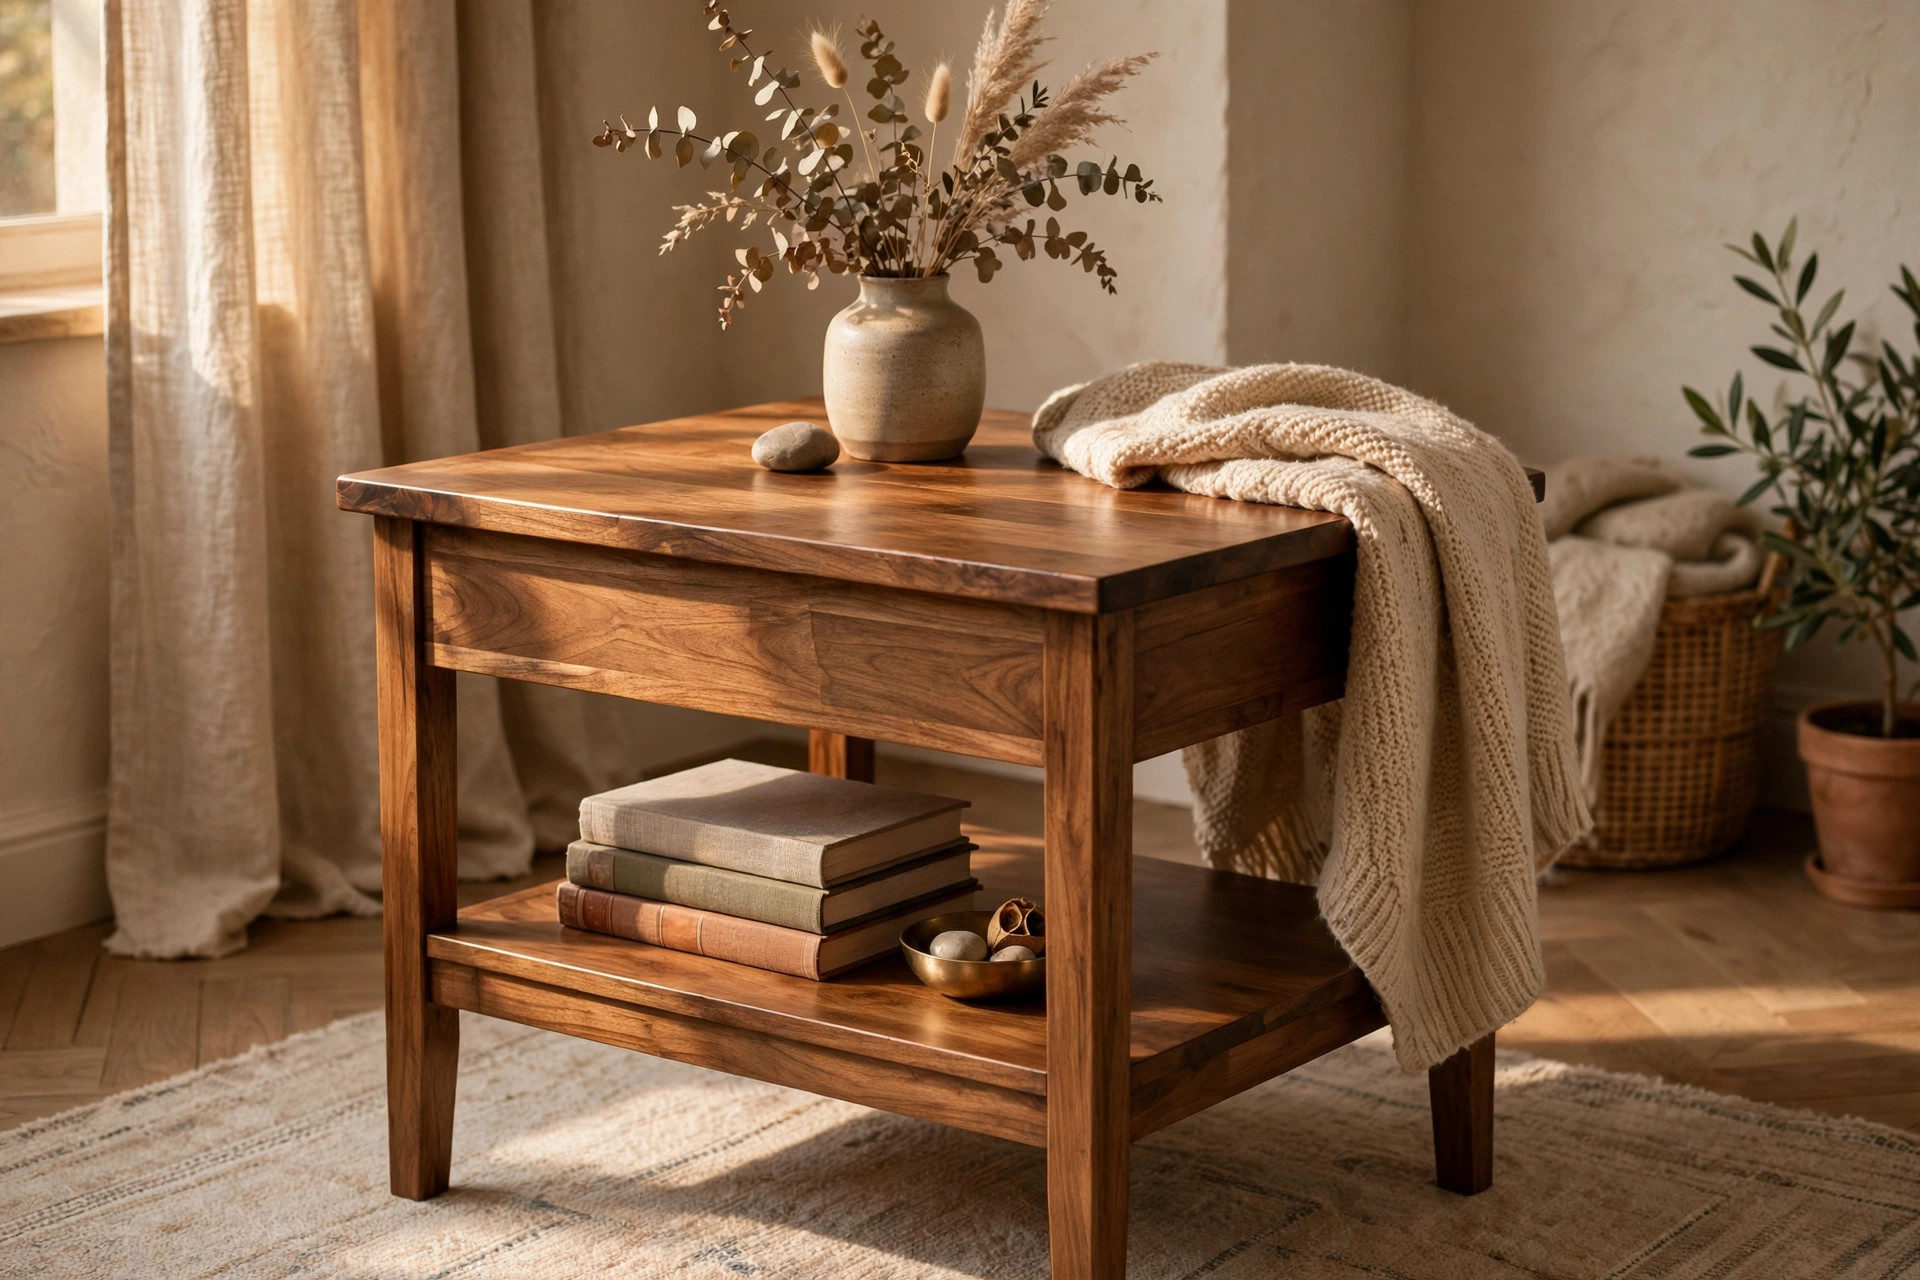
The finished result is why beginners keep coming back to oil finishes. A Danish-oiled side table glows with a soft satin warmth that makes the grain look deep and alive, while a pure-tung-oiled cutting board has a quiet, matte richness that feels natural in the hand and improves with every re-oiling. Neither finish looks like plastic, and neither hides the wood under a thick film — and that honesty is the point. If you are choosing your first project to finish with oil, a small side table or a cutting board are ideal: they are forgiving, they teach the whole process, and they produce something you will use every day.
For more project ideas that suit oil finishes, browse our pillar guide to easy woodworking projects for beginners that sell. Shelves, boxes, frames, and small tables all take oil finishes beautifully, and buyers notice the difference between a piece finished with care and one finished in a rush. If you are still choosing your wood, our guide to the best wood for beginner woodworking projects will help you pick a species that takes oil well — pine, oak, walnut, and cherry are all excellent starting points.
Frequently Asked Questions
Is tung oil or Danish oil better for beginners?
Danish oil is better for most beginners, because it dries faster, needs fewer coats, and forgives imperfect technique. Pure tung oil is better only when food safety is the priority, and it demands more patience and care.
Is Danish oil food-safe?
Only if the manufacturer states it for that exact product. Danish oil is a blend of oil, resins, and solvents, and brands differ. If the label does not say food-safe when cured, do not use it on cutting boards, spoons, or bowls — use pure, food-grade tung oil instead.
Is "tung oil finish" the same as pure tung oil?
No. Most products labelled "tung oil finish" are wiping varnishes with a small amount of tung oil in the mix, not pure tung oil. Check the ingredients: pure tung oil lists one ingredient, 100 percent tung oil, and nothing else.
How long does tung oil take to cure?
Pure tung oil needs 24 to 48 hours between coats and two to four weeks to fully cure. Danish oil needs 4 to 8 hours between coats and about a week to cure. Do not rush either one — a finish that feels dry is not necessarily cured.
How many coats of Danish oil do I need?
Two to three coats are enough for most furniture, with a third coat adding depth. Wipe each coat on, let it soak for 15 to 30 minutes, wipe it fully dry, and wait 4 to 8 hours before the next coat.
How do I maintain an oil finish?
Re-oil furniture once a year, or whenever the surface looks dry, by rubbing in one thin coat and wiping it dry. Re-oil cutting boards whenever water soaks in instead of beading, and always let a food-contact maintenance coat cure fully before use.
Final Verdict
For most beginners, Danish oil is the right first oil finish: fast, forgiving, beautiful on furniture, and satisfying to apply. For food-contact projects, pure tung oil is the right choice, and the only choice among these two that is reliably food-safe — provided you buy genuine 100 percent pure tung oil and give it the full cure it deserves. Avoid the label trap, wipe every coat fully dry, respect the cure times, and keep your oily rags safe, and either oil will give you a finish you can be proud of. Start with a test board, finish one real project, and you will understand in your hands why oil finishes have been loved by woodworkers for centuries.
Maintenance Reminder
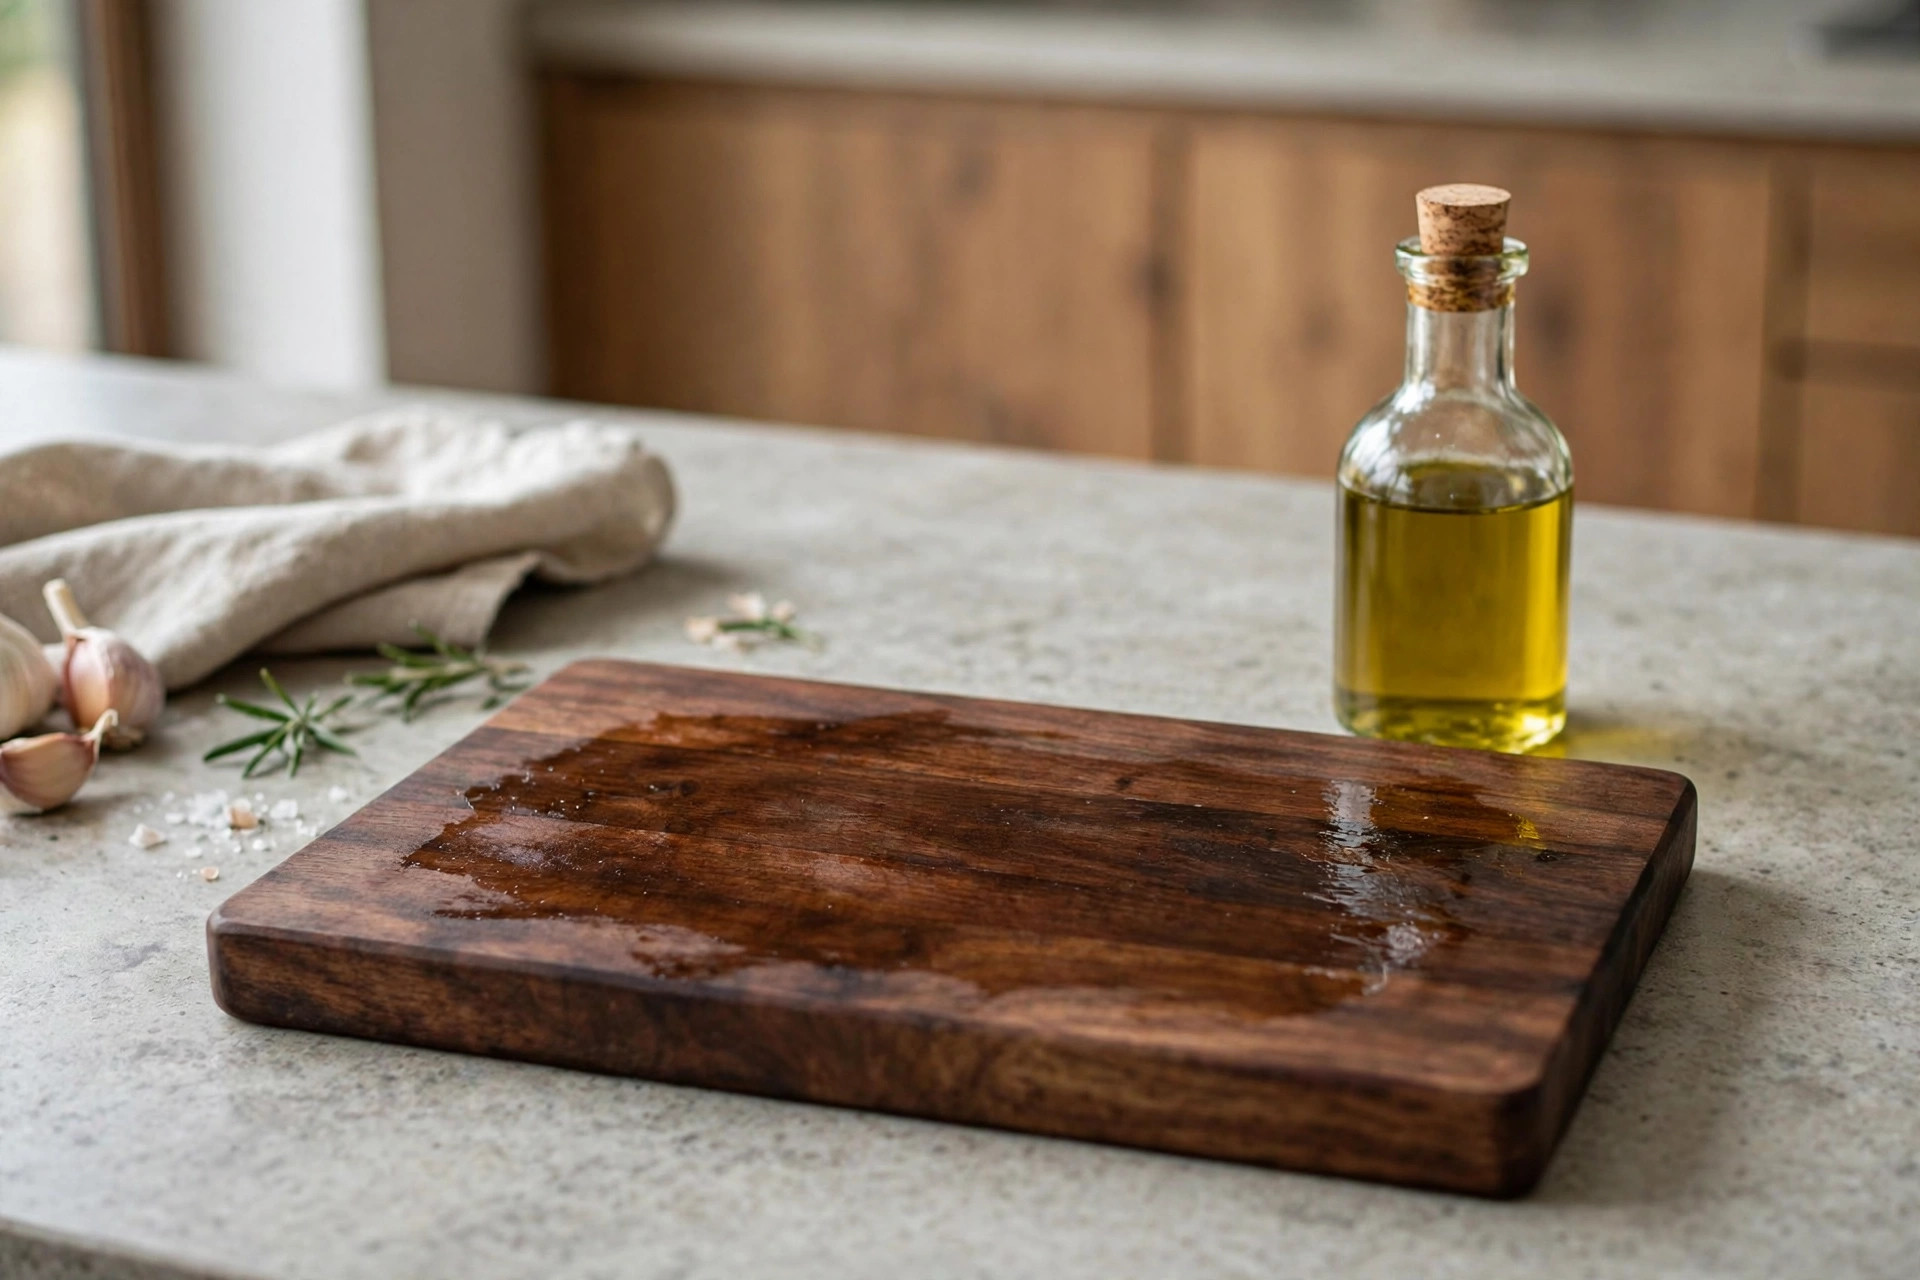
Keep a small bottle of the same oil you finished with, and re-oil your pieces on schedule — yearly for furniture, whenever water stops beading for cutting boards. A five-minute maintenance coat is the difference between a finish that lasts a year and a finish that lasts a lifetime.



Pingback: Easy Wooden Coasters for Beginners (Scrap Wood)