
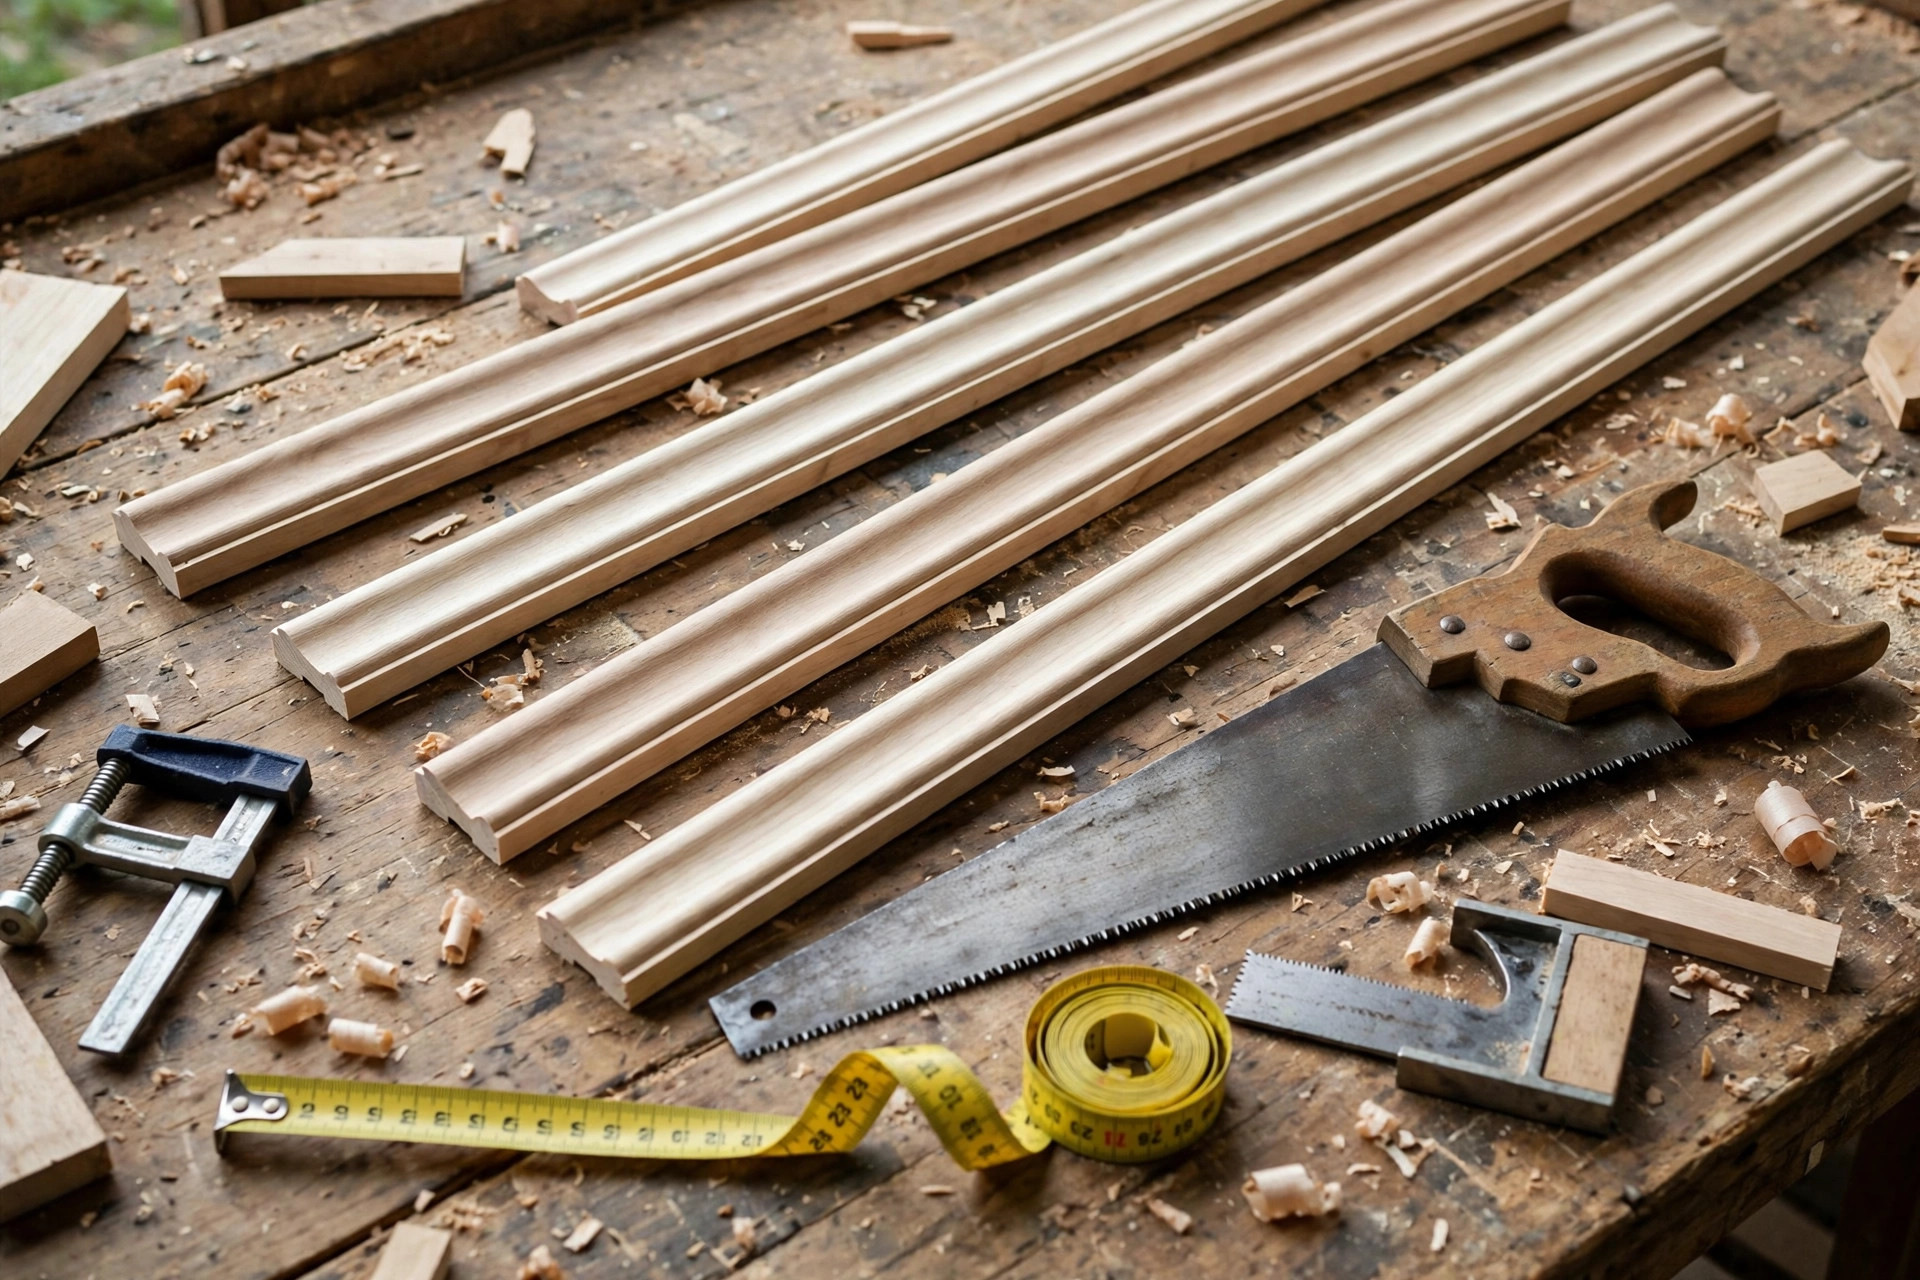
A handmade wooden picture frame is one of the best first woodworking projects you will ever build. It is small, it is useful, it teaches the single most important joint in woodworking — the miter joint — and it gives you something you can hang on the wall the same day you make it. Unlike a cutting board, which mostly teaches sanding, or a shelf, which mostly teaches straight cuts, a frame teaches measuring, angled cuts, gluing, clamping, gap-filling, sanding, and finishing, all in one afternoon-sized project. That is exactly why learning how to make a wooden picture frame for beginners is such a smart place to start, and why the skills in this guide carry straight into larger projects like doors, cabinet faces, boxes, and trim work.
This guide walks you through one complete, measured build: a frame for an 11 by 14 inch picture, made from 2-inch-wide frame moulding. You will learn the miter math that trips up almost every beginner — the difference between the short point and the long point of a 45-degree cut — how to cut a rabbet that holds the glass, the art, and the backing snugly, how to glue and clamp corners so they stay square, how to fix the small gaps that appear even on good frames, and how to sand, stain or paint, glaze, and hang the finished piece. At the end you will find cut-length tables for other common photo sizes, a materials and cost breakdown, and answers to the questions beginners ask most often.
Before you start, one honest expectation: your first frame will probably not be perfect. A hairline gap at one corner, a slightly uneven stain coat, or a corner that is a fraction out of square are all normal on a first build, and every one of them is fixable with the techniques below. The goal of this project is not a flawless frame on the first try. It is a solid, attractive frame you made yourself, plus the confidence to make the next one better. If you are still building your tool collection, our pillar guide to easy woodworking projects for beginners that sell is a good place to see where a frame project fits among other beginner builds that are genuinely worth making.
What You Need: Tools and Materials
A picture frame project is refreshingly short on tools. You do not need a full workshop, a table saw, or a router table, although a router makes the rabbet step easier if you already own one. Most beginners build their first frame with a miter saw, a measuring tape, a pencil, glue, clamps, sandpaper, and a finish. If you do not yet own a miter saw, read our guide to the best miter saw for beginners before you buy, because the right saw makes miter cuts far less intimidating than they look.
For materials, the star of the project is frame moulding: a length of wood, usually sold in 6-foot or 8-foot lengths at lumber yards and home centers, that already has a shaped profile on its face and a rabbet cut into its back. Buying ready-made moulding is the beginner-friendly route, because it removes two skilled steps — shaping the profile and cutting the rabbet — and lets you concentrate on measuring and mitering. If you would rather cut your own moulding from a flat board, that is absolutely possible, and the rabbet section below explains how, but for a first frame, moulding is the wise choice. Pine and poplar are the best beginner woods for frames: pine is cheap and widely available, poplar is a little harder, paints beautifully, and takes stain more evenly than pine. Oak and walnut look stunning, but they cost more and are less forgiving of a miscut, so save them for your second or third frame.
You will also need wood glue, and the glue you choose matters more here than on many projects, because a frame corner is almost entirely end grain meeting end grain, which is the weakest glue joint in woodworking. A good quality wood glue, applied generously and clamped well, is essential, and our guide to the best wood glue for beginners explains which type suits a frame best and how long to leave it clamped. Add a tape measure, a sharp pencil or marking knife, a combination square or a reliable speed square, a clamp or two designed for frames (a band clamp or a set of corner clamps), sandpaper in 120, 180, and 220 grit, wood filler that matches your wood, your chosen stain or paint, a small brush or foam applicator, a piece of glass cut to size (most hardware stores cut glass while you wait), a backing board such as foam core or thin hardboard, glazier points or flexible framers points, and hanging hardware: a sawtooth hanger for a small frame, or a wire and two D-rings for a larger or heavier one.
Safety deserves a sentence before any saw is switched on. Wear eye protection and hearing protection whenever the saw runs, keep your hands well clear of the blade path, and never reach across a running saw to grab an offcut. Miter saw cuts on short pieces are where beginners get hurt, because a short offcut can be flung or can pull a hand toward the blade, so always clamp or firmly hold the long side of the piece and let short offcuts fall free. Work slowly, measure twice, and remember that a frame project is supposed to be enjoyable, not rushed.
The One Idea That Makes the Whole Project Work: Short Point vs Long Point
If you remember only one thing from this guide, make it this: on a 45-degree miter cut, the two ends of the angled face are different lengths, and you must know which one you are measuring. The short point is the inside edge of the miter — the shorter side of the angled cut, which forms the inside of the frame and defines the opening the picture sits in. The long point is the outside edge of the miter — the longer side, which forms the outside of the frame. When someone says a frame side is 14 inches long, that number is meaningless until you know whether it is the short point or the long point, and mixing the two up is the number one reason beginner frames come out too big or too small.
Here is the rule, and it is beautifully simple. The short point length equals the size of the opening you want. The long point length equals the opening size plus twice the width of your moulding. For our 11 by 14 inch frame using 2-inch-wide moulding, the math works out like this. The two short sides hold the 11-inch dimension: their short point is 11 inches and their long point is 11 plus 2 plus 2, which is 15 inches. The two long sides hold the 14-inch dimension: their short point is 14 inches and their long point is 14 plus 2 plus 2, which is 18 inches. That is the whole formula, and it works for any frame size and any moulding width: long point equals short point plus twice the moulding width.
In practice, you measure and mark the short point first, because that is the dimension that has to match your picture. Hold the moulding with its rabbet facing down and toward you, mark the short point length from the inside edge of a first miter, then cut the second miter at 45 degrees in the opposite direction so the two angled faces slope toward each other like the top of a picture frame side. A useful workshop habit is to mark every piece with a small arrow showing which face is up and which end is which, because once a miter is cut it is surprisingly easy to cut the second miter sloping the wrong way and end up with a parallelogram instead of a frame side. If that happens, do not panic: you have just learned the most common frame mistake, and the piece can usually be trimmed shorter for a smaller frame or replaced from your spare moulding.
One more measuring subtlety matters here. Are you sizing the frame to the picture itself, or to the glass and backing that will hold it? The opening of the frame — the short-point dimension — should be slightly smaller than the glass and the art, so the rabbet lip can hold them in. In practice, most beginners size the frame opening to the nominal picture size, 11 by 14 inches in our build, and order the glass and backing cut to about 11 by 14 inches as well, letting the rabbet overlap the edges by roughly a quarter inch all round. If you are framing a photo with a mat, size the opening to the mat’s outer dimensions instead, and let the mat overlap the photo inside. Measure your actual art, mat, glass, and backing before you cut any wood, because a nominal 11 by 14 inch print is not always exactly 11 by 14 inches, and five minutes of measuring now saves an hour of recutting later.
Cutting the Four Sides: 45-Degree Miters, Step by Step
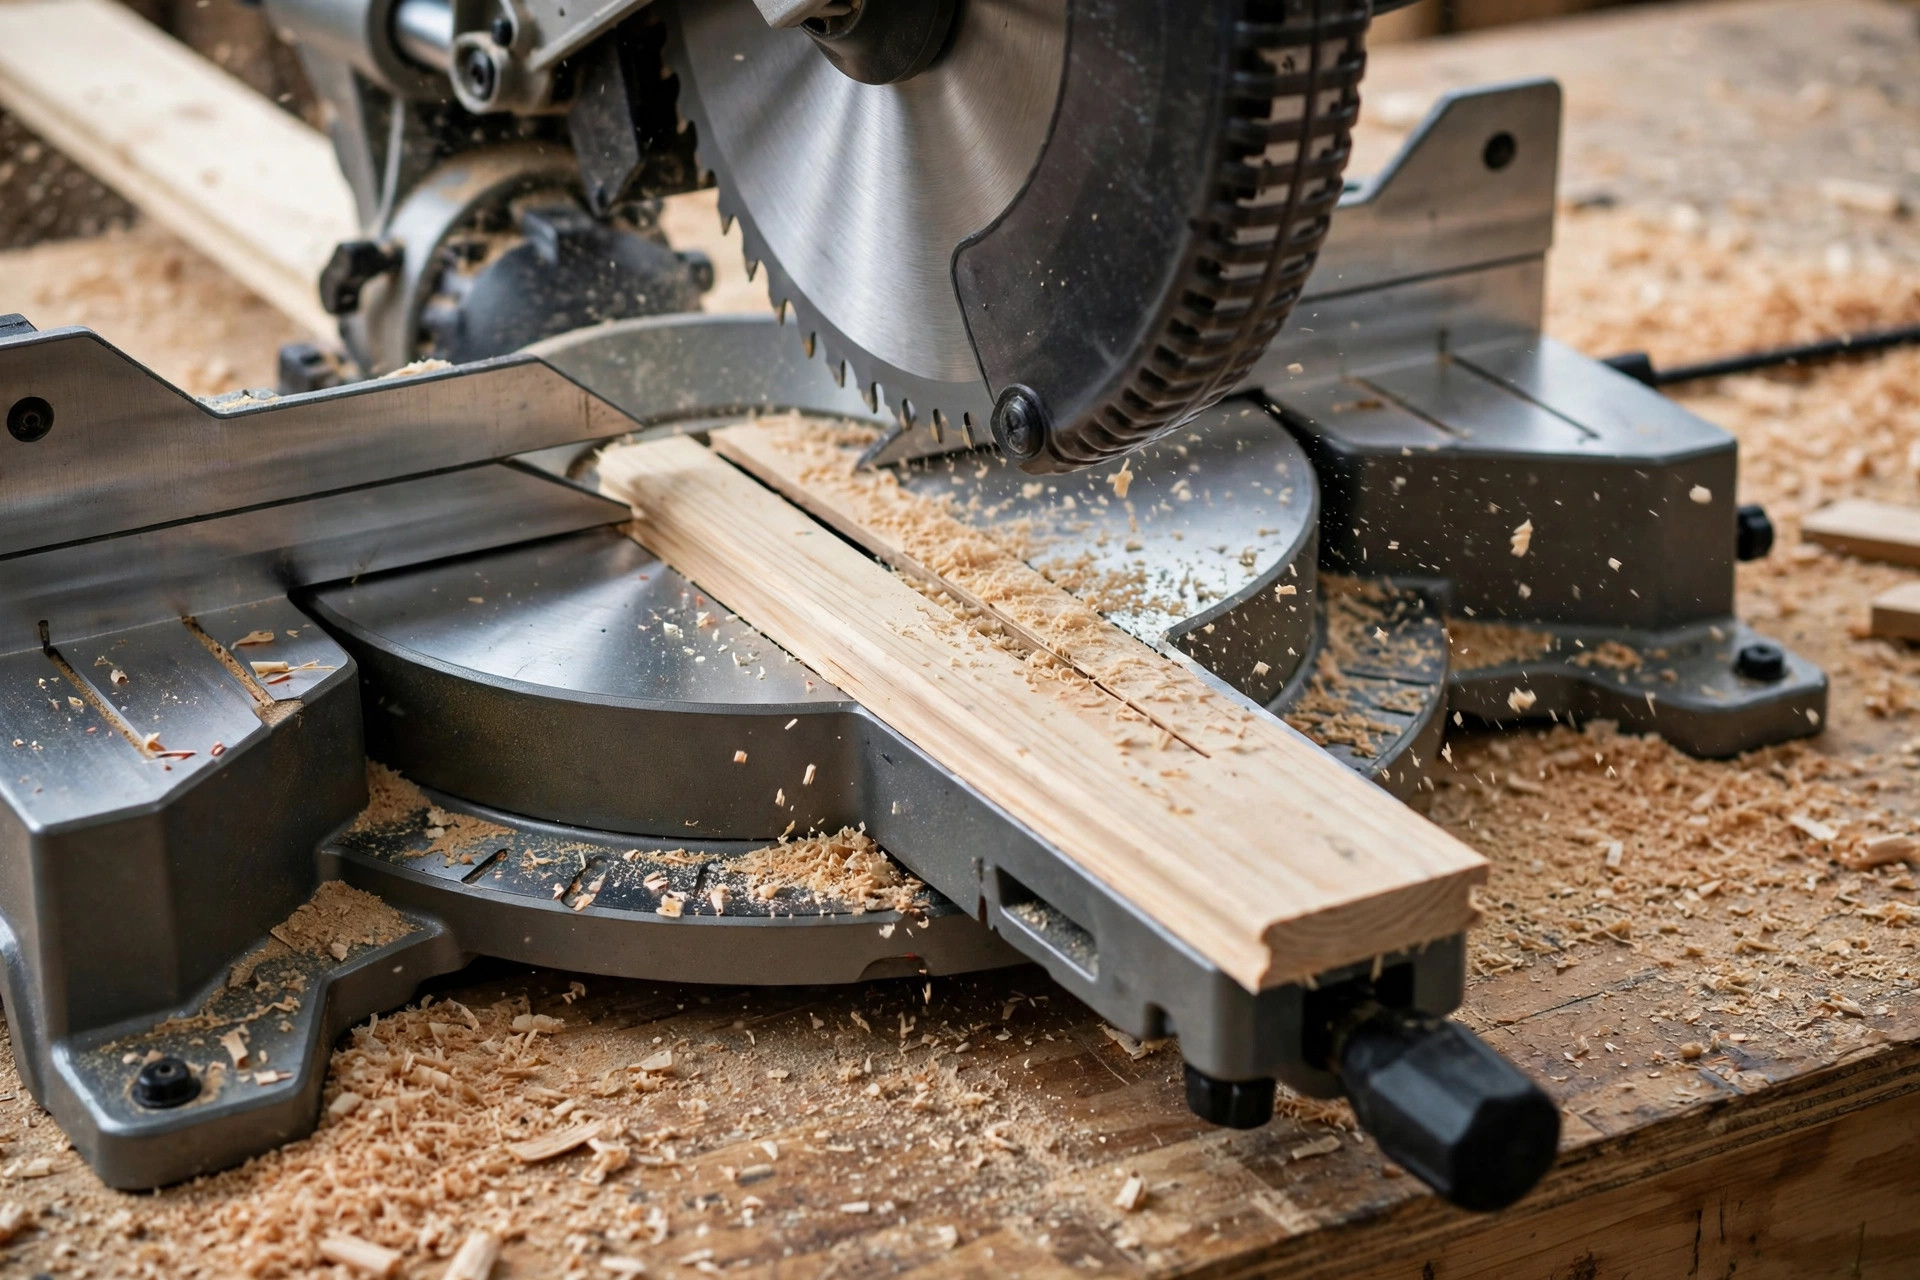
Start by setting your miter saw to exactly 45 degrees and making a test cut on a scrap piece of the same moulding. Check the test piece against a square: the two faces of a test corner, held together, should form a perfect 90-degree angle with no gap at the inside or the outside of the joint. If there is a gap at the outside, your saw is cutting slightly more than 45 degrees; if the gap is at the inside, it is cutting slightly less. Adjust in tiny increments and test again, because a saw that is even half a degree off produces a visible gap when four corners are multiplied together. This test cut is the most valuable five minutes in the whole project, and experienced frame makers still do it every time they set up.
Now cut the four sides, working in pairs. Cut the first long side: make a 45-degree cut at one end, measure 14 inches along the short point from that cut, mark the second short point, and cut the second miter sloping the opposite way. Repeat for the second long side, and then cut the two short sides at an 11-inch short point. Label each piece as you go — long side one, long side two, short side one, short side two — and keep the best face of the moulding facing outward. Cut slightly long if you are nervous, then sneak up on the exact length with a second, shaving cut: it is always easier to trim a piece shorter than to stretch a piece that is too short, and a shaving cut also cleans up a rough sawn face.
Dry-fit the four sides on a flat surface before any glue comes out of the bottle. Push the corners together by hand and check three things: that opposite sides are the same length, that the frame lies flat without rocking, and that the corners close without gaps. Measure both diagonals of the dry-fitted frame with a tape measure: if the two diagonal measurements are equal, the frame is square; if they differ, one corner is out of square and needs adjusting before glue, not after. A frame that is out of square at dry-fit will not magically square itself during glue-up, and trying to force it square under clamps usually just opens a gap at another corner. Fix the offending miter now, while it is still just a piece of wood, by trimming a hair from the long side of the offending corner or by sanding the miter face gently on a flat sanding block until it closes cleanly.
The Rabbet: The Hidden Ledge That Holds Everything
A rabbet is a rectangular notch cut along the back inside edge of the frame moulding, and it is the quiet hero of this project. The glass sits in the rabbet, the art sits behind the glass, the backing sits behind the art, and the whole stack is held in by points pressed into the frame’s inner edge. Without a rabbet, there is nowhere for the glass to sit, and the art would fall straight through the frame. With a rabbet that is too shallow, the stack pokes out the back; with one that is too deep, the glass rattles. For a standard frame, a rabbet about three-eighths of an inch deep and three-eighths of an inch wide suits a stack of glass, art or mat, and a thin backing board comfortably.
If you bought ready-made frame moulding, the rabbet is already cut for you, and your only job is to check it. Lay your glass, art, and backing stack into the dry-fitted frame and check that the stack sits below the back surface of the frame, so that backing and points can sit flush. If you are cutting moulding from a flat board, you can cut the rabbet with a router and a straight bit, running the board against a fence, or with a table saw using two passes: one to define the depth of the notch and one to define its width. Take the rabbet in shallow passes rather than one deep pass, keep the board firmly against the fence, and test the fit with your actual glass stack before cutting all four sides. A router table with a featherboard is the safest setup for this cut, and if you do not have one, a hand-held router clamped to a straight edge guide works well for a single frame.
There is one beginner trap with rabbets worth naming. The rabbet runs along the back of the moulding, so when you mark and measure your short points, make sure you are measuring on the rabbet side, not on the decorative front face. The decorative face is wider than the rabbet opening, and measuring from it will give you a frame that looks right from the front but holds the wrong size of glass. Mark on the back, cut on the back’s measurements, and check the opening by dropping the glass into the dry-fitted frame before you commit to glue.
Gluing and Clamping: Corners That Stay Square and Tight
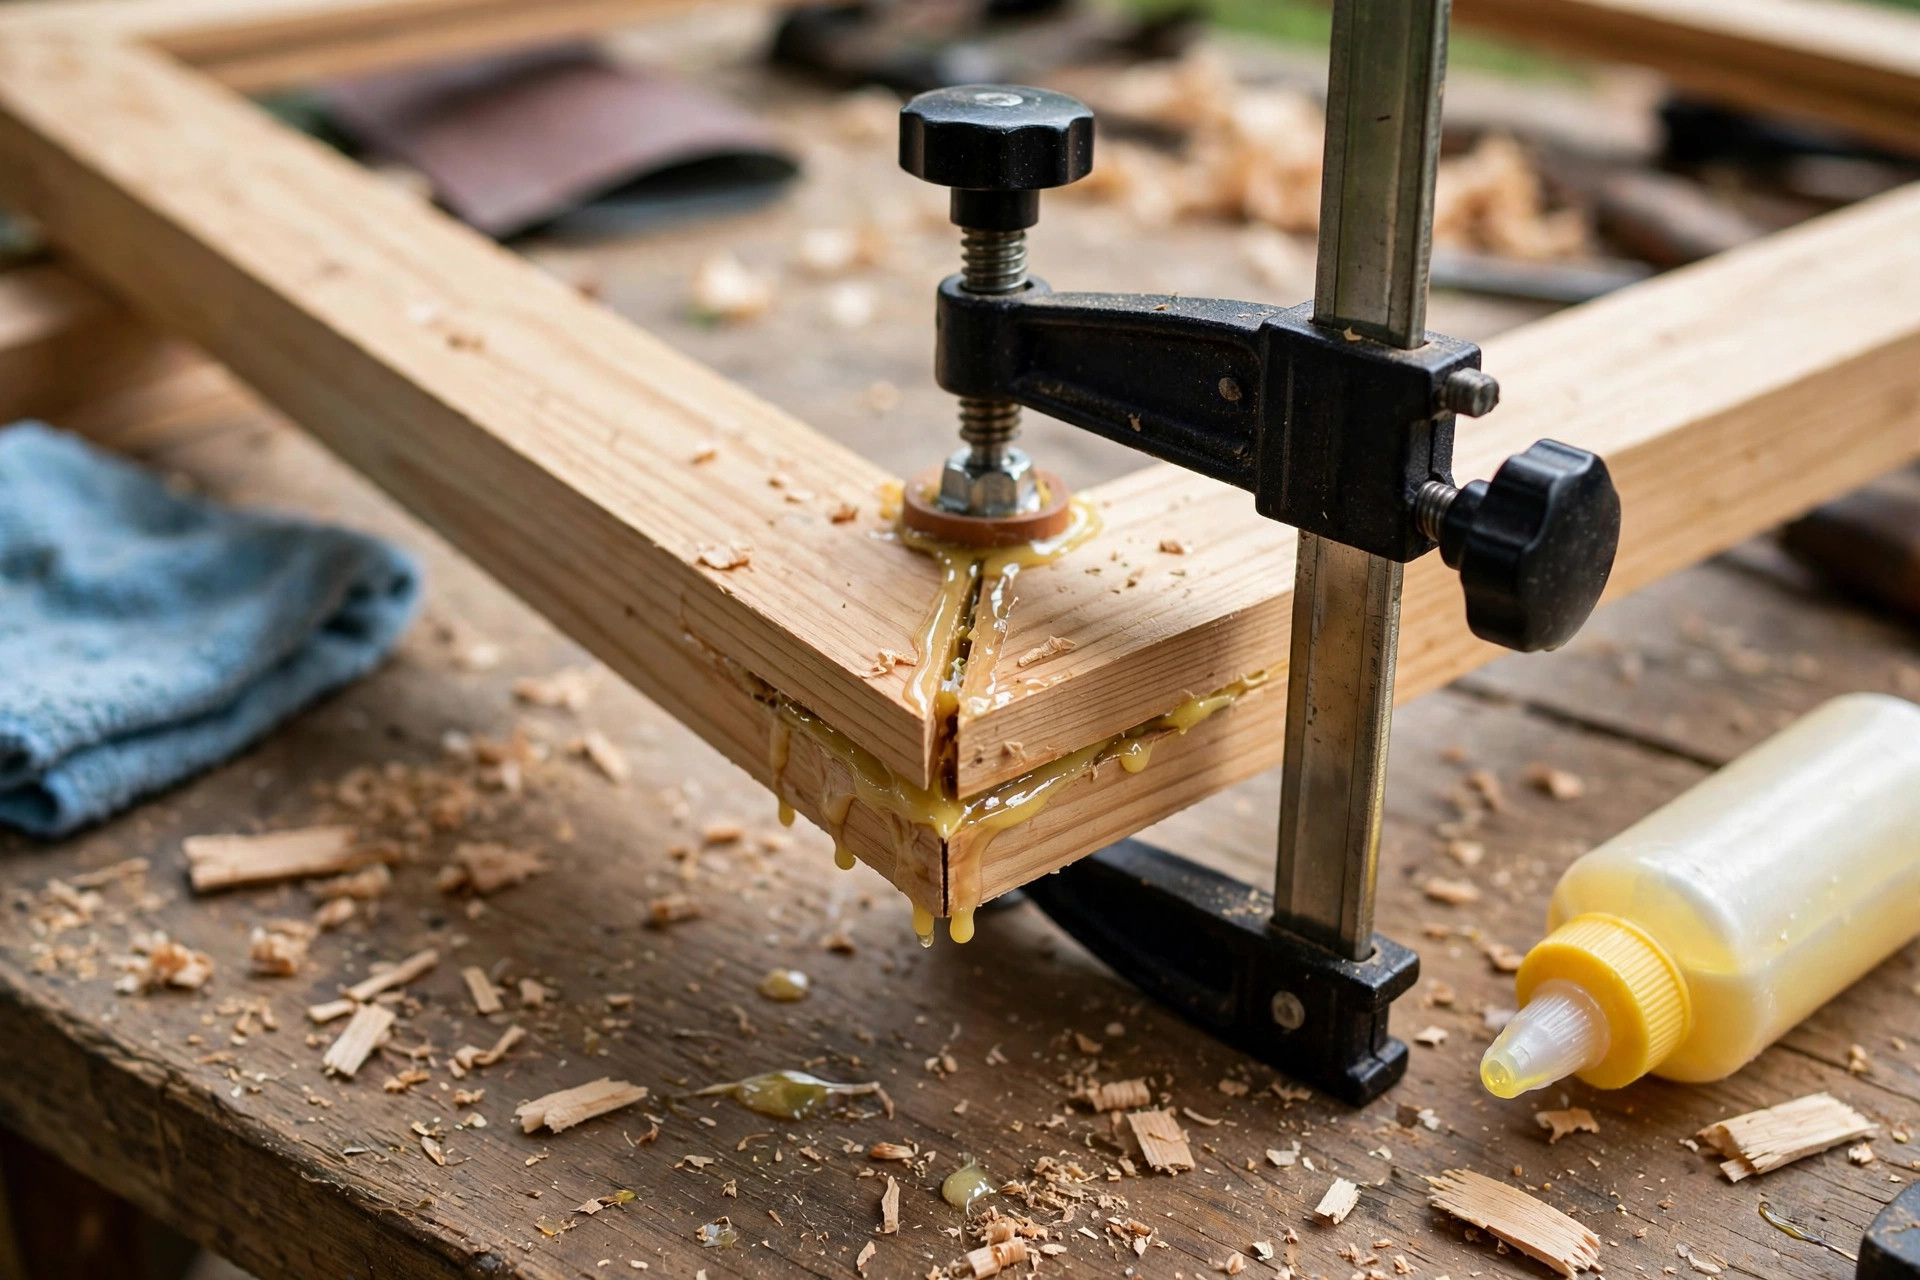
Glue-up day is where a frame project is won or lost, so slow down and set up before the glue bottle opens. Lay out your four sides in order, have your clamps within reach, keep a damp cloth handy for squeeze-out, and work on a flat surface protected by wax paper or a silicone mat so a glued frame does not stick to your bench. If you are gluing all four corners at once, a band clamp — a strap that wraps around the whole frame and pulls all four corners tight at the same time — is the beginner’s best friend, because it squares the frame as it tightens. If you do not have a band clamp, glue the frame in two halves: glue two corners to make two L-shapes, let them set, then glue the two L-shapes together. This two-stage method is slower but far easier to control, and it is how many experienced woodworkers still build frames.
Apply a thin, even coat of glue to both miter faces of a corner, not just one, because end grain drinks glue quickly and a single-face application can leave a starved, weak joint. Press the corner together, check that the outside faces are flush, and clamp it. For clamping tricks that help beyond this project too, our guide to the best clamps for woodworking beginners covers corner clamps, band clamps, and spring clamps in detail. A corner clamp holds one corner at 90 degrees while the glue sets; a pair of spring clamps can hold a glued corner to a square block as a budget alternative. Whichever clamp you use, check the diagonal measurements again after clamping: equal diagonals mean square, and now is the moment to nudge a corner before the glue grabs.
Wipe away squeeze-out promptly with a slightly damp cloth, but do not flood the joint with water, because excess water thins the glue at the surface and can raise the grain around the joint, leaving a visible line under stain. A better habit for stain-grade frames is to let the squeeze-out skin over for 20 to 30 minutes until it is rubbery, then peel it off cleanly with a sharp chisel or a putty knife. Either way, check the faces of the frame for glue smears before you finish, because a glue smear invisible on raw wood becomes a pale, blotchy patch under stain, and it is one of the most common beginner finishing disappointments. Leave the frame clamped for at least 30 to 60 minutes, and do not stress the joints for a full 24 hours while the glue reaches full strength, even if the frame feels solid after an hour.
Fixing Miter Gaps: Filler, Sawdust, and the Honest Repair
Even careful beginners get a small gap at a corner, and even careful professionals get one sometimes, because wood moves, saw settings drift, and miters are unforgiving. The good news is that a small gap is one of the easiest frame flaws to fix invisibly, provided you fix it the right way. For a gap narrower than a credit card, the simplest repair is wood filler matched to your wood species and, ideally, to your finish colour. Press the filler firmly into the gap with a putty knife or a flexible scraper, overfill it very slightly, let it dry fully according to the product label, then sand it flush with 180-grit and then 220-grit paper. Stain the filled area carefully afterward, because filler absorbs stain differently from wood and can end up darker or lighter than its surroundings; testing the filler and stain combination on a scrap piece first saves a visible patch on the finished frame.
For a gap that is too wide for filler alone, or for a frame that will be stained a dark colour where filler would show, the classic woodworker’s repair is a sawdust-and-glue paste made from sanding dust of the same wood mixed with a little wood glue. Collect fine dust while sanding the same moulding, mix it to a thick paste, press it into the gap, and sand it flush once dry. Because the dust is the same species and colour as the frame, this repair blends far better under stain than commercial filler, although it does dry slightly darker than the surrounding wood, which actually helps it disappear into a corner shadow. For a gap caused by a corner that is out of square rather than simply short of glue, filler is the wrong fix: the corner needs to be recut or sanded square first, because filling a crooked joint just locks the crookedness in place and the frame will still measure out of square on its diagonals.
Finally, remember that a tiny gap at the inside of a miter — the side that faces the picture — matters far less than a gap at the outside edge, because the inside corner sits in shadow behind the art and is barely visible once the frame is hung. Do not chase perfection on a first frame by sanding and recutting until the pieces are too short. Fix what shows, accept a hairline that does not, and put your energy into the finish, which is what the eye actually notices first.
Sanding: From Saw Marks to a Silky Surface
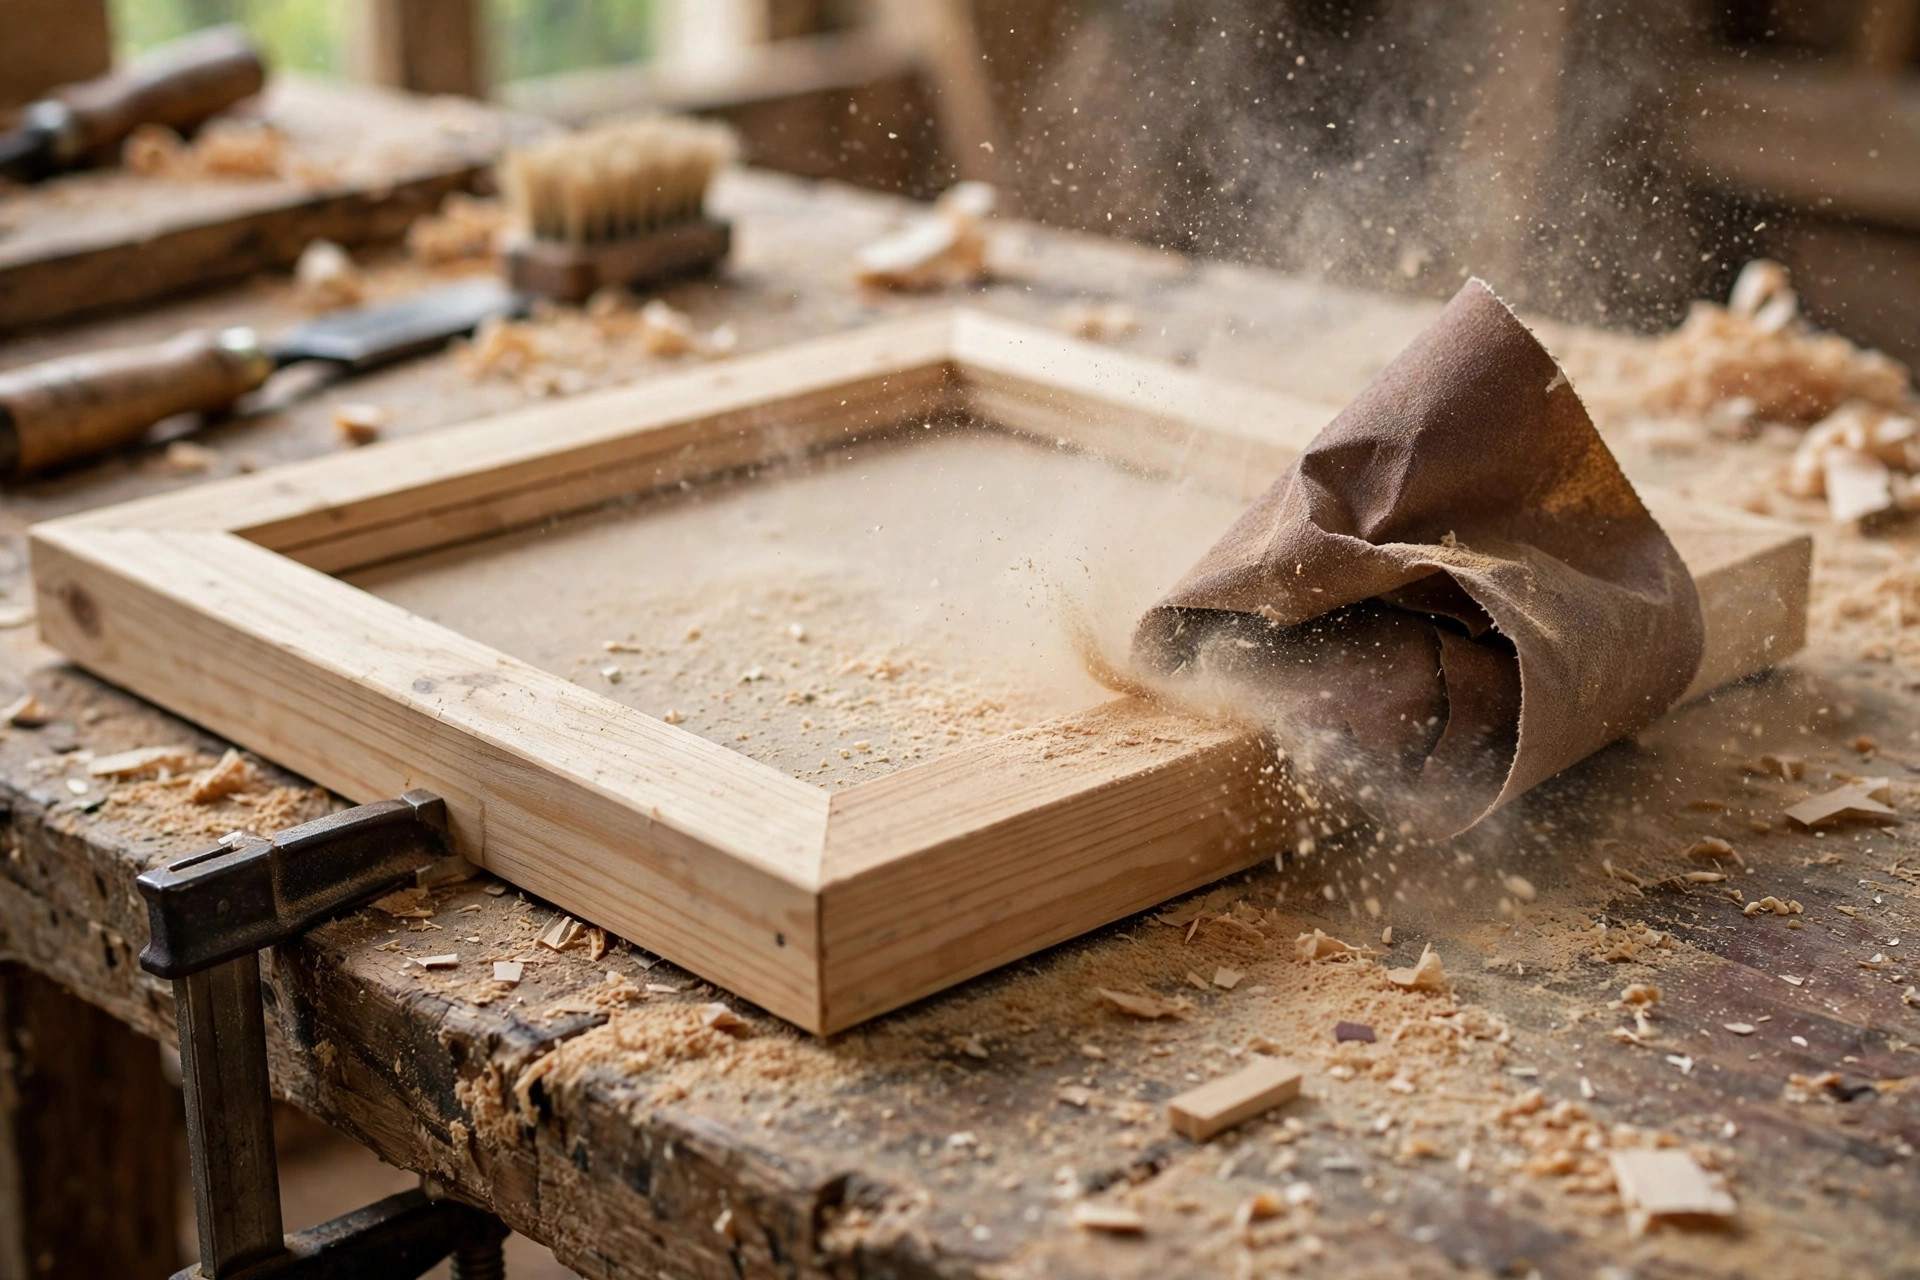
Sanding a frame is a short job, but it decides whether the finish looks professional or homemade, so do it in order and do not skip grits. Start with 120-grit paper to remove saw marks, level filler, and knock down any sharp edges left by the saw. Sand with the grain, never across it, because cross-grain scratches are the scratches that show most under a finish, especially under stain. Follow with 180-grit to remove the 120-grit scratches, then finish with 220-grit for a surface that feels silky to the touch. Sand the outside edges and the face of the moulding carefully, but sand the inside rabbet edge lightly or not at all, because you do not want to widen the opening or round over the lip that holds the glass.
Break the sharp outside edges very slightly with a few light passes of 220-grit paper, just enough to remove the knife-edge feeling without visibly rounding the profile. A frame with razor-sharp edges chips easily, catches on fabric when handled, and takes finish unevenly on the edge, while a frame with softly broken edges feels crafted and holds its finish better. After the final grit, wipe the frame thoroughly with a tack cloth or a cloth barely dampened with mineral spirits to lift the last dust, and run your hand over every surface in good light: your fingertips will find rough patches, glue smears, and filler ridges that your eyes miss. Fix anything you find now, because stain and paint will only make it more obvious, never less.
Stain vs Paint: Choosing and Applying Your Finish
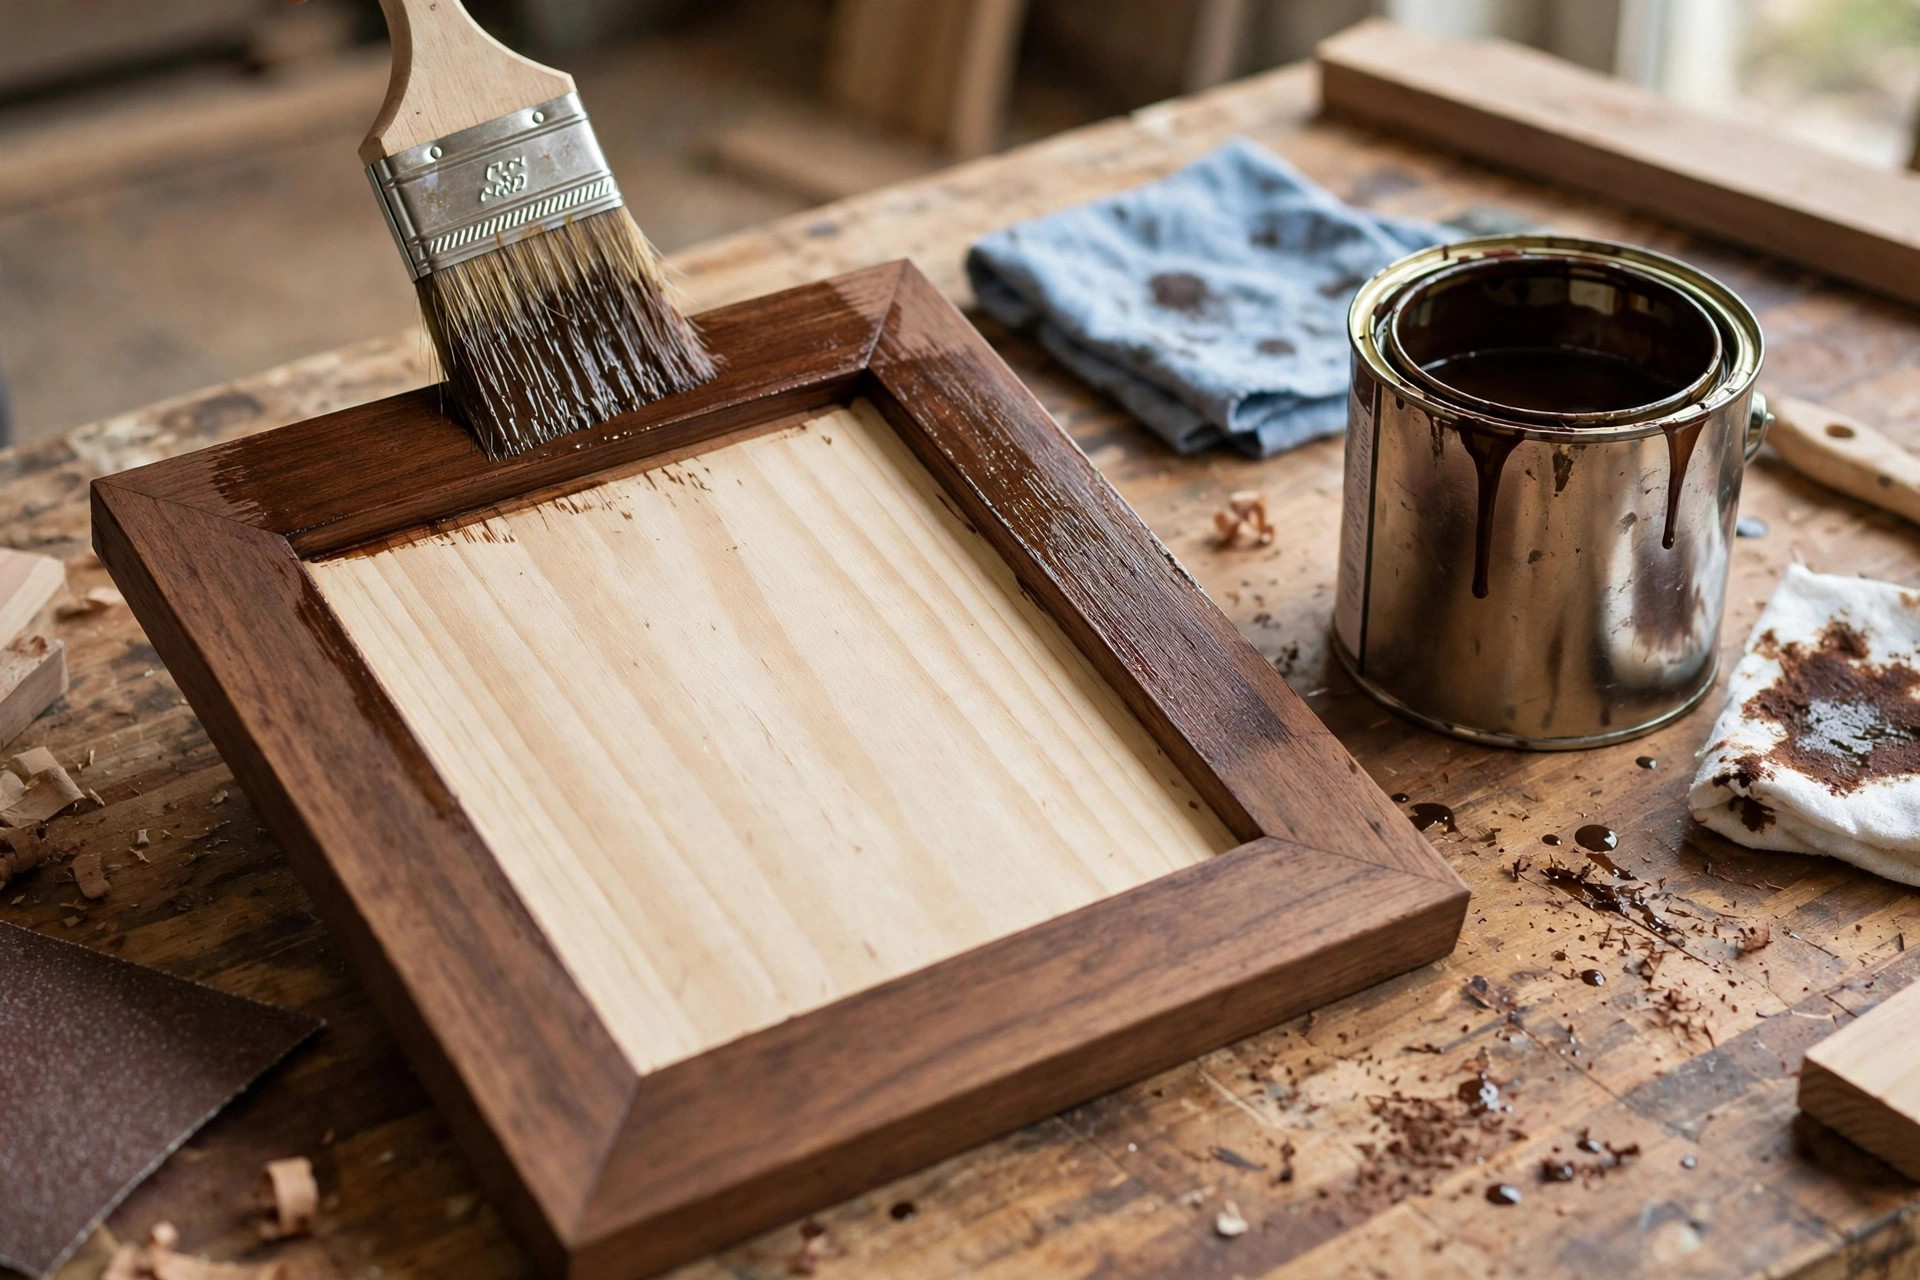
Stain and paint give a frame two completely different personalities, and the right choice depends on the wood you used and the room the frame will hang in. Stain soaks into the wood and shows the grain, so it suits attractive woods like oak, walnut, and nicely grained pine, and it suits rooms where the frame should feel warm and natural. Paint sits on the surface and hides the grain, so it suits poplar and plain pine, covers filler repairs and mixed-grain boards far more forgivingly, and suits modern, bright, or colourful rooms where a white, black, or painted frame is part of the decor. If your frame has a visible filler repair you are not happy with, paint is the honest, attractive solution: a well-painted frame looks intentional, while a poorly stained repair looks like a mistake.
If you choose stain, the single most useful habit is to test it on scrap from the same moulding before touching the frame, because stain colour on a label or a store sample rarely matches stain colour on your wood. Pine in particular stains blotchily, soaking up extra colour in soft earlywood and less in hard latewood, so a pre-stain wood conditioner, applied and allowed to dry according to its label, makes a visible difference on pine frames. Apply stain with a brush or a foam applicator, working with the grain, let it sit for the time the product recommends, then wipe off the excess with a clean cloth, again with the grain, and let it dry fully. Our guide to the best wood stain for beginners walks through stain types, colours, and application in more depth if you want to compare products before you buy. For paint, prime first with a primer suited to your paint, sand lightly between coats with 220-grit paper, and apply two thin coats rather than one thick coat, because thin coats dry smoother and chip less.
Whichever finish you choose, seal it with a clear topcoat for durability: a wipe-on polyurethane or a spray clear coat works well on a frame, because frames are handled, dusted, and leaned against walls, and an unsealed stain coat marks easily. Apply two thin topcoats, sanding very lightly with 320-grit paper between them and wiping off the dust, and let the final coat cure fully before glazing. A frame that is finished on all sides, including the back edges, also resists moisture and warping better than a frame finished only on the front, so take the extra ten minutes to coat the back and the inside edges too.
Glass, Backing, and Hanging Hardware: The Finishing Steps
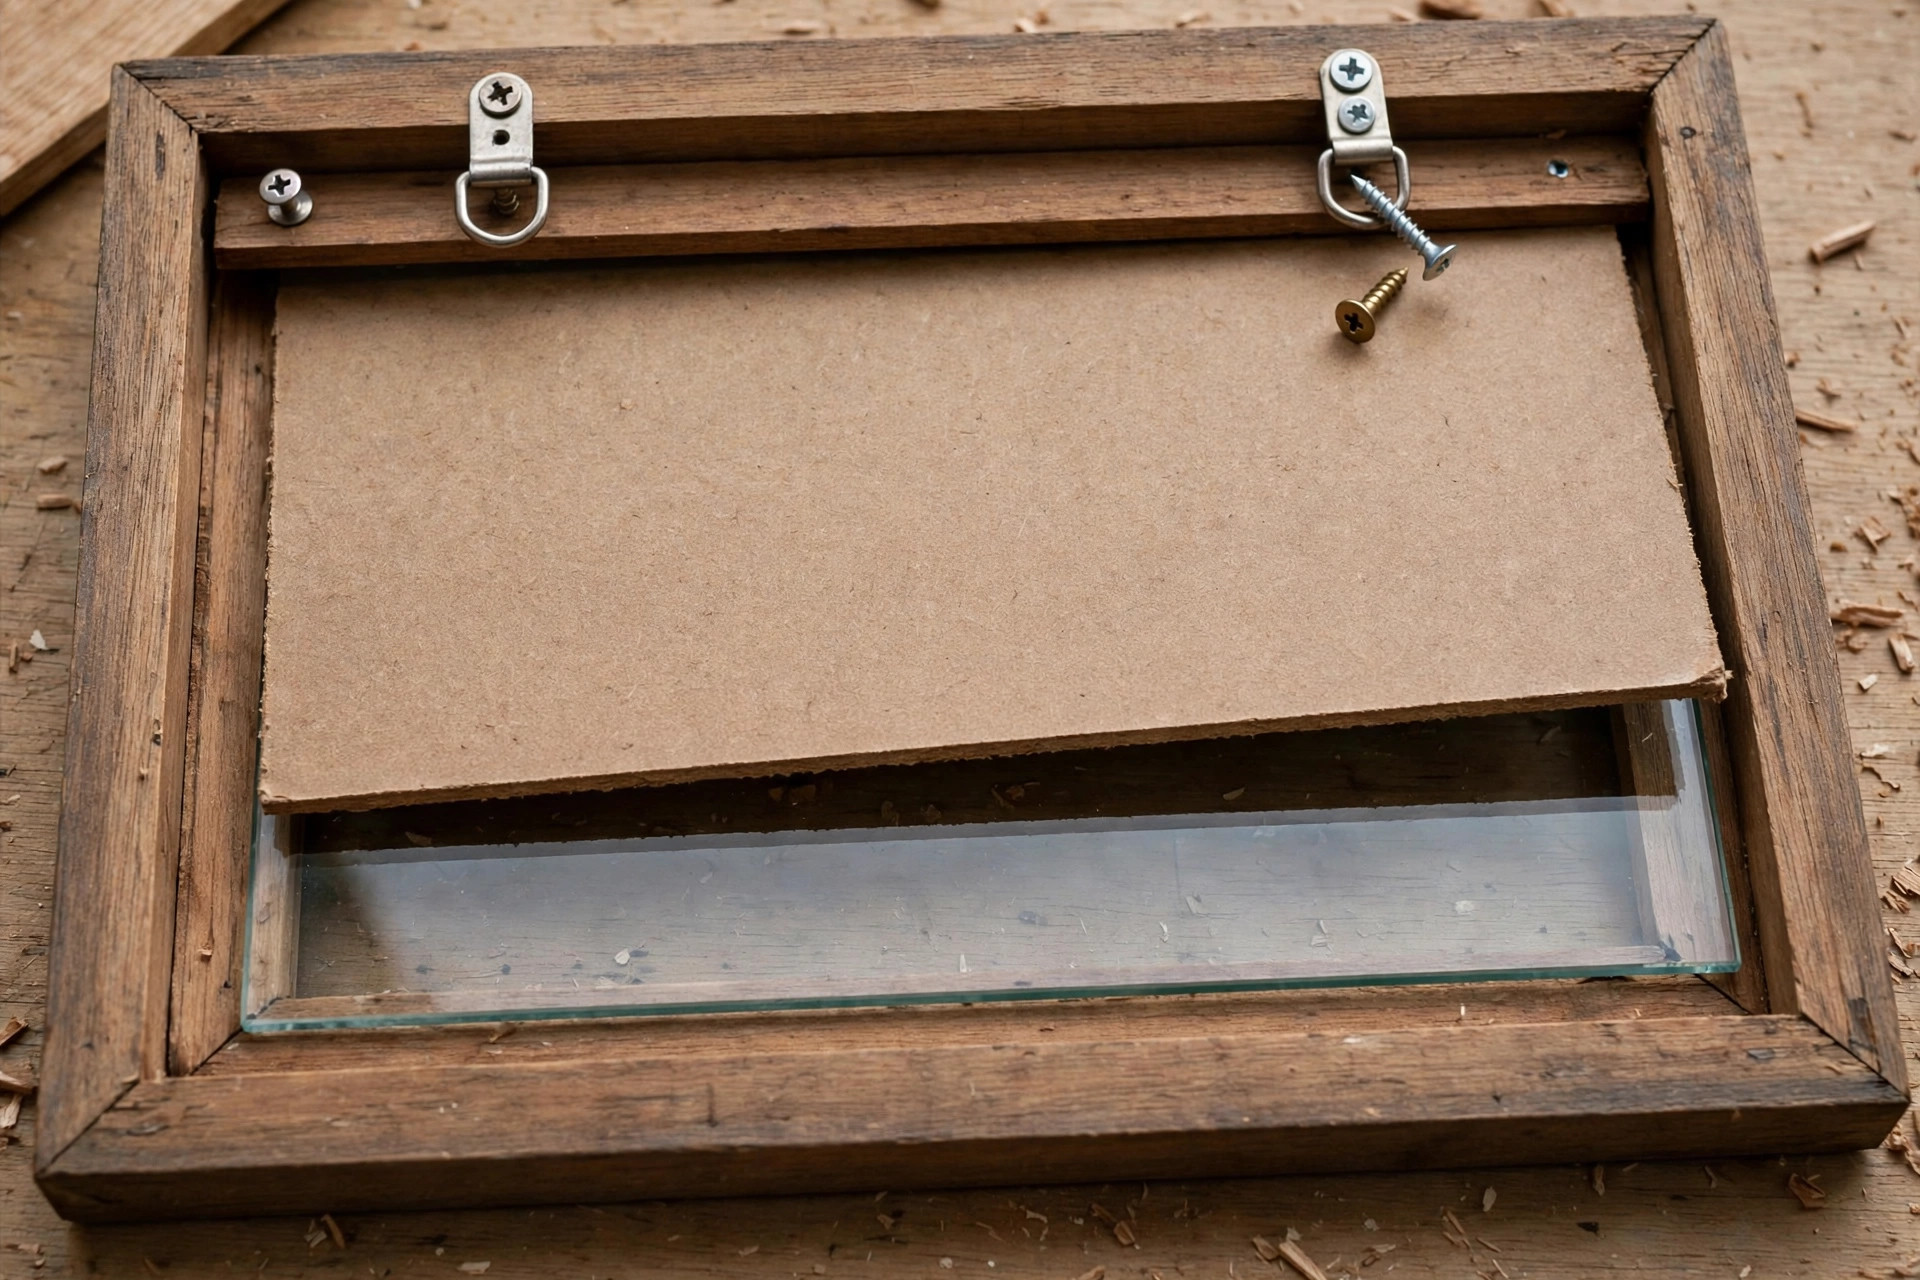
Glazing and backing are the steps that turn a wooden rectangle into a working frame, and they are easier than beginners expect. Clean the glass thoroughly before it goes in, because dust and fingerprints trapped behind glass are maddening to fix later: wash it, dry it with a lint-free cloth, and handle it by the edges from then on. Lay the frame face down on a soft cloth, drop the glass into the rabbet, lay the art or mat on top of the glass, and then lay the backing board on top of the art. The backing should be rigid enough to keep the art flat — foam core is light and easy to cut with a craft knife, while thin hardboard is sturdier for larger frames — and it should be cut to fit inside the rabbet without forcing, because a backing that is too tight bows the frame and a backing that is too loose lets the art shift.
Hold the stack in place with glazier points or flexible framers points pressed into the inner edge of the frame, spaced every few inches around the inside. Flexible points are the beginner-friendly choice, because they bend back out with pliers or a putty knife when you want to change the picture, while traditional glazier points are driven in more permanently. Space the points evenly, press them in firmly without cracking the frame’s inner lip, and then seal the back with framing tape around the edges if you want a dust-free, professional-looking back. A strip of kraft framing tape around the back edge also stops dust working in behind the glass over the years, and it gives the finished frame the tidy back that distinguishes a made frame from a bought one.
Hanging hardware depends on the frame’s size and weight. For a small, light 11 by 14 inch frame, a single sawtooth hanger centred on the top rail, screwed or nailed into the back, is simple and secure, and it hangs on a single picture hook. For a larger or heavier frame, or a frame with glass that makes it heavier than it looks, two D-rings screwed into the side rails about a third of the way down from the top, joined by picture wire, spread the load across two hooks and let the frame hang level with far less risk of slipping. Always hang the frame on a hook rated for more than the frame’s weight, and on a plasterboard wall use a proper wall anchor rather than a bare nail, because a falling frame breaks glass and damages the art inside. Once hung, step back and check the frame with a small level: a frame that looks level to the eye usually is, but a level removes the doubt in two seconds.
Sizing Table: Cut Lengths for Other Common Photo Sizes
The math from the 11 by 14 inch build scales to any size, provided you keep the moulding width constant. The table below uses the same 2-inch-wide moulding and lists the short point and long point for each side, so you can cut any of these sizes without redoing the arithmetic. If your moulding is a different width, use the formula instead: long point equals short point plus twice the moulding width.
| Photo size | Short side: short point | Short side: long point | Long side: short point | Long side: long point | Moulding to buy (approx.) |
|---|---|---|---|---|---|
| 4 x 6 inches | 4 inches | 8 inches | 6 inches | 10 inches | 4 feet |
| 5 x 7 inches | 5 inches | 9 inches | 7 inches | 11 inches | 4 feet |
| 8 x 10 inches | 8 inches | 12 inches | 10 inches | 14 inches | 5 feet |
| 11 x 14 inches | 11 inches | 15 inches | 14 inches | 18 inches | 6 feet |
| 12 x 16 inches | 12 inches | 16 inches | 16 inches | 20 inches | 7 feet |
| 16 x 20 inches | 16 inches | 20 inches | 20 inches | 24 inches | 8 feet |
| 18 x 24 inches | 18 inches | 22 inches | 24 inches | 28 inches | 10 feet |
Buy a little more moulding than the table suggests, because a miscut, a test corner, or a miter that slopes the wrong way will consume a spare piece, and moulding from a different batch can differ slightly in colour and profile. One extra foot is cheap insurance on a small frame and essential on a large one. If you are building several frames at once, cut all the pieces of one size together, label them, and keep each frame’s four sides bundled, because mixed-up sides from different frames are a surprisingly common workshop muddle.
Materials and Cost: What an 11×14 Frame Really Costs
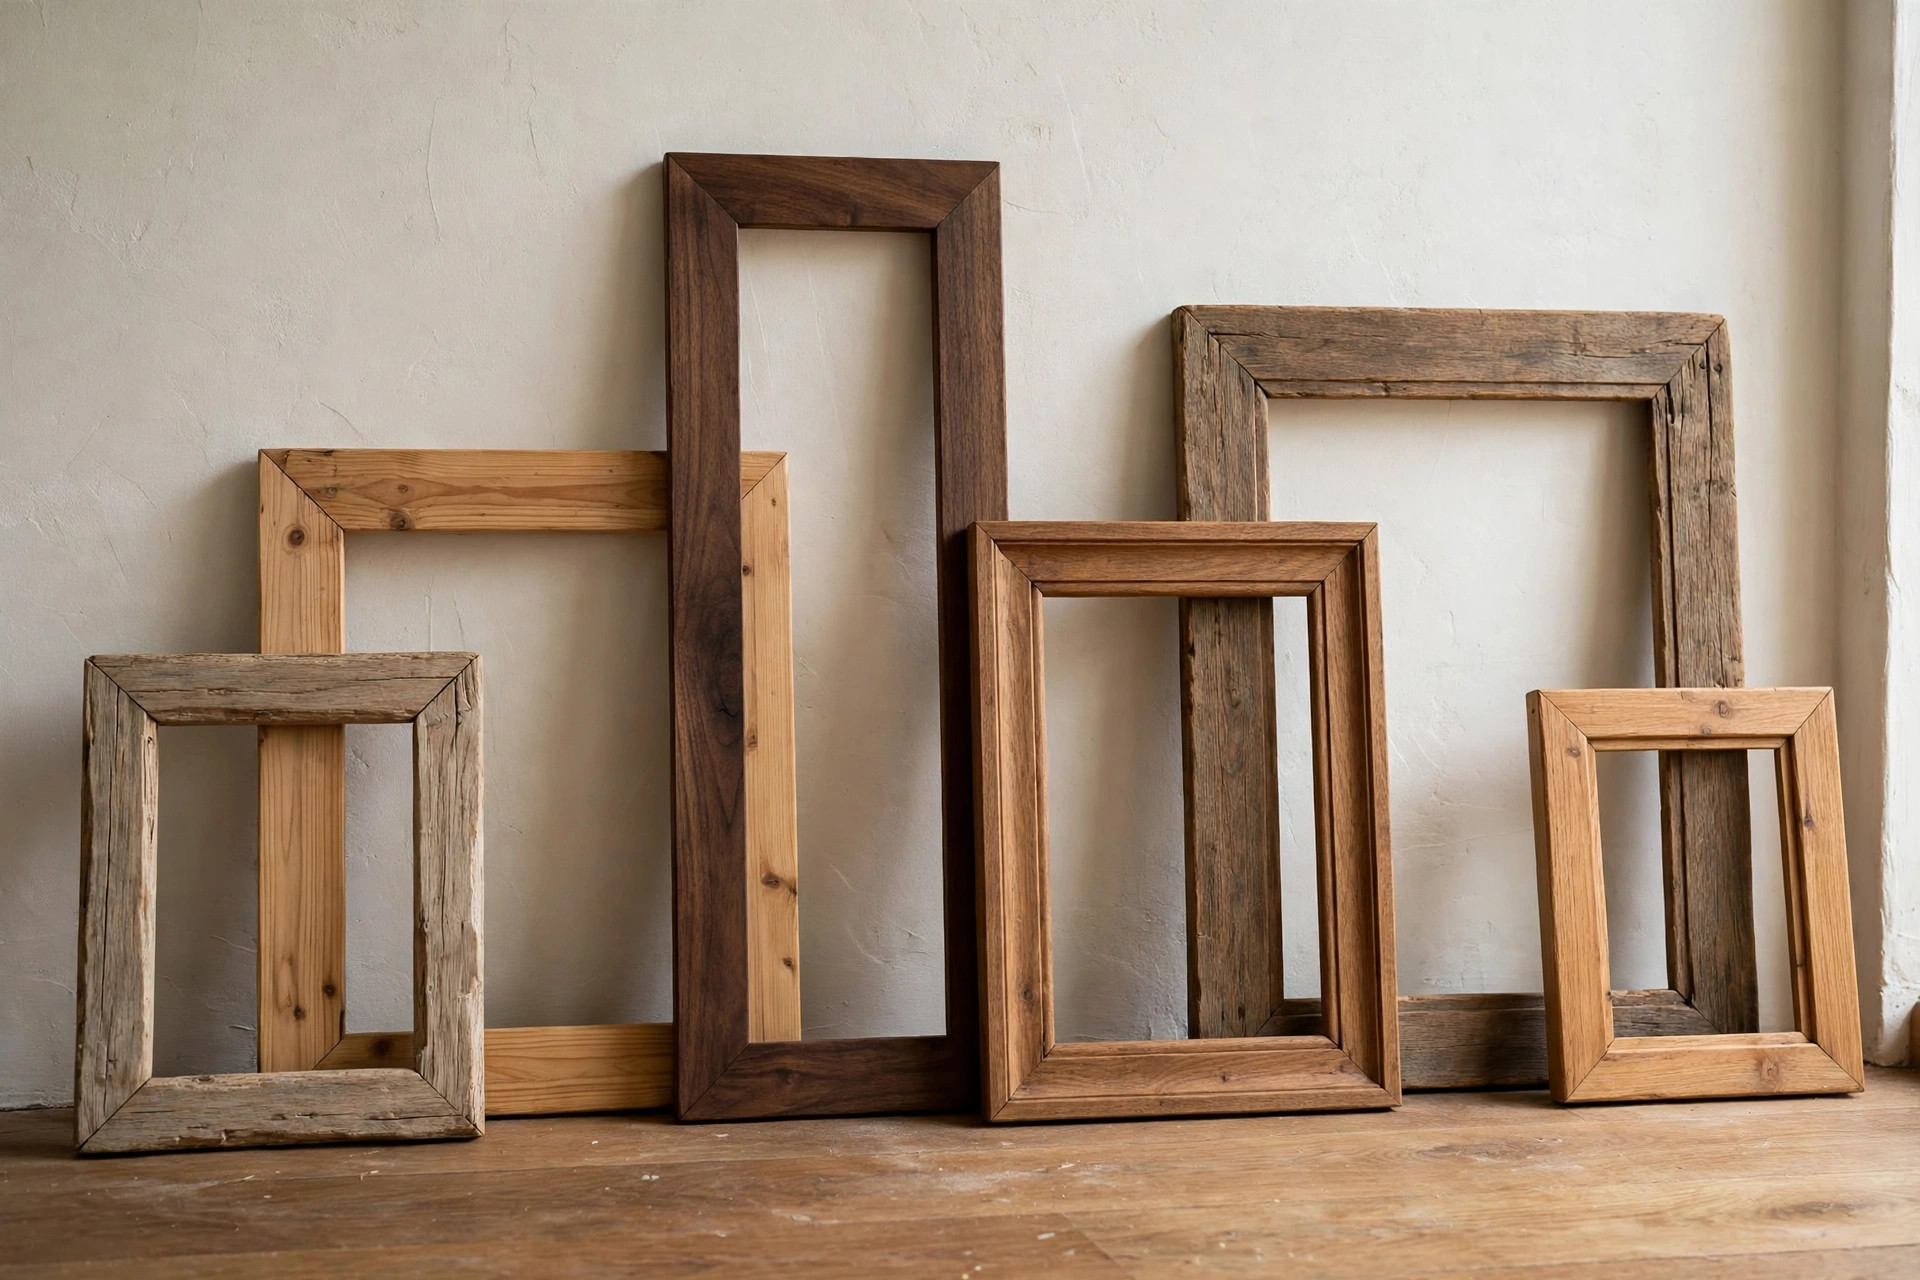
A handmade frame is usually cheaper than a comparable shop-bought frame, but the saving depends on what you already own. The table below prices the 11 by 14 inch build for a beginner who already has a saw, clamps, and sandpaper, and then notes the extra cost if you are starting from nothing. Prices are approximate and vary by store and region, but the shape of the budget is stable: the wood and the glass are the real costs, and everything else is small.
| Item | What to buy | Approximate cost |
|---|---|---|
| Frame moulding, pine or poplar | 8-foot length, 2 inches wide with rabbet | $8–$18 |
| Wood glue | Small bottle, standard wood glue | $4–$7 |
| Glass, cut to 11 x 14 inches | Single-strength picture glass, hardware store cut | $5–$12 |
| Backing board | Foam core sheet or thin hardboard offcut | $2–$6 |
| Glazier or framers points | Small pack, flexible type recommended | $3–$5 |
| Hanging hardware | Sawtooth hanger or D-rings and wire | $2–$5 |
| Sandpaper | 120, 180, and 220 grit sheets | $3–$6 |
| Wood filler | Small tube matched to your wood | $4–$7 |
| Stain or paint and topcoat | Small can or sample size, plus brush or foam applicator | $8–$18 |
| Total, if you own the saw and clamps | $39–$84 | |
| Miter saw, if buying new | Entry-level compound miter saw | $90–$180 |
| Frame clamps, if buying new | Band clamp or a pair of corner clamps | $12–$30 |
Time matters as much as money on a first build. Expect the first frame to take three to four hours spread across a day: about an hour for measuring, test cuts, and cutting the four sides, half an hour for glue-up, an hour for sanding and finishing, and half an hour for glazing, backing, and hanging, plus drying time between glue and finish coats that you can spend on another project or a cup of tea. Your second frame will take roughly half as long, because the miter math will be familiar and the test cut will be quicker. That learning curve is the real return on this project: every frame after the first is faster, cheaper in wasted wood, and better looking.
Common Mistakes and How to Avoid Them
The most common beginner mistake is measuring the long point instead of the short point, which produces a frame two moulding-widths too big in each direction — four inches too big overall with 2-inch moulding. Always mark the short point first and say it out loud as you mark it. The second mistake is cutting the second miter sloping the wrong way, which produces a parallelogram; prevent it by labelling each piece and by dry-fitting before gluing, when the error is still obvious and fixable. The third mistake is gluing without a dry-fit and discovering out-of-square corners only after the glue has set; the diagonal check takes thirty seconds and prevents this entirely. The fourth mistake is finishing over a glue smear, which shows up as a pale patch under stain; wipe or peel squeeze-out carefully and inspect the frame in raking light before finishing. The fifth mistake is skipping the test cut and trusting the saw’s 45-degree detent, which is often a fraction of a degree off; a test corner on scrap is free, and a gapped frame is not. Finally, beginners often rush the glue cure and hang the frame the same hour it was glued. A frame feels solid long before the glue is fully strong, so give it the full 24 hours before it carries the weight of glass and art on a wall.
Frequently Asked Questions
What size wood do I need for a picture frame?
For an 11 by 14 inch picture, buy frame moulding about 2 inches wide and three-quarters of an inch thick, with a rabbet already cut into the back, in an 8-foot length to allow for test cuts and mistakes. Wider moulding suits larger pictures and bolder rooms, while narrower moulding, around 1 to 1 and a half inches, suits small photos and delicate art.
Can I make a picture frame without a miter saw?
Yes, but it is slower and less precise. A miter box with a hand saw cuts 45-degree angles and works well for small, softwood frames, and a circular saw with a miter guide can work for larger pieces. A miter saw is worth borrowing or buying if you plan to make more than one frame, because repeatable, accurate miters are the heart of this project.
How do I cut a rabbet without a router?
Use a table saw with two passes, one for depth and one for width, or buy ready-made frame moulding with the rabbet already cut, which is the recommended route for a first frame. A hand-held router with a straight bit and an edge guide also cuts a clean rabbet in a few passes.
Why are my miter corners gappy?
Usually because the saw is cutting slightly more or less than 45 degrees, or because the two opposite sides are slightly different lengths. Make a test corner on scrap, adjust the saw in tiny increments until the test corner closes perfectly, check that opposite sides match exactly, and fill any remaining hairline gap with matched filler or sawdust paste.
Should I stain or paint my first picture frame?
Stain if your wood has attractive grain and your repairs are invisible, because stain shows the wood off beautifully. Paint if your wood is plain poplar or pine, if you have filler repairs to hide, or if the room calls for a white, black, or coloured frame. Paint is the more forgiving choice on a first frame.
Do I need glass in a wooden picture frame?
Glass protects the art from dust, fingers, and sunlight, and it is recommended for photographs, prints, and anything you cannot easily replace. For canvas art, posters, or rustic pieces that are meant to be touched, many makers leave the glass out and use a deeper rabbet or a spacer so the art sits safely behind the frame’s front edge.
How do I hang a heavy wooden frame safely?
Use two D-rings and picture wire for anything large or glass-glazed, hang it on two hooks rated for more than the frame’s weight, and use wall anchors on plasterboard. A single sawtooth hanger suits small, light frames, but it concentrates the whole weight on one point and one hook.
The Bottom Line
Learning how to make a wooden picture frame for beginners is learning woodworking in miniature: measure the short point, cut true 45-degree miters, respect the rabbet, glue and clamp square, fix the small gaps honestly, sand in order, and finish with a colour that suits the wood and the room. The 11 by 14 inch frame in this guide is a complete, hangable project in a single afternoon, and the cut-length table above lets you repeat it at any size from a 4 by 6 inch desk photo to an 18 by 24 inch wall poster. Your first frame may carry a tiny imperfection that only you notice, and that is exactly as it should be: the second frame will be better, the third better still, and by the fifth you will be making frames as gifts and wondering why you ever bought one. Start with pine or poplar, borrow or buy a decent miter saw, and make the frame for the photo that matters most to you first — a handmade frame around a meaningful picture is worth more than any shop-bought frame, because it holds two things you made: the frame, and the memory inside it.



Pingback: How to Make a Wooden Cookbook Stand for Beginners