
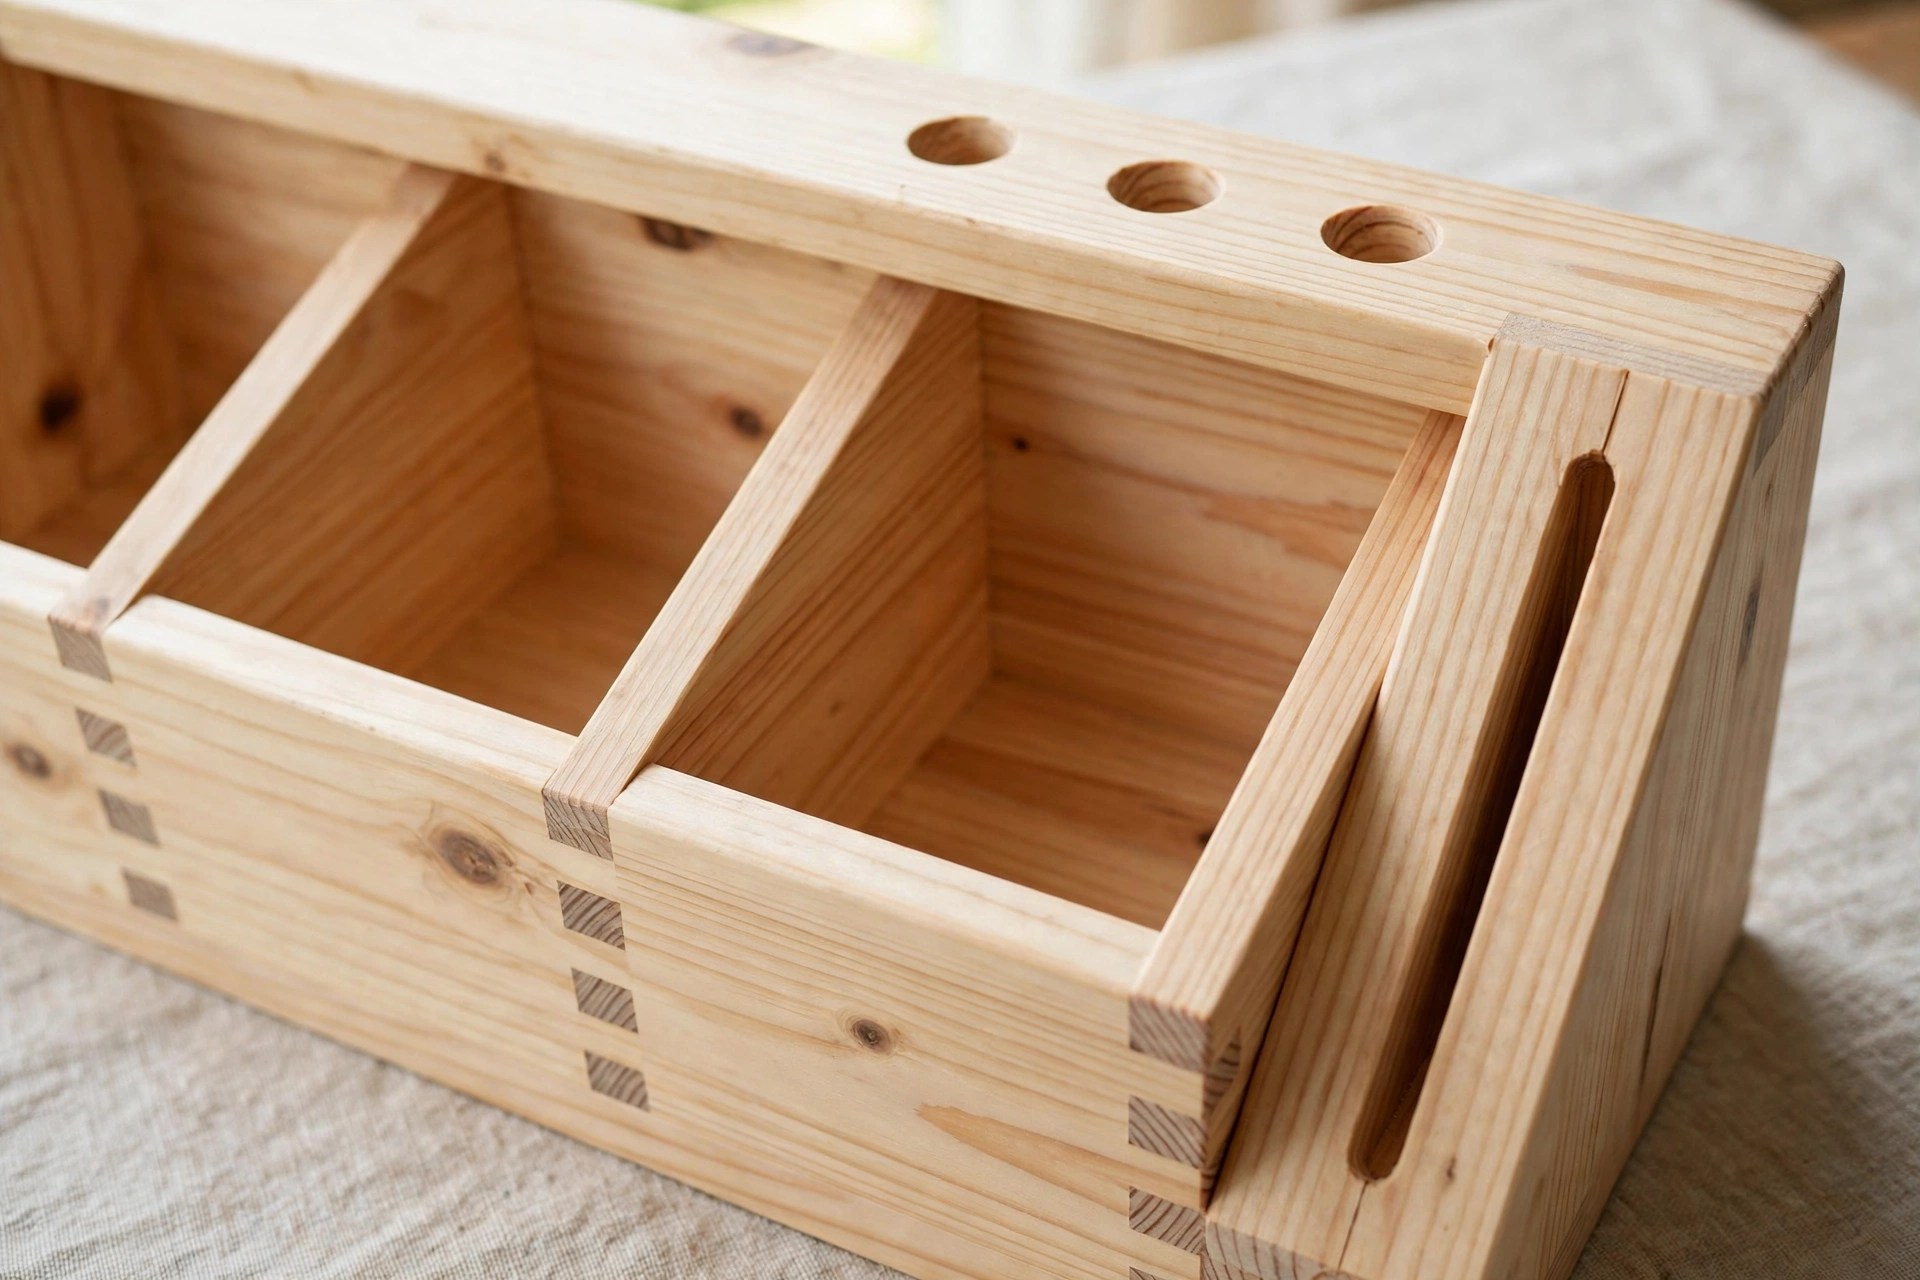
A messy desk slows you down in a quiet, annoying way. You know the pen you need is somewhere under a notebook, your phone slides off a stack of paper, and the business cards, sticky notes, and charging cable all end up in one tangled pile. This guide on how to build a wooden desk organizer for beginners fixes that problem with a single, satisfying weekend project. You will make a sturdy, good-looking caddy from one board, with round holes for pencils and pens, a slot that holds a phone upright, and small cubbies for cards, clips, and other desk essentials.
You do not need a full workshop for this project. A saw, a drill, some glue, and sandpaper will carry you through every step. The design is forgiving on purpose: the pieces are mostly rectangles, the joints are simple butt joints held with glue and a few small screws or pins, and the measurements below leave room for the small errors every beginner makes. If a cut is a fraction off, you will learn how to check it, trim it, and still end up with an organizer you are proud to keep on your desk.
By the end, you will have more than a tidy desk. You will have practised measuring and marking, making square cuts, drilling clean holes, gluing up a small assembly without it sliding out of shape, sanding to a smooth finish, and applying a protective coat. Those are the core skills behind almost every small woodworking project, which is why this organizer is such a good first build — and a great gift, too.
Why This Desk Organizer Is a Perfect First Project
Many beginner projects look simple but hide a tricky joint, a fiddly curve, or a measurement that has to be perfect. This one does not. The organizer is a low, open caddy, roughly the size of a hardcover book, so it is easy to hold, easy to clamp, and easy to check for square as you go. There are no drawers to bind, no lids to fit, and no angles to calculate. Every piece is cut straight, and the layout is visible from the start, so you always know what the next step should look like.
It is also genuinely useful from day one. Unlike a practice board that ends up in a corner, this organizer earns its place on your desk immediately. Pens stand upright where you can grab them, your phone sits at a comfortable viewing angle while it charges, and cards and small tools have a home instead of drifting across the surface. Because you use it every day, you will notice quickly what you would change next time — a deeper pen cup, a wider card slot, a second phone slot — and that is exactly how woodworking skills grow.
The project is cheap, too. One board of pine or plywood, a small bottle of glue, and a few screws are the main costs, and many beginners already own the sandpaper and finish. If you are building a small collection of beginner projects, this organizer sits nicely alongside other simple builds in our guide to easy woodworking projects for beginners that sell, where small, useful items are often the most rewarding to make.
What You Will Make: A Single-Board Plywood Caddy
The design in this guide is a single-board caddy, meaning the main body comes from one board, cut into a base, two sides, a back, and dividers. Think of it as a low tray with attitude: a solid base about 12 inches wide and 5 inches deep, low walls around the back and sides, a raised pencil block on one end with drilled holes, a phone slot in the middle, and two or three narrow card cubbies on the other end.
The pencil block is the tallest part, at about 4 inches high, so pens and pencils stand up without tipping. The phone slot is cut as a shallow groove across a small upright panel, angled slightly back so the phone leans safely instead of falling forward. The card cubbies are simple dividers spaced about 1 inch apart, wide enough for business cards, gift cards, sticky-note pads, and paper clips in a small dish or cup if you prefer.
Overall, the finished organizer measures about 12 inches wide, 5 inches deep, and 4 inches tall. That size fits most desks without crowding a laptop or notebook, yet it is large enough to hold a useful set of everyday items. If your desk is very small, you can shorten the base to 10 inches and drop one card cubby; if you have a large desk, you can stretch it to 14 inches and add a second row of pencil holes. The compartment-size table below shows how each section is sized and why, so you can adjust it with confidence instead of guessing.
Materials You Will Need
You only need a short shopping list for this build, and every item is easy to find at a hardware store or lumber yard. Pine is a friendly choice for a first organizer because it is soft, light, inexpensive, and easy to sand. Plywood is another good option: it is stable, resists warping, and gives a clean, modern look, especially if you choose a good birch plywood with a smooth face. Either material works with the cut list below, so pick the one you like looking at — you will see it every day.
You will need one board, 1/2 inch thick, at least 12 inches wide and 36 inches long, or an equivalent offcut of plywood. Thinner stock, such as 3/8 inch, can work for the dividers, but keep the base and pencil block at 1/2 inch so the organizer feels solid. You will also need wood glue, a small number of 1-inch brad nails or short screws for reinforcement, sandpaper in a few grits, and a clear finish such as Danish oil, clear wax, or a water-based polyurethane. A small felt pad or four adhesive rubber feet for the bottom will stop the organizer sliding and protect your desk surface.
For glue, choose a standard yellow wood glue that you can spread thinly and wipe up easily while it is wet. Our guide to the best wood glue for beginners explains the differences between common types and why a basic wood glue is the right pick for a small glued assembly like this one. Avoid construction adhesive or epoxy here: they are messy, hard to clean from visible joints, and unnecessary for a light desk caddy.
Tools You Will Need
This project stays firmly in beginner territory for tools. You will need a tape measure, a pencil, a combination square or speed square, a saw, a drill with drill bits and a Forstner bit or spade bit for the pencil holes, clamps, and sandpaper. A hand saw will do the whole job if you take your time, and a circular saw or miter saw will make the straight cuts faster and more repeatable. If you are deciding which saw to buy first, our guide to the best miter saw for beginners walks through the features that matter for small projects like this one.
For drilling, a handheld drill is perfectly fine, but a drill press makes the pencil holes straighter and more even, especially when you are drilling a row of holes in the pencil block. You will also want a 3/4-inch Forstner bit or spade bit for pencil holes, a smaller bit for pilot holes, a countersink bit if you use screws, and a sanding block. A damp cloth, a brush for finish, and safety glasses and hearing protection complete the kit.
Work slowly and safely at every stage. Clamp the board before you cut or drill it, keep your hands clear of the blade and bit, and check that the piece cannot move before you switch a tool on. Good habits on a small project like this become automatic on bigger ones later.
Cut List
Measure twice and cut once is not just a saying here — it is the difference between a caddy that goes together square and one that rocks on the desk. Cut the longest pieces first, then use them to check the shorter pieces before you cut those. Label each piece lightly in pencil on a face that will be hidden inside a joint, so you do not mix up two similar rectangles.
| Piece | Quantity | Size (inches) | Notes |
|---|---|---|---|
| Base | 1 | 12 x 5 x 1/2 | Bottom of the caddy; all other pieces sit on this |
| Back panel | 1 | 12 x 4 x 1/2 | Tall back wall; pencil block sits against it |
| Side panels | 2 | 5 x 3 x 1/2 | Left and right walls; keep heights equal |
| Pencil block | 1 | 4 x 4 x 1/2 (top plate) plus 4 x 3-1/2 x 1/2 sides | Drilled top; see Step 3 for hole layout |
| Phone slot panel | 1 | 3 x 3-1/2 x 1/2 | Upright panel with a shallow angled groove |
| Card dividers | 2 | 4-1/2 x 3 x 1/2 | Create three card cubbies at the far end |
| Front lip | 1 | 12 x 1-1/2 x 1/2 | Low front rail that keeps items from sliding out |
If your board is slightly thinner or thicker than 1/2 inch, adjust the lengths of the pieces that fit between other pieces by the difference. For example, if your stock is actually 7/16 inch thick, the side panels and dividers that sit between the front and back will need to be a fraction shorter. Dry-fit everything before you glue, and you will spot those small differences while they are still easy to fix.
Compartment Sizes: What Fits Where
Getting the compartments right is what turns a wooden box into a genuinely useful organizer. Pens need depth so they do not topple, phones need a slot wide enough for a case but narrow enough to hold the phone upright, and cards need cubbies that are snug without trapping the cards. The table below is the heart of this design, and it is worth checking your own phone, pens, and cards against it before you cut.
| Compartment | Size | What it holds | Why this size works |
|---|---|---|---|
| Pencil holes (6 holes) | 3/4 inch diameter, 2-1/2 inches deep | Pens, pencils, markers, a highlighter | Wide enough for chunky markers, deep enough to stop tipping |
| Phone slot | 3-1/2 inches wide, 3/4 inch deep groove | Most phones, with or without a slim case | Wide slot fits cased phones; angled back keeps phone stable |
| Card cubbies (3 cubbies) | 3-1/2 inches wide, 1 inch spacing | Business cards, gift cards, sticky notes, clips | Cards stand upright and are easy to flick through |
| Small-items bay | 3-1/2 x 4 inches open space | Eraser, USB stick, paper clips, keys | Open bay catches the odd items that fit nowhere else |
| Front tray area | 12 x 1-1/2 inches along the front | Coins, a charging cable loop, small notes | Low lip keeps small items visible and contained |
If your phone has a very thick case, widen the phone slot to 1 inch and test it with the phone in the case before you glue the panel in place. If you carry mostly slim pens, you can drill eight smaller holes instead of six larger ones, but keep at least 1/4 inch of wood between holes so the top plate does not split. These are small choices, but they are what make the finished organizer feel made for your desk rather than copied from a picture.
Estimated Cost
Prices vary by store and region, but this project stays firmly in budget territory. Buying a single board and a small bottle of glue is often cheaper than buying a ready-made desk organizer of similar quality, and you get the satisfaction of making it yourself. The table below assumes you already own a saw, a drill, and basic measuring tools; if you need to buy sandpaper or finish, those are included as small extras.
| Item | Estimated cost | Notes |
|---|---|---|
| Pine or plywood board, 1/2 inch | $8 – $15 | One board, at least 12 x 36 inches |
| Wood glue, small bottle | $4 – $7 | You will use only a small amount |
| Brad nails or short screws | $2 – $4 | Optional reinforcement for glued joints |
| Sandpaper set (120, 180, 220 grit) | $4 – $6 | Buy a multi-grit pack if you do not have one |
| Clear finish (oil, wax, or polyurethane) | $6 – $12 | A small can covers many small projects |
| Felt pads or rubber feet (4 pack) | $2 – $3 | Protects your desk and stops sliding |
| Estimated total | $26 – $47 | Less if you already own glue, sandpaper, or finish |
You can bring the cost down further by using an offcut from a previous project, asking a lumber yard for a short offcut bin piece, or skipping the finish on a first practice version and adding it later. Do not try to save money by skipping sandpaper, though: a smooth, splinter-free organizer is the difference between a project you use and a project you hide in a drawer.
Step 1: Measure and Mark Your Board
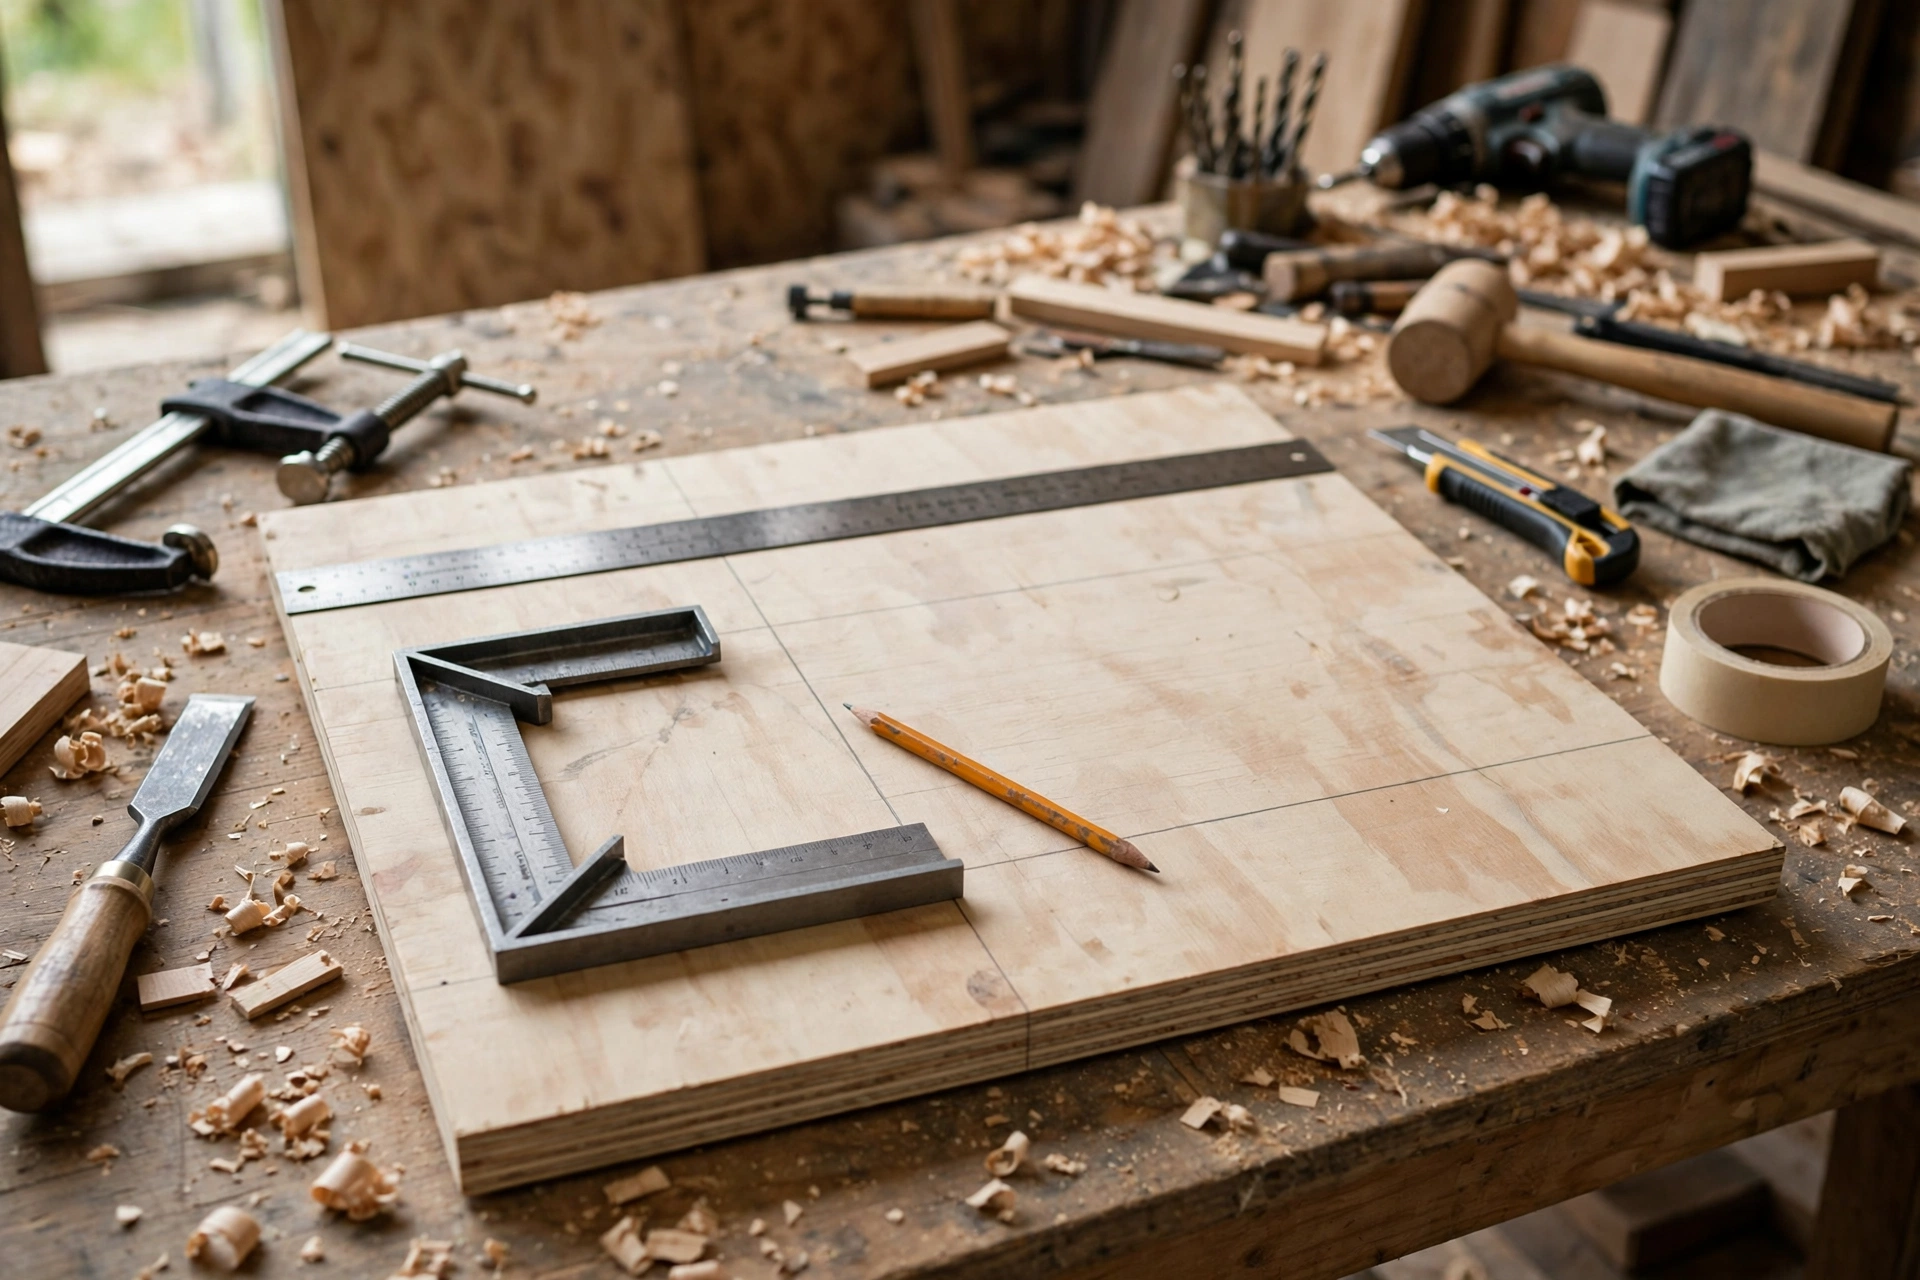
Start by laying your board flat on a stable bench and checking it for twists, cracks, or rough patches. Sight along each edge: if the board rocks badly or has a large bow, flip it over and mark the flattest face as the outside face. Marking a face and an edge as your reference faces is a classic woodworking habit, and it keeps every later measurement consistent because you always measure from the same side.
Now mark out each piece from the cut list, working from one end of the board to the other so you waste as little as possible. Use a sharp pencil, a square, and light, clear lines. Draw the cut line itself, then mark a small X on the waste side of the line so you always know which side of the line the saw blade should run on. That one habit prevents the most common beginner mistake: cutting on the wrong side of the line and ending up a blade-width short.
Check each marked length twice before you cut anything. Read the tape at eye level, hook it firmly on the end of the board, and write the measurement on the piece itself as well as on your cut list. When you have marked all the pieces, step back and look at the layout as a whole: does the base fit, do the sides match, and is there enough material left for the small dividers? A minute of checking now saves a trip back to the store later.
Step 2: Cut the Pieces Square
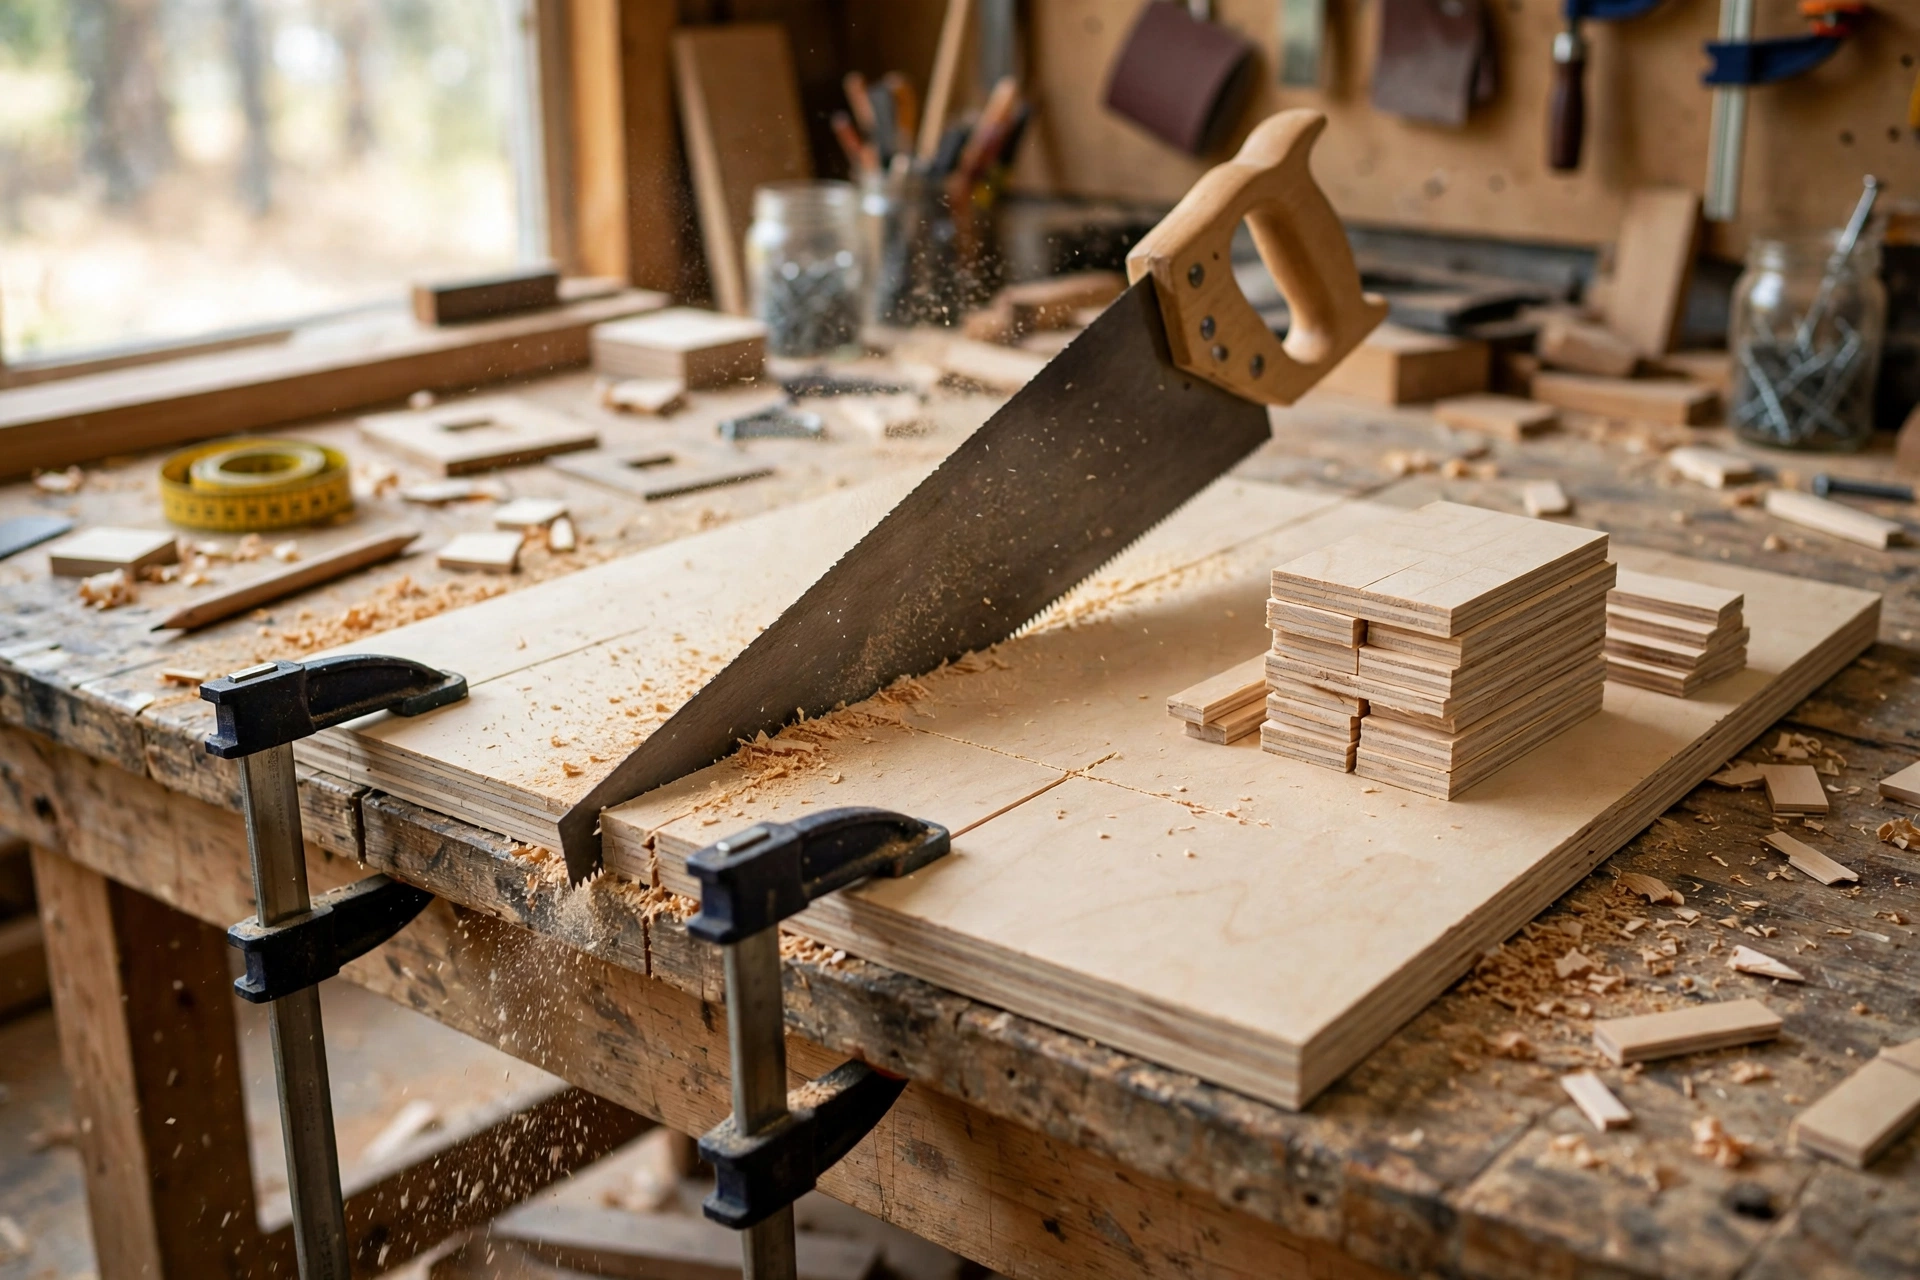
Clamp the board firmly before every cut, and let the saw do the work instead of forcing it. If you are using a hand saw, start with light strokes to establish the kerf, then settle into long, steady strokes, keeping the blade just on the waste side of your line. If you are using a power saw, keep both hands on the tool, keep the cord or battery clear, and wait for the blade to stop before you set the saw down or move the piece.
Cut the base and back panel first, then the sides, then the smaller pieces. After each cut, check the piece with a square: the ends should be square to the edges, and matching pairs — the two side panels, the two card dividers — should be exactly the same length. If a piece is slightly long, trim a sliver off rather than trying to sand a large amount away. If a piece is slightly short, note it now: a short side panel can often be hidden at the back, while a short base will show, so cut a fresh base if that one is off.
Stack the cut pieces in order on the bench and dry-fit them without glue. Stand the back and sides on the base, slide the dividers into place, and set the pencil block on top. Check for gaps, rocking, and pieces that lean. This dry run is your rehearsal: it shows you where a clamp will go, which joint needs a little trimming, and whether the phone slot panel sits at a comfortable angle. Fix any problems now, while glue is not involved.
Step 3: Drill the Pencil Holes and Cut the Phone Slot
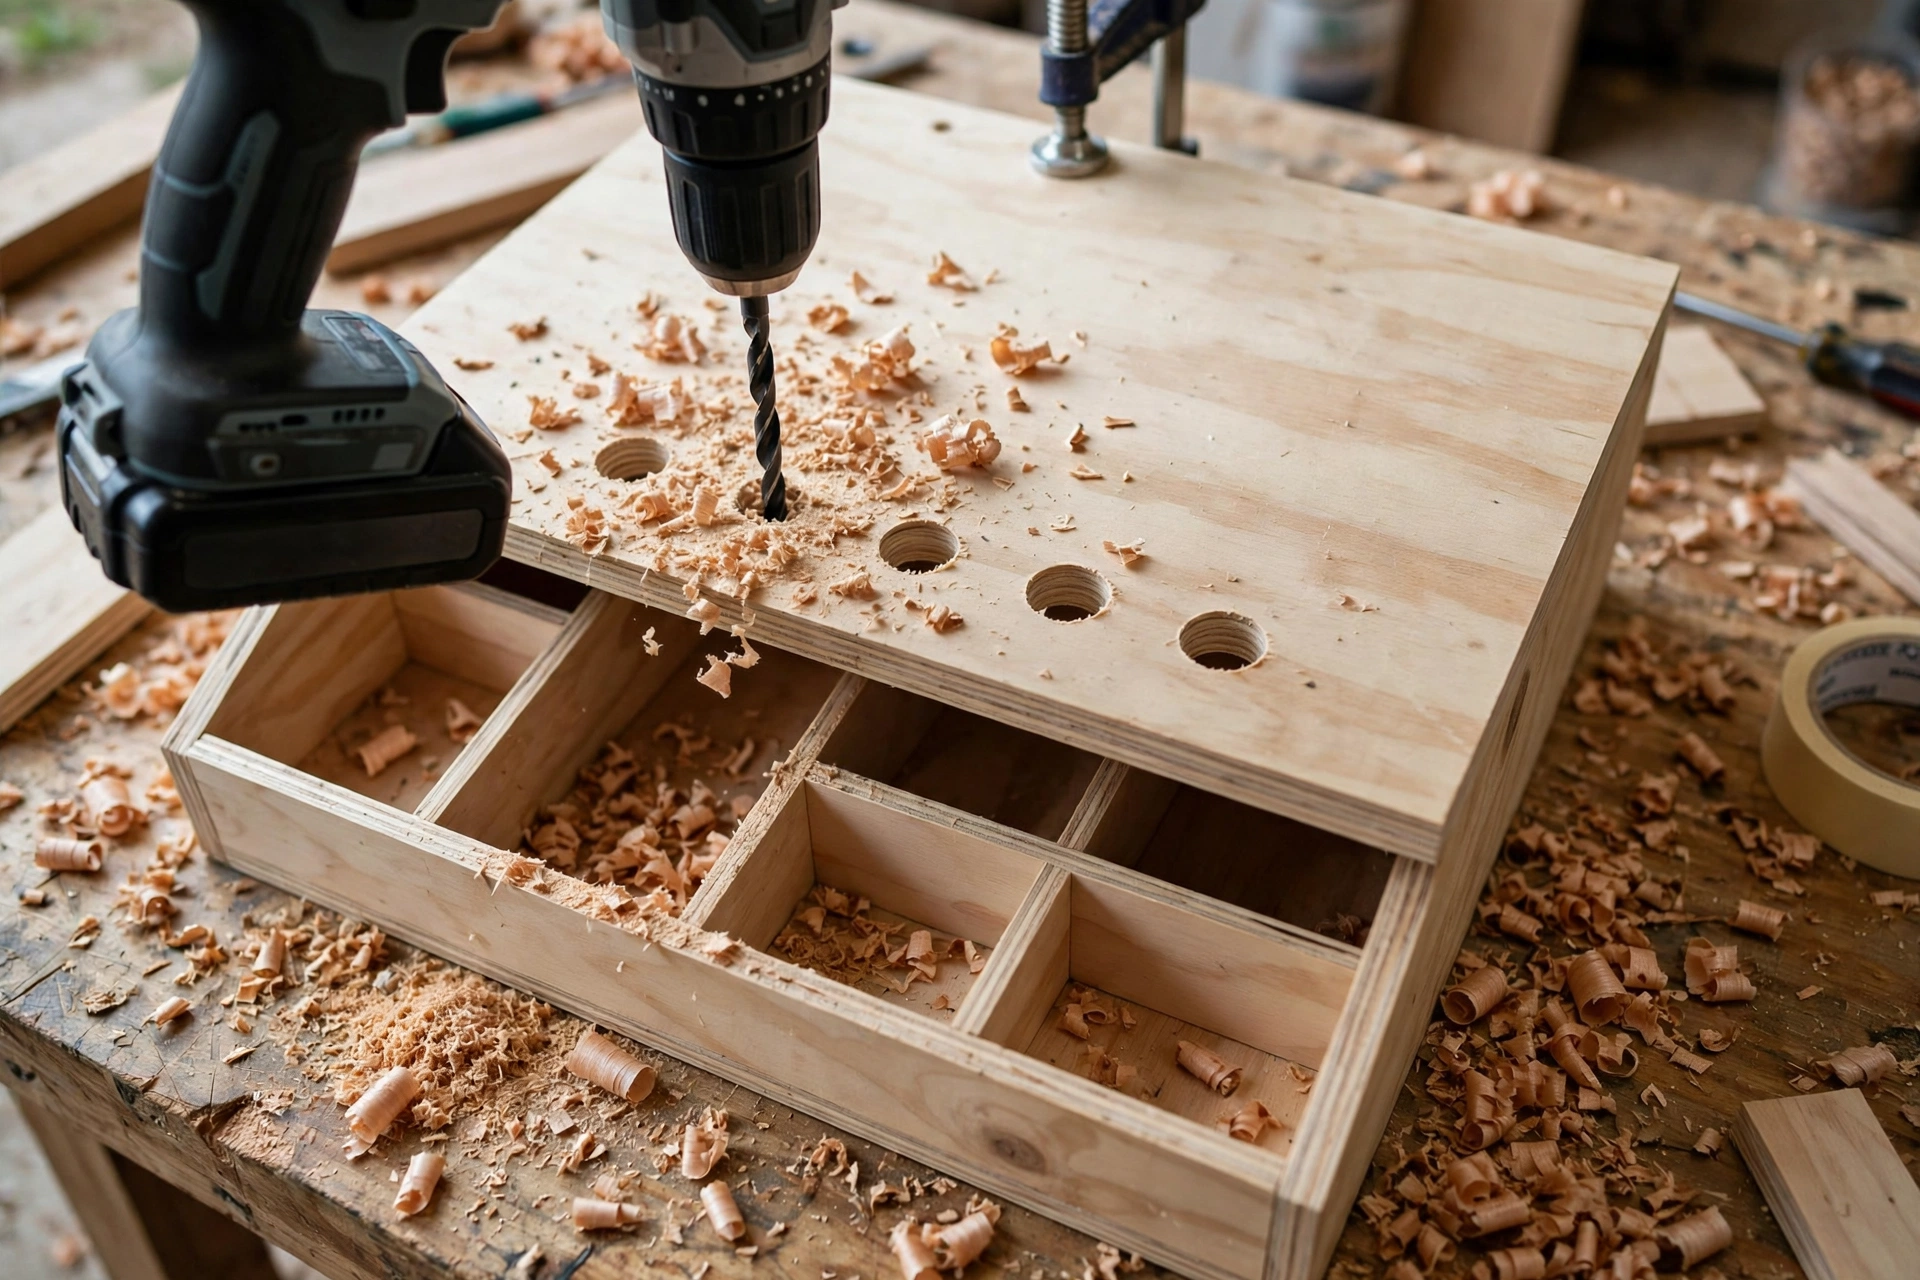
The pencil holes are the most satisfying part of this build, and they are easier than they look if you mark them carefully. On the top plate of the pencil block, mark six hole centres in two rows of three, spaced about 1-1/4 inches apart, with at least 1/2 inch of wood left around the outside of each hole. Use an awl or a nail to make a small dent at each centre so the drill bit does not wander when it starts.
Clamp the top plate to a scrap board underneath — this backing board stops the bit tearing out the underside as it exits. Drill slowly with a 3/4-inch Forstner bit or spade bit, clearing chips often, and stop at about 2-1/2 inches deep so you do not drill through the bottom of the block. A piece of tape wrapped around the bit at the depth mark is a simple, reliable depth stop. If you are using a drill press, set the depth stop and drill each hole in one steady pass, as described in our guide to the best drill press for beginners.
For the phone slot, mark a groove about 3/4 inch wide across the phone panel, angled back about 10 to 15 degrees from vertical. You can cut this groove with a saw by making two close parallel cuts and clearing the waste with a chisel, or you can build the panel from two thinner pieces with a gap between them that forms the slot. Either method works; the chisel method looks more solid, while the two-piece method is easier for a first build. Test the slot with your phone, in its case, before you glue the panel in. The phone should lean back slightly, sit securely, and lift out easily with one hand.
Step 4: Glue and Assemble the Caddy
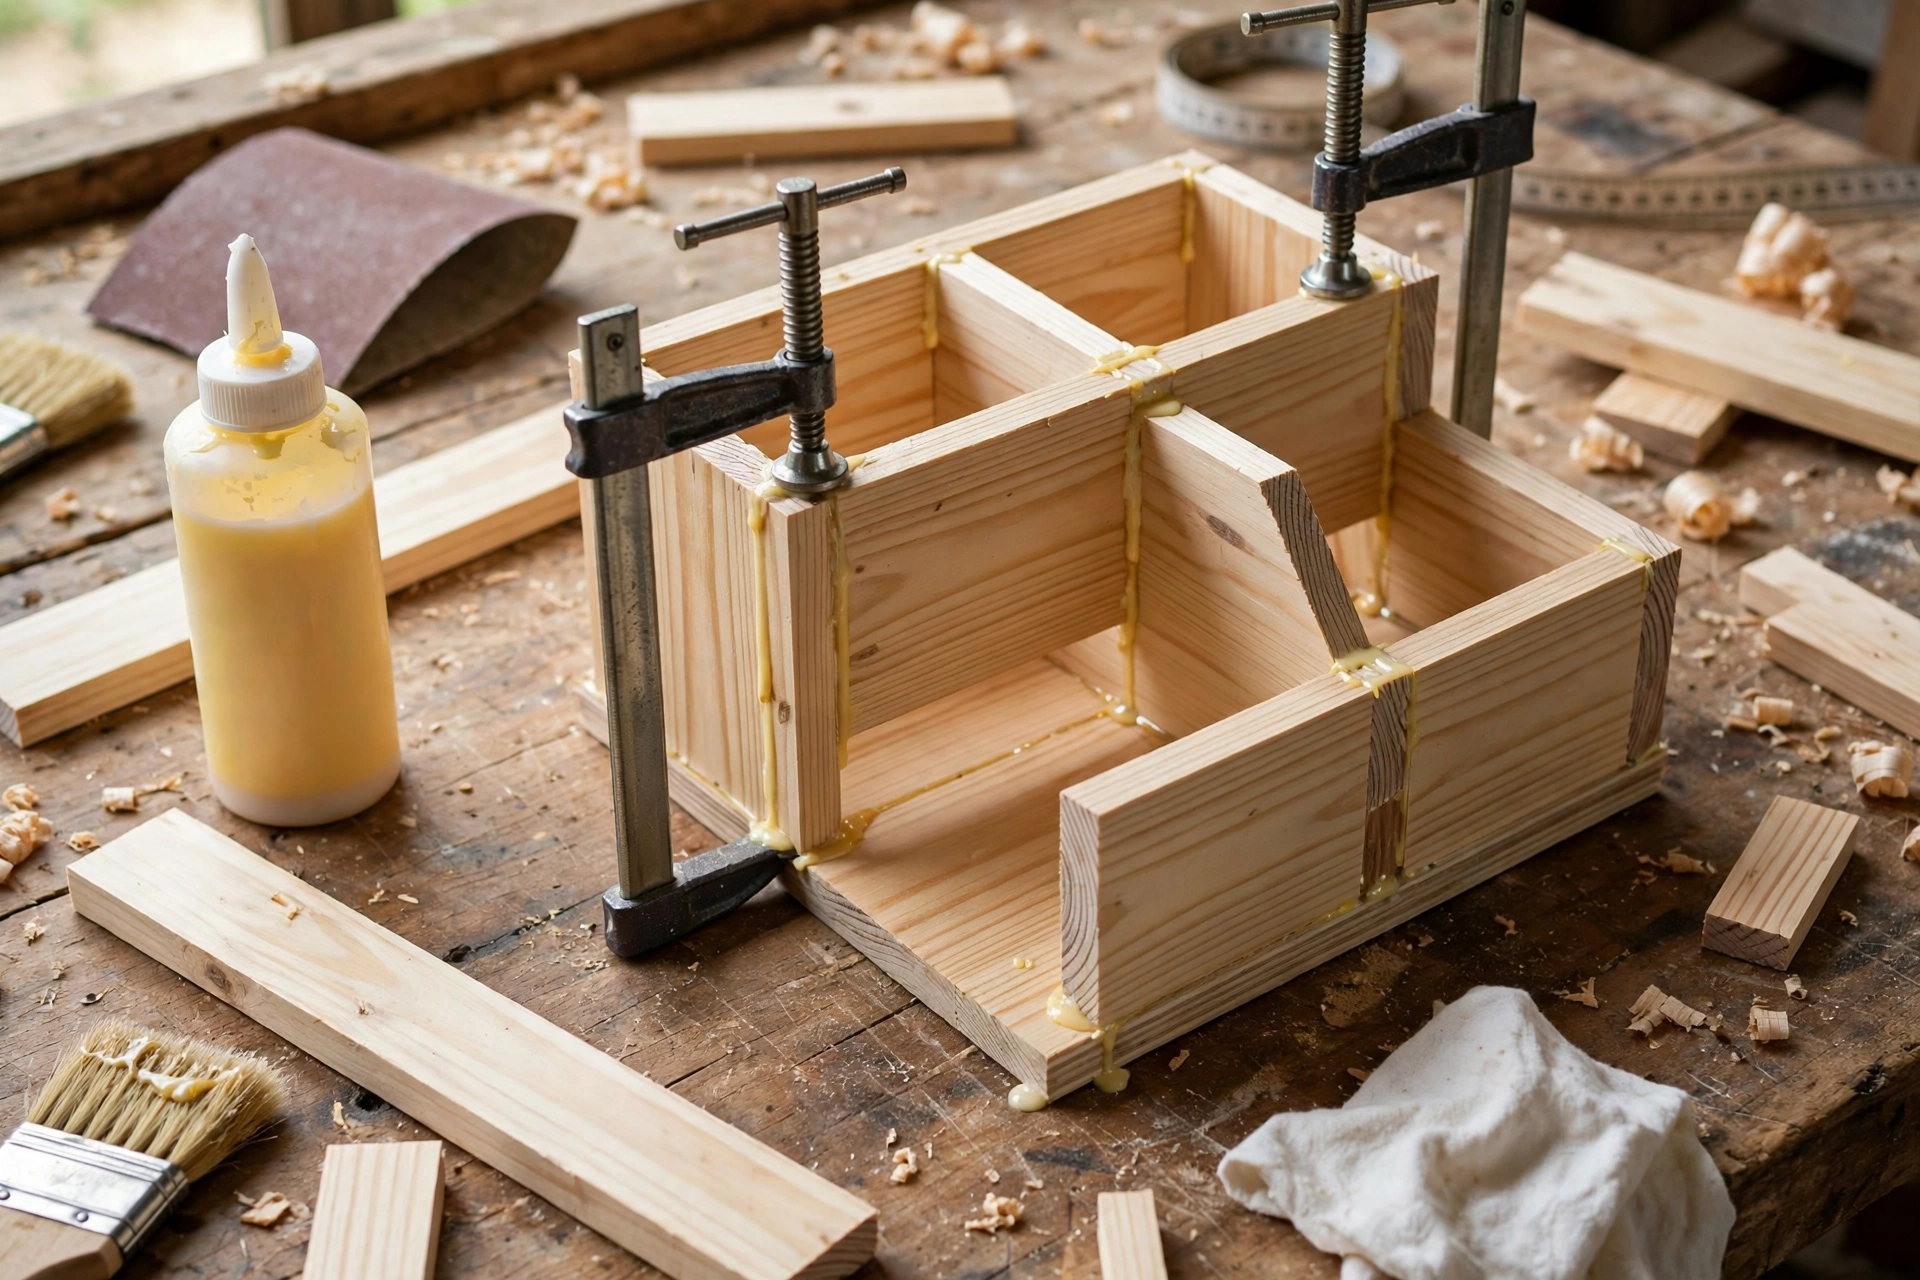
Glue-up is where patience pays off. Work on a flat surface, lay out all the pieces in order, and have your clamps within reach before you open the glue bottle. Apply a thin, even line of glue to one face of each joint — too much glue squeezes out and makes a mess, while too little leaves a weak, starved joint. Spread it with a finger, a brush, or a small stick so the whole joint face is covered.
Start with the base, back, and sides to form a shallow tray, checking that the corners are square as you clamp. Then add the pencil block, the phone panel, and the card dividers, checking each one for square and for the spacing in the compartment table. Add a brad nail or a short screw through each joint if you want extra strength, but drill pilot holes first so the thin stock does not split. Wipe up squeezed-out glue immediately with a slightly damp cloth, and check again for glue on visible faces: dried glue blocks stain and finish unevenly, so it is worth wiping twice.
Leave the assembly clamped for at least 30 to 60 minutes, and do not move it to a different surface while the glue is wet. Full cure takes longer — overnight is ideal — so resist the urge to sand or finish the same evening if you can. When you unclamp, check the organizer on a flat surface: it should sit without rocking. If it rocks slightly, mark the high corner and sand it gently until it sits flat.
Step 5: Sand Every Edge Smooth
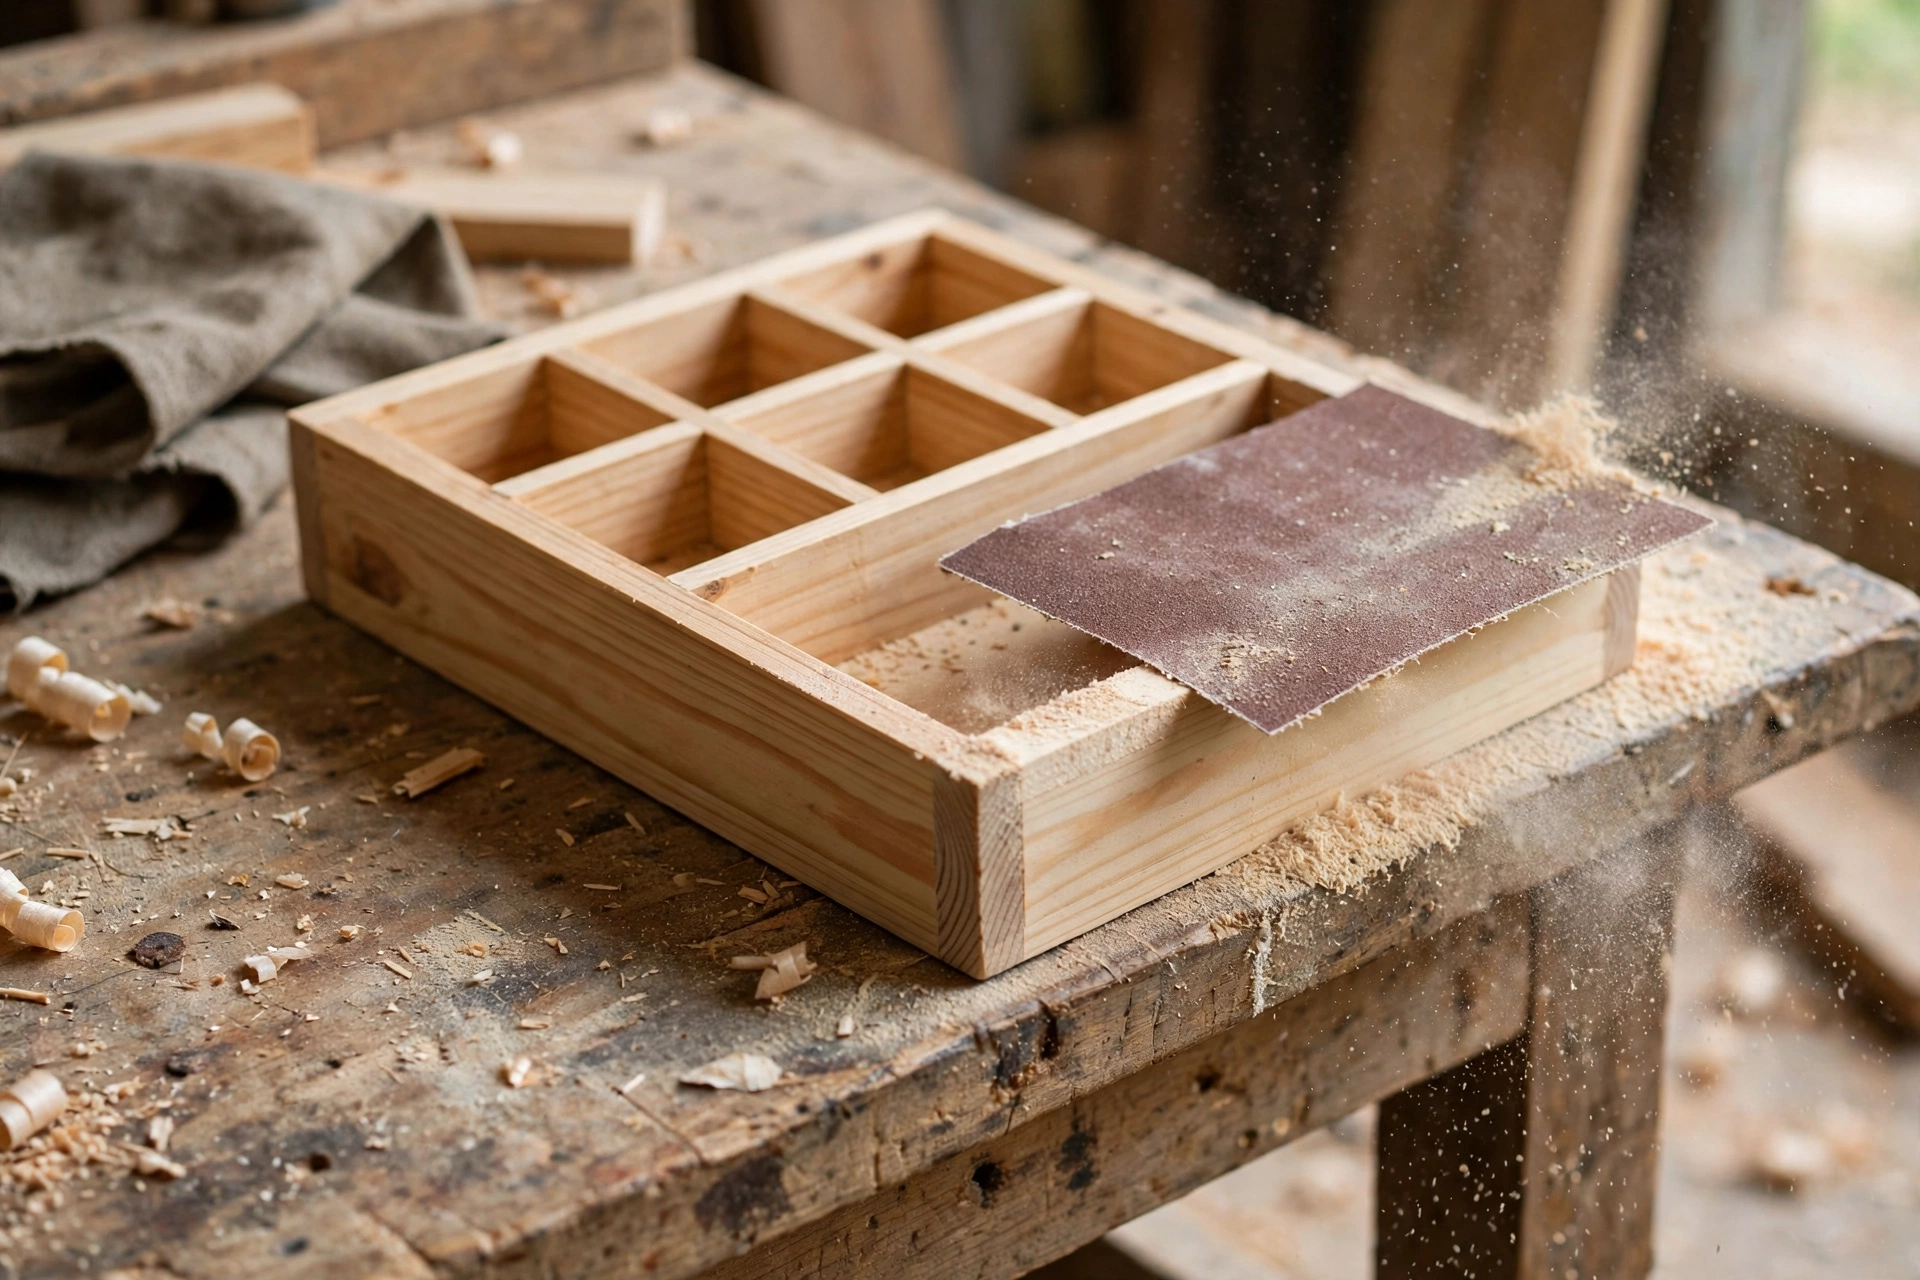
Sanding is not just about looks; it is about making the organizer pleasant to touch every day. Start with 120-grit sandpaper to remove saw marks, soften sharp edges, and level any small glue squeeze-out you missed. Sand with the grain, not across it, and use a sanding block on flat faces so you do not create dips with your fingertips. Round over every outside edge slightly — a tiny chamfer or soft round feels far better in the hand than a sharp, square edge.
Move up through 180 grit, then finish with 220 grit for a smooth surface that takes finish evenly. Between grits, brush or vacuum off the dust and run your hand over the surface: your fingers will find rough spots your eyes miss. Pay special attention to the inside of the pencil holes and the phone slot, rolling a small piece of sandpaper into a tube to smooth the inside curves. For help choosing the right grits for each stage, see our guide to the best sandpaper grit for beginners.
Do not skip sanding the bottom. A smooth bottom sits flat, does not scratch your desk, and gives the felt pads or rubber feet a clean surface to stick to. When you are done, wipe the whole organizer with a slightly damp cloth or a tack cloth to remove dust before finishing. Any dust left on the surface will show up as rough bumps under the finish.
Step 6: Apply the Finish and Style Your Desk
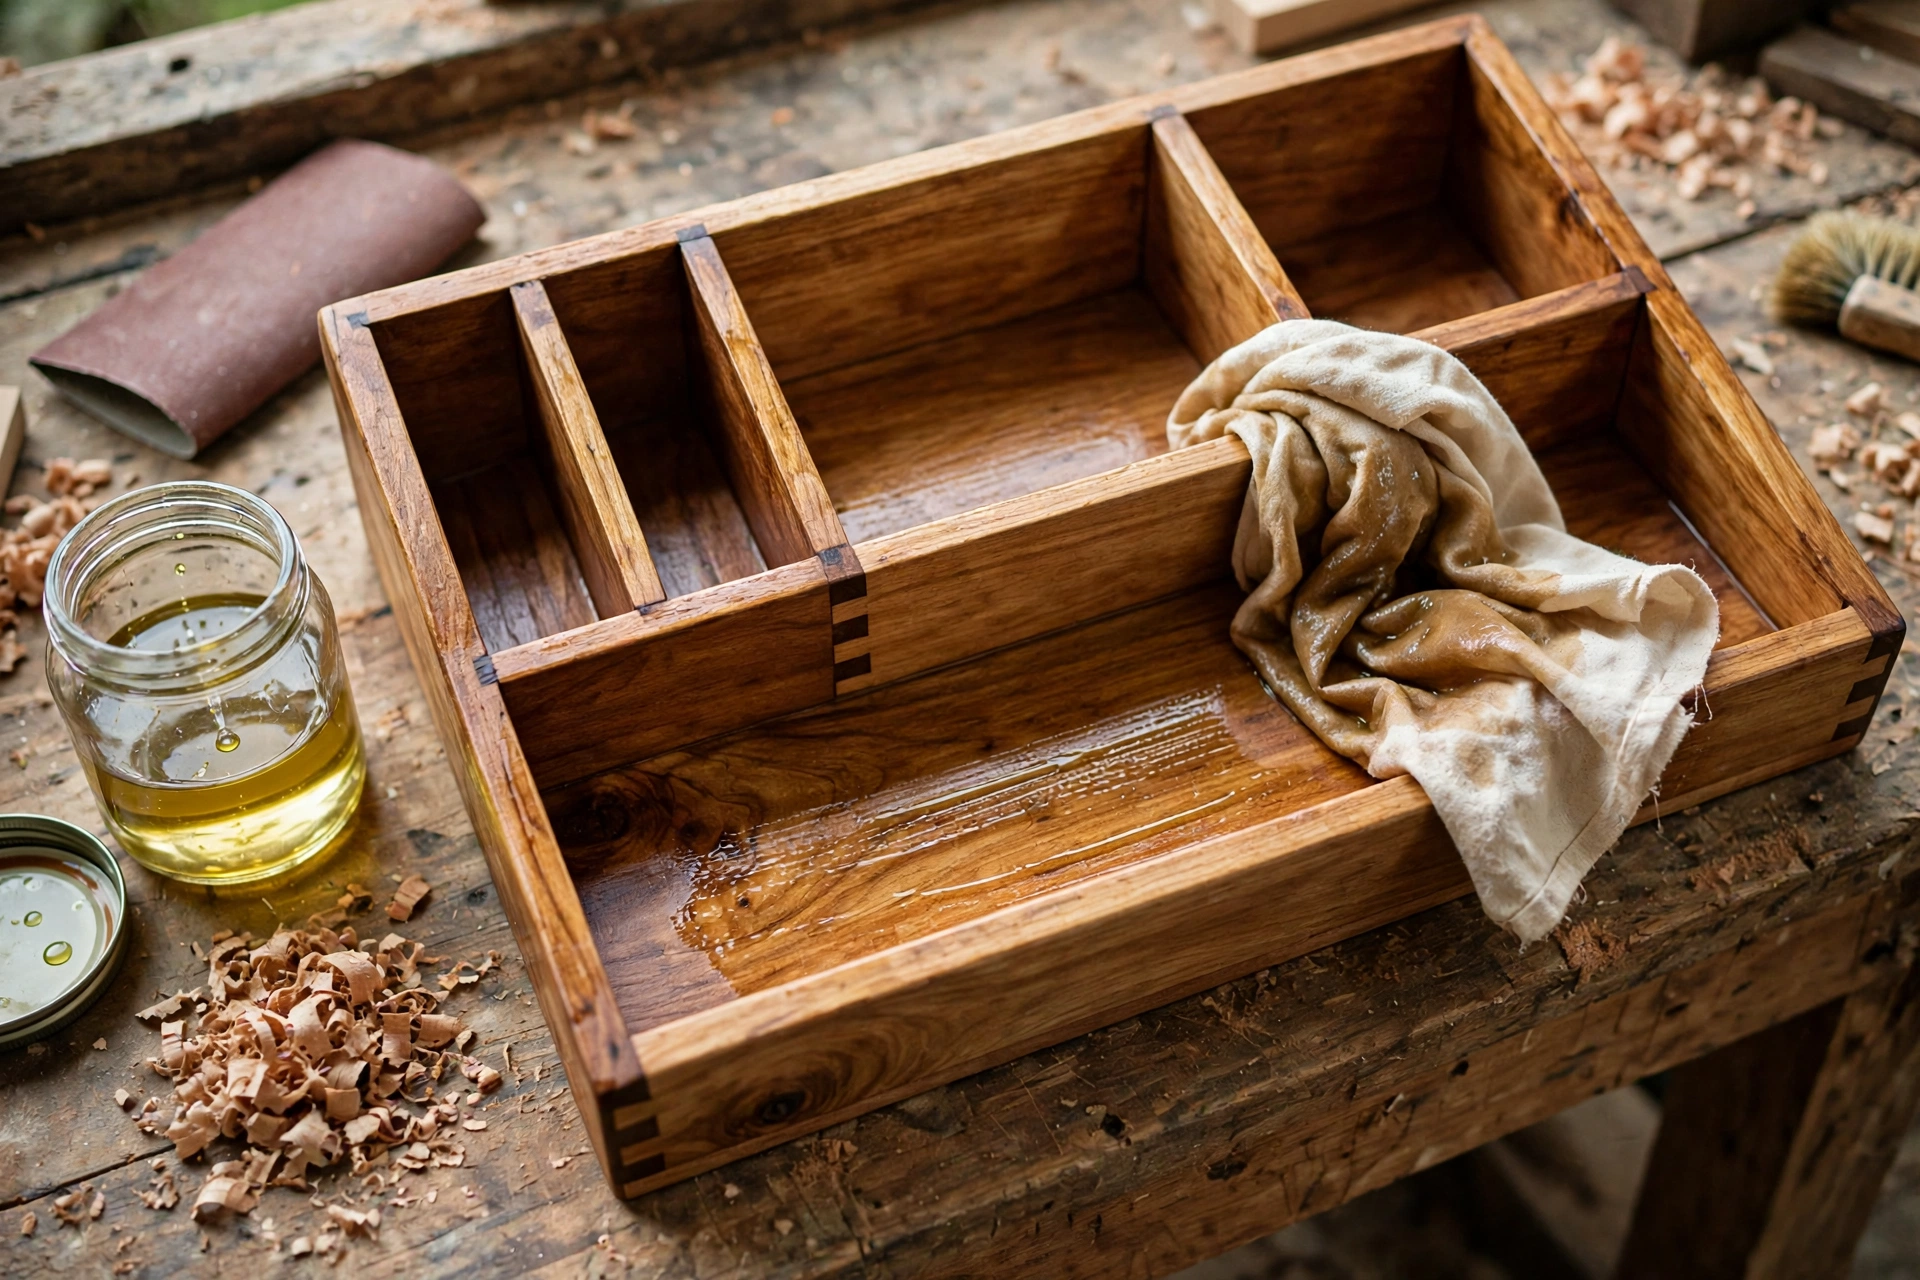
Finish protects the wood from coffee rings, pen marks, and daily handling, and it brings out the grain in a way that makes even plain pine look warm and intentional. Danish oil is a forgiving first finish: wipe it on thinly with a cloth, let it soak in, wipe off the excess, and repeat for two or three coats, letting each coat dry as the label directs. Clear wax over oil gives a soft, low-sheen feel, while a water-based polyurethane gives a tougher, more wipe-clean surface if your desk sees a lot of drinks.
Apply finish in a dust-free spot if you can, with thin coats rather than one thick, drippy coat. Brush or wipe in the direction of the grain, and watch for drips inside the pencil holes and card cubbies — a small brush or cloth wrapped around a stick reaches those spots. Let the final coat cure fully before you load the organizer with pens and electronics; a finish that feels dry to the touch may still be soft underneath.
Once cured, stick on the felt pads or rubber feet, set the organizer on your desk, and load it the way you actually work: everyday pens in the front holes, a marker or highlighter at the back, your phone in the slot, and cards in the cubbies. Leave a little breathing room rather than filling every hole on day one. A half-empty organizer looks calm and invites use, while an overstuffed one quickly becomes the same clutter you were trying to fix.
Make It Your Own: Simple Customisation Ideas
Once the basic caddy works, small customisations make it feel personal without adding difficulty. You can stain the organizer before finishing for a darker walnut look, or paint the outside in a muted colour and leave the inside natural for contrast. A small brass label holder on the front, a leather loop on one side for a cable, or a shallow dish inset for paper clips are all easy additions that do not change the core build.
You can also change the layout for how you work. A student might want more pencil holes and fewer card cubbies, while someone who works from home might want a wider phone slot for a larger phone and a small bay for a USB stick and a memory card reader. An artist might swap one card cubby for a taller section that holds brushes handle-down. Because the design is just a base plus dividers, you can build a second version in an afternoon once you know the steps, and each version will be a little better than the last.
If you want to make one as a gift, build it from a nicer board — walnut, oak, or good birch plywood — and add a small engraved or wood-burned initial on the back panel. Keep the finish simple and food-safe if the recipient might use it near drinks, and include a short note about the compartments so they know where everything is meant to go. Handmade gifts land differently when the maker has thought about how the item will actually be used.
Mistakes to Avoid
The most common mistake is rushing the measuring and cutting stage. A caddy that is out of square by even a small amount will show gaps at the corners and may rock on the desk. Slow down, mark clearly, cut on the waste side of the line, and dry-fit before you glue. A second common mistake is using too much glue, which squeezes out, dries in visible spots, and blocks the finish. A thin, even spread is stronger than a puddle, because a puddle often means the joint was not clamped tightly enough to squeeze the glue into a thin film.
Another mistake is drilling pencil holes without a backing board or depth stop, which leads to tear-out on the underside and holes that go too deep. Clamp a scrap board underneath, mark your depth with tape, and drill steadily. Beginners also often sand too aggressively in one spot, creating a dip, or sand across the grain, leaving scratches that show under finish. Use a block, follow the grain, and move through the grits in order instead of jumping straight to fine paper.
Finally, do not finish in a dusty workshop right after sanding, and do not load the organizer before the finish has cured. Dust in a wet finish is hard to remove without sanding back and starting again, and a soft finish will pick up pen marks and fingerprints. Give the finish the time the label asks for, and your organizer will look good for years instead of weeks.
Caring for Your Wooden Desk Organizer
Day-to-day care is simple. Dust it with a dry cloth, wipe spills promptly with a slightly damp cloth, and avoid leaving wet cups sitting directly on the wood for hours. If the finish starts to look dull after months of use, a light coat of wax or oil, applied after a gentle wipe-down, usually restores it. Keep the organizer out of direct, hot sunlight for long periods, which can fade the finish and dry the wood, and avoid placing it right next to a radiator or heater.
If a pencil hole gets clogged with a broken pencil tip or a pen leaks inside a cubby, clean it with a dry cloth first, then a slightly damp one, and let it dry fully before you put pens back. Do not soak the organizer or run it under water: even a well-finished caddy is not meant to be washed. With that small amount of care, a simple pine organizer can last for years and still look like the day you finished it.
FAQ
How long does it take to build a wooden desk organizer?
Most beginners finish this project in two to three hours of active work, spread over two days if you allow glue and finish to dry properly. Cutting and drilling take about an hour, glue-up takes about 30 minutes plus clamping time, and sanding and finishing take another hour. Allowing the glue to cure overnight and the finish to cure fully is what stretches the project to a weekend, but the hands-on time stays short.
What is the best wood for a beginner desk organizer?
Pine is the easiest and cheapest choice: it cuts cleanly, sands quickly, and takes oil, wax, and paint well. Birch plywood is a good alternative if you want a stable, modern look with less risk of warping. Hardwoods such as oak or walnut look beautiful, but they are harder to cut and drill, so save them for a second version once you are comfortable with the steps.
Can I build this organizer without a miter saw or drill press?
Yes. A hand saw and a handheld drill will complete every step in this guide. A miter saw makes square cuts faster, and a drill press makes pencil holes straighter, but neither is required. Clamp your work, mark carefully, use a backing board for drilling, and take your time — good technique matters more than expensive tools on a project this size.
How deep should pencil holes be in a desk organizer?
About 2 to 2-1/2 inches deep works well for most pens and pencils. Shallower holes let tall pens tip over, while holes deeper than 3 inches make short pencils hard to pull out. A 3/4-inch diameter suits most pens and chunky markers; if you use mostly slim pens, you can drill eight 5/8-inch holes instead, keeping at least 1/4 inch of wood between holes.
How do I stop my phone sliding out of the phone slot?
Make the slot about 3/4 inch wide for a slim case, or 1 inch wide for a thick case, and angle it back 10 to 15 degrees so gravity holds the phone in place. Test the slot with your actual phone and case before gluing the panel, and add a small felt pad at the bottom of the slot if your phone still slides. A slot that is too tight is worse than one that is slightly loose, because forcing a phone in and out will wear the wood.
Can I paint or stain my desk organizer?
Yes, and both work well. Stain before finishing to darken the wood while keeping the grain visible, or paint the outside and leave the inside natural for a two-tone look. Sand to 220 grit first, test your stain or paint on a scrap piece from the same board, and apply a clear topcoat over paint if the organizer will see daily handling. Always finish in a ventilated area and follow the product label for drying times.
What if my organizer rocks on the desk after glue-up?
First, check the desk itself with a flat ruler — some desks are not perfectly flat. If the organizer is the problem, set it on a flat surface, find the high corner by pressing each corner in turn, and sand that corner gently until the organizer sits flat. A set of adhesive felt pads or rubber feet can also hide a tiny rock and protect the desk at the same time.
Recommended Products for This Project

Titebond III Ultimate Wood Glue 1413 (8 oz)
Strong, reliable joints for the organizer’s small glued assembly.
IRWIN QUICK-GRIP Mini Bar Clamp 4-pack
Perfect size for holding small organizer pieces while glue dries.

DEWALT Concealer Safety Goggles DPG82-11C
Protect your eyes from dust and chips while cutting and sanding.

DEX FIT Cru553 Level 5 Cut Resistant Gloves, Size L
Cut-resistant grip and protection for safer handling in the workshop.
3M PELTOR X4A Over-the-Head Earmuffs, NRR 27 dB
Reduce workshop noise while you saw, drill, and sand.
As an Amazon Associate, I earn from qualifying purchases.


