
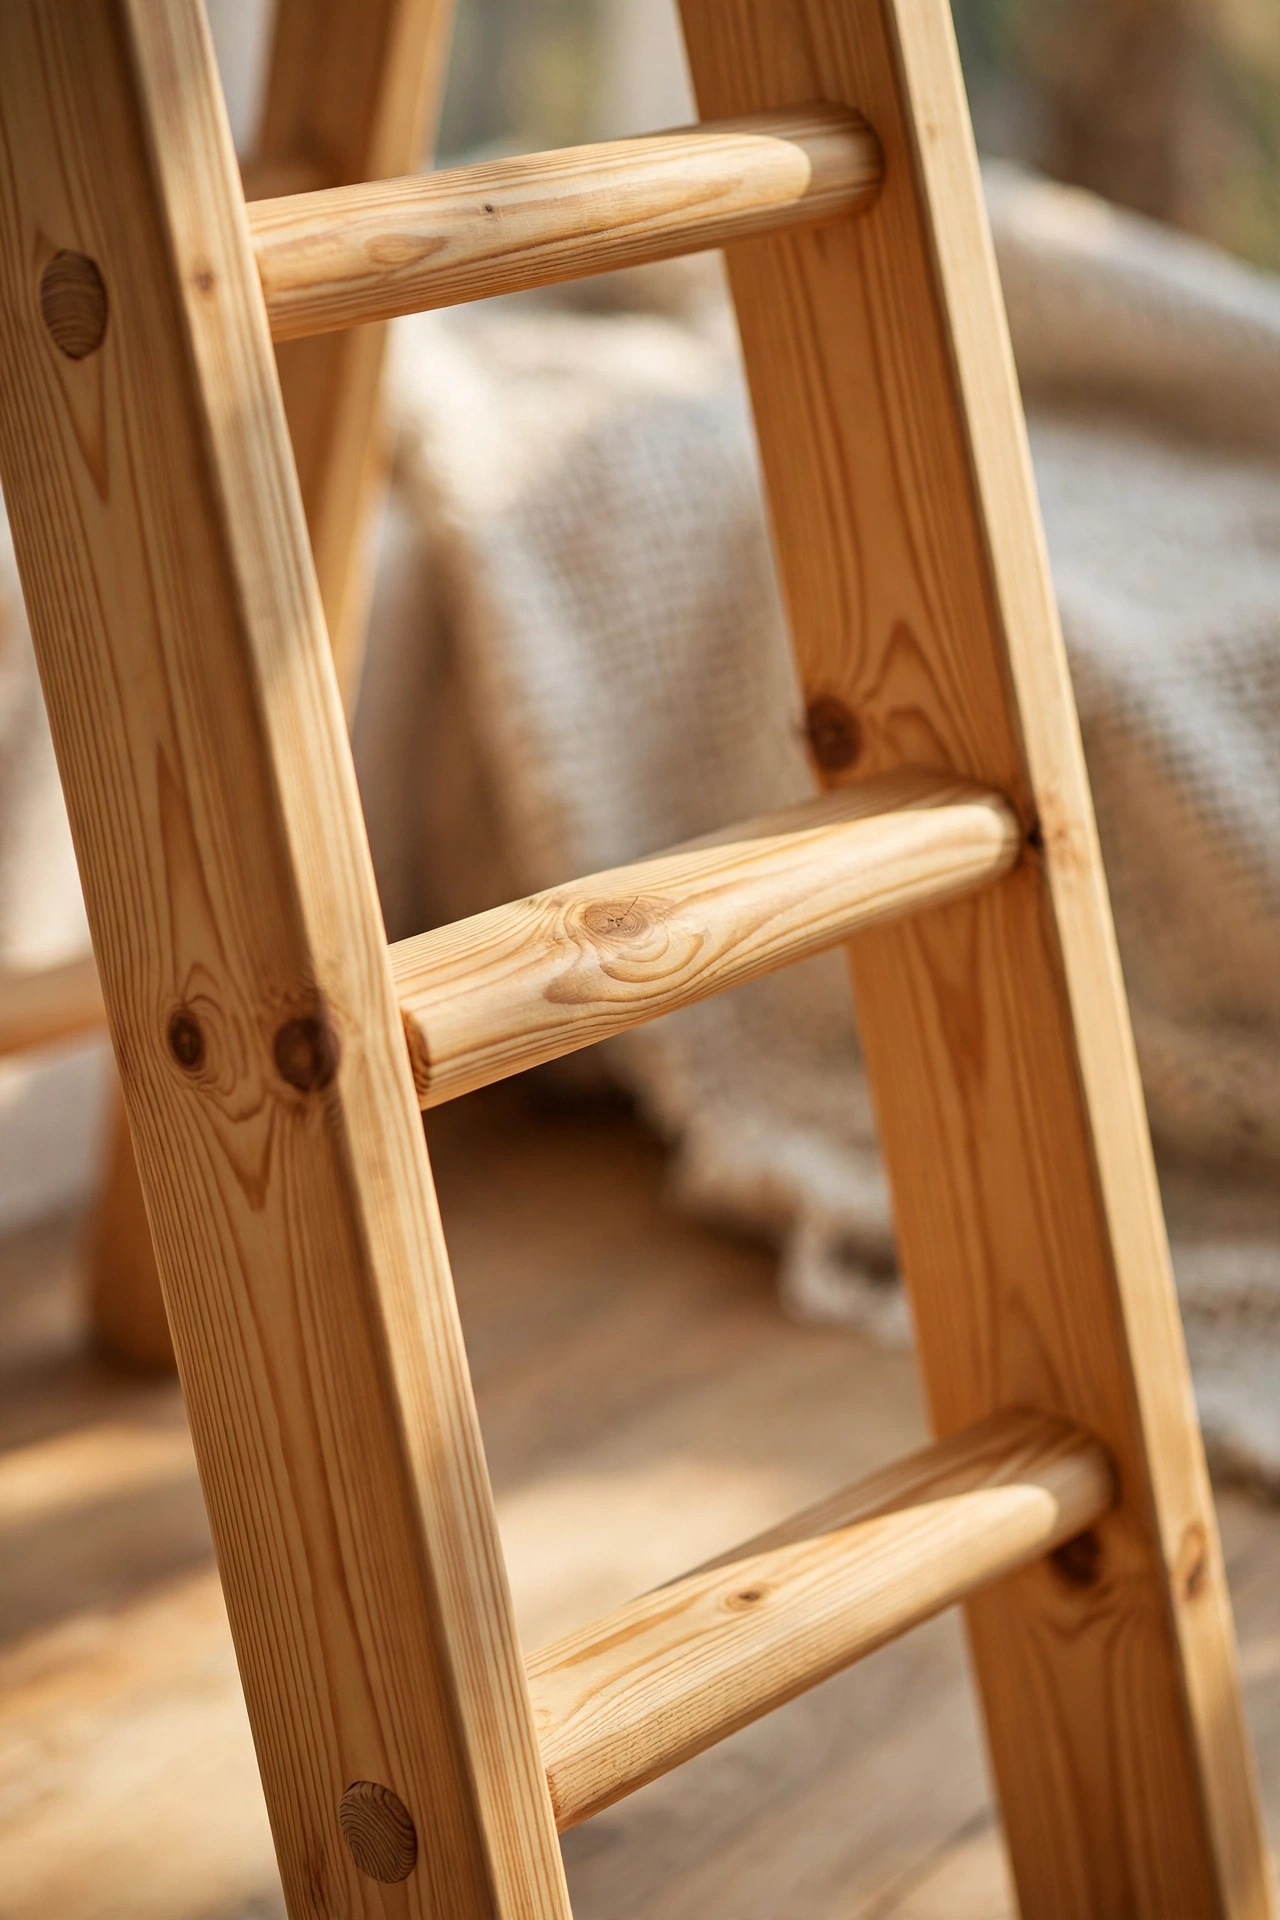
A wooden blanket ladder is one of those rare projects that is genuinely useful, genuinely beautiful, and genuinely easy. It leans against the wall, holds three or four folded blankets within easy reach, and turns a pile of throws on the sofa into a tidy display. Best of all, learning how to build a wooden blanket ladder for beginners takes only an afternoon, a handful of basic tools, and less than $15 of wood if you already own a drill and a saw.
In this guide, you will learn how to build a wooden blanket ladder for beginners from start to finish. We will cover choosing the right wood, getting the lean angle right so the ladder is stable, spacing the rungs so blankets hang neatly, and finishing the wood so it feels smooth and looks like a piece you would happily pay $60 or more for in a shop. There is an exact cut list, a materials list with costs, and answers to the questions beginners ask most often. No joinery experience is needed, no fancy tools are required, and every step is explained in plain language.
If you can measure, cut a straight line, and drill a hole, you can build this ladder. Let us get started.
Why This Is the Perfect First Woodworking Project
A blanket ladder is the ideal first build because it is forgiving. It has only two rails and four or five rungs, there are no angles to cut except a small optional angle at the feet, and small mistakes are easy to hide or fix. Unlike a chair or a table, it does not need to support a person’s weight, so the joints do not have to be perfect. It also teaches the core skills every woodworker needs: measuring accurately, cutting to a line, drilling straight holes, gluing and clamping, and sanding and finishing.
The result is also something you will actually use every day. A blanket ladder keeps throws off the floor, stops them getting tangled in a basket, and adds warmth and texture to a living room or bedroom. It is a popular handmade gift, too, and it is one of the simplest pieces to sell at a craft fair or online. If you are building a small collection of beginner projects to sell, this ladder sits happily alongside the other easy woodworking projects for beginners that sell, and it is often the first one buyers pick up because it is light, affordable, and easy to picture in their own home.
Plan on about two to three hours of active work, plus drying time for glue and finish. Most of that time is measuring, sanding, and waiting. The actual cutting and assembly takes less than an hour once your pieces are marked.
Choosing the Best Wood for Your Blanket Ladder
Pine is the best choice for a first blanket ladder. It is cheap, light, widely available, and easy to cut and drill. A pair of 1 x 2 inch (2.5 x 5 cm) pine boards for the rails and a pine dowel for the rungs will cost only a few dollars at most home centres. Pine also takes stain, paint, and clear oil well, so you can match almost any room. Look for boards that are straight, with as few knots as possible, and run your hand along the edge to check for twists or cups before you buy.
If you want a richer look, cedar is a lovely upgrade. It is light, smells wonderful, and has a warm reddish tone, but it is softer than pine and a little more expensive. Poplar is another good option: it is smooth, paints beautifully, and has almost no visible grain, which suits a modern painted ladder. Oak and walnut look superb, but they cost much more and are harder to drill, so save them for your second ladder. Avoid pressure-treated timber entirely — it is heavy, damp, and not meant for indoor furniture.
For the rungs, a round hardwood dowel, 1 inch (2.5 cm) in diameter, is the classic choice. Round rungs are gentle on blankets, easy to grip, and simple to fit into drilled holes. Square rungs cut from the same 1 x 2 inch stock also work and give a chunkier, farmhouse look, but they need a little more sanding on the edges. If you are unsure which timber suits your skill level and budget, read our guide to the best wood for beginner woodworking projects before you shop.
Leaning-Ladder Design, Size, and Lean Angle
A blanket ladder is not a climbing ladder. It leans against the wall at a gentle angle, the top resting against the wall and the feet sitting on the floor a short distance out from the skirting board. That lean is what keeps it stable, so getting it right matters more than any other measurement in this project.
Aim for a lean angle of about 10 to 15 degrees from vertical, which works out to the feet sitting roughly 20 to 30 cm (8 to 12 inches) out from the wall for a ladder 150 cm (5 feet) tall. A good rule is the 4-to-1 rule borrowed from step ladders: for every 4 units of height, the feet sit 1 unit out from the wall. At that angle the ladder will not slide, the blankets hang flat against the rungs, and the ladder still looks slim against the wall. If the angle is too steep, the ladder looks upright and awkward and can tip forward when you pull a blanket off. If the angle is too shallow, the feet stick too far into the room and someone will trip over them.
The standard size in this guide is 150 cm (59 inches) tall and 45 cm (18 inches) wide, with five rungs. That holds three to four folded blankets comfortably. A taller ladder holds more blankets but becomes top-heavy, while a wider ladder suits chunky throws. Use the table below to pick the size that fits your room and your blanket collection.
| Ladder height | Width | Rungs | Blankets it holds | Best for |
|---|---|---|---|---|
| 120 cm (47 in) | 40 cm (16 in) | 4 | 2–3 | Small bedrooms, children’s rooms, nurseries |
| 150 cm (59 in) | 45 cm (18 in) | 5 | 3–4 | Most living rooms and bedrooms (recommended) |
| 180 cm (71 in) | 50 cm (20 in) | 6 | 4–5 | Large rooms, tall walls, lots of throws |
Before you cut anything, measure your wall. Check the height of the skirting board, because the feet sit on the floor in front of it, and make sure there is no picture rail, light switch, or plug socket where the top of the ladder will rest. A quick test with a broom handle leaned at the angle you want will show you exactly how the finished ladder will sit.
Tools and Materials You Will Need
You do not need a workshop full of tools for this build. A tape measure, a pencil, a saw, a drill, sandpaper, and two clamps will do the job. A circular saw or mitre saw speeds up the cutting, but a simple hand saw works just as well — it only takes a few minutes longer. A Forstner bit gives the cleanest rung holes, but a standard 1-inch (25 mm) spade bit or twist bit works fine if you drill slowly and clamp the rail firmly.
The materials list below is for the standard 150 cm (59 inch) ladder with five rungs. Prices are approximate home-centre prices in US dollars and will vary by store, but the wood itself should come in well under $15. If you already have glue, screws, and sandpaper at home, the wood may be your only cost.
| Material | Size / quantity | Approx. cost |
|---|---|---|
| Pine board for rails | 2 x 1 x 2 in (2.5 x 5 cm), 180 cm (6 ft) long | $4–$6 |
| Pine dowel for rungs | 1 in (2.5 cm) diameter, 180 cm (6 ft) long | $3–$5 |
| Wood glue | Small bottle, about 120 ml (4 oz) | $2–$4 |
| Wood screws | 10 x 1.5 in (38 mm) screws, optional | $1–$2 |
| Sandpaper | 80, 120, and 220 grit sheets | $2–$3 |
| Finish (oil, wax, or polyurethane) | Small tin or sample size | $0–$5 |
| Felt pads or rubber feet | 4 small adhesive pads | $1 |
Total wood cost: roughly $7 to $11. Total project cost, if you need to buy glue and sandpaper too: roughly $12 to $15. That is a fraction of the $50 to $80 a similar ladder costs in a home decor shop, and yours will be made from solid wood, not hollow MDF.
Exact Cut List
Measure twice and cut once — it is the oldest advice in woodworking, and it matters most on a project this simple, because every cut is visible. Cut the rails first, then the rungs, and label each piece with a pencil as you go so you do not mix them up.
| Part | Quantity | Length | Material |
|---|---|---|---|
| Side rails | 2 | 150 cm (59 in) | 1 x 2 in (2.5 x 5 cm) pine |
| Rungs | 5 | 45 cm (18 in) | 1 in (2.5 cm) pine dowel |
| Optional top caps | 2 | Small offcuts | Same pine as rails |
Note that the rung length of 45 cm (18 inches) is the distance between the outside faces of the two rails when they are 45 cm apart overall. If you prefer dowel rungs that sit inside drilled holes, cut each rung to 45 cm (18 inches) plus 2 cm (3/4 inch) at each end to sink into the holes — that is, 49 cm (19.5 inches) total — or simply cut them to 45 cm and drill holes 1 cm (3/8 inch) deep on each side. Either way works; just be consistent on all five rungs. If you are making the 120 cm or 180 cm version from the size table above, keep the same rung length and spacing logic and only change the rail length and the number of rungs.
Step 1: Measure and Mark the Rails and Rungs
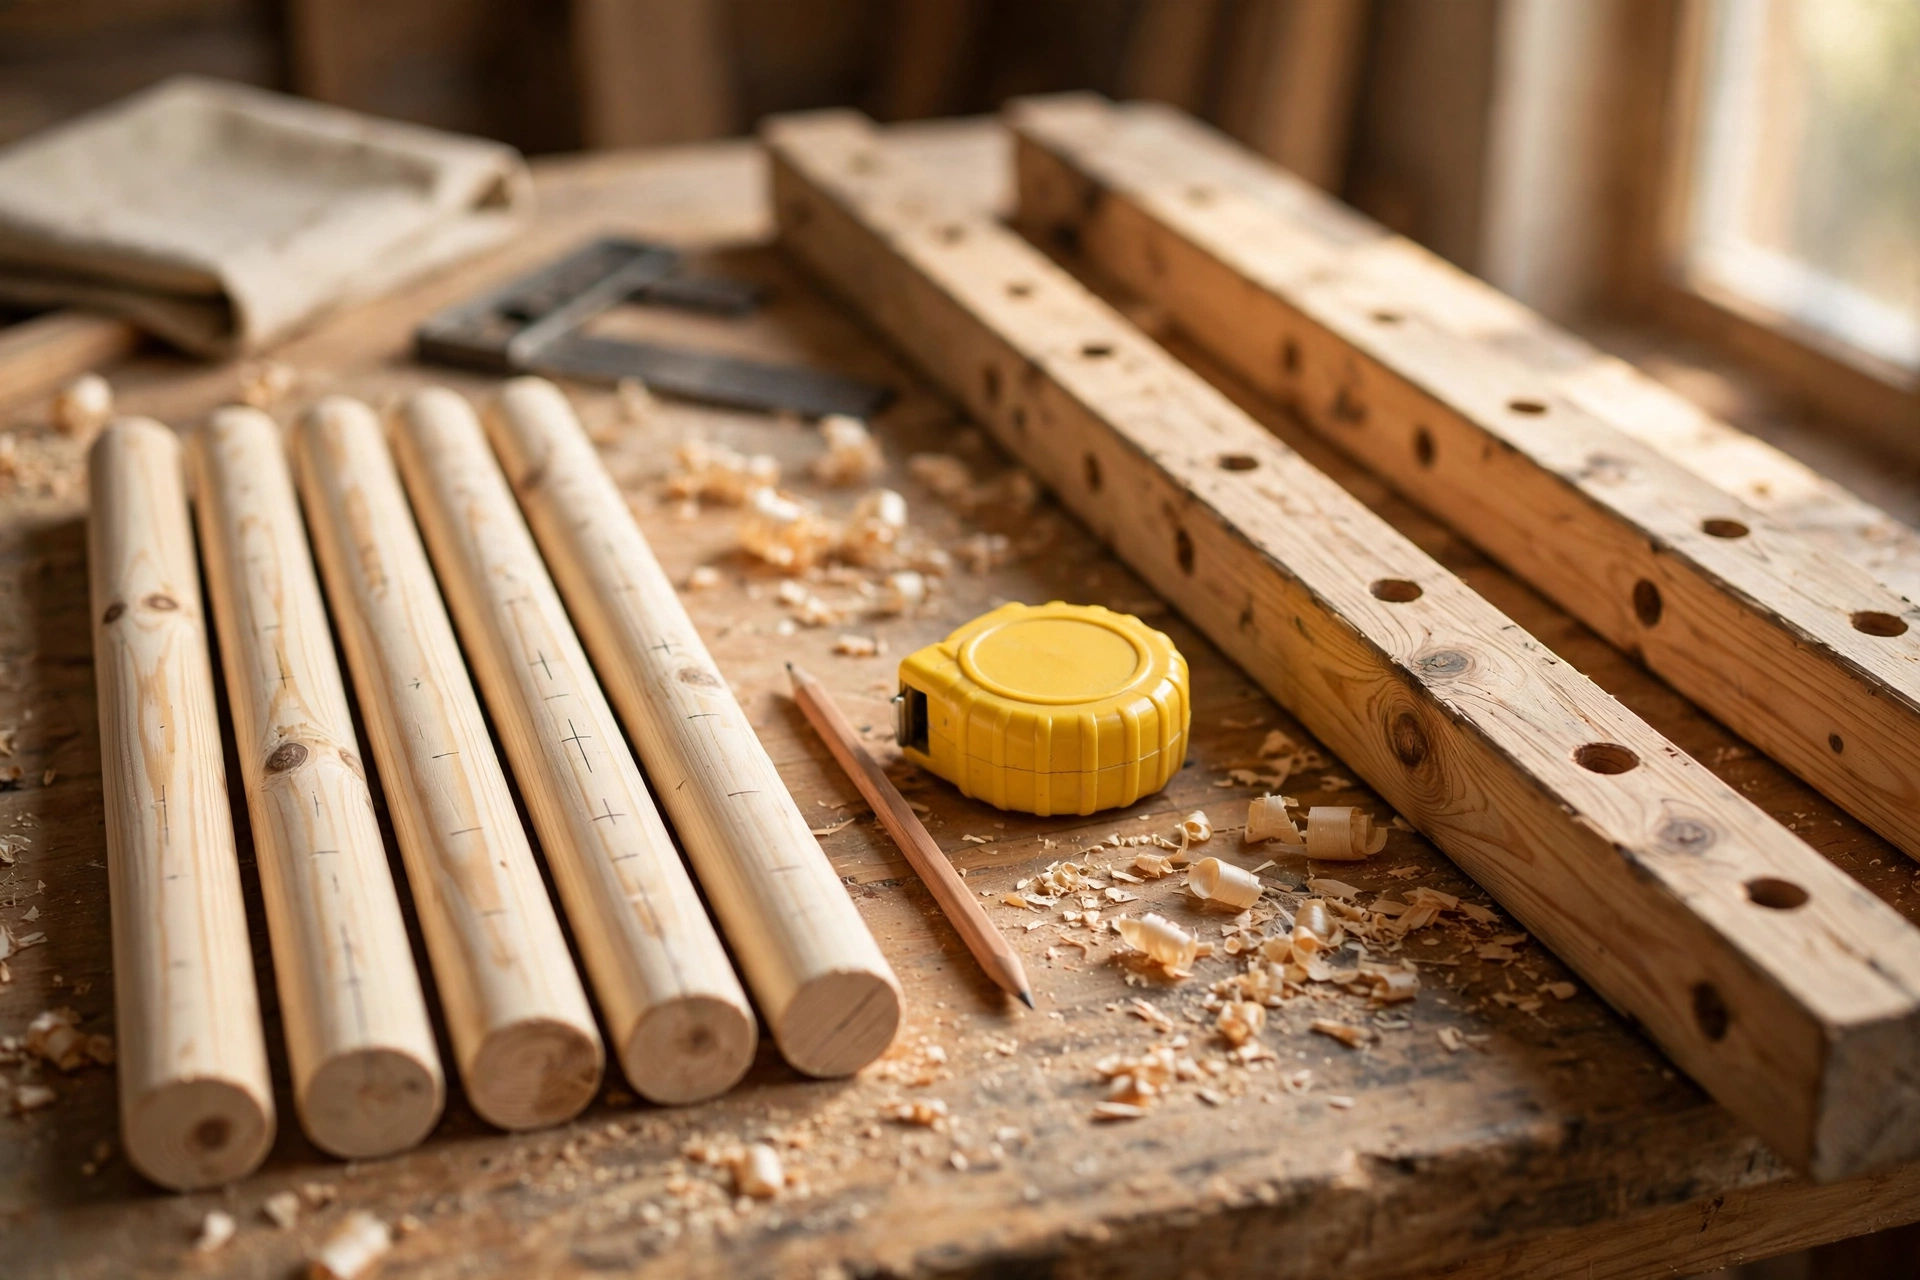
Lay the two rails side by side on your workbench, edges aligned, and clamp them together lightly so they cannot move. Marking both rails at the same time is the single best trick in this whole project: it guarantees the rung holes on the left rail line up exactly with the holes on the right rail, so the rungs sit level instead of sloping.
Start by marking the centre of the first rung hole 15 cm (6 inches) down from the top of each rail, then mark the remaining four holes every 30 cm (12 inches) after that. That puts the lowest rung 15 cm (6 inches) above the floor, which is high enough to keep a hanging blanket off the floor but low enough to use. Double-check the spacing with a tape measure before you pick up the drill. Mark the centre of each hole with a small cross, and mark the centre line down the face of each rail so the drill bit stays centred on the board.
Now mark the dowel for cutting. Measure and mark five lengths of 45 cm (18 inches), or 49 cm (19.5 inches) if your rungs will sink into the holes, and leave a little extra at the end of the dowel for the saw kerf. A sharp pencil line wrapped around the dowel, made by rolling it under a square, is easier to follow than a single short mark.
Step 2: Cut the Rails and Rungs to Length
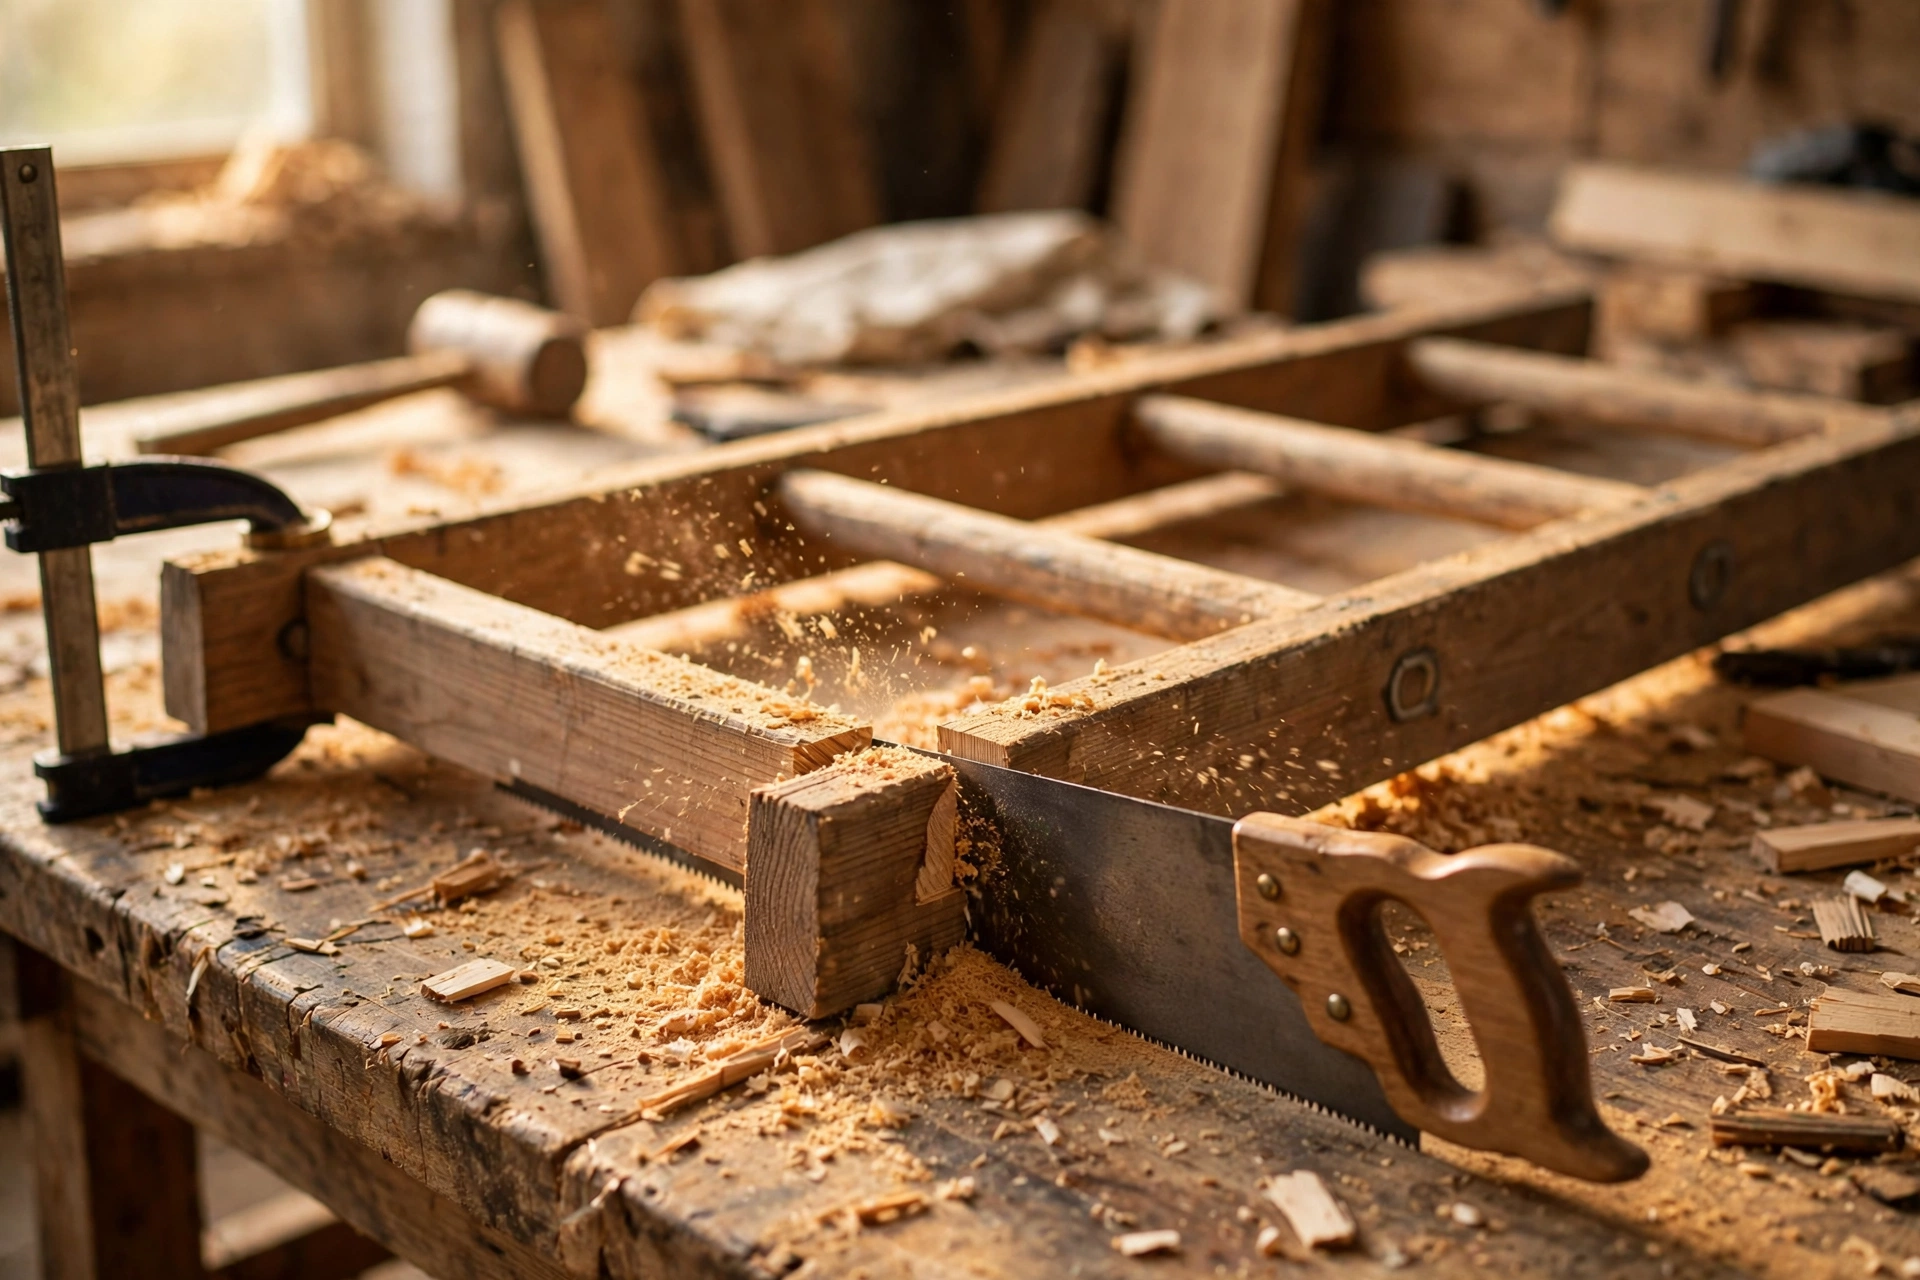
Cut the two rails to 150 cm (59 inches) first. If you are using a hand saw, clamp the board to the bench, keep the saw square to the board, and use long, steady strokes — let the saw do the work rather than forcing it. If you are using a circular saw, set the depth so the blade just clears the board, clamp a straight edge as a guide, and cut slowly. Either way, cut just outside your pencil line, then sand back to the line for a clean, exact edge.
Cut the five dowel rungs next. A mitre box is very handy here because it holds the round dowel still and keeps the cut square. Without one, roll the dowel against a stop block and hold it firmly while you saw. Cut all five rungs, then stand them side by side and check they are the same length — if one is a millimetre long, sand the end down rather than re-cutting it.
Optional but recommended: cut a small 10 to 15 degree angle on the bottom of each rail so the feet sit flat on the floor when the ladder leans. Hold the rail at the lean angle against a wall, mark where the bottom meets the floor, and cut along that line. It is a small detail, but it stops the ladder rocking and makes it look far more professional. Do the same small angle at the top of the rails if you like, so the top edge sits flat against the wall instead of touching on one sharp corner.
Step 3: Drill the Rung Holes

Drilling straight, clean holes is the most important skill in this build, so take your time. Clamp one rail flat to the bench with the marked face up, and place a scrap board underneath so the drill bit does not tear out the back face when it breaks through. Use a 1-inch (25 mm) Forstner bit or spade bit for a 1-inch dowel, and drill slowly with light, steady pressure. Stop and clear the chips every few seconds so the bit does not overheat or wander.
Drill each hole about 1 cm (3/8 inch) deep if your rungs sit in shallow sockets, or drill right through the rail if you prefer the through-hole look with the dowel ends visible. Through-holes are actually easier for a beginner because you can see exactly when the bit is straight, and the visible dowel ends look charming on a rustic ladder. Whichever you choose, drill both rails the same way, and test-fit one rung before you drill the rest — it should slide in snugly with a gentle tap from a mallet, not loosely and not so tight that it splits the rail.
| Rung | Distance from top of rail | Gap to next rung |
|---|---|---|
| Rung 1 (top) | 15 cm (6 in) | 30 cm (12 in) |
| Rung 2 | 45 cm (18 in) | 30 cm (12 in) |
| Rung 3 | 75 cm (30 in) | 30 cm (12 in) |
| Rung 4 | 105 cm (41 in) | 30 cm (12 in) |
| Rung 5 (bottom) | 135 cm (53 in) | — |
The 30 cm (12 inch) gap between rungs is deliberate. It leaves enough room for a folded blanket to hang without bunching, and it keeps the ladder looking open and light. If you space the rungs closer together, blankets overlap and the ladder looks crowded; space them further apart and you waste useful hanging space.
Step 4: Assemble the Ladder
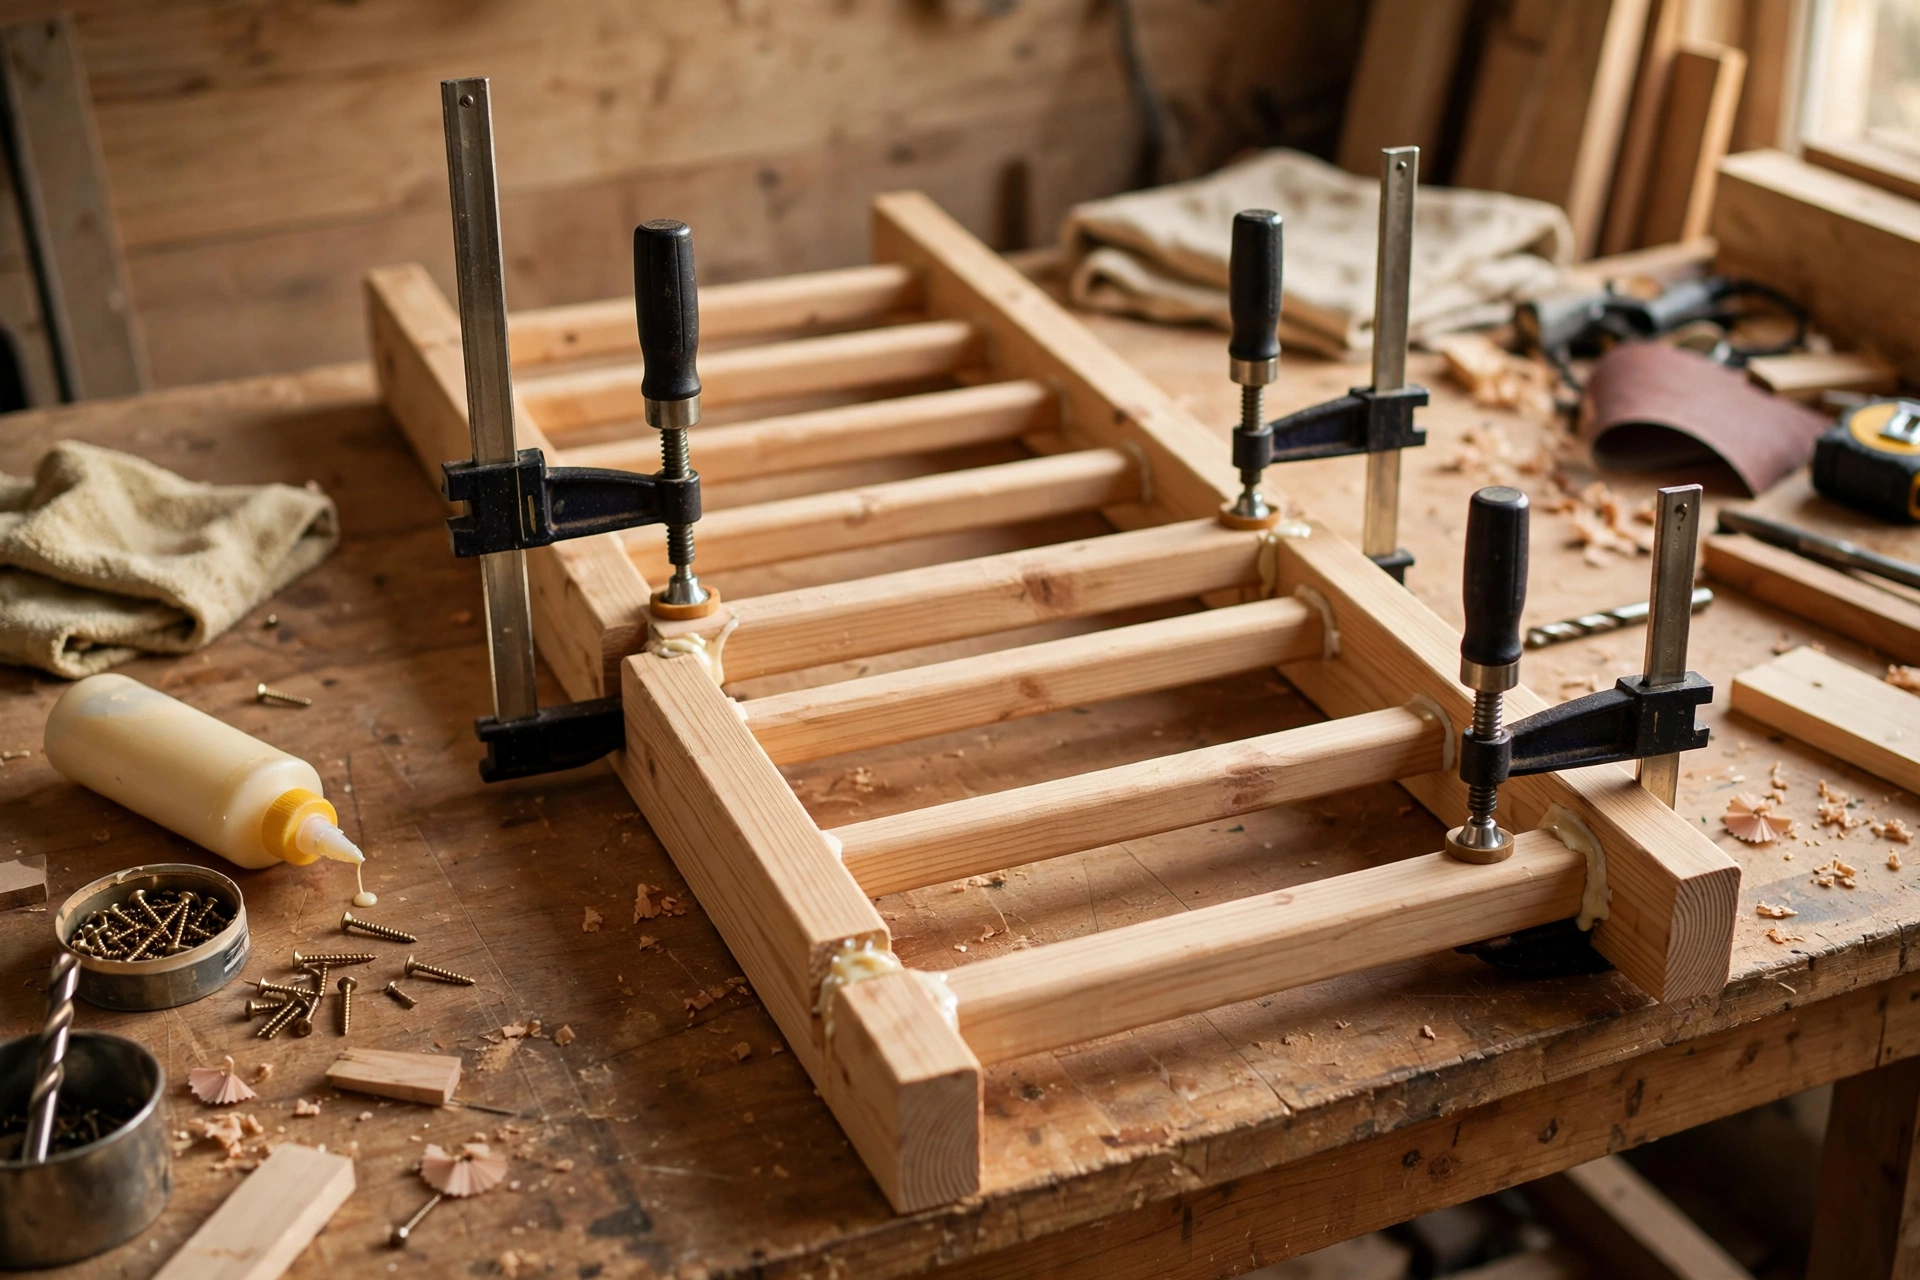
Assembly is the satisfying part, and it goes quickly if you do a dry fit first. Without any glue, slide all five rungs into the holes on one rail, then fit the second rail over the free ends. Check that everything sits square: measure diagonally from corner to corner, and both diagonals should be the same length. If they are not, tap the rails gently until they match. Take it apart, and you are ready to glue.
Put a small amount of wood glue inside each hole and a thin smear on the ends of each rung. Too much glue will squeeze out and make a mess; a pea-sized drop per hole is enough. Reassemble the ladder, tap the rungs home with a mallet and a scrap block so you do not dent the wood, and clamp the rails together lightly. Wipe away any glue squeeze-out immediately with a damp cloth, because dried glue shows up as a pale patch under a clear finish.
For extra strength, drive one 1.5-inch (38 mm) screw through the outside of each rail into the end of each rung, after pre-drilling a small pilot hole so the rail does not split. This step is optional — glue alone is strong enough for blankets — but screws make the ladder rock-solid and are worth doing if children or pets will bump into it. Leave the clamps on for at least 30 minutes, and let the glue cure for a full 24 hours before you hang blankets on the ladder or move it around much.
Step 5: Sand and Finish
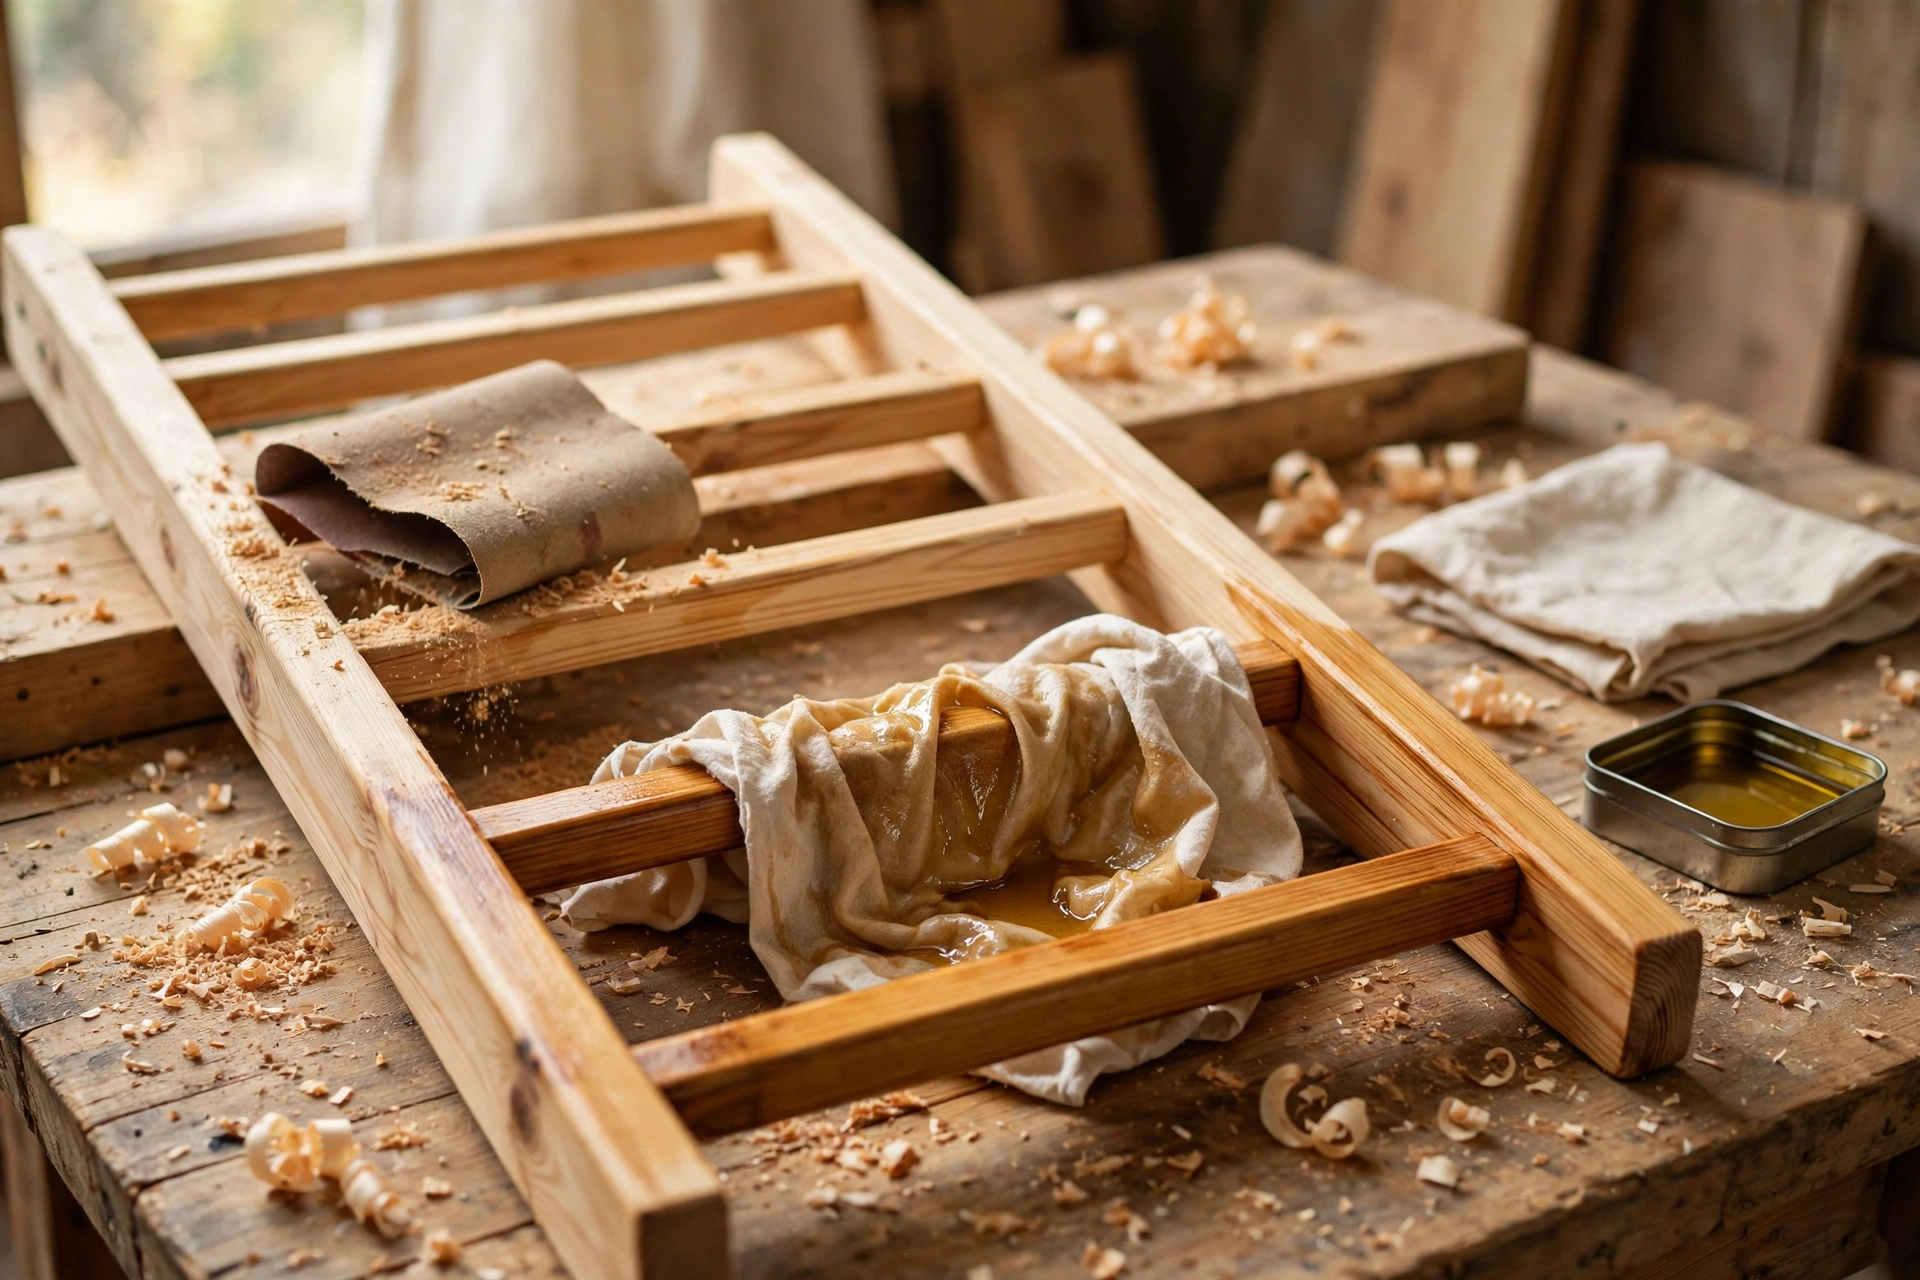
Sanding is what separates a homemade-looking ladder from a shop-quality one, so do not rush it. Start with 80-grit sandpaper to remove saw marks and sharp edges, then move to 120 grit, and finish with 220 grit for a smooth, soft surface. Always sand with the grain, never across it, and pay special attention to the rung ends and the edges of the rails, where splinters hide. Run your bare hand over every surface when you think you are done — your fingers will find rough spots your eyes miss.
Round over the sharp edges slightly with sandpaper, especially on the rails where hands will grip the ladder. Blankets snag on sharp corners, so a soft, eased edge is both safer and kinder to your throws. Vacuum or wipe off all the dust with a tack cloth before you finish, because dust trapped under oil or polyurethane looks like sand in the finish.
For a natural look, rub in two thin coats of Danish oil or tung oil, letting each coat soak in for 15 minutes and wiping off the excess. For more protection, use a water-based polyurethane in a satin or matte sheen — two coats, lightly sanded with 220 grit between coats. If you prefer colour, a stain or paint works well too; pine takes stain unevenly, so use a pre-stain conditioner first, or choose paint for the most even result. Our guide to how to paint wood furniture for beginners covers the full prep and painting process if you want a painted finish.
Where to Use Your Finished Blanket Ladder

The living room is the classic spot: lean the ladder beside the sofa, within arm’s reach, so the family can grab a throw on a cold evening and put it back without thinking. In the bedroom, it works beautifully at the foot of the bed or in an empty corner, holding the extra blanket you reach for at night. In a bathroom, the same design becomes a towel ladder — in fact, the build is almost identical, and you can see the bathroom version in our guide to how to build a wooden towel ladder for beginners.
Other good spots include a nursery, where it holds baby blankets and muslins; a guest room, where it makes visitors feel welcome; and a hallway, where it holds scarves and light wraps. Wherever you put it, keep the feet on a flat floor, keep the top resting against a solid wall, and stick felt pads on the feet and on the top of the rails so the ladder never scratches the floor or the paint. If you have small children, consider fixing the top of the ladder to the wall with a small bracket or a strip of hook-and-loop tape, just as you would with a leaning shelf. A similar wall-friendly storage idea is a set of floating shelves for beginners, which pair nicely with a blanket ladder in the same room.
Style it simply: two or three blankets is enough. Fold each throw in half lengthways, drape it over a rung, and let the ends hang evenly. Mix textures — a chunky knit, a smooth cotton throw, and a light linen blanket — and keep the colours in the same family as the room. Change the blankets with the seasons: light cottons in summer, heavy wool in winter.
Common Mistakes to Avoid
The most common mistake is drilling the rung holes at different heights on the two rails, which makes the rungs slope. Marking both rails together while they are clamped side by side prevents this completely. The second mistake is using too much glue, which squeezes out and leaves pale patches under the finish — use less than you think you need, and wipe up squeeze-out straight away.
Other mistakes to watch for: cutting the rungs different lengths, which makes the ladder twist; skipping the sanding, which leaves splinters that snag blankets; and finishing the ladder before the glue has cured, which can weaken the joints. Finally, do not stand on the ladder or let children climb it. A blanket ladder is a display and storage piece, not a step ladder, and it is not built to carry a person’s weight.
Frequently Asked Questions
How long does it take to build a wooden blanket ladder?
Most beginners finish the cutting, drilling, and assembly in two to three hours, plus 24 hours for the glue to cure and a few hours for the finish to dry. If you use a fast-drying oil and start in the morning, you can have the ladder in place by the next day.
What is the best wood for a blanket ladder?
Pine is the best choice for a first blanket ladder because it is cheap, light, and easy to cut and drill. Cedar and poplar are good upgrades, while oak and walnut look beautiful but cost more and are harder to work with as a beginner.
What angle should a leaning blanket ladder be?
Lean the ladder at about 10 to 15 degrees from vertical, with the feet roughly 20 to 30 cm (8 to 12 inches) out from the wall for a 150 cm (5 foot) ladder. That angle keeps it stable, keeps blankets hanging flat, and keeps the feet from sticking too far into the room.
How far apart should blanket ladder rungs be?
Space the rungs 30 cm (12 inches) apart, with the first rung 15 cm (6 inches) from the top of the rails and the last rung 15 cm (6 inches) above the floor. That spacing fits folded blankets neatly without crowding them.
Do I need screws, or is wood glue enough?
Wood glue alone is strong enough to hold blankets, because the rungs carry very little weight. Adding one screw per rung end makes the ladder much stronger and is worth doing if children or pets will bump into it — just pre-drill pilot holes first so the rails do not split.
How much does it cost to build a wooden blanket ladder?
The wood costs roughly $7 to $11, and the whole project comes in under $15 if you already own glue, sandpaper, and a finish. A similar solid-wood ladder in a shop typically sells for $50 to $80, so this is a genuine saving as well as a fun afternoon project.
Recommended Products for This Project
As an Amazon Associate, I earn from qualifying purchases.

DEWALT 20V MAX Cordless Drill/Driver Kit (DCD771C2)
This compact drill makes drilling clean, straight rung holes and driving screws easy, even in a small workshop.

Titebond III Ultimate Wood Glue 1413 (8 oz)
A strong, waterproof wood glue that holds dowel rungs firmly in place and keeps the ladder solid for years.

3M Aluminum Oxide Sandpaper, Assorted Grits, 9-in x 11-in Sheets (9005NA)
Assorted grits take the rails and rungs from rough-sawn to silky smooth, so blankets never snag on splinters.

IRWIN QUICK-GRIP Mini Bar Clamp 4-Pack, 6-Inch (1964758)
These small clamps hold the rails steady while you drill and keep the ladder square while the glue dries.
Minwax Water Based Helmsman Spar Urethane, Gallon, Gloss (710500000)
A clear, durable topcoat that protects the wood from daily handling and brings out the warm pine grain.


