
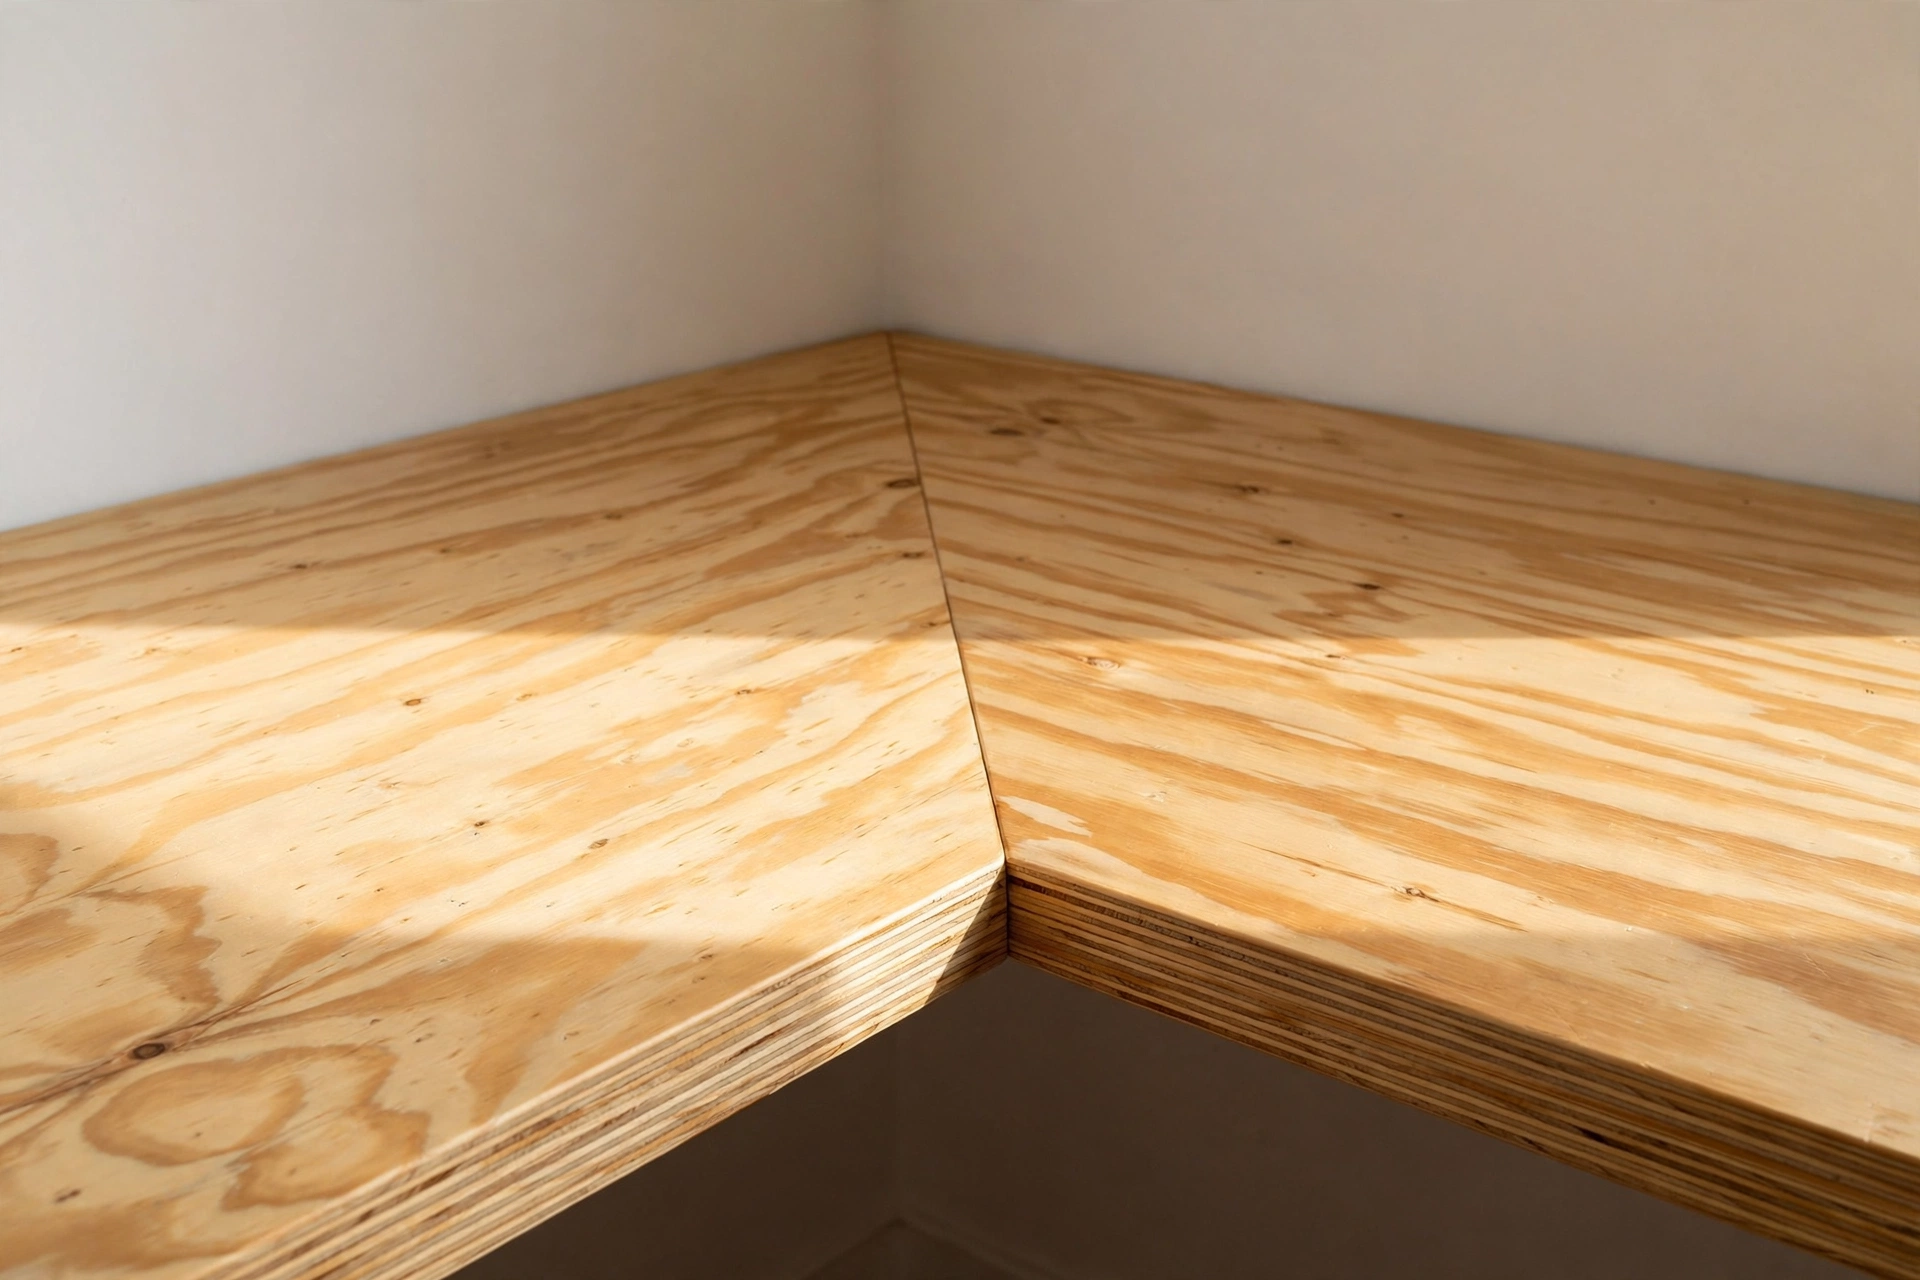
A spare corner is the most wasted space in a home office: too awkward for a straight desk, too small for a bookshelf, and too easy to fill with a pile of boxes. A shop-bought corner desk rarely fits the corner you actually have — it is either too deep, too short on one side, or made from flimsy particleboard that sags within a year. Learning how to build a wooden corner desk for beginners solves all three problems at once: this measured 55 × 83-inch (140 × 211 cm) L-shaped design fits a real room corner, uses two wings of solid plywood joined with a simple 45-degree corner seam, and costs a fraction of a comparable shop-bought desk. In this guide, you will learn how to measure your corner, size the two wings, cut the 45-degree corner join, support the desk with wall brackets and legs, and finish it so it survives daily laptop work, coffee cups, and years of use.
This is the L-shaped version of the project, not a straight desk: the two wings run along two different walls and meet at a diagonal seam in the corner, which is what makes a corner desk feel so much bigger than its footprint. If you only have one free wall, a straight desk is the better build — but if you have a corner, this is the desk that turns it into the most useful spot in the room. This project takes most beginners one weekend — about 4 to 5 hours of hands-on work plus drying time — and it sits comfortably alongside the other home-office builds in our easy woodworking projects for beginners that sell collection.
What Size Corner Desk Should You Build?
Before you buy a single sheet of plywood, measure your corner — not your room. A corner desk is sized to the two walls it runs along, and the two numbers that matter are the length of each wing and the depth of the desktop. The standard desk height is 30 inches (76 cm), which suits most office chairs, and the standard desktop depth for an adult is 24 inches (61 cm): deep enough for a laptop plus a notebook, a lamp, and a coffee mug without feeling crowded. A depth of 18 inches (46 cm) works for a child’s desk or a laptop-only setup, but most adults find it too shallow once a monitor and keyboard are on it.
This build is 55 inches (140 cm) along one wall and 83 inches (211 cm) along the other, with 24-inch-deep wings — a generous two-person or work-plus-study layout that still leaves the middle of the room free. The two wings meet at a 45-degree diagonal seam in the corner, so there is no dead space behind the desk and no awkward gap where the two tops would otherwise butt together at a square corner. The table below gives three sizes of the same design, so you can pick the one that fits your corner.
| Size | Wing A × Wing B | Depth | Best for | Plywood sheets |
|---|---|---|---|---|
| Small | 40 × 60 in (102 × 152 cm) | 20 in (51 cm) | One laptop, small bedroom corner | 1 sheet |
| Standard (this build) | 55 × 83 in (140 × 211 cm) | 24 in (61 cm) | Home office, two monitors or two people | 2 sheets |
| Large | 60 × 96 in (152 × 244 cm) | 24 in (61 cm) | Full two-person office, dual monitors each | 2 sheets |
Measure both walls from the corner outwards, and check the corner itself: hold a carpenter’s square into the corner and look for gaps. Many room corners are not a perfect 90 degrees — older houses can be off by a degree or two, and a desk built for a perfect corner will show a gap against a wonky wall. If your corner is out of square, build the desk to your measured angle (the 45-degree seam section below shows how) rather than trusting the walls. Also check what is on the walls: skirting boards, power outlets, and radiators all eat into the space. Measure from the face of the skirting board, not the wall, or the desk will sit ¾ inch (19 mm) proud of the wall on each side. Finally, sit in your office chair at the corner and check your knee room: you need at least 24 inches (61 cm) of clear space under the desktop at the corner seat, and the chair should be able to slide in and out without hitting a leg.
The 45-Degree Corner Join, Explained
The 45-degree corner join is the one piece of geometry in this build, and it is simpler than it sounds. A room corner is 90 degrees. If each wing of the desk ends in a 45-degree cut, the two cuts meet to form exactly 90 degrees — the same way two 45-degree mitres form a square picture-frame corner. The seam runs diagonally across the corner of the desk, from the inner corner where the two walls meet out to the front edge, and its length is the depth of the desktop multiplied by 1.41: for a 24-inch-deep top, the seam is about 34 inches (86 cm) long.
Here is how it works in practice. Each wing is a rectangle of plywood: Wing A is 55 × 24 inches and Wing B is 83 × 24 inches. On the end of each wing that goes into the corner, you draw a line at 45 degrees from the back edge to the front edge, and cut along it. When you slide the two wings together, the two 45-degree faces meet flush along the full 34-inch seam, and the two wings form one continuous L-shaped desktop with a single diagonal joint. The joint is glued and screwed from underneath with pocket holes, and a pair of cleats underneath the seam spreads the load so the joint never flexes when you lean on it.
Two beginner mistakes live here. The first is cutting both 45-degree angles facing the same way — the cuts must mirror each other, so one wing’s angle slopes one way and the other’s slopes the opposite way. Label the corner end of each wing with a big pencil “C” before you cut, and double-check the direction by dry-fitting the two pieces on the floor before you glue anything. The second mistake is measuring the wing length to the wrong point: the 55-inch and 83-inch measurements are the full length of each wing along the wall, from the outer end to the tip of the 45-degree cut at the back edge. If you measure to the front tip instead, each wing comes up 24 inches short. Measure along the back edge, mark the corner end, and cut the 45-degree line from that mark.
Choosing the Best Wood for Your Corner Desk
For a first corner desk, birch plywood is the best choice: strong, flat, stable, and attractive enough to leave visible with a clear finish. A ¾-inch (19 mm) sheet of birch plywood costs about $55 to $75, and this build uses two sheets — one good birch sheet for the visible top layer and one cheaper construction-grade sheet for the hidden bottom layer. Laminating the two layers together gives you a 1½-inch (38 mm) thick desktop that feels like solid furniture, will not sag across an 83-inch span, and takes a beautiful edge after a light sanding. For a deeper dive into species, grain, and cost, read our guide to the best wood for beginner woodworking projects.
If birch plywood is hard to find or over budget, cabinet-grade pine plywood is a good substitute at about two-thirds of the price, though it has more knots and a softer face that dents more easily. Avoid MDF for a corner desk: it is heavy, it sags across long spans unless it is very thick, and its edges crumble if they get wet — a bad combination for a desk that holds coffee. Solid pine boards are also an option if you prefer a plank look: glue up five or six 1×8 pine boards per wing, but expect more sanding to level the joints, and buy the boards a week early so they can acclimatise — a plank top that moves after assembly is the number one cause of a wobbly corner seam.
Whichever sheet goods you choose, ask the lumber yard to cut the sheets to rough size if you do not have a table saw: most yards will make the long straight cuts for a small fee, and you only need to make the two 45-degree cuts at home with a circular saw. Pick sheets that are flat by sighting along the edge, and reject any with a bow or twist — a warped sheet will never sit flat on the wall brackets, and the corner seam will gap.
Tools and Materials You Will Need
You probably own most of these tools already, and the rest can be borrowed or bought cheaply. A circular saw with a straight-edge guide makes every cut in this project — you do not need a table saw. A pocket-hole jig is worth owning for the corner seam and the leg joints, and a stud finder is essential if you are using wall brackets, because brackets must screw into studs, not bare plasterboard.
| Item | Details | Typical cost |
|---|---|---|
| Birch plywood, ¾ in (19 mm) | 1 sheet, 4 × 8 ft (122 × 244 cm), for the top layer | $55–$75 |
| Construction plywood, ¾ in (19 mm) | 1 sheet, 4 × 8 ft (122 × 244 cm), for the bottom layer | $35–$50 |
| Pine 1×3 boards | 2 boards, 8 ft (2.4 m) long, for wall cleats and seam cleats | $8–$14 |
| Square legs | 3 legs, 28½ in (72 cm) long, from laminated 2×4s or 3×3 posts | $12–$20 |
| Wall brackets | 4–6 heavy-duty L-brackets, one per stud | $15–$25 |
| Pocket-hole screws | 1¼ in (32 mm) coarse-thread, about 40 screws | $6–$10 |
| Wall screws | 3 in (76 mm) screws for brackets into studs | $5–$8 |
| Wood glue | One 16 oz (473 ml) bottle | $6–$9 |
| Edge trim | Oak or pine trim, 16 ft (4.9 m), for the front edge | $10–$16 |
| Sandpaper | 80, 120, and 220 grit sheets | $5–$8 |
| Finish | Wipe-on polyurethane or hard-wax oil, 1 quart (0.95 L) | $14–$20 |
| Tools | Circular saw, drill, stud finder, level, tape measure, square, clamps | $0 if owned |
| Total (55 × 83 in, plywood) | Lumber, brackets, screws, glue, trim, finish | $130–$200 |
Safety gear matters too: safety glasses, hearing protection for the saw, and a dust mask for sanding — plywood dust is an irritant, and the glue in plywood makes it worse than solid-wood dust. Apply the finish outside or in a well-ventilated room, and keep oil-soaked rags flat to dry outdoors until stiff, then throw them away — bunched-up oily rags can self-heat.
Cut List for a 55 × 83-Inch Corner Desk
This cut list is for a corner desk 55 inches (140 cm) along one wall and 83 inches (211 cm) along the other, with 24-inch-deep wings and a 30-inch (76 cm) finished height. Cut the plywood wings first, then the cleats and legs — and always measure twice before every cut.
| Part | Material | Size | Quantity |
|---|---|---|---|
| Wing A top layer | ¾ in birch plywood | 55 × 24 in (140 × 61 cm), one end cut at 45° | 1 |
| Wing B top layer | ¾ in birch plywood | 83 × 24 in (211 × 61 cm), one end cut at 45° | 1 |
| Wing A bottom layer | ¾ in construction plywood | 55 × 24 in (140 × 61 cm), one end cut at 45° | 1 |
| Wing B bottom layer | ¾ in construction plywood | 83 × 24 in (211 × 61 cm), one end cut at 45° | 1 |
| Wall cleats | 1×3 pine | Cut to fit each wall run | 2 |
| Seam cleats | 1×3 pine | 30 in (76 cm) long | 2 |
| Legs | Laminated 2×4 or 3×3 post | 28½ in (72 cm) long | 3 |
| Front edge trim | Oak or pine trim | Cut to fit each wing’s front edge | 2 |
The two layers of each wing are the same size and are glued together face to face, which is why the desktop ends up 1½ inches thick. The legs are 28½ inches long because the finished height is 30 inches minus the 1½-inch desktop thickness. The three legs go at the two outer ends and one directly under the corner seam — the seam leg carries the joint, so it is the most important leg in the whole build. If you are using wall brackets instead of legs on the wall sides, you still need the seam leg and the two outer-end legs.
Step 1: Measure and Mark Your Corner
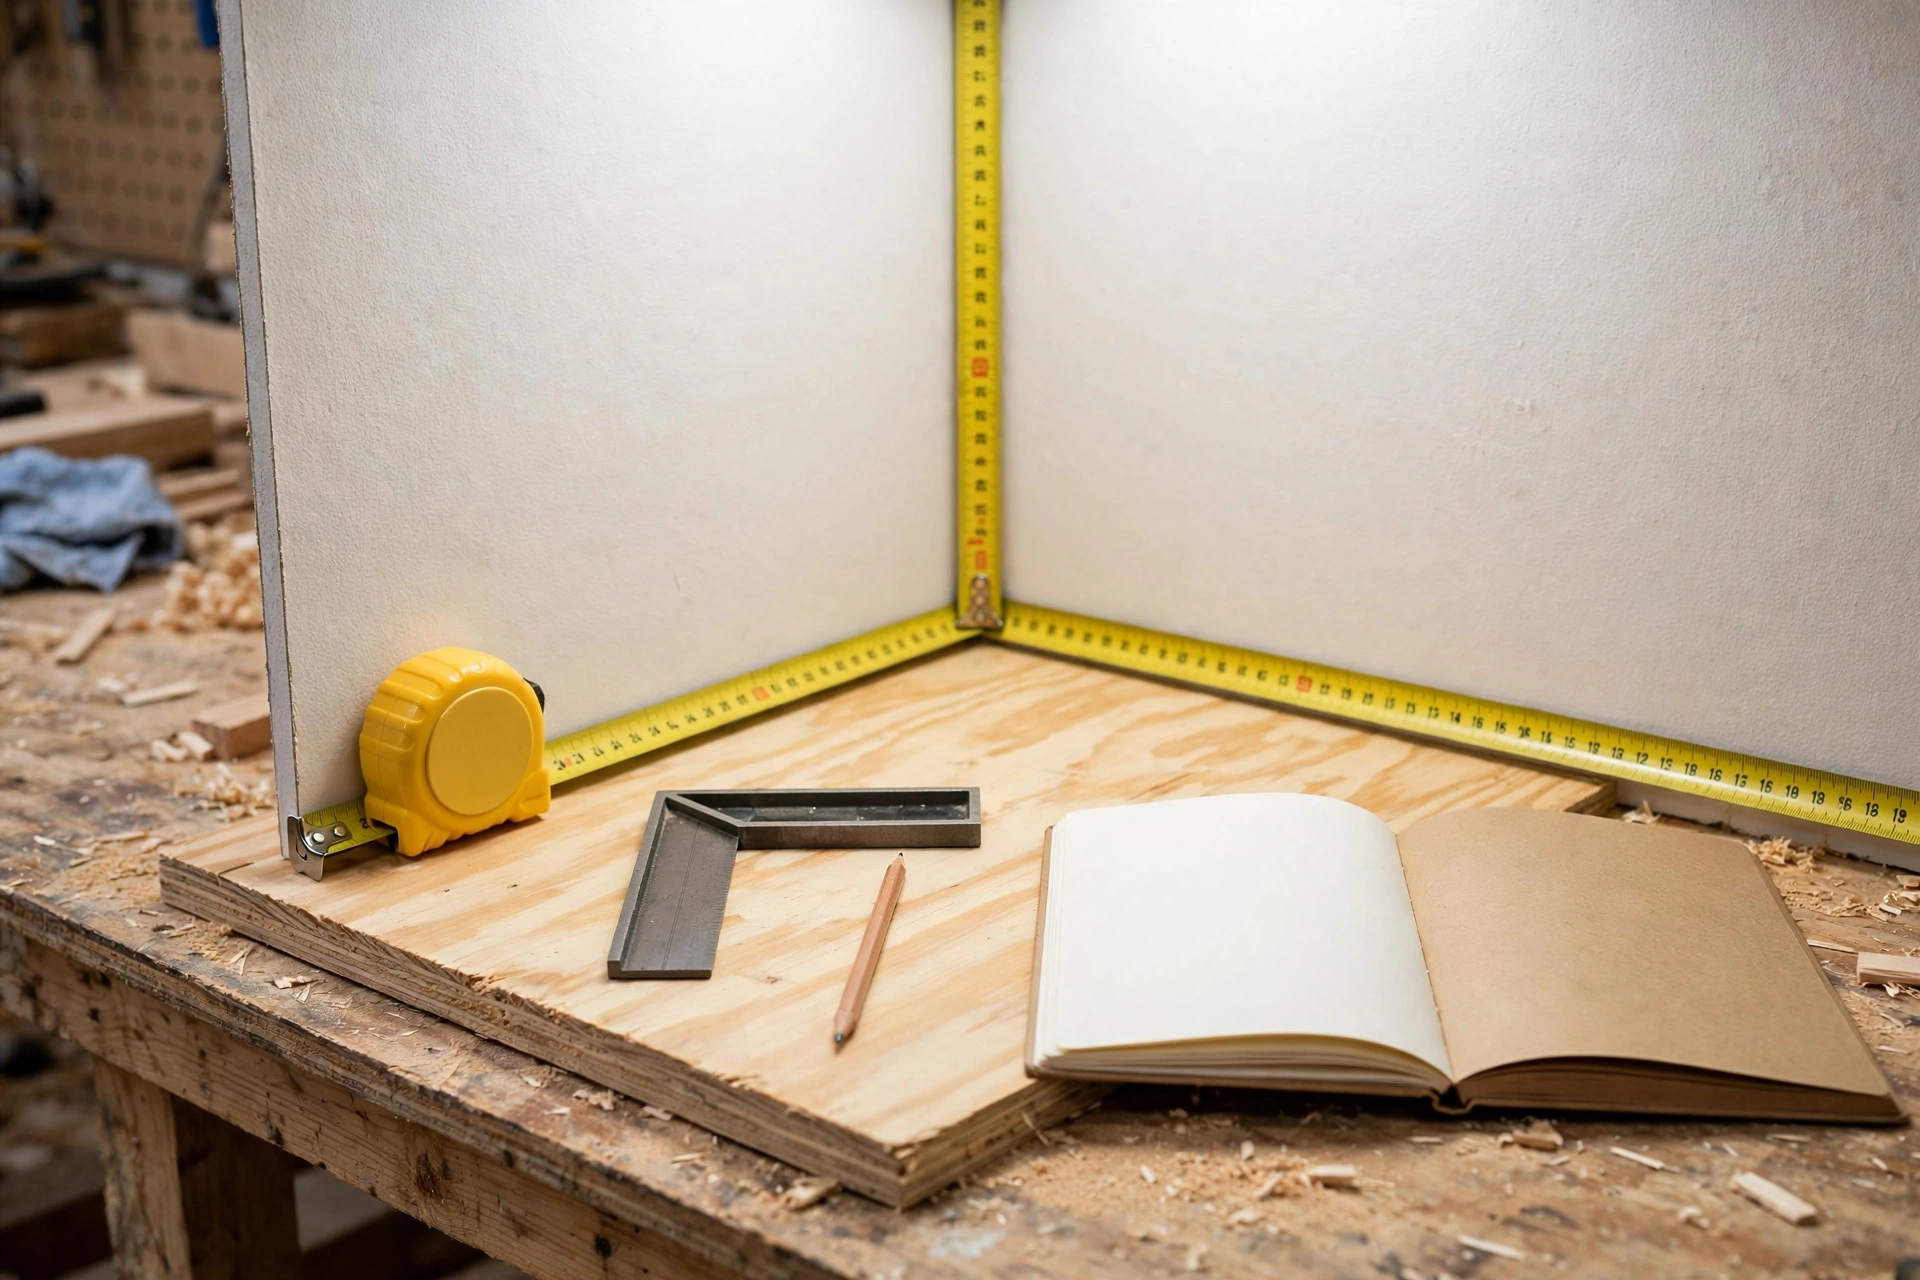
Careful measuring comes first, because every later step depends on it. Start by finding the studs in both walls with a stud finder and marking each one with a small pencil tick at desk height — studs are usually 16 inches (41 cm) apart, and your wall brackets will screw into them. Next, measure both walls from the corner outwards and mark the outer end of each wing on the wall with painter’s tape: 55 inches along one wall, 83 inches along the other. Check the corner with a carpenter’s square: if the square rocks or shows a gap, your corner is not 90 degrees, and you should measure the actual angle with an angle finder and adjust the seam cuts to half that angle instead of 45 degrees.
Now mark the plywood. Lay each sheet on sawhorses and draw the wing outline with a pencil and a straightedge: the back edge, the front edge, the outer end, and the 45-degree line at the corner end. Mark the corner end of each wing with a big pencil “C” and an arrow showing which way the angle slopes — the two wings must mirror each other. Mark the top layer and the bottom layer of each wing at the same time, clamped together, so the two layers match exactly. Finally, measure the wing lengths once more along the back edge, from the outer end to the tip of the 45-degree cut. If anything has changed, adjust the pencil lines now, not after the saw is running.
Step 2: Cut the 45-Degree Corner Join
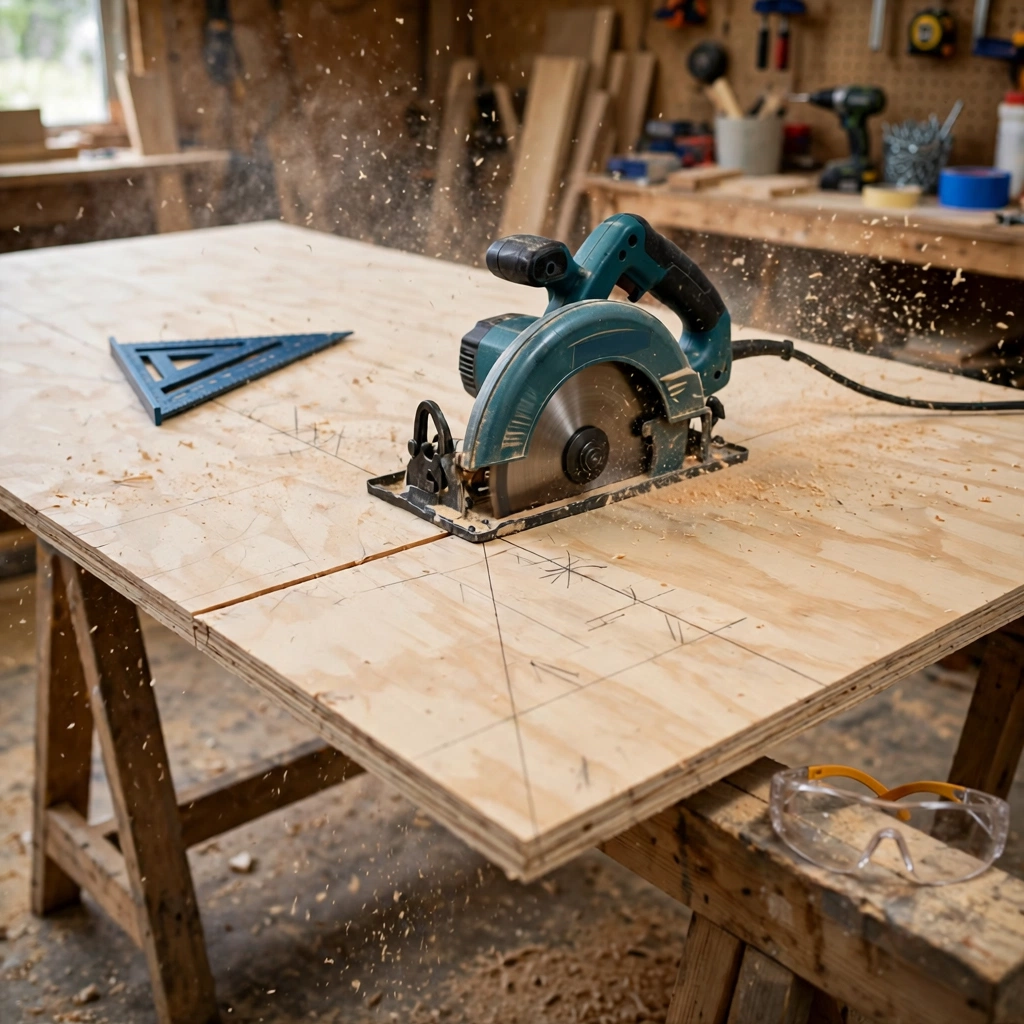
Clamp a straight board to the plywood as a saw guide, and set the circular saw depth so the blade cuts about ¼ inch (6 mm) past the bottom of the sheet — no deeper. Cut the long straight edges first: the back edge and front edge of each wing, and the outer ends. Then cut the 45-degree corner join: set the saw guide along your pencil line and cut slowly and steadily, letting the saw do the work. Pushing hard causes burning and a wandering cut, and a wandering cut on the seam is the one cut in this build that shows. Cut both layers of each wing together, clamped, so the top and bottom layers have identical 45-degree faces.
After cutting, dry-fit the two wings on the floor: slide the 45-degree faces together and check the seam. The two faces should meet along their full 34-inch length with no gap, and the two wings should form a clean 90-degree L with the front edges lining up. A small error here — even ⅛ inch (3 mm) — is easy to fix now by trimming one face with a hand plane or a sanding block, and almost impossible to fix after the layers are glued. Sand the cut edges lightly with 80-grit paper to remove splinters and saw marks. Keep your offcuts: a strip of plywood makes a perfect stain test piece, and a scrap is ideal for testing the pocket-hole jig setting.
Step 3: Join the Two Wings
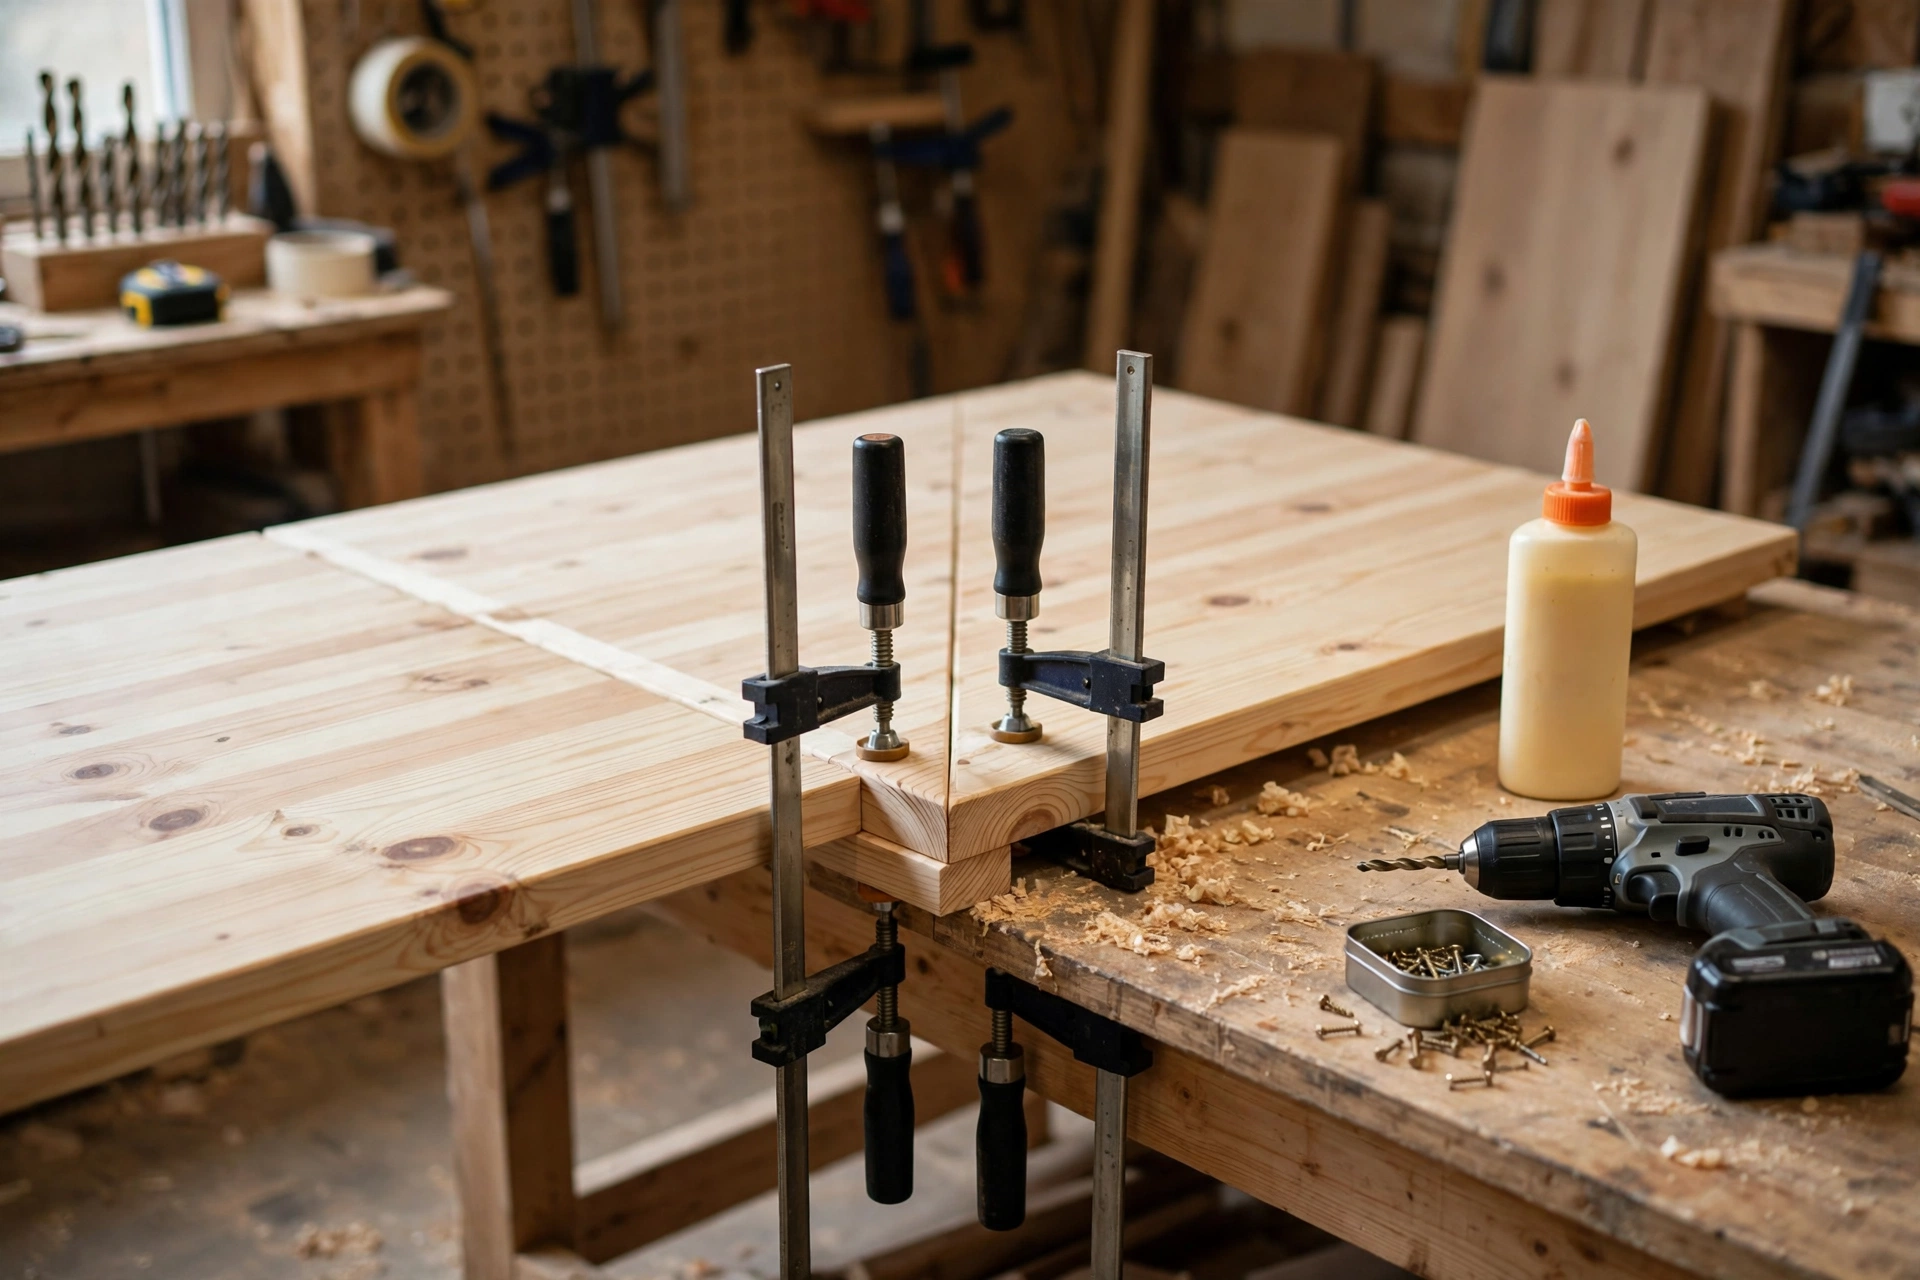
With the wings cut and dry-fitted, laminate each wing first: spread wood glue evenly over the bottom layer, lay the birch top layer on it, and clamp the two layers together around the edges. Drive 1¼-inch (32 mm) screws up from underneath, about every 8 inches (20 cm) around the perimeter and across the middle, so the two layers cure as one solid 1½-inch slab. Wipe away any glue squeeze-out with a damp cloth before it dries — dried glue shows through a clear finish as a pale blotch. Let each wing cure overnight, or at least four hours, before you move it.
Now join the two wings at the corner seam. Stand the wings on edge or lay them upside down on sawhorses, and drill pocket holes along the 45-degree face of each wing, on the underside, using your pocket-hole jig set for 1½-inch (38 mm) stock — always on the face that will never be seen. Spread glue along both 45-degree faces, slide the wings together, and drive the pocket-hole screws through one wing into the other, alternating sides so the joint pulls together evenly. Clamp the seam cleats underneath the joint — one 30-inch cleat on each side of the seam, screwed to both wings — and check with a square that the two wings still form a clean 90 degrees. Let the joint cure overnight before you lift the desktop. A corner desk top this size is heavy, so get a helper to carry it into the room: two people, one at each outer end, and never lift it by the seam alone.
Legs vs Wall Brackets: How to Support a Corner Desk
A corner desk needs support in three places: along each wall and under the corner seam. The two ways to provide it are legs and wall brackets, and most beginner builds use a mix of both — brackets along the walls, where they are invisible and rock-solid, and legs at the outer ends and under the seam, where the desk is furthest from a wall. Brackets screw into the wall studs and carry the back edge of the desktop, which means the desk cannot rack or wobble sideways. Legs carry the front edge and the free ends. The combination is stronger than either option alone, and it leaves the floor under the desk mostly clear for your chair and feet.
| Support option | Pros | Cons | Best for |
|---|---|---|---|
| Wall brackets only | Rock-solid, no legs to bump into, easy to level | Needs studs every 16 in, holes in the wall, hard to move | Permanent home office, rented rooms with permission |
| Legs only (4–5 legs) | Freestanding, moves with you, no wall damage | Legs eat knee room, more wobble on long spans | Renters, desks that may move rooms |
| Brackets + 3 legs (this build) | Strongest, stable, keeps knee room clear | Needs studs and three legs to build | Most home offices — the recommended option |
| Floating (brackets + seam leg only) | Cleanest look, maximum legroom | Heaviest load on brackets, needs solid studs | Light laptop-only use, solid masonry walls |
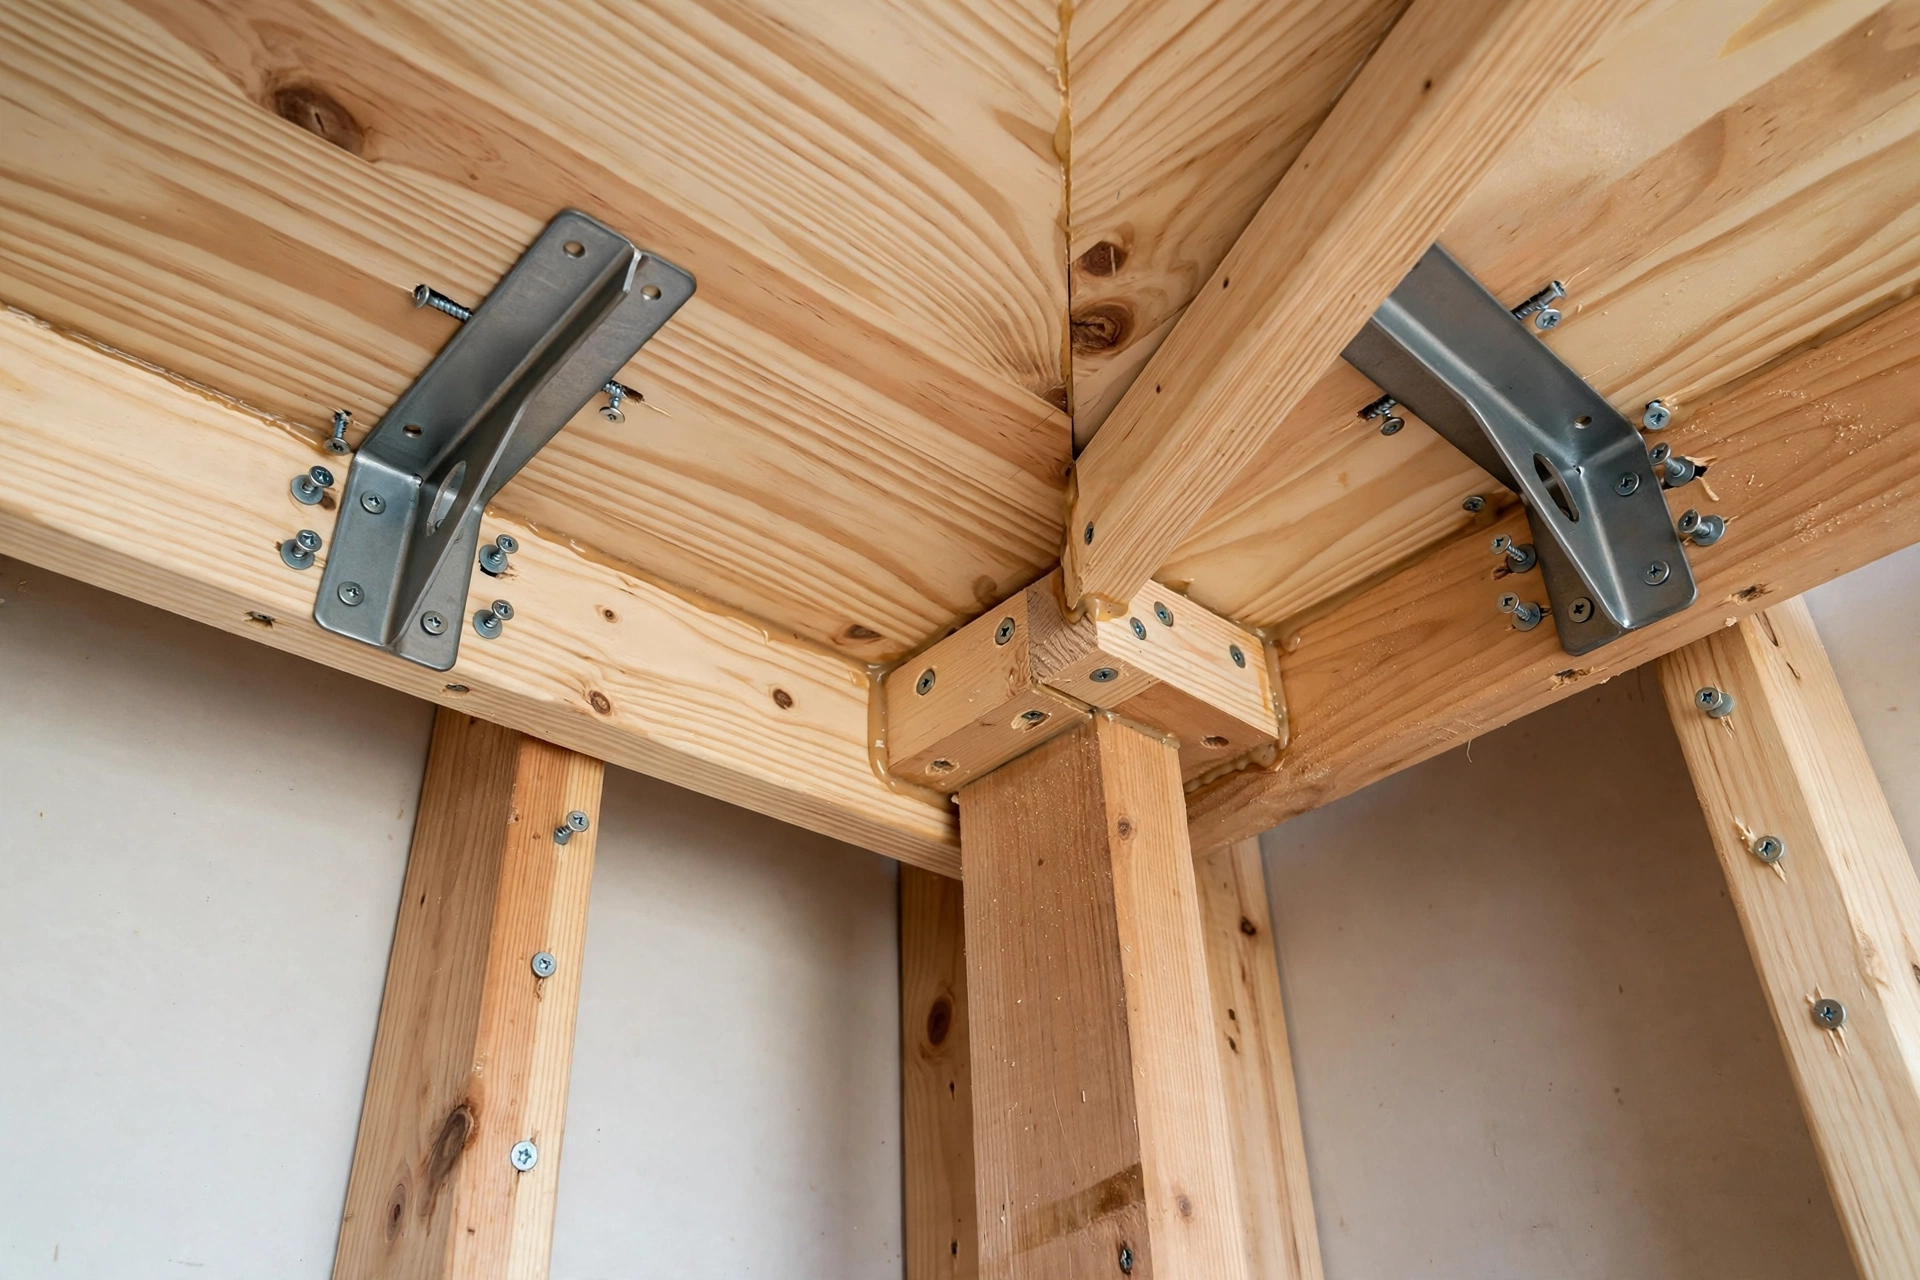
Fit the wall brackets first. Hold a 4-foot level along the wall at 28½ inches (72 cm) from the floor — that is the underside of the 1½-inch desktop at a 30-inch finished height — and mark the top of each bracket at that line. Screw one bracket into every stud along both walls, using 3-inch screws, and check each bracket with the level as you go: a bracket even ⅛ inch high or low will telegraph through the desktop as a visible dip. If your walls are plasterboard with no stud where you need one, use heavy-duty toggle bolts rated for at least 50 lb (23 kg) each, and add an extra bracket to spread the load.
Next, fit the three legs. The two outer-end legs screw to the underside of the desktop with a square mounting plate or a pair of pocket holes each, set about 2 inches (5 cm) in from the outer end. The seam leg goes directly under the corner joint, centred on the seam cleats, and carries the joint itself — drive its screws through the cleats, not just into the plywood edge. Set the finished desktop on the brackets and legs, check it with a level in both directions, and shim a leg only as a last resort: a leg that needs a shim is a leg that was cut wrong, and it is better to trim it. Check the desk for square by measuring diagonally across the room corner to the front tips of the two wings — the two measurements should match within ¼ inch (6 mm) of the plan. If they do not, loosen the bracket screws on one wall, nudge the desktop square, and re-tighten.
Step 4: Sand and Finish Your Corner Desk
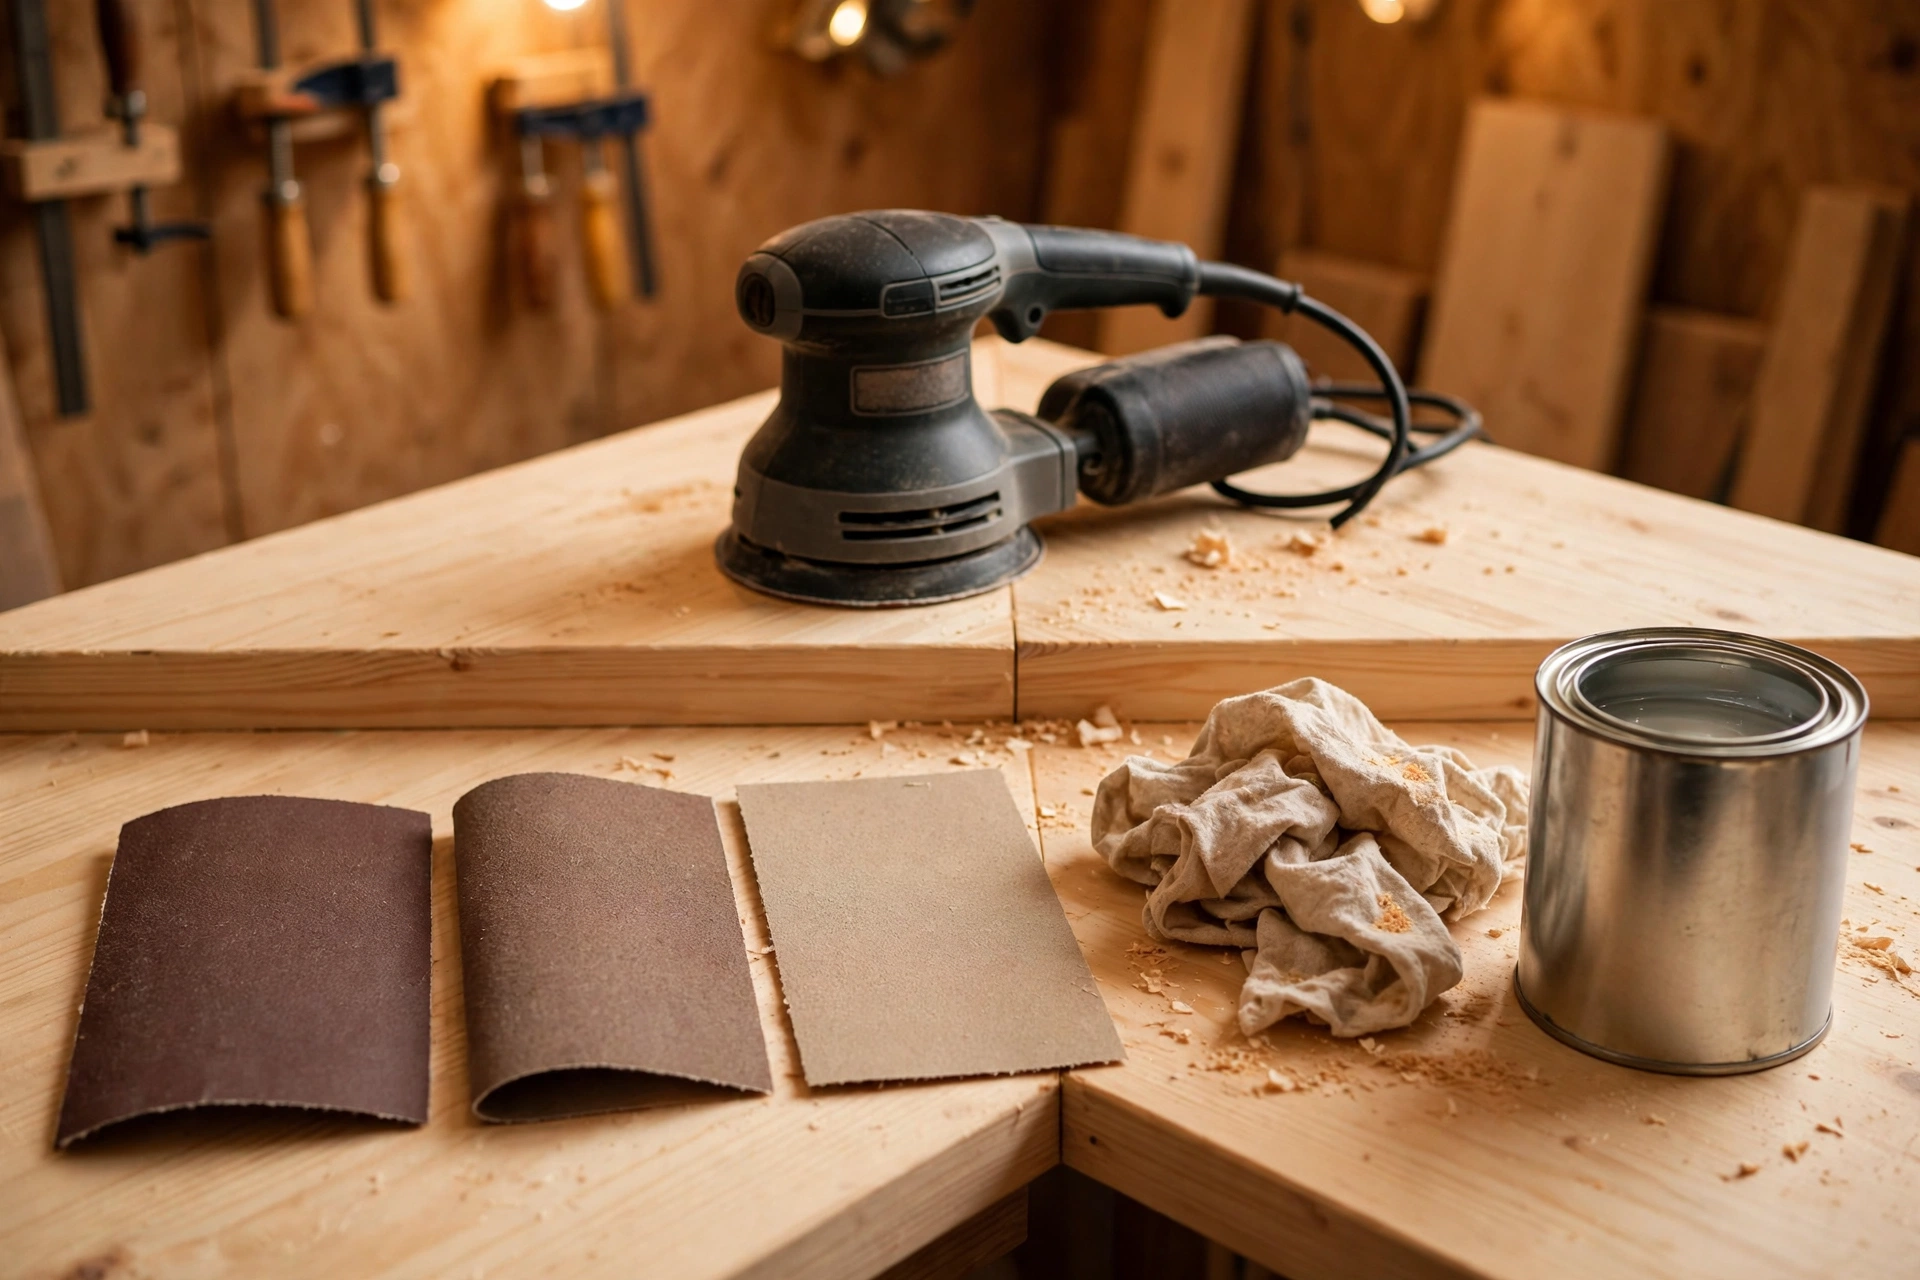
Sanding is where a beginner build starts to look professional, so do not rush it. Sand the desktop in three passes: 80 grit to level the laminated layers and remove saw marks, 120 grit to smooth the surface, and 220 grit for a silky final finish. Always sand with the grain, never across it, and pay special attention to the front edge and the 45-degree seam — the seam is where two pieces meet, and any ridge there will catch your wrists every day. Round over the front edge slightly with 120-grit paper: a sharp plywood edge is uncomfortable on forearms and chips easily. Vacuum or wipe the dust off with a tack cloth between grits; dust left behind shows up as rough spots under the finish. Our full guide, how to sand and finish wood for beginners, walks through grit progression and common sanding mistakes in detail.
A desk needs a tougher finish than a decorative oil, because it meets coffee cups, laptop heat, and sliding papers every day. A wipe-on polyurethane is the most forgiving choice: it builds a hard, waterproof film that shrugs off coffee rings and mug marks, and it is easy to repair later with a light sanding and one more coat. Apply three thin coats, sanding lightly with 220-grit paper between coats, and pay special attention to the seam area, where finish can pool. If you prefer an oil look, use a hard-wax oil rated for tabletops, at least three coats, letting each cure fully — it feels warmer under the hands but needs re-oiling once a year. If you want colour, stain first, let it dry fully for 24 hours, then seal it with polyurethane. Fit the front edge trim before the final coat, gluing and pinning it along both front edges so the plywood layers disappear. Let the final coat cure for at least 72 hours before you load the desk with monitors and books — a finish that feels dry is not the same as a finish that has cured hard.
Finishing Options Compared
| Finish | Water resistance | Coats needed | Best for |
|---|---|---|---|
| Wipe-on polyurethane | Excellent | 3 thin coats | Coffee cups, daily laptop work, family desks |
| Hard-wax oil | Good | 3 coats | Natural look, warm feel, easy spot repairs |
| Paint (semi-gloss) | Excellent | Primer + 2 coats | Matching room trim, hiding plywood grain |
| Danish oil | Fair | 2–3 coats | Light-use desks, decorative look only |
| Stain + polyurethane | Excellent | Stain + 3 coats | Matching existing woodwork |
Styling Your Finished Corner Desk
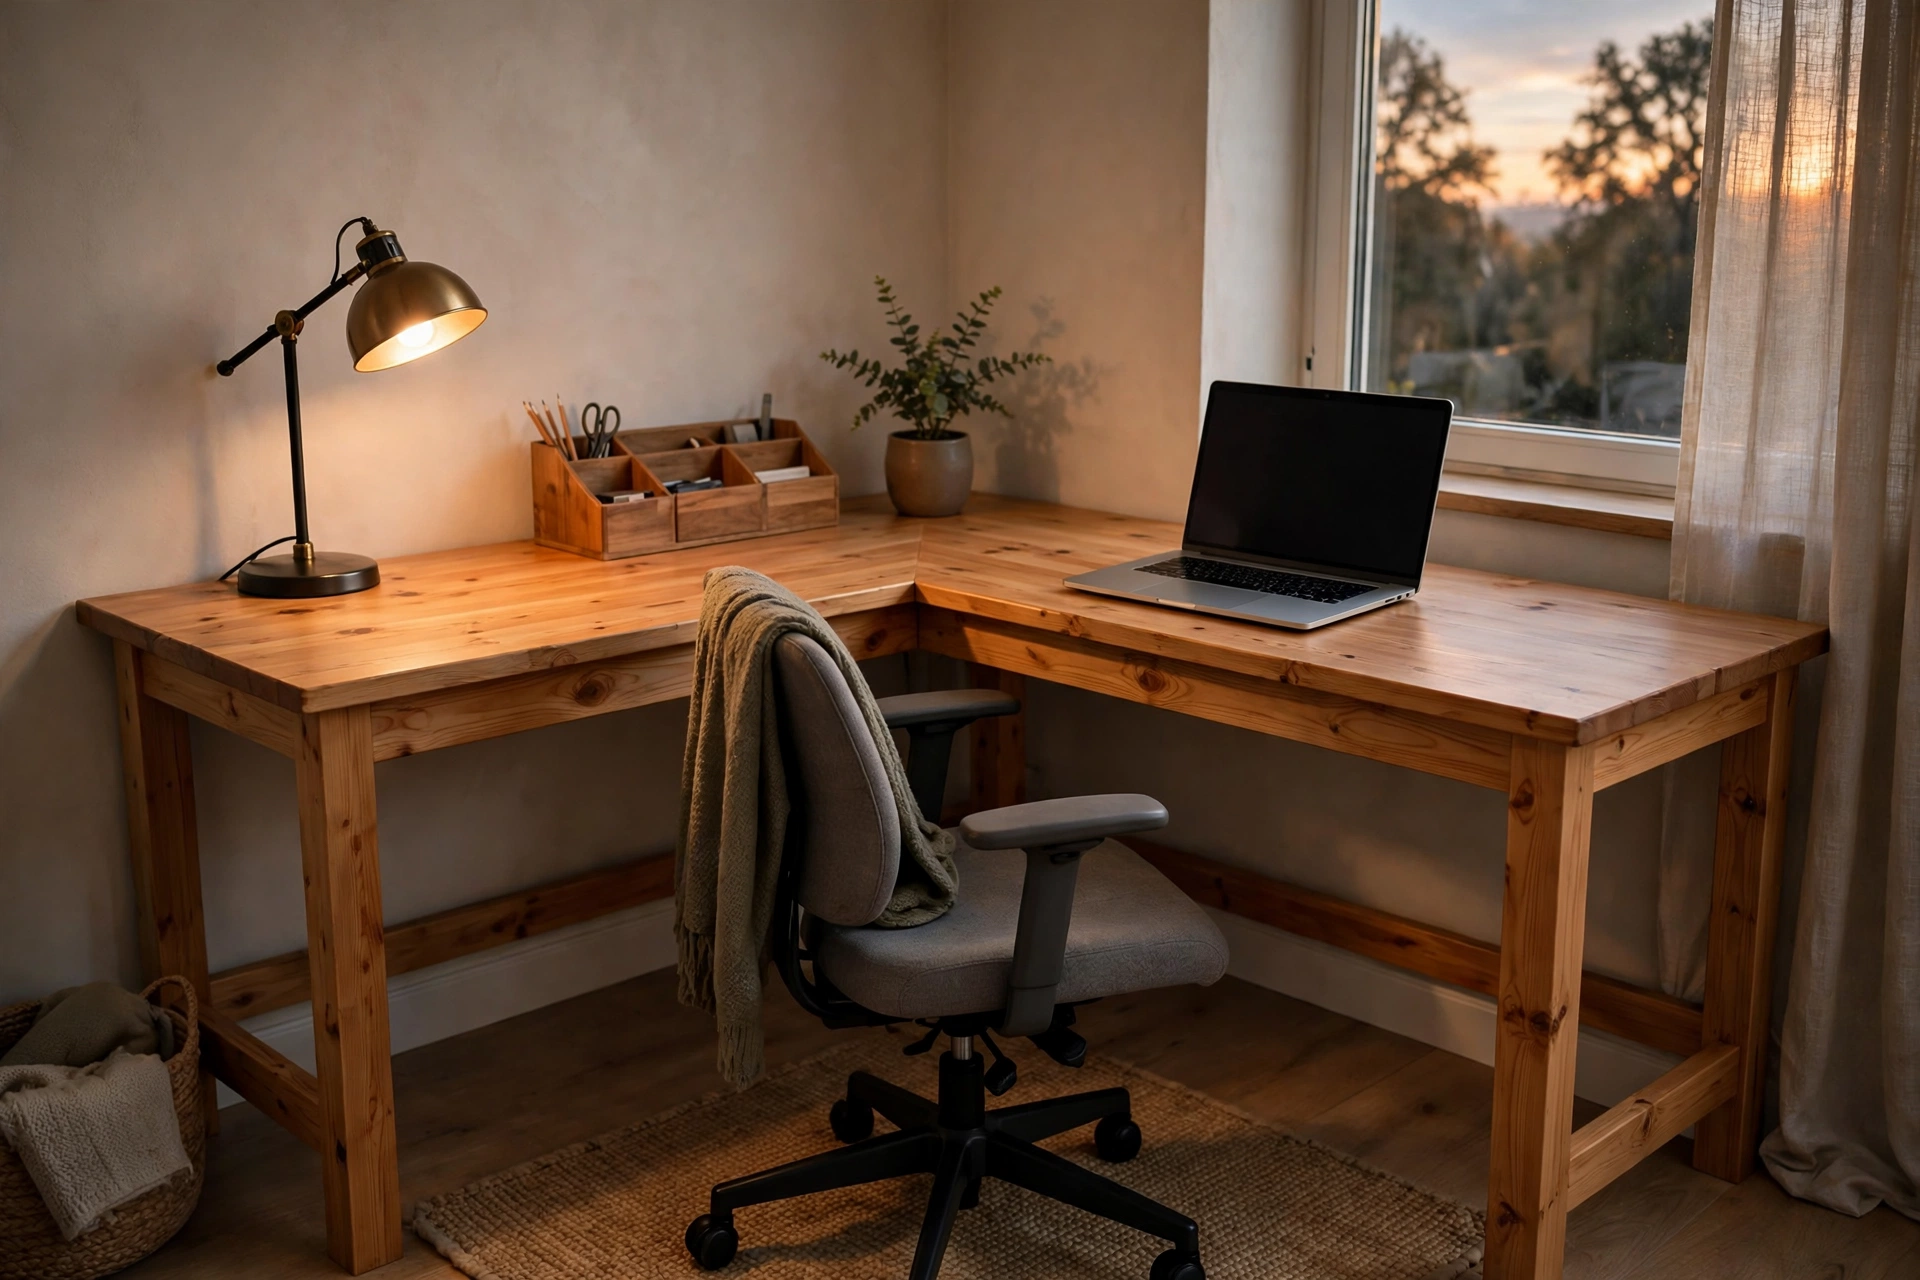
Once the finish has cured, set the desk in its corner and style it for work. Put the monitor or laptop at the corner seat, facing into the room — that is the deepest part of the desk and the most comfortable place to sit, with the two wings spreading out on either side for papers, a notebook, and a coffee mug. The long wing makes a natural second zone: a reading spot, a second monitor, or a place for a printer. A small wooden desk organizer on the short wing keeps pens, chargers, and notebooks in one place — our guide to how to build a wooden desk organizer for beginners makes a matching weekend project, and a laptop stand lifts the screen to eye level, as our guide to how to build a wooden laptop stand for beginners shows.
Keep cables tidy from day one: a power strip screwed to the underside of the desktop near the corner, with cables clipped along the wall cleats, stops the usual tangle behind the desk. A small shelf above one wing — our guide to how to build floating shelves for beginners covers the same wall-bracket method — adds storage without taking any desk space. To keep the desktop looking new, wipe coffee rings straight away with a barely damp cloth, use a desk mat under the keyboard and mouse, and add a fresh coat of polyurethane once a year, or whenever water stops beading on the surface. A corner desk built this way will last for years, and because it is sized to your corner, it will fit your next home too — just check the corner angle before moving day.
Common Mistakes to Avoid
Most problems come from rushing one of these seven steps — slow down here and the rest of the build goes smoothly.
Cutting both 45-degree angles the same way. The two cuts must mirror each other. Label the corner end of each wing with a big pencil “C” and check the direction by dry-fitting before you glue.
Measuring wing length to the wrong point. The 55-inch and 83-inch lengths are measured along the back edge, to the tip of the 45-degree cut — not to the front tip. Measure to the front tip and each wing comes up 24 inches short.
Forgetting the skirting board. Measure from the face of the skirting board, not the wall, or the desk will sit proud of the wall and leave a gap behind it.
Screwing brackets into plasterboard, not studs. Brackets must hit studs. Use a stud finder, mark every stud, and use toggle bolts only where no stud exists.
Skipping the dry fit of the seam. A bowed plywood edge hides until the glue is on. Slide the two wings together on the floor, check the full 34-inch seam, and trim it now.
Forgetting the glue on the seam. Pocket screws alone will flex under daily leaning. Glue both 45-degree faces and add the seam cleats underneath, and the joint will outlast the desk.
Rushing the finish. Polyurethane over dust or a skipped grit looks blotchy forever. Sand through the grits, clean the dust, and let each coat cure fully — 72 hours before heavy use.
How Much Does It Cost and How Long Does It Take?
For a 55 × 83-inch plywood corner desk, expect $130 to $200 in materials if you already own the tools — roughly a third of a comparable solid wood corner desk in a shop, sized exactly to your corner. A small 40 × 60-inch version costs closer to $90 to $140, and a large 60 × 96-inch version around $150 to $230. Hardwood versions cost two to three times more in lumber alone. Time-wise, plan 4 to 5 hours of hands-on work over one weekend: an hour to measure and mark, an hour to cut, an hour to laminate and join the wings, an hour to fit brackets and legs, and an hour to sand and finish, plus overnight glue drying and 72 hours for the final coat to cure. The same skills transfer directly to your next home-office project — a matching desk organizer, laptop stand, or floating shelf uses the same cuts, plywood, and pocket-hole joints.
Frequently Asked Questions
How big should a wooden corner desk be?
A good beginner size is 55 × 83 inches (140 × 211 cm) along the two walls, with 24-inch-deep wings and a 30-inch height. That fits a laptop or monitor at the corner seat plus a second work zone on the long wing. For a small bedroom corner, shrink to 40 × 60 inches with 20-inch-deep wings; for a two-person office, go up to 60 × 96 inches. Always measure from the face of the skirting board, not the wall.
What angle do you cut for a corner desk join?
Cut each wing at 45 degrees, so the two 45-degree faces meet to form the 90-degree room corner. The seam runs diagonally across the corner and is about 34 inches long for a 24-inch-deep desktop. The two cuts must mirror each other — label the corner end of each wing before you cut, and dry-fit the seam on the floor before gluing.
What is the best wood for a beginner corner desk?
Birch plywood is the best wood for a first corner desk: it is strong, flat, stable, and looks good with a clear finish. Use one good birch sheet for the visible top layer and one cheaper construction plywood sheet for the hidden bottom layer, laminated together into a 1½-inch-thick desktop. Avoid MDF — it sags across long spans and its edges crumble if they get wet.
Do I need wall brackets or legs for a corner desk?
The strongest beginner setup uses both: wall brackets screwed into the studs along both walls, plus three legs — one at each outer end and one directly under the corner seam. Brackets carry the back edge and stop the desk racking sideways, while the legs carry the front edge and the seam. Legs alone work if you rent and cannot drill the walls, but the desk will wobble more on long spans.
How do I stop my corner desk from sagging?
Laminate two layers of ¾-inch plywood into a 1½-inch-thick desktop, support the back edge with a wall bracket on every stud, and put a leg directly under the corner seam. A single layer of ¾-inch plywood will sag across an 83-inch span within months; the double layer plus the seam cleats underneath keeps it flat for years.
Can I build a corner desk without a table saw?
Yes. A circular saw with a straight-edge guide makes every cut in this project, including the two 45-degree seam cuts. Ask the lumber yard to cut the plywood sheets to rough size for a small fee, then make the final straight cuts and the 45-degree cuts at home. A jigsaw with a fine-tooth blade also works for trimming the seam, though it leaves a rougher edge to sand.
How much does it cost to build a wooden corner desk?
A 55 × 83-inch plywood corner desk costs about $130 to $200 in materials if you already own the tools. A small 40 × 60-inch version costs roughly $90 to $140, and a large 60 × 96-inch version about $150 to $230. A comparable solid wood corner desk in a shop typically costs $500 to $1,200, and it will not fit your corner as precisely.
Recommended Products for This Project
As an Amazon Associate, I earn from qualifying purchases.

DEWALT 20V MAX Drill/Driver Kit DCD771C2
Drives every pocket-hole screw in this corner-desk build and drills the bracket holes into the wall studs, with two batteries so the work never stops mid-seam.

Titebond III Ultimate Wood Glue 1413 (8 oz)
Waterproof, strong wood glue that bonds the two plywood layers of each wing and seals the 45-degree corner seam so the joint never flexes.
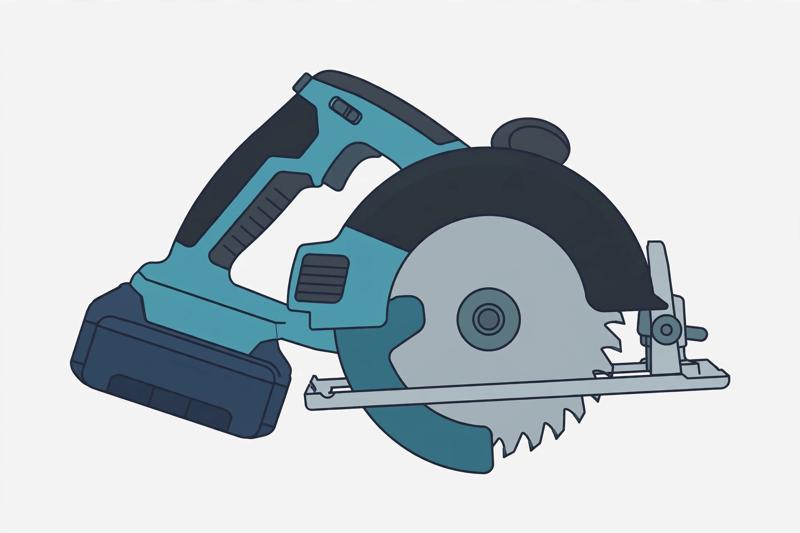
DEWALT 20V MAX Circular Saw DCS391B, 6-1/2-inch
Cuts both plywood wings to size and makes the two 45-degree corner-join cuts cleanly with a straight-edge guide, with no table saw needed.

IRWIN QUICK-GRIP Woodworking Clamps Set, 8-piece (IRHT83220)
Holds the two plywood layers together while the glue cures and clamps the 45-degree corner seam tight while the pocket-hole screws go in.

DEWALT Random Orbit Sander DWE6423, 5-inch
Levels the laminated plywood layers and sands the desktop silky smooth through the 80, 120, and 220 grit passes, including the 45-degree seam.


