
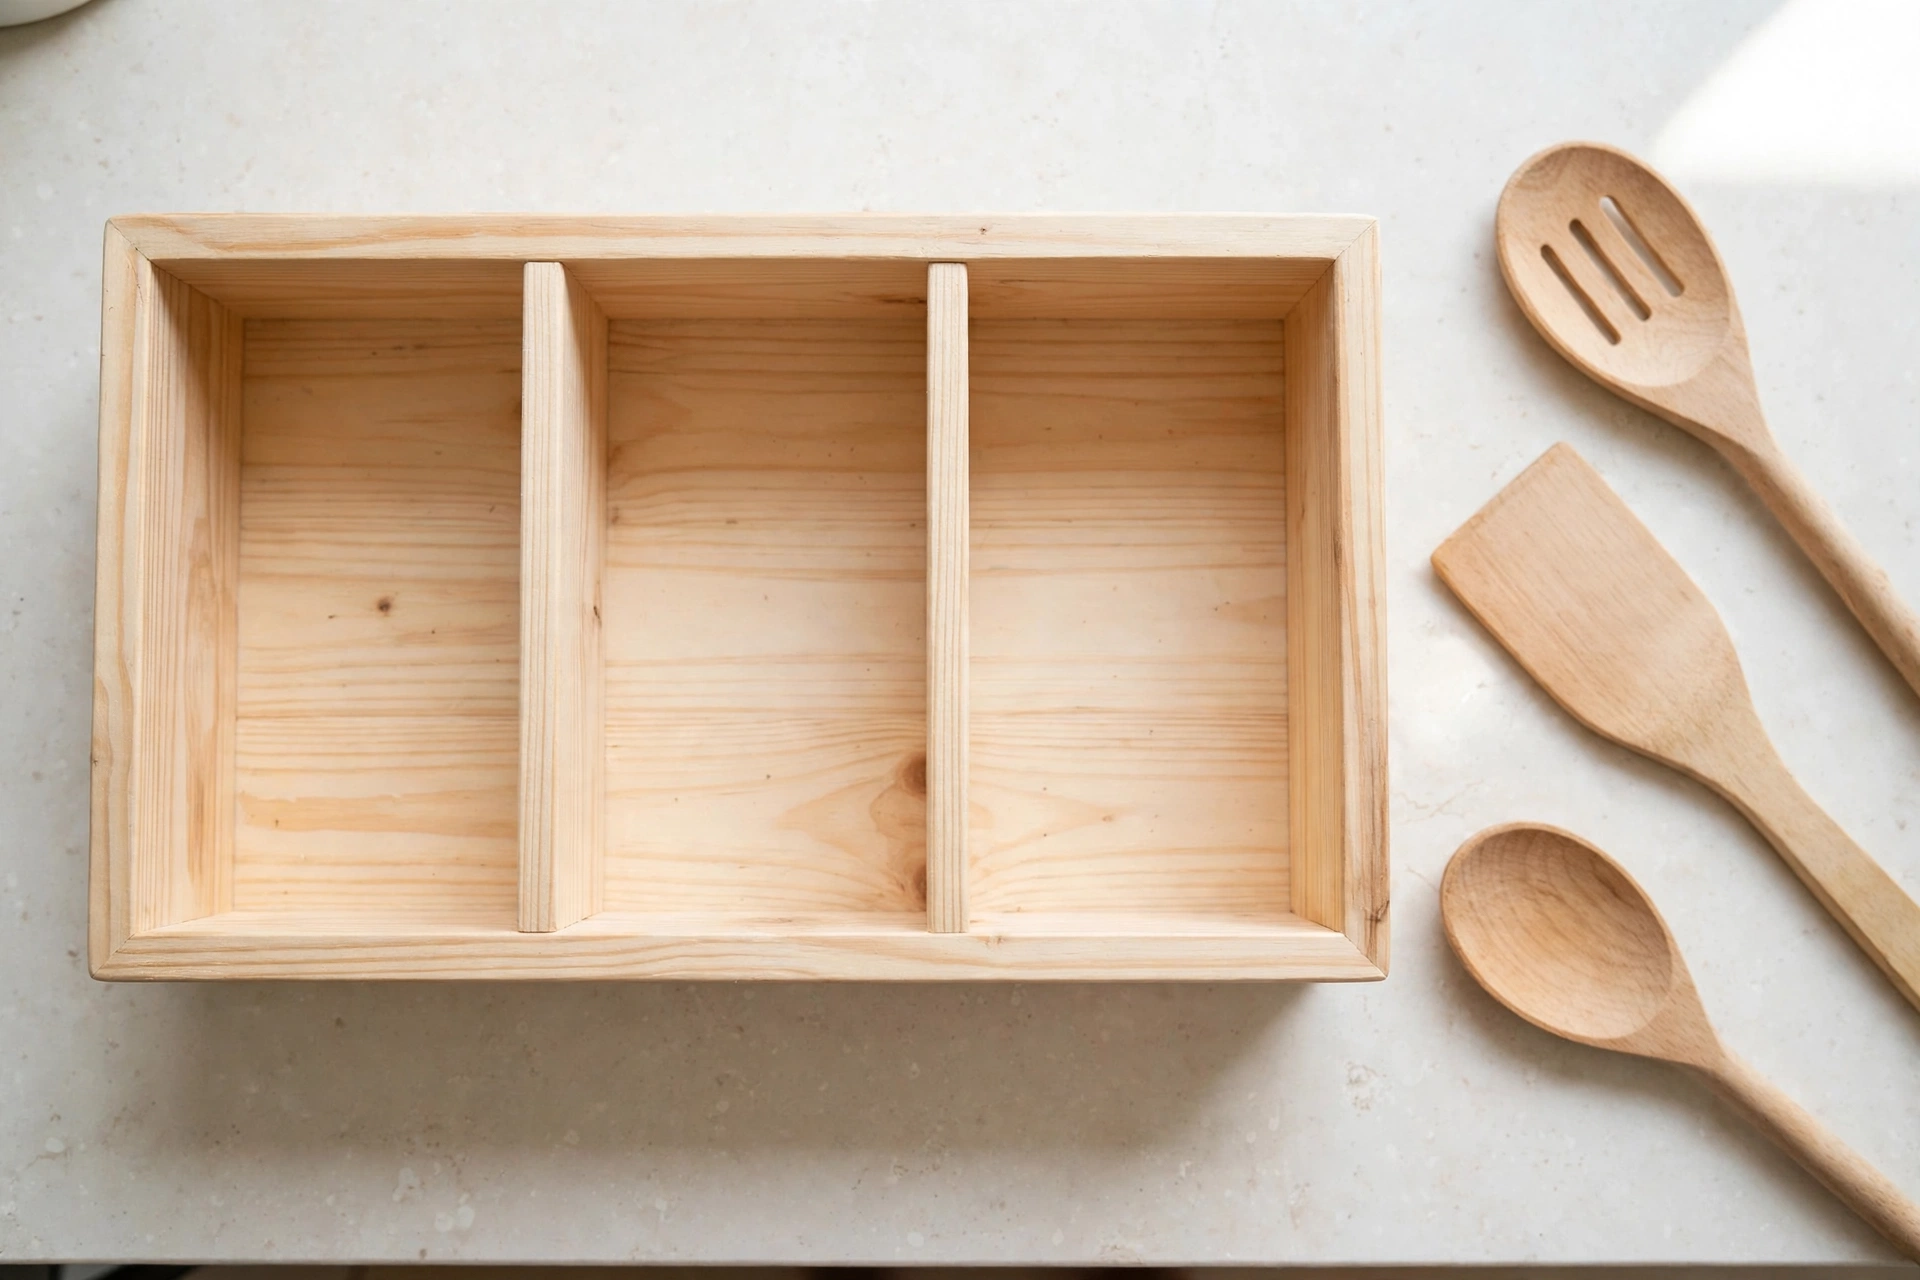
If your kitchen drawers are a jumble of spatulas, whisks, and wooden spoons, a countertop utensil holder is one of the most satisfying first woodworking projects you can build. It is small, it is useful every single day, and it teaches you nearly every fundamental skill at once: measuring, cutting straight lines, gluing up a box, fitting dividers, sanding, and finishing. Best of all, you can finish it in a single weekend afternoon with a handful of basic tools and a single board of pine.
This guide walks you through the whole build step by step. Instead of giving you a random box size and hoping your utensils fit, we start by sizing the holder to the utensils you actually own. You will get a cut list, a divider-spacing plan, a food-safe finish, and the mistakes to avoid so your first holder looks like something you would happily keep on the counter, not hide in a cupboard.
If you are just getting started with woodworking, this project sits perfectly alongside other beginner builds. Our easy woodworking projects for beginners that sell pillar rounds up simple projects that build the same core skills, and a utensil holder is a natural next step after a cutting board.
Why a Wooden Utensil Holder Is a Perfect First Project
A utensil holder is forgiving in ways that larger furniture is not. The parts are short, so small cutting errors are easy to correct. The box shape is simple — four sides, a bottom, and one or two dividers — yet it still teaches you how a glued box goes together square. And because the finished piece lives on your countertop, you get to use your work every day, which is far more motivating than a practice board that ends up in the garage.
Wood also beats the usual store-bought options here. Plastic holders stain, warp in heat, and slide around. Metal ones clatter and can scratch your utensils. A wooden holder is heavy enough to stay put when you pull a spatula out one-handed, looks warm in any kitchen, and can be sanded and refinished years later instead of thrown away. When your most-used tools stand upright in a divided caddy next to the stove, you also stop digging through drawers mid-recipe.
Design First: Size Your Holder to Your Real Utensils
The single biggest mistake beginners make is building a holder to a size they found online without checking their own utensils. A whisk with a wide balloon head needs a wider compartment than a slim wooden spoon, and a tall ladle needs a taller box than a set of short spatulas. Measure first, then build.
Start by gathering every utensil you want in the holder and sorting them into groups: slim tools (wooden spoons, spatulas, tongs), wide tools (whisks, ladles, potato mashers), and small tools (peelers, thermometers, measuring spoons). Measure the tallest utensil in each group, and the widest head in each group. Your holder should be about two-thirds the height of your tallest utensil — tall enough to hold it upright without tipping, but short enough that handles stick out far enough to grab easily.
For most kitchens, a box about 7 inches tall, 8 inches long, and 5 inches wide works beautifully. That gives enough depth to keep tools stable without swallowing short spatulas. If your tallest utensil is over 14 inches, bump the height to 8 inches. If your counter space is tight, shrink the length to 7 inches and use two compartments instead of three.
Utensil Sizes and Divider Spacing
Use this table to plan your compartments. Measure your own utensils and adjust, but these typical sizes are a reliable starting point:
| Utensil group | Typical handle length | Widest head | Suggested compartment width |
|---|---|---|---|
| Wooden spoons and spatulas | 12–13 inches | 2–2.5 inches | 2.5 inches |
| Whisks and ladles | 11–13 inches | 3–3.5 inches | 3.5 inches |
| Tongs and turners | 12–14 inches | 2–3 inches | 3 inches |
| Small tools (peelers, thermometers) | 8–10 inches | 1–1.5 inches | 2 inches |
With an 8-inch-long box and 3/4-inch-thick sides, the inside length is 6.5 inches. Two dividers at 3/4 inch thick leave three compartments of roughly 2 inches, 2 inches, and 2.5 inches — but you should shift the dividers to match your own utensils, not this example. Put the widest compartment where your whisks and ladles will go, and keep the narrowest for slim tools. Sketch the layout on paper, write the compartment widths on the sketch, and keep it at your workbench while you cut. A minute of planning here saves a rebuild later.
One more design decision: dividers can run the full height of the box, or stop an inch or two below the rim. Full-height dividers keep compartments truly separate and look tidy, which is what this project uses. For a first build, full-height dividers are simpler to glue and give a cleaner result.
Materials and Tools You Need
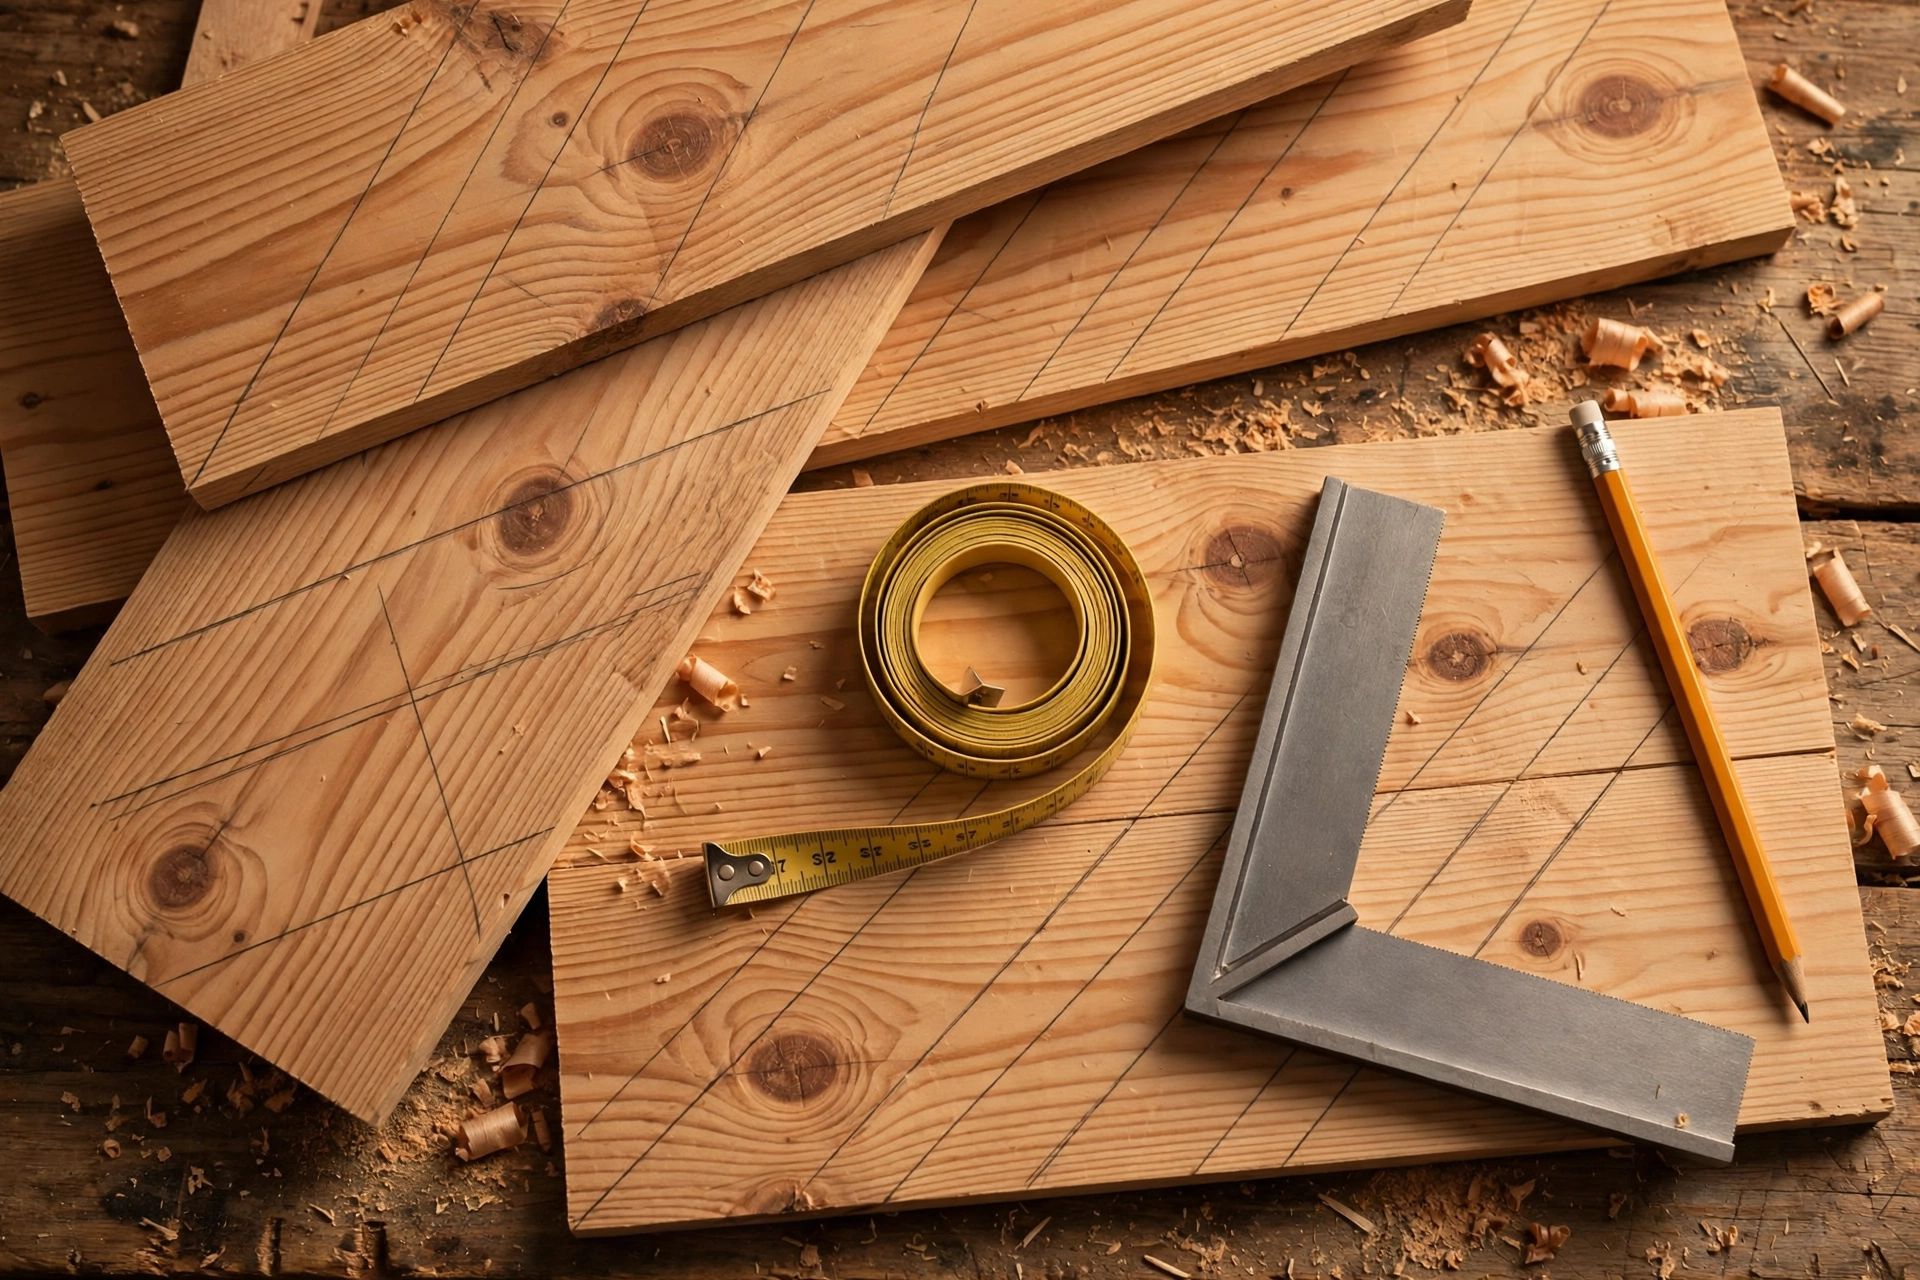
You do not need exotic lumber or a workshop full of machines. One pine board, a bottle of glue, and basic hand or power tools are enough. Pine is the right choice for a first holder: it is cheap, widely available, easy to cut and sand, and it takes an oil finish beautifully. Hardwoods like oak or walnut look stunning, but they cost more and are harder to cut cleanly with basic tools — save those for your second holder.
Materials
- One pine board, 1 x 8 inches, 4 feet long (3/4 inch thick actual)
- Wood glue (food-contact-safe once cured, such as a standard PVA wood glue)
- 120-grit, 180-grit, and 220-grit sandpaper
- Food-safe finish: food-grade mineral oil, or a butcher-block oil
- Optional: a small piece of felt or cork for the base, to protect your countertop
- Optional: 1-inch brad nails or pins, if you want extra reinforcement beyond glue
Tools
- Tape measure and pencil
- Carpenter square or speed square
- Hand saw, circular saw, or miter saw — whichever you have and can use safely
- Drill and a small drill bit, for pilot holes if you use nails or screws
- Two or three clamps (bar clamps or spring clamps)
- Sanding block or random-orbit sander
- Clean cotton cloths for applying the finish
If you are still choosing tools, our guide to the best drill for woodworking beginners explains what actually matters in a first drill, and our guide to the best sandpaper grit for beginners explains why the 120–220 grit progression used here gives a smooth, splinter-free result.
Cut List
Measure twice, cut once — and always cut the longest pieces first so a mistake leaves you enough board to recut a shorter piece. The cut list below is for the standard 8 x 5 x 7-inch holder with two full-height dividers. All pieces come from the single 1 x 8 pine board, except the bottom, which can be cut from the same board if you plan your cuts carefully.
| Part | Quantity | Size (length x width x thickness) |
|---|---|---|
| Front and back panels | 2 | 8 inches x 7 inches x 3/4 inch |
| Side panels | 2 | 5 inches x 7 inches x 3/4 inch |
| Bottom panel | 1 | 6.5 inches x 3.5 inches x 3/4 inch |
| Dividers | 2 | 3.5 inches x 6.5 inches x 3/4 inch |
| Optional base trim | 1 | Cut to fit, for a decorative foot |
Note on the bottom panel: it fits inside the four side walls, so its size is the outside dimensions minus twice the wall thickness (8 minus 1.5 equals 6.5 inches long, 5 minus 1.5 equals 3.5 inches wide). The dividers span the inside width, 3.5 inches, and stand 6.5 inches tall so they sit on the bottom panel and end just below the rim. If you change the outside dimensions, recalculate these inside pieces the same way — it is the one bit of arithmetic that matters in this build, and getting it right is what makes everything fit.
Mark each piece with its name in pencil as you cut it: “front,” “back,” “side,” “divider.” Pieces of pine all look alike once they are stacked, and labels prevent the classic beginner error of gluing the wrong piece in the wrong place.
Step-by-Step: Cutting Your Pieces
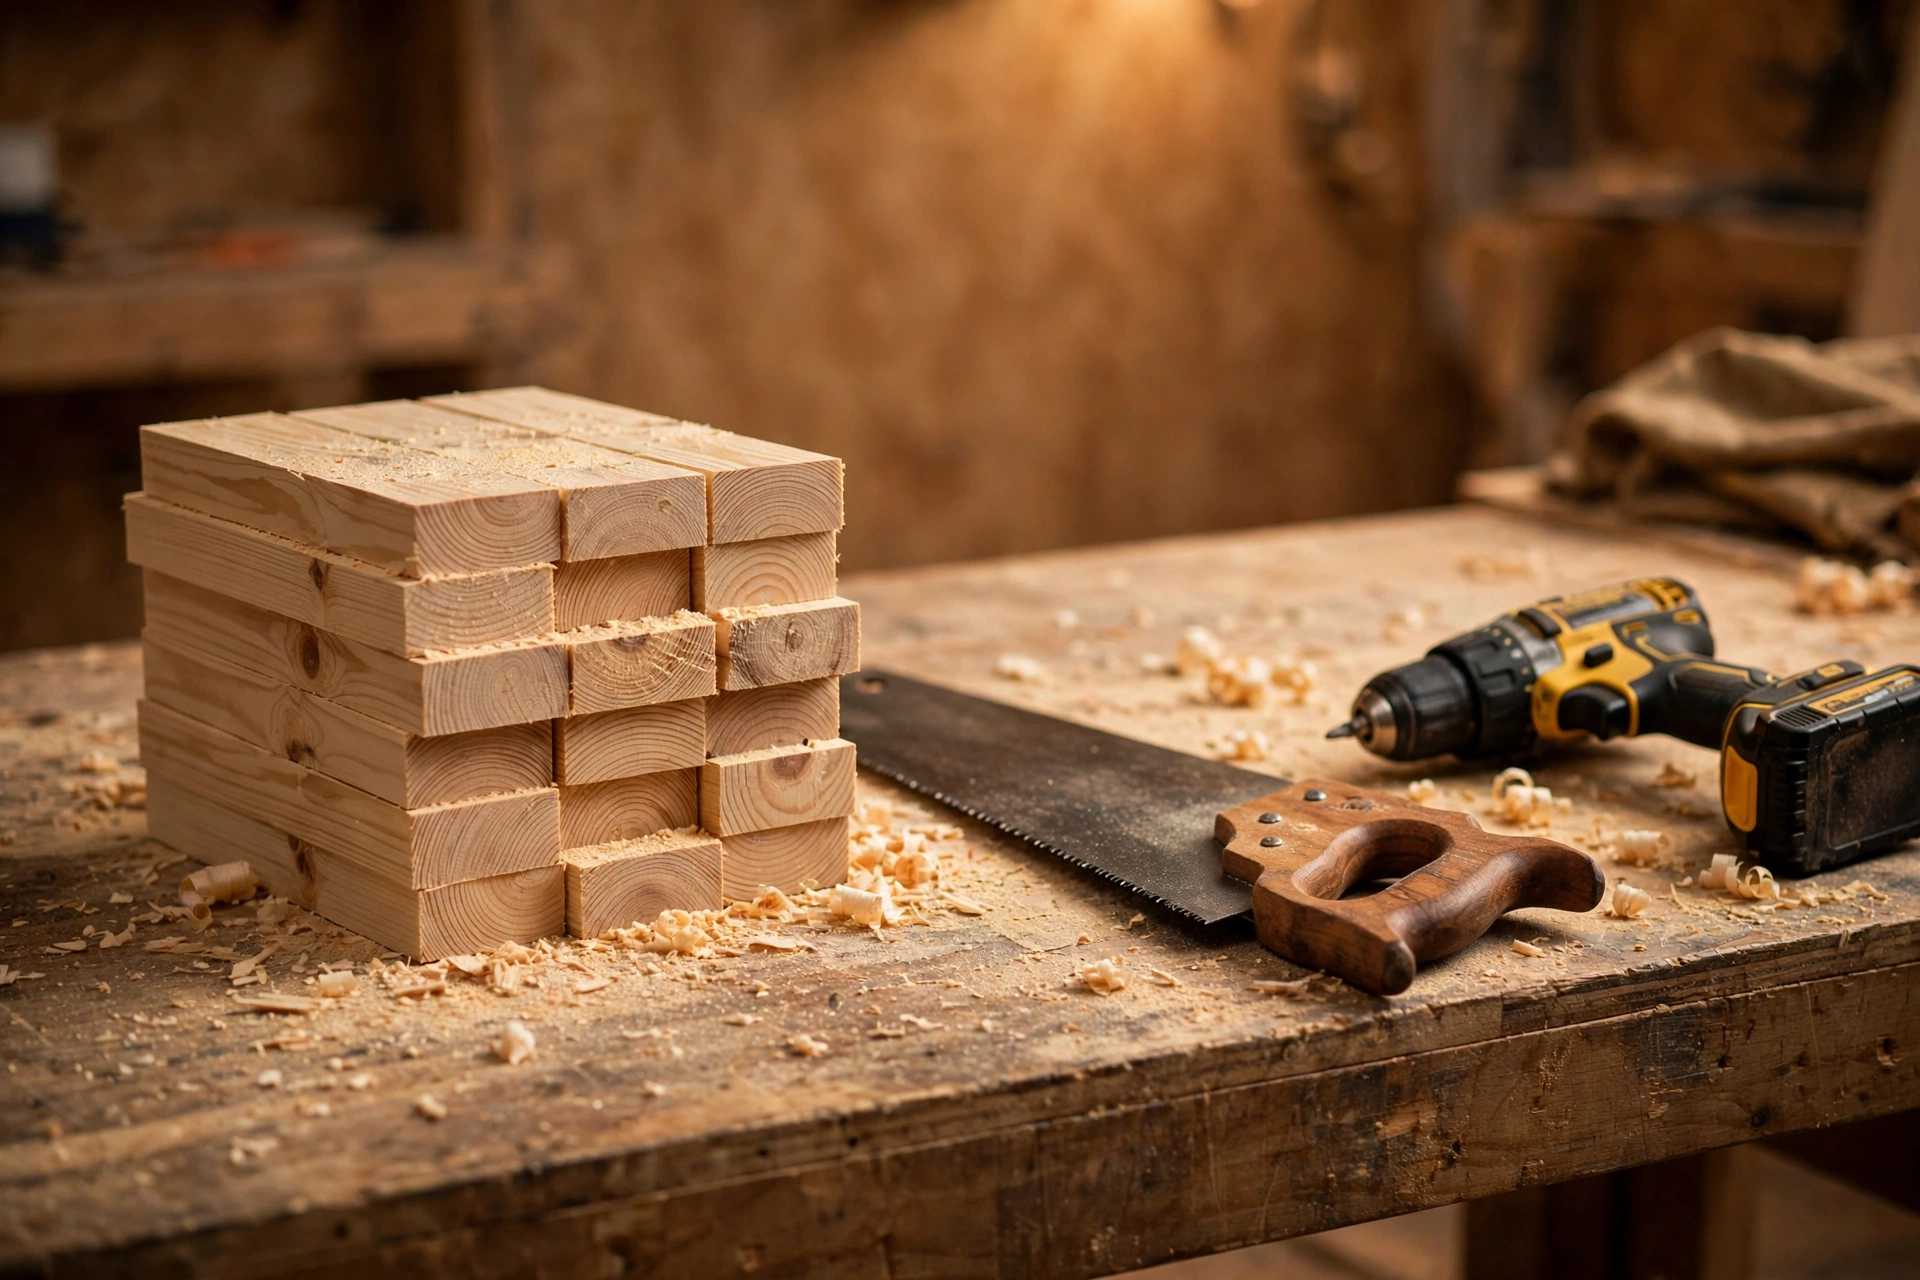
Start by checking your board. Sight along its edge for warping or bowing, and pick the straightest section for the front and back panels, which are the most visible. Mark your cut lines with a pencil and a square so every line is square to the edge — a line that is even slightly angled gives you a box that will not sit square.
Cut the front and back panels first, then the sides, then the bottom and dividers. Support the board properly while cutting, especially the offcut end, so the piece does not drop and splinter as the cut finishes. A slow, steady feed gives a cleaner edge than rushing, and a sharp blade matters more than an expensive saw. If you are using a circular saw, clamp a straight board to the pine as a guide for your first cuts; it turns a freehand cut into a straight one.
After cutting, dry-fit everything before any glue comes out. Stand the four sides up, drop in the bottom, and slide the dividers into place. Check that the box sits flat, that the corners meet without gaps, and that your dividers slide in without force. If a piece is a hair too long, sand or trim it now — dry-fitting is free, but fixing a glued joint is not.
Safety deserves a direct word here. Wear eye protection, keep your hands clear of the blade path, and never force a saw through a cut. If a cut starts to bind, stop, back the saw out, and reposition the board.
Assembling the Box and Dividers
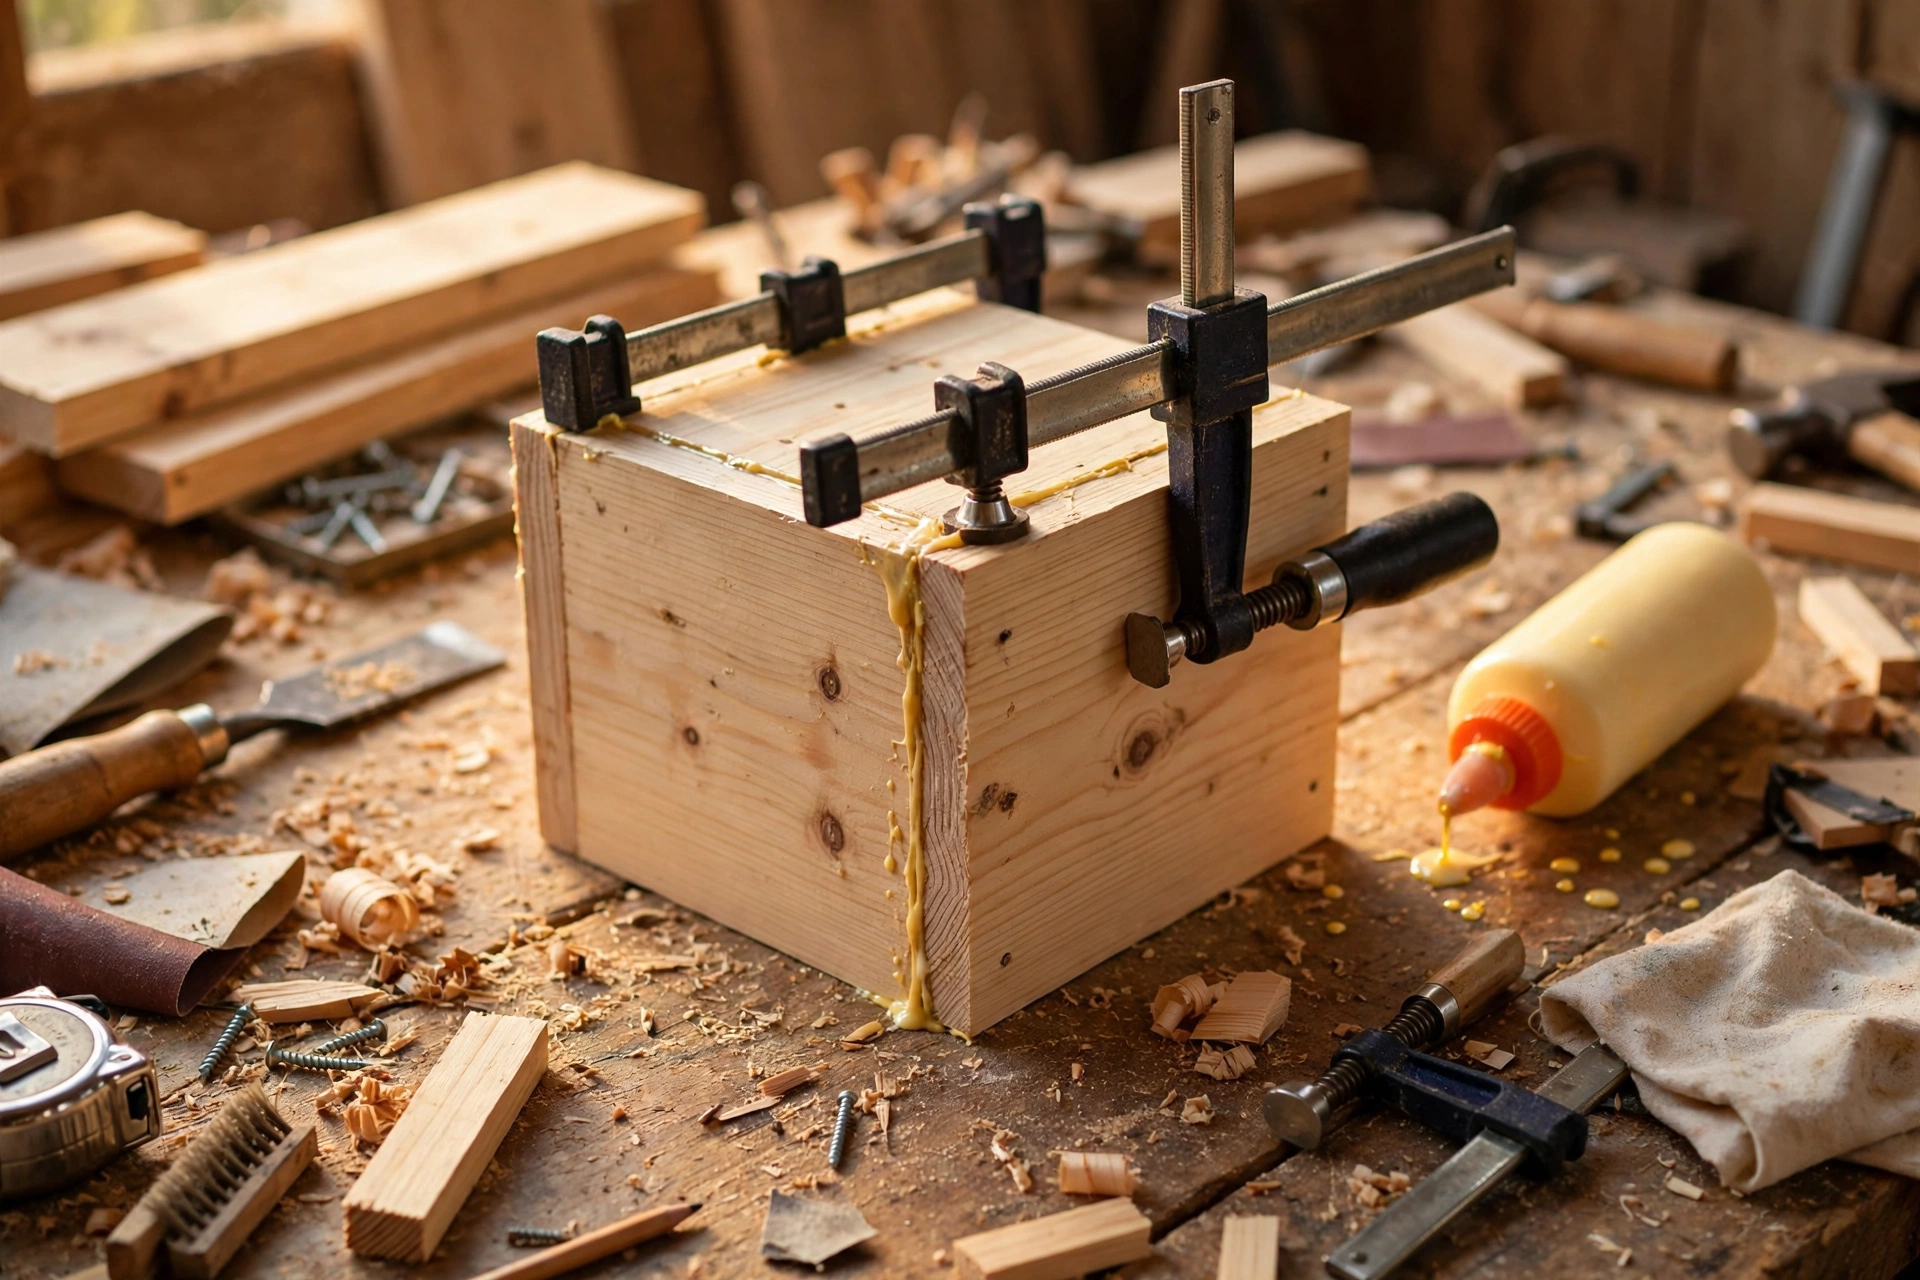
Glue-up is where the holder starts to look like something real, and it is simpler than most beginners fear. Work on a flat surface, and keep a damp cloth nearby to wipe away squeezed-out glue before it dries.
Apply a thin, even line of glue along the edges where the front panel meets the side panels, then press the pieces together and square the corners with your carpenter square. Add the back panel the same way, then check the box for square by measuring diagonally across the top — both diagonal measurements should match. If they do not, gently push the longer diagonal’s corners together until they do, then clamp the box and leave it alone.
Once the outer box is clamped and square, fit the bottom panel. Run glue along its edges, press it into the bottom of the box, and check that it sits level. Then add the dividers one at a time: glue their bottom edges and side edges, slide them into position at the widths you planned, and check that they stand upright and square. Small blocks or offcuts wedged beside a divider while the glue dries will hold it vertical if it wants to lean.
Let the glue dry for the full time on the bottle — usually at least an hour before handling, and overnight before sanding or finishing. Beginners often unclamp too early and find a joint has shifted. Patience here is free strength. Our guide to the best wood glue for beginners explains which glues cure food-contact-safe and how long each type really needs, which matters for a piece that will live near your food.
If you want extra insurance, you can add a few brad nails or pins through the sides into the bottom and dividers after the glue dries. Glue alone is plenty strong for a utensil holder, but nails give peace of mind if the holder will be yanked around by enthusiastic cooks.
Sanding for a Smooth, Splinter-Free Finish
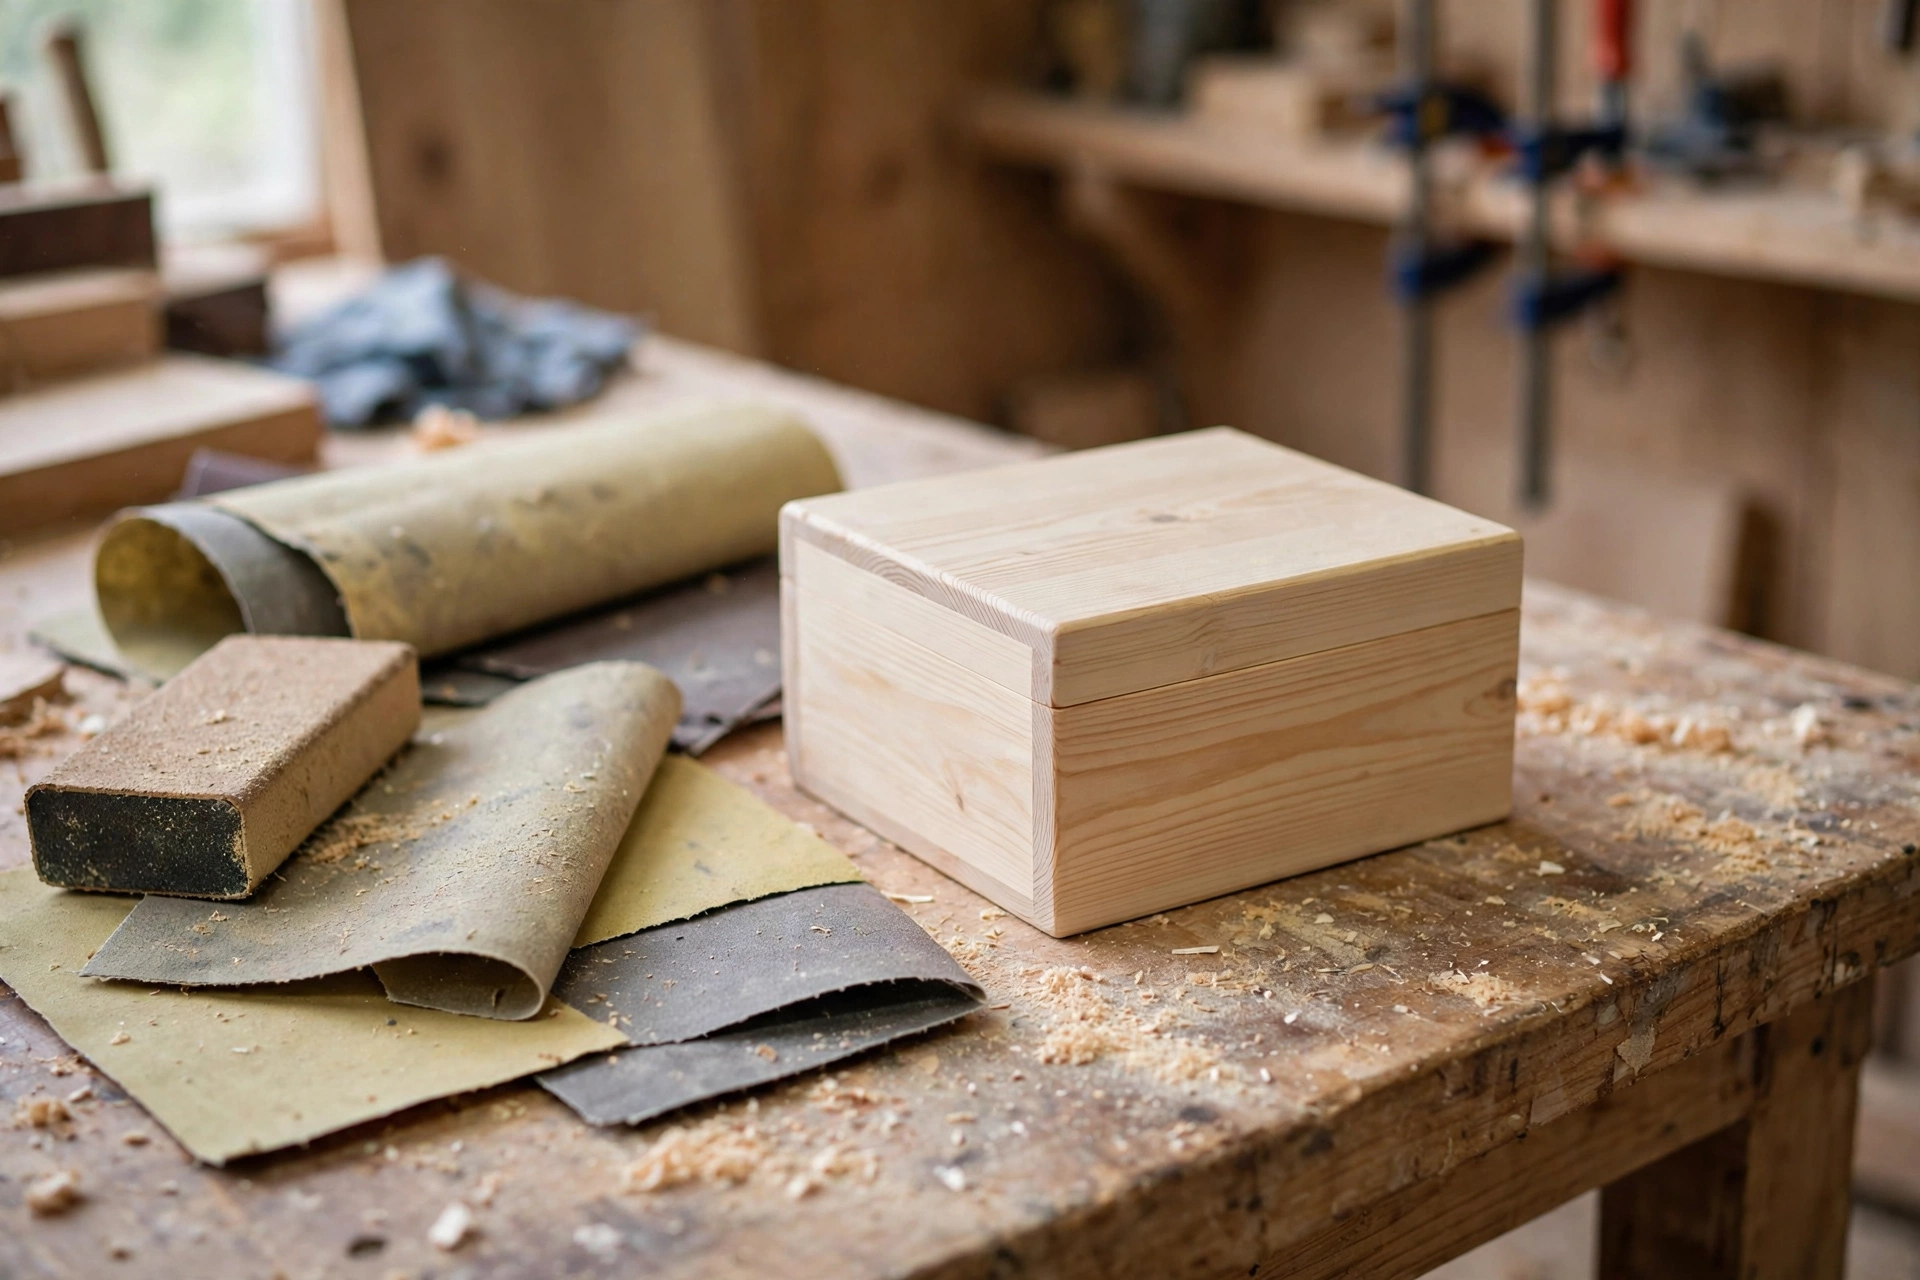
Sanding is the step that separates a homemade-looking box from a piece you are proud of, and it takes less time than most people expect. Work through the grits in order — 120, then 180, then 220 — and sand with the grain, never across it. Sanding across the grain leaves scratches that show up the moment you apply finish.
Start with 120-grit to remove saw marks, glue squeeze-out, and any rough edges. Pay special attention to the top rim, which hands touch every time the holder is used, and to the inside corners, where splinters hide. Fold a small piece of sandpaper to reach inside the compartments, or wrap it around a thin block that fits between the dividers.
Move to 180-grit to smooth the surface, then finish with 220-grit for a silky feel. After the final grit, run your hand over every surface — including inside the box — and feel for rough spots, raised grain, or glue residue you missed. A quick wipe with a slightly damp cloth will raise the grain and reveal any spots that still feel rough; let it dry, then give those spots one last pass with 220-grit. This “raise the grain” trick is what makes an oiled finish feel smooth instead of fuzzy.
Round over the sharp top edges slightly as you sand. A holder with softly rounded rims is more comfortable to grab, less likely to chip, and looks far more finished than one with crisp, sharp corners. You do not need a router for this — a few extra passes with sandpaper on each edge will do it.
Food-Safe Finishing for a Kitchen Piece
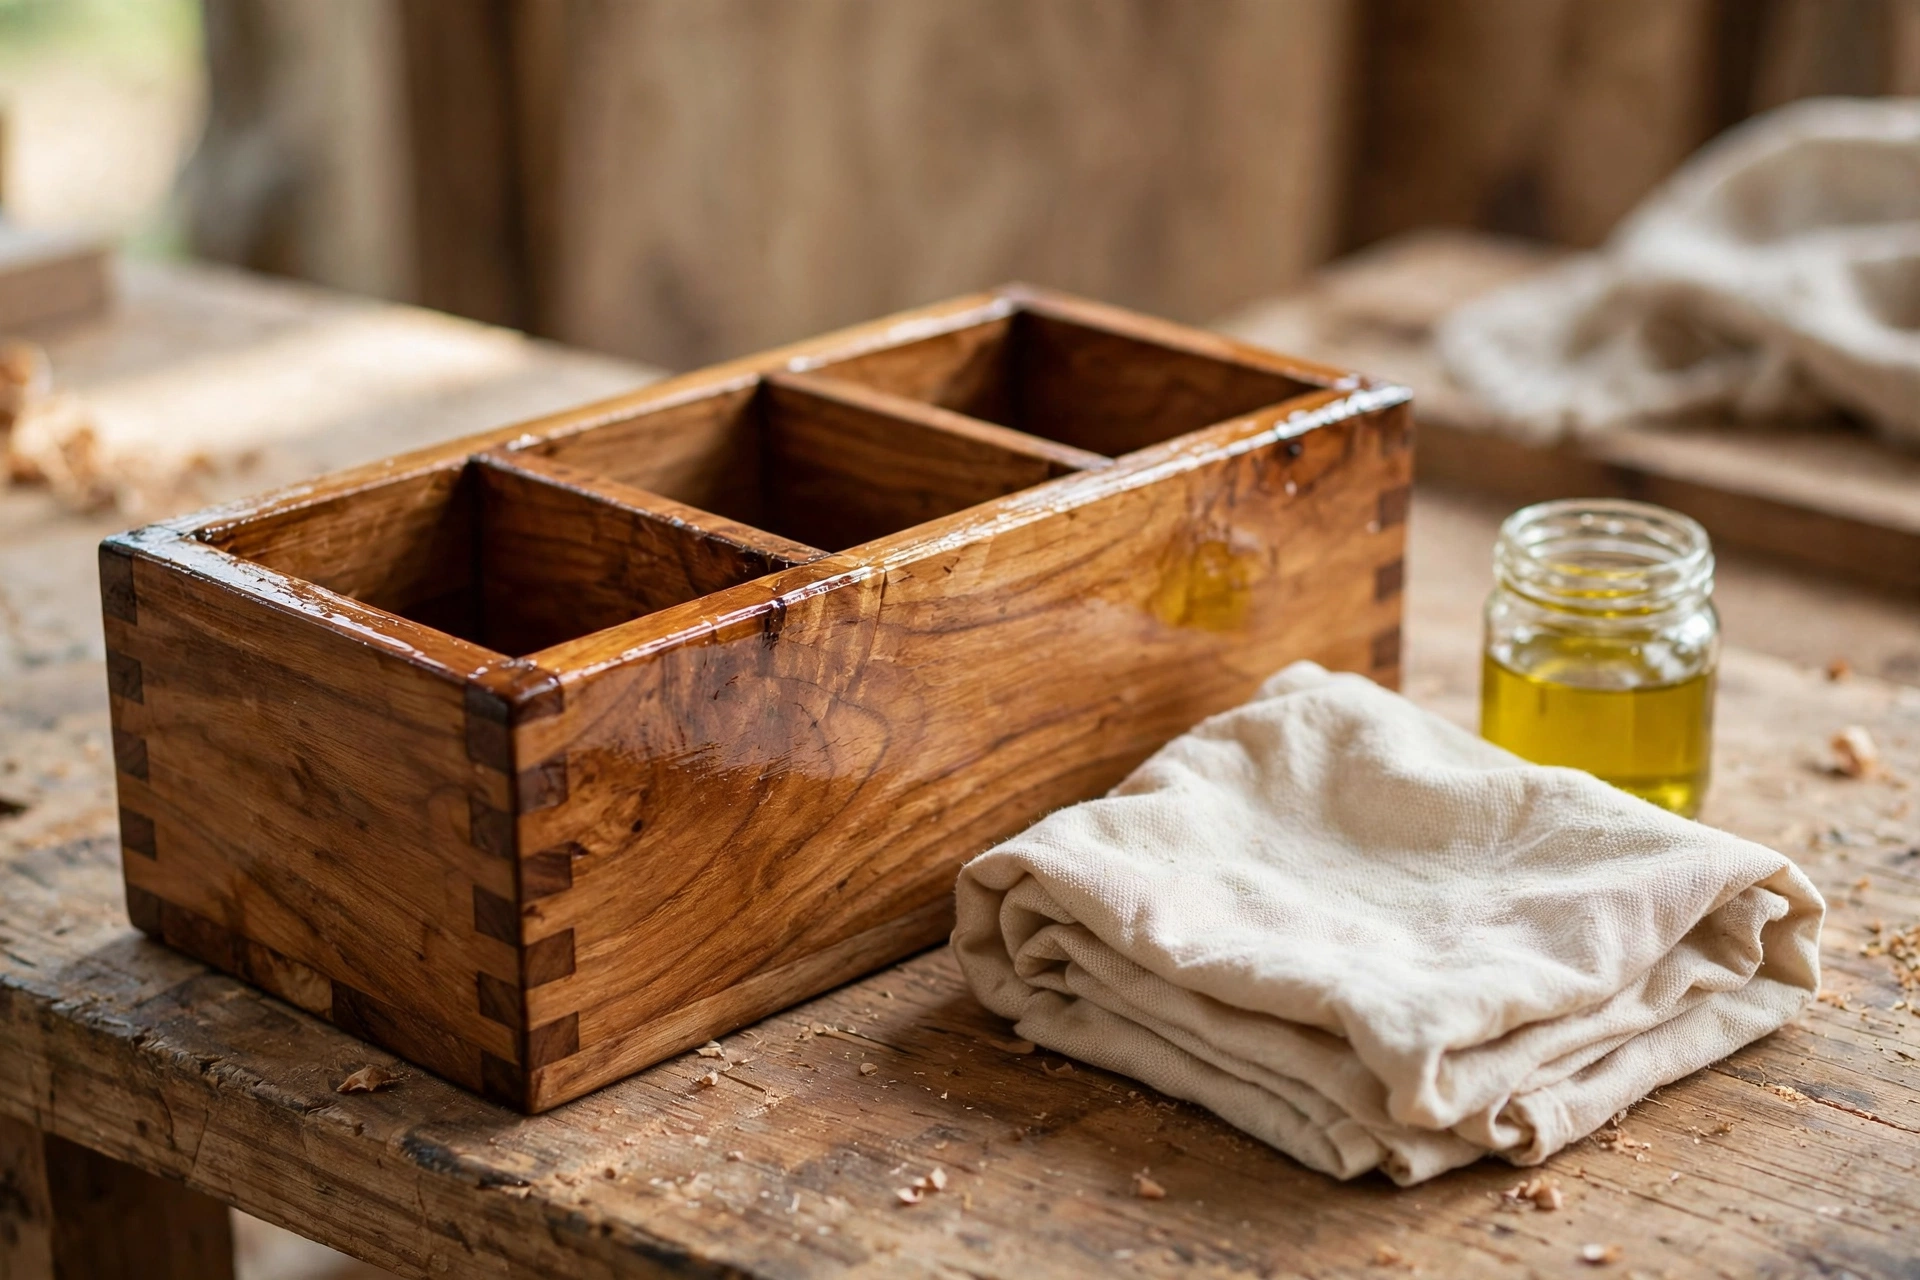
Because this holder sits next to your food and holds tools that touch your food, the finish must be food-safe. That rules out many general-purpose varnishes and polyurethanes unless they are explicitly rated food-contact-safe once fully cured. The simplest, safest choice for a beginner is food-grade mineral oil, the same finish used on cutting boards, or a purpose-made butcher-block oil. Both are easy to apply, easy to refresh, and completely safe once cured.
Apply the oil with a clean cotton cloth, rubbing it into every surface — outside, inside, dividers, and bottom. Let it soak in for several hours or overnight, then wipe off any excess that has not absorbed. A second coat the next day builds a richer color and better moisture resistance. Two or three thin coats beat one thick, sticky coat every time.
Oil finishes are not waterproof, and that is fine for a utensil holder, which should stay dry anyway. Keep the holder away from the sink and wipe up splashes promptly. Every few months, or whenever the wood starts to look pale and dry, wipe on another thin coat of oil and let it soak in overnight. That five-minute maintenance keeps the holder looking new for years, and it is one of the quiet advantages of an oil finish: it can be refreshed forever without stripping.
If you love the look of cutting boards and want a matching kitchen set, our guide on how to make a wooden cutting board for beginners uses the same food-safe oil finish, so the two pieces will age beautifully side by side.
Organizing Your Utensils and What It Costs
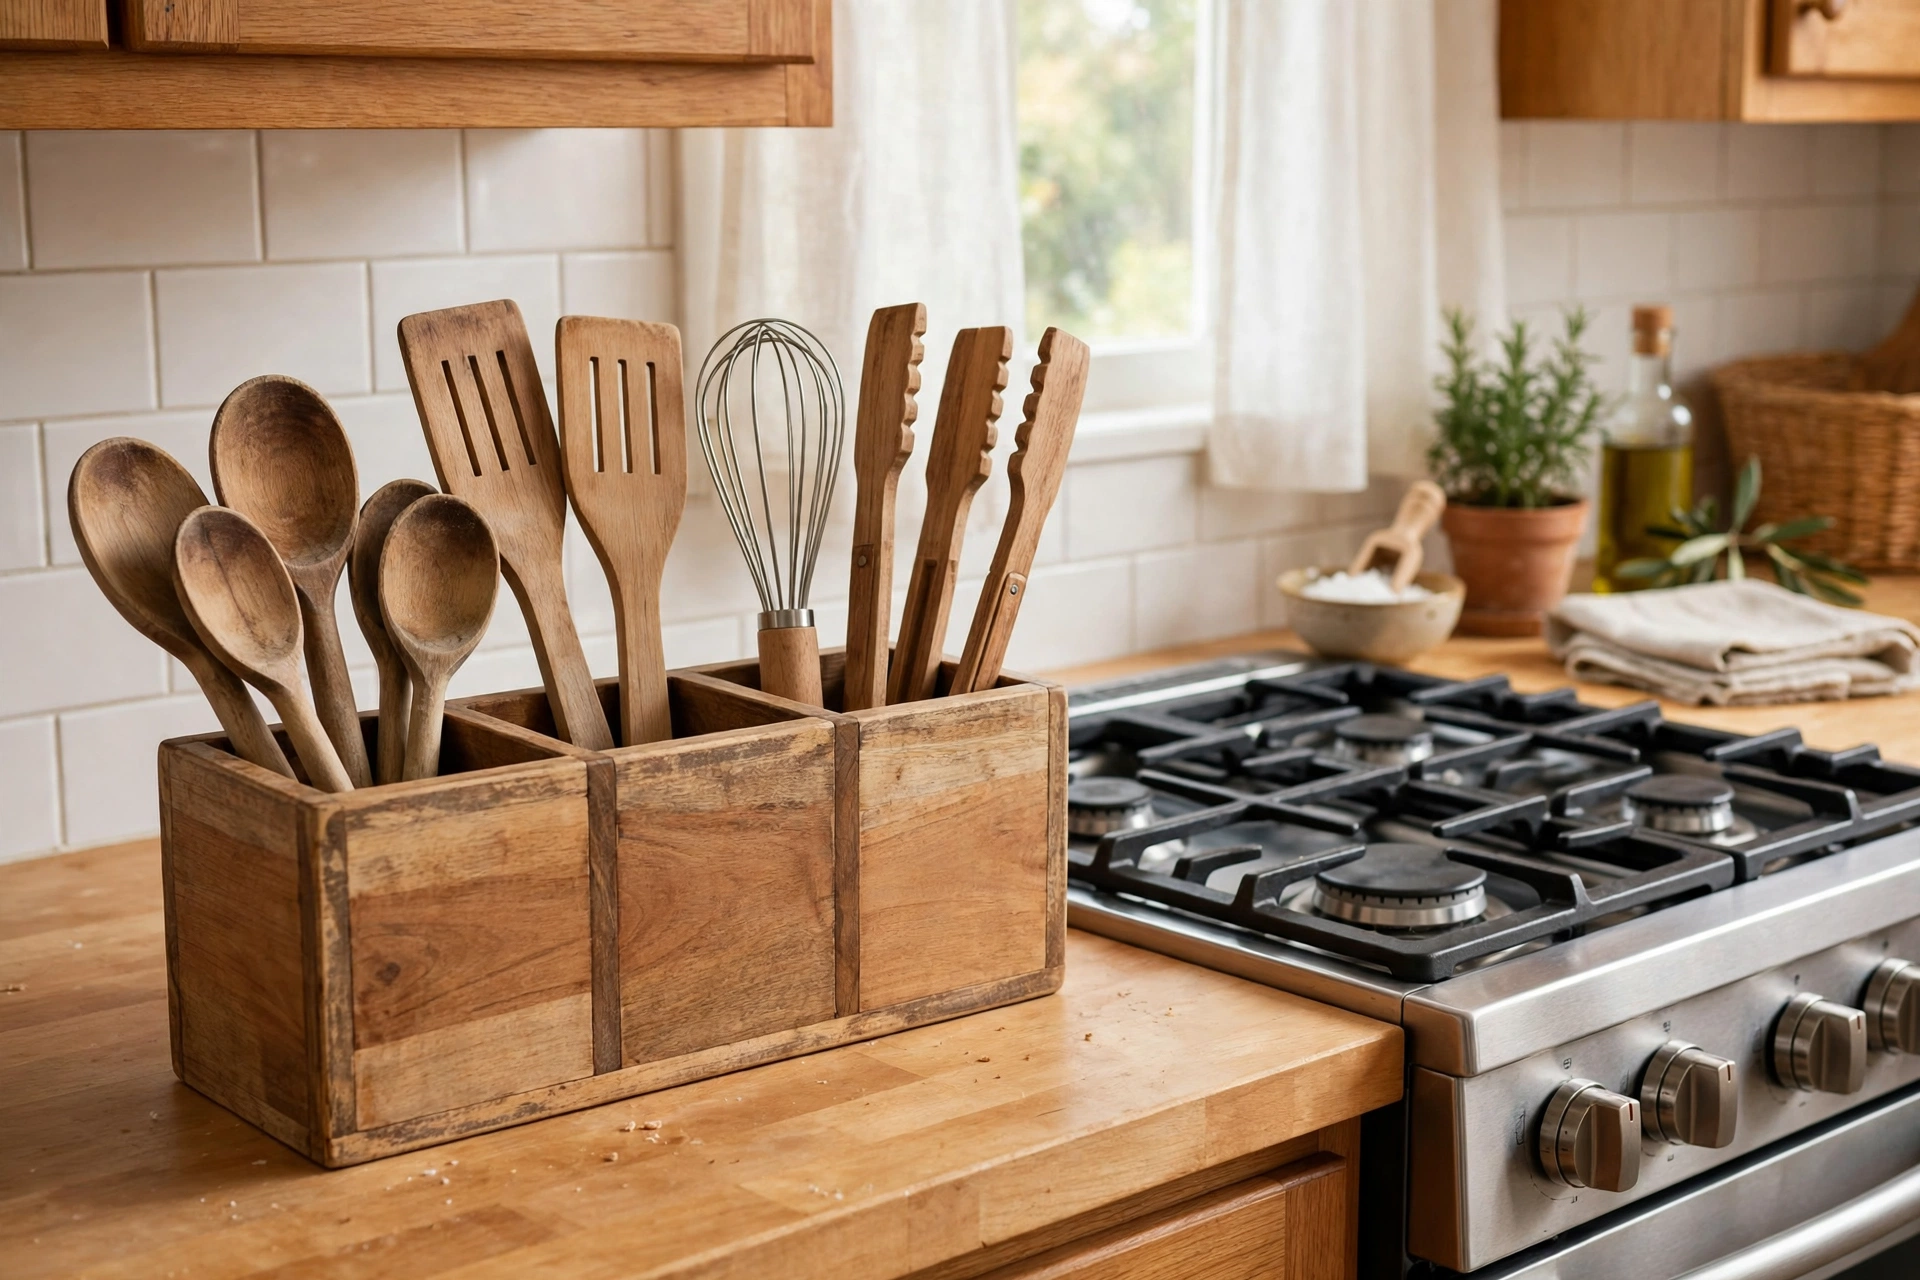
Once the finish has cured, load the holder by group, not by habit. Put tall, heavy tools like ladles and mashers in the widest compartment, where they have room and will not crowd out slimmer tools. Slim spoons and spatulas go in the narrow compartments. Keep the tools you reach for daily — your favorite spatula, your wooden spoon — at the front, where your hand finds them without looking.
A few organization rules make the holder work long-term. First, do not overfill it: if you have to wrestle a spatula out, the friction will wear the finish and scratch the utensils, so keep overflow tools in a drawer. Second, only put clean, dry utensils back in the holder; damp tools breed mildew in the bottom of any closed container, wood included. Third, keep the holder a hand’s width from the stove — close enough to grab, far enough that heat and steam do not dry out the finish.
Approximate Cost
Prices vary by region and store, but this project stays comfortably in impulse-buy territory. These are approximate estimates, not quoted prices:
| Item | Approximate cost |
|---|---|
| Pine board (1 x 8, 4 feet) | $6–$12 |
| Wood glue (if you do not already own it) | $4–$8 |
| Sandpaper set (120, 180, 220 grit) | $3–$6 |
| Food-grade mineral oil | $6–$10 |
| Clamps, saw, drill (borrowed or already owned) | $0 |
| Total, if buying everything new | $19–$36 |
| Total, if you already own tools and glue | $12–$22 |
Common Mistakes Beginners Make
Most first-holder problems come from the same handful of errors, and all of them are avoidable.
Building before measuring is the biggest one. A holder that is too short tips over when you pull out a ladle; one that is too tall swallows short spatulas. Measure your utensils first, every time, even if you have built one before — different kitchens have different tools.
Skipping the dry-fit is the second. Gluing up a box only to discover a side is a quarter-inch too long is frustrating and hard to fix. A two-minute dry-fit catches every sizing error while it is still free to fix.
Using too much glue is the third. Thick beads of glue squeeze out, dry hard, and show as pale blotches under an oil finish. A thin, even line is stronger than a puddle, because the joint is wood-to-wood, not glue-to-glue. Wipe squeeze-out immediately with a damp cloth.
Sanding too little, or sanding across the grain, is the fourth. A holder that feels rough before finishing will feel rougher after, because oil raises the grain. Sand through all three grits, with the grain, and do the damp-cloth test before you finish.
Choosing the wrong finish is the fifth. A general-purpose varnish might look glossy and tough, but if it is not rated food-contact-safe, it does not belong on a piece that holds your cooking tools. Mineral oil or butcher-block oil is the safe, simple default.
Finally, unclamping too early. Glue needs its full cure time to reach strength. If you unclamp after twenty minutes because the joint “feels solid,” you risk a joint that shifts under load later. Let it sit overnight. The holder will still be there in the morning.
Frequently Asked Questions
What size should a wooden utensil holder be?
For most kitchens, 7 inches tall, 8 inches long, and 5 inches wide works well. The height should be about two-thirds of your tallest utensil, so tools stand securely but their handles stick out far enough to grab. Measure your own utensils before cutting, and adjust the height up to 8 inches if your longest tools are over 14 inches.
What is the best wood for a utensil holder?
Pine is the best choice for beginners: it is inexpensive, easy to cut and sand, and looks warm with an oil finish. Hardwoods like oak, maple, or walnut are more durable and beautiful, but they cost more and are harder to work with basic tools. Build your first holder in pine, then upgrade to hardwood once you are confident.
Is a wooden utensil holder food-safe?
Yes, as long as you finish it with a food-safe product such as food-grade mineral oil or butcher-block oil, and let it cure fully before use. Avoid general-purpose varnishes or paints that are not rated food-contact-safe. Clean, dry utensils and a holder kept away from the sink will keep the piece safe and hygienic.
Do I need a power saw to build this?
No. A simple hand saw cuts all the pieces in this project, it just takes a little longer. A circular saw or miter saw speeds things up and gives straighter cuts, but the project was designed so that any saw you already own and can use safely will work. A straightedge clamped as a guide helps enormously with a circular saw.
How do I keep a wooden utensil holder clean?
Wipe the outside with a damp cloth and dry it promptly; never soak it or put it in the dishwasher. Empty it occasionally and wipe the inside compartments, and let it air out if it ever gets damp. Reapply a thin coat of mineral oil every few months to keep the wood sealed and looking fresh.
Can I make a utensil holder without dividers?
Yes, a single open compartment is even simpler to build, and it works fine if you only own a few slim tools. Dividers are worth the small extra effort, though: they stop heavy tools from leaning on light ones, keep whisks from tangling with tongs, and make the holder look much more finished.
How long does this project take?
Most beginners finish in 3–5 hours of active work spread over two days: an hour or two for measuring and cutting, an hour for glue-up, an hour for sanding, and a short session for finishing. The glue and oil need overnight curing between stages, so plan for a weekend rather than a single evening.
Final Thoughts
A wooden utensil holder is a small project with an outsized reward. In one weekend you practice measuring, cutting, gluing, sanding, and food-safe finishing, and you end up with something your kitchen uses every day. Build it to your own utensils, not to a generic size, take your time with the sanding, and finish it with food-safe oil. Then enjoy the small daily pleasure of reaching for a spatula that is exactly where it should be.
Recommended Products for This Project
As an Amazon Associate, I earn from qualifying purchases.

Titebond III Ultimate Wood Glue 1413 (8 oz)
Water-resistant wood glue for strong joints in this small kitchen build.

IRWIN QUICK-GRIP Woodworking Clamps Set, 8-piece (IRHT83220)
A versatile clamp assortment that holds small glue-ups tight while they dry.

DEWALT 20V MAX Drill/Driver Kit DCD771C2
Compact drill for pilot holes and screws in the holder frame.

DEWALT Random Orbit Sander DWE6423, 5-inch
Smooths edges and faces to a splinter-free, kitchen-ready finish.

DEWALT Concealer Safety Goggles DPG82-11C
Sealed eye protection against dust and flying chips while cutting and sanding.


