
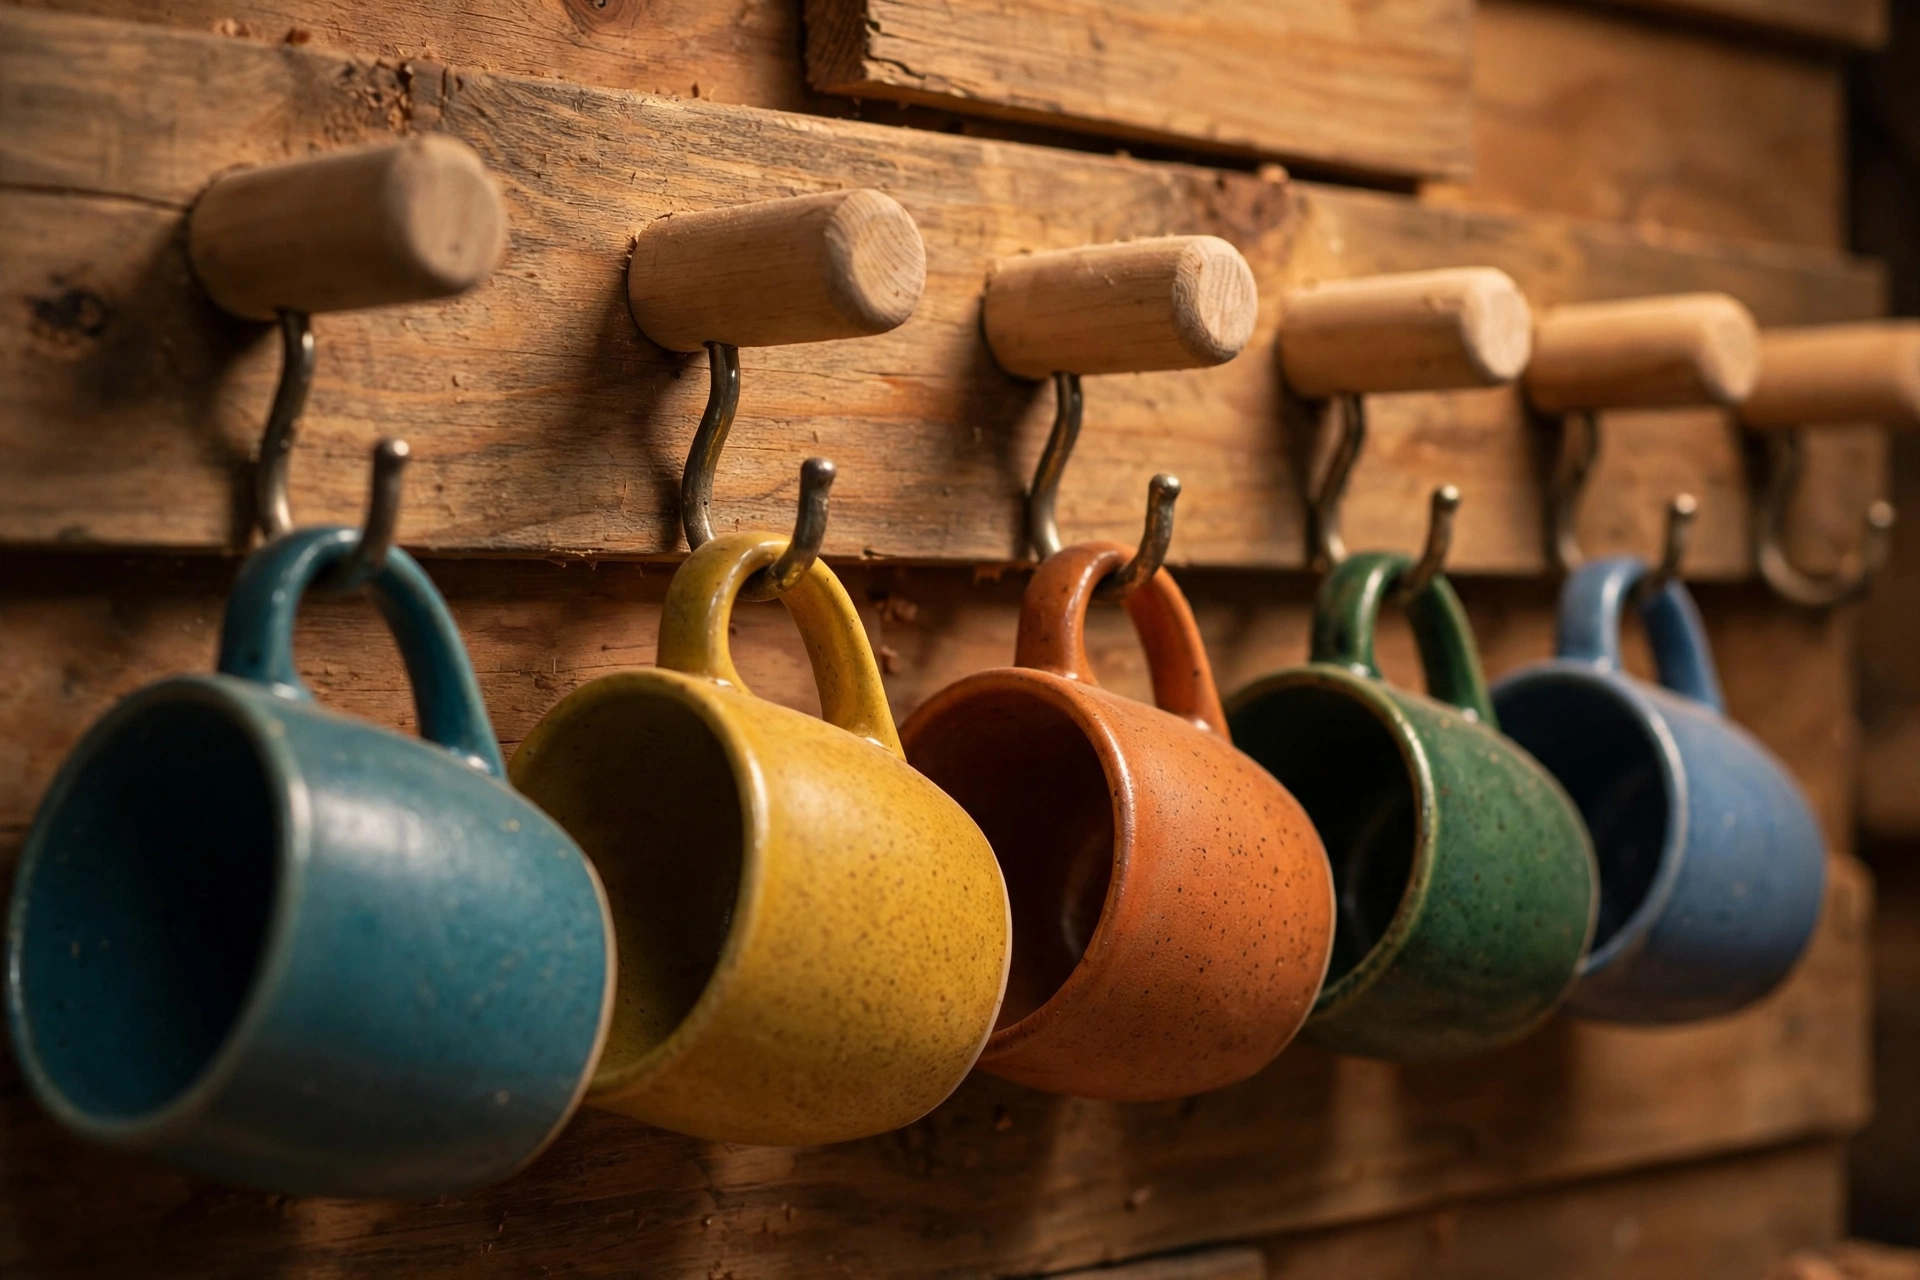
If your coffee mugs live in a crowded cabinet, stacked two deep and chipped at the rims, this project will change your mornings. A wall-mounted wooden mug rack gets every mug out where you can see it, frees a whole shelf, and turns a plain stretch of kitchen wall into the warmest corner of the room. Best of all, it is a genuinely beginner-friendly build: one board, a row of pegs or hooks, a few screws, and an afternoon in the workshop.
By the end, you will have a rack sized for your own mug collection, mounted into studs or rated anchors, and finished to survive daily kitchen use. The design below holds six to twelve mugs depending on the panel width you choose, costs very little in materials, and needs only basic tools. Every step teaches a core skill — measuring, drilling straight holes, sanding, and driving screws — without any tricky joinery.
Why a Wall-Panel Mug Rack Is a Great Beginner Project
A wall panel is the most forgiving style of mug rack a beginner can build, and that is exactly why this guide uses it. Unlike a freestanding mug tree, which needs balanced legs and careful joinery to avoid wobbling, a panel is just a flat board fixed to the wall. Gravity works in your favour, the wall carries the load, and there are no angles to cut.
The panel style also solves the two problems that sink most other mug storage ideas. First, it protects your mugs. Hanging by the handle keeps rims from chipping against each other in a cabinet, and air can circulate around each mug so freshly washed cups dry properly instead of trapping moisture. Second, it saves real space. Twelve mugs on a panel take up about the same wall area as a single picture frame, while the same twelve mugs can swallow an entire kitchen cabinet shelf.
There is also a design payoff. A wooden panel warms up a kitchen in a way that a metal hook rail never quite manages, and you can match it to your kitchen: pale pine for a bright feel, warm oak for a classic look, or a dark walnut stain for a coffee-bar mood.
If you enjoy small wall-mounted builds like this one, you may also like learning how to build a wooden key holder for beginners, which uses the same panel-and-peg skills on an even smaller scale. And if this project sparks a bigger interest, the pillar guide to easy woodworking projects for beginners that sell shows how small, useful builds like mug racks fit into a wider beginner journey.
Planning Your Rack: Mug Count, Sizes, and Hook Spacing
Before you cut anything, gather every mug you actually want to hang and measure the collection. This ten-minute step is the difference between a rack that fits your kitchen and one that fits somebody else’s. Count your mugs, then measure the widest one across its body, and the tallest one from base to rim. Most standard coffee mugs are about 3 to 3.5 inches wide and 3.5 to 4 inches tall, but oversized soup mugs and travel-style mugs can reach 4.5 inches wide, and those are the ones that cause trouble on a rack planned for standard sizes only.
Hook spacing is the key number. As a rule, allow the mug’s width plus at least 1 inch of breathing room between peg centres, so handles swing freely and mugs do not clink when you lift one off. For standard mugs, that means pegs spaced 4.5 to 5 inches apart, centre to centre. For a mixed collection with a few large mugs, go to 5.5 inches. Vertically, if you build two rows, leave at least 7 inches between rows so a tall mug on the lower row clears the peg above it, and leave 5 to 6 inches of clearance below the bottom row so mugs do not bump the countertop or coffee maker.
Panel width follows directly from mug count and spacing. The table below gives ready-made sizes for the most common collections. Each panel is 8 inches tall, which suits two rows of pegs, and the side margins of 2.5 inches keep the end pegs away from the panel edge so the wood does not split.
| Mug count | Rows | Peg spacing (centre to centre) | Panel size (width x height) | Best for |
|---|---|---|---|---|
| 4 mugs | 1 row of 4 | 5 inches | 30 x 8 inches | Small households, couples |
| 6 mugs | 2 rows of 3 | 5 inches | 20 x 8 inches | Most kitchens, compact walls |
| 8 mugs | 2 rows of 4 | 5 inches | 25 x 8 inches | Families, keen coffee drinkers |
| 10 mugs | 2 rows of 5 | 5 inches | 30 x 8 inches | Large collections, coffee bars |
| 12 mugs | 2 rows of 6 | 5 inches | 36 x 8 inches | Big families, dedicated coffee stations |
If your collection mixes standard and oversized mugs, plan around the biggest mug, not the average one. Put large mugs on the ends of rows, where they have open space on one side, and keep spacing at 5.5 inches for that row.
Materials, Tools, and Cut List
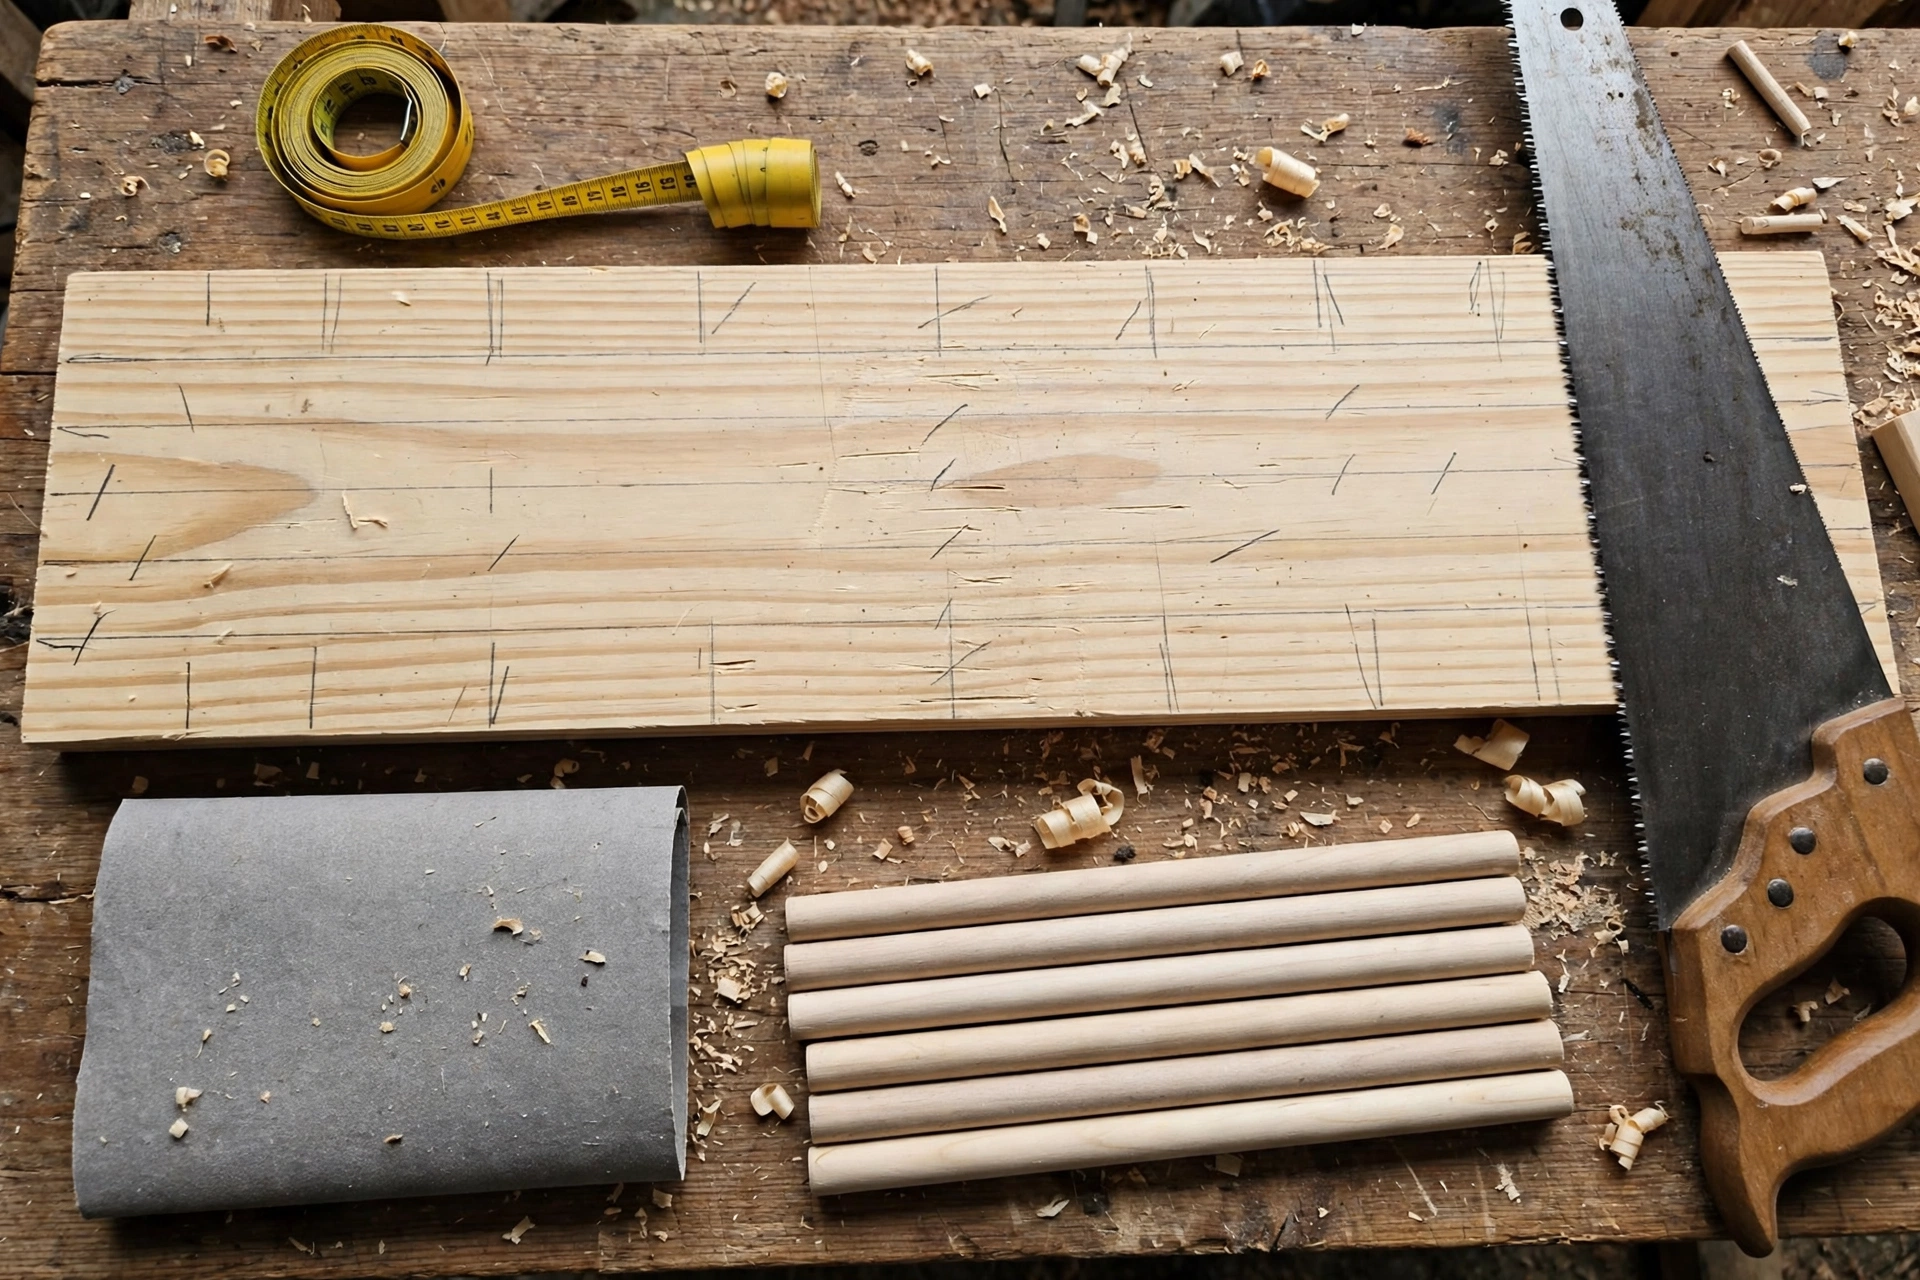
One of the pleasures of this project is how short the shopping list is. A single pine board, a dowel rod, and a handful of screws will cover most builds. Pine is the best beginner choice: cheap, light, easy to drill and sand, and it takes stain beautifully. Oak or maple work with exactly the same steps if you want a harder, more premium look, but they cost more and drill a little slower.
For pegs, you have two good options. Wooden dowel pegs look handcrafted and match the panel perfectly; they suit a rustic or farmhouse kitchen. Metal cup hooks are quicker to fit, hold heavier mugs very well, and suit a modern coffee station. This guide uses dowel pegs as the main method, with a note on cup hooks in the fitting section, because pegs teach drilling and gluing skills that transfer to many other projects. Whichever you choose, buy pegs or hooks rated for more weight than a single mug — a filled ceramic mug weighs roughly 1 to 1.5 pounds, and you want a comfortable safety margin.
Cut list
| Part | Material | Size | Quantity | Notes |
|---|---|---|---|---|
| Back panel | Pine board, 3/4 inch thick | 30 x 8 inches (for 10 mugs) | 1 | Adjust width using the table above |
| Pegs | Hardwood dowel, 3/8 inch diameter | 3 inches long each | 10 | Cut from one 36-inch dowel rod |
| French cleat (optional) | Pine, 3/4 inch thick | 30 x 3 inches, bevelled | 1 | Alternative mounting method, see below |
| Mounting screws | #10 x 2.5 inch wood screws | — | 2–4 | Into studs where possible |
| Wall anchors | Rated 50 lb each | — | 2–4 | Only where no stud is available |
Tools you will need
- Tape measure, pencil, and combination square
- Hand saw or circular saw for cutting the panel to length
- Drill and drill bits (3/8 inch for peg holes, plus a countersink or pilot bit)
- Sandpaper in 120-grit and 220-grit
- Wood glue, a damp cloth, and clamps or heavy books
- Spirit level and stud finder
- Safety glasses and hearing protection
If you are still choosing your first drill, read our guide to the best drill for woodworking beginners before you buy — a basic cordless drill-driver is all this project needs, and it will serve every future build too. And before you switch any power tool on, refresh the habits in our woodworking safety tips for beginners: glasses on, cords clear, work clamped, never held by hand while drilling.
Step-by-Step: Cutting, Sanding, and Drilling the Panel
Step 1: Cut the panel to size
Mark your chosen width on the pine board with a pencil and square, then cut along the line. A circular saw with a straight guide gives the cleanest edge, but a sharp hand saw works perfectly well on pine — just take slow, steady strokes and let the saw do the work. Check the panel against your wall space and mug count one more time; it is easy to trim a panel shorter now and impossible to stretch it later.
Step 2: Sand the panel smooth
Start with 120-grit sandpaper and work along the grain until the surface feels even and the sawn edges lose their roughness. Round the front edges slightly with a few extra passes — this softens the look and removes splinters. Follow with 220-grit, then wipe away all dust with a slightly damp cloth.
Step 3: Mark the peg positions
Lay the panel face-up and draw a light horizontal line for each row: for an 8-inch panel with two rows, mark rows at 2 inches and 6 inches from the top edge. Along each row, mark peg centres starting 2.5 inches from one end and then every 5 inches (or 5.5 inches for large mugs). Double-check every mark against your actual mugs by holding a mug up to the panel and checking handle clearance.
Step 4: Drill the peg holes
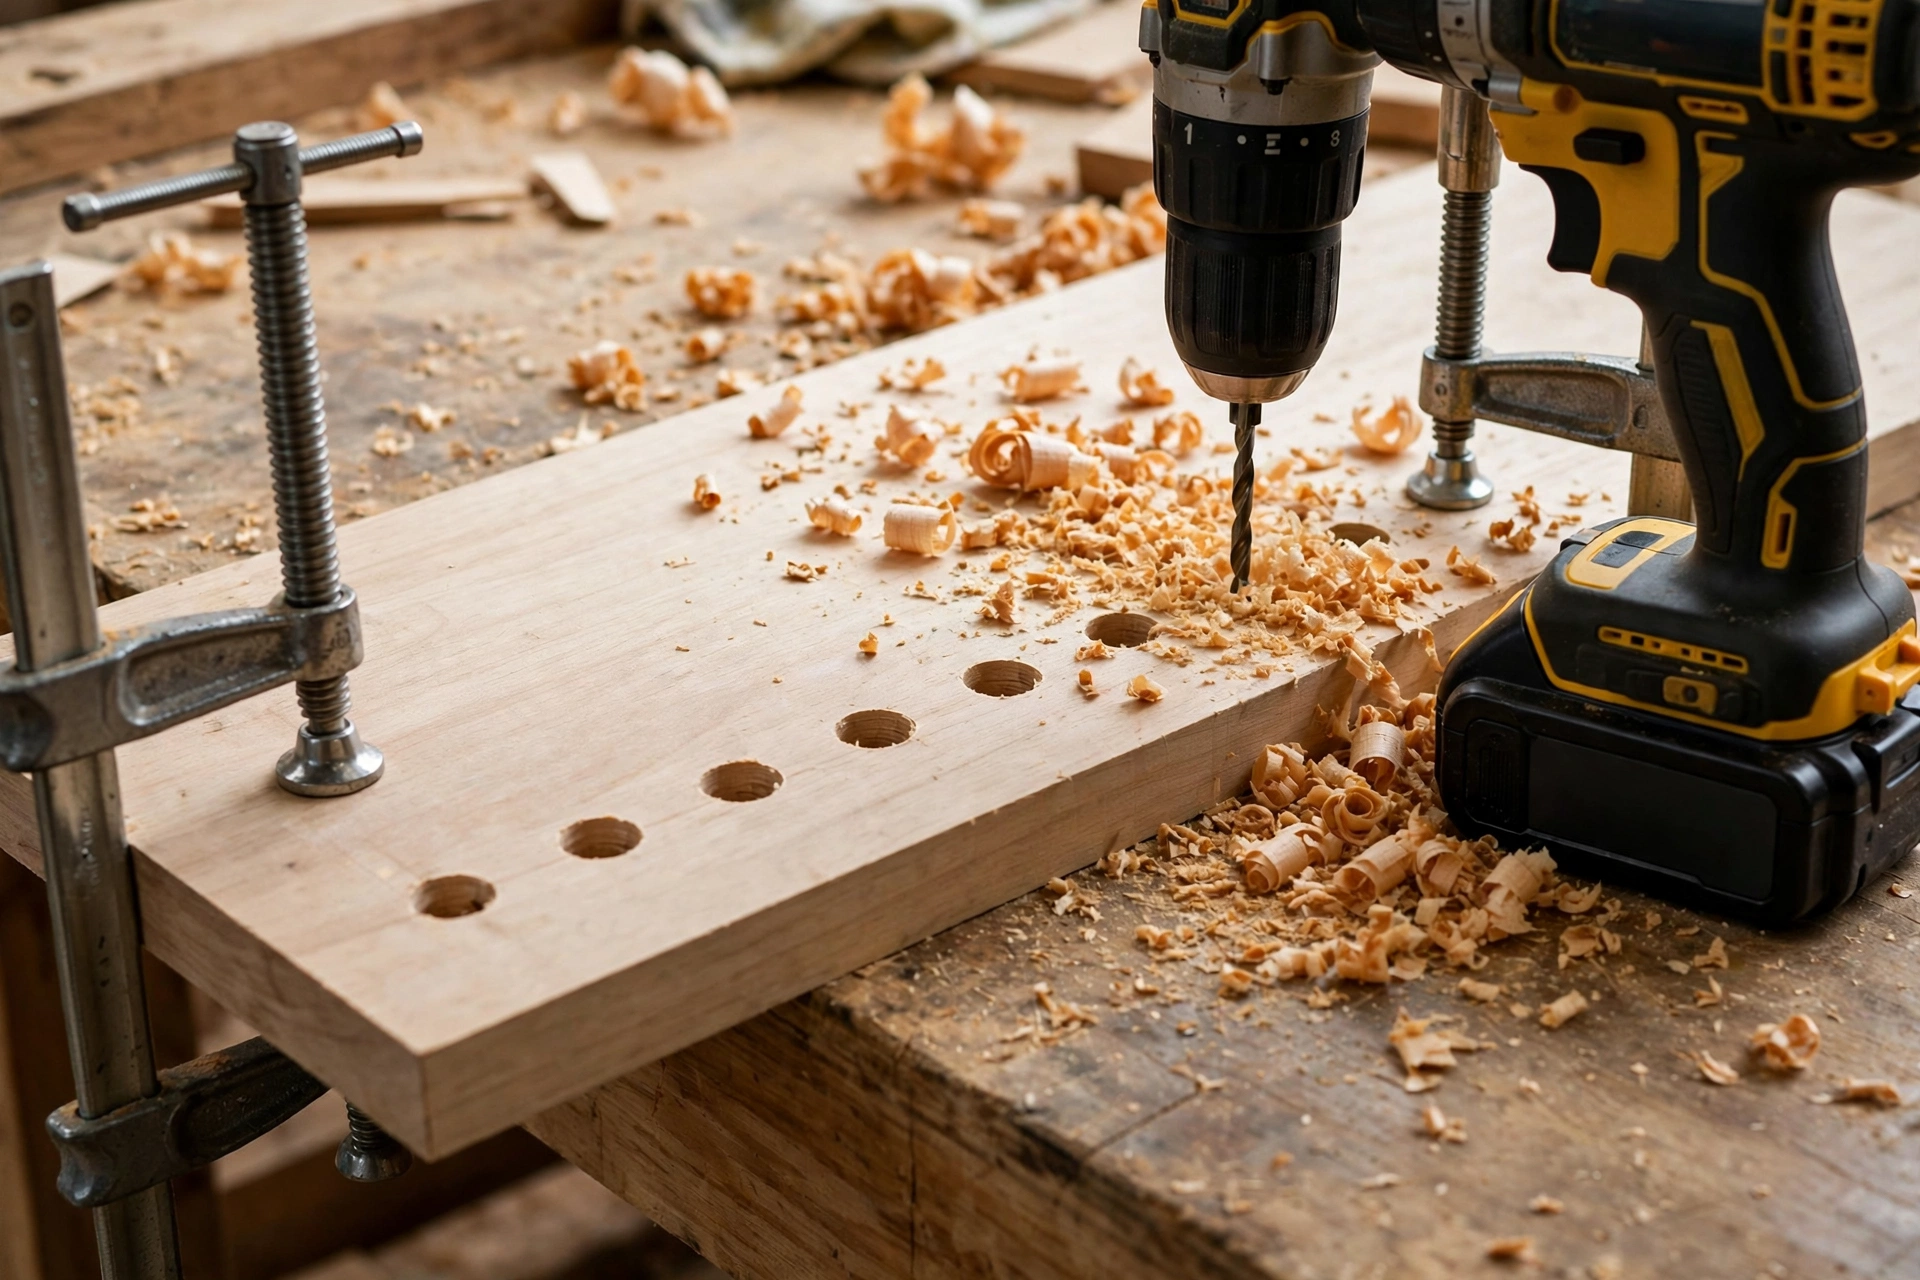
Clamp the panel firmly to your workbench so it cannot move. Drill each marked hole with a 3/8-inch bit to a depth of about 1 inch, keeping the drill as square to the panel as possible. Drill slowly near the bottom of the hole to avoid tear-out, and lightly sand each hole rim afterwards so the pegs seat cleanly.
Step 5: Cut and dry-fit the pegs
Cut the dowel rod into 3-inch pegs. A 3-inch peg gives about 2 inches of usable hanging length once 1 inch sits inside the panel, which suits most mug handles. Sand the ends of each peg lightly, round the outer end slightly, then dry-fit every peg into its hole without glue. Hang a mug on each peg and check the spacing in real life, not just on paper. If two mugs touch, now is the time to adjust — re-drill a hole or trim a peg, before any glue sets.
Fitting Pegs and Hooks
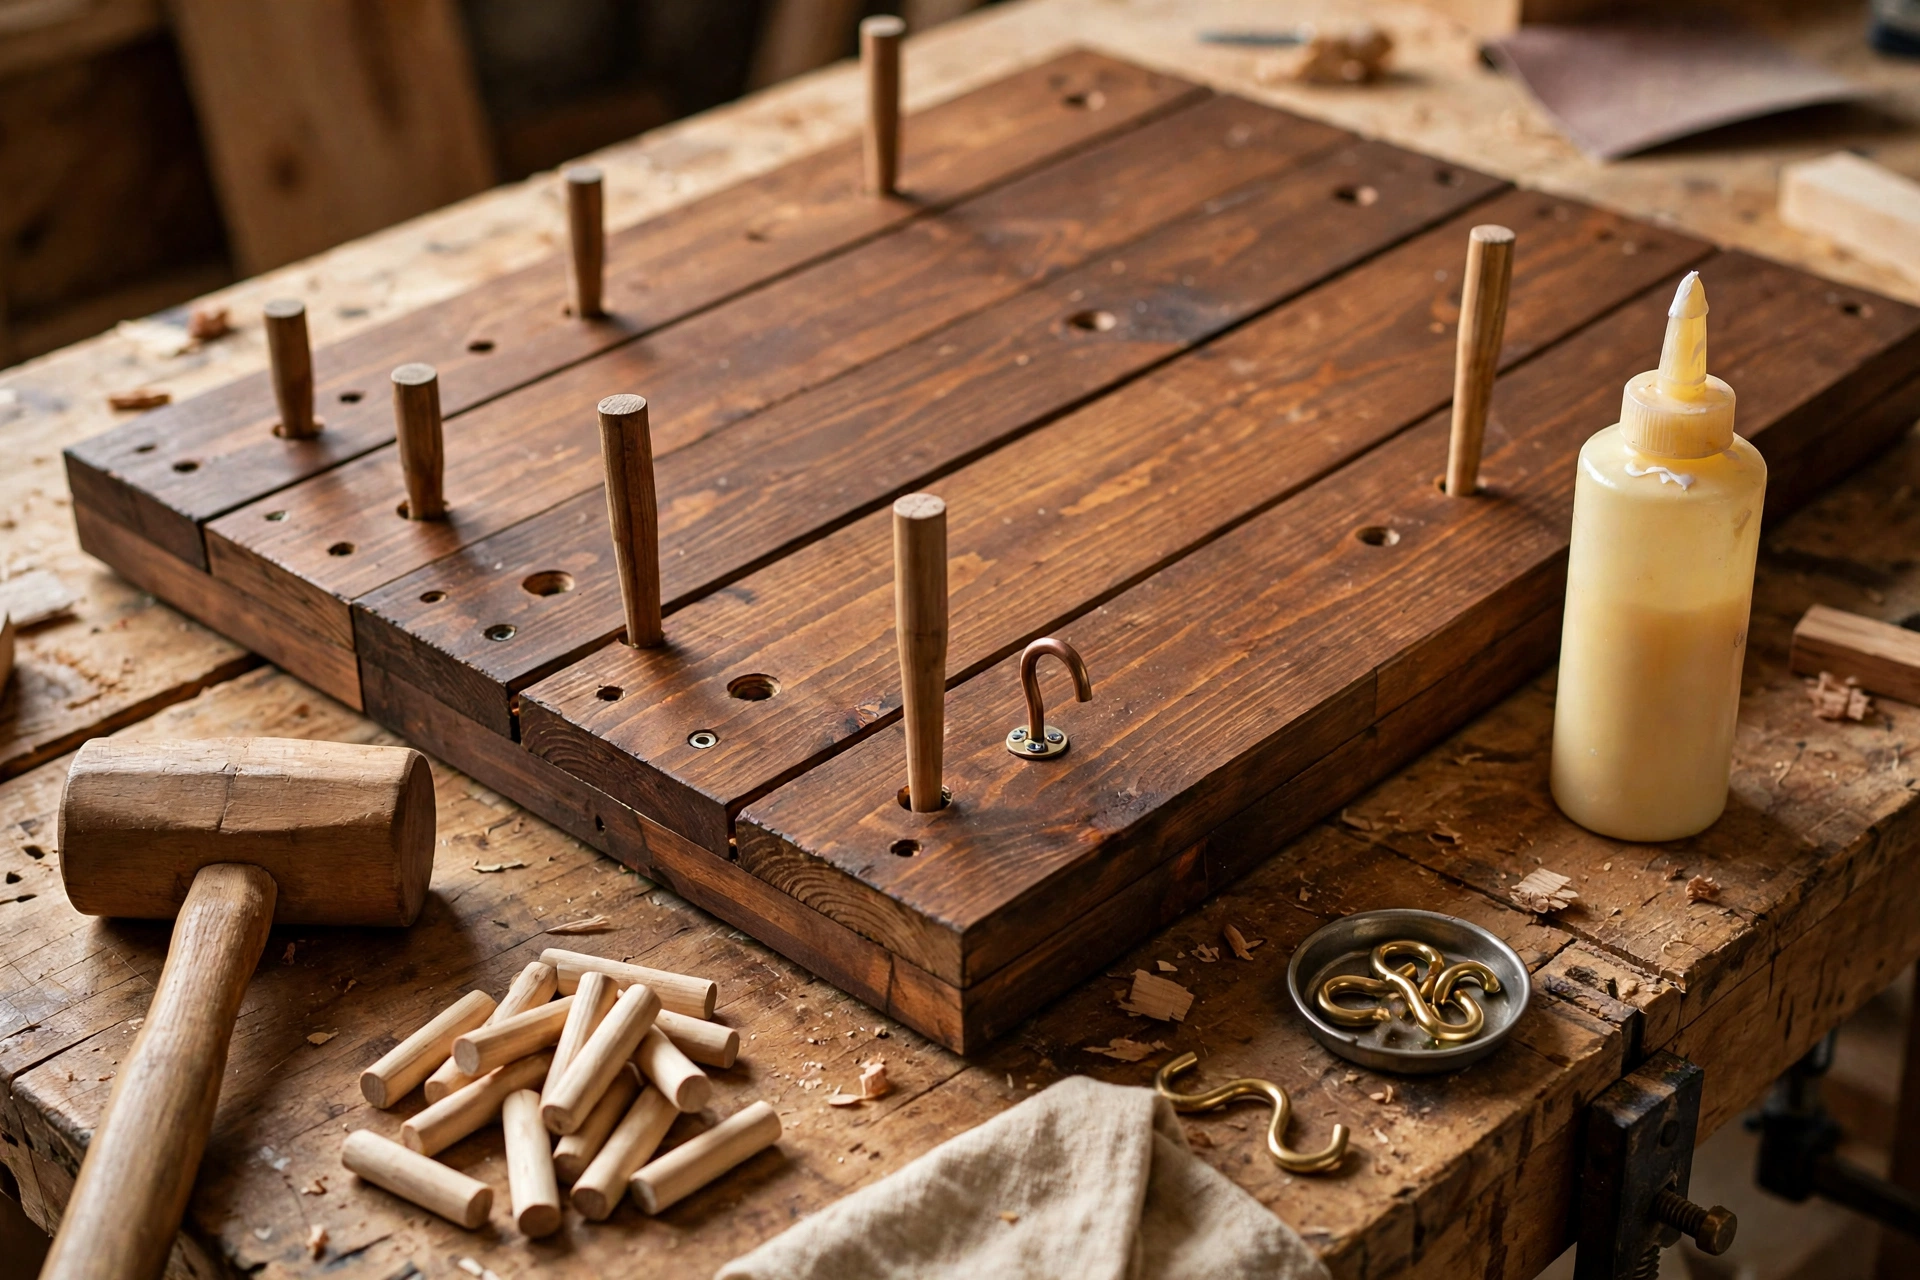
With the dry fit confirmed, glue the pegs in place. Put a small amount of wood glue inside each hole — not on the peg itself, which pushes glue out and makes a mess — then tap each peg gently home with a mallet or a block of scrap wood. Wipe away any squeeze-out immediately with a damp cloth, because dried glue spots show through stain as pale blotches. Leave the panel flat and undisturbed for at least an hour, or overnight if you can, so the glue cures fully before the rack carries any weight.
If you prefer metal cup hooks instead of dowel pegs, the process is simpler: drill a small pilot hole at each marked position, about half the diameter of the hook’s screw thread, then screw each hook in by hand until it sits snug and points upward. Pilot holes matter here because screwing a hook into pine without one can split the board, especially near the ends. Cup hooks suit heavy stoneware mugs well, and they let you hang mugs by smaller handles that might slip off a smooth dowel.
Mounting Safely: Studs, Anchors, and the Weight Check
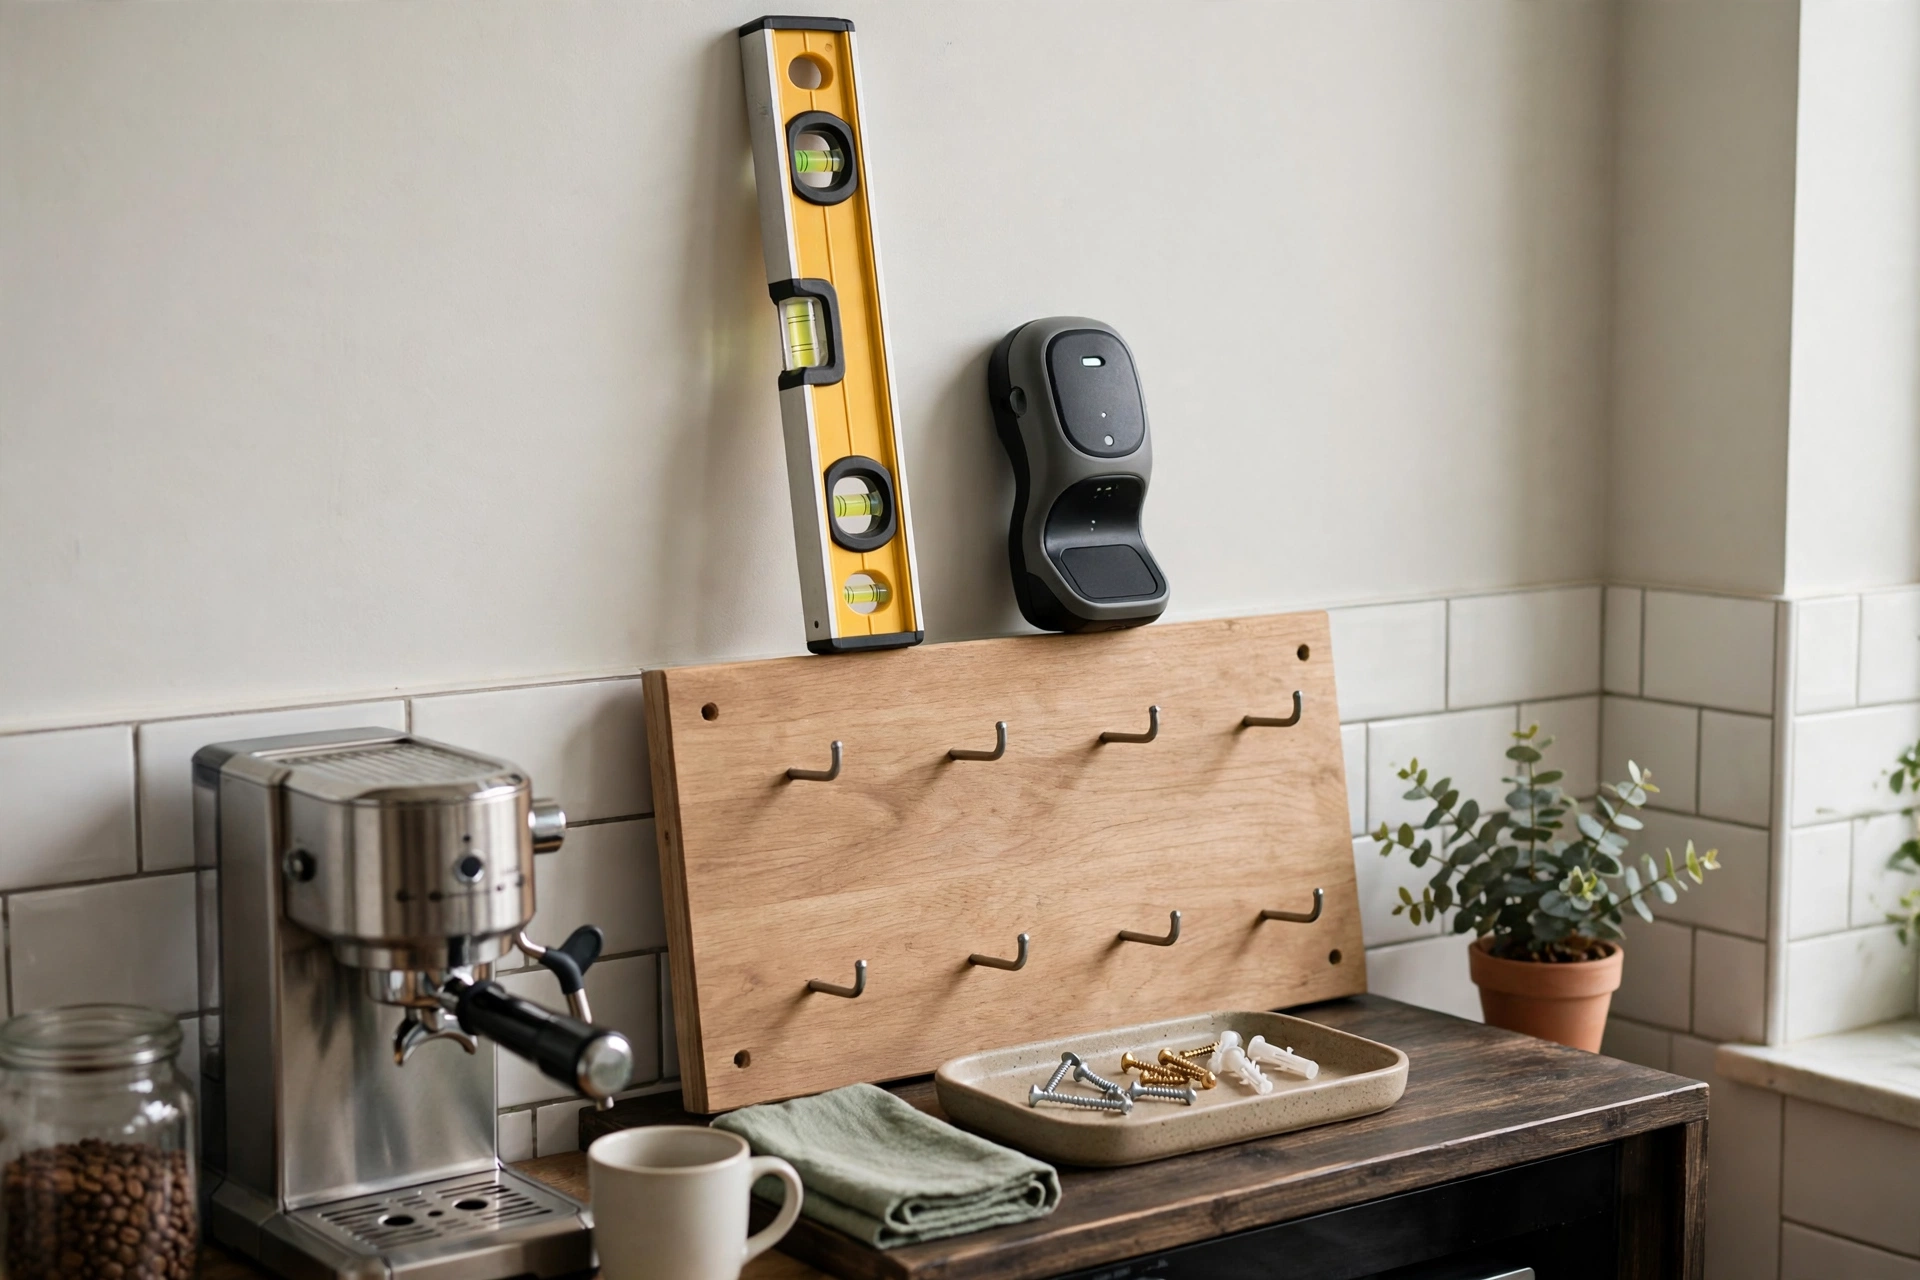
Mounting is the step beginners most often rush, and it is the step that matters most for safety. A rack holding ten ceramic mugs can weigh 15 to 20 pounds once loaded, and that load hangs away from the wall, pulling outward on the screws. Screwing into plasterboard alone, with no stud and no anchor, is asking for a midnight crash and a collection of broken mugs.
Start by finding the studs. Run a stud finder slowly across the wall at the height where the rack will sit, and mark each stud edge with painter’s tape. Studs are usually spaced 16 inches apart, so a 30-inch panel will usually cross two studs — ideal. If your panel crosses only one stud, use that stud for one screw and a rated wall anchor for the other end. If it crosses none, use two or four heavy-duty anchors rated for at least 50 pounds each, and follow the anchor maker’s instructions exactly, since different anchor types drill and set very differently.
Hold the panel against the wall at the planned height, check it with a spirit level, and mark the screw positions through the panel onto the wall. A good mounting height puts the bottom row of mugs at comfortable reaching height — typically the panel centre sits around 60 to 66 inches from the floor, but adjust for the height of the people using it and for clearance above the coffee maker. Drill pilot holes into the studs, or install the anchors, then drive the screws through the panel and into the wall, checking the level again after the first screw so you can correct any tilt before the second screw locks it in.
There are two clean ways to fix the panel. Direct screwing through the panel face is simplest: drill countersunk holes so the screw heads sit flush, then cover them with small wooden plugs or filler stained to match. A French cleat is more work but lets you lift the rack off the wall later and spreads the load beautifully. For a first build, direct screwing is fine.
Before you hang a single mug, do the weight check. Pull firmly downward on the mounted panel, then outward, then side to side. It should feel absolutely solid, with no flex and no creak. Then load it gradually: hang two mugs, wait a few minutes, add the rest. Check the screws again after a week of daily use, since wood and fixings can settle slightly.
Finishing: Stain, Seal, and Kitchen-Proofing
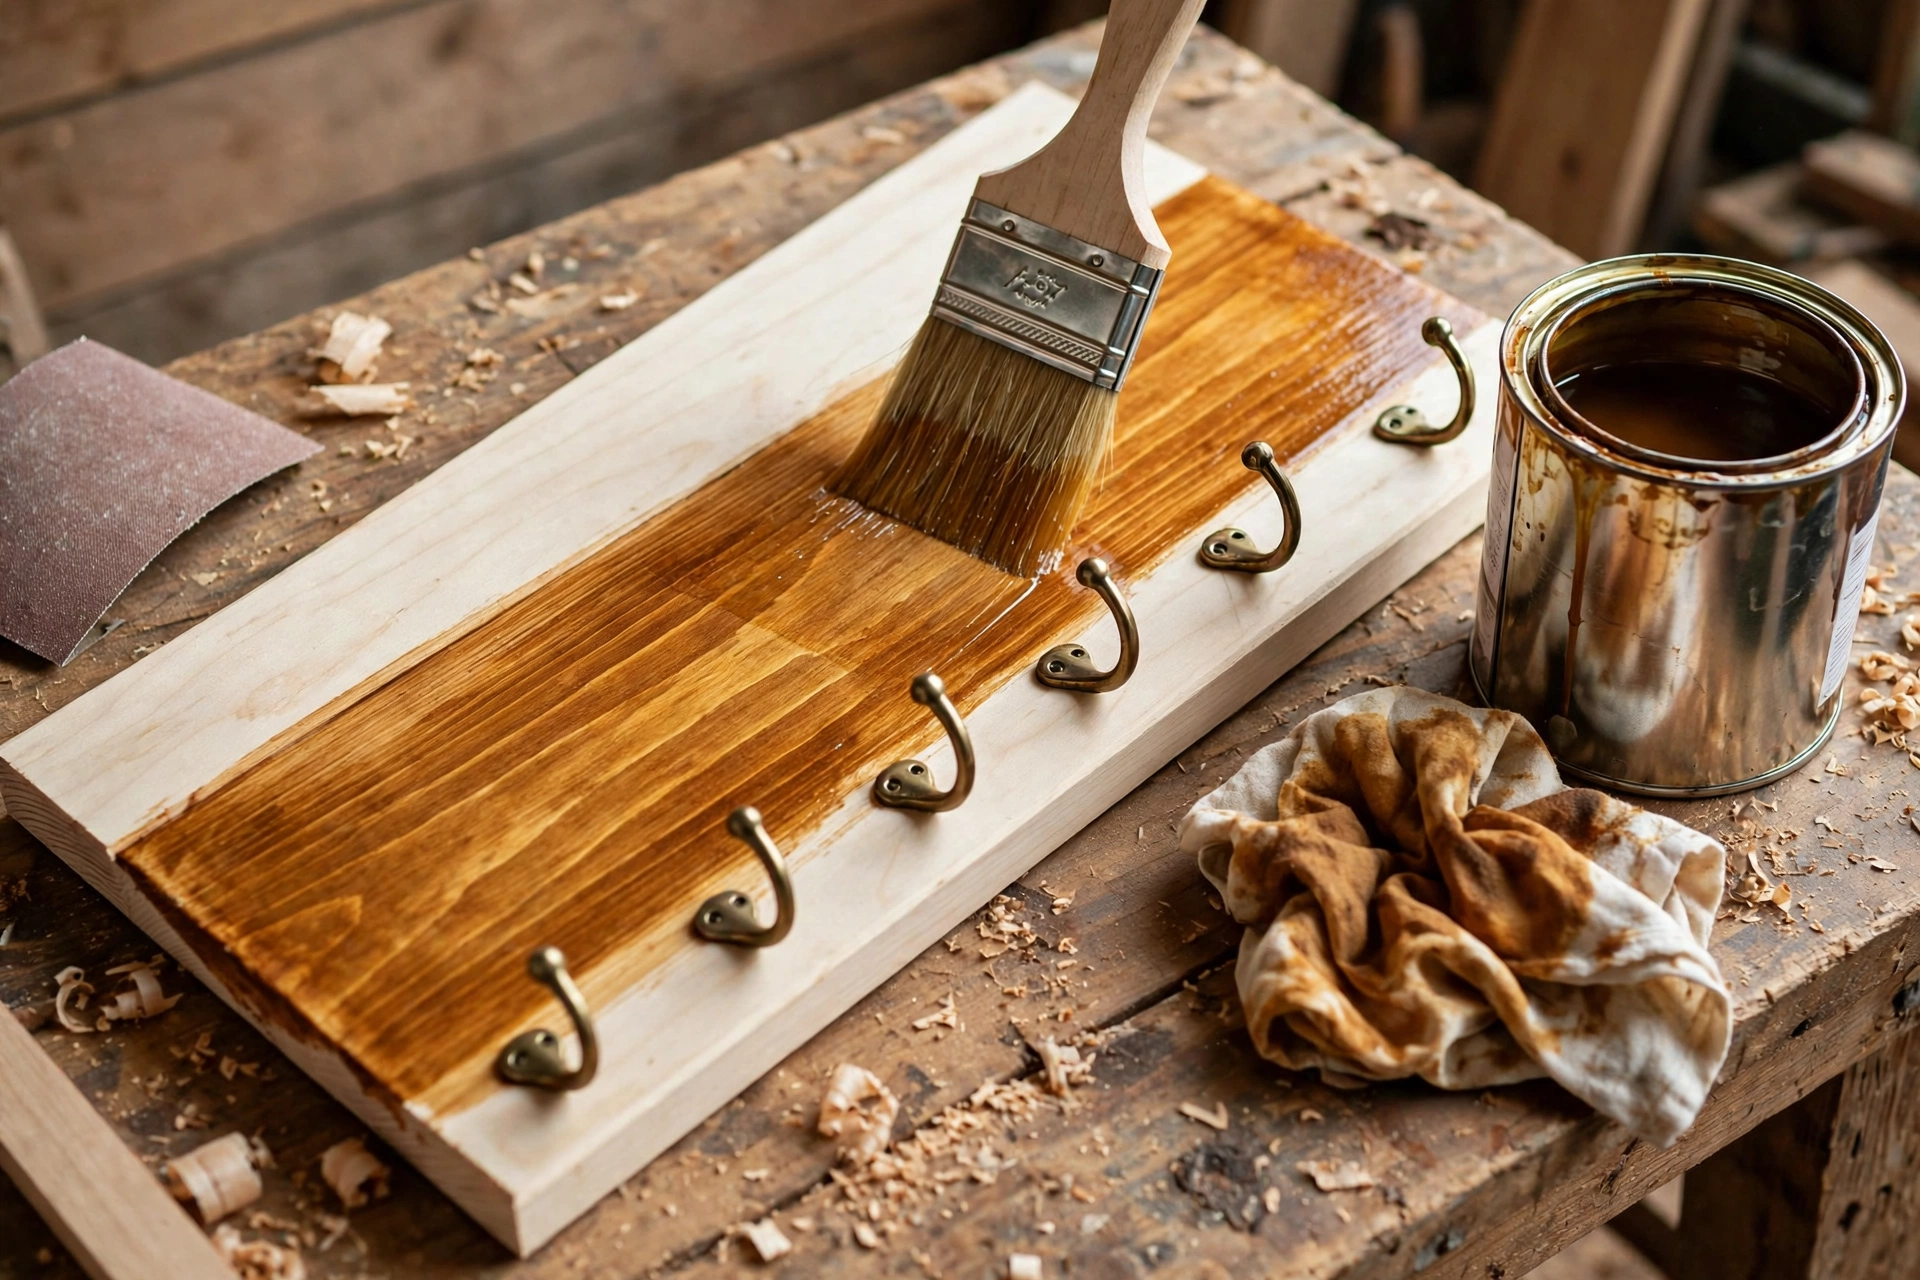
Finishing does two jobs: it makes the rack look like furniture rather than a raw board, and it protects the wood from kitchen steam, splashes, and daily handling. You can finish the panel before or after fitting the pegs, but finishing before mounting gives the cleanest result, because you can coat every surface without working around a wall.
Start by sanding the whole panel and pegs once more with 220-grit and wiping off the dust. If you are staining, apply one thin, even coat with a brush or rag, working along the grain, and wipe off the excess after a few minutes. Pine can blotch under stain, so a pre-stain wood conditioner is worth the small extra step if you want an even colour. Let the stain dry fully, then judge the colour in daylight before deciding whether a second coat is needed.
For a guide to choosing the right product, see our advice on the best wood stain for beginners. Over the stain, add two or three thin coats of a clear topcoat such as wipe-on polyurethane, sanding very lightly between coats. The topcoat is what actually resists moisture and coffee drips, so do not skip it in a kitchen. If you prefer a natural look, a hardwax oil or Danish oil gives a warm, low-sheen finish, but it needs re-oiling every year or so, while polyurethane lasts for years with no maintenance.
Let the finish cure fully — at least 24 hours, longer in cold or damp weather — before mounting and loading the rack. A finish that still feels tacky will pick up dust and fingerprints, and mugs hung too early can stick to it. Patience here is the difference between a rack that looks good for a month and one that looks good for a decade.
Setting Up Your Coffee Station
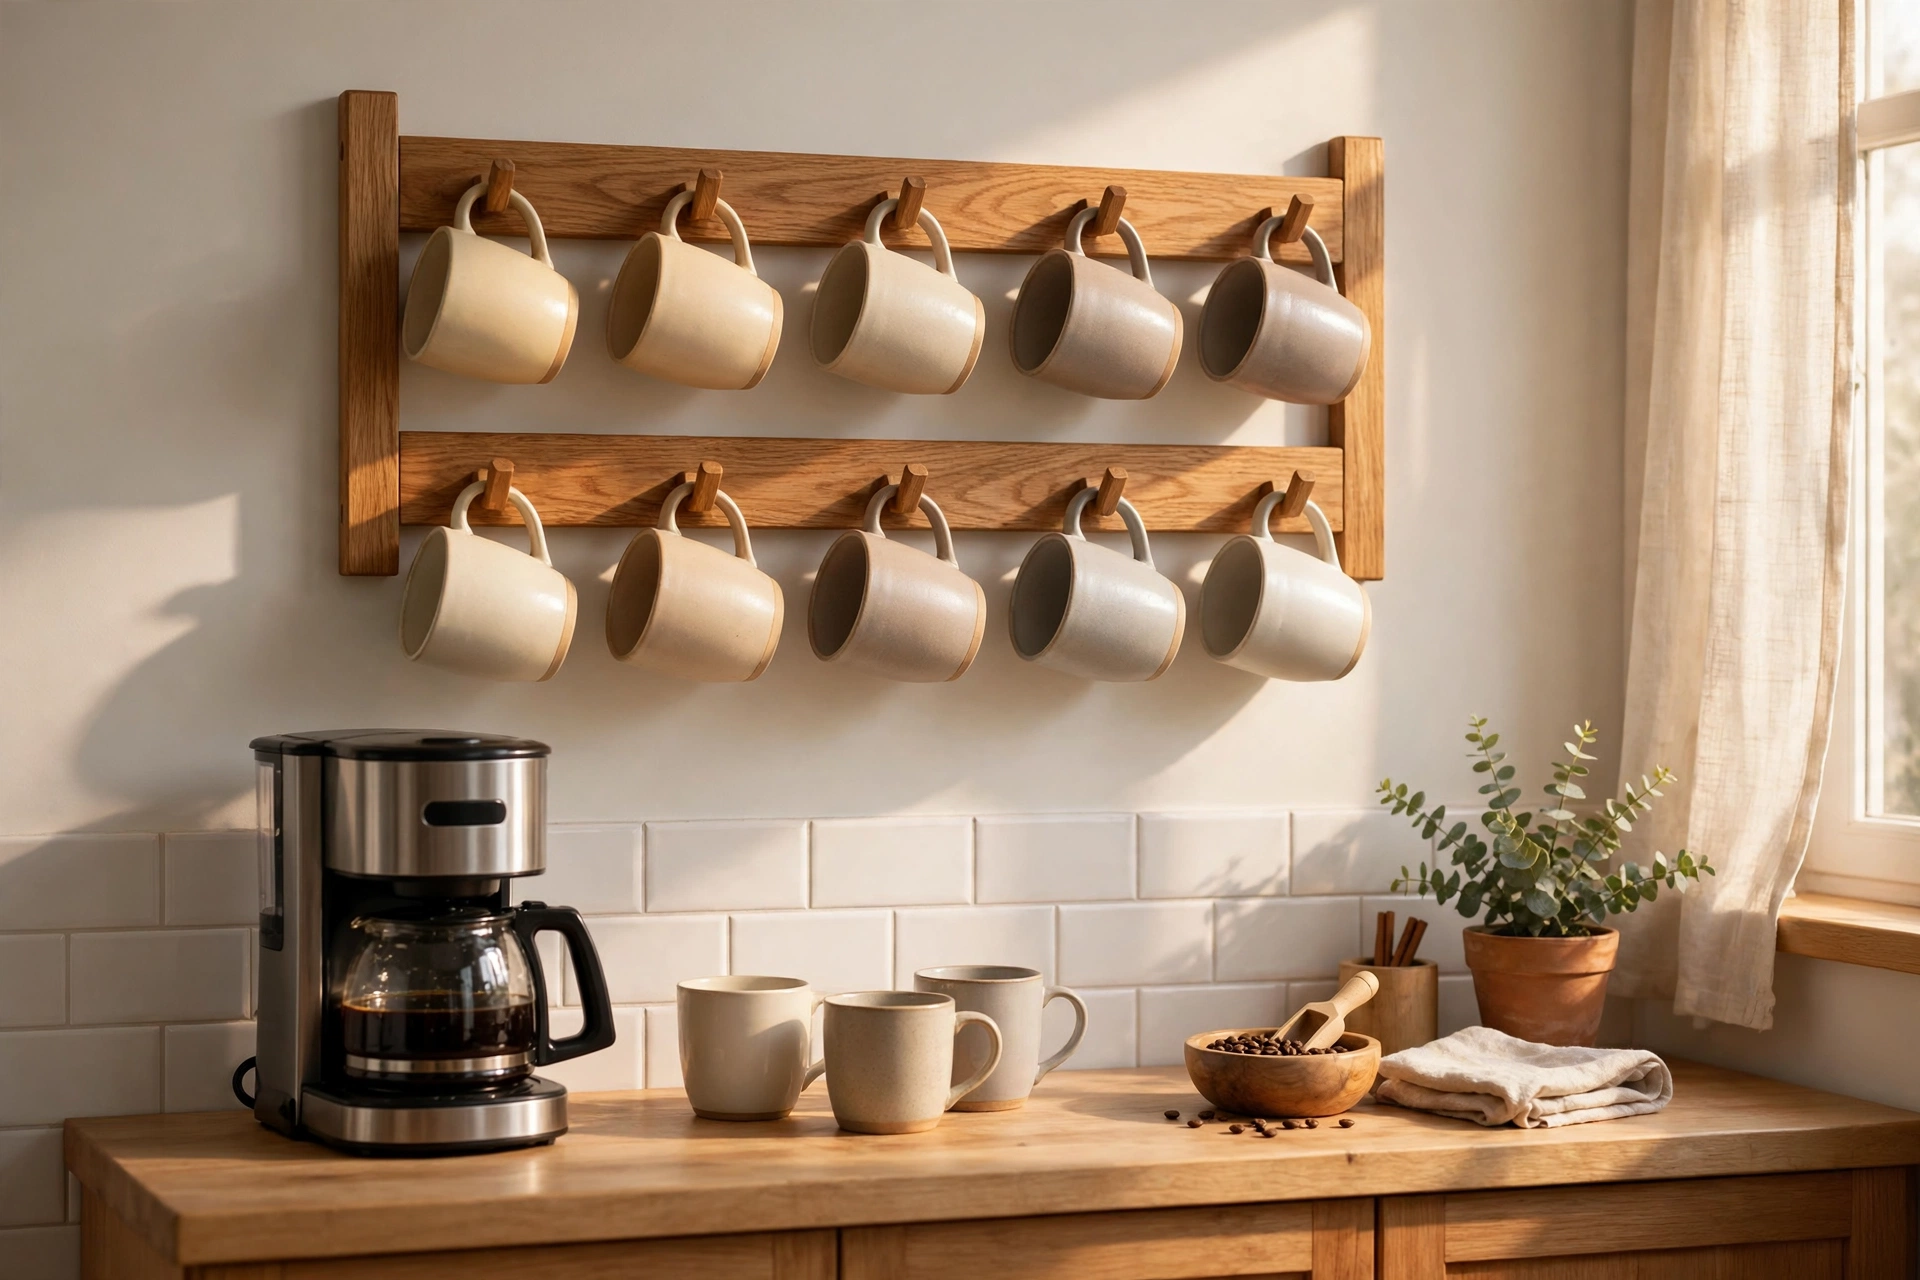
Once the rack is mounted and loaded, arrange the station around it. Put your most-used mugs at the easiest height, usually the bottom row, and reserve the top row for prettier or less-used cups. Keep the coffee maker, grinder, and sugar bowl on the counter below the rack so the whole morning routine happens in one spot, but leave enough clear counter space to lift a mug off its peg without knocking anything over.
Finally, leave room to grow. Most mug collections expand, so if your wall allows it, build one size up from your current count, or leave a few inches of wall free beside the panel for a future second rack.
Cost Breakdown
Prices vary by region and store, and the figures below are approximate estimates only, not quoted prices. Pine is inexpensive, and this project stays firmly in impulse-buy territory even if you need to buy a drill bit or two.
| Item | Approximate cost range |
|---|---|
| Pine board (30 x 8 inches, 3/4 inch thick) | $5–$12 |
| Hardwood dowel rod (36 inches) or cup hooks (pack of 10) | $3–$8 |
| Wood screws and wall anchors | $3–$6 |
| Wood glue (if not already owned) | $4–$8 |
| Sandpaper (120-grit and 220-grit) | $3–$5 |
| Stain and clear topcoat (small cans) | $10–$20 |
| Estimated total (materials only) | $28–$59 |
If you already own glue, sandpaper, and finish from an earlier project, the out-of-pocket cost can drop below $20. Tools are not included in this total, because a drill, saw, and sander serve dozens of future projects and should not be charged against one mug rack.
Common Mistakes to Avoid
The most common mistake is spacing pegs for the mugs you wish you owned rather than the ones you actually own. Measure the real collection, including the big novelty mug, and space for it. The second mistake is mounting without finding studs or using undersized anchors, which ends with a fallen rack. Take the time to locate studs properly, and if you are unsure about your wall type, ask at the hardware store and buy anchors rated for it.
Finally, do not hang mugs on a finish that has not cured. Tacky polyurethane will bond lightly to a mug handle and peel when you lift the mug, leaving a mark that is hard to repair neatly. Wait the full curing time stated on the can, even if the surface feels dry to the touch.
Frequently Asked Questions
How many mugs can a wooden mug rack hold?
A single 30-inch panel with two rows comfortably holds 10 standard mugs, and a 36-inch panel holds 12. The limit is set by spacing, not by the board: cramming pegs closer than 4.5 inches apart makes mugs knock together, so build wider rather than tighter if your collection grows.
Should I use pegs or hooks for a wooden coffee mug rack?
Dowel pegs look handcrafted and suit rustic kitchens, while metal cup hooks are quicker to fit and hold heavy stoneware very securely. Both work well on a wall panel. Pegs are the better choice if you want to practise drilling and gluing, and hooks are better if you want the fastest possible build.
How far apart should mug hooks be spaced?
Space peg or hook centres 4.5 to 5 inches apart for standard mugs, and 5.5 inches apart if you have oversized mugs. Leave at least 7 inches between rows and 5 to 6 inches of clearance below the bottom row so tall mugs hang freely.
Can I mount a mug rack on plasterboard without a stud?
Yes, but only with wall anchors rated for the job — at least 50 pounds each — installed exactly as the manufacturer directs. Screws driven into bare plasterboard will pull out under a loaded rack. Wherever possible, drive at least one screw into a stud for extra security.
What wood is best for a beginner mug rack?
Pine is the best beginner choice: it is affordable, light, easy to cut and drill, and it stains well. Oak and maple look more premium and are harder wearing, but they cost more and are slower to work with hand tools.
How high should I hang a coffee mug rack?
Aim for the panel centre around 60 to 66 inches from the floor, adjusted to the height of the people using it, with the bottom row of mugs easy to reach without stretching. Keep at least 18 inches of clearance above a coffee maker so steam does not constantly hit the wood.
Final Thoughts
A wooden coffee mug rack is a small project with an outsized daily payoff. It clears a cabinet, protects your mugs, and gives your kitchen a warm, handmade focal point — all from one board, a row of pegs, and a careful mounting job. Take your time over measuring and spacing, mount into studs or proper anchors, and let the finish cure before loading it up. Do those three things well, and your rack will still be earning its place on the wall years from now.
If this was your first build, carry the skills forward: the same measuring, drilling, and finishing steps sit behind shelves, key holders, and picture ledges. Pick your next beginner project and keep the momentum going.
Recommended Products for This Project
As an Amazon Associate, I earn from qualifying purchases.

Titebond III Ultimate Wood Glue 1413 (8 oz)
Water-resistant wood glue for strong joints on the rack frame.

IRWIN QUICK-GRIP Woodworking Clamps Set, 8-piece (IRHT83220)
A versatile clamp assortment that holds the rack square while the glue dries.

DEWALT 20V MAX Drill/Driver Kit DCD771C2
Compact drill for pilot holes and screws, including the mug-hook holes.

DEWALT Random Orbit Sander DWE6423, 5-inch
Smooths edges and faces to a splinter-free, kitchen-ready finish.

DEX FIT Cru553 Level 5 Cut Resistant Gloves, Size L
Level 5 cut resistance for safer handling of sharp tools and fresh-cut stock.


