
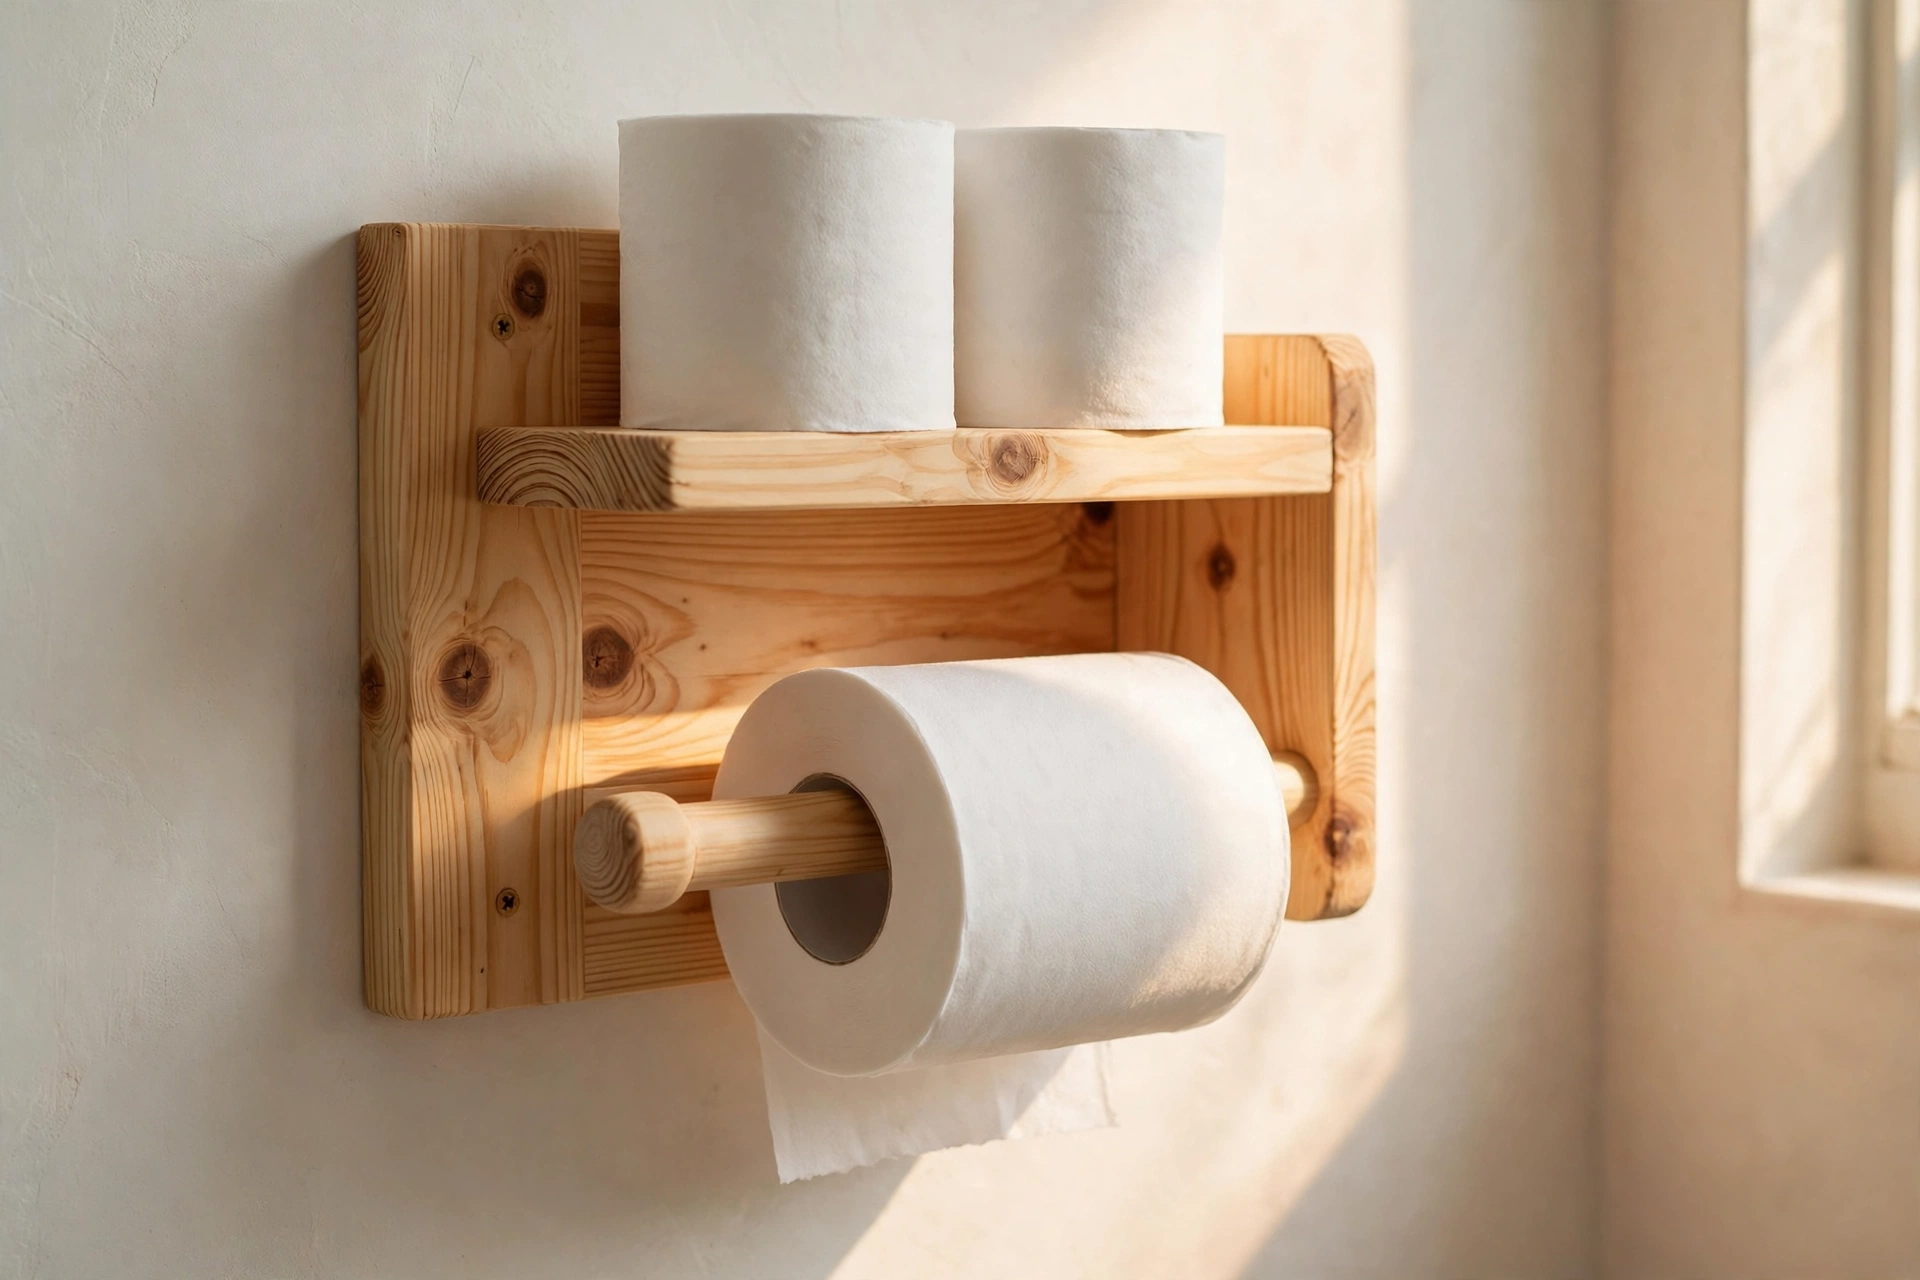
A wooden toilet paper holder is one of those small builds that quietly makes a bathroom feel finished. The plastic holders that come with most homes are flimsy, they yellow with age, and they never quite match the rest of the room. A handmade pine holder, on the other hand, looks warm and intentional, holds the roll exactly where you want it, and — with the spare-roll shelf in this design — keeps two extra rolls within reach instead of balanced on top of the cistern.
Why a Wooden Toilet Paper Holder Is the Perfect Beginner Project
For a beginner woodworker, this project is almost ideal. It uses only straight cuts, a few screws, wood glue, and one dowel. There are no complicated joints, no angles to calculate, and no expensive timber: the whole holder comes from a single short pine board plus a dowel rod. If you can measure accurately, drill a straight hole, and drive a screw without splitting the wood, you can build this holder in a single afternoon — and it is genuinely useful from the day you mount it.
This guide shows you how to build a wooden toilet paper holder for beginners from start to finish: a wall-mounted design with a wooden dowel spindle that the roll spins on, side panels that hold the dowel, and a small shelf on top for spare rolls. You will learn the right mounting height and placement, how much clearance different roll sizes need, how to fix the holder solidly into a stud or with wall anchors, and how to finish it so it survives a damp bathroom. If you enjoy small, practical builds like this one, a wooden spice rack for beginners uses the same measuring and screwing skills on a similar scale, and the pillar guide to easy woodworking projects for beginners that sell has a whole cluster of beginner-friendly ideas that build on exactly these skills.
Planning Your Holder: Design, Placement, and Mounting Height
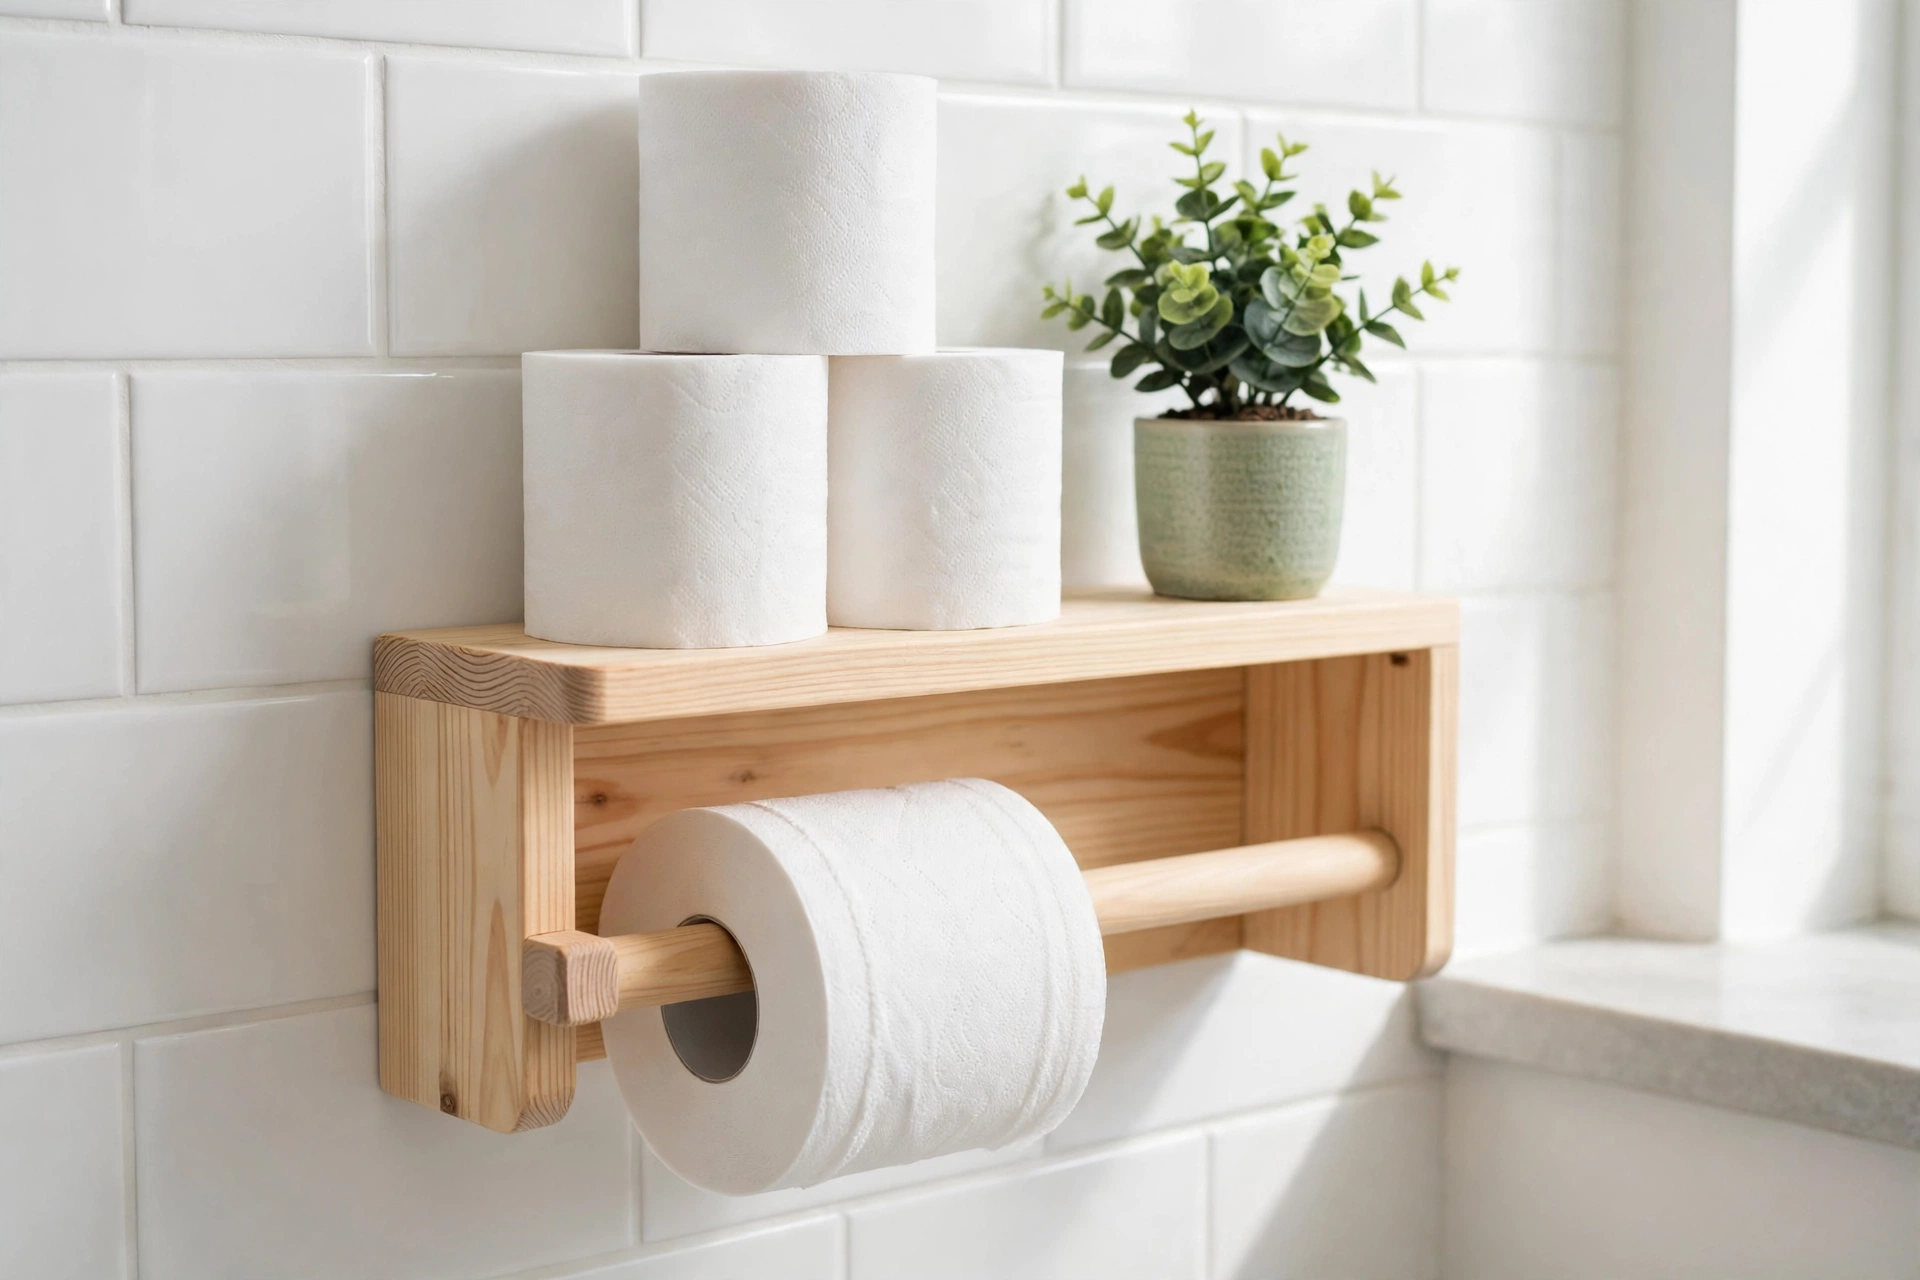
Before you cut anything, decide on the design and exactly where the holder will go. The design in this guide is a wall-mounted holder: a flat back board screwed to the wall, two side panels sticking out from it, a dowel spindle running between the side panels that the roll sits on, and a top shelf that doubles as spare-roll storage and a handy ledge for a small plant or air freshener. It is the most practical style for a beginner because every piece is rectangular, every cut is straight, and the back board hides the wall fixings.
Placement matters more than most beginners expect. Sit on the toilet and reach for where the holder should be — your hand should find the roll naturally, without leaning or twisting. The standard position is on the wall beside the toilet, on your dominant-hand side if there is a choice, with the front of the roll roughly level with the front edge of the toilet bowl. Never mount the holder on the wall directly in front of you unless you enjoy an awkward stretch every time, and avoid placing it where a door swing or a towel rail will clash with it.
Mounting Height and Placement Guide
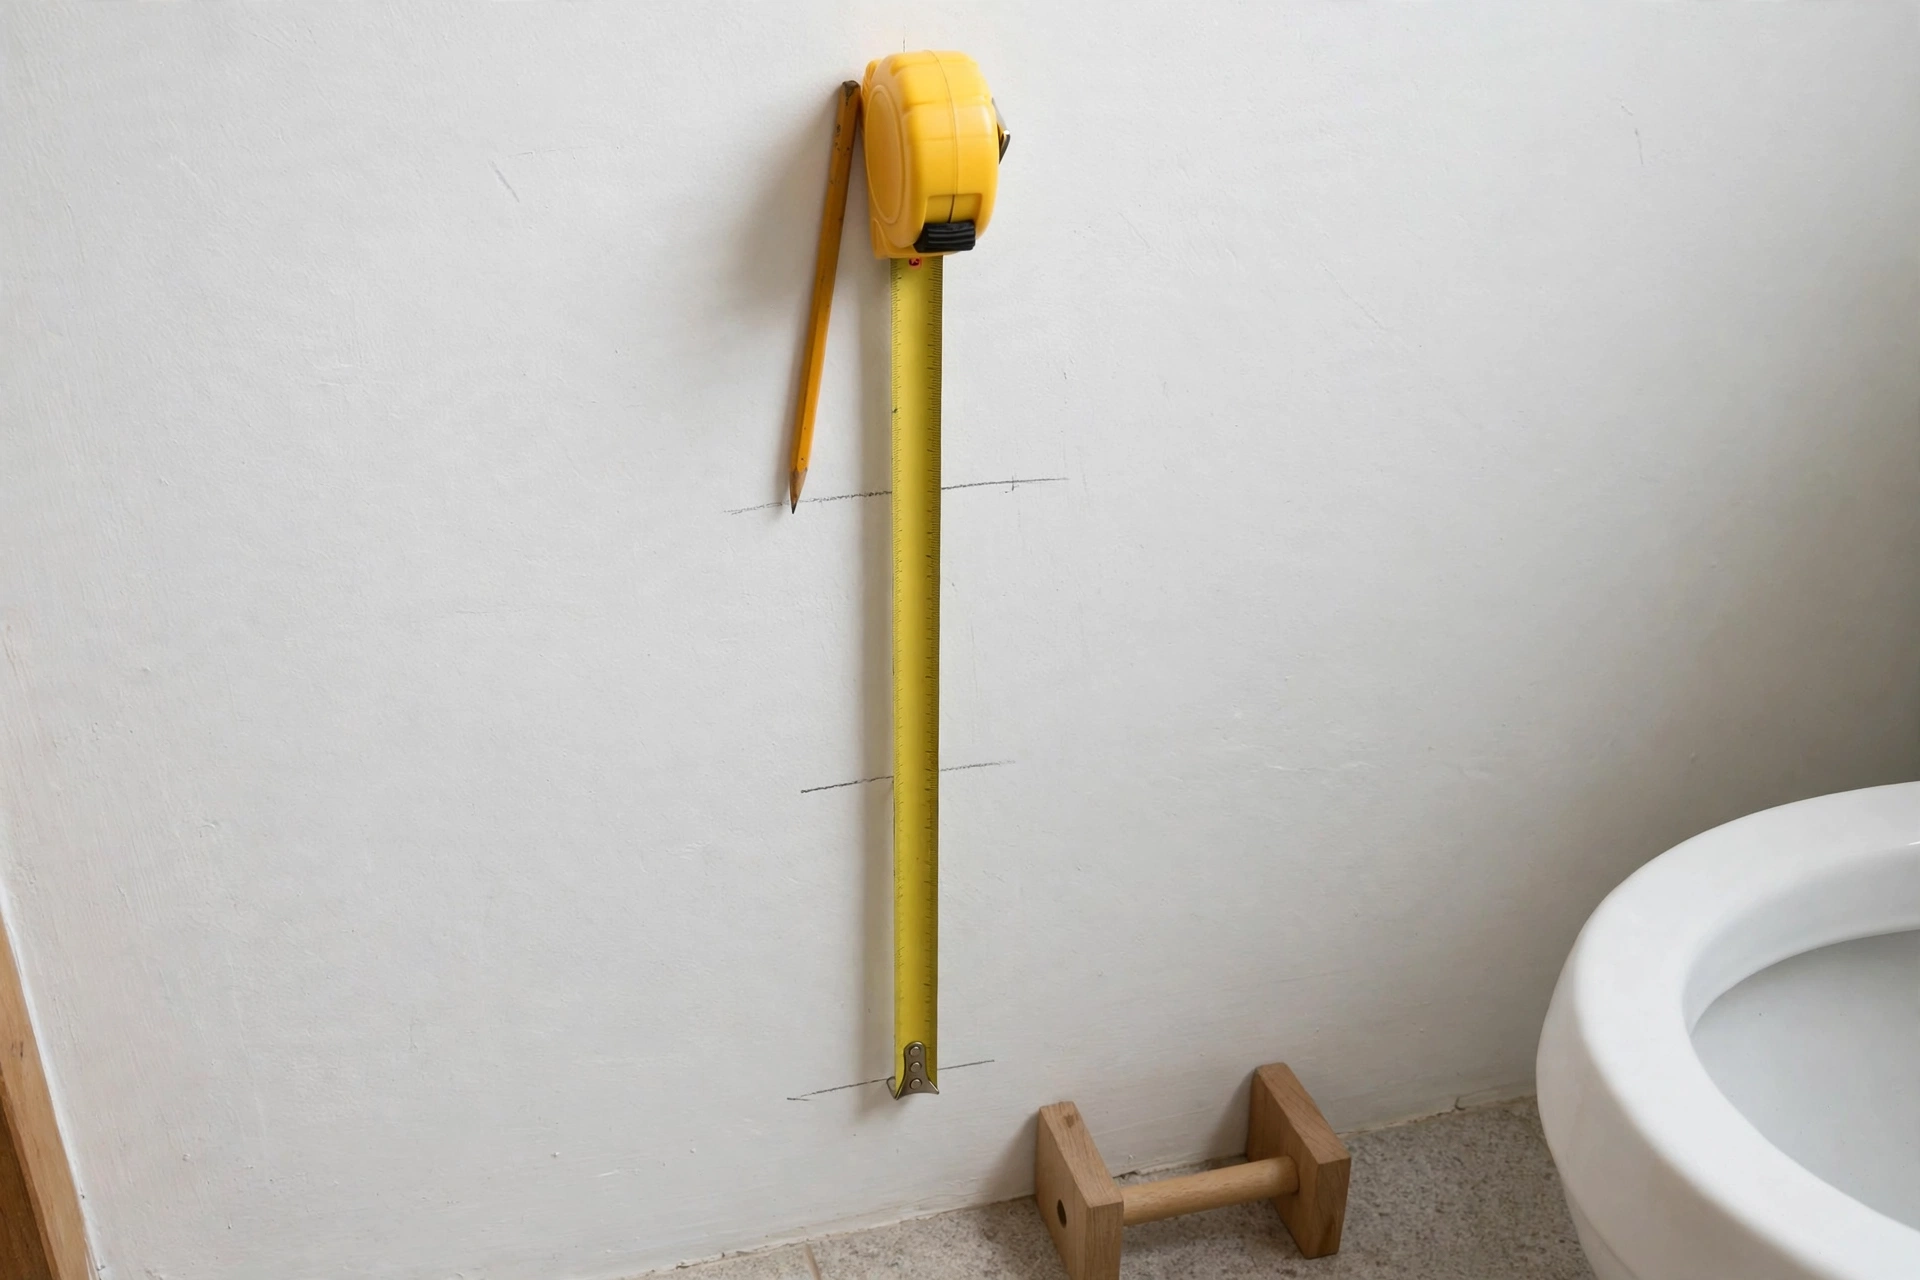
The standard mounting height is measured from the finished floor to the centre of the dowel (the spindle the roll sits on). Use this table to pick the right height for your household, then measure and mark it on the wall with a pencil before you start building.
| Situation | Dowel Centre Height from Floor | Distance from Front of Toilet Bowl | Notes |
|---|---|---|---|
| Standard adult bathroom (this guide) | 66 cm (26 in) | 20–25 cm (8–10 in) to the side | Comfortable reach for most adults |
| Small bathroom / tight space | 66 cm (26 in) | 15–20 cm (6–8 in) to the side | Keep at least 8 cm (3 in) clear of the bowl |
| Family bathroom with children | 61 cm (24 in) | 20–25 cm (8–10 in) to the side | Lower so children can reach easily |
| Accessible / elderly-friendly bathroom | 66–71 cm (26–28 in) | 20–30 cm (8–12 in) to the side | Match the height of the grab rail if fitted |
| Holder above a vanity unit or shelf | 71 cm (28 in) | 25–30 cm (10–12 in) to the side | Extra height clears the unit below |
One quick sanity check before you commit: hold a roll of toilet paper at the marked height and pull a few sheets. The roll should unroll smoothly toward you with one hand, and the loose end should hang down the front, not trail across the floor. If the roll catches on the wall or the shelf above it, you need more clearance — the clearance table later in this guide tells you exactly how much.
Choosing the Right Wood
Pine is the best choice for a first toilet paper holder. It is cheap, light, easy to cut and drill, and it takes paint, stain, and clear finishes well — which matters in a bathroom, where the finish is doing real work against steam and splashes. Buy a kiln-dried pine board, often sold as whitewood or redwood, rather than damp construction lumber, which can warp as it dries and pull your holder out of square.
If you want a harder, more water-resistant result, poplar is a good step up: it is still easy to work and it paints beautifully, so it suits a painted bathroom scheme. Cedar is naturally resistant to moisture and smells wonderful, but it is softer and more expensive, so save it for a second build. Avoid MDF for this project — it swells badly if bathroom steam gets into an unsealed edge, and it does not hold screws well. Whatever species you choose, pick a board with straight grain and no large loose knots in the middle, and sight down it like a rifle barrel to check it is not bowed or twisted.
The dowel is just as important as the boards. Use a hardwood dowel (beech or oak) rather than a soft pine dowel: it is stiffer, it will not bend under a full roll, and its smooth surface lets the roll spin freely. A 20 mm (3/4 inch) diameter dowel is the sweet spot — thick enough to be strong, thin enough to fit through the cardboard core of a standard roll with room to spare.
Tools and Materials You Will Need
You do not need a workshop full of machinery for this build. Everything here is designed around tools most beginners already own or can borrow:
- Handsaw, circular saw, or mitre saw
- Cordless drill/driver with drill bits and a countersink bit
- 20 mm (3/4 inch) Forstner bit or spade bit for the dowel holes
- Tape measure, pencil, speed square, and a spirit level
- 120-grit and 220-grit sandpaper, plus a sanding block
- Wood glue, two clamps, and a stud finder
- Safety glasses and a dust mask
- Paintbrush or clean cloth for the finish
Materials for the holder in this guide: one pine board 18 mm (3/4 inch) thick, a hardwood dowel 20 mm (3/4 inch) in diameter, wood screws, wall screws with plugs or anchors, and a bathroom-suitable finish such as water-based polyurethane or hardwax oil. The exact cut list below is based on a standard roll width of 10–11 cm (4–4 1/2 inches) with room for wider premium rolls.
The Exact Cut List
Every piece in this holder comes from one pine board and one dowel rod. Cut the longest pieces first, then the shorter parts from the offcuts. Label each piece with a pencil as you cut it — “back”, “side”, “shelf”, “dowel” — because once the pieces are sanded, the two side panels look identical and it is easy to drill the dowel hole in the wrong one.
| Part | Quantity | Dimensions (L × W × Thickness) | Notes |
|---|---|---|---|
| Back board | 1 | 30 cm × 14 cm × 18 mm (12 in × 5 1/2 in × 3/4 in) | Screws to the wall; drill fixing holes later |
| Side panels | 2 | 14 cm × 12 cm × 18 mm (5 1/2 in × 4 3/4 in × 3/4 in) | Dowel holes drilled 7 cm (2 3/4 in) from the back edge |
| Top shelf | 1 | 30 cm × 14 cm × 18 mm (12 in × 5 1/2 in × 3/4 in) | Sits on top; holds 2 spare rolls |
| Dowel spindle | 1 | 20 cm × 20 mm diameter (8 in × 3/4 in) | Hardwood dowel; roll spins on this |
| Small shelf lip (optional) | 1 | 30 cm × 3 cm × 18 mm (12 in × 1 1/4 in × 3/4 in) | Front edge of the shelf; stops spare rolls rolling off |
Why these numbers? The back board is 30 cm (12 inches) wide so it spans a comfortable amount of wall and gives the shelf room for two spare rolls side by side. The side panels are 14 cm (5 1/2 inches) deep so the roll, which is about 12 cm (4 3/4 inches) in diameter, sits fully inside them with a little air gap at the front. The dowel is 20 cm (8 inches) long because it must bridge the gap between the side panels plus sit 10 mm (3/8 inch) into a hole in each panel.
Roll-Size Clearance: Getting the Fit Right
The most common beginner mistake with this project is building a holder that fits one brand of toilet paper and no other. Rolls vary more than you would think — budget rolls are narrow and slim, premium and quilted rolls are wider and fatter, and jumbo rolls can be enormous. Build for the biggest roll you might buy, and every smaller roll will fit too.
| Roll Type | Roll Width | Roll Diameter | Minimum Gap Between Side Panels | Dowel Height Above the Shelf Below |
|---|---|---|---|---|
| Standard roll | 10 cm (4 in) | 11–12 cm (4 1/2 in) | 13 cm (5 in) | 14 cm (5 1/2 in) |
| Premium / quilted roll | 10–11 cm (4–4 1/2 in) | 12–13 cm (5 in) | 14 cm (5 1/2 in) | 15 cm (6 in) |
| Jumbo roll | 11 cm (4 1/2 in) | 14–15 cm (5 1/2–6 in) | 14 cm (5 1/2 in) | 17 cm (6 3/4 in) |
| Double / mega roll | 11 cm (4 1/2 in) | 13–14 cm (5–5 1/2 in) | 14 cm (5 1/2 in) | 16 cm (6 1/4 in) |
| This guide (fits all above) | up to 11 cm (4 1/2 in) | up to 14 cm (5 1/2 in) | 14.6 cm (5 3/4 in) | 16 cm (6 1/4 in) |
The gap between the side panels in this guide is 14.6 cm (5 3/4 inches): the 30 cm back board minus two 18 mm side panels leaves plenty of room for a wide premium roll to spin without rubbing. If the roll rubs against a side panel, it will not spin freely and sheets will tear — so always test-fit your actual roll before you glue anything.
Step-by-Step Build
Step 1: Measure and Mark the Wall Position
Start at the wall, not the workbench. Use the mounting height table above to mark the dowel centre height on the wall with a pencil, then mark the holder’s overall outline — 30 cm (12 inches) wide and about 32 cm (12 1/2 inches) tall including the shelf. Sit on the toilet and check the reach with your hand. Then run a stud finder across the marked area: if a stud falls inside the outline, mark its centre, because screwing into a stud is the strongest fixing you can get. If there is no stud, plan for wall anchors instead (see Step 6). A spirit level across your pencil marks now saves a crooked holder later.
Step 2: Cut the Pieces
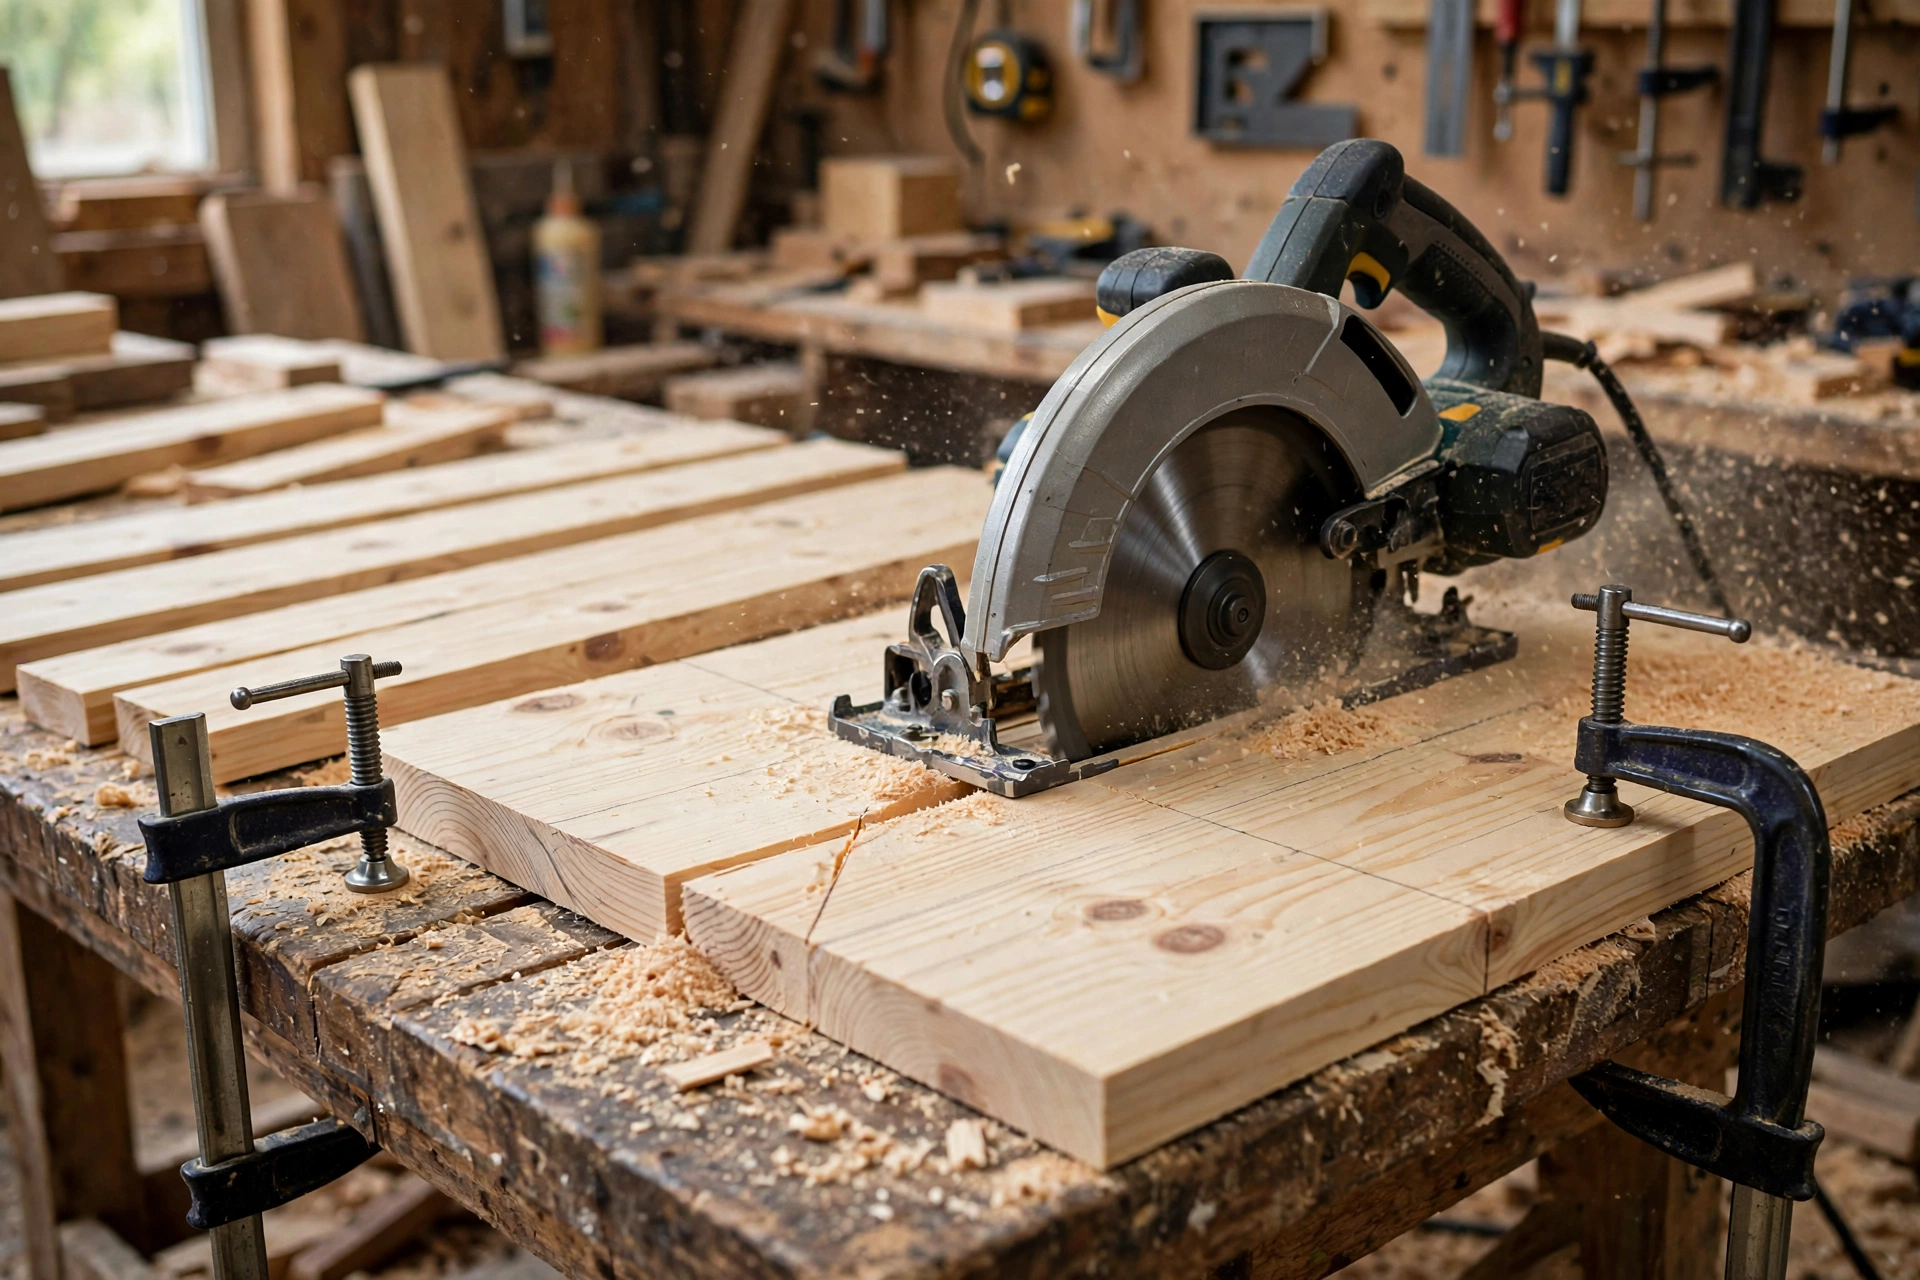
Measure each piece twice and cut once, following the cut list. Cut the back board and the shelf first (both 30 cm long), then the two side panels, then the optional shelf lip. Cut the dowel to 20 cm (8 inches) with a fine-toothed saw so the end does not splinter, and sand the cut end smooth — a rough dowel end catches on the cardboard roll core. Check every piece against the cut list as you go, and keep the offcuts: a short offcut makes a perfect test piece for drilling the dowel hole in the next step.
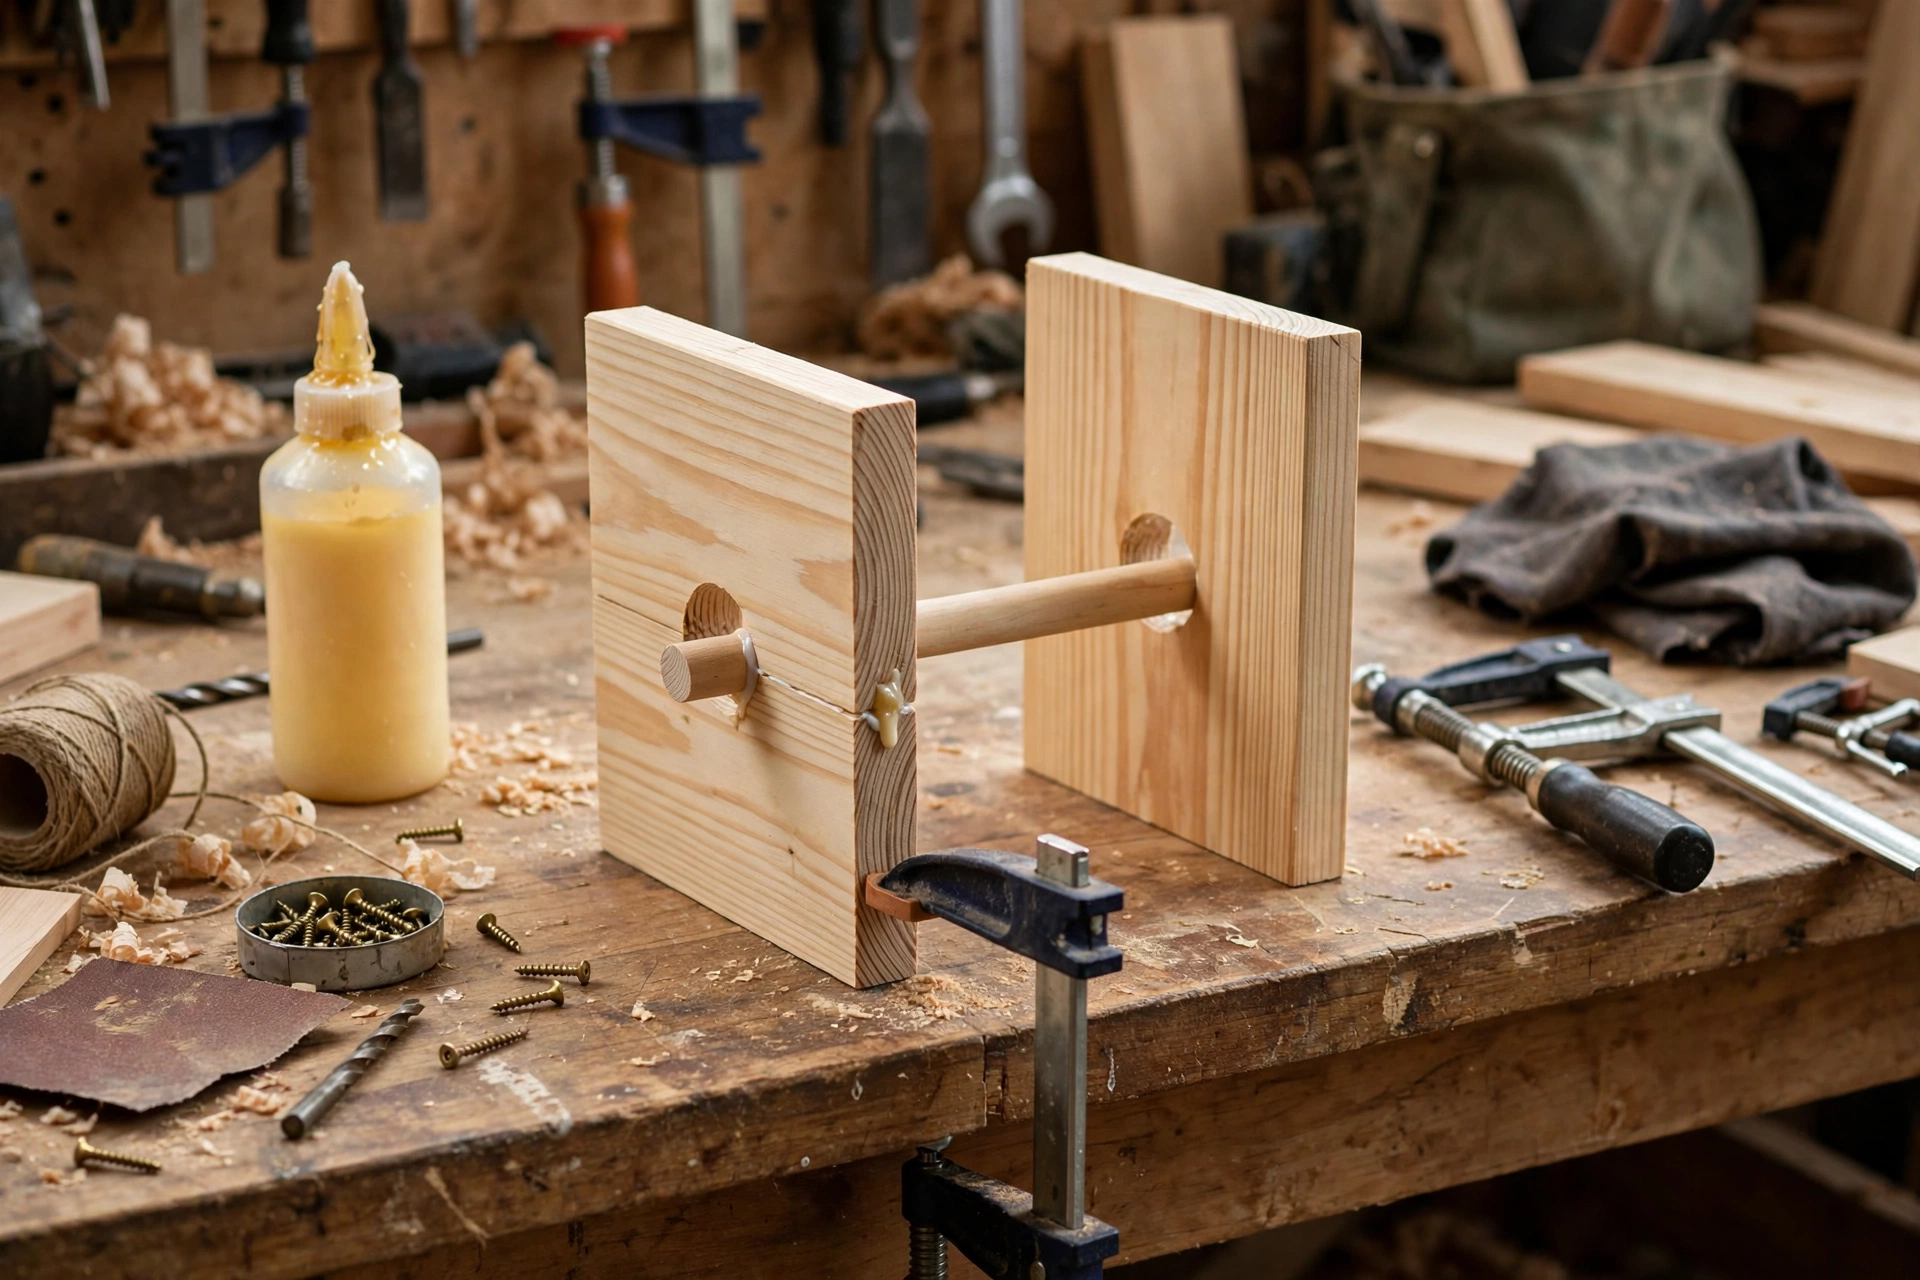
Step 3: Drill the Dowel Holes
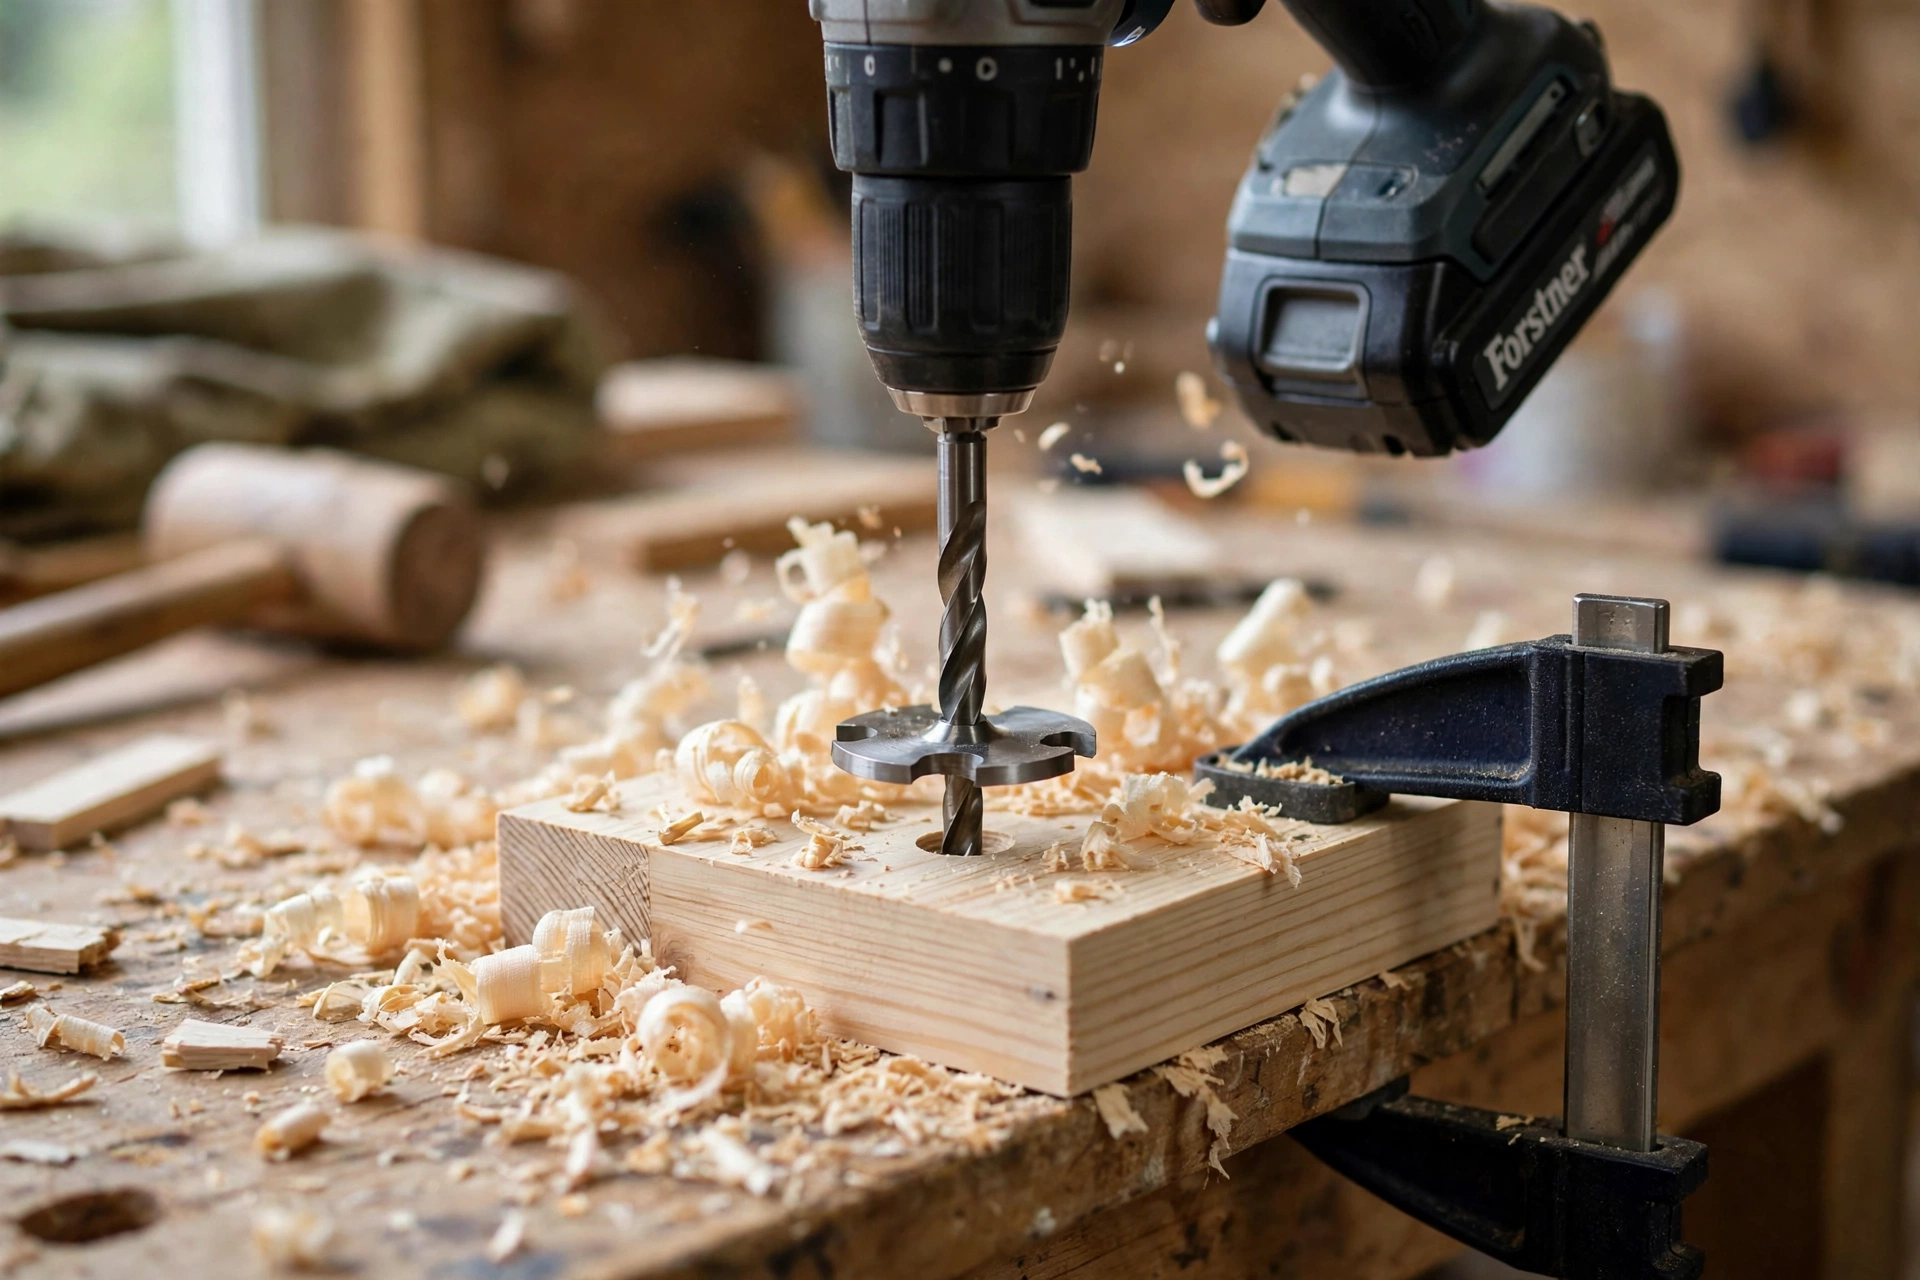
This is the most precision-critical step in the whole build, so take your time. On each side panel, mark the dowel hole centre 7 cm (2 3/4 inches) from the back edge and 6 cm (2 3/8 inches) down from the top edge. Clamp the two side panels together face to face and drill both holes in one pass with a 20 mm (3/4 inch) Forstner bit — drilling them together guarantees the holes line up exactly, so the dowel sits level and the roll spins true. Drill the holes 10 mm (3/8 inch) deep, not all the way through: a blind hole looks far tidier from the outside and the dowel cannot slide out. Test the fit with the dowel and a real roll before moving on; the roll should spin freely with a finger flick and stop without wobbling.
If you only have a spade bit, it will work, but drill slowly and clamp a scrap board behind the panel to stop the bit tearing out the back face. And never drill the dowel holes after assembly — you will never get them aligned.
Step 4: Assemble the Holder
Dry-fit everything first: slot the dowel into both side panels, stand the panels against the back board, and rest the shelf on top. Check the roll spins, check the shelf sits level, and check the whole thing is square with a speed square. Only then pick up the glue.
Apply a thin bead of wood glue to the back edges of the side panels, press them against the back board, and clamp them in place. Drill pilot holes through the back board into each side panel — two screws per panel — and drive 40 mm (1 1/2 inch) screws home. Pilot holes are non-negotiable in pine: a screw driven near the end of a board without one will split it, and a split side panel is very hard to hide on a small project like this.
Next, glue and screw the top shelf to the top edges of the back board and side panels, again with pilot holes, and add the small front lip to the shelf if you are using one. Leave the dowel unglued: it should sit loose in its holes so you can slide it out to change the roll. Let the glue cure for at least an hour before you sand or mount the holder.
Step 5: Sand and Finish for a Bathroom
Bathroom wood lives in steam, so the finish is not decoration — it is protection. Sand the whole holder with 120-grit, then 220-grit, always with the grain, and round over all the front edges slightly with sandpaper so there are no sharp corners to catch a sleeve on. Pay special attention to the dowel: sand it until it feels silky, because a rough dowel drags on the roll core and tears sheets. Our full guide to sanding and finishing wood for beginners covers the technique in detail.
For a bathroom, use three thin coats of water-based polyurethane, lightly sanded with 220-grit between coats, and finish the back of the back board too — moisture gets behind wall-mounted wood. A hardwax oil is a good alternative if you prefer a natural matte look, and paint works well if the holder needs to match coloured bathroom walls: one coat of primer plus two coats of satin paint. Whichever finish you choose, let it cure fully (at least 24 hours) before mounting, or the holder will stick to the wall paint.
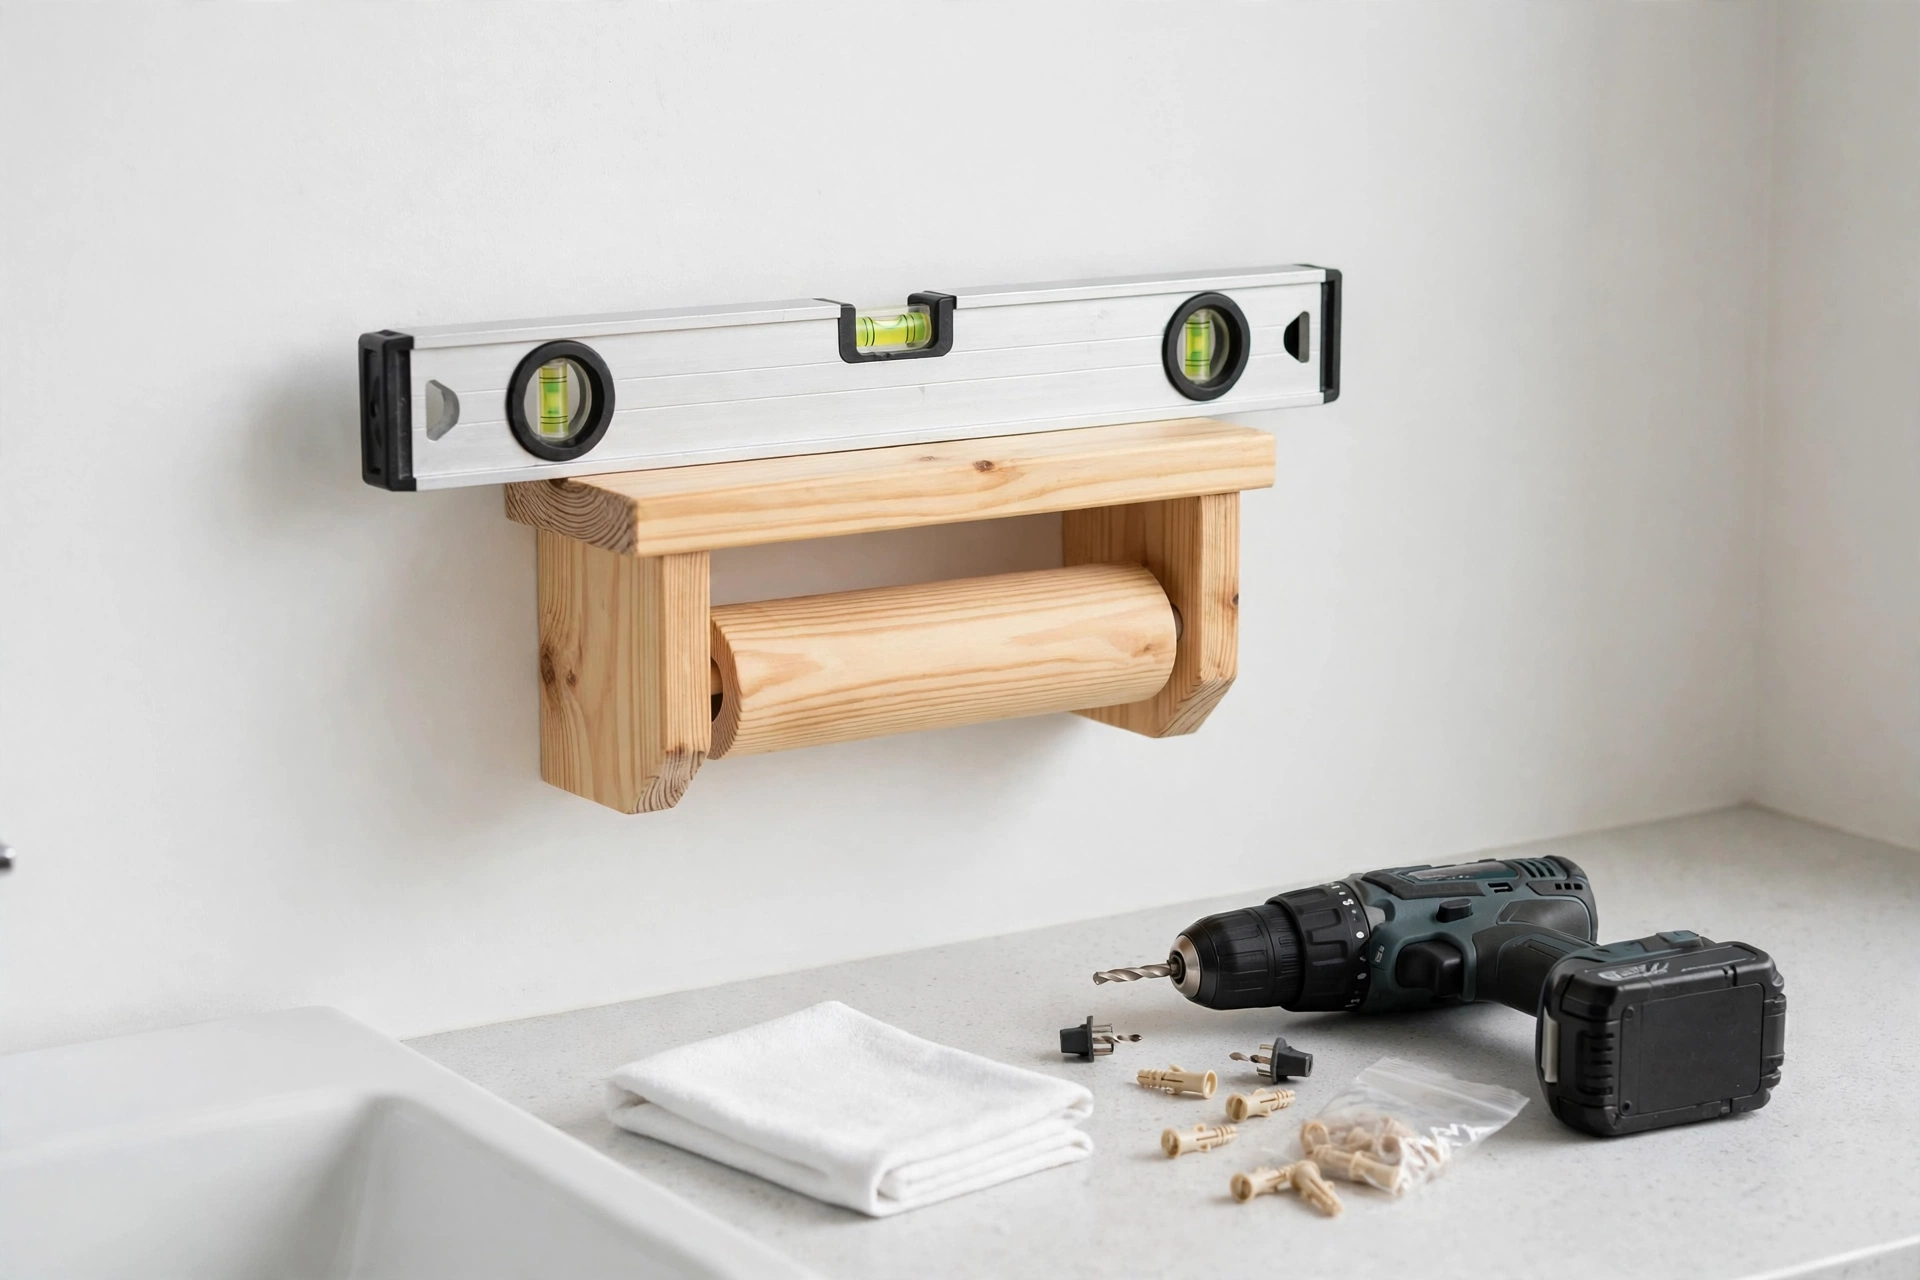
Step 6: Mount It on the Wall — Stud or Anchors
Hold the finished holder against your pencil marks and check it with a spirit level. Mark the screw positions through the back board — two screws, one near each top corner of the back board, plus one low centre screw for stability. Then choose your fixing:
- Into a stud: Drill pilot holes and drive 50 mm (2 inch) wood screws straight into the stud. This is the strongest fixing and the one to use whenever a stud is available. No plugs needed.
- Into plasterboard with no stud: Drill the marked holes, push in plasterboard anchors rated for at least 10 kg (22 lb) each — toggle bolts or self-drilling metal anchors both work well — and drive the screws into them. Never rely on a plain screw in bare plasterboard; it will pull out the first time someone tugs a roll firmly.
- Into solid brick, block, or tile: Drill with a masonry bit, tap in wall plugs, and use 50 mm screws. If you are drilling through tile, stick masking tape over the drilling point first to stop the bit skating, and drill slowly without hammer action until you are through the glaze.
Drive the screws until the holder sits snug and level, then slide the dowel in, hang a roll on it, and pull a few sheets to test it. Stack two spare rolls on the top shelf to finish the job.
How Much Does It Cost?
A wooden toilet paper holder is one of the cheapest useful things you can build. A comparable solid-wood holder from a home store typically costs £25–£60 (or $30–$75), so even buying every material new, you save money — and if you already own glue, screws, and sandpaper, the build costs little more than the price of a board.
| Item | Estimated Cost | Notes |
|---|---|---|
| Pine board 18 mm (3/4 in) | £5–£10 / $6–$12 | One short board covers every piece |
| Hardwood dowel 20 mm (3/4 in) | £2–£4 / $3–$5 | Beech or oak; one 60 cm length is plenty |
| Screws, glue, sandpaper | £3–£6 / $4–$8 | You may already own these |
| Wall anchors / plugs | £2–£4 / $3–$5 | Only needed if no stud is available |
| Finish (polyurethane or oil) | £6–£12 / $8–$15 | One tin covers many small projects |
| Total | £18–£36 / $24–$45 | Roughly half the price of a shop-bought holder |
Check your offcut bin before buying: the side panels, shelf lip, and dowel are all short pieces that often come free from earlier projects, and a wooden storage crate for beginners or a wooden magazine holder for beginners will leave you with exactly the kind of pine offcuts this holder needs.
Common Mistakes to Avoid
- Skipping pilot holes. Pine splits, especially near board ends. Drill a pilot hole slightly smaller than the screw shaft for every screw.
- Drilling the dowel holes after assembly. The holes will never line up. Clamp the side panels together and drill both at once, before gluing anything.
- Building for one roll size only. Measure your widest roll, not your current one, and use the clearance table — a holder that fits only budget rolls is useless the day you buy premium ones.
- Gluing the dowel in place. The dowel must slide out so you can change the roll. Glue the panels, never the spindle.
- Mounting with a plain screw in plasterboard. It will pull out. Use a stud or proper plasterboard anchors rated for at least 10 kg (22 lb) each.
- Forgetting the bathroom finish. Bare pine in a steamy bathroom swells, stains, and grows mould. Seal every face, including the back, with polyurethane or oil.
- Mounting too high or too far away. Always do the sit-and-reach test before drilling. A holder you have to stand up to reach is a holder you will hate.
- Leaving sharp edges. Round over every front edge with sandpaper. Bare pine edges splinter and catch clothing.
Frequently Asked Questions
How high should a wooden toilet paper holder be mounted?
The standard height is 66 cm (26 inches) from the floor to the centre of the dowel, with the holder 20–25 cm (8–10 inches) to the side of the front of the toilet bowl. For a family bathroom with young children, lower it to 61 cm (24 inches); for an accessible bathroom, 66–71 cm (26–28 inches) works best. Always confirm the height with a sit-and-reach test before drilling.
What size dowel do I need for a toilet paper holder?
A 20 mm (3/4 inch) hardwood dowel is ideal. It fits through the cardboard core of a standard roll — which is about 40 mm (1 1/2 inches) inside diameter — with room to spare, and it is stiff enough not to bend under a full roll. Avoid thin 12 mm dowels, which flex, and avoid metal rods, which can rust in a damp bathroom.
How do I mount a wooden toilet paper holder without a stud?
Use plasterboard anchors rated for at least 10 kg (22 lb) each — toggle bolts or self-drilling metal anchors. Drill the holes at your marked positions, fit the anchors, and drive 50 mm (2 inch) screws through the back board into them. Never rely on a screw alone in bare plasterboard, and use at least two fixings so the holder cannot pivot.
Can I build a toilet paper holder that holds spare rolls too?
Yes — that is exactly what the shelf in this design is for. The 30 cm (12 inch) top shelf holds two spare rolls side by side, and the optional 3 cm (1 1/4 inch) front lip stops them rolling off. For a household that goes through rolls quickly, you can make the shelf deeper (18 cm / 7 inches) to hold a second row.
What is the best finish for a wooden toilet paper holder in a bathroom?
Three thin coats of water-based polyurethane is the most forgiving choice: it dries fast, barely smells, and resists steam and splashes. Hardwax oil gives a warmer, more natural look and is easy to patch-repair later. Whichever you choose, seal every face including the back of the back board, and let it cure for 24 hours before mounting.
How long does it take to build a wooden toilet paper holder?
Most beginners finish in one afternoon: about an hour for measuring, cutting, and drilling, an hour for assembly and sanding, and drying time for the finish. If you use a fast-drying water-based finish, you can build, finish, and mount the holder in a single day; with oil finishes, allow an extra day for curing.
Final Thoughts
A wooden toilet paper holder is a small project with an outsized payoff: it costs less than £40 in materials, takes a single afternoon, teaches you measuring, drilling, gluing, screwing, sanding, and wall mounting — and then gets used every single day. Build it to the cut list, drill the dowel holes before assembly, test-fit your widest roll, and fix it into a stud or proper anchors. Do those four things and the holder will spin smoothly and stay solid for years.
When you are ready for your next build, the easy woodworking projects for beginners that sell pillar guide has a whole cluster of beginner-friendly ideas that use exactly these skills — and if you enjoyed the small storage angle of this project, a wooden magazine holder for beginners is the natural next step.
Recommended Products for This Project
As an Amazon Associate, I earn from qualifying purchases.

DEWALT 20V MAX Cordless Drill/Driver Kit (DCD771C2)
Compact drill for pilot holes and mounting screws on a small wall-mounted holder.

IRWIN QUICK-GRIP Clamps Set, 8-Piece (IRHT83220)
Small one-handed clamps that hold the holder’s glue-up square while it cures.

Titebond III Ultimate Wood Glue, 8 oz (1413)
Water-resistant wood glue for strong joints in a humid bathroom.

3M Aluminum Oxide Sandpaper, Assorted Grits, 9-in x 11-in Sheets (9005NA)
Assorted grits for smoothing the small holder’s edges and faces before finishing.
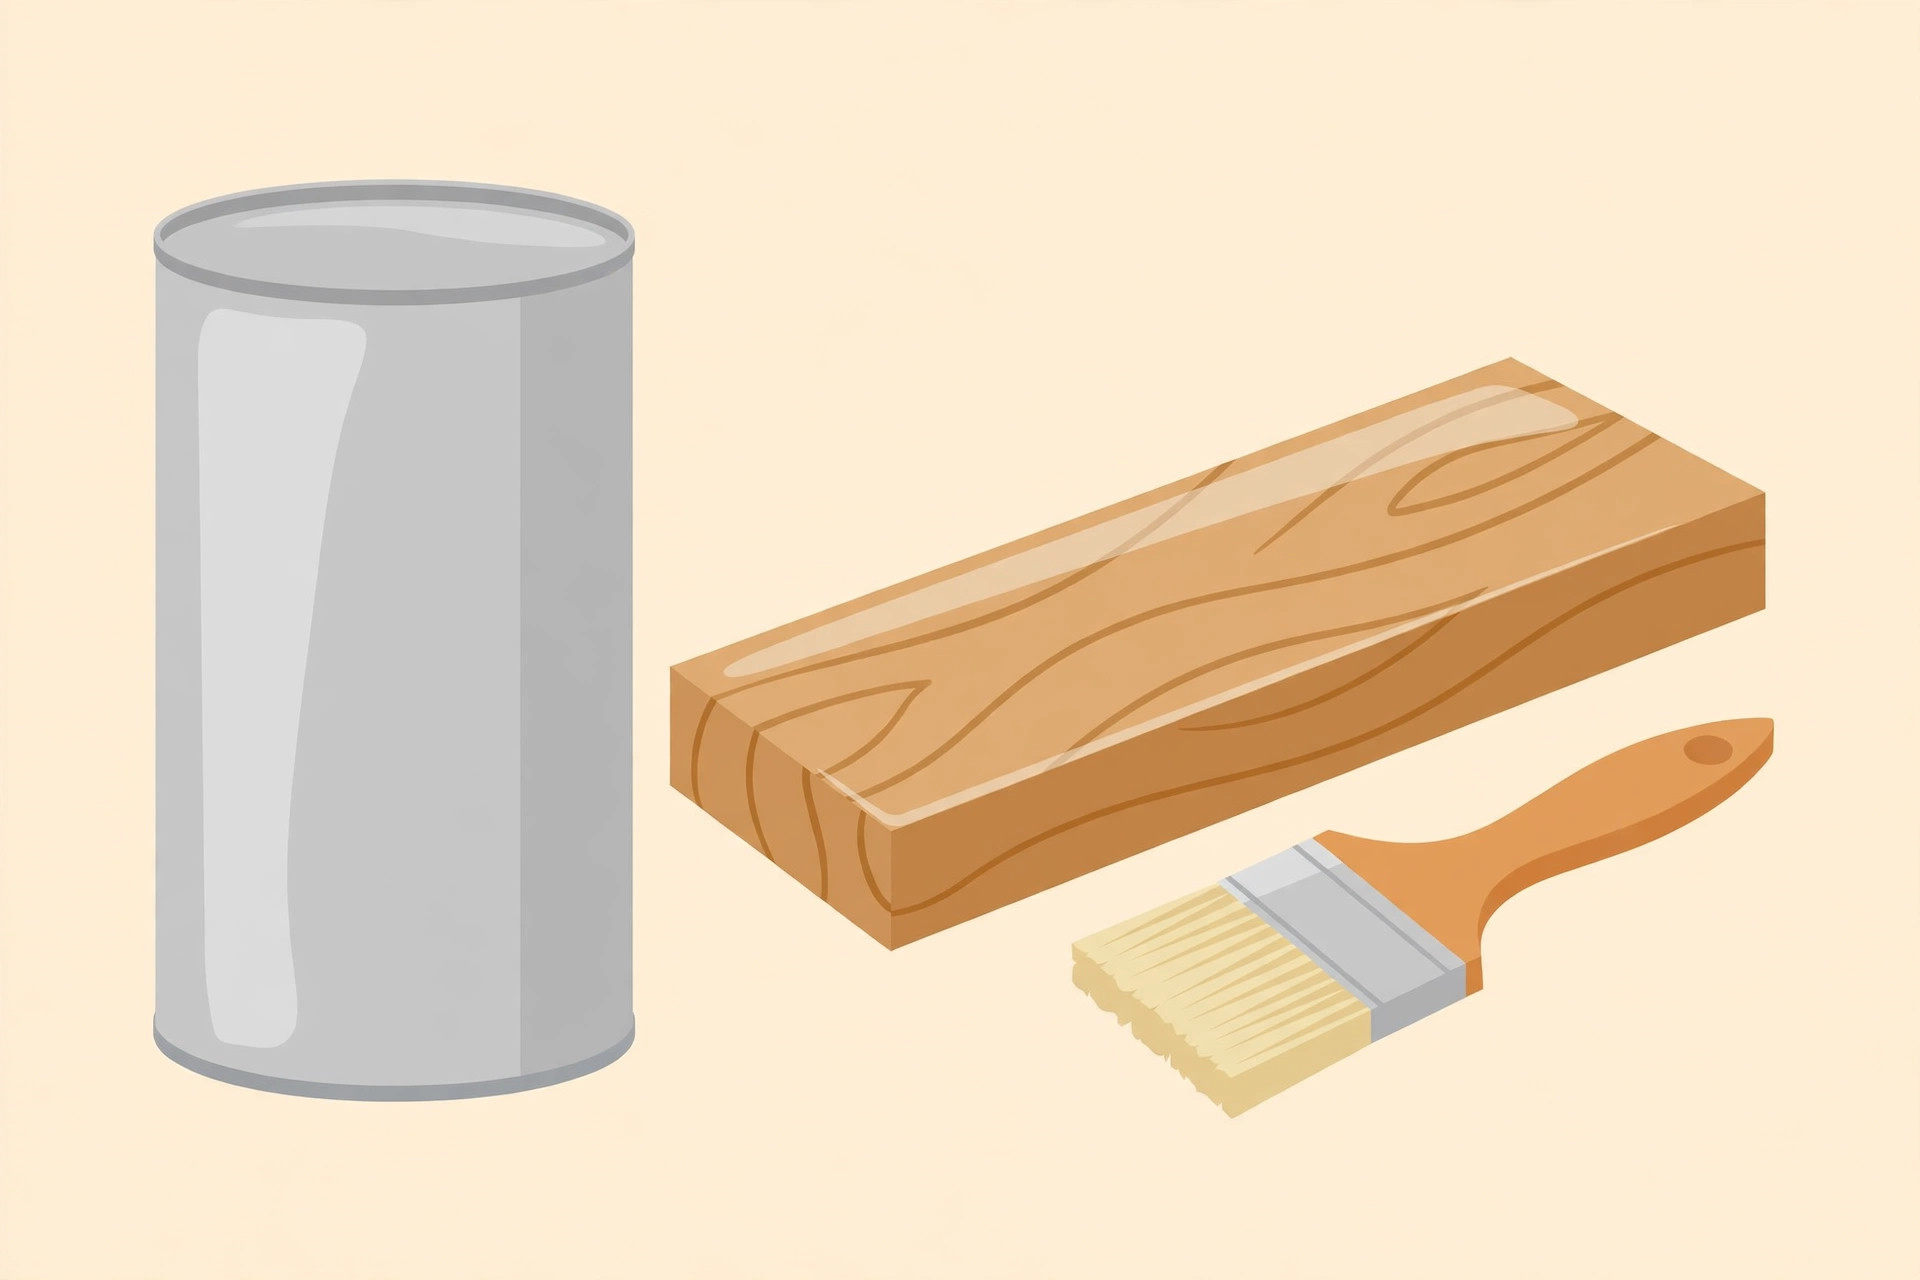
Minwax Water Based Helmsman Spar Urethane, Gallon, Gloss (710500000)
Water-based spar urethane that protects the holder from bathroom moisture and splashes.


