
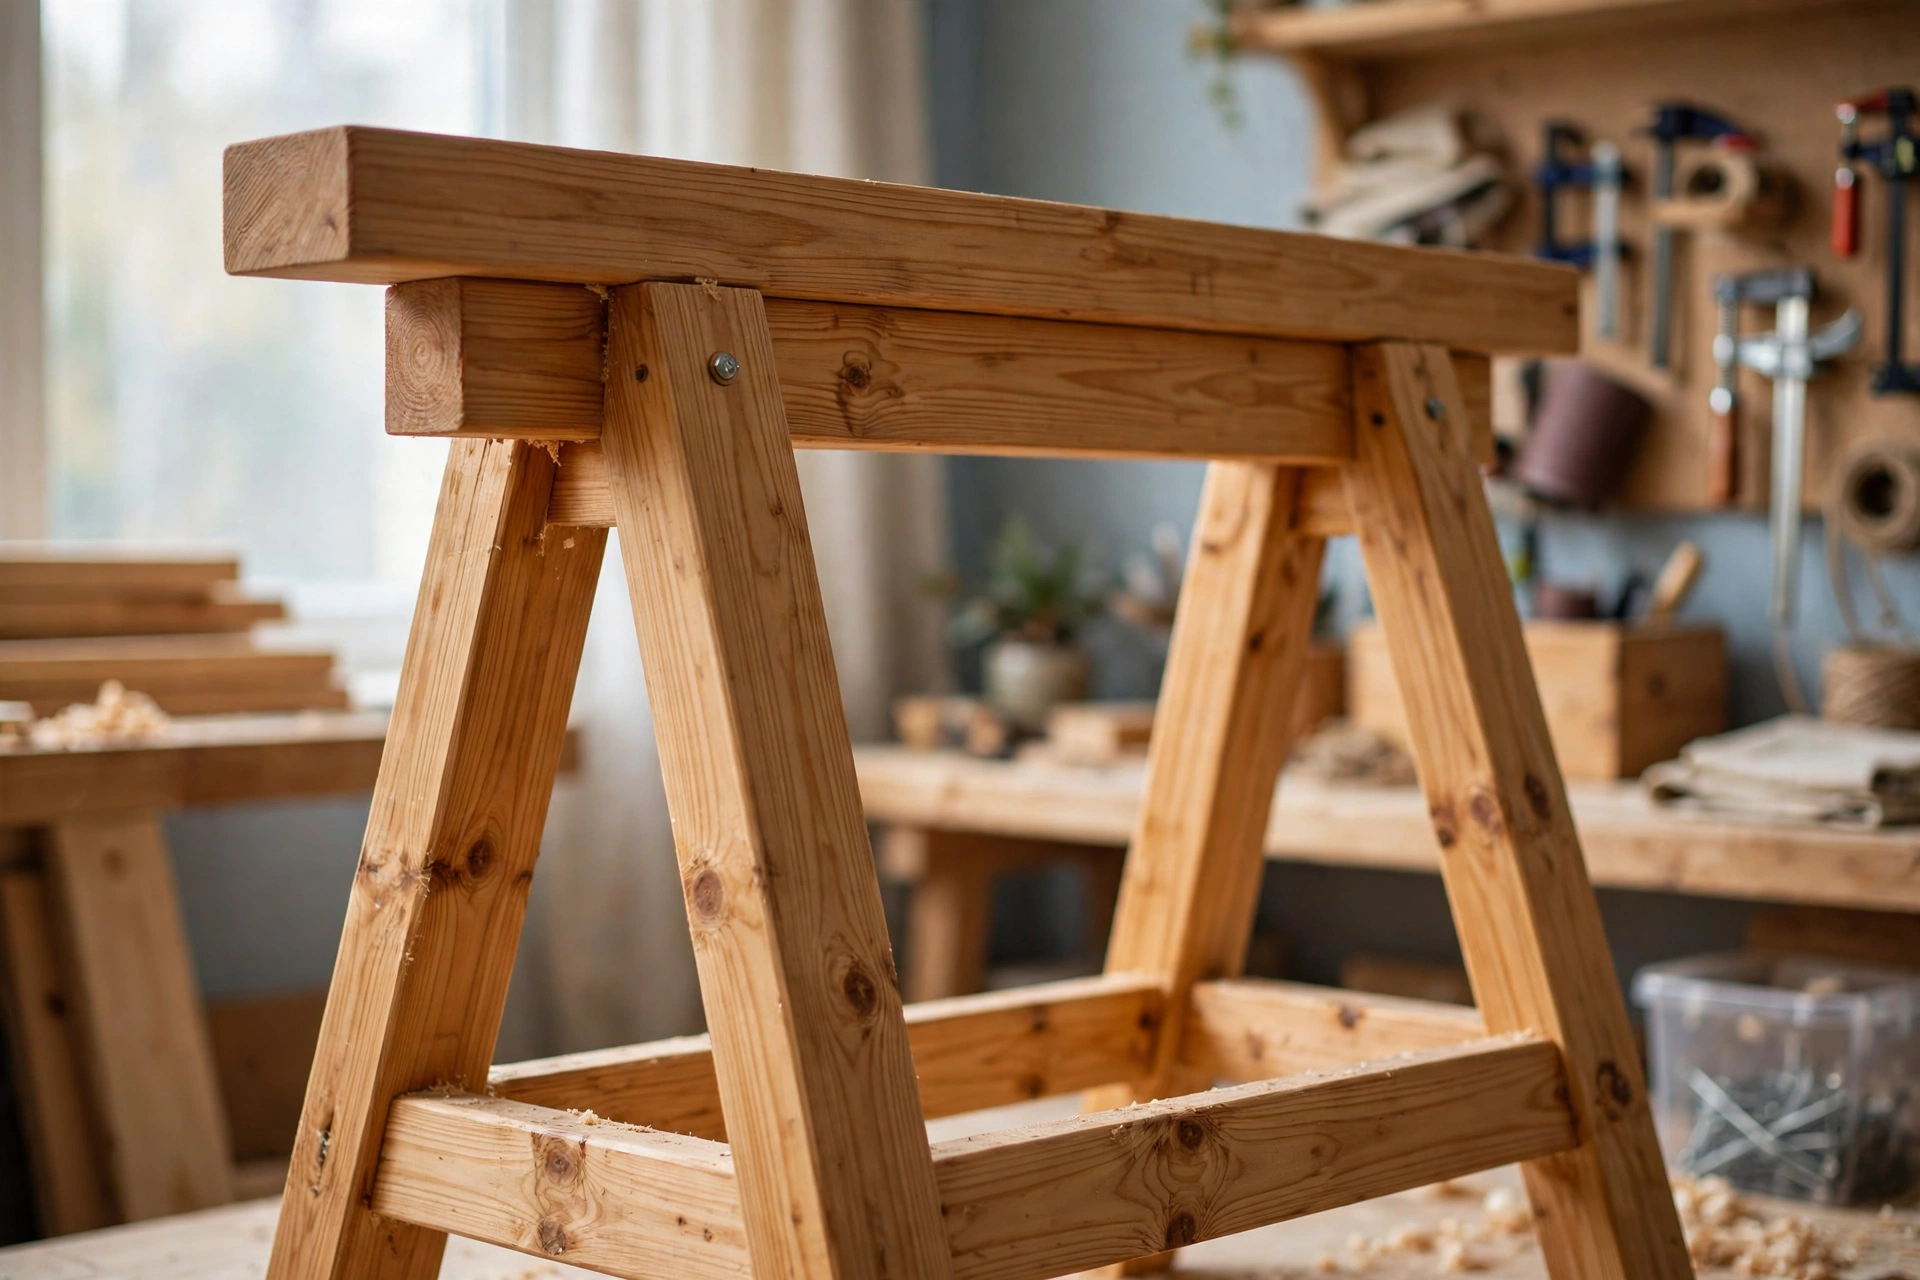
A sawhorse is the first real workbench most woodworkers ever own. Before the fancy bench, before the table saw, before the wall of clamps, there is a pair of simple wooden sawhorses holding up a sheet of plywood while you make your first straight cut. Learning how to build a wooden sawhorse for beginners is one of the smartest first projects you can take on: it is cheap, it takes an afternoon, it teaches measuring, angled cuts, and screwing joints, and you will use the finished pair on almost every project that follows.
This guide walks you through the whole build, from choosing lumber to the final sanding. You will build a pair of fixed sawhorses, each 91 cm (36 inches) long and 61 cm (24 inches) high, strong enough to hold a full sheet of plywood, a door, or a stack of boards. No complicated joinery, no expensive hardwood, and no special jigs are needed — just a saw, a drill, and three 2×4 boards per sawhorse.
Why Every Beginner Needs a Pair of Sawhorses
A single sawhorse is useful, but a pair is what turns a driveway or a garage floor into a workshop. Two sawhorses spaced about 90–120 cm (3–4 feet) apart support long boards without sagging, hold a full 1.2 × 2.4 m (4 × 8 ft) sheet of plywood steady for cutting, and give you a stable platform for sanding, painting, and assembly.
Sawhorses also protect your back and your work. Cutting on the ground means kneeling, bending, and fighting a board that rocks on uneven concrete. At 61 cm (24 inches) high, a sawhorse brings the work up to a comfortable height, keeps the cut line clear of the floor, and lets the offcut fall away instead of pinching your saw blade.
They are also one of the best first projects for a beginner because the stakes are low and the lessons are real. You will practise measuring and marking, cutting a consistent angle, driving screws without splitting the wood, and checking a build for square. If a cut is a few millimetres off, the sawhorse still works — and you learn what to fix next time. It is no surprise that sawhorses appear on every list of easy woodworking projects for beginners that sell: they are practical, quick to make, and genuinely useful.
Choosing the Right Wood for Your Sawhorse
The best wood for a beginner sawhorse is ordinary construction pine, sold as 2×4 studs. Pine is cheap, light enough to carry around the workshop, easy to cut and screw, and strong enough for any normal load. A pair of sawhorses built from pine 2×4s will hold several hundred kilograms without complaint.
Avoid warped, twisted, or badly bowed boards — sight down the length of each stud before you buy it, and pick the straightest ones in the pile. A board with a slight bow can still work for a leg, but a twisted top beam will make your sawhorse rock. Also skip pressure-treated lumber for indoor workshop sawhorses: it is heavier, harder on saw blades, and unnecessary unless the horses will live outside in the rain.
If you want a tougher pair, you can use Douglas fir or spruce 2×4s, which are a little stiffer than pine, or step up to 2×6 lumber for the top beam on a heavy-duty version. Hardwood is overkill — it doubles the cost and the weight without adding anything a beginner needs. Save the oak and maple for furniture.
| Wood Type | Cost | Weight | Strength | Best For |
|---|---|---|---|---|
| Pine 2×4 | Low | Light | Good | Standard beginner sawhorse |
| Spruce 2×4 | Low | Light | Good | Budget builds, same as pine |
| Douglas fir 2×4 | Medium | Medium | Very good | Heavy-duty sawhorses |
| 2×6 pine top beam | Medium | Medium | Excellent | Extra-wide or heavy-load horses |
| Hardwood (oak, maple) | High | Heavy | Excellent | Not recommended for beginners |
Tools and Materials You Will Need
One of the best things about learning how to build a wooden sawhorse for beginners is how short the tool list is. If you already own a circular saw and a drill, you are most of the way there. If you are still choosing your first saw, read our guide to the best circular saw for beginners before you buy.
Tools:
- Circular saw or mitre saw (a mitre saw makes the angled leg cuts easier)
- Drill/driver with a drill bit and a driver bit
- Tape measure and pencil
- Speed square or combination square
- Two clamps to hold boards while cutting
- Sandpaper (80-grit and 120-grit)
- Safety glasses and hearing protection
Materials (per sawhorse):
- 3 pine 2×4 boards, 2.4 m (8 ft) long
- 24 wood screws, 75 mm (3 in), coarse thread
- 8 wood screws, 63 mm (2½ in), coarse thread
- Wood glue (optional but recommended)
- Danish oil or paste wax for finishing (optional)
For a pair of sawhorses, double the list: six 2×4 boards and about 64 screws. Good clamps for woodworking beginners are worth having here — they hold the legs steady while you drive screws, which is the difference between a square sawhorse and a wobbly one.
Sawhorse Sizes: Pick the Right Height
Before you cut anything, decide on the height. The standard sawhorse height of 61 cm (24 inches) suits most people for sawing and assembly, but your body and your work should decide, not tradition. A good rule is that the top beam should sit just below your hip bone when you stand beside it.
| Sawhorse Height | Length | Best Use |
|---|---|---|
| 46 cm (18 in) | 76–91 cm (30–36 in) | Low sawing platform, cutting sheet goods on the ground, short users |
| 61 cm (24 in) | 91 cm (36 in) | Standard all-rounder — sawing, sanding, assembly |
| 76 cm (30 in) | 91–107 cm (36–42 in) | Workbench height, detail work, taller users |
| 81 cm (32 in) | 107 cm (42 in) | Assembly table height, pairing with a workbench |
This guide builds the standard 61 cm (24 in) high, 91 cm (36 in) long version. If you build the pair at this size and later want a taller set, you already know the method — only the leg length changes. In a small garage workshop setup, a standard pair stacks neatly against the wall and takes up almost no floor space.
The Exact Cut List (Per Sawhorse)
Measure twice, cut once — and write the list on the board itself with a pencil so you never mix up parts. All dimensions are for one sawhorse; double everything for the pair. A 2×4 actually measures about 38 × 89 mm (1½ × 3½ inches), which is already factored into these lengths.
| Part | Quantity | Size | Cut |
|---|---|---|---|
| Top beam | 1 | 2×4 × 91 cm (36 in) | Square ends (90°) |
| Legs | 4 | 2×4 × 64 cm (25 in) | Both ends at 15° |
| Short cross braces | 2 | 2×4 × 48 cm (19 in) | Square ends (90°) |
| Long stretcher | 1 | 2×4 × 76 cm (30 in) | Square ends (90°) |
The leg length deserves a quick explanation. The finished height is 61 cm (24 in), but the legs splay outward at 15° from vertical, so each leg is longer than the height — about 64 cm (25 in) before the angled cuts. Cutting both ends of each leg at 15° (in the same direction, so the ends stay parallel) gives you a leg that sits flat on the floor and flat against the top beam at the same time. Mark the angle with your speed square: set it to 15°, draw the line, and cut on the line.
Step 1: Measure and Mark Every Board
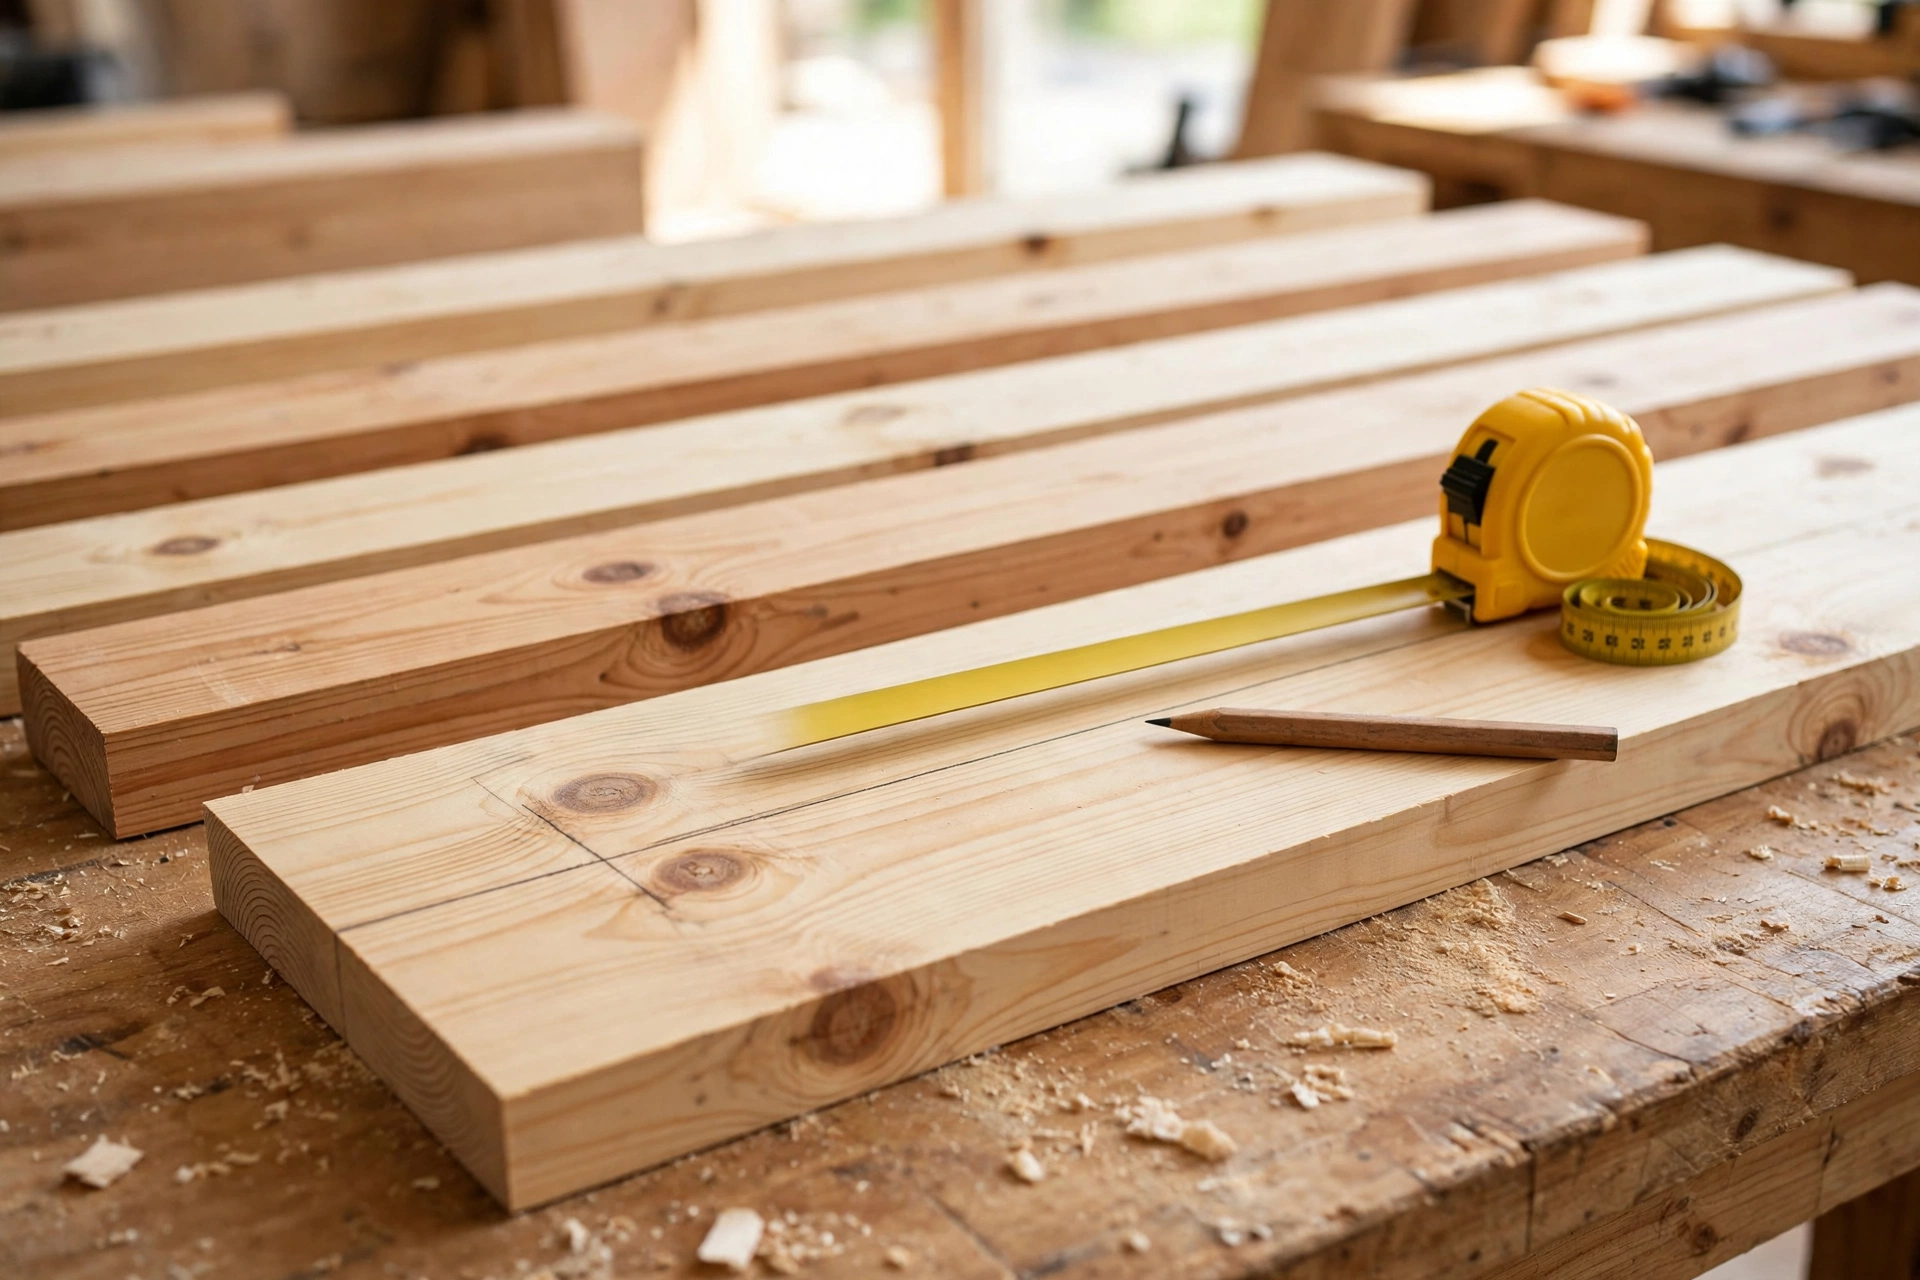
Lay your 2×4s on a flat surface and mark out all the parts for one sawhorse before you cut anything. Mark the top beam at 91 cm (36 in), the four legs at 64 cm (25 in), the two short braces at 48 cm (19 in), and the long stretcher at 76 cm (30 in). Write the part name next to each mark — “LEG”, “BEAM”, “BRACE” — so the pile stays organised.
Check each board for square before you mark it. A speed square laid across the board shows whether the factory end is truly square; if it is not, trim a few millimetres off first, then measure from the fresh, square end. Small errors here multiply: a leg that is 5 mm short will make the sawhorse rock, and a brace that is 5 mm long will push the legs out of square.
Step 2: Cut the Top Beam, Braces, and Stretcher
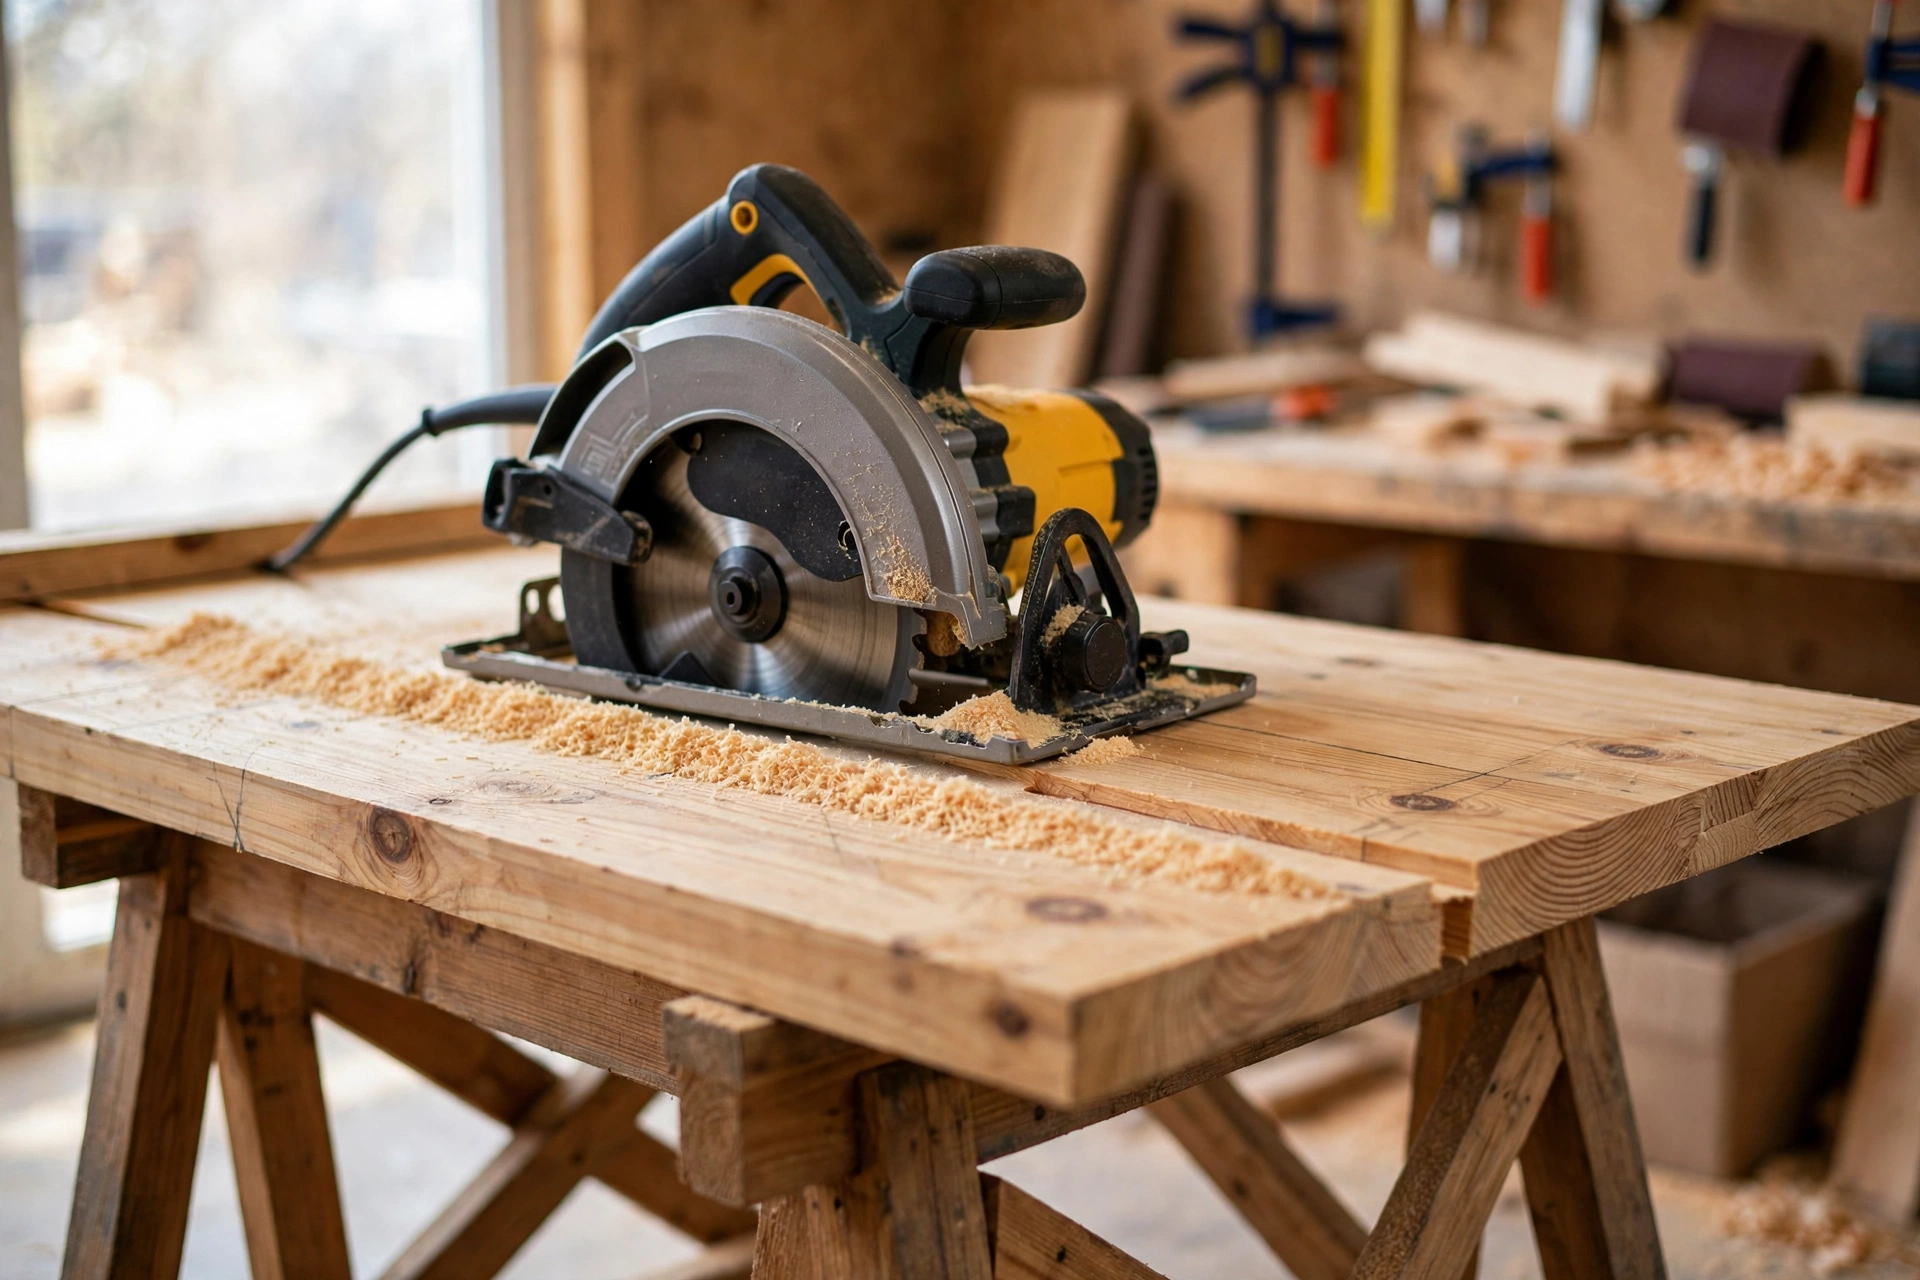
Cut the square-ended parts first, because they are the easiest. Support the board so the offcut cannot fall and pinch the blade, and keep your free hand well away from the cut line. A circular saw with a straightedge guide gives a clean, square cut; a mitre saw is even faster for repeat cuts.
After each cut, check the end with your square. If the cut wanders, the joint will show a gap later. Stack the finished pieces in labelled piles — beam, braces, stretcher — and keep the leg stock aside for the angled cuts.
Step 3: Cut the Legs at a 15° Angle
The legs are the only angled cuts in the whole project, and they are what make the sawhorse stable. Set your mitre saw to 15° (or set your circular saw’s bevel to 15° with a speed square as a guide) and cut both ends of each leg so the ends are parallel to each other. The top end meets the beam, the bottom end meets the floor, and because both are cut at the same angle, the leg sits correctly at both ends.
Cut all four legs, then stand them in pairs and compare them side by side. They should be identical in length and angle. If one is a millimetre long, trim it now — a sawhorse with one long leg rocks, and rocking is the most common complaint about a first build. When all four match, you are ready to assemble the leg pairs.
Step 4: Build the Two Leg Assemblies
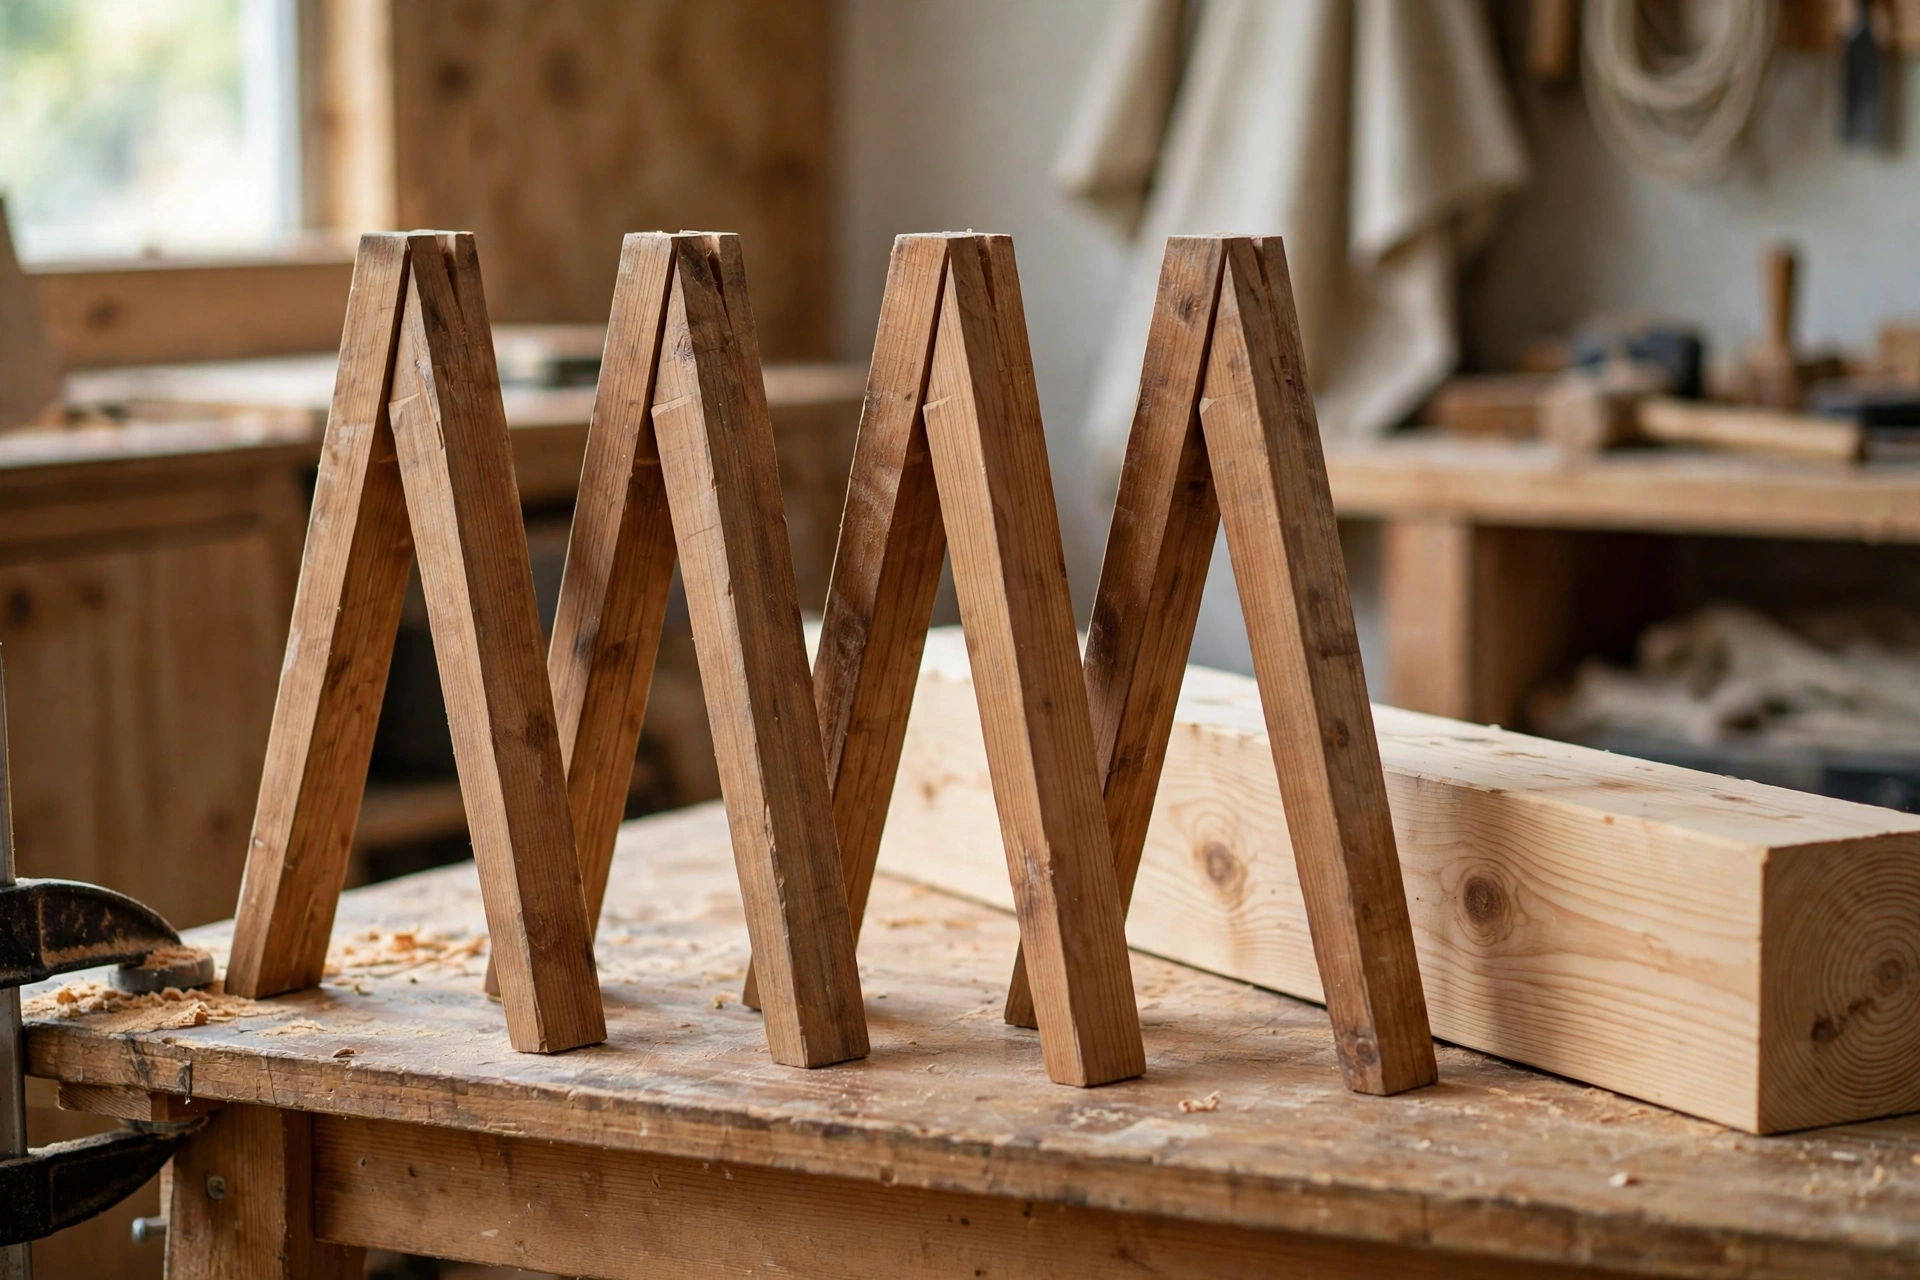
Each sawhorse is made of two leg assemblies joined by the top beam and the long stretcher. An assembly is two legs plus one short cross brace, forming a wide “A” shape without a point — more like a flattened “H” with splayed legs.
Lay two legs on your bench with their top ends 30 cm (12 in) apart and their bottom ends about 46 cm (18 in) apart — the splay comes from the 15° cut, so just let the legs sit naturally at their angle. Place the short cross brace across the two legs about 20 cm (8 in) up from the floor ends, and mark where it crosses each leg. Pre-drill two holes through the brace into each leg, add a dab of wood glue, and drive two 75 mm (3 in) screws into each leg. Repeat for the second assembly, and check that both assemblies are identical by laying one on top of the other.
Step 5: Attach the Top Beam
Stand the two leg assemblies upright, about 76 cm (30 in) apart, and rest the top beam across them. The top beam sits on the flat, angled top ends of the legs, so each leg meets the beam along a full face — that wide contact area is what makes the joint strong.
Centre the beam so it overhangs each assembly by the same amount, about 7–8 cm (3 in) on each side. Clamp the beam to the first assembly, pre-drill two holes down through the beam into each leg, and drive two 75 mm (3 in) screws per leg. Move to the second assembly and repeat. Stand the sawhorse on the floor and check for rocking: press down on opposite corners of the beam. If it rocks, find the long leg and trim a millimetre or two off its foot.
Step 6: Add the Long Stretcher and Cross Braces
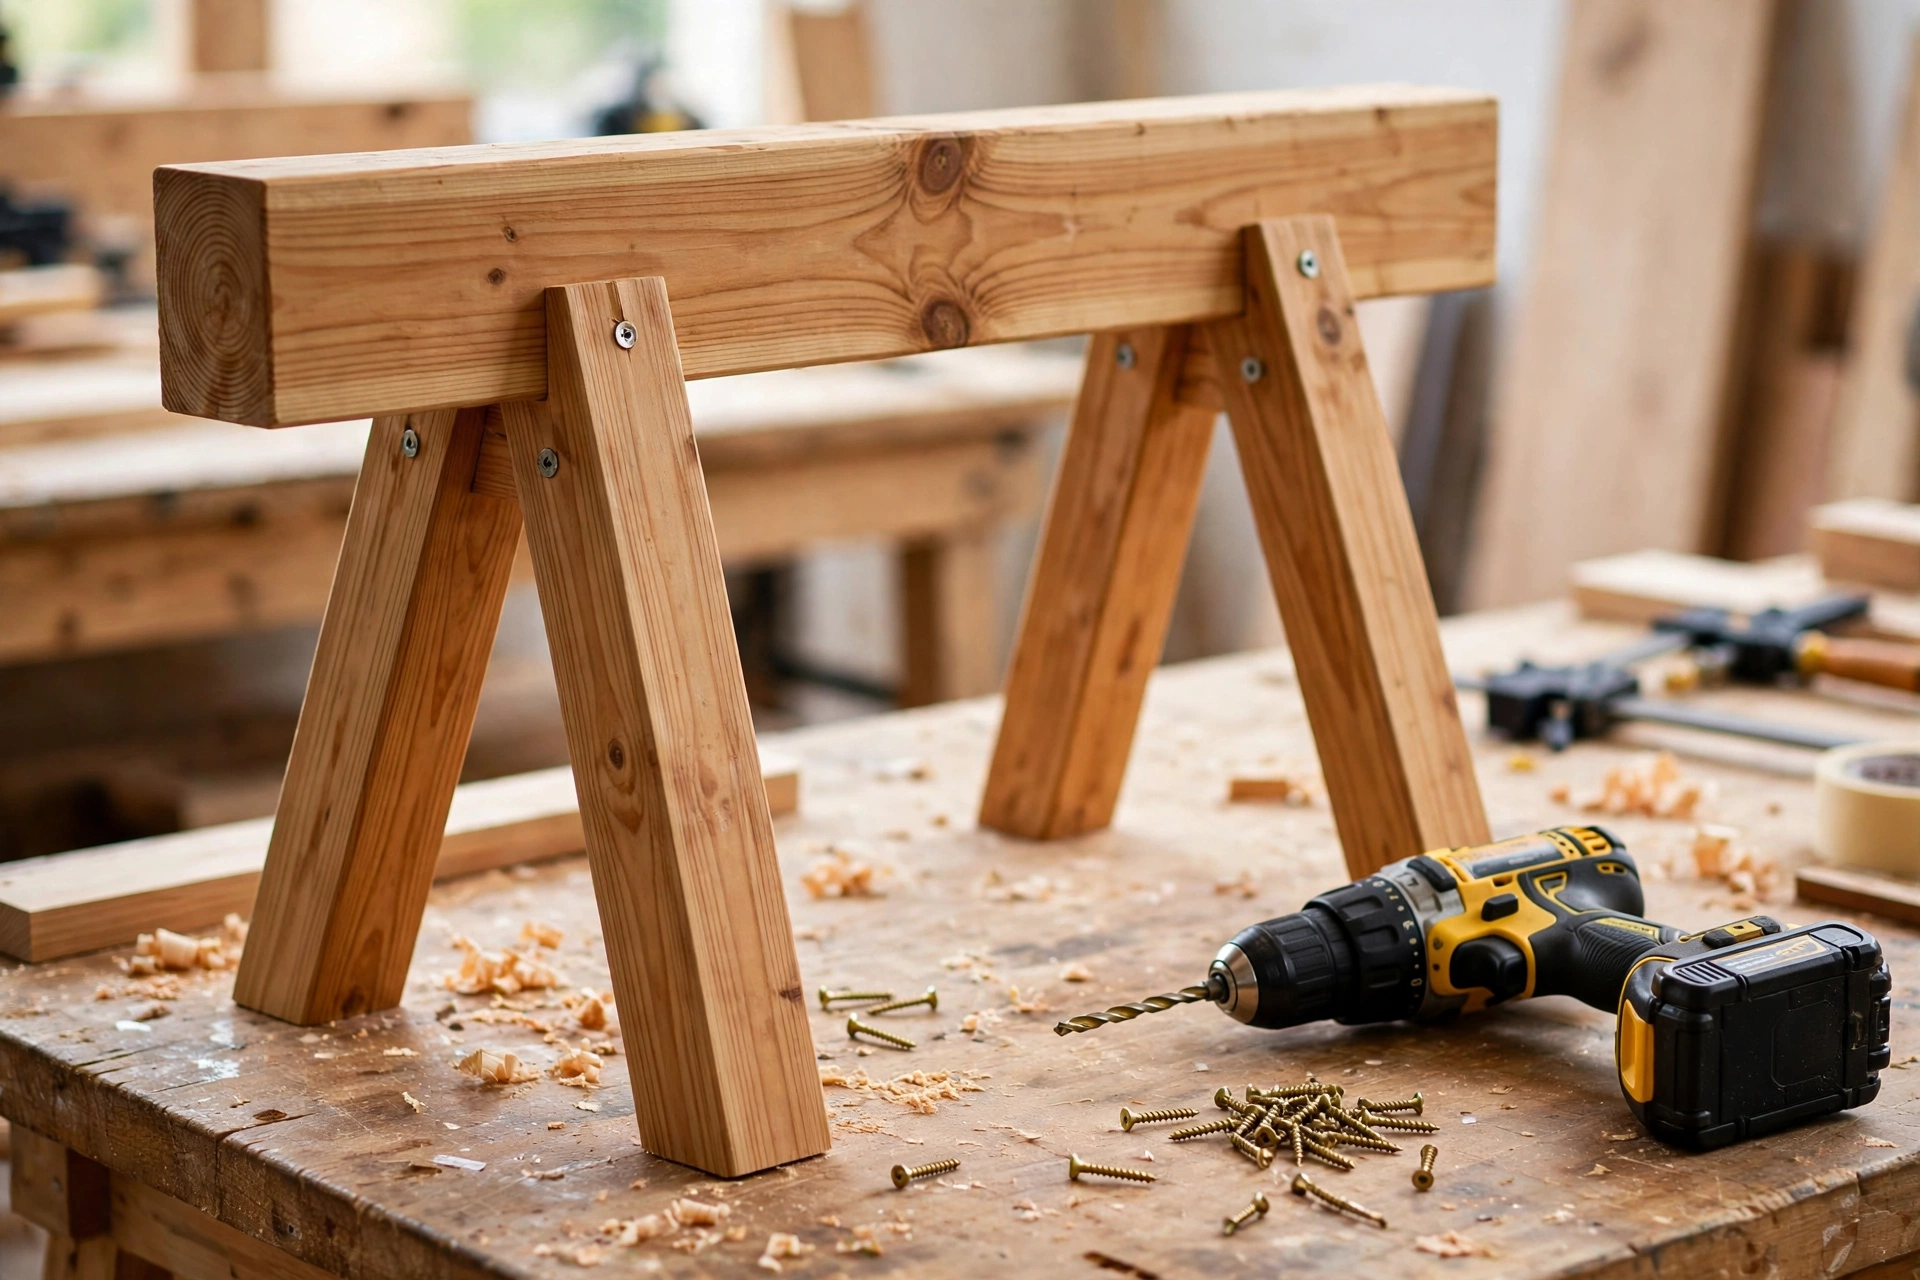
The long stretcher is the piece that stops the two leg assemblies from folding inward under load. Fit it between the two assemblies at the same height as the short braces, about 20 cm (8 in) above the floor. It should sit flat against the inside face of one leg on each assembly. Pre-drill, glue, and drive two 63 mm (2½ in) screws through the stretcher into each leg it meets.
At this point your sawhorse is structurally complete. Give it the wobble test: stand on the top beam with one foot (on a flat floor, holding something stable) and shift your weight. A good sawhorse feels solid and silent. Any creak or flex usually means a screw missed the leg — back it out, re-drill, and drive it again.
Step 7: Sand, Finish, and Stack
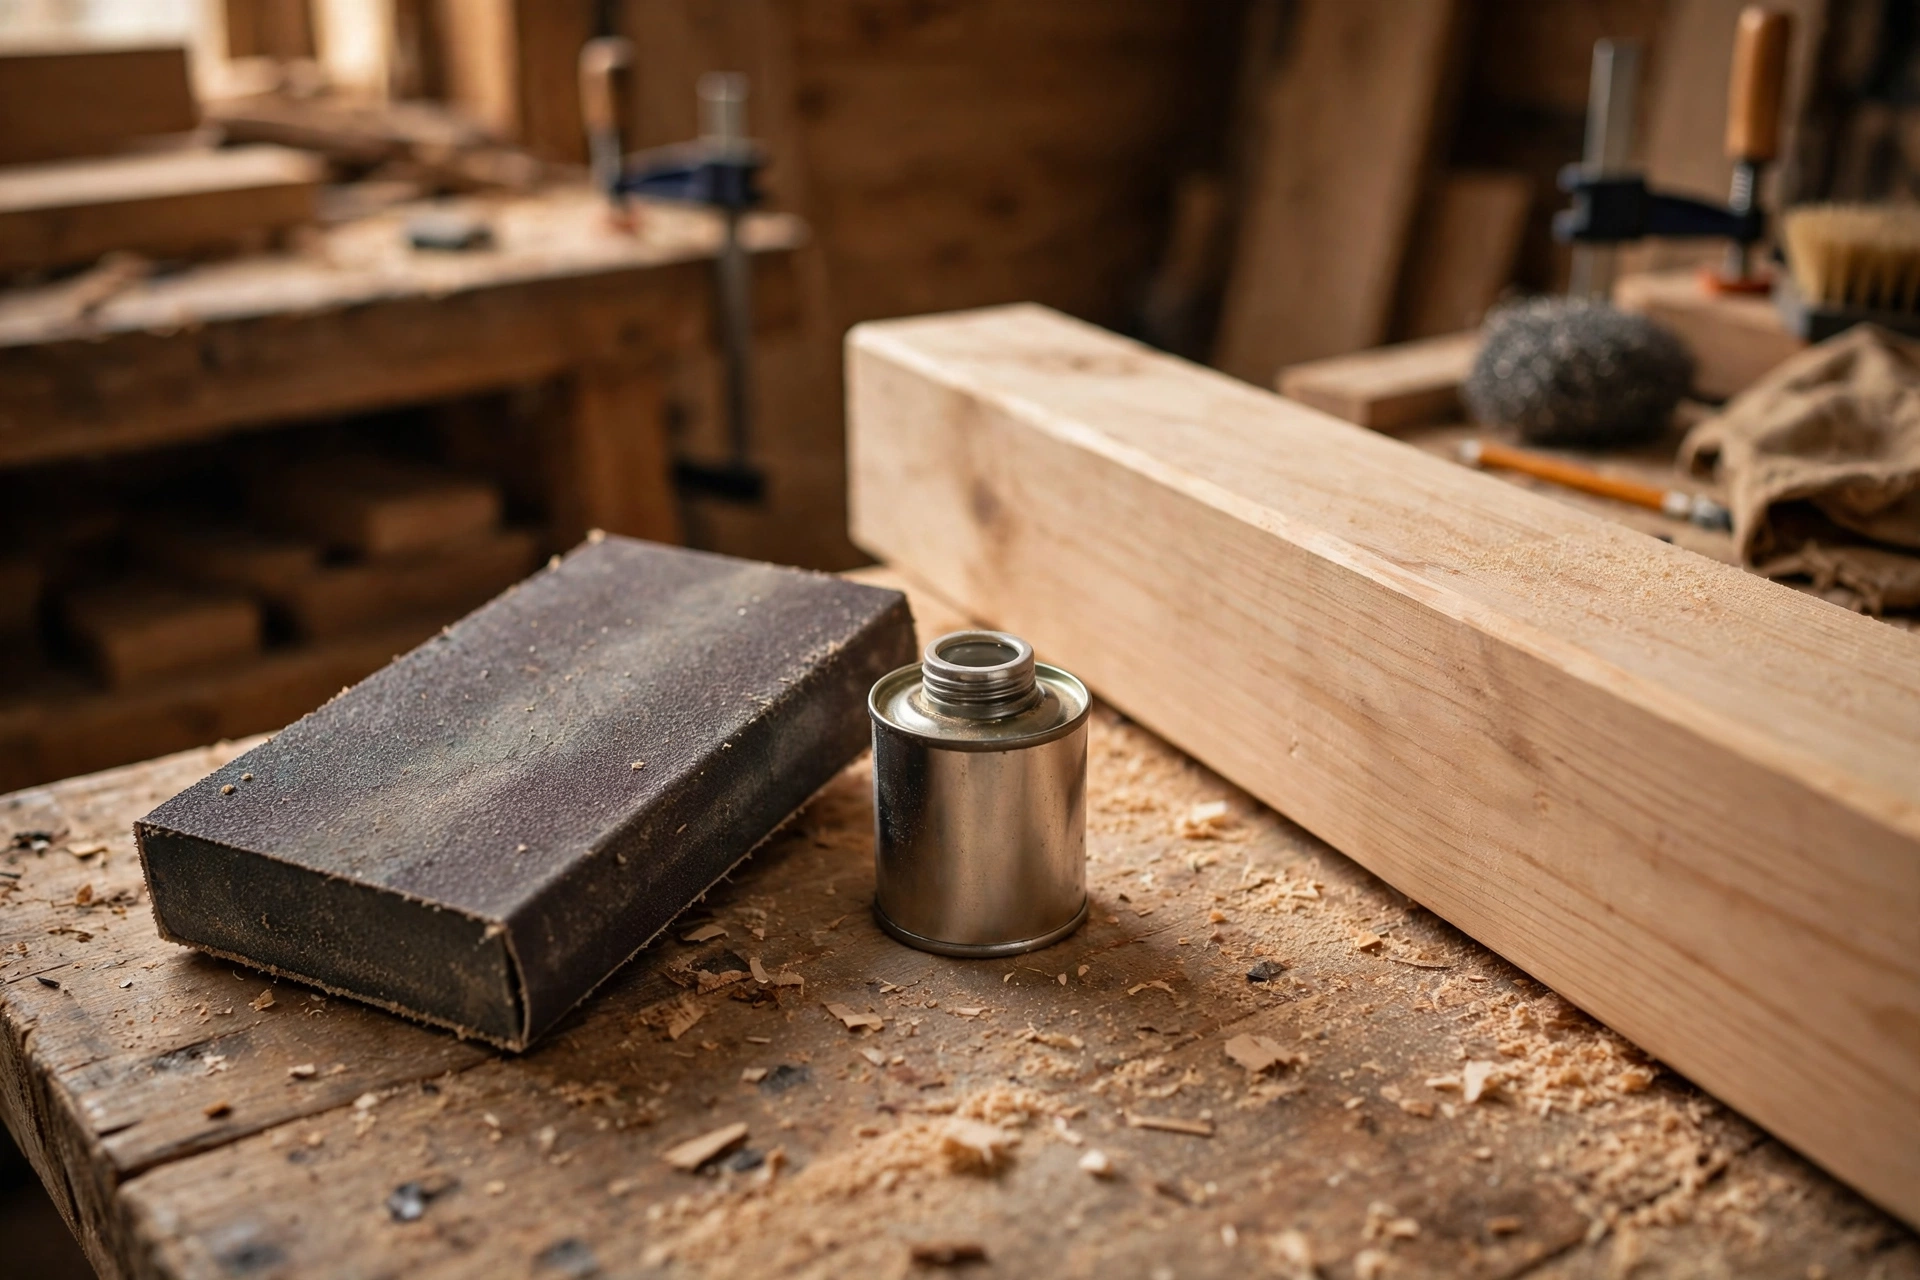
Sand the top beam and all exposed edges with 80-grit paper, then 120-grit, knocking off sharp corners and any splinters. The top beam deserves the most attention — it is the surface your hands and your workpieces will touch. Round the top edges slightly so they do not dent soft workpieces.
A finish is optional, but a coat of Danish oil or paste wax keeps the pine from absorbing glue and paint drips, and it makes the sawhorses easier to wipe clean. Let the finish dry fully before you stack the pair. Speaking of stacking: this design stacks. Turn one sawhorse upside down and set it over the other, legs straddling, and the pair stores in half the space — a small thing that matters a lot in a crowded garage.
How Much Weight Can a Wooden Sawhorse Hold?
A well-built pine sawhorse is far stronger than it looks. The numbers below are conservative working loads for a pair of sawhorses with the weight spread evenly across the top beams — the way you would actually use them with a sheet of plywood or a stack of boards. Never stand on a single sawhorse, never concentrate a heavy load on one point, and always inspect the screws and joints before loading up.
| Build | Single Sawhorse | Pair (Evenly Loaded) |
|---|---|---|
| Pine 2×4, standard build | ~225 kg (500 lb) | ~450 kg (1,000 lb) |
| Douglas fir 2×4 | ~270 kg (600 lb) | ~550 kg (1,200 lb) |
| Pine 2×4 with 2×6 top beam | ~270 kg (600 lb) | ~550 kg (1,200 lb) |
| Pine 2×4 with glued + screwed joints | ~300 kg (650 lb) | ~600 kg (1,300 lb) |
These are working loads with a safety margin, not breaking points — a pair of pine sawhorses will usually hold far more before anything fails, but the first failure is almost always a screw joint, not the wood, which is why pre-drilling and glue matter. If you regularly work with full sheets of MDF or heavy doors, build the Douglas fir version or add the 2×6 top beam.
Folding vs Fixed Sawhorses: Which Should You Build?
Fixed sawhorses — the kind you just built — are stronger, simpler, and cheaper than folding ones. Folding sawhorses are easier to carry and store flat, but they need hinges, more parts, and careful fitting, which makes them a poor first project. Build the fixed pair first; you will use them to build everything else, including a folding set later if you want one.
| Feature | Fixed Sawhorse | Folding Sawhorse |
|---|---|---|
| Strength | Higher — solid screwed joints | Lower — hinges are the weak point |
| Build difficulty | Easy, one afternoon | Medium, needs hinges and fitting |
| Cost per pair | ~$20–35 | ~$40–60 |
| Storage | Stacks, leans against wall | Folds flat |
| Best for | Workshop use, heavy loads | Job sites, carrying in a vehicle |
How Much Does It Cost to Build a Pair?
For most beginners, a pair of pine sawhorses costs between $20 and $35 in materials: six 2×4 studs at roughly $3–4 each, a small box of screws for about $5, and sandpaper you probably already own. If you add wood glue and a can of Danish oil, budget another $10. Compared with shop-bought plastic or metal sawhorses at $30–60 each, the DIY pair costs less, holds more, and teaches you real skills. Once your sawhorses are done, they become the platform for your next build — a simple workbench for beginners is the natural follow-up project.
Common Mistakes Beginners Make
Cutting all four legs at different lengths. Even a few millimetres of difference makes the sawhorse rock. Cut one leg, use it as a template to mark the other three, and compare them side by side before assembly.
Skipping the pre-drilling. Driving a 75 mm screw into a 2×4 near its end without a pilot hole splits the wood, especially in dry pine. Pre-drill every screw hole, and keep screws at least 25 mm (1 in) from the end of a board.
Cutting the leg angles in opposite directions. Both ends of each leg must be cut at 15° in the same direction so the ends are parallel. If you flip the board between cuts, the leg will not sit flat at either end.
Forgetting the stretcher. Without the long stretcher, the leg assemblies can fold inward under a heavy load. It looks like an optional extra; it is not.
Building only one sawhorse. One horse is a wobbly table. Two horses are a workshop. Always build the pair in the same session, while your saw is still set to 15°.
FAQ
How long does it take to build a wooden sawhorse?
A first pair takes about 2–3 hours, including measuring and sanding. Once you know the steps, a single sawhorse takes under an hour. Most of the time goes to measuring and marking, not cutting.
What is the best height for a wooden sawhorse?
For most adults, 61 cm (24 inches) is the standard all-round height for sawing, sanding, and assembly. Shorter people or low cutting work suit 46 cm (18 inches), while taller users or bench-height work suit 76 cm (30 inches).
Can I build a sawhorse without a mitre saw?
Yes. A circular saw with a speed square as a guide cuts the 15° leg angles cleanly, and a handsaw works too — it just takes longer. The angled cuts are the only part where a mitre saw saves real time.
How much weight can a pair of pine sawhorses hold?
A pair of standard pine 2×4 sawhorses safely holds about 450 kg (1,000 lb) spread evenly across both top beams. Keep heavy loads centred, inspect the screw joints regularly, and never stand on a single sawhorse.
Do I need wood glue as well as screws?
Glue is not essential, but it is strongly recommended. Glue plus screws makes the joints stiffer and quieter, and it adds roughly 30% to the working load capacity. Apply a thin layer, clamp or hold the joint, then drive the screws.
Can sawhorses be used as a workbench?
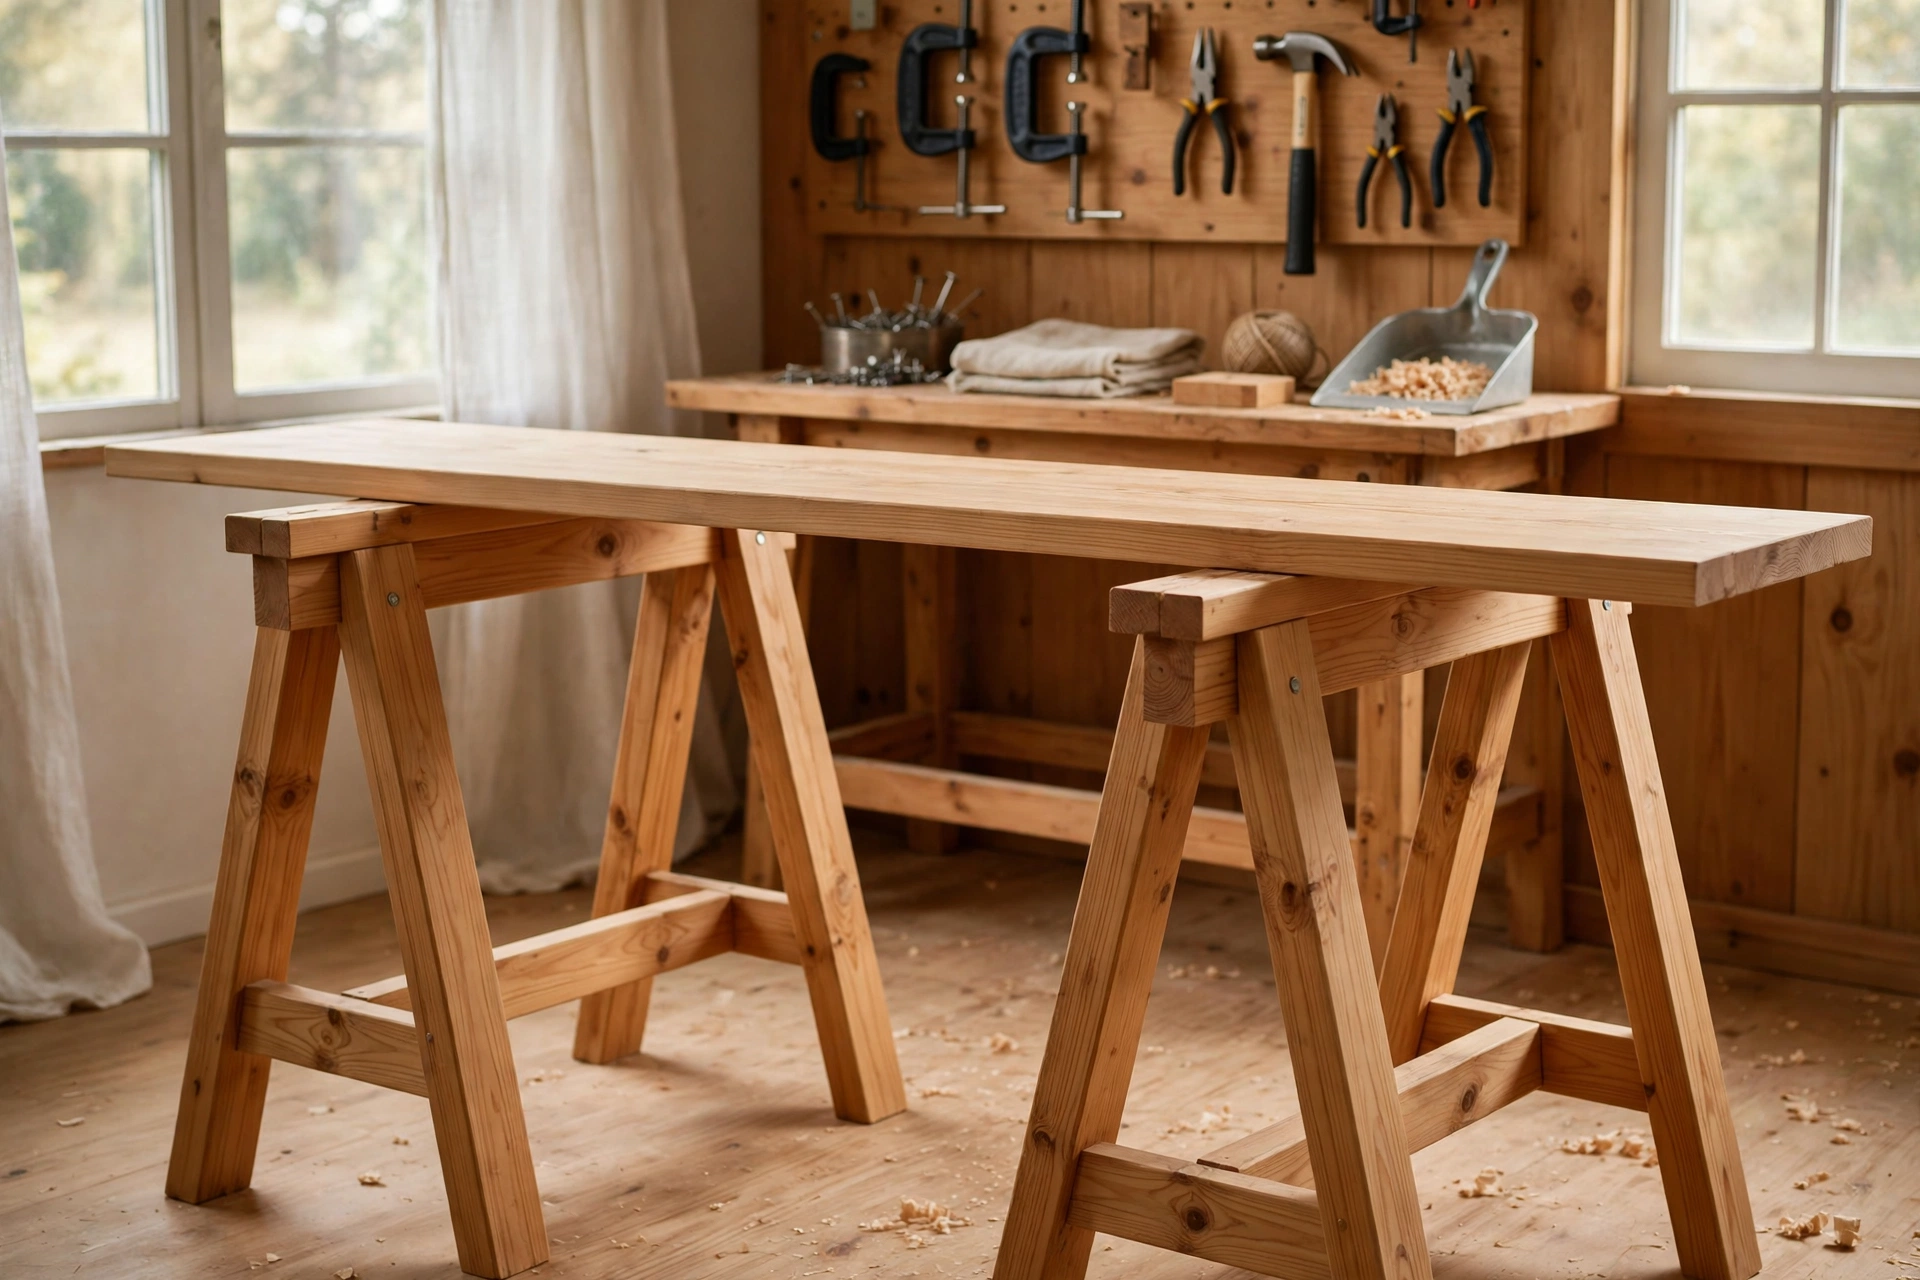
Yes — a pair of sawhorses with a sheet of plywood or an old door on top makes an excellent temporary workbench. For a permanent bench, use the pair as the base and build a proper top, or follow a dedicated workbench plan.
Your First Pair Is the Start of Your Workshop
Learning how to build a wooden sawhorse for beginners is a rite of passage: it is the project that turns a pile of lumber and a borrowed saw into a working shop. The pair you build this weekend will hold up your next five projects, and the skills you practise — measuring, angled cuts, square assembly — will show up in every one of them. Build the pair, stack them in the corner, and let them earn their keep. Then pick your next project from the pillar list of easy woodworking projects for beginners that sell and get building.
Recommended Products for This Project
As an Amazon Associate, I earn from qualifying purchases.

DEWALT 20V MAX Cordless Drill/Driver Kit (DCD771C2)
A cordless drill for driving screws and drilling pilot holes in the sawhorse legs and rails.
FIXLINK Deck Screws #8 x 2 Inch, 310-Pack
Strong 2-inch screws for the sawhorse leg and rail joints — plenty in the pack for a matched pair.

IRWIN QUICK-GRIP Clamps Set, 8-Piece (IRHT83220)
Eight clamps in assorted sizes to hold the sawhorse glue-up square while it cures.

Titebond III Ultimate Wood Glue 1413 (8 oz)
Water-resistant glue for strong sawhorse joints that will hold up in the workshop.

DEWALT Random Orbit Sander DWE6423, 5-Inch
Smooth, swirl-free sanding for the sawhorse top and legs before you put it to work.


