
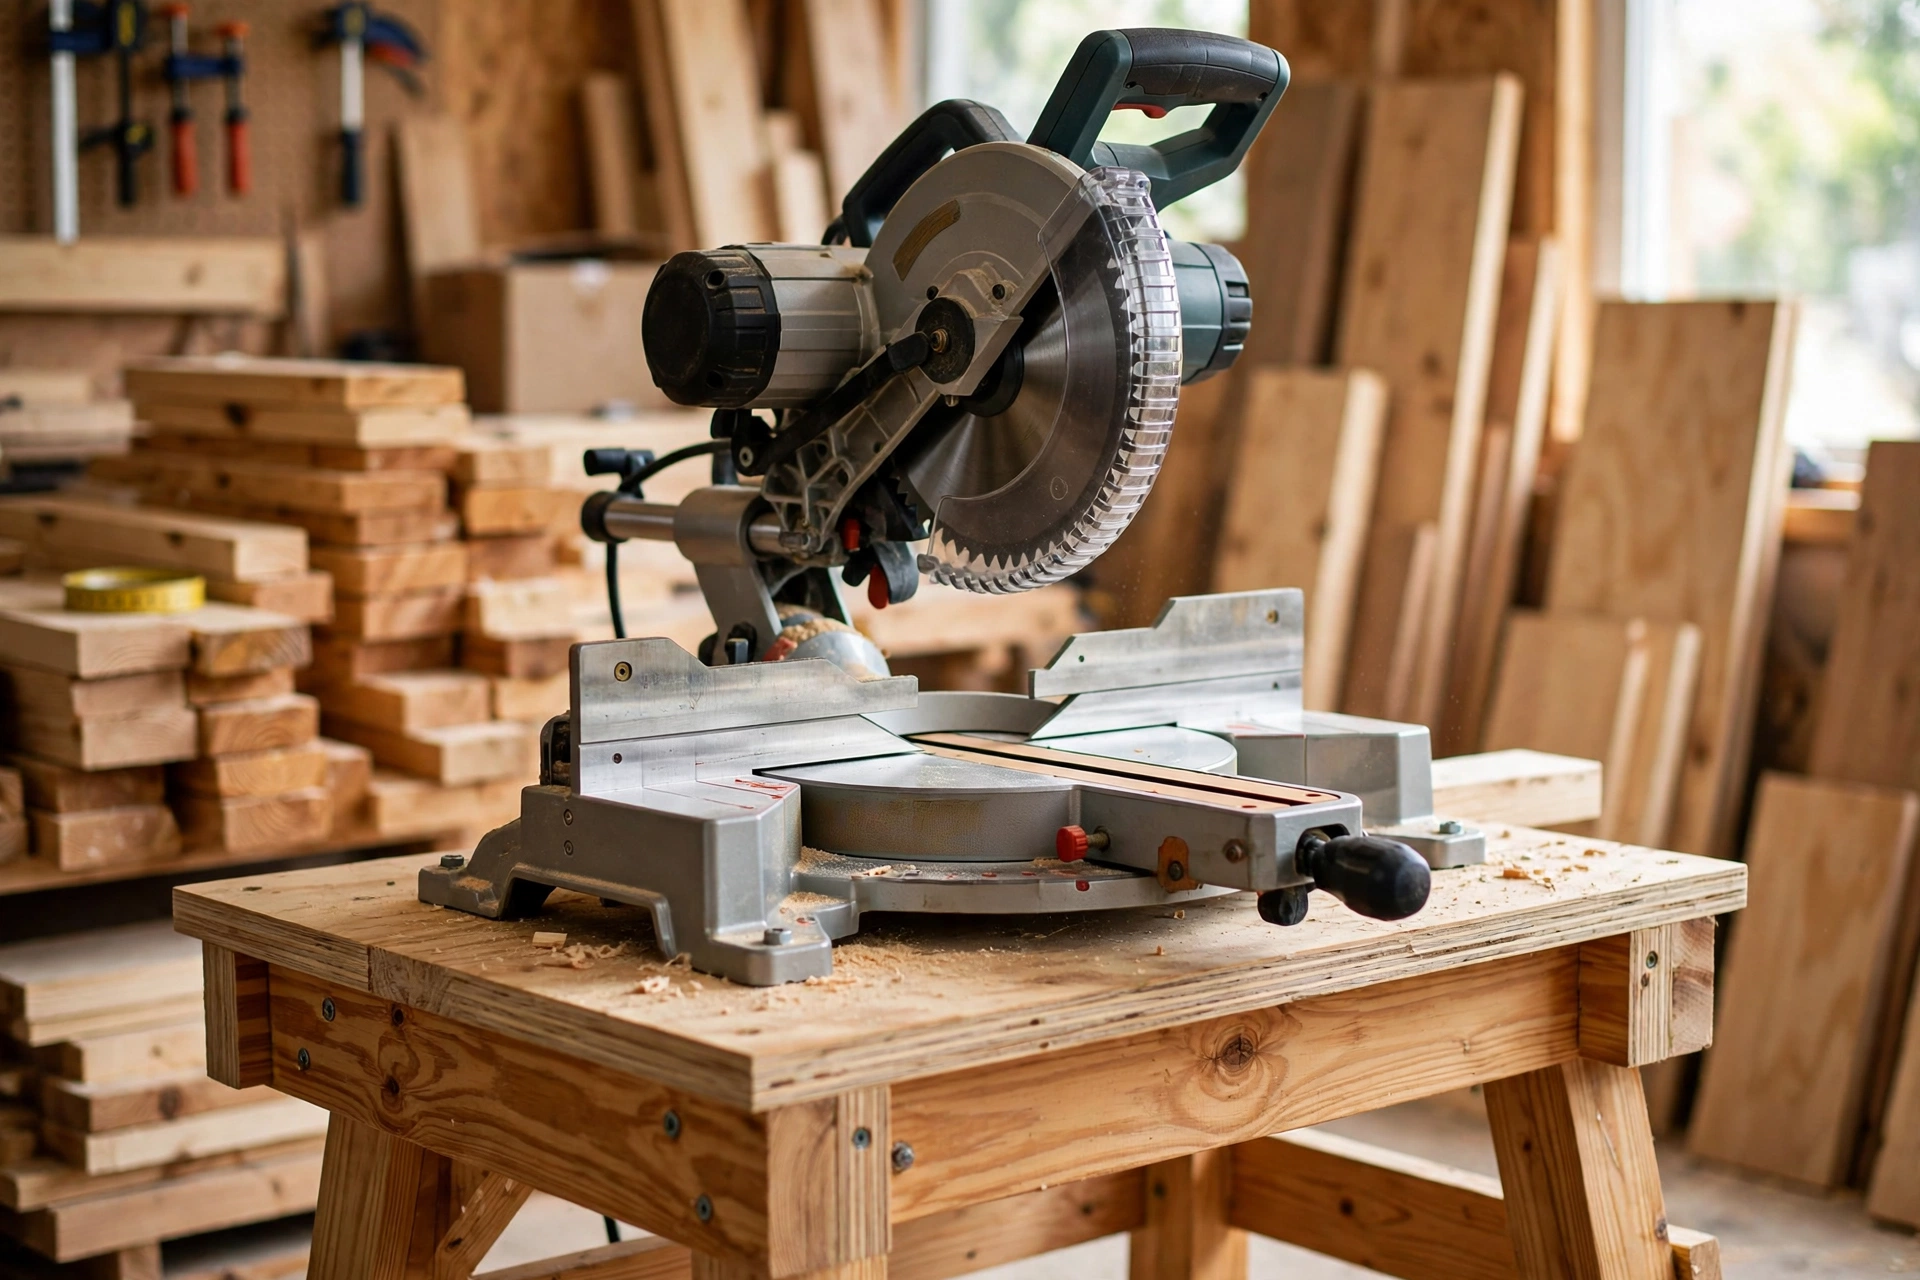
If you have ever tried to cut long boards with a miter saw sitting on the floor, you know the frustration: sore knees, boards that tip and bind, and cuts that wander off the line. Learning how to build a wooden miter saw stand for beginners solves all of that in a single weekend. A good stand lifts your saw to a comfortable working height, supports long boards on both sides so they cannot tip, and rolls out of the way when you are done.
This guide walks you through the whole build step by step. You need only basic tools, about $80 to $120 of lumber and hardware, and one free afternoon. There are no tricky joints and no expensive jigs — just screws, glue, and straight cuts. By the end of the day you will have a sturdy, mobile stand that makes every future cut faster, safer, and more accurate.
If you are just getting started in the workshop, this is one of the most useful first builds you can tackle. It sits right alongside other beginner-friendly builds in our roundup of easy woodworking projects for beginners that sell, and once it is done, your saw finally has a proper home.
Why a Miter Saw Stand Beats Sawing on the Floor
A miter saw is one of the first power tools most beginners buy, and it usually ends up on the garage floor or balanced on a pair of sawhorses. That works for a cut or two, but it quickly becomes the slowest and least accurate way to work. Here is what changes when your saw sits on a proper stand:
- Better accuracy. A long board needs support on both sides of the blade. Without it, the free end droops, the cut binds, and the board can kick. Support wings hold the board flat so the blade cuts straight through.
- Less strain. Working at waist height instead of kneeling on concrete means you can cut for an hour without a sore back and knees.
- Faster repeat cuts. With a fixed stop block on the wing, you can cut ten boards to exactly the same length without measuring each one.
- A safer setup. A saw that cannot slide or tip is a saw that cannot surprise you. A heavy wooden stand with locking casters stays exactly where you put it.
- A tidier workshop. The shelf under the deck stores offcuts, your square, and your safety glasses, and the whole stand rolls against the wall when the job is done.
Before you buy lumber, though, make sure your saw itself is the right fit for the stand. If you are still choosing one, read our guide to the best miter saw for beginners — the deck height and wing span in this plan work with any common 10-inch or 12-inch sliding or non-sliding saw.
Matching the Deck Height to Your Saw
The single most important measurement in this whole project is the height of the saw deck — the top surface your saw sits on. Get it right and long boards glide across the wings without catching. Get it wrong and every board will rock on the saw table.
The rule is simple: the top of the support wings must sit exactly level with the top of your saw’s table, not the top of the deck. Measure from the floor to the top of your saw table while the saw sits on a flat surface, then subtract the height of your saw’s base (usually 2 to 3 inches / 5 to 8 cm). That number is your deck height.
Most 10-inch and 12-inch saws land in a narrow range, so use this table as a starting point — but always verify against your own saw before you cut:
| Saw size / type | Typical table height from floor* | Typical deck height | Wing height above deck |
|---|---|---|---|
| 7-1/4 in. compact saw | 33–34 in. (84–86 cm) | 30–31 in. (76–79 cm) | 2–3 in. (5–8 cm) |
| 10 in. non-sliding saw | 34–35 in. (86–89 cm) | 31–32 in. (79–81 cm) | 2–3 in. (5–8 cm) |
| 10 in. sliding saw | 35–36 in. (89–91 cm) | 32–33 in. (81–84 cm) | 2–3 in. (5–8 cm) |
| 12 in. sliding saw | 35–37 in. (89–94 cm) | 32–34 in. (81–86 cm) | 2–3 in. (5–8 cm) |
*Table height assumes a comfortable working height for someone 5 ft 6 in. to 6 ft tall. If you are shorter or taller, adjust the deck up or down by 1 to 2 inches so your forearms rest naturally on the saw handles.
The plan below uses a 32-inch (81 cm) deck height, which suits most 10-inch and 12-inch saws. If your saw needs a different height, change only the four leg lengths — everything else stays the same.
Choosing the Right Wood
You do not need hardwood for this build. Softwood is lighter, cheaper, and easier to cut and screw, and a stand built from construction lumber is plenty strong for any miter saw.
- Frame and legs: 2×4 pine or spruce (actual size 1-1/2 x 3-1/2 in. / 38 x 89 mm). Straight, dry boards with no twist. Pick through the pile at the store and sight down each board before you buy it.
- Deck and wings: 3/4-inch (18 mm) plywood. A half sheet of birch or sanded pine plywood is ideal — it is flat, stable, and gives screws a good grip. Avoid MDF: it is heavy, swells if it gets damp, and holds screws poorly.
- Shelf: 1/2-inch or 3/4-inch plywood offcuts from the deck sheet.
- Avoid pressure-treated lumber. It is wet, heavy, and unnecessary indoors, and the chemicals are unpleasant to cut and sand.
Buy your plywood first and check that it is flat by laying it on the store floor — a warped sheet will make a wobbly deck. While you are there, grab a small bottle of wood glue and a box of 2-1/2-inch (63 mm) exterior screws; both are used throughout the build.
Tools and Materials You Will Need
You probably own most of this already. If you need a saw for the straight cuts in this project, our guide to the best circular saw for beginners will help you pick one that is accurate enough for furniture-style work.
Tools:
- Miter saw (the one the stand is for) or circular saw
- Drill/driver with drill bits and a countersink bit
- Tape measure, pencil, and speed square or combination square
- Clamps (at least two)
- Sandpaper (80 and 120 grit) and a sanding block
- Safety glasses and hearing protection
Materials:
- 4 pieces of 2×4 pine, 8 ft (2.4 m) long — legs, rails, and stretchers
- 1 half sheet (4 x 4 ft / 122 x 122 cm) of 3/4-in. (18 mm) plywood — deck, wings, and shelf
- 4 heavy-duty locking casters, 3 in. (75 mm) wheels, rated 75 lb (34 kg) each or more
- 16 caster bolts or lag screws, 1/4 in. x 1-1/2 in.
- 2 sturdy hinges per wing (4 total) for the folding wings
- 1 box of 2-1/2-in. (63 mm) wood screws
- 1 small box of 1-1/4-in. (32 mm) wood screws
- Wood glue
- Optional: 2 folding support brackets per wing if you want locking support arms
Exact Cut List
Measure twice, cut once — and cut the longest pieces first so a mistake on a short piece does not waste a board. All dimensions are given in inches with centimetres in brackets. If you change the deck height, only the leg length changes.
| Part | Qty | Material | Dimensions (in.) | Dimensions (cm) |
|---|---|---|---|---|
| Legs | 4 | 2×4 pine | 1-1/2 x 3-1/2 x 29 | 3.8 x 8.9 x 73.7 |
| Long side rails (top and bottom) | 4 | 2×4 pine | 1-1/2 x 3-1/2 x 36 | 3.8 x 8.9 x 91.4 |
| Short end rails (top and bottom) | 4 | 2×4 pine | 1-1/2 x 3-1/2 x 18 | 3.8 x 8.9 x 45.7 |
| Centre support rail | 1 | 2×4 pine | 1-1/2 x 3-1/2 x 36 | 3.8 x 8.9 x 91.4 |
| Saw deck | 1 | 3/4-in. plywood | 24 x 36 | 61 x 91.4 |
| Support wings | 2 | 3/4-in. plywood | 12 x 24 | 30.5 x 61 |
| Lower shelf | 1 | 3/4-in. plywood | 18 x 34 | 45.7 x 86.4 |
| Caster mounting plates | 4 | 3/4-in. plywood offcut | 4 x 4 | 10 x 10 |
The finished stand is 36 inches (91 cm) long, 24 inches (61 cm) deep, and 32 inches (81 cm) high at the deck — plus about 3 inches (7.6 cm) for the casters, which brings the working deck to roughly 35 inches (89 cm) before you bolt the saw down. Check this against your saw’s table height using the table above, and trim or lengthen the legs to match.
Step 1: Measure and Mark Every Board
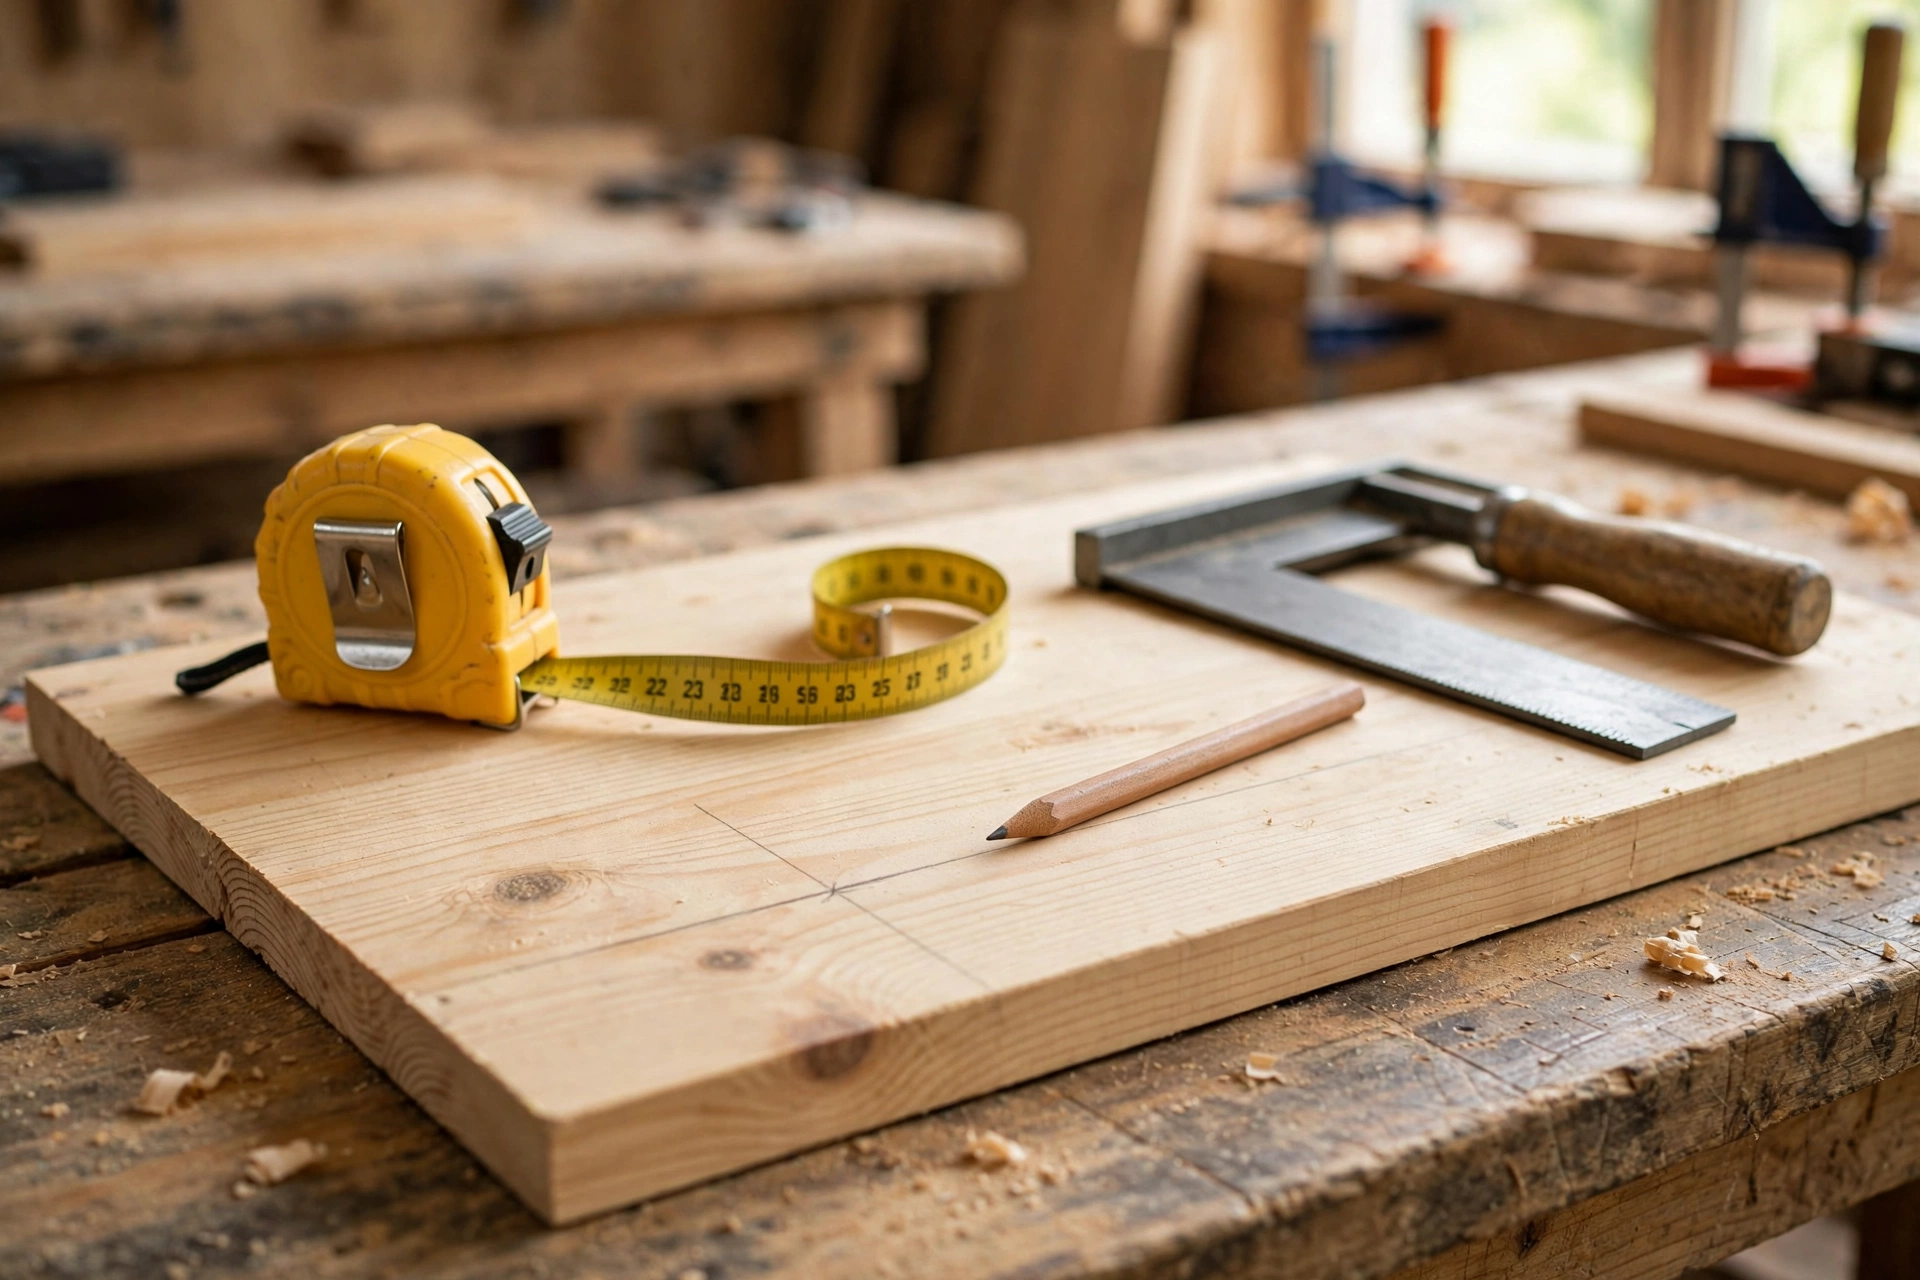
Lay out all four 2x4s and mark every cut with a pencil and speed square before you cut anything. A square line across the board is your best defence against a crooked cut — the saw blade follows the line, and your eye follows the blade.
Mark the legs first (29 inches each), then the long rails (36 inches), then the short rails (18 inches). Write the part name on each piece as you mark it; once four similar-looking 2x4s are cut, labels save a lot of head-scratching. For the plywood, mark the deck (24 x 36 in.), both wings (12 x 24 in.), and the shelf (18 x 34 in.) on the sheet, keeping the factory edge as your straight reference wherever possible.
Double-check the leg measurement against your saw before cutting. Set the saw on the floor, measure from the floor to the top of its table, and subtract the caster height (3 in.) and the saw base height. If the number is not 29 inches, adjust the legs now — it is a one-minute fix at this stage and a miserable one later.
Step 2: Cut the Frame Pieces
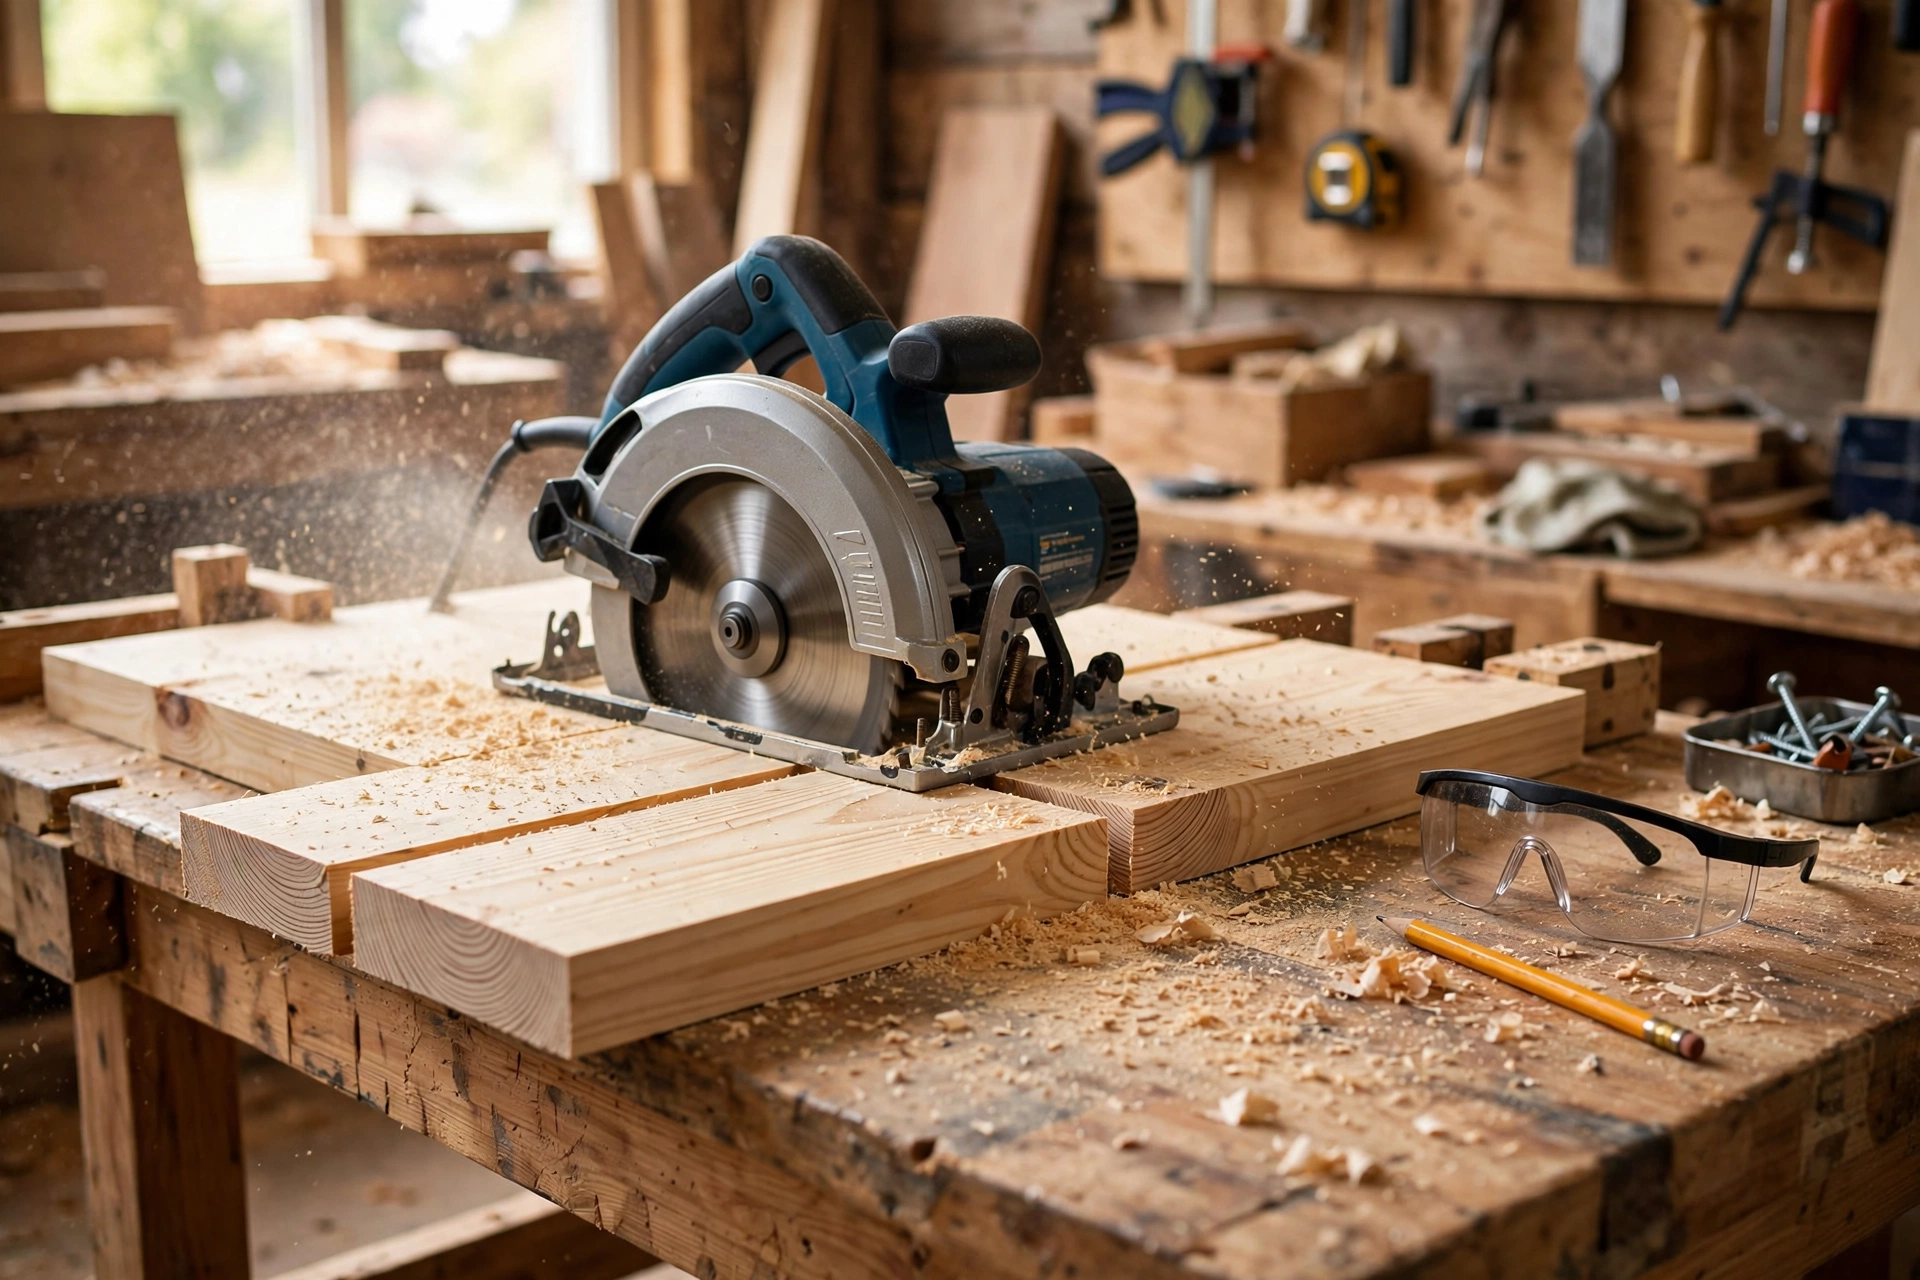
Cut the 2x4s first, then the plywood. If you are using your miter saw on the floor for these cuts, keep the boards fully supported and your hands well clear of the blade path — or use a circular saw with a straight-edge guide for the long plywood cuts.
Cut in this order:
- Four legs at 29 inches.
- Four long rails at 36 inches (two for the top frame, two for the bottom frame).
- Four short rails at 18 inches.
- One centre support rail at 36 inches.
- Plywood deck, wings, and shelf to the sizes in the cut list.
After each cut, check the end with your square. A cut that is even 1/16 inch out of square will show up as a wobble in the finished frame. Lightly sand the cut ends with 80-grit paper to remove splinters — you will be handling these pieces a lot during assembly.
Step 3: Build the Frame
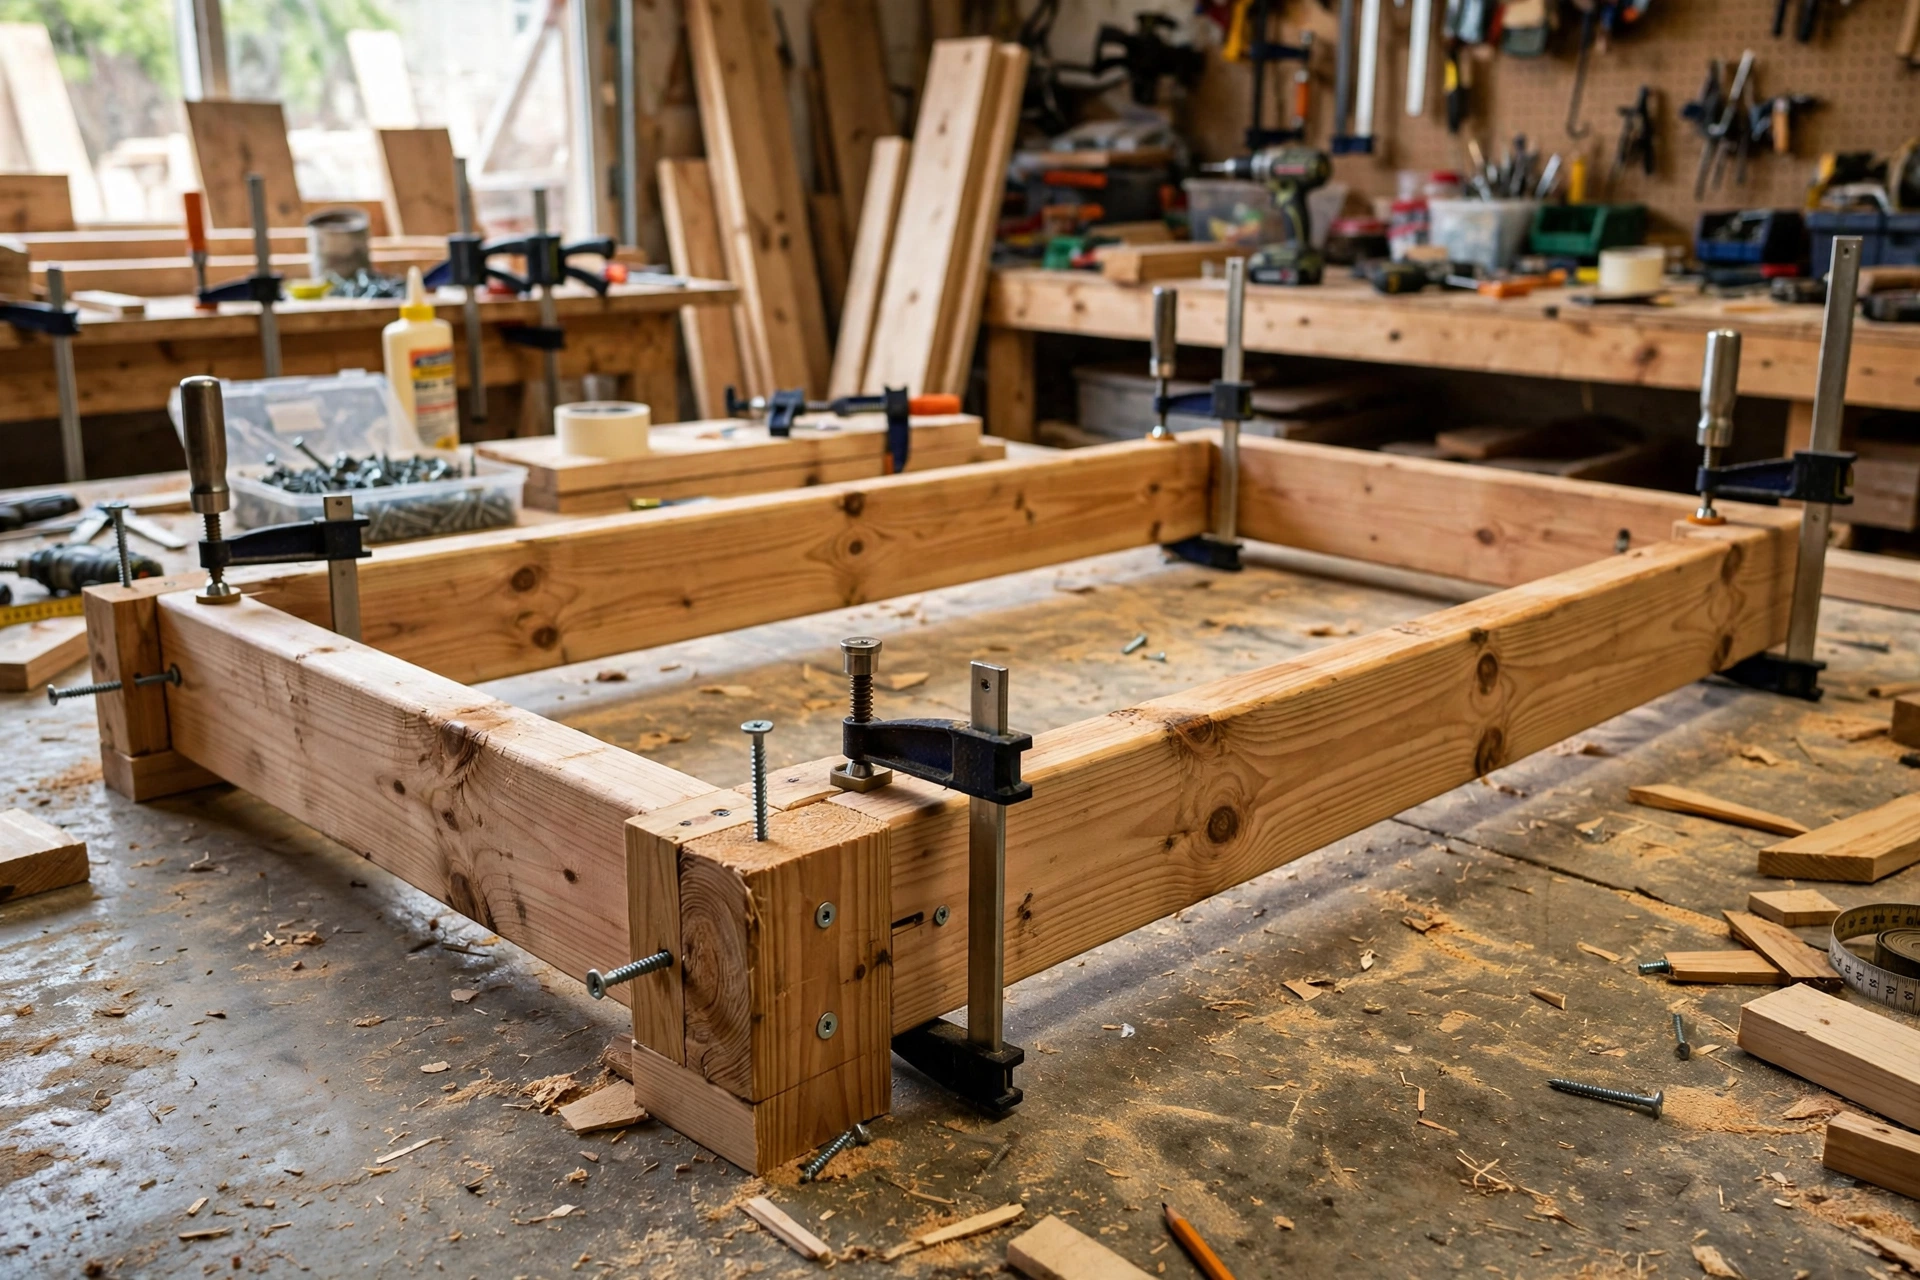
The frame is two rectangles — a top frame and a bottom frame — joined by the four legs. Build it on a flat floor so nothing twists.
- Lay two long rails and two short rails on edge to form a rectangle, 36 inches long by 21 inches wide (the short rails fit between the long rails, so the outside width is 18 + 3 = 21 inches). Apply wood glue to the joints, clamp the rectangle square, and drive two 2-1/2-inch screws through each long rail into the end of each short rail. Check the corners with your square before the glue sets.
- Repeat for the second rectangle.
- Stand the four legs upright inside the corners of the bottom rectangle and screw them in place with two screws per joint, keeping the legs flush with the outside faces.
- Lower the top rectangle over the legs so its top edge sits flush with the top of the legs. Glue and screw it the same way.
- Fit the centre support rail across the middle of the top frame, screwed into the long rails on both sides. This rail stops the plywood deck from sagging under the saw’s weight.
- Stand the frame up and check for wobble on a flat floor. If one leg is a hair long, mark it with the frame sitting flat and trim it — never shim a leg on a stand that will carry a spinning saw.
Step 4: Attach the Saw Deck
Lay the plywood deck (24 x 36 in.) on top of the frame and centre it so the overhang is even on all sides — about 1-1/2 inches front and back. The deck overhang is deliberate: it gives you a clamping edge for jigs and stop blocks later.
Drive 1-1/4-inch screws down through the deck into the top rails and the centre support rail, spacing them about 8 inches apart. Countersink each screw slightly so the heads sit flush — a proud screw head will catch every board you slide across the deck.
Now set your saw on the deck and centre it left to right. Mark the bolt holes through the saw’s mounting holes, remove the saw, and drill the holes. Bolt the saw down with the bolts that came with it, or with 3/8-inch carriage bolts, washers, and nuts. A saw that is bolted down cannot walk across the deck when the blade bites, and it is one of the best safety upgrades you can make for free.
If you also want a general work surface for other jobs, this deck doubles as a small bench. For a full-size option, see our guide to building a simple workbench for beginners — the same frame-and-plywood method scales up nicely.
Step 5: Add the Folding Support Wings
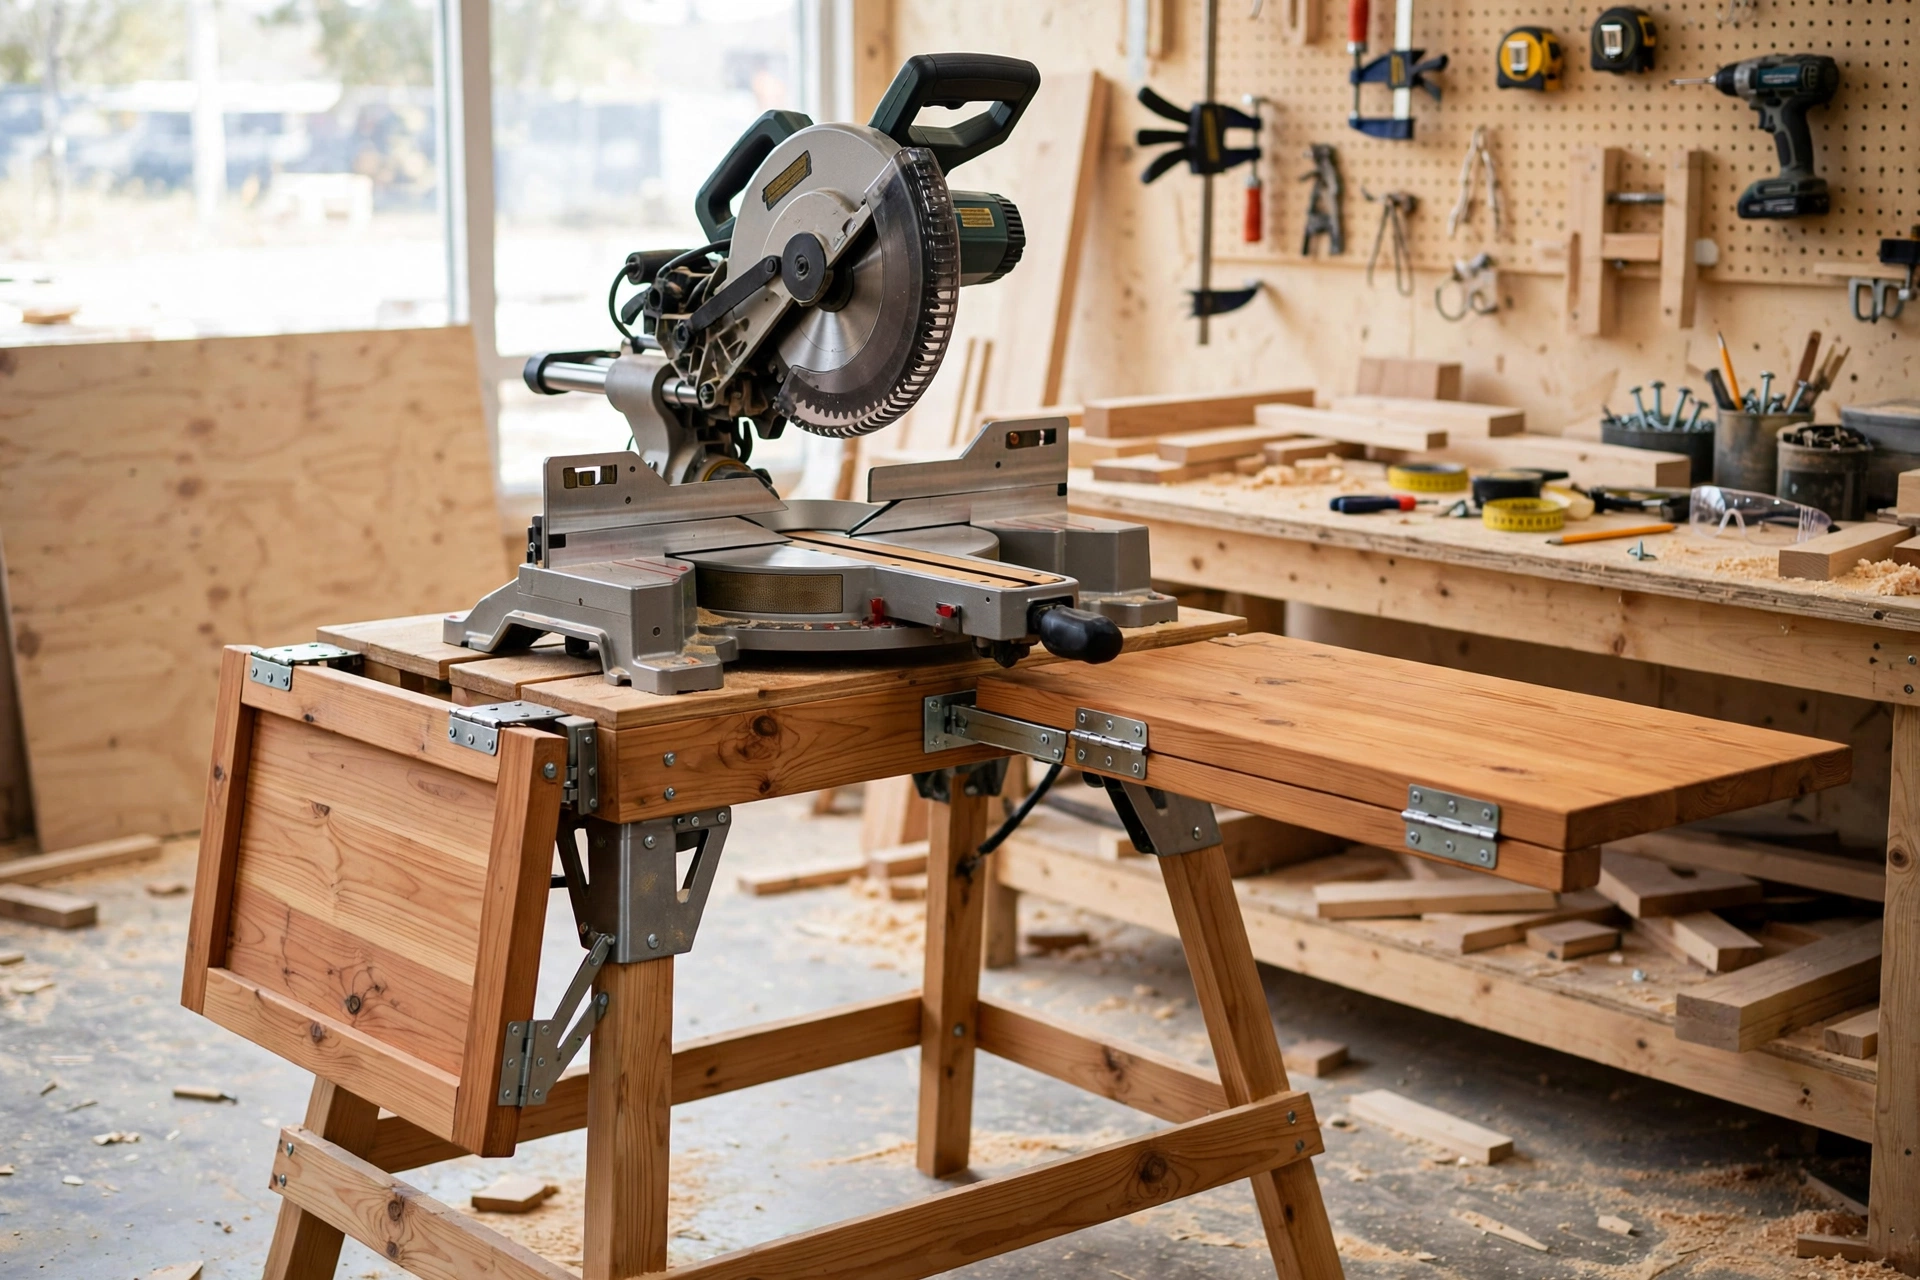
The wings are what turn a small stand into a proper cutting station. Each 12 x 24-inch plywood wing hinges to the end of the deck and folds down for storage. The top of each wing must finish exactly level with the top of your saw table.
- Screw two hinges to the underside edge of the wing, then to the end edge of the deck, so the wing pivots downward. Test the fold before you tighten everything.
- With the wing raised, check its top surface against the saw table with a long straightedge laid across both. If the wing sits low, add a thin plywood shim under the hinge; if it sits high, recess the hinge with a chisel.
- Fit a folding support bracket or a simple drop-leg under each wing. A folding bracket locks the wing level while you cut and folds flat for storage; a hinged drop-leg does the same job for less money.
- Add a stop block to one wing: a small hardwood block that slides in a slot or clamps to the wing’s edge, so repeat cuts all come out the same length.
Folding Wings vs. Fixed Wings
Not sure whether to make the wings fold? Here is how the two options compare:
| Feature | Folding wings | Fixed wings |
|---|---|---|
| Storage footprint | Small — folds to 36 in. long | Large — stays 60 in. long |
| Setup time | 10 seconds to raise and lock | Zero — always ready |
| Cost | $15–$25 more in hinges and brackets | Cheapest option |
| Support for very long boards | Good up to 8 ft with brackets | Excellent — fully rigid |
| Best for | Small garages, shared spaces | Dedicated workshops |
For most beginners in a shared garage, folding wings are the right call — you get the full 60-inch cutting capacity when you need it and your parking space back when you do not.
Step 6: Fit the Lower Shelf
The shelf turns wasted space under the deck into storage for offcuts, blades, and accessories. Slide the 18 x 34-inch plywood shelf into the bottom frame so it rests on the bottom rails, then screw it down from underneath with 1-1/4-inch screws.
Keep the shelf clear of the centre of the stand if you plan to store long offcuts vertically, or add a couple of small divider blocks to stop round stock from rolling. Do not overload it: the shelf is for hand tools and offcuts, not for a toolbox full of cast iron.
Step 7: Mount the Locking Casters
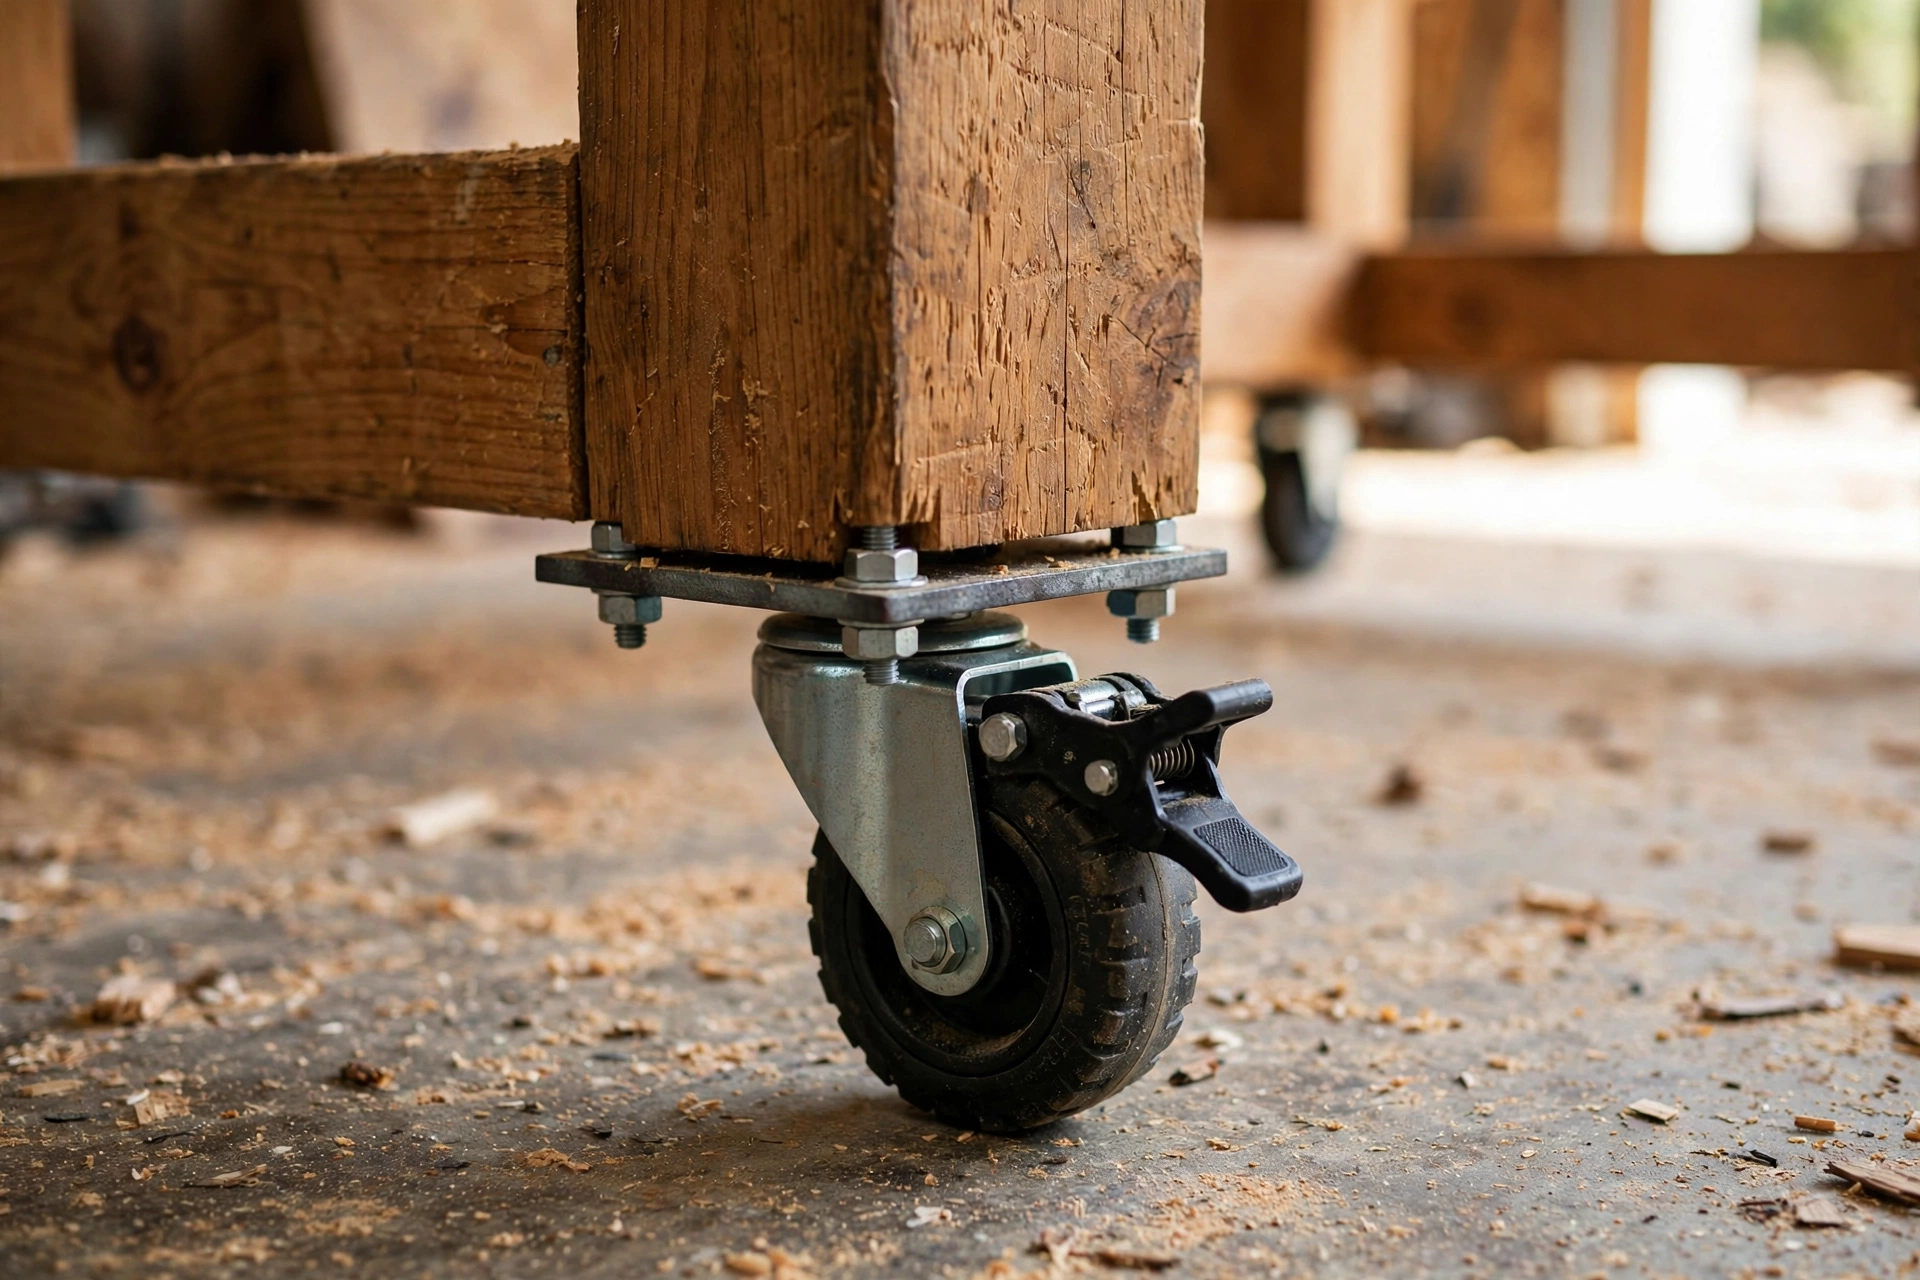
Casters make the stand mobile, but the wrong casters make it dangerous. Choose casters rated for the total load — saw plus stand plus a heavy board — with a locking brake on every wheel.
| Caster option | Wheel size | Load rating (each) | Best for |
|---|---|---|---|
| 3-in. swivel, locking | 3 in. (75 mm) | 75 lb (34 kg) | Most beginner stands |
| 4-in. swivel, locking | 4 in. (100 mm) | 110 lb (50 kg) | 12-in. sliding saws |
| 3-in. fixed + swivel mix | 3 in. (75 mm) | 75 lb (34 kg) | Straight-line rolling |
| 5-in. heavy-duty, locking | 5 in. (125 mm) | 150 lb (68 kg) | Rough floors, heavy saws |
Mount each caster to the bottom of a leg with a 4 x 4-inch plywood plate between the caster and the leg end — the plate spreads the load and gives the bolts solid wood to bite into. Use four 1/4-inch bolts per caster, not screws, and tighten them with a wrench. Then lock all four brakes and push the stand hard from every side. If it moves, the brakes are not holding or the floor is uneven — fix it now, not mid-cut.
Safety and Stability Checklist
A miter saw stand is a safety device as much as a convenience. Run through this checklist before the first real cut:
- Lock the casters every time the stand is in cutting position. A stand that rolls mid-cut is how boards bind and kick back.
- Bolt the saw down. Never rely on the saw’s weight alone.
- Level the wings with the saw table so boards cannot tip into the blade.
- Clear the area behind the saw — sliding saws need room for the head to travel, and offcuts need somewhere safe to fall.
- Wear safety glasses and hearing protection for every cut, even a quick one.
- Keep hands 6 inches from the blade path and let the blade stop fully before lifting it.
- Unplug the saw before changing blades or adjusting the wings.
- Check the frame monthly for loose screws, especially after moving the stand across a rough floor. A five-minute check keeps the stand rigid for years.
Common Mistakes Beginners Make
- Building the deck to the wrong height. Measure your own saw. Guessing gives you wings that sit proud of the table and boards that rock.
- Skipping the centre support rail. Without it, the plywood deck sags under the saw within months and your cuts drift.
- Using MDF for the deck. It sags, swells, and strips screws. Plywood costs a little more and lasts years longer.
- Fitting cheap non-locking casters. A stand that creeps across the floor while you cut is genuinely dangerous. Locking casters are non-negotiable.
- Overtightening hinge screws in plywood. They strip easily. Drill pilot holes and stop as soon as the screw is snug.
- Forgetting the stop block. Repeat cuts without a stop are never quite the same length — and that gap shows in every joint.
- Building wings that are too short. Twelve inches of wing on each side is the minimum; if you regularly cut 8-foot boards, extend the wings to 18 inches and add a second support bracket.
What Does It Cost?
For a basic build with folding wings and locking casters, expect to spend $80 to $120. The lumber is the biggest line — roughly $35 to $45 for the 2x4s and plywood — with casters next at $20 to $30 for a set of four. Hinges, brackets, screws, and glue add another $20 to $30, and a can of Danish oil or polyurethane for the finish runs about $10.
You can trim the cost by using plywood offcuts you already own, skipping the folding brackets in favour of simple drop-legs, or choosing 3-inch casters over 4-inch ones. Do not save money on the casters’ locking brakes or the plywood quality, though — those two choices decide whether the stand is safe and whether it stays flat.
Finishing Touches
Sand the whole stand with 120-grit paper, paying attention to the deck edges and wing corners where your hands and boards travel. A coat of Danish oil or wipe-on polyurethane protects the plywood from glue drips and moisture and makes sawdust easy to brush off. Leave the deck top mostly unfinished if you prefer — a little friction actually helps boards stay put while you mark them.
Add a pencil holder and a small parts tray to the end of the deck, and hang your square and tape measure on a hook screwed to the side rail. The best workshop furniture is the kind that keeps your most-used tools within arm’s reach, and this stand has room for all of it.
If you enjoy storage builds, the same plywood-and-2×4 skills carry straight into a wooden storage bench for beginners — another weekend project that earns its floor space.
FAQ
How long does it take to build a wooden miter saw stand?
Most beginners finish this build in 3 to 5 hours, including the trip to the lumber store. Cutting takes about an hour, frame assembly about an hour, and the deck, wings, and casters about another hour. Let the glue cure overnight before you put the saw to heavy use.
What size plywood do I need for a miter saw stand?
A half sheet (4 x 4 ft / 122 x 122 cm) of 3/4-inch (18 mm) plywood is enough for the deck, both wings, and the lower shelf in this plan. Choose birch or sanded pine plywood — it stays flat and holds screws well. Avoid MDF, which sags and swells.
How high should a miter saw stand be?
The deck height depends on your saw: the top of the support wings must sit level with the top of your saw table. For most 10-inch and 12-inch saws, that means a deck height of 31 to 34 inches (79 to 86 cm), giving a working table height of about 34 to 37 inches (86 to 94 cm). Always measure your own saw before cutting the legs.
Can I build a miter saw stand without folding wings?
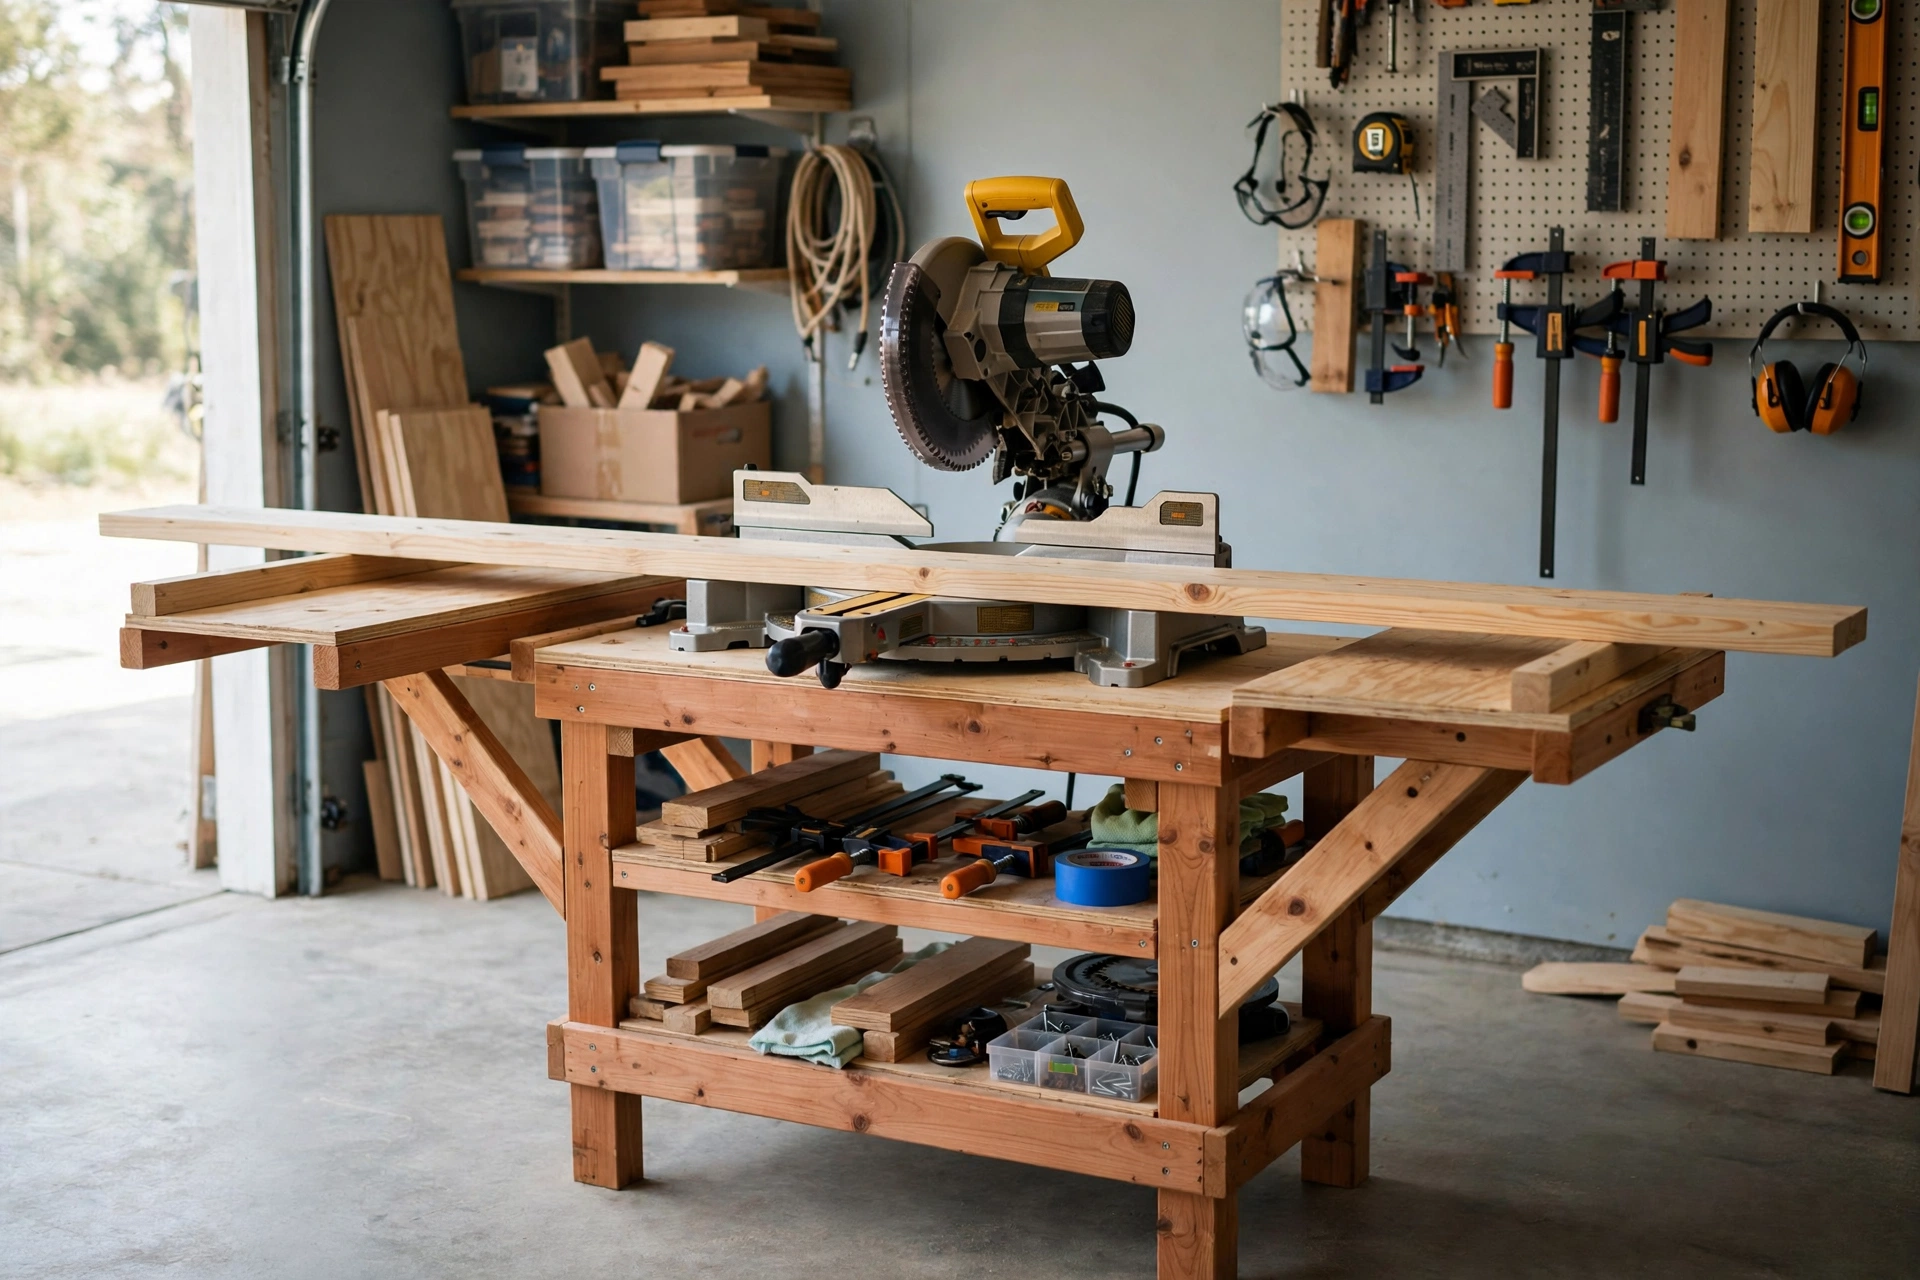
Yes. Fixed wings are simpler, cheaper, and more rigid — just screw the wing boards to the ends of the deck instead of hinging them. The trade-off is storage: a fixed-wing stand is about 60 inches (152 cm) long all the time, so it suits a dedicated workshop better than a shared garage.
Do I need to bolt my miter saw to the stand?
Yes, bolting the saw down is strongly recommended. A saw held only by its own weight can walk across the deck when the blade bites into a board, and it can slide off if the stand is bumped. Four bolts through the deck take ten minutes and remove the risk entirely.
Can a beginner really build this with only a circular saw?
Absolutely. Every cut in this plan is a straight crosscut or rip that a circular saw handles easily with a speed square or straight-edge guide. You do not need a table saw, and you do not need any joinery beyond screws and glue.
Final Thoughts
Learning how to build a wooden miter saw stand for beginners is one of those projects that pays you back every single time you pick up the saw. The cuts get straighter, the work gets faster, and your back and knees will thank you. Build it once, build it square, and it will serve your workshop for years — and when friends ask where you bought it, you can tell them you built it yourself in an afternoon.
Recommended Products for This Project
As an Amazon Associate, I earn from qualifying purchases.

DEWALT 20V MAX Cordless Drill/Driver Kit (DCD771C2)
Cordless drill for driving the stand’s frame, deck and folding-wing screws without a trailing cord.

DEWALT Random Orbit Sander DWE6423, 5-Inch
Smooth, swirl-free sanding for the stand deck and wings so boards slide freely across the saw.
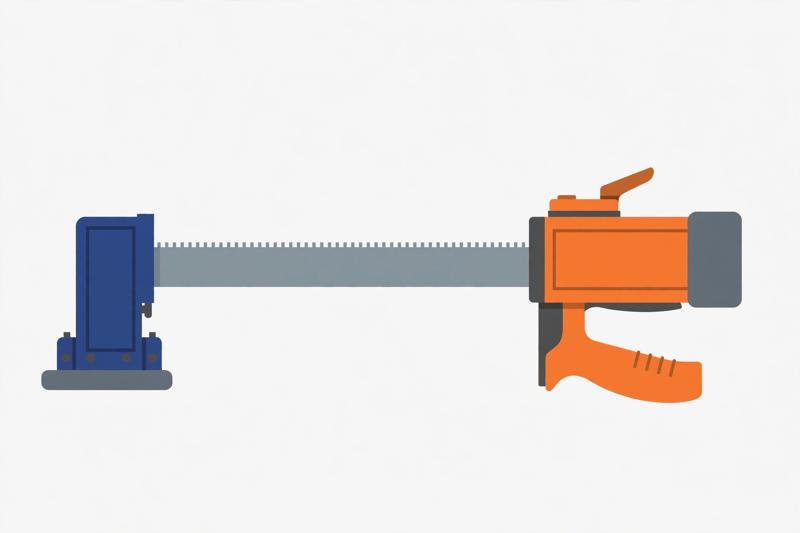
IRWIN QUICK-GRIP One-Handed Bar Clamp, Heavy-Duty, 12-Inch (1964712)
Heavy-duty one-handed clamp to hold the stand frame square while the glue sets.
FIXLINK Deck Screws #8 x 2 Inch, 310-Pack
Two-inch screws for the stand’s deck, legs and caster mounts — plenty in the pack for the whole build.
Minwax Water Based Helmsman Spar Urethane, Gallon, Gloss (710500000)
Hard-wearing spar urethane topcoat for the stand deck — it takes saw dust, knocks and workshop wear.


