
A full-size shop is a luxury most of us will never have. But a one-car garage — or even half of a two-car garage — is more than enough to build real furniture, cutting boards, shelves, and boxes. The secret is not buying more tools. It is placing every tool where it earns its square footage, and making everything that is not earning its place disappear into the walls or ceiling.
This guide walks through nine small garage workshop setup ideas for woodworking that actually fit a working garage: fold-down benches, mobile stations, wall and ceiling storage, a dust-collection corner, a clamp wall, a real lighting plan, and smart dual-use strategies so you can still park the car at night. You will also find tool-placement principles, the three workflow zones every shop needs, realistic costs, a starter budget, and electrical safety rules that keep a garage shop safe.
Before you build anything, read our guide on how to build a simple workbench for beginners — your bench is the heart of the layout, and everything in this article orbits around it. Once the shop is set up, you can put it to work on projects from our pillar guide to easy woodworking projects for beginners that sell.
Start by Mapping Your Garage Before You Build Anything
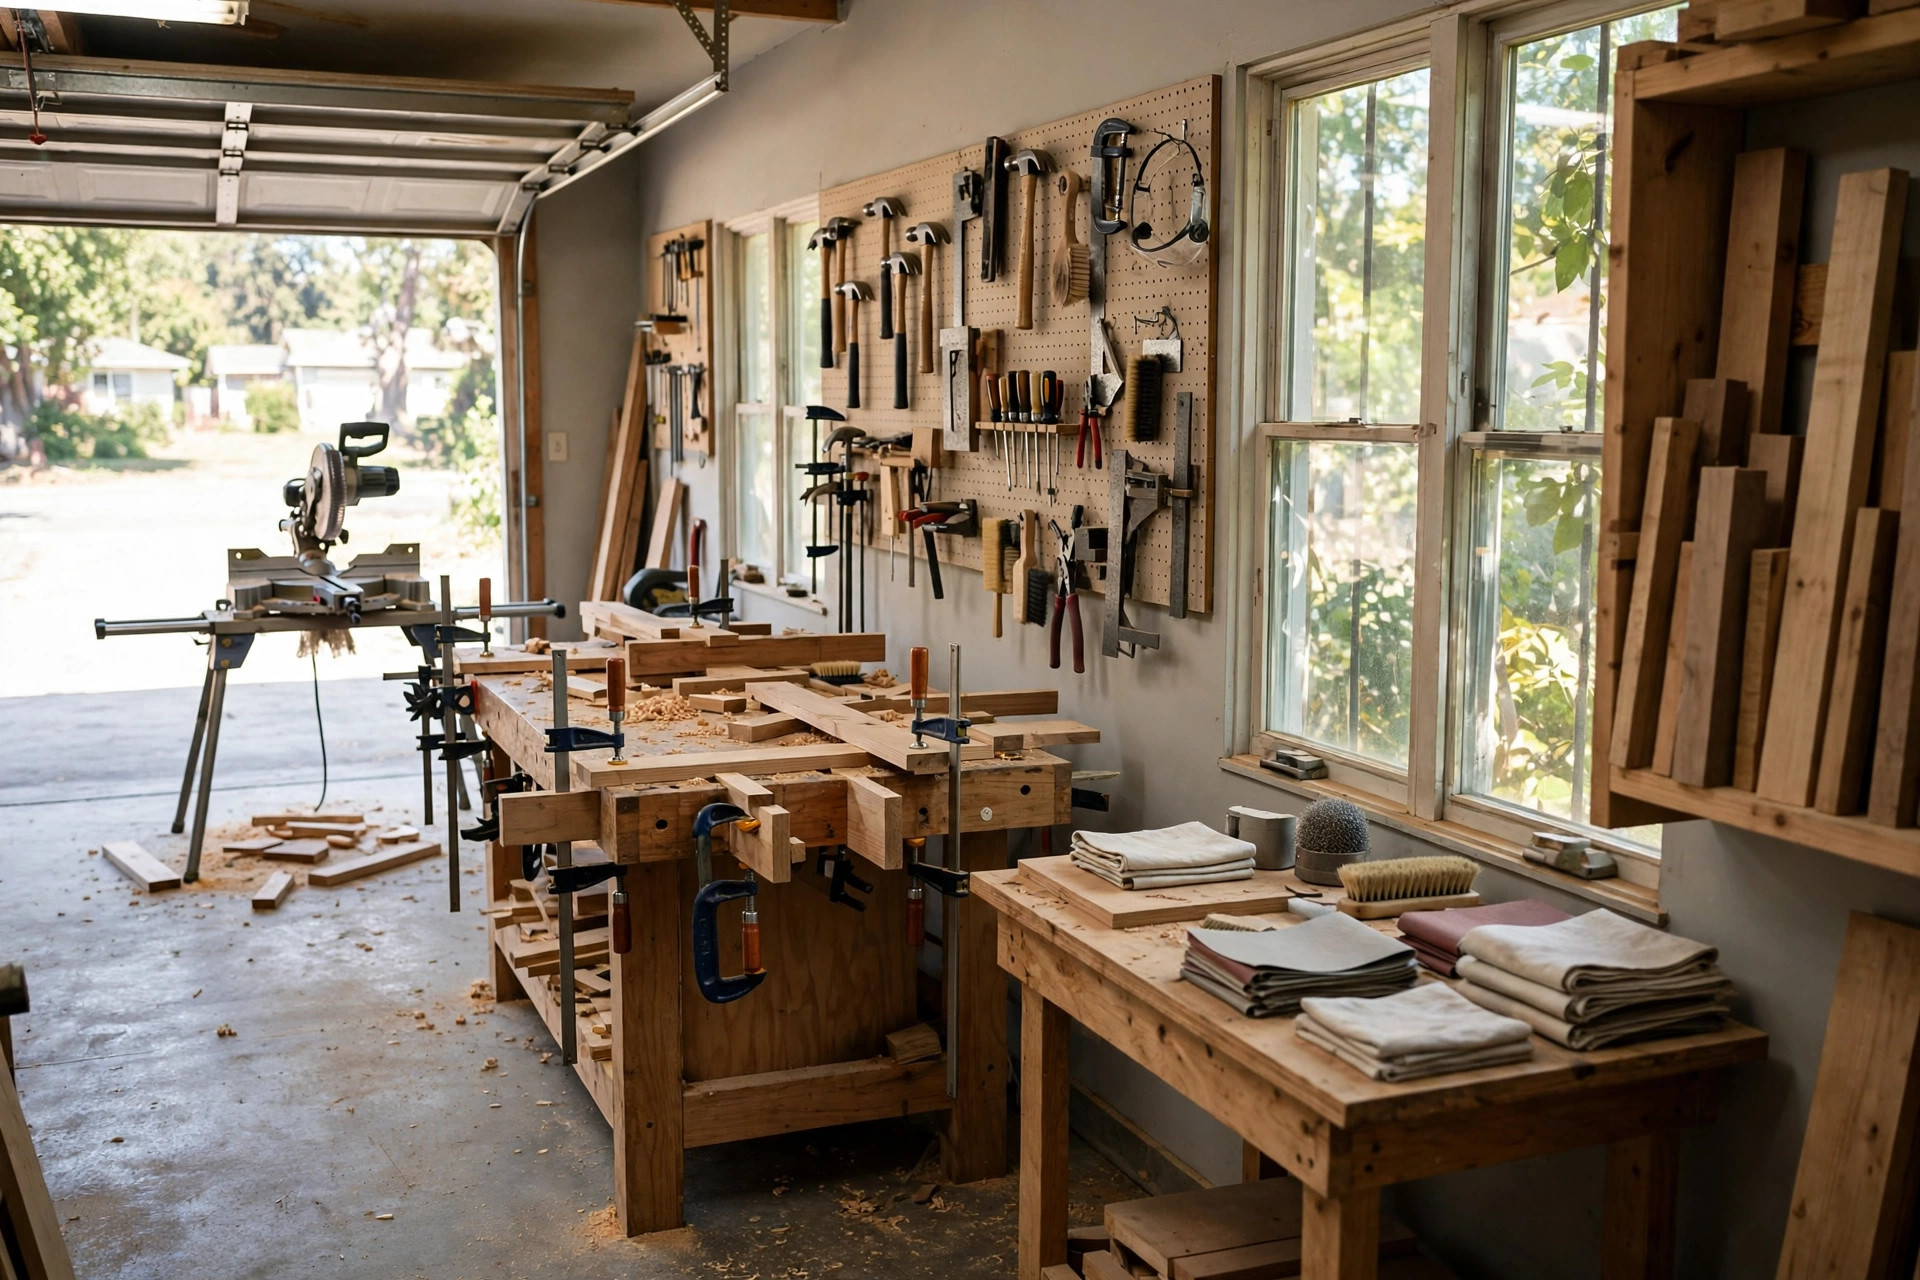
Grab a tape measure and a sheet of graph paper before you spend a dollar. Measure the garage length and width, note the garage door location, the man-door, windows, and every outlet. Then sketch three zones on the floor plan:
- Cutting zone (milling and breakdown): table saw or circular saw station, miter saw, bandsaw. This is the dusty zone — keep it nearest the garage door so chips and dust go out, not in.
- Assembly zone (joinery, glue-ups, hand tools): workbench, clamps, chisels, drills. This is your “work triangle” — the place you will stand most.
- Finishing zone (sanding and finishing): sander, finishing supplies, drying rack. Put this near a window or the man-door for ventilation; finishes need airflow.
A workable rule of thumb: the cutting zone needs a straight run of about 8 feet in front of any saw for feeding 8-foot boards. In a small garage, that straight run is usually the lane from the garage door into the shop, so plan your mobile tools to roll into that lane when in use and tuck back against the wall when parked. Mark wall space in linear feet too — in a small shop, wall space is more valuable than floor space.
One more planning habit that saves hours of regret: photograph the garage empty, then use painter’s tape to mark the footprints of your bench and main tools on the floor. Live with the tape outlines for a week. Walk the workflow — carry an imaginary board from the lumber area to the saw, then to the bench, then to the finishing spot. If you have to shuffle, your tape layout is wrong. It is far cheaper to re-tape a floor than to rebuild a bench.
Idea 1: The Fold-Down (Murphy) Workbench
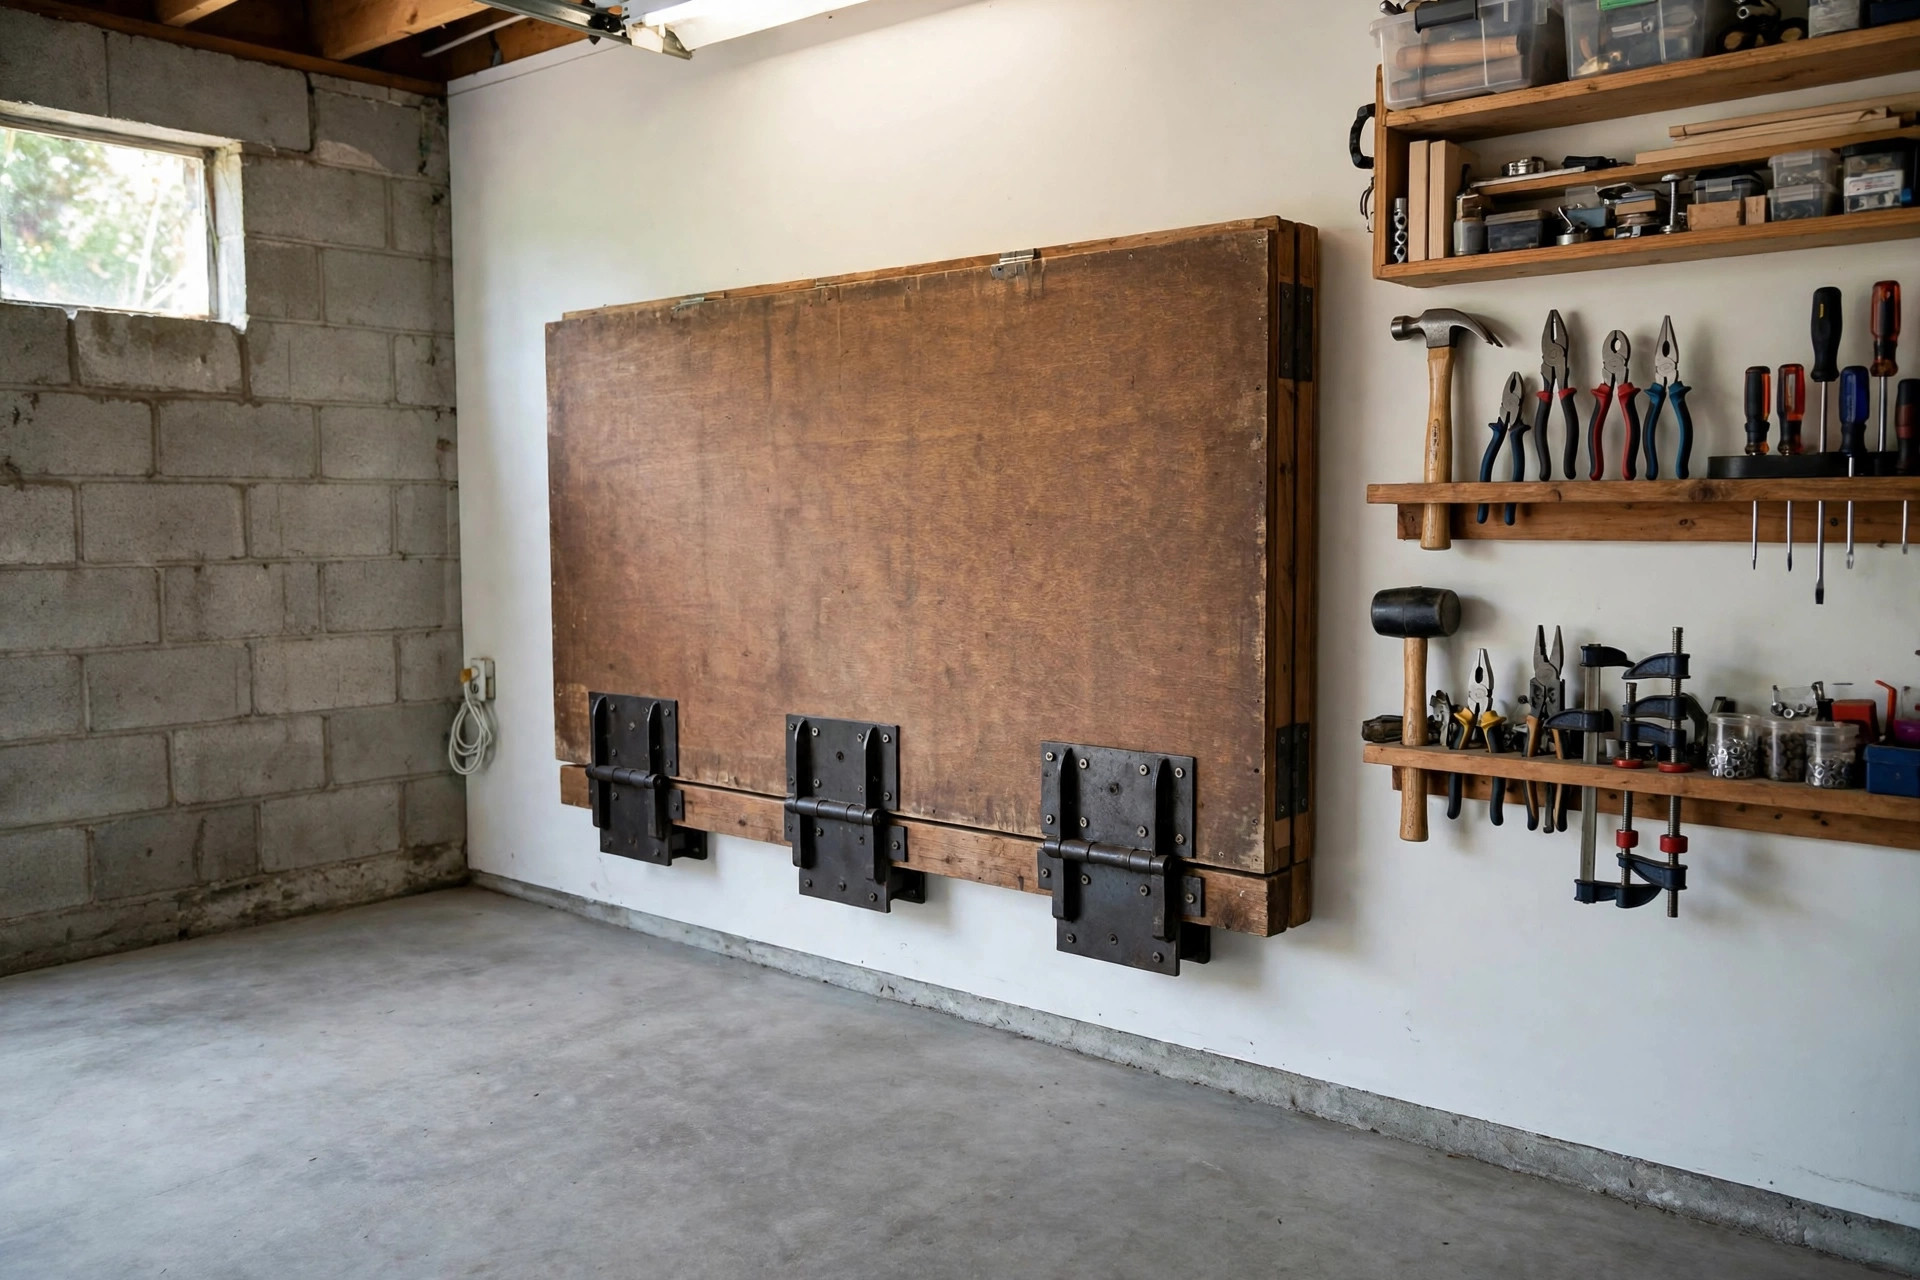
The single biggest space-saver in a small garage workshop is a workbench that disappears. A fold-down bench hinges off the wall: work at full depth, then fold it flat against the wall when you park the car or need the floor. A sturdy 2×4 and plywood fold-down bench costs roughly $40 to $80 in lumber and hardware and can support a few hundred pounds if you use heavy-duty hinges and a locking leg or cable system.
Design tips that matter: keep the top at 34 to 36 inches (the same as your other surfaces so it doubles as an outfeed support), and add a 2-inch front apron to keep the folded top from sagging under load. Some woodworkers add French cleat mounts underneath so small tool holders attach to the bench’s underside and fold up with it — every square inch earns its keep. When folded, this bench reclaims 8 to 12 square feet of floor, which in a one-car garage is the difference between working and not working.
If you would rather start with a permanent bench, our simple beginner workbench plans can be adapted — build it the same size, then mount it on a fold-down frame instead of fixed legs. Either way, the bench stays at the heart of your assembly zone.
Idea 2: Mobile Tool Stations on Locking Casters
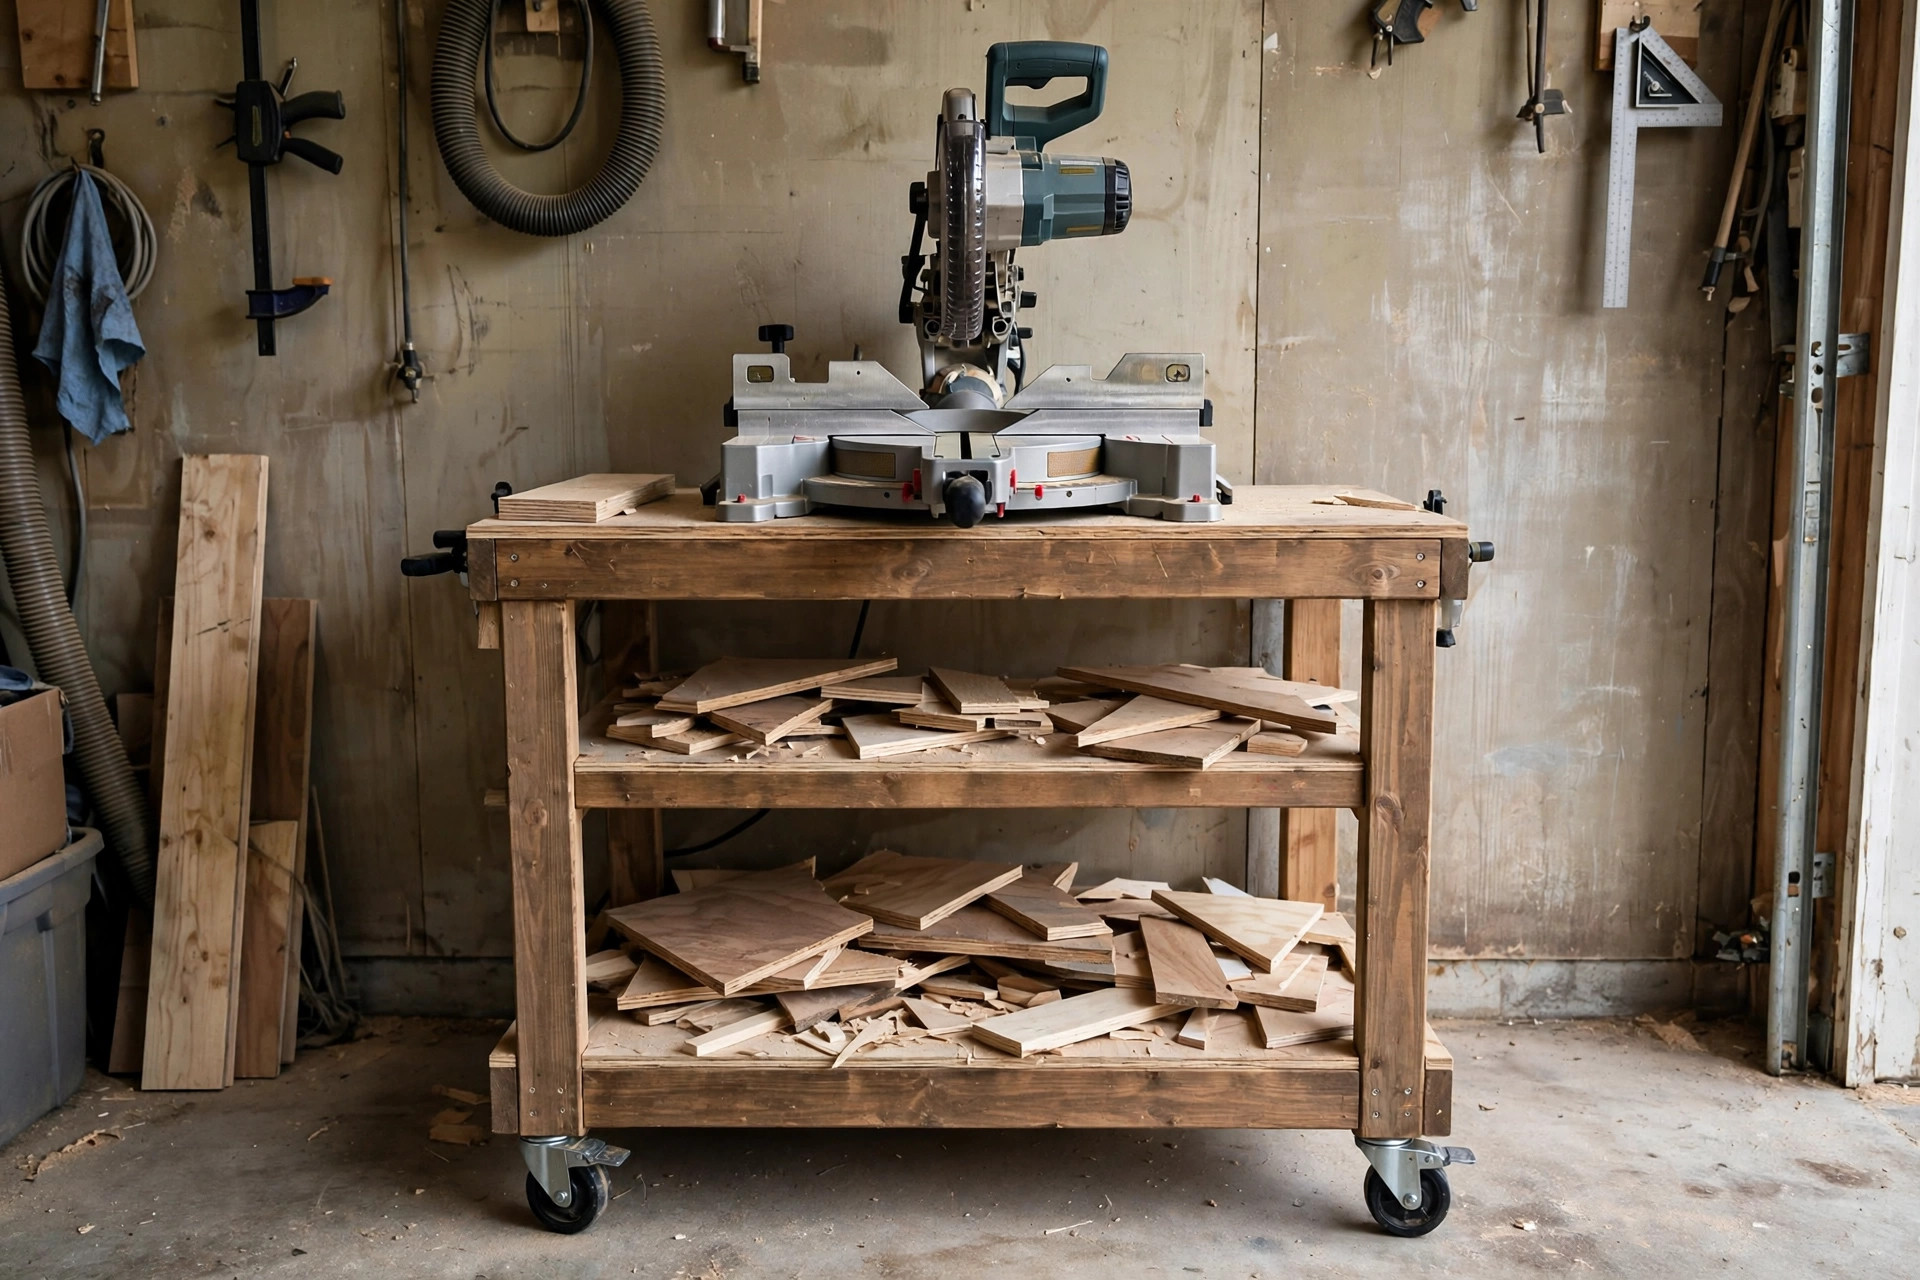
Stationary tools are the enemy of a small shop. Put your miter saw, planer, bandsaw, and even a compact table saw on rolling stands with locking casters, and the garage becomes a transformable space: pull tools into the center lane to work, roll them back to the walls to park.
Budget about $20 to $40 per mobile base — locking swivel casters from a hardware store plus scrap plywood are all you need. Total-cost trick: build all your mobile stations to the same working height (36 inches is standard). Then your miter-saw stand, planer cart, and rolling outfeed table all support long boards together, giving you 8-plus feet of support surface out of tools that park in 2-foot-deep bays along the wall.
Safety rules for mobile stations: always lock the casters before cutting (a moving saw base is how kickbacks and bad cuts happen), and route power with a ceiling-mounted retractable cord reel so you are never dragging cords across the floor. Mark each station’s “home” bay on the floor with tape so setup takes seconds, not a guessing game.
Idea 3: The French Cleat Tool Wall
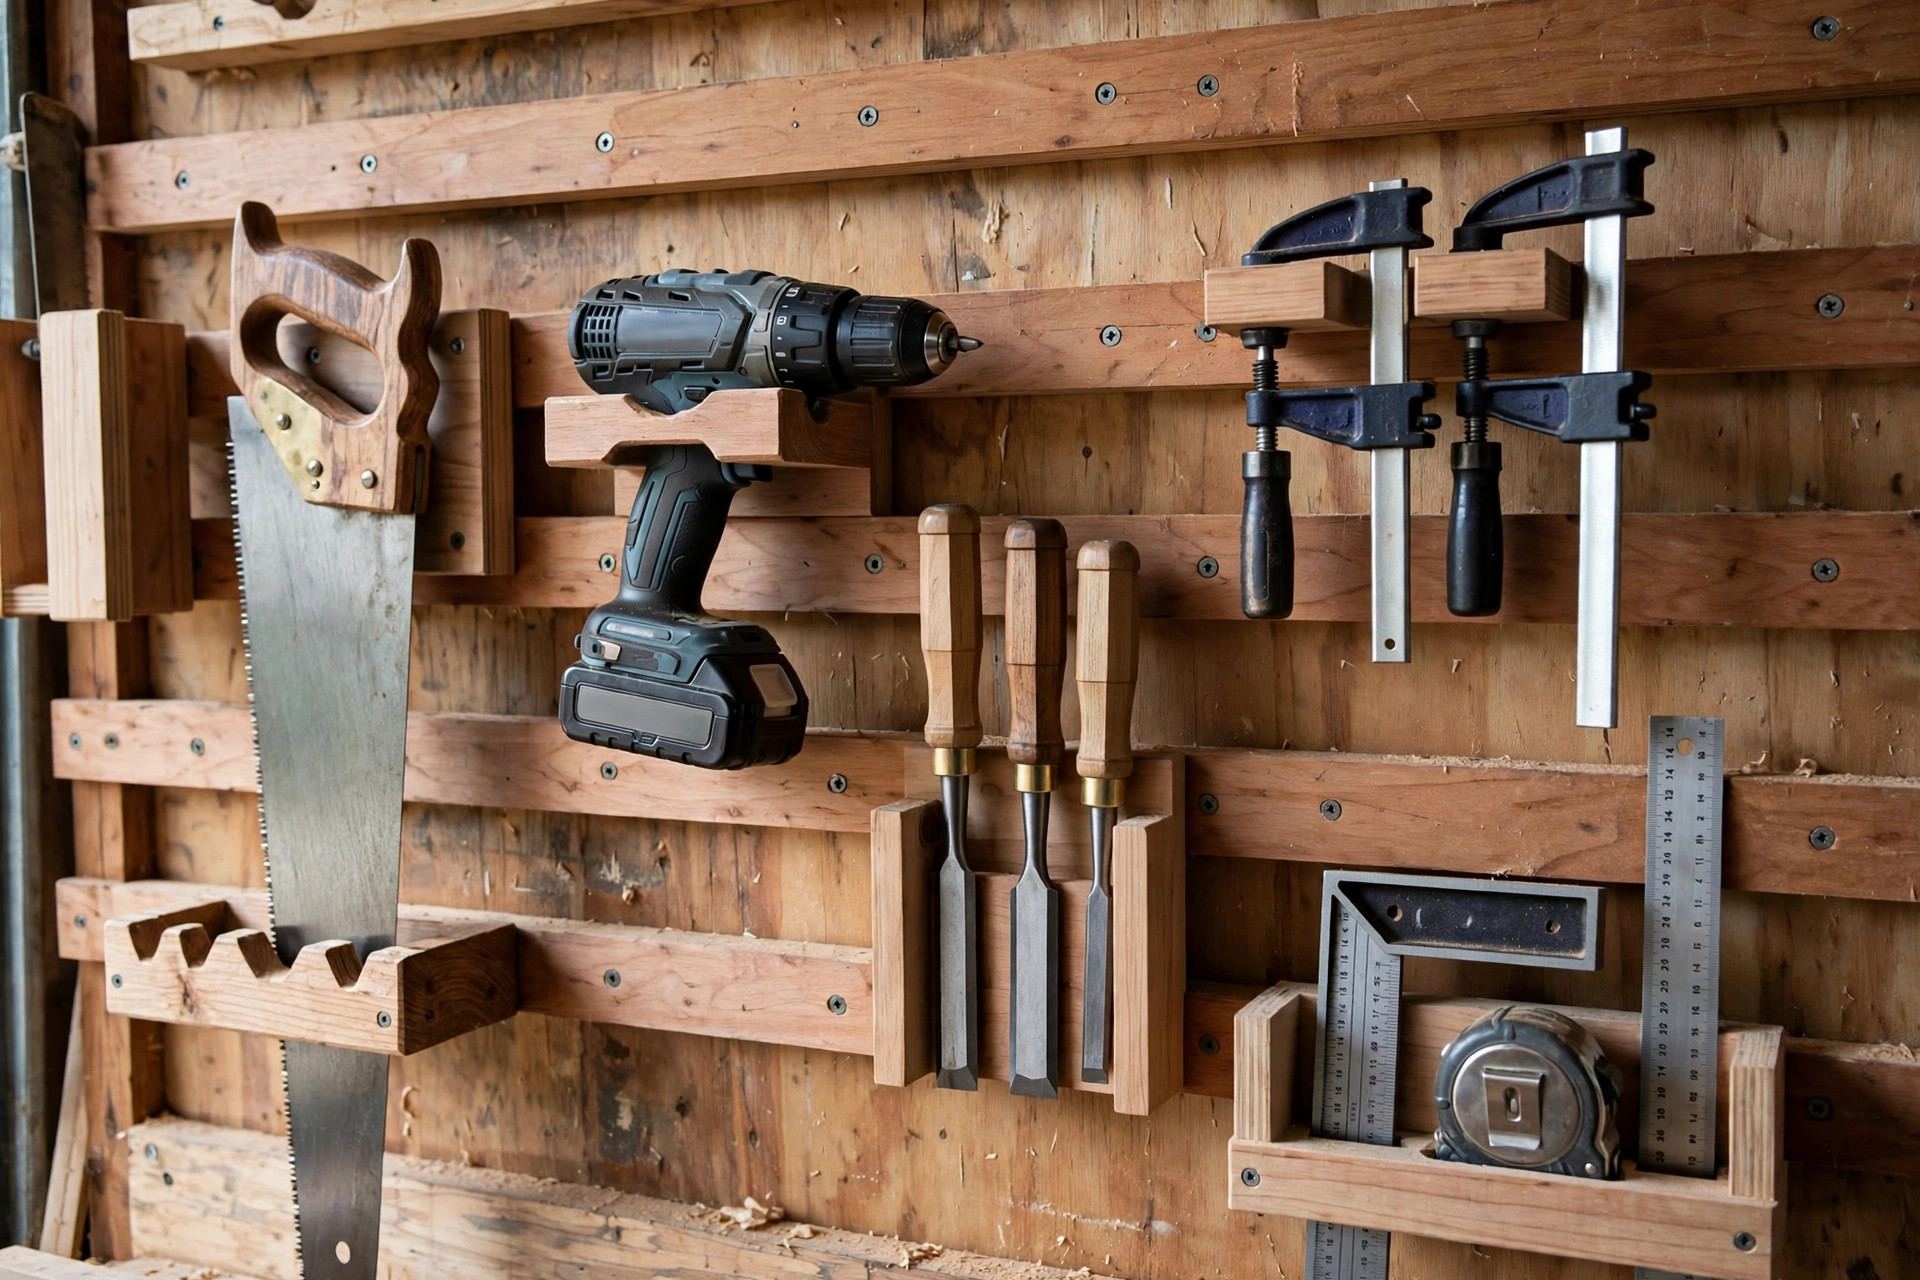
When floor space is precious, the walls become your storage room. A French cleat system — 45-degree beveled strips screwed to the studs, with matching beveled hangers on custom tool holders — turns a blank wall into fully reconfigurable storage. Need to move your drill holder? Lift it off the cleat and rehang it in seconds. No new holes, no wasted space.
Cost is minimal: a few 2x4s ripped at 45 degrees and scrap plywood for holders run $25 to $50 for an 8-foot wall section. Hang your most-used hand tools at eye level: square, tape measure, marking knife, chisels, hand planes, drills. Put lesser-used items lower and rarely touched items high. A French cleat wall above the bench creates the classic “work triangle” — every essential tool within one or two steps of where you stand.
Start with holders for just your top ten tools and add more as you learn your workflow. Building simple holders and small organizers is great joinery practice.
Idea 4: The Ceiling Lumber Rack
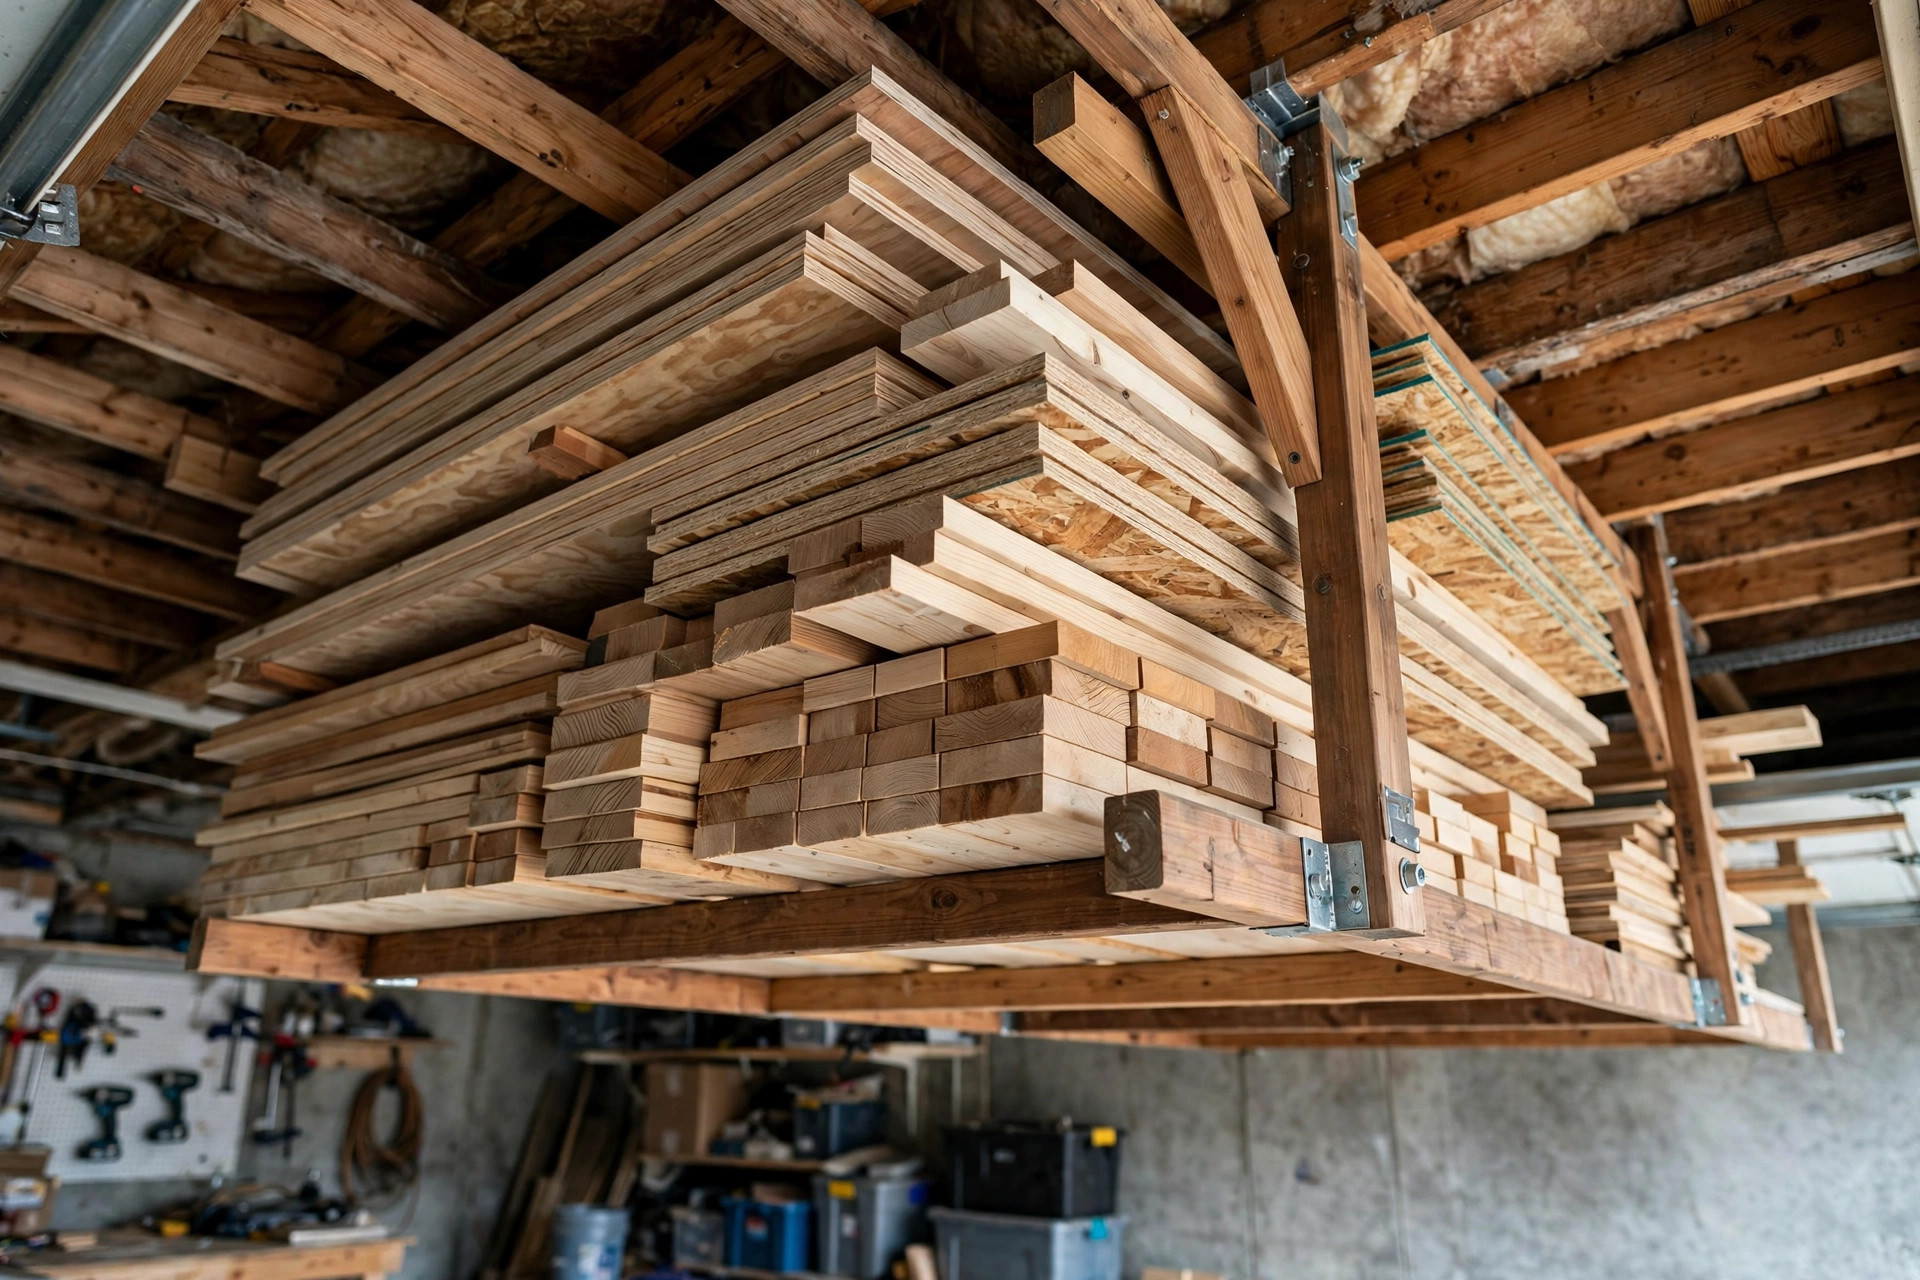
Lumber is bulky, and a small garage has no business dedicating floor space to it. Overhead racks — mounted to ceiling joists or wall brackets above the garage door — put boards and sheet goods where they are out of the way but easy to reach. A pair of wall-mounted arms or a ceiling-hung rack costs $30 to $80, or nothing if you build brackets from scrap 2x4s.
Placement strategy: store sheet goods (plywood, MDF) flat or near-vertical on a wall bracket right inside the garage door, and long boards overhead above the door or along a high wall. Keep wood near the front of the shop so new stock flows in and cut parts flow toward the cutting zone in one direction. Critical rule: keep all lumber dry and stickered (with small spacers between boards) so air circulates — a damp garage warps boards fast. And never overload joists; keep the rack to a few hundred pounds total and lag into the joists, not just drywall.
Choosing the right lumber matters as much as storing it. Our guide to the best wood for beginner woodworking projects covers which species behave best in a garage environment and how to buy them without overpaying.
Idea 5: Rolling Storage Carts That Double as Work Surfaces
A rolling cart is a storage unit and a work surface in one. Build or buy a low, deep cart — 24 by 48 inches is a versatile size — with shelves for finishes, fasteners, and sandpaper below and a plywood top you can clamp to, sand on, or stack parts on. Cost: $50 to $150 depending on whether you build from scrap or buy a kit.
The magic of carts is that they create flexible capacity. During a project, roll the cart next to the bench as a parts-and-tools staging table. When the project is done, roll it under the bench or into a corner. Label the shelves (finish, sandpaper, hardware, electrical) so put-away takes seconds — in a small shop, clutter is not an aesthetic problem, it is a workflow killer because every item on a surface is an item blocking work.
Build carts to bench height too, and they join the support-surface network from Idea 2: a cart at 36 inches becomes outfeed support behind a miter saw or an extra assembly surface during glue-ups.
Idea 6: The Compact Dust-Collection Corner
Dust is the health hazard most garage shops ignore until the coughing starts. Wood dust — especially from MDF, plywood, and exotic species — is a lung irritant and, at fine levels, a fire risk. In a small garage the dust has nowhere to go, so a compact collection setup is not optional.
The beginner-friendly build: a standard shop vacuum ($60 to $100) plus a cyclone separator lid on a 5-gallon bucket ($30 to $50). The cyclone drops 90-plus percent of debris into the bucket before it reaches the vac, so filters last months instead of days. Tuck the whole rig in a corner on casters and run a 20-foot hose to each tool. Total footprint: about 4 square feet. Add a hanging air-filtration box or a simple box fan with a furnace filter above the work zone for airborne fines ($40 to $80 DIY).
We cover the full build, hose routing, and the shop-vac-versus-dedicated-collector decision in our detailed guide to DIY dust collection for a small workshop. Wire dust habits into your workflow now — the habit of hooking up the hose before every cut takes two weeks to form and pays off for decades.
Idea 7: The Clamp Wall (and Why Clamps Deserve Their Own Real Estate)
Beginners consistently underestimate clamps — and their storage. Ten clamps tossed in a corner consume 6 square feet and guarantee you will never find the one you need during a glue-up, when the clock is ticking. A dedicated clamp wall — a cleat-mounted rack, a simple ladder-style wall rack, or pegboard hooks sized for F-clamps and pipe clamps — parks them flat against the wall in 2 square feet.
Position the clamp wall directly behind or beside your assembly bench. Glue-ups have a time limit (most wood glues give you 10 to 20 minutes of open time), so your clamps must be within arm’s reach, not across the garage. A starter collection of 4 to 6 bar or F-clamps plus 2 pipe clamps costs $60 to $120 and covers most beginner furniture and box projects. Buy clamps as projects demand them; a wall with empty hooks is motivation, not waste.
Idea 8: A Layered Lighting Plan
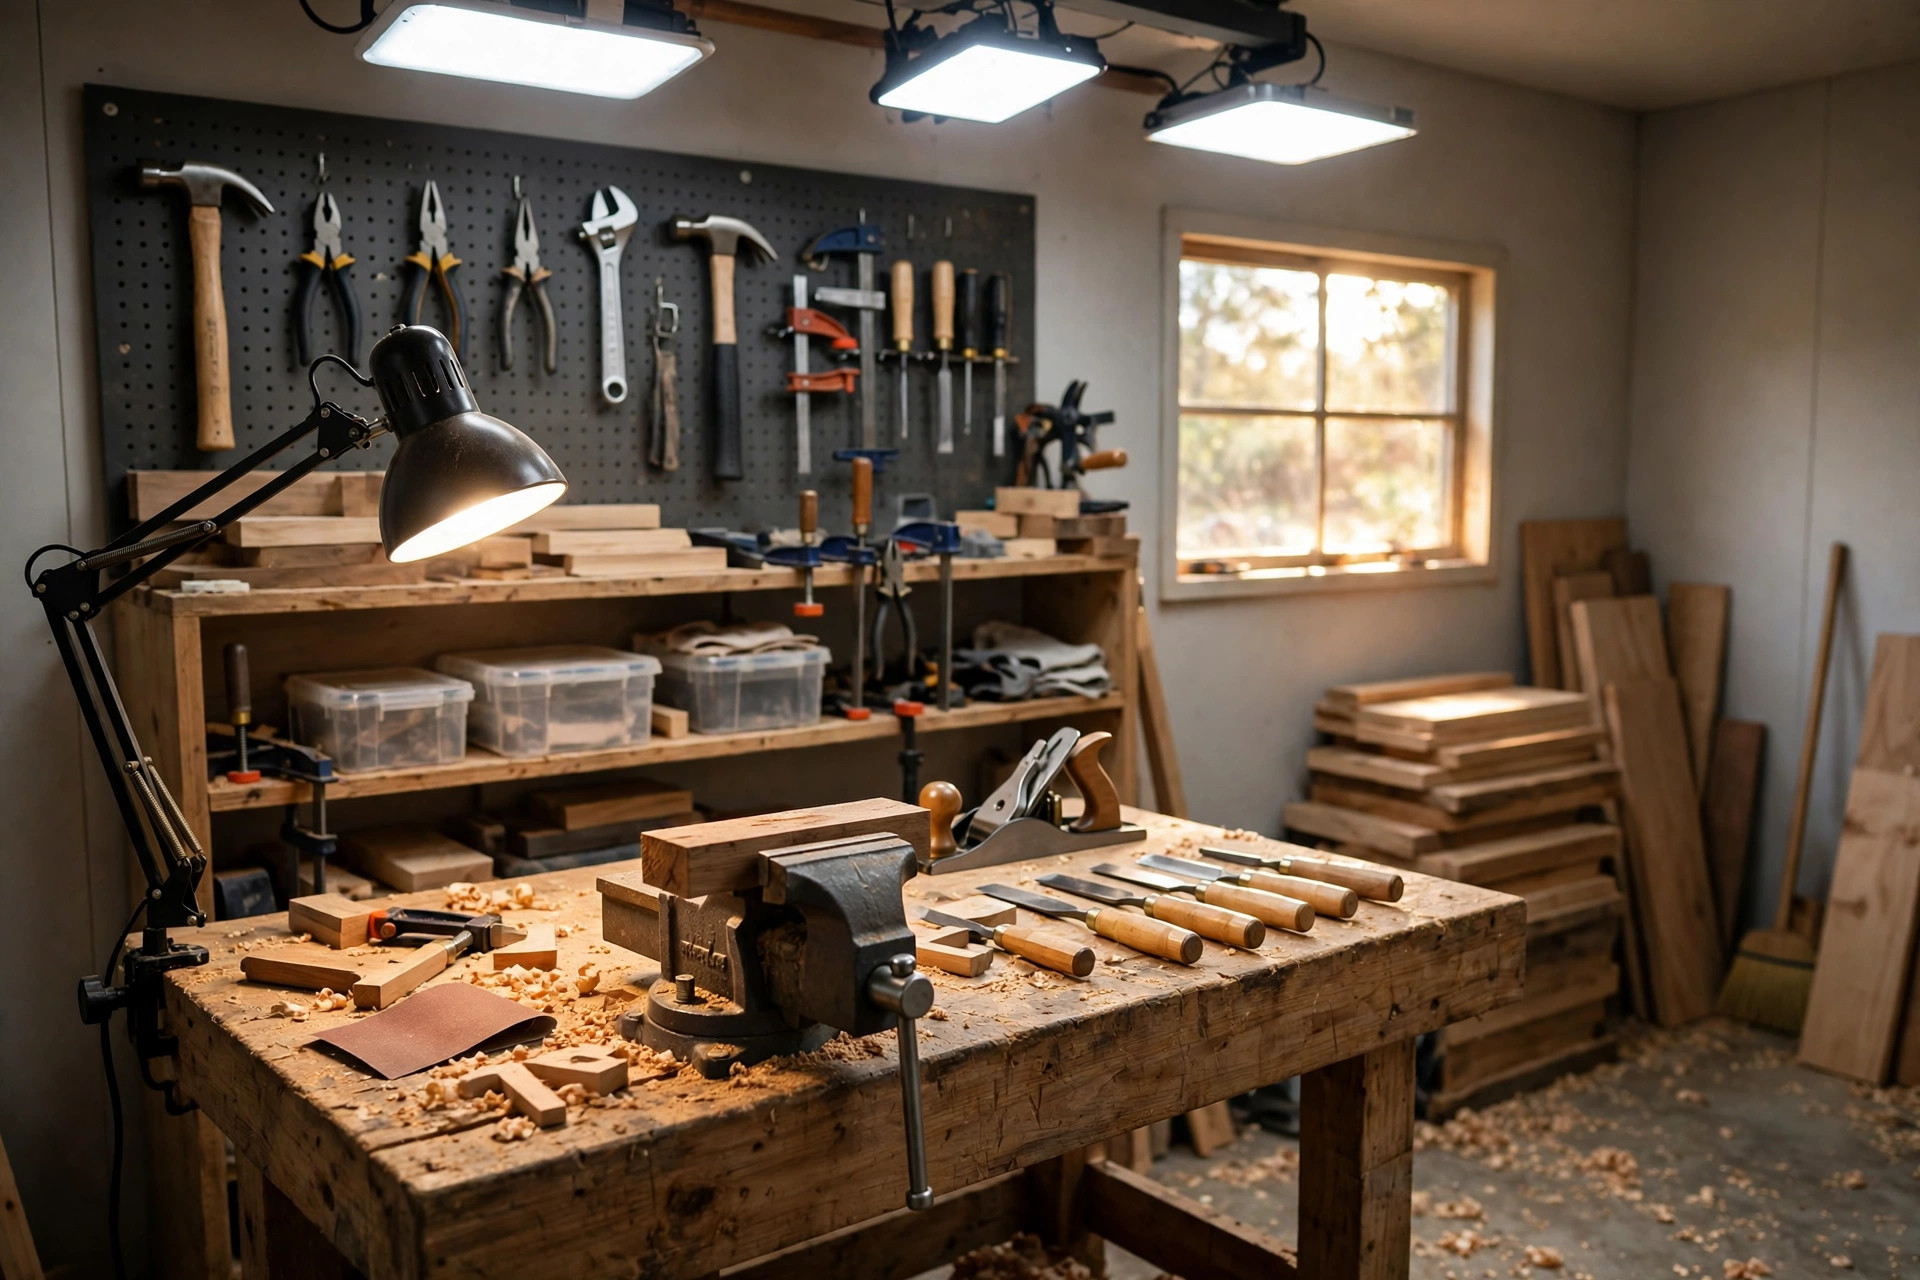
Garages are famously dark, and bad lighting causes bad cuts, missed layout lines, and eye strain. The fix is layered: overhead ambient light plus task light at each work point.
- Overhead: two or three 4-foot LED shop lights ($25 to $40 each), daisy-chained, hung 7 to 8 feet up. Aim for roughly 100 lumens per square foot in the work areas — in a 200-square-foot garage that is 20,000 lumens, which three bright LED fixtures deliver. Choose 5000K “daylight” color temperature so wood tones read true.
- Task lighting: a swing-arm or magnetic LED lamp ($20 to $50) at the bench and one aimed at the miter or table saw. Task lights kill the shadows your body casts on the cut line — the shadow is often what causes the miscut.
- Natural light: if you have a window, put the bench near it. Free light and a psychological lift.
Mount fixtures high enough that a raised board cannot hit them, and keep lighting circuits separate from tool circuits (see the electrical section below). Good lighting is the cheapest accuracy upgrade in the entire shop.
Idea 9: Dual-Use Strategies — Park the Car and Keep the Shop
Most garage shops share space with a car, bikes, lawn gear, or all three. The trick is not choosing between them — it is making the shop fold away cleanly.
Three proven dual-use patterns:
- The split bay: in a two-car garage, give one bay to the car and the other to the shop, with a taped boundary line. All tools park against the shop bay’s walls; the car bay stays empty except for fold-flat wall storage.
- The night-park shuffle: everything rolls. Fold the bench, roll the tool stations to the walls, and the car rolls in. Morning setup takes five minutes if every tool has a marked home bay (Idea 2).
- The seasonal swap: in winter, the shop occupies the garage and the car lives outside; in summer, tools roll to the driveway apron and the garage breathes. Many small-shop woodworkers do their dustiest work (milling, routing) in the driveway year-round — fresh air is the best dust collection there is.
Protect the car when sharing space: a canvas drop cloth or cheap car cover ($20 to $40) during dusty work, and never finish or spray near the car — overspray and dust settle on paint.
9 Layout Ideas Compared
| Layout Idea | Floor Footprint Freed | Est. Cost | Best For |
|---|---|---|---|
| Fold-down (Murphy) workbench | 8-12 sq ft when folded | $40-$80 | One-car garages, shared parking |
| Mobile tool stations | Converts center lane to open space | $20-$40 per station | Two-car garages, driveway workers |
| French cleat tool wall | 0 floor (wall only) | $25-$50 | Every small shop, tool organization |
| Ceiling lumber rack | 10-20 sq ft of floor | $30-$80 | Garages with 8+ ft ceilings |
| Rolling storage carts | Flexible, parks under bench | $50-$150 | Staging parts, mobile work surface |
| Compact dust-collection corner | ~4 sq ft total | $90-$180 | Health and cleanliness in any shop |
| Clamp wall | ~2 sq ft of wall | $60-$120 for clamps | Glue-up heavy projects, boxes, furniture |
| Layered lighting plan | 0 floor | $90-$180 | Accuracy, safety, eye comfort |
| Dual-use parking strategy | Entire car bay | $0-$40 | Garages that must still park a car |
Tool-Placement Principles That Make Small Shops Work
Beyond the nine ideas, three placement principles separate shops that flow from shops that fight you:
Heaviest traffic, shortest distance. Put the tools you touch every session — bench, miter saw, drill storage — closest to the center of your work triangle. Tools you use monthly (band saw, specialty sanders) live at the perimeter. Frequency of use, not size of tool, decides position.
Keep the workflow linear. Stock enters at the door, gets cut in the cutting zone, gets joined at the bench, gets finished near ventilation, and exits as a project. Every time material backtracks across the shop, you lose time and bump into things. Tape your workflow path on the floor and eliminate the loops.
One surface, one job at a time. In a small shop the bench inevitably becomes a shelf. Fight it with the “clear at session end” rule: five minutes of put-away after every session. The next session starts with a clean bench, which is the single biggest productivity hack in a small shop — bigger than any tool upgrade.
Electrical Safety for a Garage Woodshop
Garages were not wired for woodworking. Before you plug in a 15-amp table saw, know your circuits. A typical garage shares one 15-amp circuit with outdoor outlets and sometimes the house — a table saw plus a dust collector plus lights on one circuit will trip it constantly, and repeated trips are how people start bypassing breakers, which is how fires start.
Minimum safe setup: know which outlets are on which breaker (map them with a helper and a radio), and never run your two biggest-draw tools on the same circuit. A 1.5-HP dust collector and a 15-amp table saw together draw close to 30 amps — they need separate 20-amp circuits to run together comfortably. If your garage has only one circuit, run one big tool at a time and plan an electrician visit ($200 to $500 for a dedicated 20-amp run) as a high-priority upgrade.
Use heavy-gauge extension cords (12-gauge for 15-amp tools over distance), keep cords off the floor with a ceiling reel, and make sure your garage has GFCI protection on outlets — code requires it near garage doors and damp areas, and it is cheap insurance. Keep a 5-pound ABC fire extinguisher mounted by the man-door, and store finishes, solvents, and oily rags correctly: oily finishing rags can spontaneously combust — dry them flat outdoors or store them in a metal can with a tight lid, never wadded in a trash bin.
Starter Garage-Shop Budget Breakdown
| Item | DIY / Budget Option | Est. Cost |
|---|---|---|
| Workbench (fold-down or simple) | Build from 2x4s + plywood | $40-$150 |
| Mobile bases for 3-4 tools | Locking casters + scrap plywood | $60-$160 |
| French cleat wall (8 ft) | Ripped 2x4s + scrap holders | $25-$50 |
| Lumber rack (ceiling or wall) | DIY brackets from 2x4s | $0-$80 |
| Rolling storage cart | Build from scrap | $50-$150 |
| Dust collection (shop vac + cyclone) | Vac + separator lid + hose | $90-$180 |
| Lighting (3 LED shop lights + task lamp) | LED fixtures + swing-arm lamp | $90-$180 |
| Clamps (starter set) | 4-6 F-clamps + 2 pipe clamps | $60-$120 |
| Safety (extinguisher, respirator, first aid) | ABC extinguisher + P100 respirator | $60-$100 |
| Electrical upgrade (if needed) | Electrician, one 20-amp circuit | $0-$500 |
| Total starter budget | $475-$1,670 |
The realistic first-month number for most beginners lands between $600 and $900: bench, mobile bases, cleat wall, dust setup, lighting, and a few clamps. You do not need everything at once — build the bench and lighting first, add dust collection second, and let projects fund the rest. Many of your first builds can come from offcuts: our easy scrap wood projects for beginners are perfect practice pieces for a brand-new shop.
Frequently Asked Questions
How much space do I actually need for a woodworking shop in my garage?
You can do real woodworking in as little as 100 to 150 square feet — a one-car garage corner or a single bay of a two-car garage. The key is not total area but clear workflow: an 8-foot straight run for feeding boards, a bench zone you can walk around, and everything else stored on walls, ceilings, or wheels. Many accomplished woodworkers build furniture in a 10-by-12-foot footprint.
Can I set up a woodshop in a garage that still needs to park a car?
Yes, with the dual-use strategies in Idea 9. A fold-down bench, mobile tool stations parked against the walls in marked bays, and wall/ceiling storage let you convert from shop to parking in about five minutes. A car cover protects the vehicle during dusty sessions. Just never finish or spray coatings near the car — overspray is permanent.
What is the first thing I should build or buy for a garage workshop?
Build a solid workbench first — it is the surface every project touches. Second, upgrade the lighting; accurate work is impossible in a dim garage. Third, set up basic dust collection (a shop vac with a cyclone separator). Those three investments — bench, light, dust control — transform a garage from a storage room into a shop.
Do I need 220V power for a small garage woodshop?
No. Every tool a beginner needs runs on standard 110/120V household power. What matters is not voltage but circuit capacity: two high-draw tools on one 15-amp circuit will trip the breaker. Run big tools one at a time, or have an electrician add a dedicated 20-amp circuit ($200 to $500) for the saw and dust collector to share-free operation.
How do I control dust in a garage without a big dust collector?
A shop vacuum with a cyclone separator on a 5-gallon bucket captures the bulk of chips and coarse dust at the tool, which is where it matters most. Add a hanging air-filtration unit or a box fan with a furnace filter for airborne fines, open the garage door when milling, and always wear a P100 respirator for sanding and routing. See our full DIY dust collection for small workshops guide for the complete setup.
Is it safe to do woodworking in an attached garage?
Yes, with precautions. Keep finishes, solvents, and oily rags stored safely (oily rags can spontaneously combust — dry them flat or store in a metal can), ensure ventilation when finishing, keep a fire extinguisher by the door, and use dust collection so fine dust does not migrate into the house. A door sweep on the house entry door and finishing near the open garage door or window handles most concerns.



Pingback: 25 Easy Woodworking Projects for Beginners That Sell Fast