
Every cut in your workshop begins long before the saw touches wood. It begins with a line. That line — how straight it is, how exactly it is placed, how clearly you can see it while you work — decides whether your project fits together or ends up as firewood. Beginners spend weeks researching saws and drills, but the humble marking tools on the bench often make the bigger difference between a project that assembles squarely and one that never quite closes.
Woodworking marking tools for beginners are not complicated, and you do not need many of them. Five core tools cover nearly every layout job you will face in your first year: a combination square, a marking knife, a marking gauge, a tape measure with a steel rule, and a pair of dividers. Learn to use these five well and your joinery will tighten up, your cuts will land where you intended, and the frustrating “it looked right on paper” moments will shrink dramatically.
This guide walks through each tool in detail: what it does, how to use it step by step, and when it earns its place. You will also learn why a marking knife beats a pencil for precision work, how to lay out joinery so your parts actually fit, the simple workflow experienced woodworkers follow to avoid mistakes, what the full kit costs, and the layout errors that trip up almost every beginner.
Why Marking Accuracy Is the Hidden Skill
Most woodworking advice focuses on cutting and joining, but layout is where accuracy is born or lost. A saw cuts where you tell it to cut — if the line is in the wrong place, even a perfect cut produces a wrong part. Experienced woodworkers often say they spend as much time marking as cutting, and beginners should take that hint seriously.
Accurate marking does three things for you. First, it makes joinery fit. Mortises, tenons, and dovetails only lock together when their layout lines are exact — a sixteenth of an inch off is the difference between a snug joint and a wobbly one. Second, it reduces waste. Every mis-marked board is lumber money in the offcut bin, and wood is not getting cheaper. Third, it slows you down in a good way. Careful layout forces you to think through the project before committing, which is where most beginner mistakes are actually prevented.
The encouraging part: marking well is a learnable skill, not a talent. It requires a handful of inexpensive tools, a consistent workflow, and the discipline to double-check before cutting. The sections below give you all three.
Tool 1: The Combination Square
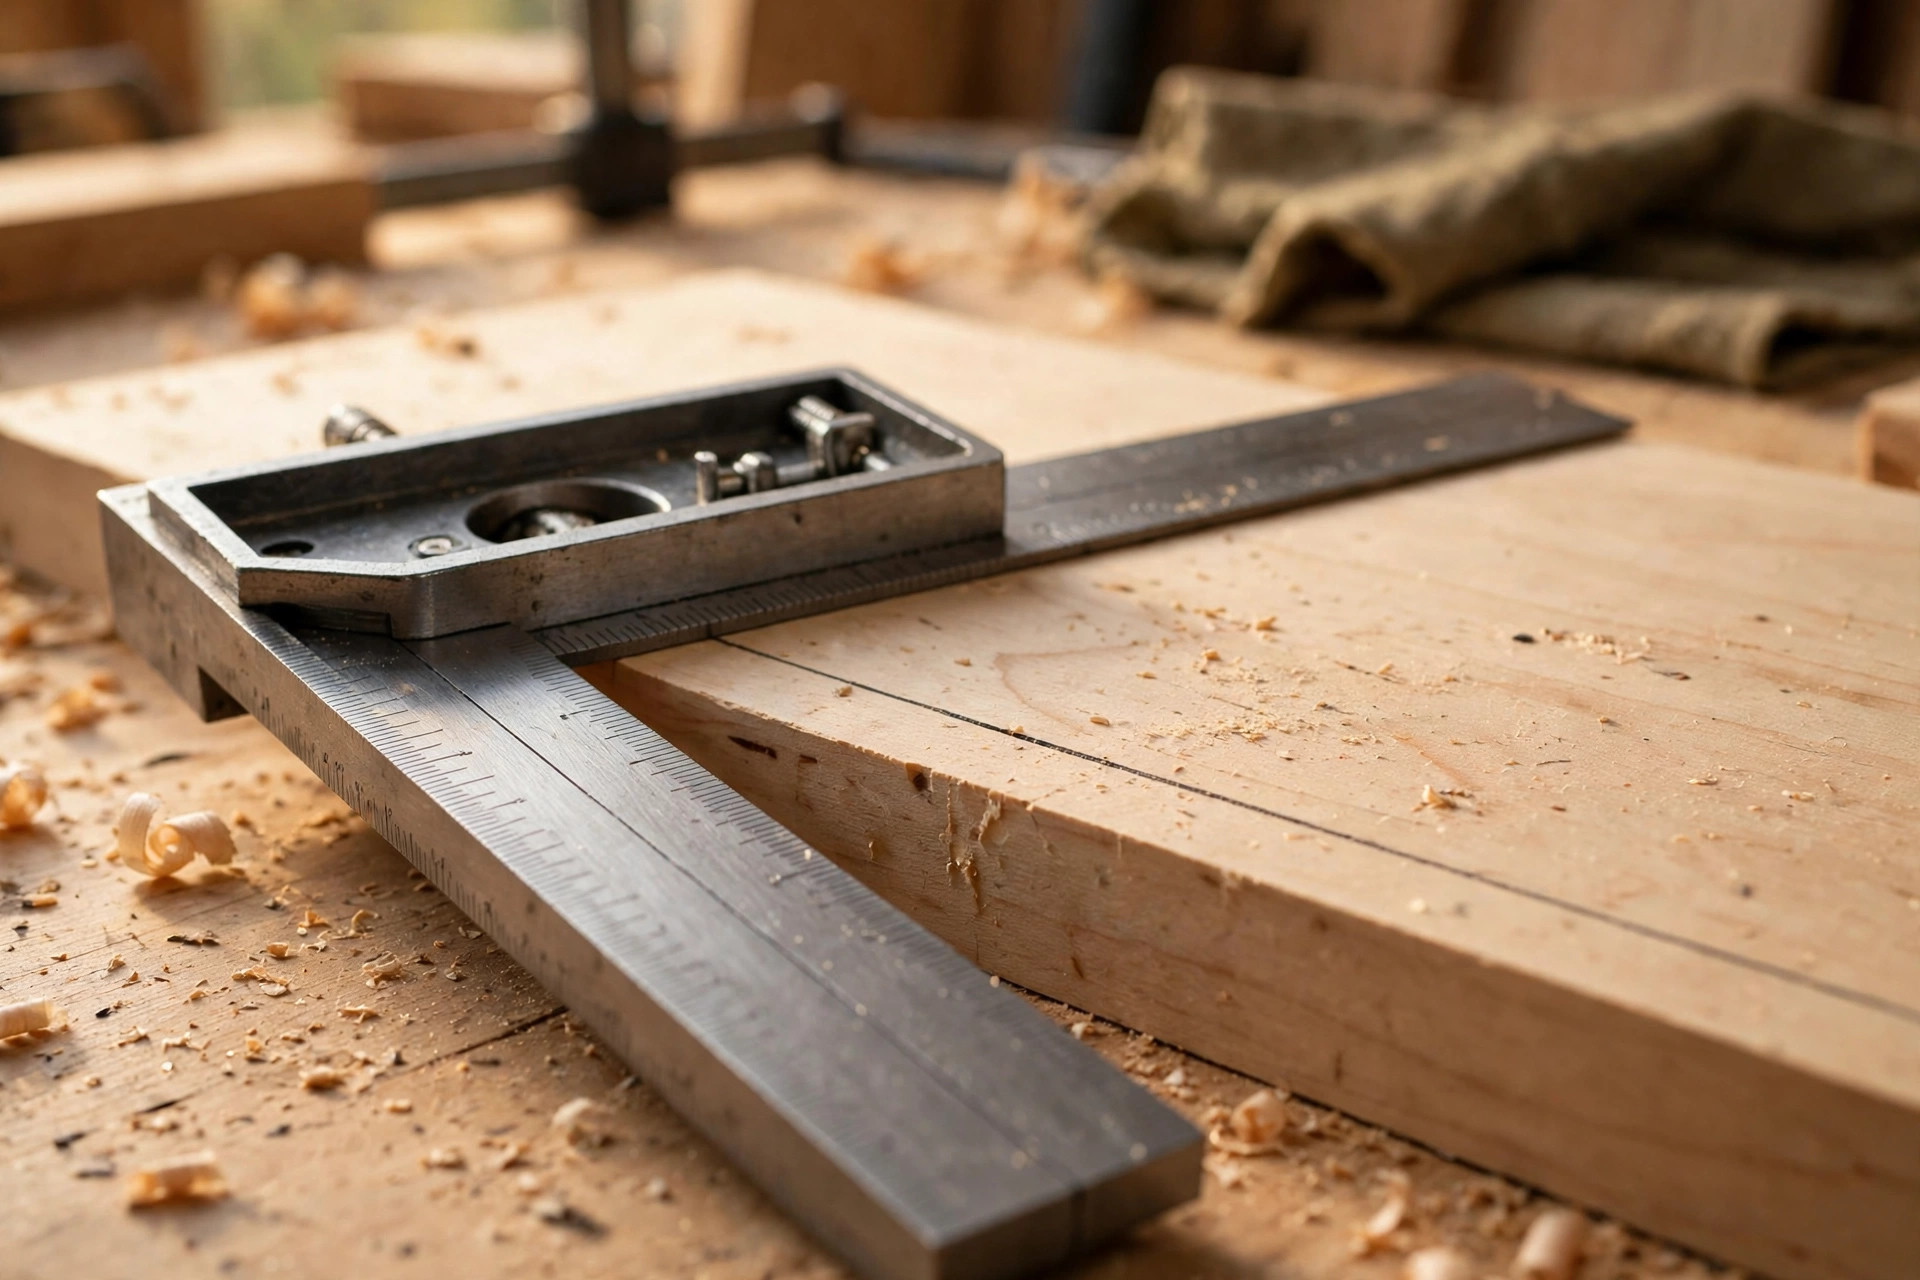
If you buy only one marking tool this month, make it a 12-inch combination square. It is the most versatile layout tool in the shop: it checks squareness, marks 90-degree and 45-degree lines, transfers measurements, and acts as a depth gauge. A decent one costs little and gets used on almost every project.
How to use it, step by step
- Check squareness of a board end. Press the square’s stock (the thick head) firmly against a known-straight edge of the board, and lay the blade across the board. Any gap of daylight between the blade and the cut end means the end is not square.
- Mark a crosscut line. Hold the stock tight against the board’s edge so it cannot rock. Run a pencil or marking knife along the blade’s edge, keeping the point pressed into the blade. This gives you a line perfectly square to the edge — the starting point for most cuts.
- Mark a 45-degree line. Most combination square stocks have a 45-degree face built in. Flip the stock to that face and draw along the blade for instant miter layout lines.
- Set a repeating measurement. Slide the blade in the stock to a specific length and lock it. Now you have a physical “ruler” you can hook onto a board edge to mark the same distance repeatedly — perfect for shelf pin holes or evenly spaced slats.
- Check depth. Stand the square’s blade upright in a mortise or dado and read the depth off the ruler face, using the stock as a stop.
Buying advice
Look for a square where the blade locks tightly without wobble — looseness is the enemy of accuracy. Brass or cast-iron stocks feel solid and last; cheap plastic-bodied squares flex and lose square over time. You do not need a premium machinist square to start. A mid-range 12-inch combination square around the $15–$30 mark is a genuine lifetime tool for a beginner’s shop. Check it against a known-square reference in the store before buying: draw a line, flip the square over, draw again — the two lines should overlap perfectly.
Tool 2: The Marking Knife
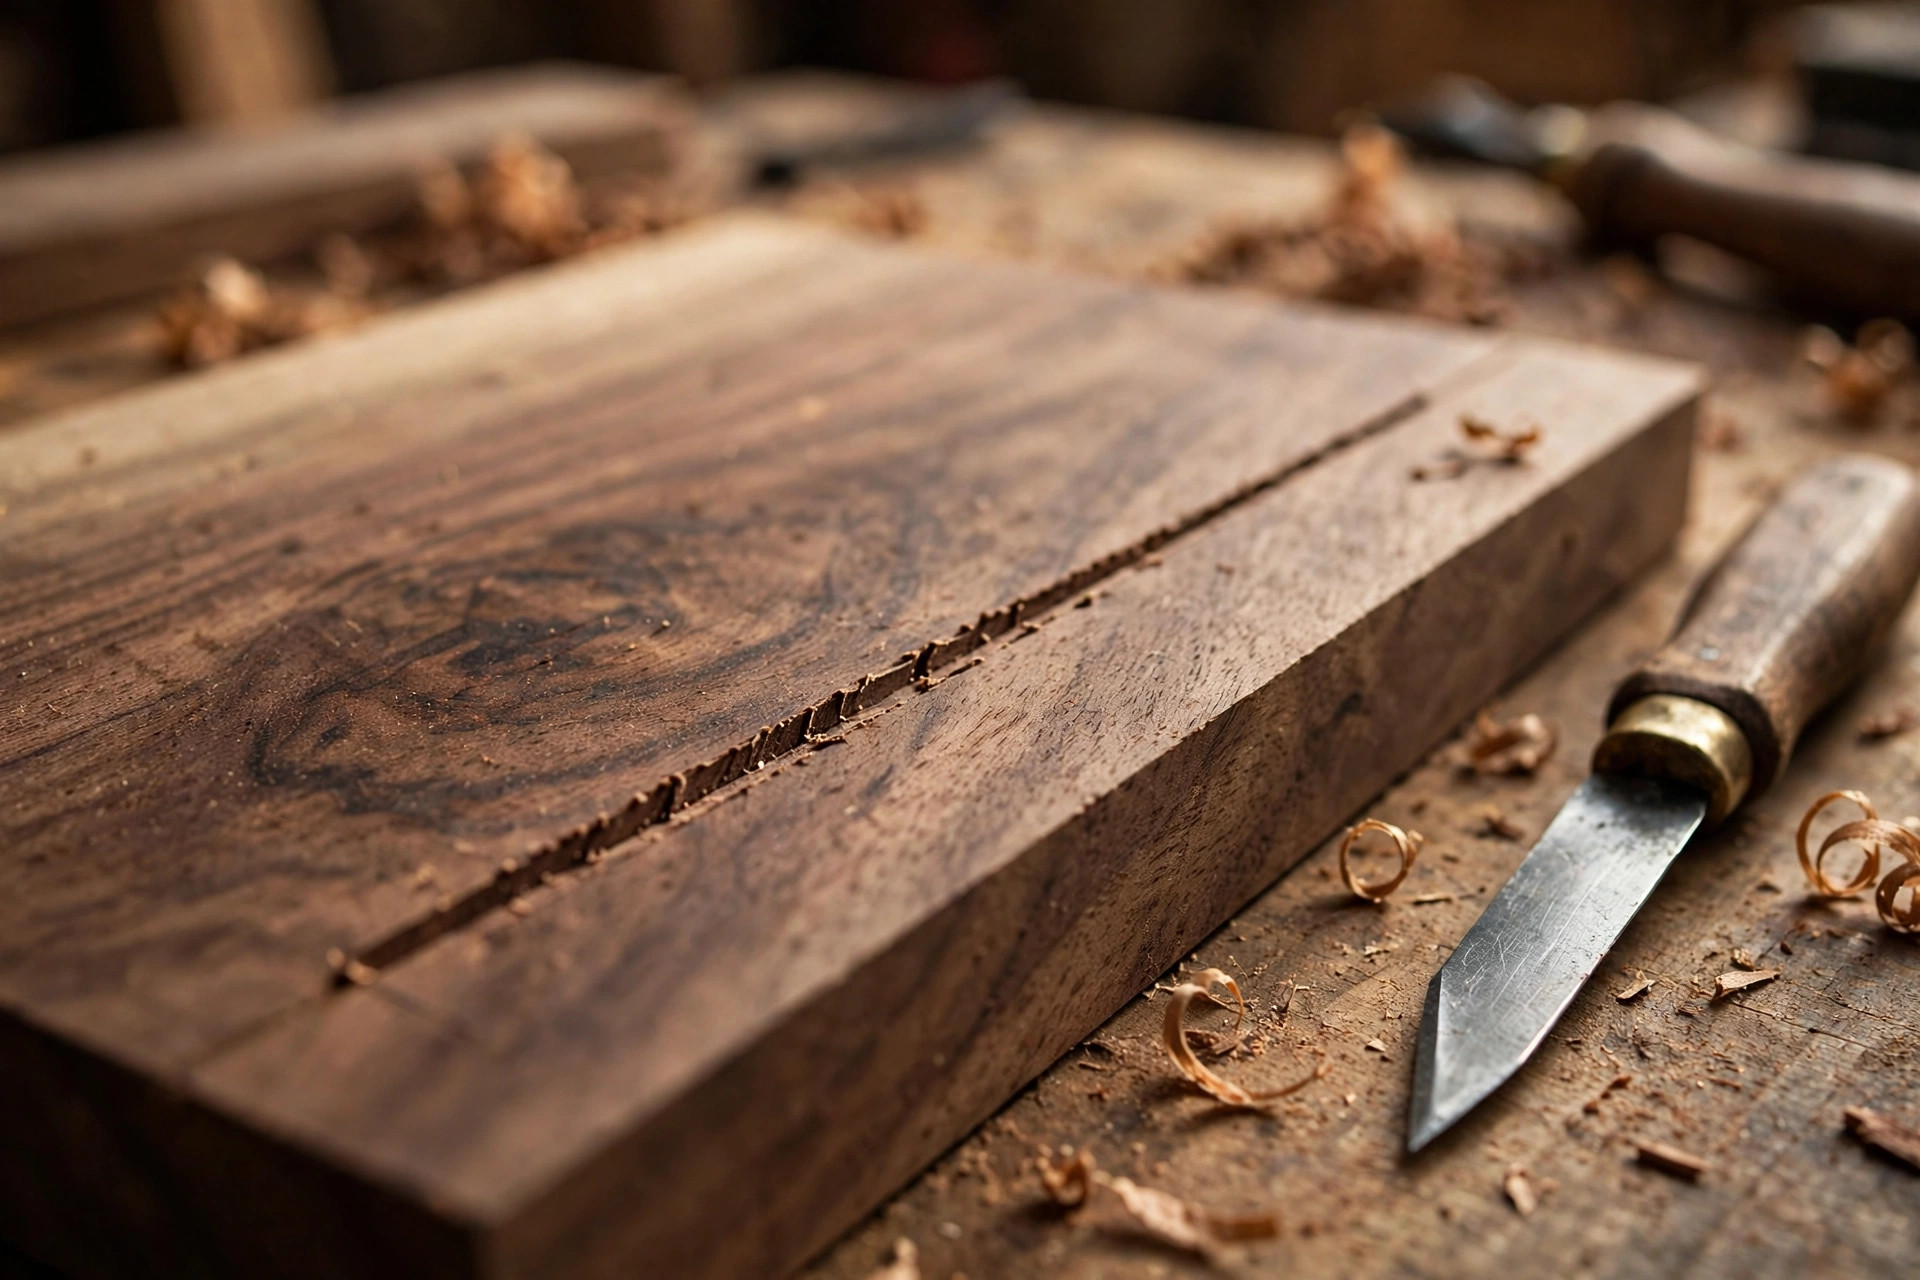
A marking knife is a simple blade — often spear-point or single-bevel — whose only job is to scribe lines into wood. It seems like a luxury until you use one. Then you wonder how you ever marked joinery with a pencil.
A knife line is thin, exact, and permanent. More importantly, it severs wood fibers along the line, creating a tiny channel that physically guides your chisel or saw. When you pare a mortise or chop a dovetail, the chisel registers in the knife line instead of drifting. That is why experienced woodworkers mark all their joinery with a knife: the line does not just show where to cut, it helps the tool cut there. If you are doing marking knife and chisel work, keeping both tools sharp is the whole game — a dull knife tears instead of slicing.
How to use it, step by step
- Register against a straightedge or square. Place your combination square or steel rule exactly where the line should go. A knife line cannot be erased, so double-check the position first.
- Angle the blade slightly toward the guide. Tilt the knife a few degrees so the flat of its bevel rides against the square’s edge. This keeps the cut exactly at the blade’s edge rather than wandering a hair away.
- Make one light pass first. Draw the knife along the guide with light pressure to establish the line. A single confident pass beats several hesitant ones.
- Deepen with a second pass if needed. For joinery lines that will guide a chisel, run the knife through the line once more with slightly firmer pressure. The groove should be visible and catch a fingernail.
- Darken the line so you can see it. Rub a soft pencil into the knife groove, or shade across it lightly — the graphite sits in the cut and makes the line visible from across the bench.
One caution: knife lines are commitments. Work out your layout completely — ideally with light pencil marks first — before scribing final lines. And always cut to the waste side of a knife line, leaving the line itself on the finished part.
Tool 3: The Marking Gauge
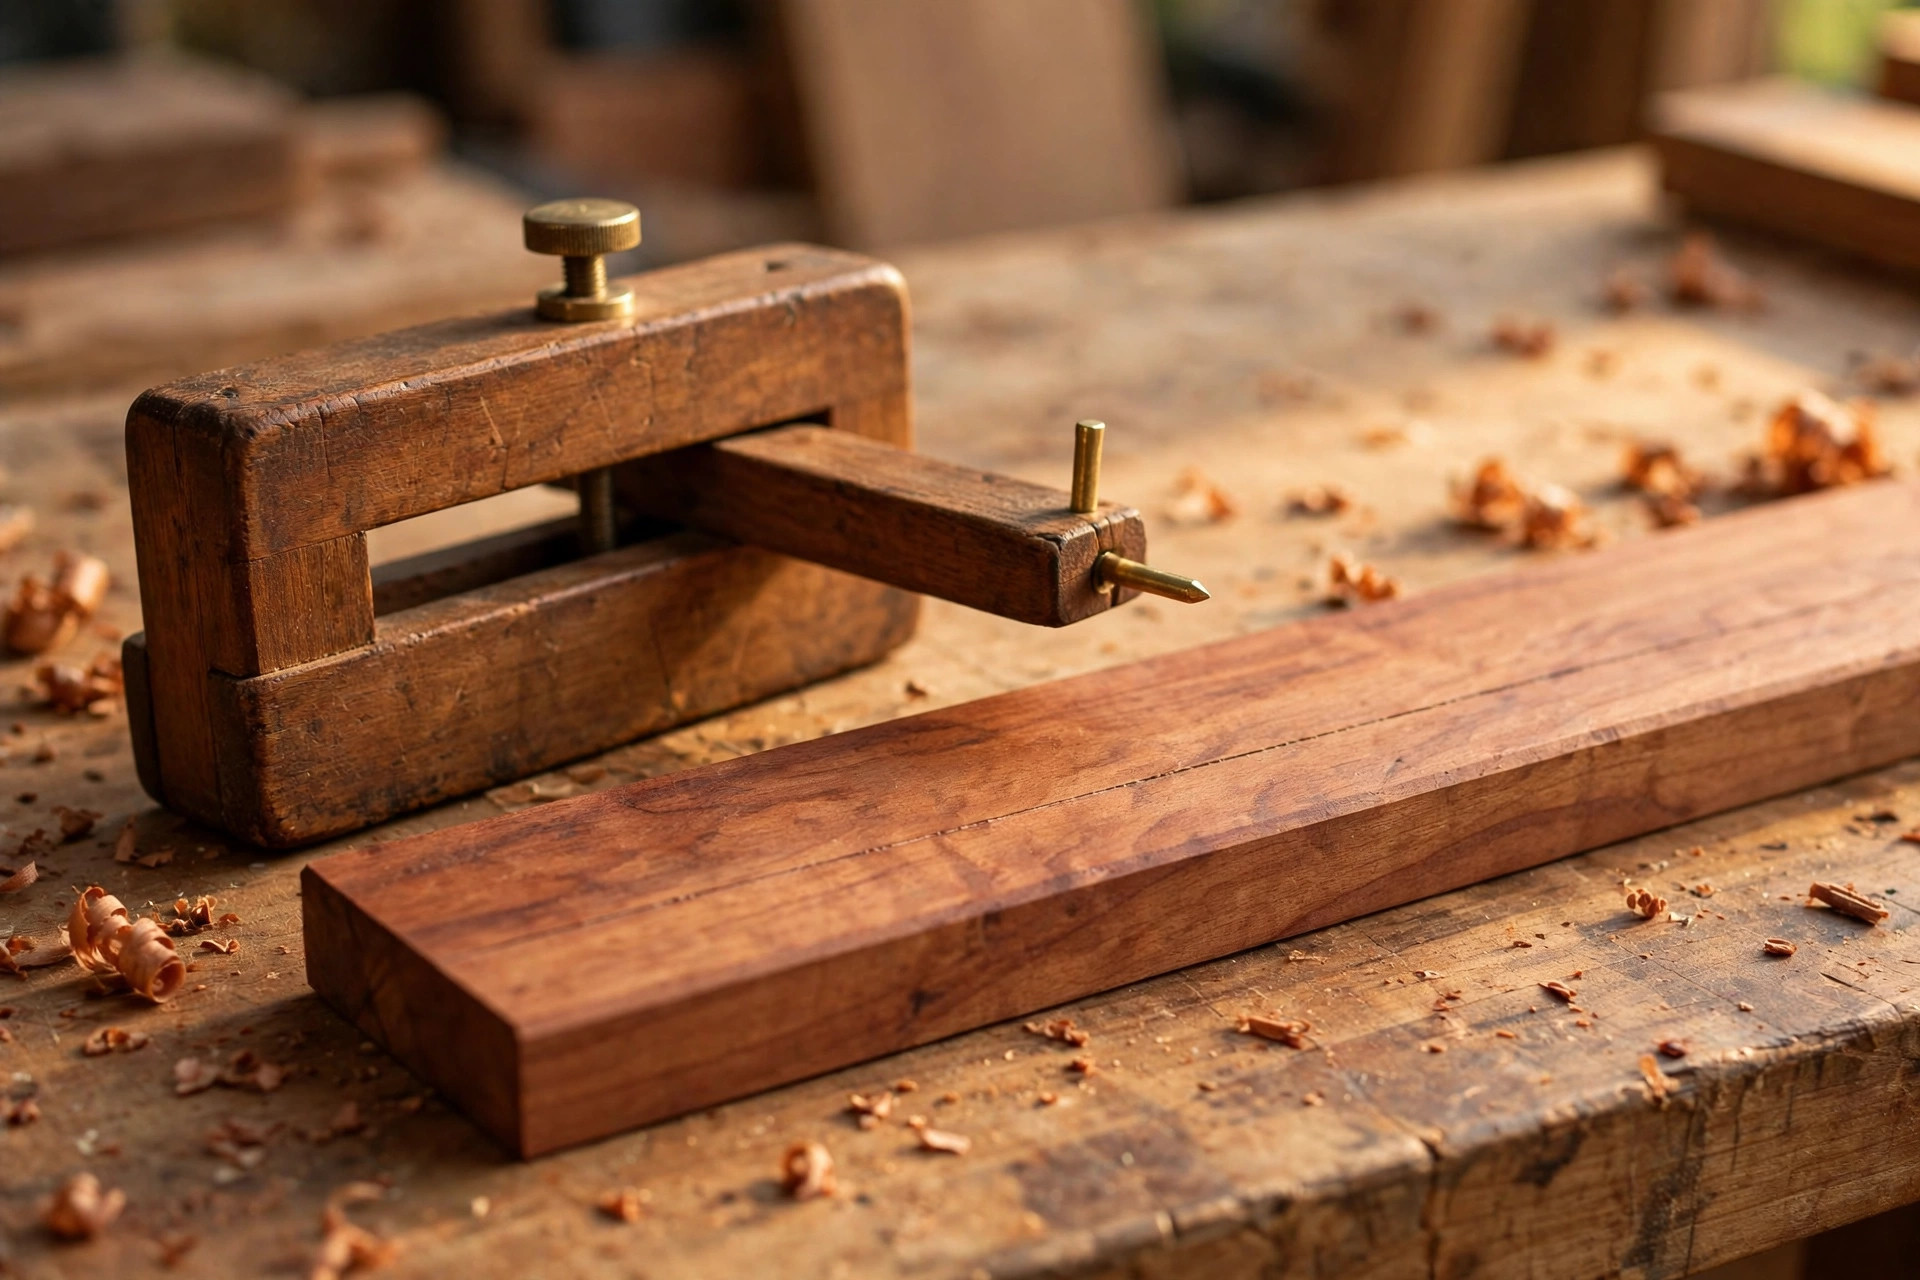
The marking gauge draws lines parallel to a board’s edge — the essential operation for laying out mortises, tenons, rabbets, and thickness lines. It consists of a beam, a fence that slides along the beam, and a pin (or small knife, in wheel-gauge versions) that scribes the line as the fence rides the board’s edge.
How to use it, step by step
- Set the distance. Slide the fence along the beam until the distance from the fence face to the pin matches your measurement. Lock it firmly — a fence that drifts mid-line ruins the work.
- Set from a rule, not by eye. The reliable method: hold the end of the beam against a steel rule and slide the fence until the pin sits exactly on the desired graduation. Eyeballing the setting is the most common beginner error with this tool.
- Mark with the fence riding the reference edge. Press the fence flat against the board’s edge and push or pull the gauge along the board. The pin scribes a line perfectly parallel to that edge. Always register from the same reference edge for related lines — a face edge and face side you have marked for the whole project.
- Tilt the pin slightly. Angle the beam so the pin trails and cuts cleanly rather than tearing. On a pin-type gauge, a slight trailing angle gives a crisp line; dragging it upright digs and splinters.
- For deep or multiple lines, use light repeat passes. Two light passes produce a cleaner line than one heavy gouge, especially across the grain.
Pin gauge vs. wheel gauge
Traditional pin gauges are cheap and effective along the grain. Wheel (or cutting) gauges, which use a small circular blade, cut cleaner across the grain and do not tear fibers. If your budget allows one upgrade later, a wheel gauge is worth it for cross-grain layout work like dovetail baselines.
Tool 4: The Tape Measure and Steel Rule
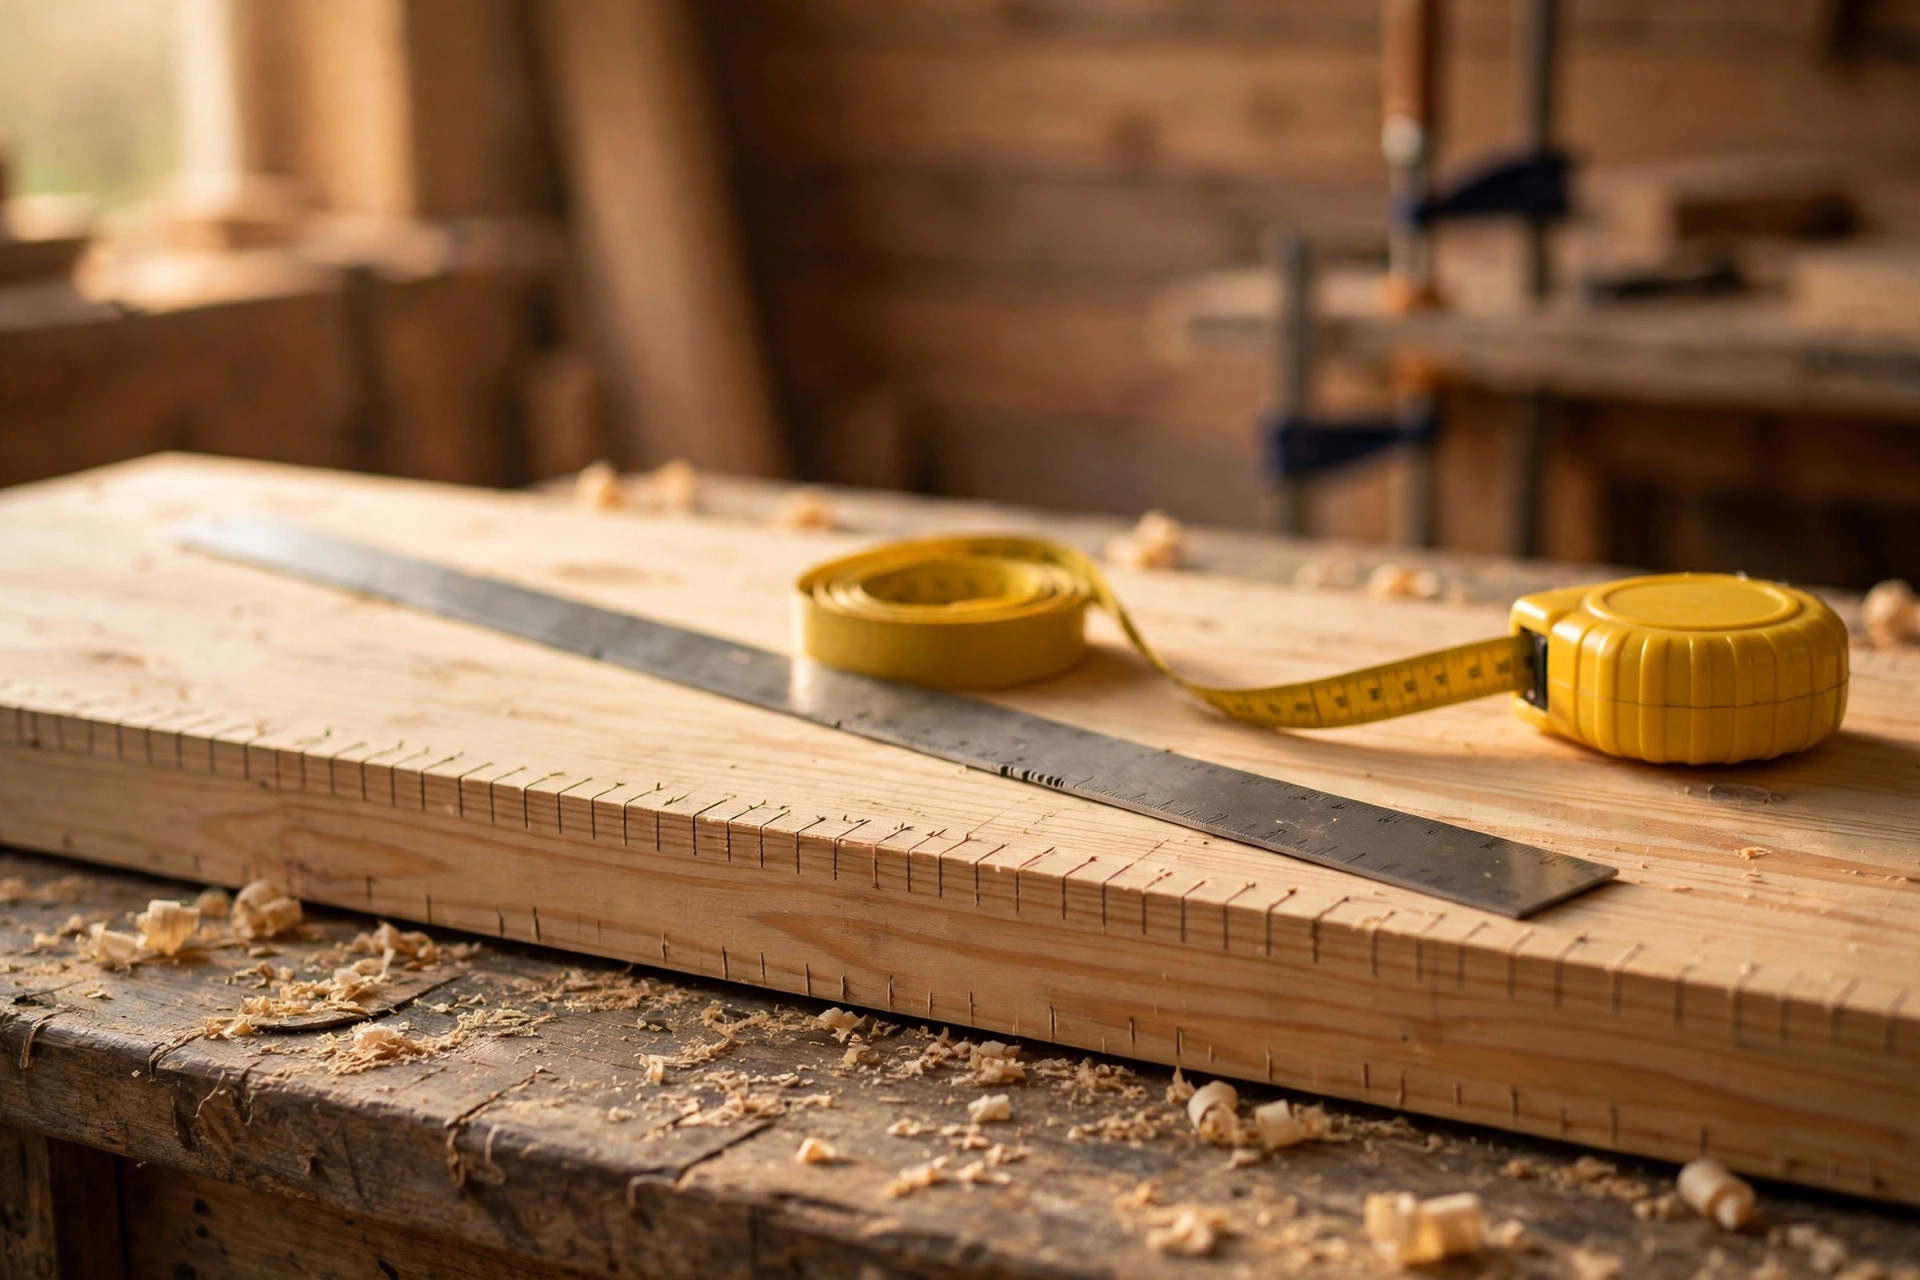
You already own a tape measure — but using it accurately is a skill most beginners never consciously learn. The hook at the end of a tape slides in and out by exactly the hook’s thickness, which is how it gives true readings whether you hook it on an edge or butt it against a surface. The problem is that a tape’s wide blade, curved shape, and thick graduations make it a rough instrument: fine for cutting boards to length, poor for marking joinery.
That is why a steel rule belongs beside it. A 12-inch steel rule (often called a machinist’s rule) has crisp, fine graduations etched into flat steel, and its straight edge doubles as a guide for your marking knife. Use the tape for long measurements and rough breakdown of lumber; switch to the steel rule for anything under a foot where precision matters.
Accuracy tips for measuring
- Burn an inch when it matters. Instead of trusting the tape’s hook, hook the 1-inch mark (or 10-inch mark on a rule) on your starting point and subtract. This eliminates hook-play error on critical dimensions.
- Mark with a “V” or a tick, not a dot. A small tick mark with the point exactly at the measurement reads more precisely than a blob of pencil lead.
- Measure from the same reference point. Pick one end of the board as zero for the whole project and measure every related dimension from it. Measuring from end A on one part and end B on another is how small errors stack up.
- Read the rule straight-on. Parallax — reading at an angle — shifts where a graduation appears to land. Look directly down at the mark.
- Check your tape against your rule. Cheap tapes can stretch or have misprinted scales. Compare them at 12 inches; if they disagree, trust the steel rule.
Tool 5: Dividers
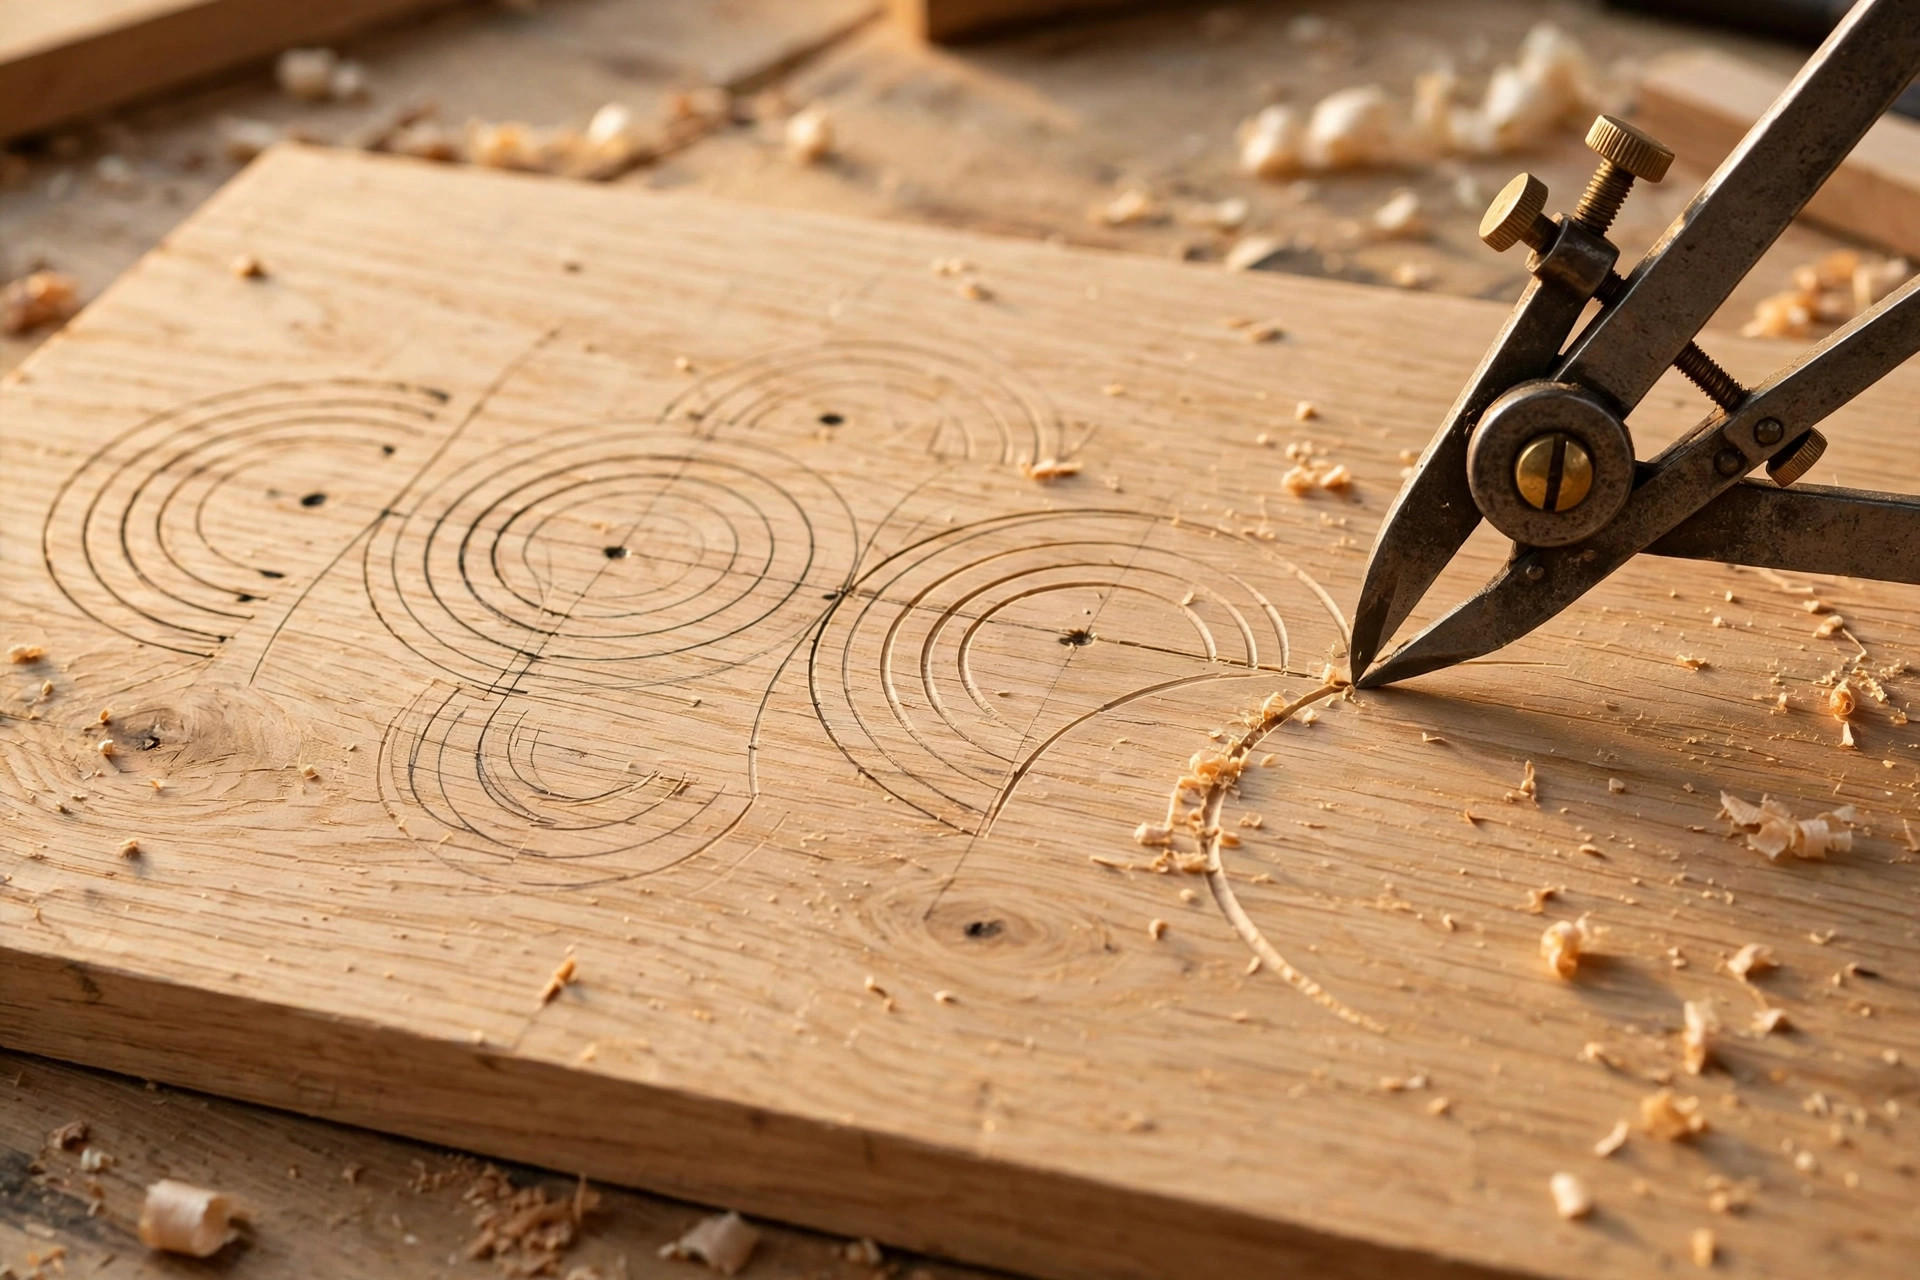
Dividers are the quiet precision instrument of the layout kit: two sharp legs joined at a hinge, used to transfer measurements, step off equal divisions, and scribe arcs and circles. Where a rule measures in numbers, dividers measure in distances — and distances transfer without rounding error.
The classic use: dividing a board into equal parts. Need five evenly spaced shelf holes and hate the math? Set the dividers by trial to a width that steps off exactly five times across the board, then walk them along, pricking a tiny hole at each step. The holes land perfectly equal without a single number being calculated.
Dividers also excel at transferring measurements directly from one part to another — set the legs to the thickness of a tenon, then use that exact setting to mark the matching mortise. No reading, no writing down numbers, no transcription error. For scribing arcs, curves, and circle layouts on easy woodworking projects, they are simply the right tool.
How to use them
- Set the width against a rule. Open the legs and place one point on a rule’s zero and the other on your measurement. Tighten the hinge just enough to hold — too tight and adjustment becomes fiddly, too loose and the setting drifts.
- Walk the dividers to step off divisions. Plant one leg in a starting prick mark, swing the other leg down to make the next mark, then lift and pivot forward. Keep the legs vertical so the spacing stays true.
- Prick, don’t drag, when transferring. For transferring a measurement to a new board, press the points lightly to leave two tiny prick marks — then connect or measure from those marks.
Honorable Mentions: Pencils, Bevel Gauges, and Scratch Awls
The five tools above cover the essentials, but three more deserve a place in the conversation:
- Carpenter’s pencils and mechanical pencils. A standard carpenter’s pencil makes bold lines that are easy to see on rough lumber — great for breakdown work. For fine layout, a 0.5 mm or 0.7 mm mechanical pencil draws a far thinner, more consistent line than a wooden pencil ever can, because the lead never needs sharpening. Keep both.
- The sliding bevel gauge (bevel gauge). This tool captures and transfers angles that are not 90 or 45 degrees. Set its blade to an existing angle — a roof pitch, a chair leg splay — lock it, and transfer that angle to your workpiece or your saw. The moment you build anything with angled parts, you will reach for it constantly.
- The scratch awl. A sharp pointed tool for making precise starting dimples. Use it to mark drill centers (the dimple keeps the bit from wandering) and as a starting prick for divider work. Cheap, tiny, and surprisingly useful.
Marking Knife vs. Pencil: When to Use Each
This is the question beginners ask most, and the answer is refreshingly practical: use both, for different jobs.
Use a pencil for rough work — breaking down lumber, marking cut lists on boards, noting measurements, and sketching layout before you commit. Pencil lines are visible, erasable, and fast. A mechanical pencil’s fine line is accurate enough for general carpentry and simple beginner projects that sell.
Use a marking knife for precision work — joinery layout, lines that guide a chisel or saw, and any mark where a fraction of a millimeter matters. The knife’s three advantages are decisive: the line is thinner than any pencil line, it cannot smudge or rub off during handling, and it severs fibers to create a physical channel that guides cutting tools. When you chop a mortise to a knife line, the chisel drops into the groove and stops exactly at the line. A pencil line offers no such help — the chisel can drift past it before you notice.
The workflow most woodworkers settle on: lay out in pencil first, verify everything, then scribe the final lines with the knife where precision counts. Pencil for thinking, knife for committing.
Marking for Joinery Layout: Putting It All Together
Joinery is where marking tools earn their keep. Here is how a typical layout sequence works for, say, a mortise-and-tenon joint — the same careful approach applies when you are marking joints before you drill for dowels or pocket holes:
- Establish reference faces. Choose one face and one edge of each board as your references — mark them with a small cabinetmaker’s triangle or a pencil “F” so every measurement starts from the same place. All accuracy flows from consistent references.
- Mark the shoulder lines with the knife and square. Set your combination square to the tenon length, register it on the reference edge, and scribe a knife line all the way around the board. A line that continues around all four faces lets you check alignment from every side.
- Gauge the cheek lines. Set the marking gauge to the mortise width, measuring from the rule, and scribe parallel lines from the reference face on both boards. Then reset and mark from the opposite face if the joint is centered — the two settings together define the exact mortise.
- Mark waste with X’s. Shade or X the waste areas you will remove. This five-second habit prevents the classic catastrophe of cutting the wrong side of the line.
- Transfer mating marks directly. Rather than measuring the second board separately, clamp the two boards together and transfer marks with the knife or dividers. Direct transfer eliminates the small differences that creep in when you measure twice.
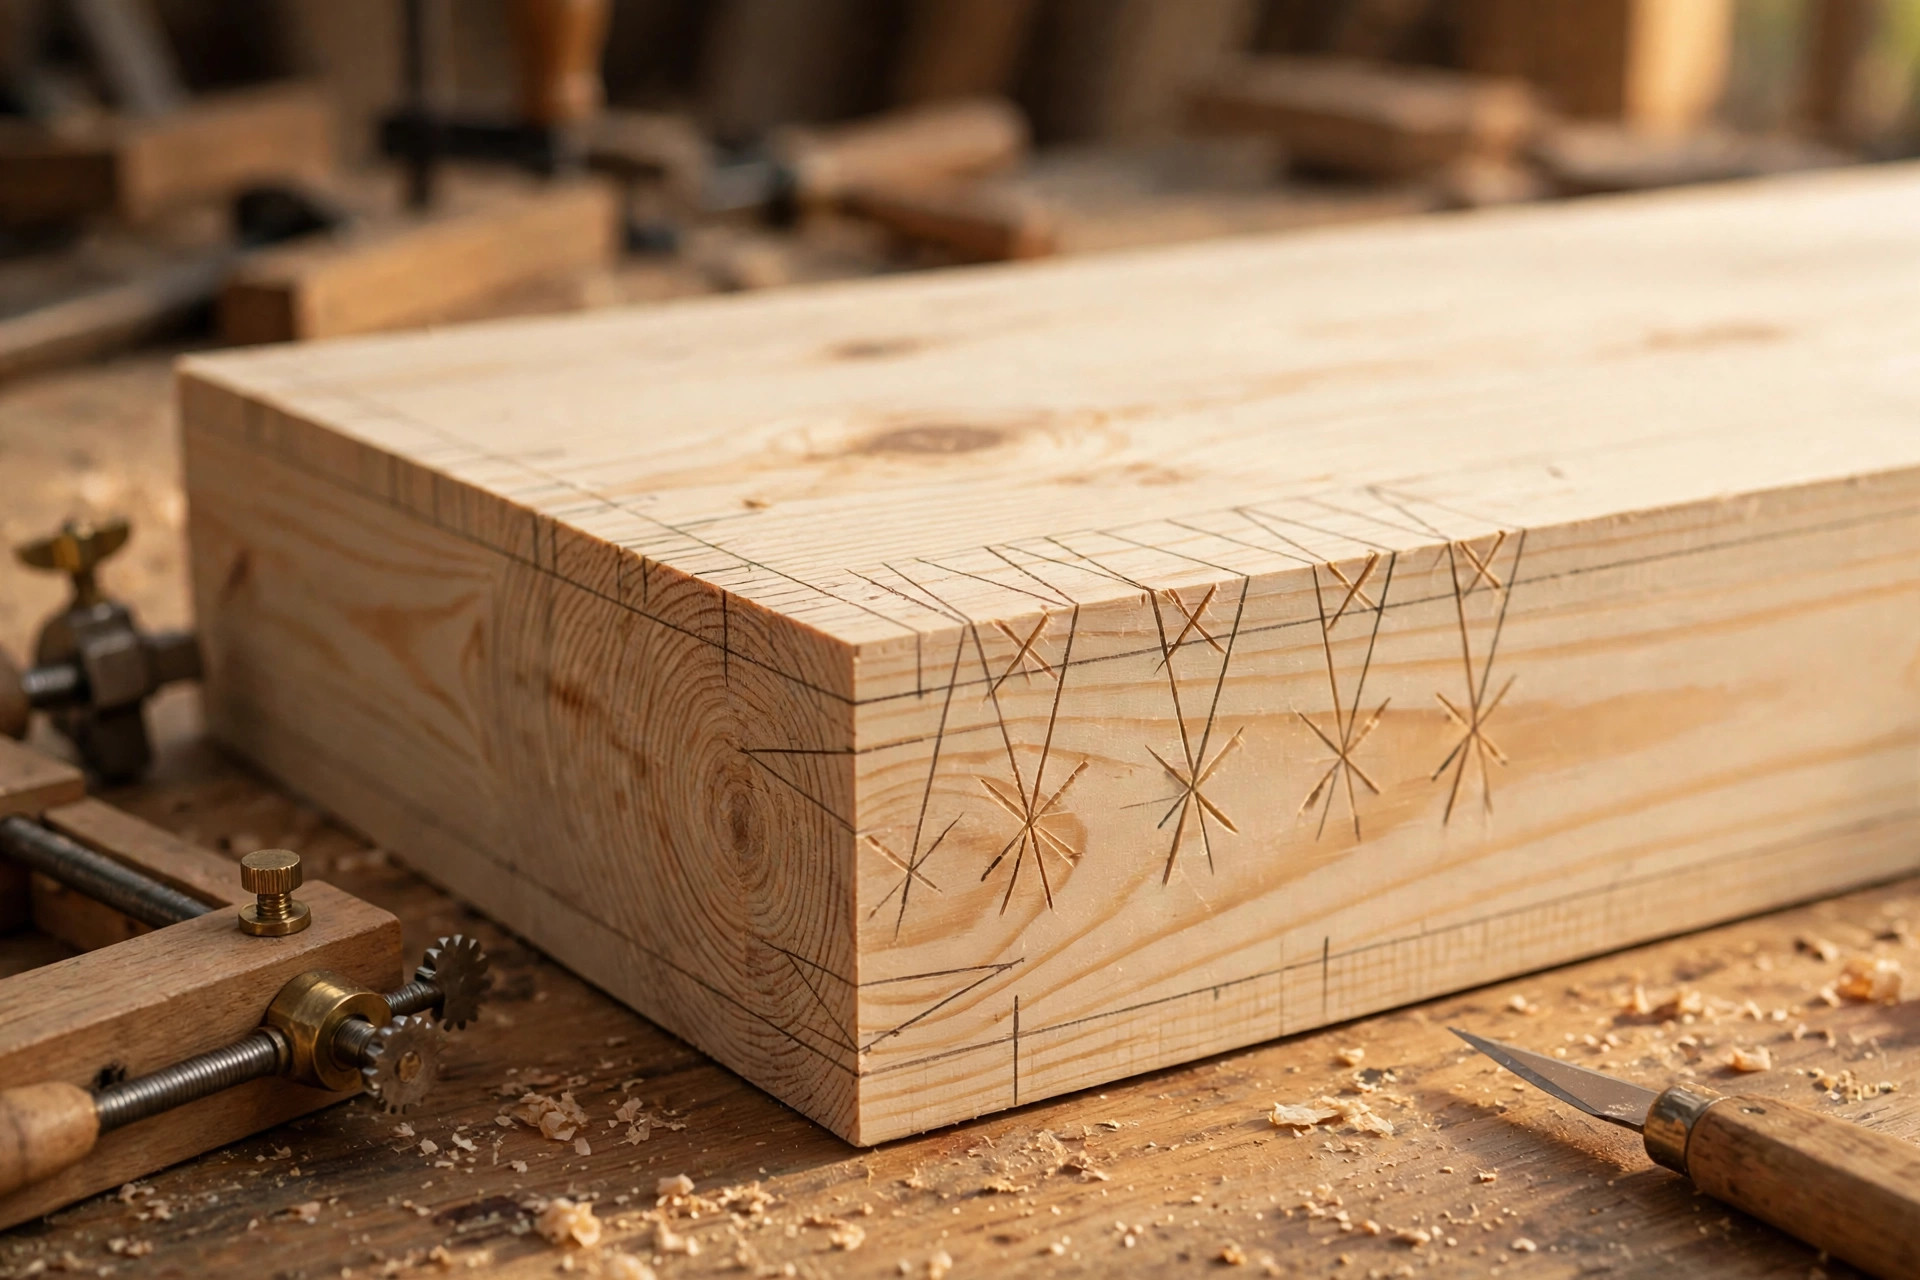
This methodical sequence is the foundation of all joinery layout basics. Whether you are cutting dovetails, box joints, or simple lap joints, the principle never changes: reference faces first, knife lines for precision, gauge lines parallel to edges, and always mark the waste.
The “Measure Twice, Cut Once” Workflow
The old saying survives because it works. Here is the concrete workflow behind it — a checklist to run through before every critical cut:
- Read the plan, then read it again. Confirm the dimension, which part it belongs to, and which faces are references. Most “wrong cuts” are actually wrong readings.
- Measure with the rule, mark with the knife or sharp pencil. Measure the dimension, then make your mark. Do not measure from a mark you made earlier in the chain if you can measure from the reference instead — chained measurements accumulate error.
- Check the mark a second way. Measure from the opposite end and confirm the numbers agree, or hold the mating part against the mark. Two independent checks catch nearly every error.
- Verify the line before committing. Is the square tight against the edge? Is the gauge setting locked? Did you mark the waste side? A ten-second review here saves hours of repair.
- Cut to the waste side of the line. Position the saw so the blade removes waste wood and the line stays on your finished part. Then pare or plane exactly to the line for a perfect fit.
Follow this sequence and “measure twice, cut once” stops being a slogan and becomes a habit — the single highest-value habit a beginner can build.
What Marking Tools Cost: A Beginner’s Budget
Good news: a complete marking kit is one of the cheapest upgrades in woodworking. Here is what to expect:
| Tool | Budget pick | Price range | Notes |
|---|---|---|---|
| 12″ combination square | Mid-range hardware store brand | $15–$30 | The one tool to not buy ultra-cheap; check it for square in store |
| Marking knife | Basic spear-point knife | $10–$20 | A sharp pocket knife or craft knife works to start |
| Marking gauge (pin type) | Wooden pin gauge | $8–$15 | Wheel gauge upgrade later: $25–$40 |
| Tape measure (25 ft) | Any major brand | $10–$15 | You likely own one already |
| 12″ steel rule | Basic stainless rule | $8–$12 | Get one with fine etched graduations |
| Dividers | 6″ wing dividers | $10–$18 | Friction or wing style both fine for beginners |
| Mechanical pencil 0.5 mm | Any drafting pencil | $3–$6 | Plus carpenter’s pencils, ~$5 for a pack |
| Sliding bevel gauge | 8″ bevel gauge | $10–$15 | Optional at first; essential once you cut angles |
| Scratch awl | Basic awl | $5–$8 | Optional but handy for drill centers |
Total for the five essentials: roughly $50–$95, assuming you already own a tape measure. The honorable mentions add another $20–$30 when you are ready. Compare that to the cost of a single miscut premium board, and the kit pays for itself within your first project.
Accuracy Tips That Separate Beginners from Pros
- Always work from reference faces. Mark one face and one edge of every board and measure everything from them. Boards are never perfectly uniform; referencing the same faces keeps small irregularities from multiplying.
- Use the same tool for mating parts. If you mark a tenon with a particular gauge setting, mark its mortise with the same setting. Shared settings mean shared dimensions, even if the setting is a hair off absolute.
- Scribe, don’t draw, for joinery. Knife and gauge lines guide tools; pencil lines only guide eyes. Whenever a chisel or saw must stop at a line, scribe it.
- Keep your lines fine. A thick pencil line is 1 mm wide — which side of it do you cut? Thin lines remove the ambiguity.
- Label everything. Part names, “top,” “front,” and mating numbers (1↔1, 2↔2) written in pencil on waste areas prevent the all-too-common mystery of which part goes where during glue-up.
- Store squares and rules where they cannot get knocked. A dropped square can lose its accuracy silently. Hang them or keep them in a drawer, and re-check squareness periodically.
Common Layout Mistakes Beginners Make
| Mistake | Why it hurts | How to avoid it |
|---|---|---|
| Measuring from different ends on mating parts | Small differences stack; joints don’t align | Pick one reference end per project and stick to it |
| Trusting a dull pencil for fine marks | 1 mm of lead width = 1 mm of uncertainty | Use a mechanical pencil or knife for precision lines |
| Forgetting to mark the waste side | You cut the keeper instead of the offcut | X every waste area before picking up the saw |
| Setting the marking gauge by eye | Parallel lines end up not parallel | Always set the gauge against a steel rule |
| Chaining measurements down a board | Each measurement adds its error to the next | Measure each critical dimension from the reference edge |
| Marking across an unjointed edge | Lines follow the board’s wobble, not true | Establish one straight reference edge first |
| Rushing the layout to “get cutting” | Layout errors are the most expensive kind | Budget real time for marking; it’s part of the build |
Frequently Asked Questions
What are the most important woodworking marking tools for beginners?
The five essentials are a 12-inch combination square, a marking knife, a marking gauge, a tape measure paired with a 12-inch steel rule, and a pair of dividers. Together they handle squareness checks, precise scribed lines, parallel layout lines, accurate measurement, and transferring dimensions or dividing spaces equally. Add a mechanical pencil, a sliding bevel gauge, and a scratch awl as your work grows more ambitious.
Should I use a marking knife or a pencil for layout?
Use both. Reach for a pencil for rough work like breaking down lumber, jotting cut lists, and sketching layout you may change. Switch to the marking knife for joinery and any line a chisel or saw must follow exactly — the knife line is thinner, permanent, and severs wood fibers to create a channel that physically guides your cutting tool. A good rule is pencil for thinking, knife for committing.
How do I mark a perfectly straight line across a board?
Press a combination square’s stock firmly against a straight reference edge and draw along the blade with a sharp pencil or marking knife, keeping the marking point tight against the blade. For lines parallel to an edge — like mortise widths — a marking gauge is faster and more consistent than a square. Always verify the line by measuring from your reference edge at both ends before you cut.
What is the difference between a marking gauge and a mortise gauge?
A standard marking gauge has a single pin and scribes one line at a set distance from an edge. A mortise gauge has two independently adjustable pins, so it scribes both walls of a mortise (or both cheeks of a tenon) in a single pass, perfectly spaced. Beginners can do excellent work with a single-pin gauge by resetting it between lines; a mortise gauge is a worthwhile upgrade once you cut a lot of mortise-and-tenon joints.
How accurate do my markings really need to be?
It depends on the joint. For rough carpentry and shop projects, working to 1/16 inch (about 1.5 mm) is fine. For furniture joinery — dovetails, mortise and tenon — aim to mark within half a millimeter, because gaps that small are visible in a finished piece and gaps that big make joints weak. The good news is that marking tools like the knife and gauge make this level of accuracy routine rather than heroic.
Why do my gauge lines tear the wood instead of cutting cleanly?
Tearing usually means the pin is dragging upright and plowing fibers rather than slicing them. Tilt the gauge so the pin trails at a slight angle as you move, take two light passes instead of one heavy one, and make sure the pin is sharp — a quick touch with a fine file or stone restores it. For chronic cross-grain tearing, consider a wheel-type marking gauge, whose circular blade slices cleanly across fibers.
Can I start with just a pencil and a square?
Absolutely — a combination square and a sharp mechanical pencil will carry you through your first simple projects, and many beginners start exactly there. Add the marking knife next, because it is the single biggest leap in layout precision for the money. Then pick up a marking gauge, steel rule, and dividers as your projects start demanding tighter joinery. There is no need to buy everything at once.


