
If you have ever tried to cut a perfect 45-degree angle with a hand saw, you already know why beginners dream about a miter saw. A miter saw does one job brilliantly: it makes fast, accurate, repeatable crosscuts and angled cuts in boards, trim, and framing lumber. For shelves, picture frames, planter boxes, small tables, and trim work, it is arguably the most satisfying power tool a beginner can own, because the first cut usually looks right. If you are searching for the best miter saw for beginners woodworking, though, the choice can feel confusing. Single-bevel, dual-bevel, compound, sliding compound, 10-inch, 12-inch, corded, cordless — the labels pile up fast, and every review seems to recommend a different saw.
This guide cuts through that noise. It explains each type of miter saw in plain language, compares single-bevel and sliding compound saws for a first purchase, and walks you through the specifications that actually matter for a beginner: blade size, cutting capacity, motor power, weight, dust collection, and price. It then names the entry-level picks that recur again and again in beginner discussions — Metabo HPT, DeWalt, and Ryobi — and explains honestly where each one shines and where it falls short. Finally, it covers setup, your first cut, safety rules, common mistakes, and the first projects worth building.
Here is the short answer, so you can stop scrolling if you are in a hurry. For most beginners, a 10-inch sliding compound miter saw is the best first saw. It cuts wide boards that a non-sliding saw cannot, it bevels in one direction (which covers almost everything a beginner builds), and good entry models are now affordable enough that you do not need to buy a basic saw first and upgrade six months later. A compact single-bevel saw is still a sensible buy if your budget is tight, your workshop is tiny, or you will mainly cut narrow trim and 2×4 lumber. A 12-inch dual-bevel sliding saw, by contrast, is more saw than a beginner needs: heavier, pricier, and harder to move, with capacity you will rarely use in your first year. Start with the 10-inch sliding compound, learn on it, and let your projects — not a sales page — tell you if you ever need to upgrade.
One more framing point before we get into types. A miter saw does not replace every other saw. It is superb for crosscutting boards to length and cutting miters and bevels, but it cannot rip a plywood sheet down the middle or cut curves. That is why many beginners pair it with a circular saw, and why our guide to the best circular saw for beginners makes a natural companion read. Together, the two saws cover almost every cut a beginner project requires. If you can only buy one saw right now and your projects are mostly boards and trim, buy the miter saw. If your projects are mostly plywood sheets and shelving panels, buy the circular saw first and add a miter saw second. Either order works; what matters is understanding what each saw is for.
The Short Answer: Which Miter Saw Should a Beginner Buy First?
Buy a 10-inch sliding compound miter saw if you can stretch to it. The sliding action is the feature that changes what you can build. A non-sliding 10-inch saw typically crosscuts boards up to about 5 or 6 inches wide at 90 degrees. Slide the head forward and back, and the same size saw cuts boards 10 to 12 inches wide — wide enough for shelving boards, stair treads, wide trim, and the face of a small bookshelf. That extra capacity means fewer workarounds, fewer flipped cuts, and fewer moments where a board is simply too wide for your saw.
Buy a compact single-bevel miter saw if budget or space is the deciding factor. These saws are lighter, simpler, and cheaper, and they still cut miters beautifully in narrow boards. If your first projects are picture frames, small boxes, planter boxes, and trim, a single-bevel saw will serve you well for a long time. The trade-off is real, though: when you eventually want to cut a wide shelf board or a 1×12, you will either need a different saw, a circular saw with a guide, or a two-pass workaround that rarely looks as clean.
Do not buy a 12-inch dual-bevel sliding saw as your first saw unless you have a specific reason, such as cutting large crown moulding professionally or working with wide hardwood boards every week. It weighs significantly more, takes up more bench space, costs substantially more, and its blades cost more too. Dual-bevel — tilting both left and right — sounds useful, and for crown moulding specialists it is, but beginners can flip the board to make the opposite bevel on a single-bevel saw. That one flip saves you money, weight, and complexity in your first year.
Corded versus cordless is a secondary decision. Almost every beginner should buy corded for a first miter saw. Miter saws live on a bench or a stand in one place, they draw serious power, and a corded saw gives you full power all day for less money. Cordless miter saws make sense for trim carpenters who carry a saw from room to room or job site to job site, but they cost more once batteries are included, and a beginner working in a garage gains nothing from portability they will not use. Spend the cordless premium on a better blade, a stand, and safety gear instead.
Miter Saw Types Explained: Miter, Compound, and Sliding Compound
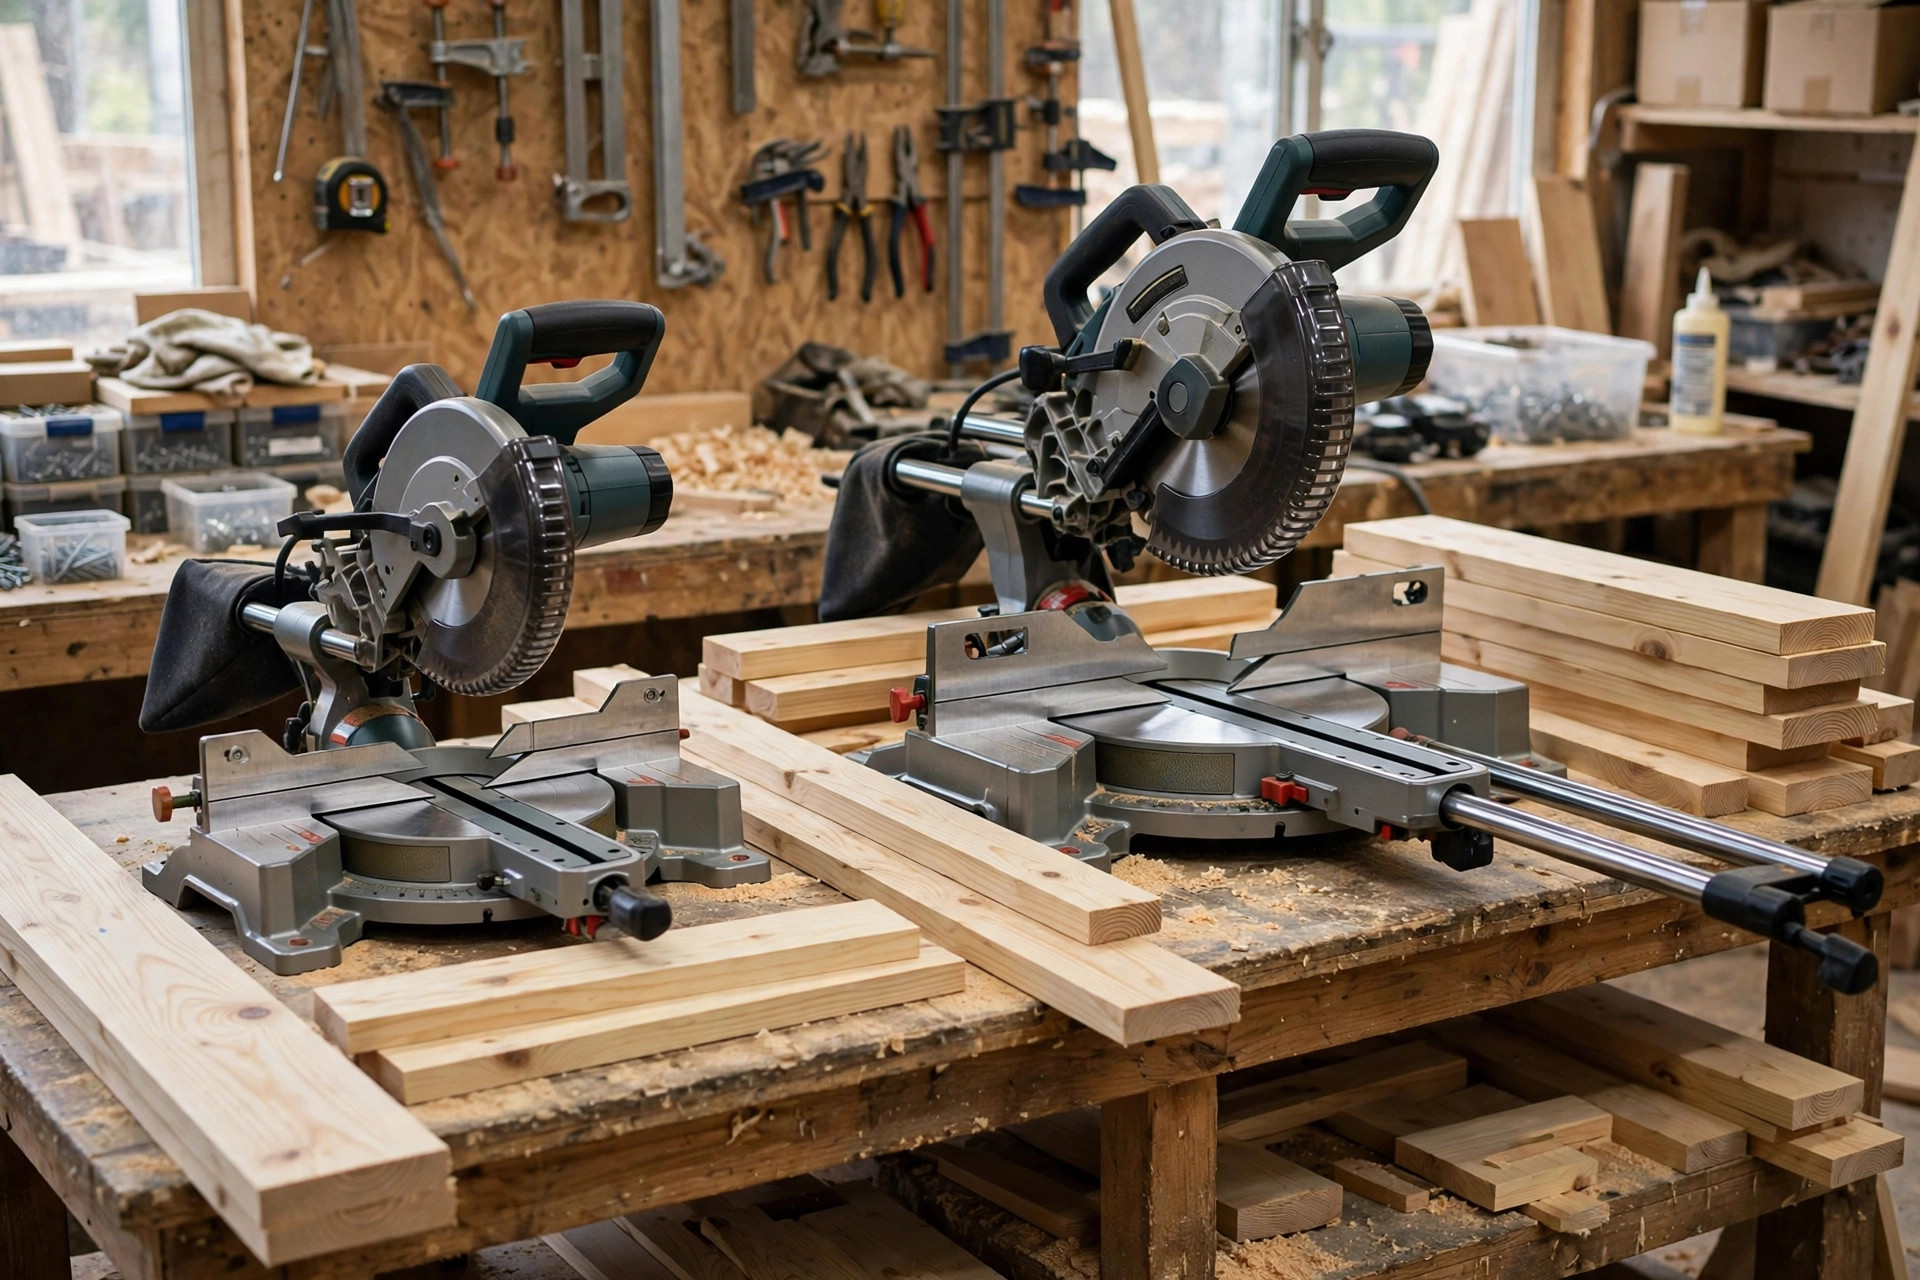
Every miter saw starts from the same idea: a circular blade mounted on an arm that pivots down onto a board held against a fence. The differences are in which angles the saw can cut, and whether the blade can slide. Understanding those two ideas is enough to read any product listing with confidence.
A basic miter saw, sometimes called a chop saw, pivots left and right to cut miters — angled cuts across the face of a board, like the 45-degree corners of a picture frame. It cannot tilt to cut bevels, which are angled cuts through the thickness of the board. It is simple, accurate, and limited, and few beginners buy one today because compound saws cost only a little more.
A compound miter saw adds bevel: the blade tilts to one side, usually to the left, up to 45 degrees (sometimes 48 degrees). That single tilt lets you cut compound angles — a miter and a bevel at the same time — which is how crown moulding and angled trim joints are made. A single-bevel compound saw tilts left only. A dual-bevel compound saw tilts both left and right, so you never have to flip the board. For beginners, single-bevel is enough; flipping a board is free, and dual-bevel is a convenience, not a capability you lack without it.
A sliding compound miter saw adds rails. The saw head slides forward and back along those rails, so the blade travels across a much wider board. This is the type most beginners should buy, for the capacity reason explained above. Sliding saws are heavier and need more depth on the bench (room for the rails behind the saw), but that is a small price for doubling your crosscut width. Note that sliding saws also need a little more care in setup: the rails must slide smoothly, and you must learn the correct sliding technique, pulling the head out, lowering the blade, then pushing through the cut, which we cover in the first-cut steps below.
| Saw type | Miters | Bevels | Typical 90° crosscut (10 in) | Best for a beginner | Main limitation |
|---|---|---|---|---|---|
| Basic miter (chop) saw | Yes | No | ~5–6 in wide | Rarely recommended now | No bevel cuts at all |
| Single-bevel compound | Yes | Left only | ~5–6 in wide | Tight budgets, narrow trim, small workshops | Narrow boards only; flip board for right bevels |
| Dual-bevel compound | Yes | Left and right | ~5–6 in wide | Crown moulding enthusiasts | Costs more for a convenience most beginners rarely need |
| Single-bevel sliding compound | Yes | Left only | ~10–12 in wide | Best first saw for most beginners | Heavier; needs bench depth for rails |
| Dual-bevel sliding compound | Yes | Left and right | ~10–12 in wide (12 in wider still) | Upgrade later, or heavy trim work | Heaviest, priciest, dearest blades |
Read that table with your actual projects in mind, not with a wish list. If every project you plan this year uses boards narrower than 6 inches, the non-sliding single-bevel saw is genuinely enough, and the money you save buys blades and a stand. If even one planned project uses a shelf board, a stair tread, or a wide pine board, the sliding saw earns its price on that project alone. Beginners often underestimate how quickly they graduate from narrow trim to wide boards; that is why the sliding compound is the default recommendation here, even though the simpler saw is not a bad saw.
Blade Size, Power, and Cutting Capacity: What a Beginner Actually Needs
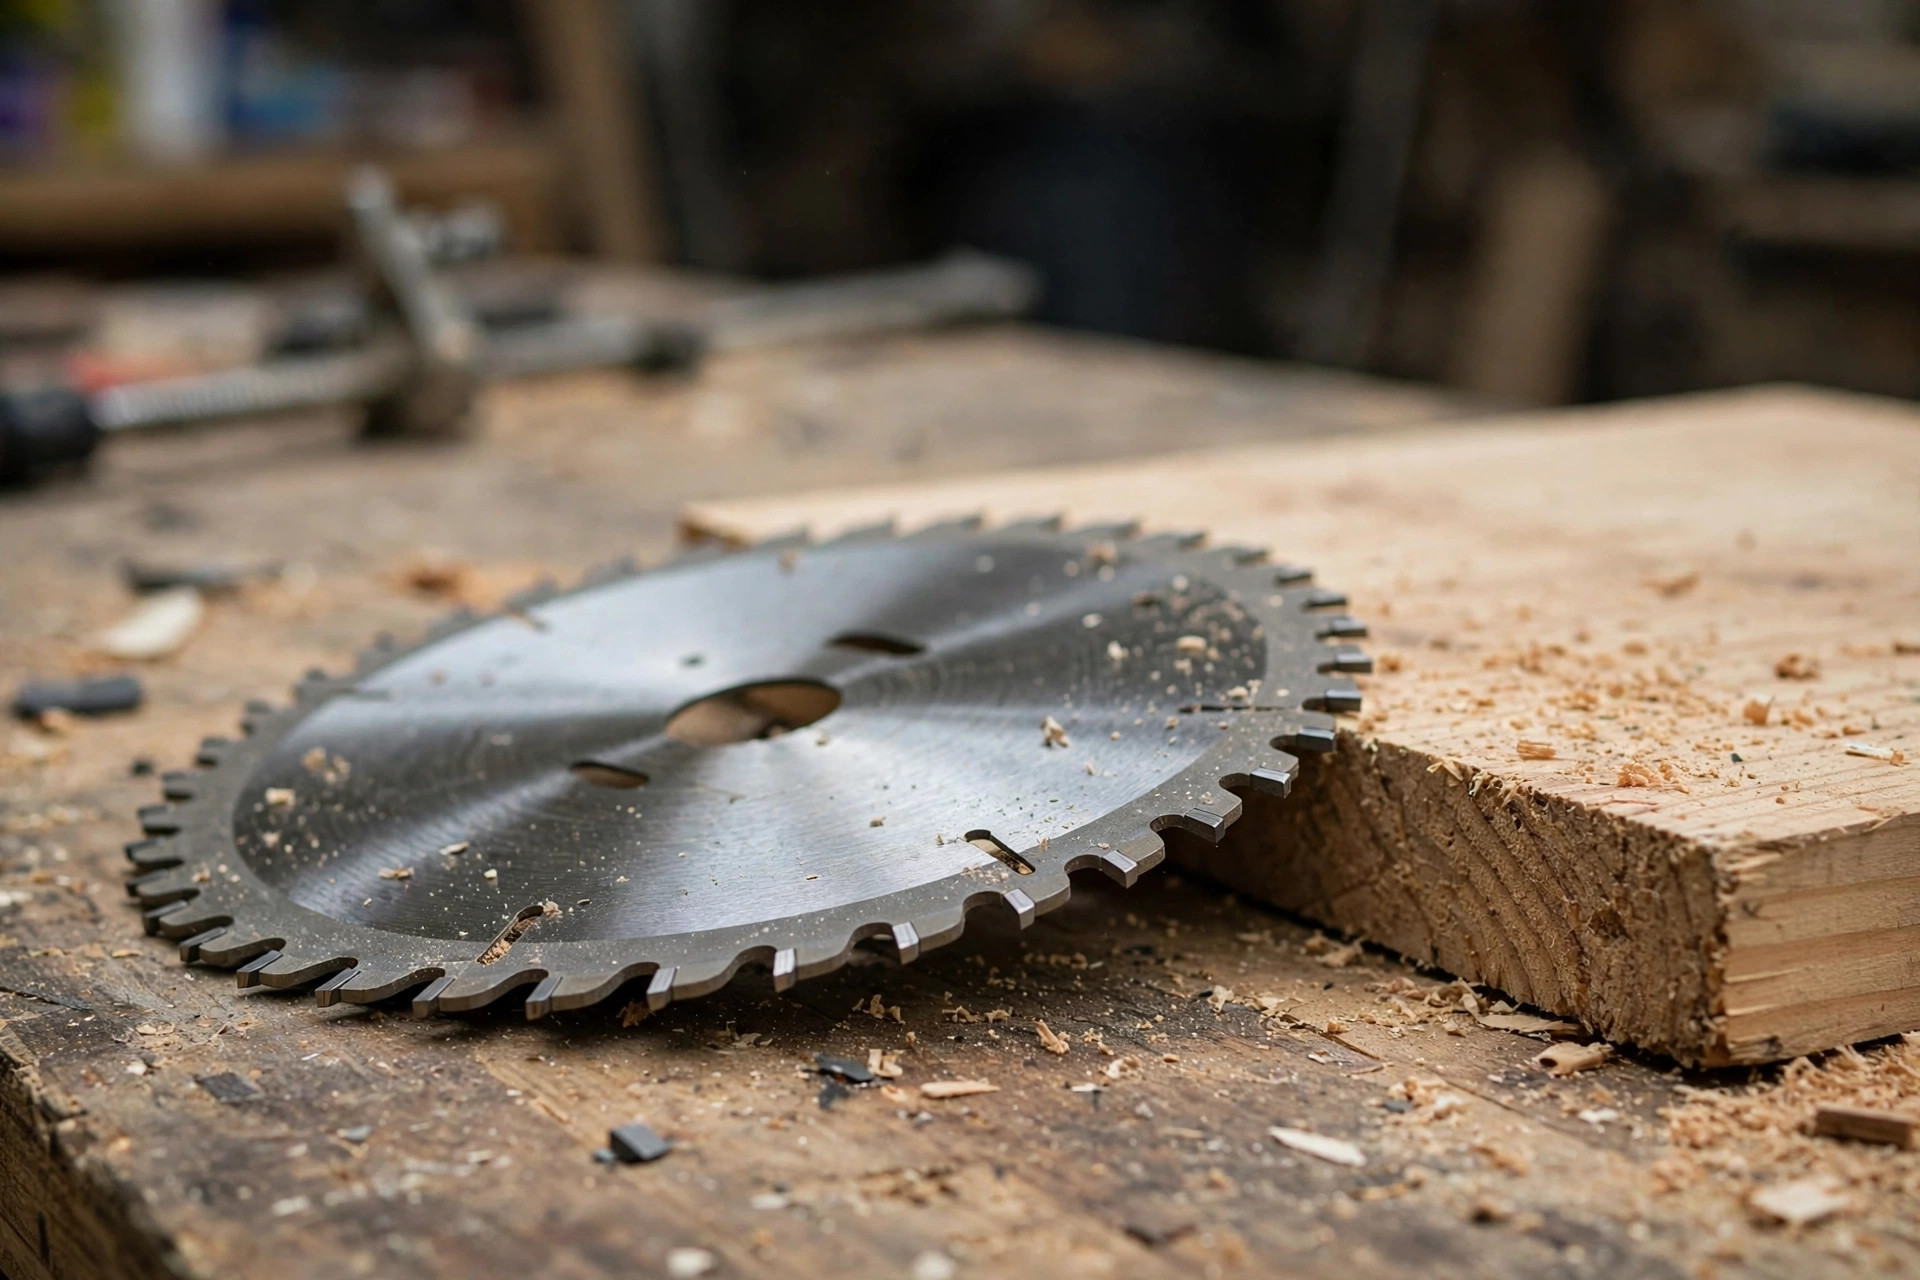
Blade size is the number that drives everything else: capacity, weight, blade price, and how much bench space the saw needs. For beginners, the choice is really between 10-inch and 12-inch, and 10-inch wins for a first saw in almost every case.
A 10-inch sliding compound saw cuts boards up to about 12 inches wide and about 3 to 4 inches thick at 90 degrees, depending on the model, and it handles 2x lumber, 1x boards, trim, and shelving with ease. Its blades are cheaper, more widely available, and lighter to change. The saw itself is lighter and easier to lift onto a stand or into a car. A 12-inch saw cuts wider still — often 13 to 14 inches — and cuts thicker material at a bevel, but it weighs 10 to 20 pounds more, its blades cost roughly twice as much, and it dominates a small workbench. Unless you regularly cut 4x lumber or very wide hardwood, the 12-inch capacity sits unused while you pay for it on every lift, every blade change, and every square foot of bench.
Motor power is simpler than it looks. Most corded miter saws are rated at 15 amps, and that is plenty for beginner work in pine, plywood, poplar, and even oak, provided the blade is sharp and you feed at a sensible pace. Do not chase a higher amp number; a 15-amp saw with a good 40-tooth or 60-tooth blade will outperform a more powerful saw with a dull stock blade. Cordless saws are rated by voltage instead, typically 18V or 20V, and their real-world power depends heavily on the battery size, so a cordless saw on a small battery will feel weaker than the same saw on a large one. That is one more reason corded is the simpler first buy.
Cutting capacity numbers on product pages deserve a careful read. Manufacturers quote maximum crosscut width, maximum crosscut depth, maximum miter angle (usually 45 to 50 degrees each way), and maximum bevel angle (usually 45 to 48 degrees, sometimes 45 degrees left and right on dual-bevel models). The number that matters most day to day is crosscut width at 90 degrees, because that is the cut you make most often. Check it for the exact model, not the product family, because two saws with the same blade size can differ by an inch or two. Also check the fence height: a taller fence supports tall trim and crown moulding standing upright, while a short fence can make tall pieces feel wobbly. For beginners, a fence height around 3 to 4 inches is comfortable for most work.
Finally, think about dust collection from the start. Miter saws are famously messy: the blade throws sawdust forward and sideways, and the small dust bag included with most saws catches only a fraction of it. A dust port that accepts a shop vacuum hose makes a real difference, and a simple shroud or a dust hood behind the saw catches much of the rest. You will still sweep up, but you will breathe less dust and see your cut lines more clearly. If two otherwise equal saws differ on dust port size and placement, choose the one that connects cleanly to the vacuum you already own.
Beginner Entry Picks: Metabo HPT, DeWalt, and Ryobi Compared
The three names that recur most often in beginner miter saw discussions are Metabo HPT, DeWalt, and Ryobi, and each one represents a different value proposition. Prices move with sales and bundles, so treat the bands below as a guide, and always check what is included — a stand, a blade, and a dust bag are not always in the box.
Metabo HPT (formerly Hitachi) is the classic budget-to-mid-range answer. Its 10-inch sliding compound saw, the C10FSHS and its relatives, is repeatedly praised for smooth sliding action, a compact rail design that needs less depth behind the saw, and a price that leaves room in the budget for a stand and blades. Beginners like its relatively light weight for a sliding saw and its straightforward controls. Watch out for the stock blade, which is serviceable but not fine-finishing quality, and for dust collection, which benefits from a vacuum connection rather than the included bag alone. If your budget is the main constraint and you still want sliding capacity, Metabo HPT is usually the first name to check.
DeWalt is the step-up pick, and the name most professionals reach for when they buy their own saw. Its 10-inch sliding compound models, such as the DWS779 and the DWS780 range, are known for a rigid, accurate fence system, a smooth and repeatable miter detent system with common angles that click into place, and a robust build that holds its accuracy over years of use. The DWS780 adds an LED cut-line light system that shadows the blade onto the board, which beginners find genuinely helpful for lining up cuts. The trade-offs are price and weight: DeWalt sliding saws cost noticeably more than Metabo HPT equivalents and weigh more, so they suit a beginner who is confident they will use the saw heavily and wants to buy once rather than upgrade later.
Ryobi is the value and ecosystem pick. Its 10-inch sliding compound saw is the cheapest of the three, it is widely available, and it fits naturally if you already own Ryobi drills, drivers, or other tools, because the brand’s battery platform and accessory ecosystem are familiar. For light beginner use — weekend frames, shelves, planter boxes, and trim — the Ryobi sliding saw is perfectly capable, and its low price makes the first-saw decision much less stressful. The honest caveats are accuracy and longevity under heavy use: the fence and detent system are less refined than DeWalt’s, the sliding action can feel less smooth, and a beginner who later starts building daily may outgrow it sooner. That is not a failure; it is the trade you make for the lowest entry price, and many beginners happily keep a Ryobi saw for years.
| Entry pick | Type (typical) | Blade | Approx. price band | Weight feel | Best for | Watch out for |
|---|---|---|---|---|---|---|
| Metabo HPT 10 in sliding compound | Single-bevel sliding compound | 10 in | Budget to mid-range | Lighter for a slider | Best value sliding capacity, small workshops | Upgrade the stock blade; connect a vacuum for dust |
| DeWalt 10 in sliding compound | Single or dual-bevel sliding compound | 10 in | Mid-range to premium | Heavier, very solid | Buy-once accuracy, frequent use, cut-line light on higher models | Price and weight; check whether a stand is included |
| Ryobi 10 in sliding compound | Single-bevel sliding compound | 10 in | Budget | Lighter | Lowest-cost entry, light weekend use, existing Ryobi owners | Less refined fence and slide feel; may be outgrown sooner |
| Compact single-bevel (any brand) | Single-bevel, non-sliding | 10 in | Lowest | Lightest | Tiny workshops, narrow trim only | Wide boards need another saw or a workaround |
How should you choose among them? Start with your honest usage. If you will use the saw a few weekends a month for frames, shelves, and boxes, Metabo HPT or Ryobi will both serve you well, and the money saved buys a good blade and a stand. If you plan to build almost every weekend, sell projects, or do trim work around the house, DeWalt’s accuracy and durability are worth paying for, because a saw that stays accurate is a saw you trust. If you already own tools from one of these brands, staying in that ecosystem simplifies batteries, chargers, and service, though for a corded miter saw that matters less than it does for cordless tools. And whatever you choose, budget for a blade upgrade on day one: the stock blade is where manufacturers save money, and a sharp 60-tooth fine-finish blade transforms any of these saws.
Buying Guide: The Checklist Before You Pay
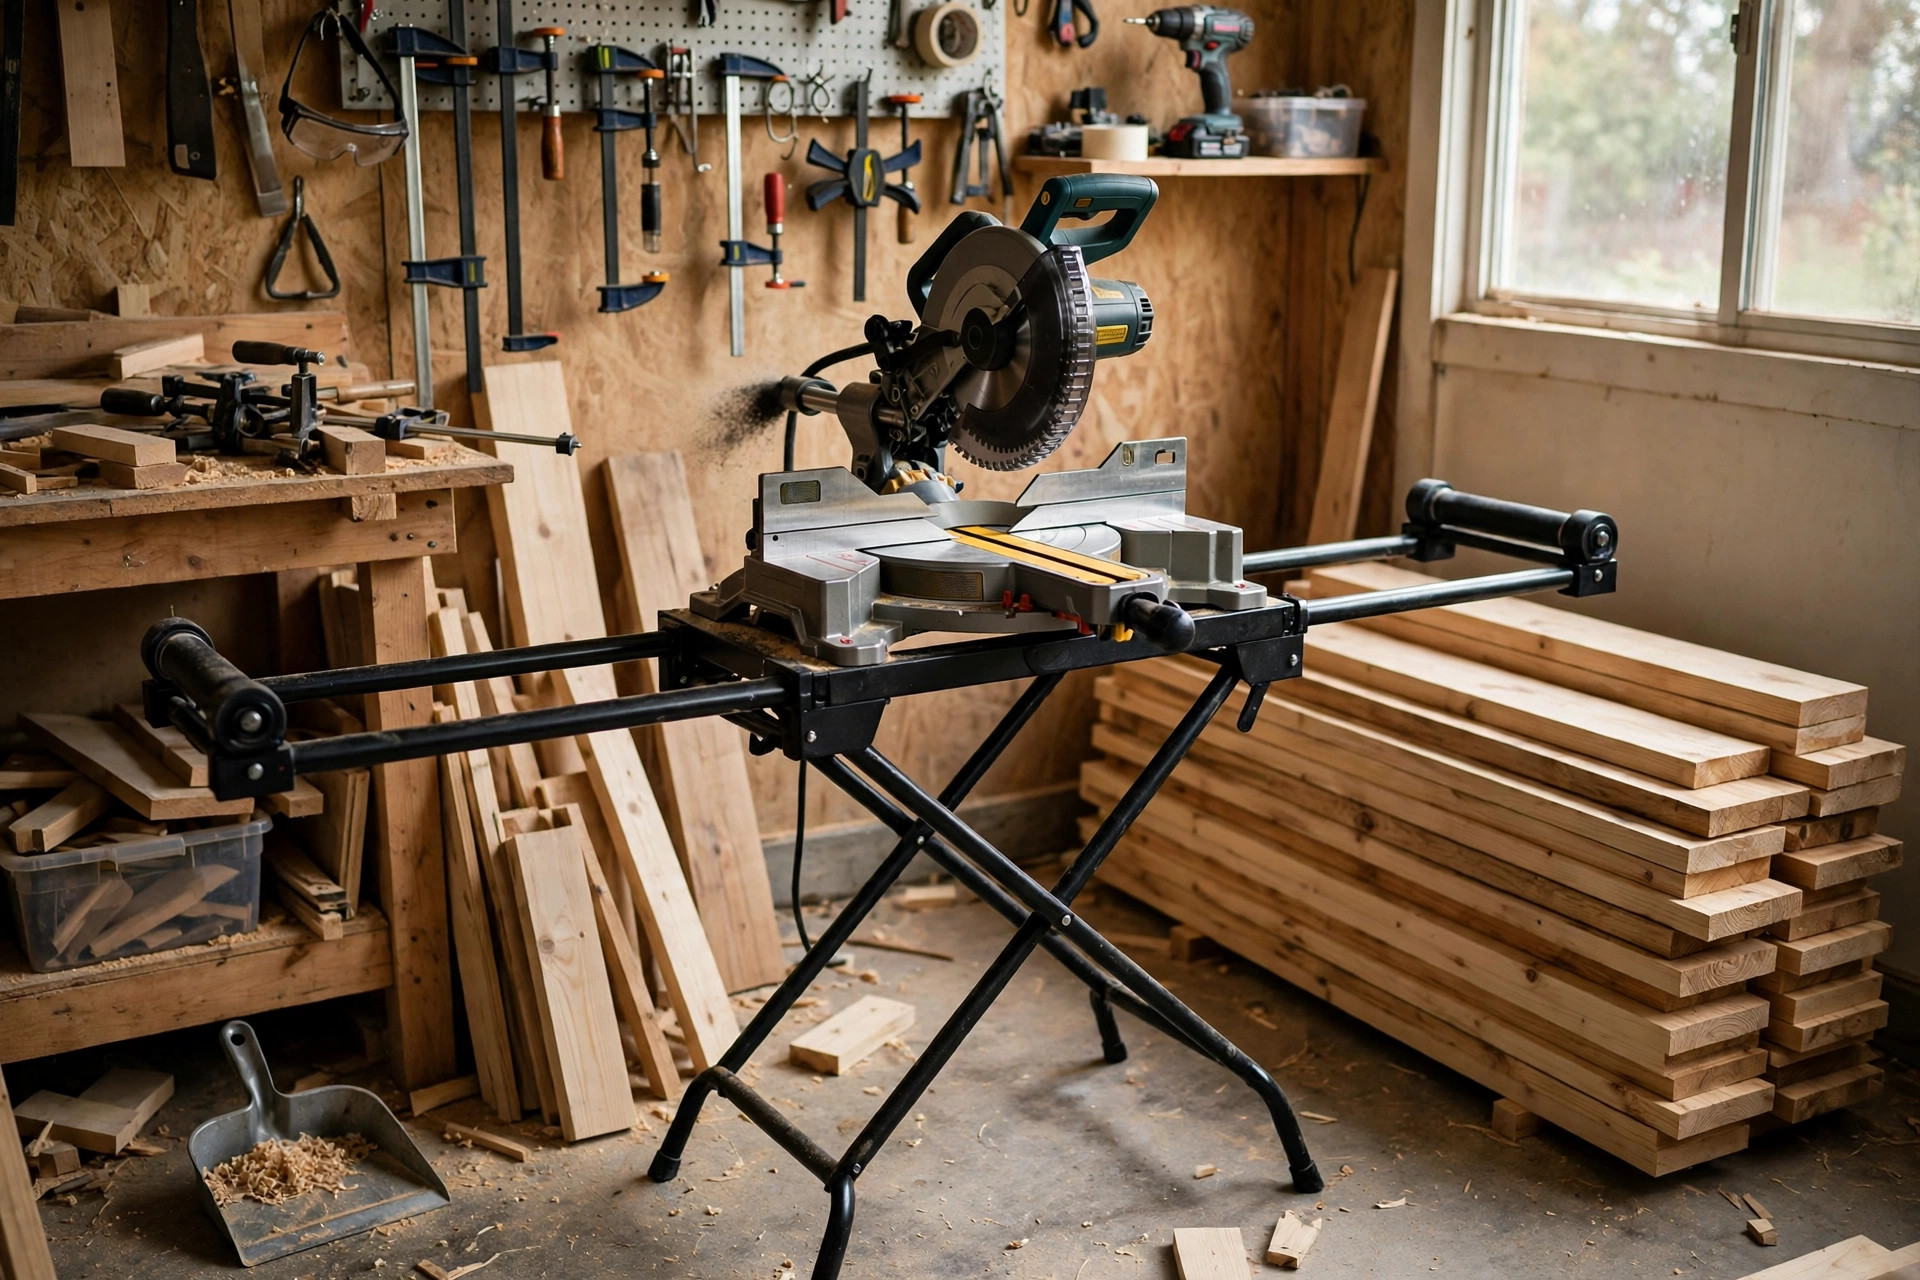
Before you hand over money, run through this checklist, ideally with the saw in front of you in a store, or by reading detailed reviews and manuals if you are buying online. First, check the miter detents: the common angles (0, 15, 22.5, 30, 45 degrees) should click in positively and repeatably, with no wobble when locked. A saw whose detents feel vague will frustrate you on every frame corner. Second, check the bevel lock: tilt the blade to 45 degrees, lock it, and confirm it does not drift when you press gently on the head. Third, slide the head fully forward and back: it should glide smoothly with no grinding, sticking, or side-to-side play at full extension.
Fourth, look at the fence. It should be straight, tall enough for your trim, and firmly fixed with no flex when you press a board against it. Some fences have a sliding left section for bevel cuts; make sure it moves and locks cleanly. Fifth, check the blade guard and the hold-down clamp. The guard should retract smoothly as the head lowers and return fully when the head rises, and the clamp should hold a board firmly without marring it. A missing or broken clamp is not a deal-breaker — you can clamp by hand or with a separate clamp — but a sticky guard is a safety problem, so test it.
Sixth, think about where the saw will live. A sliding saw needs depth: measure the saw’s footprint including the rails at full slide, add room for the board to extend on both sides, and make sure your bench or stand can hold it. A dedicated miter saw stand is one of the best accessories a beginner can buy, because it holds the saw at a comfortable working height, supports long boards on both sides, and folds away when you need the floor space. If a stand is not in the budget yet, a sturdy workbench at waist height works, and our guide to how to build a simple workbench for beginners will help you build one that suits a miter saw. Finally, check the warranty and the availability of replacement parts and blades in your area. A saw you cannot get blades for locally is a saw that will sit idle while you wait for deliveries.
Quick In-Store Checklist
- Miter detents click firmly at 0, 15, 22.5, 30, and 45 degrees with no wobble when locked.
- Bevel lock holds at 45 degrees without drifting when you press gently on the head.
- Sliding head glides smoothly to full extension with no grinding or side-to-side play.
- Fence is straight, tall enough for your trim, and does not flex under pressure.
- Blade guard retracts smoothly and returns fully, and the dust port fits your vacuum hose.
Setup and Your First Cut: Step by Step
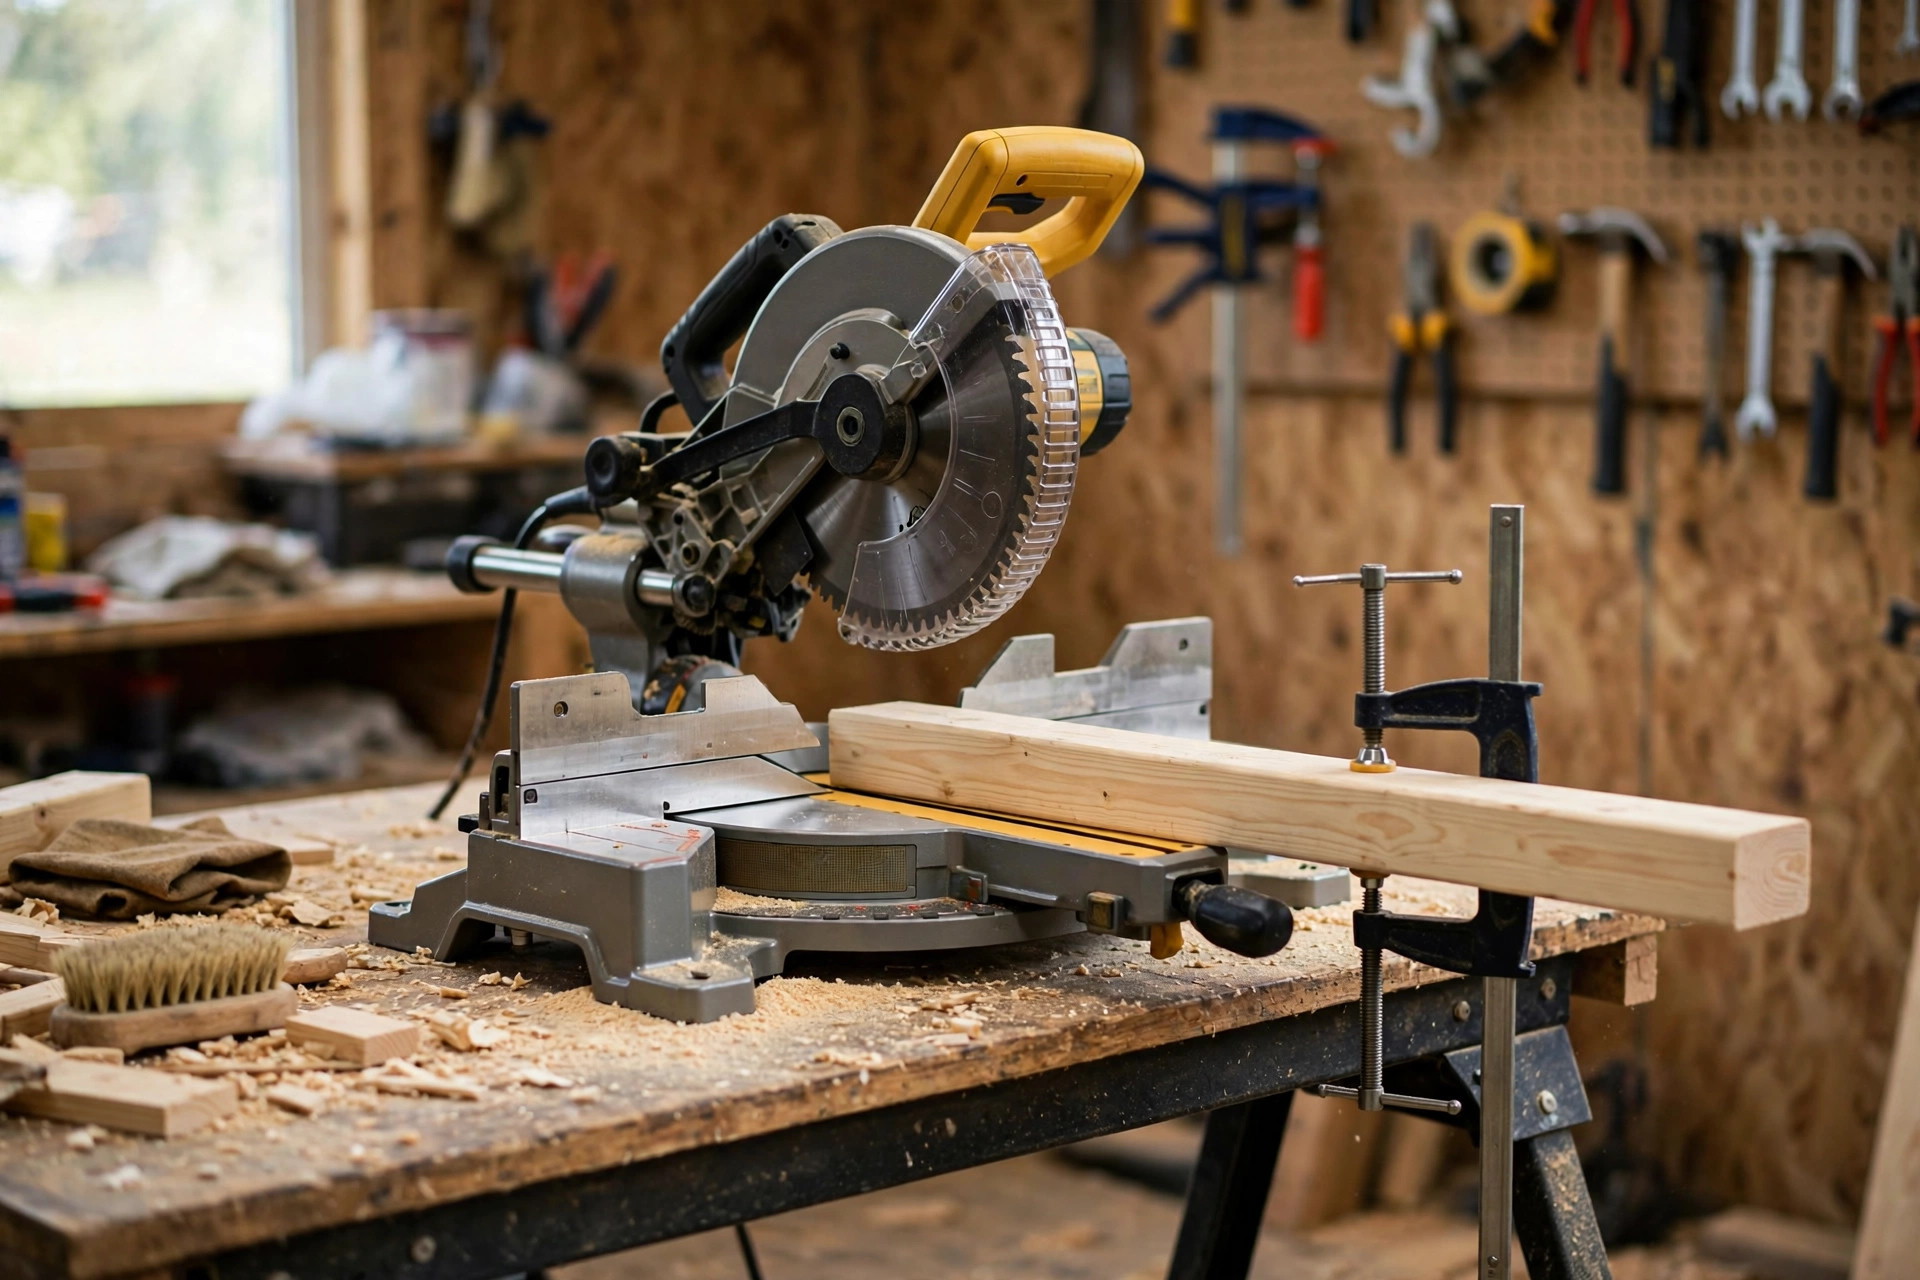
Setup matters more than brand for your first cuts. A well-set-up budget saw cuts straighter than a premium saw thrown on a wobbly table, so take twenty minutes to do this properly before you cut anything important.
- Place the saw solidly. Set the saw on a flat, stable bench or stand at a height where your forearms are roughly horizontal when you hold the handle. Bolt or clamp the saw down if your stand allows it; a saw that shifts mid-cut is dangerous and inaccurate. Make sure long boards are supported on both sides of the saw at the same height as the saw table, using roller stands, sawhorses with a board on top, or the wings of a miter stand. An unsupported board end will droop, pinch the blade, and spoil the cut.
- Check square. With the saw unplugged, lower the blade and hold a reliable square against the fence and the blade plate (not the teeth). The blade should be exactly 90 degrees to the fence at the 0-degree miter setting, and the blade should be vertical at the 0-degree bevel setting. Most saws have adjustment screws for both, and your manual will show where they are. Check this once when the saw is new, and again if the saw is dropped or transported. A saw that is out of square by even half a degree will show it in every frame corner.
- Fit a good blade. Replace the stock blade with a sharp 40-tooth general-purpose blade, or a 60-tooth blade if your first projects are fine trim and plywood. Unplug the saw first, follow the manual for the arbor lock and wrench, and confirm the blade rotates in the direction marked on the saw. Keep the stock blade for rough cuts and demolition, and keep your good blade for visible work.
- Mark and measure. Measure twice, mark clearly, and remember that the blade removes a kerf — the width of the cut, about an eighth of an inch — so decide which side of your line the blade should cut on. For a board cut to an exact length, mark the length, align the blade to the waste side of the line, and cut. For a frame, cut one 45-degree end first, then measure from the inside of that miter to mark the second end. Measuring from the wrong point is the most common beginner framing error.
- Clamp or hold firmly. Hold the board firmly against the fence with one hand, well away from the blade path, or use the hold-down clamp if your saw has one. Keep your free hand at least six inches from the blade path at all times, and never cross your hands over the blade. Small offcuts should be cleared with the saw off and the blade stopped, never with your fingers near a spinning blade.
- Make the sliding cut correctly. For a sliding saw, pull the head fully toward you, lower the blade into the board, then push the head smoothly away from you through the cut, letting the blade do the work. Do not force it, and do not lift the blade while it is still in the cut. For a non-sliding saw, simply lower the blade steadily through the board. When the cut is complete, keep the head down, release the trigger, wait for the blade to stop completely, and only then raise the head. Raising a spinning blade through a cut piece can throw the offcut or nick the finished edge.
- Check the result. Measure the cut piece, check the angle with a square or a speed square, and look at the edge. A clean cut needs almost no sanding. If the edge is rough, burnt, or splintered, check the blade sharpness, your feed rate, and whether the board was held firmly — in that order — before blaming the saw.
Practise this sequence on scrap pine before your first real project. Cut five boards to the same length and check that they match. Cut four 45-degree miters and dry-fit them into a frame corner to see if the joint closes cleanly. That half hour of practice teaches you the saw’s feel, its sound when cutting well, and the feed rate that produces clean edges, and it will save you from ruining good lumber on your first project.
Safety Rules Every Beginner Must Follow
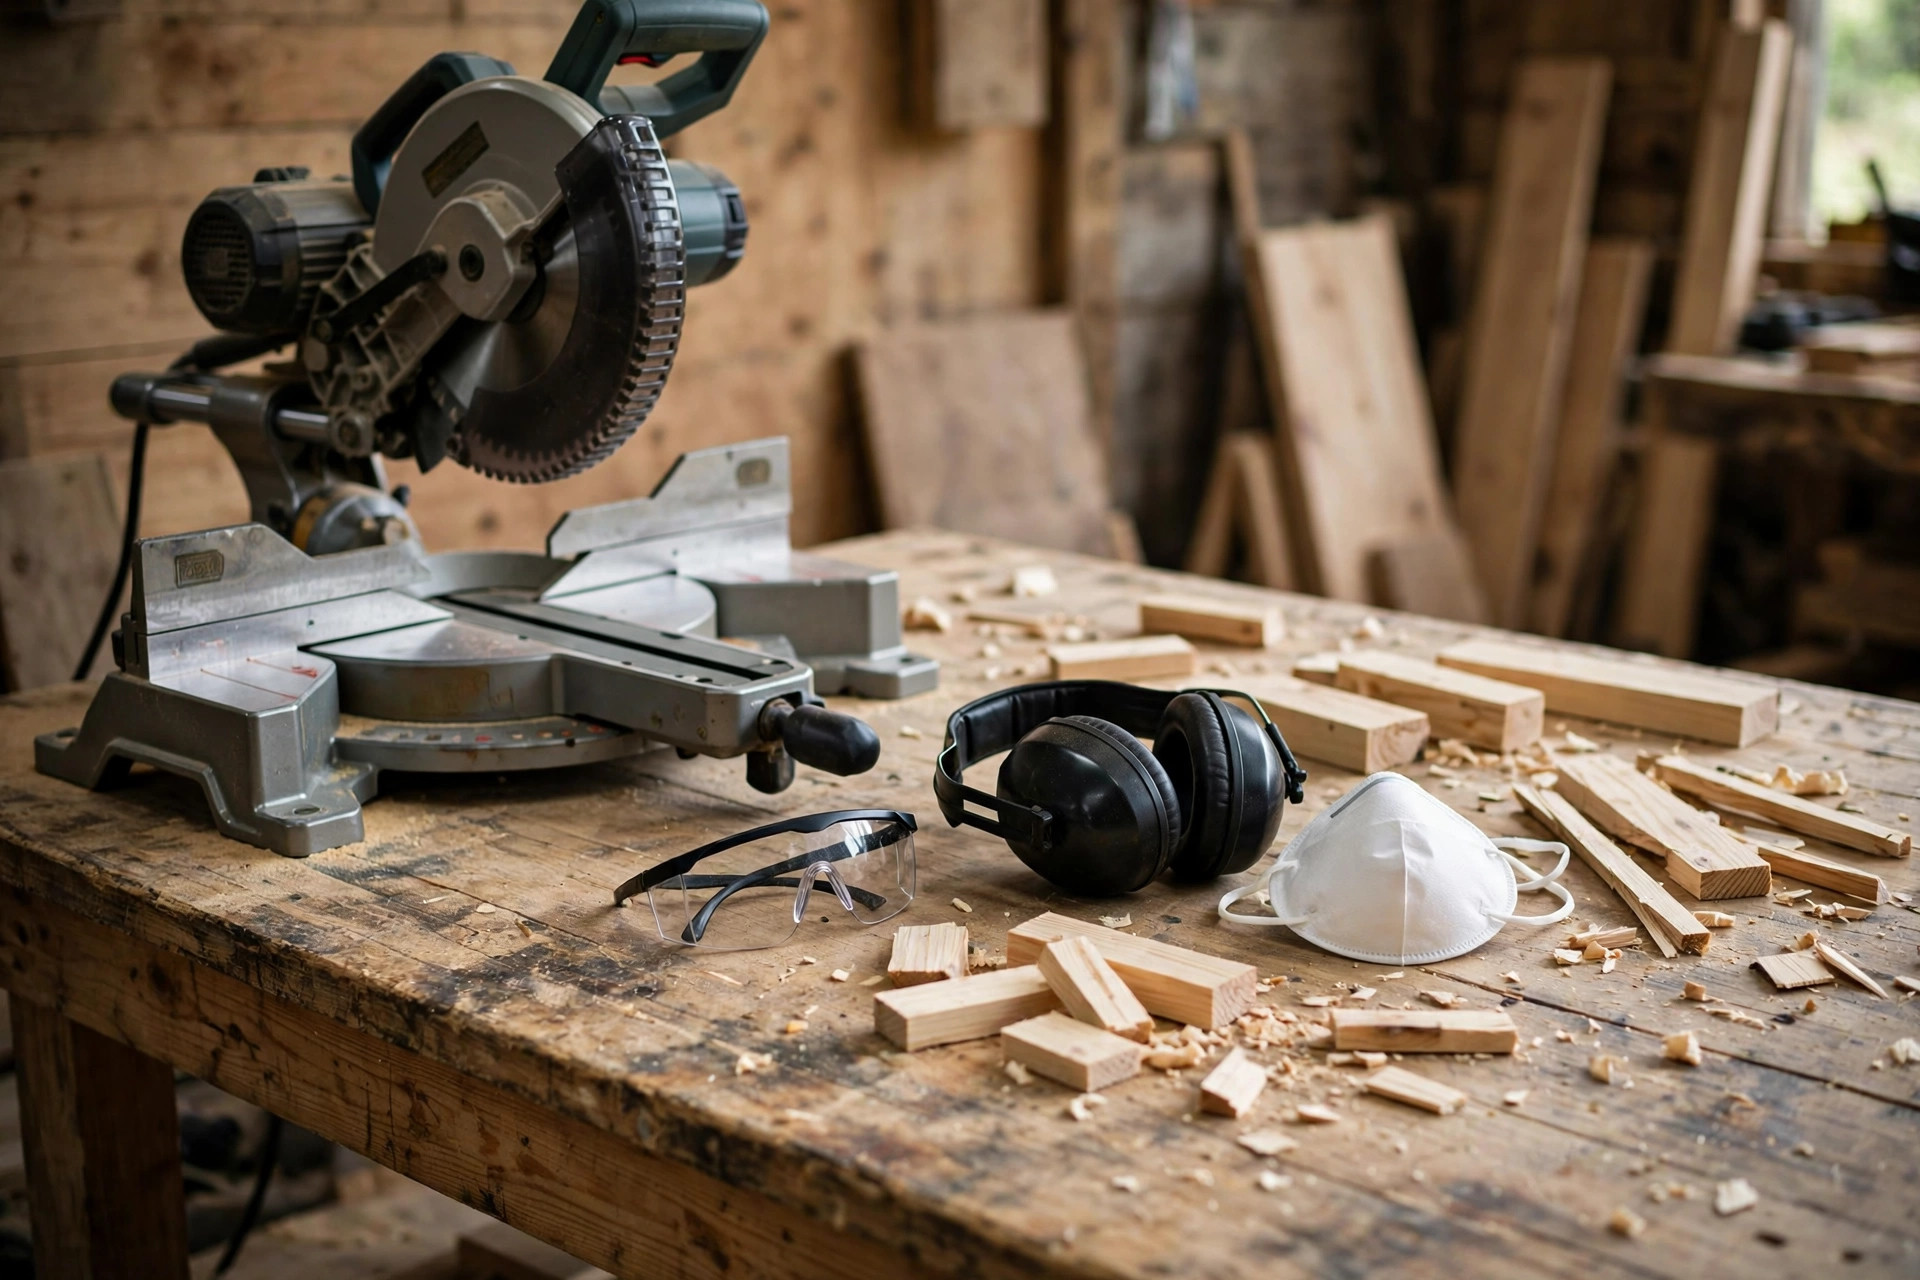
A miter saw feels safe because the blade is guarded and the cut is controlled, but it is still a powerful spinning blade, and respect for it must become automatic. Start with the full safety picture in our guide to woodworking safety tips for beginners, and then apply these miter-saw-specific rules every single time.
Wear safety glasses that fit well, hearing protection, and a dust mask, especially when cutting plywood or MDF. Tie back long hair, remove loose sleeves, jewellery, and lanyards, and do not wear gloves while operating the saw — a glove caught by a blade pulls a hand in faster than bare skin, which is why experienced woodworkers keep gloves off for sawing. Keep the blade guard working: never tie it up, wedge it open, or remove it to see the cut better. If the guard sticks, clean it and fix it before cutting, because a saw without a working guard is a saw that should not be used.
Never reach under or behind the blade path, never cut freehand without the board against the fence, and never cut a board shorter than the minimum length your manual specifies — small pieces can be thrown or can pull your hand toward the blade. Cut small pieces with a jig, a clamp, or a longer board that you trim to size, rather than holding a tiny offcut by hand. Unplug the saw, or lock it out, whenever you change a blade, adjust the fence, or clear a jam, and wait for the blade to stop completely before lifting the head, moving the board, or reaching for the offcut. Finally, keep children and visitors out of the cutting zone, keep the floor clear of offcuts you could trip on, and keep a first-aid kit within reach. These rules sound strict, but they become habit within a week, and they are what separate a confident beginner from a lucky one.
Dust, Noise, and Cleanup
Miter saws throw dust further than beginners expect, so connect a shop vacuum to the dust port whenever you can and sweep up between cuts. A clean bench is not just tidiness: dust under a board can tilt it slightly and spoil an otherwise perfect cut. Hearing protection matters too, because repeated short bursts of saw noise add up over a long building session. Finish each session by unplugging the saw, brushing dust off the fence and table, and storing offcuts safely, so your next session starts clean and safe.
Common Beginner Mistakes (and How to Fix Them)
Most beginner miter saw problems are measurement and setup problems, not saw problems. The most common is measuring to the wrong side of the blade: you mark 24 inches, cut on the line, and end up with a board 24 inches minus the kerf, or plus it, depending on which side you cut. Fix it by always deciding, before you cut, which side of the line is waste, and aligning the blade to that side. The second most common is trusting the saw’s scale without checking square, so every frame corner is a degree off and the last joint will not close. Fix it with the square check in the setup steps above, and re-check after moving the saw.
Other mistakes are easy to spot once you know them. Cutting with a dull blade produces burnt, rough edges and a straining motor; fix it with a fresh blade, not with more pushing force. Forcing the cut, especially on a sliding saw, produces a rough edge and can deflect the blade; let the blade cut at its own pace, and listen for a steady cutting sound rather than a labouring one. Lifting the blade before it stops can nick the finished edge or throw a small offcut; wait for full stop, every time. Cutting a long board without side support lets the end droop and pinch the blade; support both sides at table height. And cutting crown moulding flat when it should be cut nested against the fence, or vice versa, produces angles that look right on paper but do not fit on the wall; practise crown cuts on scrap, and mark the orientation of each piece before you cut.
One final mistake is buying accessories before mastering the basics. A laser guide, a digital angle gauge, and a premium blade collection will not fix a saw that is out of square or a measuring habit that ignores the kerf. Master the square check, the kerf, and the sliding technique first, with one good blade, and add accessories only when you can name the specific problem each one solves.
First Projects to Build With Your New Miter Saw
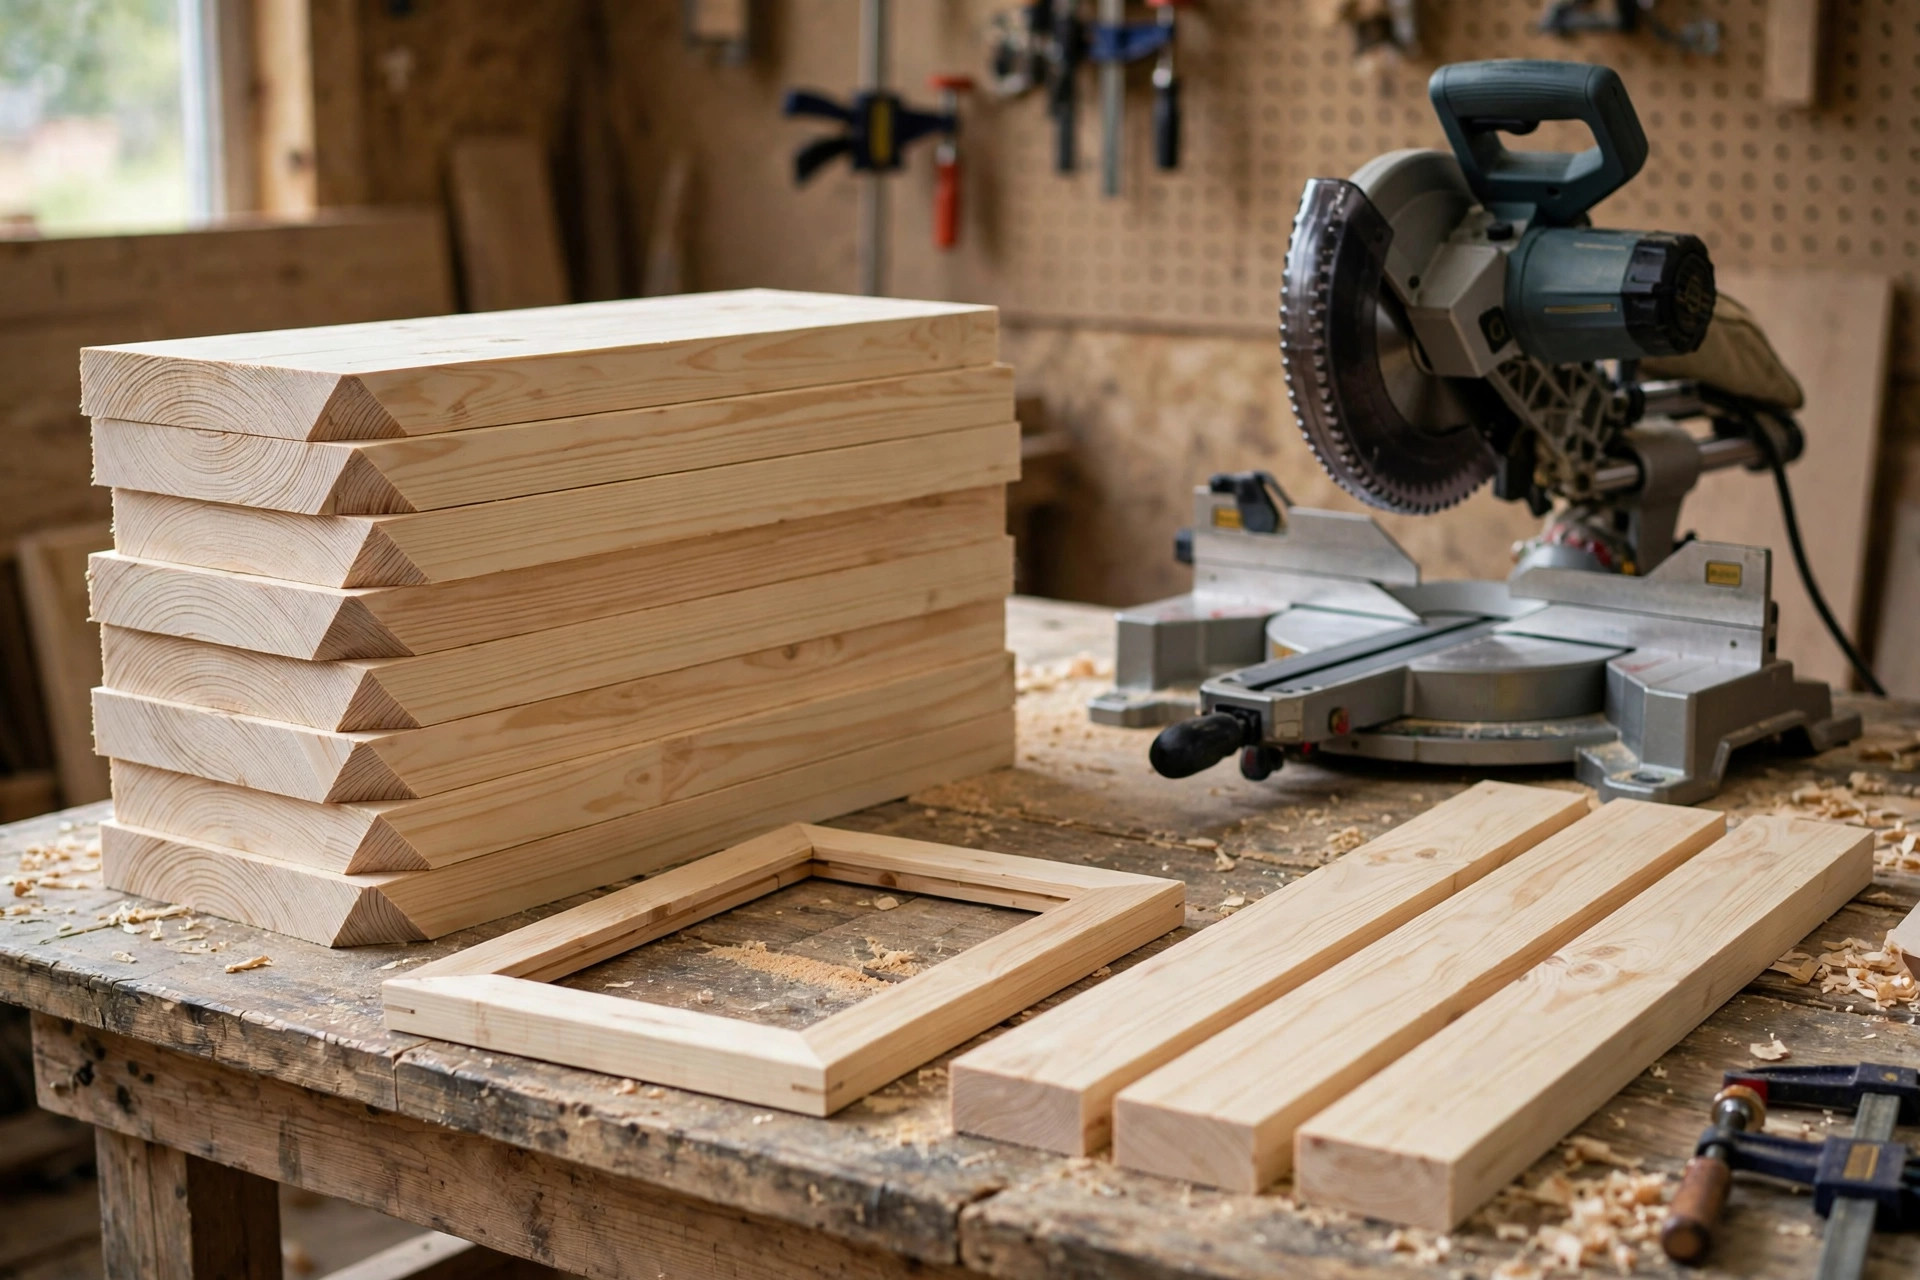
Once you can cut square and mitred boards repeatably, a miter saw opens up a satisfying range of first projects. Start with a picture frame: four boards, four 45-degree miters, glue, and a simple finish. It teaches measuring from the inside of the miter, clamping a frame square, and sanding a joint flush, and it produces something you can hang the same day. Next, build a planter box or a small crate, which adds repeated cuts to the same length — a perfect exercise in consistency — and simple butt joints or screws.
Then try a wall shelf, a small stool, or a serving tray with mitred sides. These projects introduce bevels, wider boards that justify the sliding saw, and finishes that show off clean cuts. As your confidence grows, try a simple side table or a bookshelf, where the miter saw cuts the frame and aprons to length while a circular saw or a hand saw handles the panels. If you enjoy the selling side of woodworking, these are also the kinds of projects that appear in our pillar guide to easy woodworking projects for beginners that sell, because buyers notice square assembly, tight miters, and smooth finishes far more than they notice the brand of saw that made them.
Keep the same project rule used for circular saws: if a project needs ten cuts you have never tried, simplify it; if it needs one new cut plus nine you know, build it. That ratio keeps learning steady without turning a weekend project into a frustration, and it builds a portfolio of finished pieces rather than a pile of half-finished ambitions.
Frequently Asked Questions
What is the best miter saw for beginners woodworking?
For most beginners, a 10-inch sliding compound miter saw is the best first buy, because it cuts wide boards, bevels in one direction, and is affordable in entry models from Metabo HPT, DeWalt, and Ryobi. A compact single-bevel saw is a good alternative if your budget or workshop is very small.
Should a beginner buy a single-bevel or a sliding compound saw first?
Buy a sliding compound saw if you can afford it, because its sliding action roughly doubles the width of board you can crosscut, from about 6 inches to about 12 inches. Buy a single-bevel non-sliding saw only if you mainly cut narrow trim and 2×4 lumber and want the lowest price and lightest weight.
Is a 10-inch or 12-inch miter saw better for a beginner?
A 10-inch saw is better for almost every beginner: it is lighter, cheaper, its blades cost less, and it still cuts boards up to about 12 inches wide in sliding form. A 12-inch saw is heavier and pricier, and its extra capacity is rarely used in a first year of woodworking.
What blade should a beginner use on a miter saw?
Use a sharp 40-tooth general-purpose blade for most work, or a 60-tooth fine-finish blade for clean trim, plywood, and visible furniture edges. Replace the stock blade early, keep it for rough cuts, and replace a dull blade rather than forcing it through a cut.
How do I cut a 45-degree miter accurately?
Check that the saw is square at 0 degrees, set the miter to 45 degrees and confirm the detent locks firmly, hold the board tightly against the fence, decide which side of your mark is waste, and cut with a steady feed. Dry-fit the joint before gluing, and re-check square if the joint does not close cleanly.
Is a miter saw safe for a complete beginner?
Yes, if you follow the rules: wear glasses, hearing protection, and a dust mask, keep the blade guard working, keep hands well clear of the blade path, support long boards on both sides, unplug the saw for blade changes, and wait for the blade to stop before lifting the head or moving the board.
Final Verdict
The best miter saw for beginners is not the biggest or the most expensive saw on the shelf. It is the saw that fits your workshop, your budget, and your actual projects — and for most beginners, that is a 10-inch sliding compound miter saw, corded, from Metabo HPT, DeWalt, or Ryobi, fitted with a sharp fine-finish blade and set up square. Learn the sliding technique, respect the safety rules, practise on scrap, and then build something you are proud of. The first frame whose corners close perfectly, with no gap and no filler, is the moment a miter saw stops feeling intimidating and starts feeling like the most satisfying tool in your workshop.


