
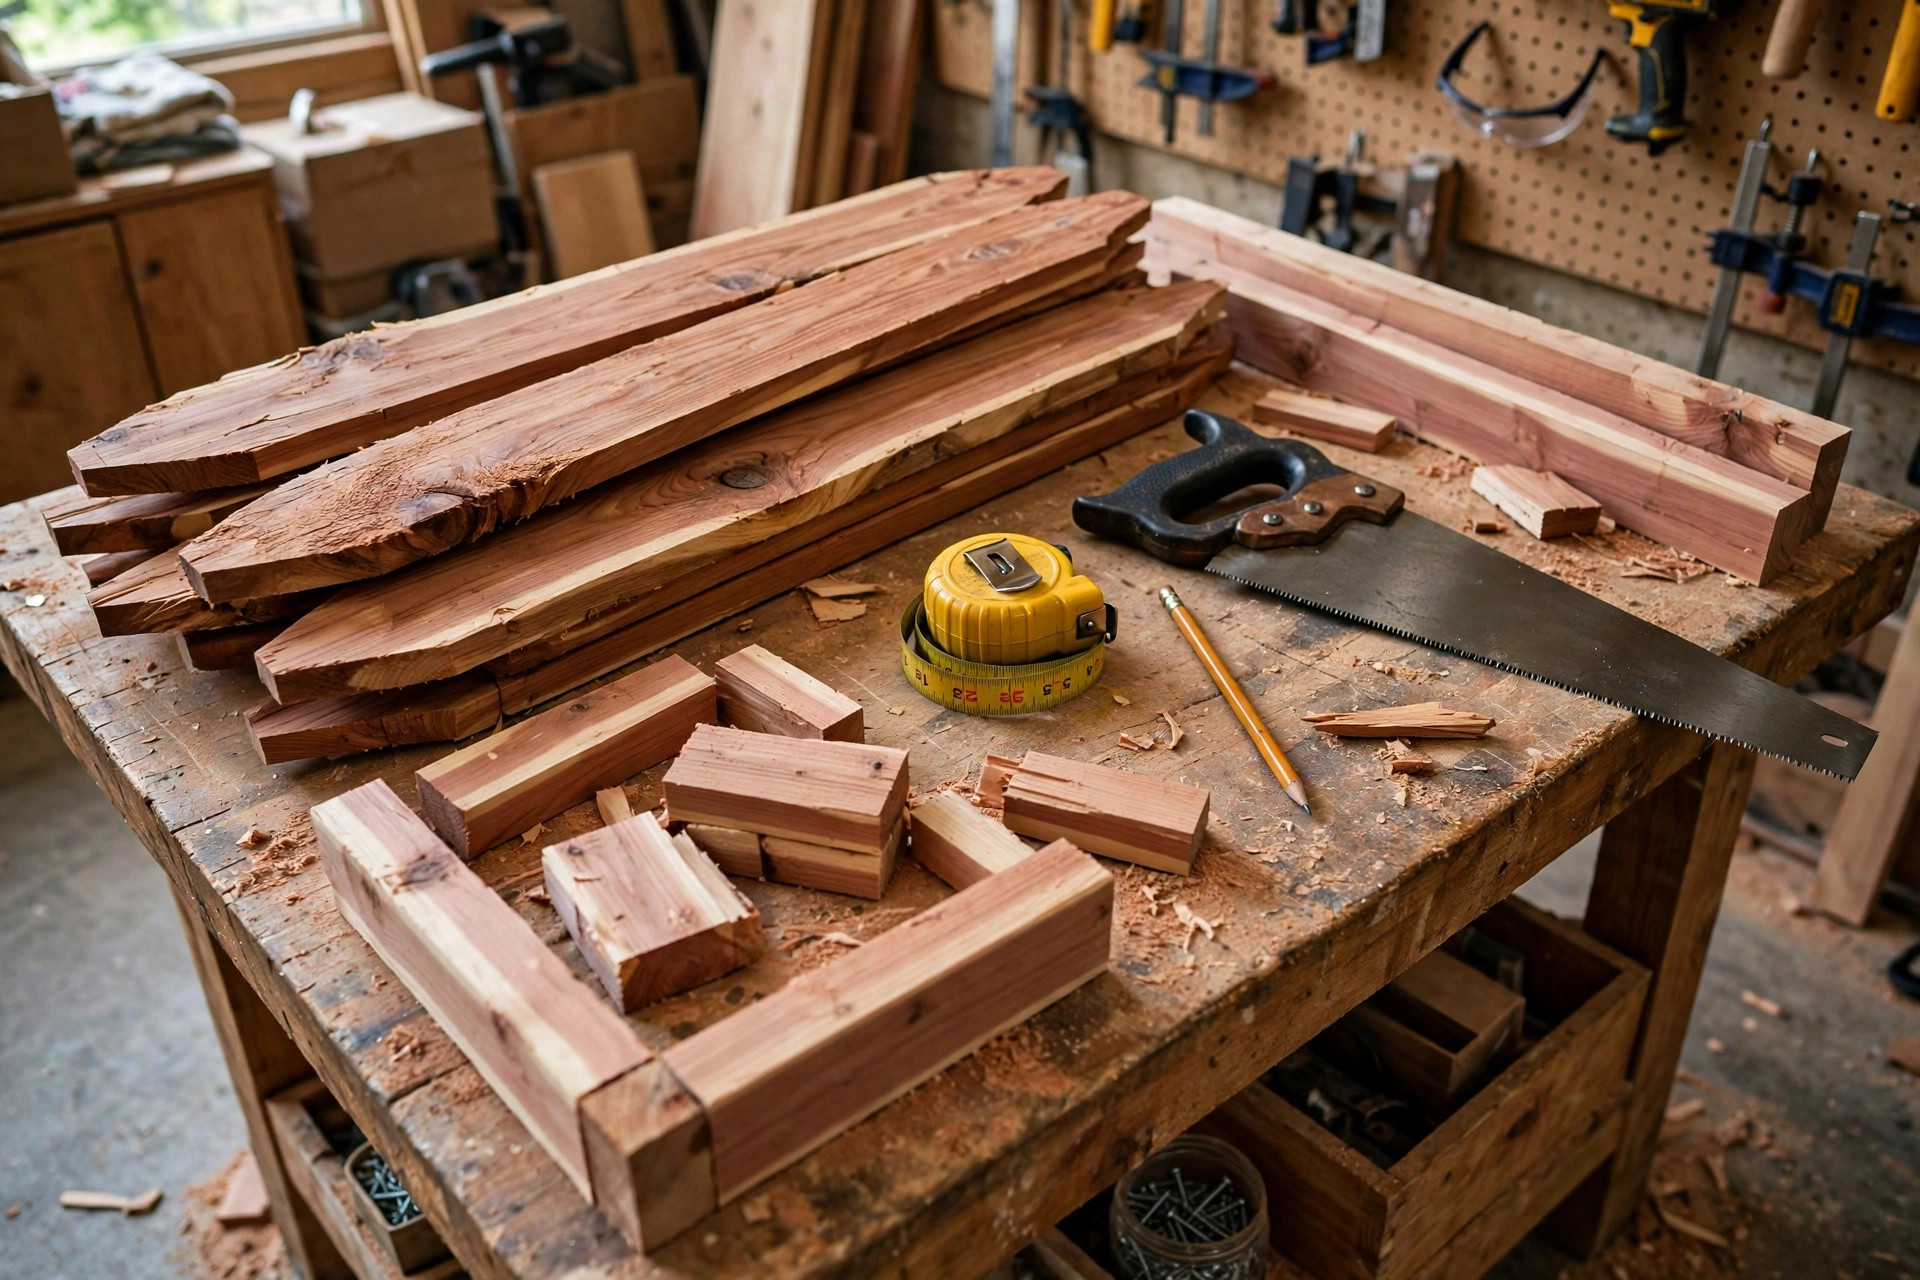
If you have ever wanted a woodworking project that is genuinely useful, forgiving of small mistakes, and finished in a single weekend afternoon, learning how to build a wooden planter box for beginners is the perfect place to start. A planter box is one of the few beginner projects where every step teaches a real skill — measuring, cutting, drilling, screwing, sanding, and finishing — yet no single step is so fiddly that a small error ruins the piece. A board cut a few millimetres long can be trimmed. A screw that splits a thin board teaches you to pre-drill. And the end result is not something that sits in a drawer: it holds real plants, on your porch, patio, or garden path, for years.
This guide walks you through a measured build, not a vague idea. You will make a cedar planter box that measures about 36 inches long, 12 inches wide, and 11 inches tall on the outside, with an inside planting depth of roughly 9 inches. That size is big enough for a row of herbs, a tumbling display of flowers, or a couple of compact vegetables, but small enough to carry with two hands and to build from inexpensive cedar fence pickets. We will cover the full cut list, the tools you actually need, assembly step by step, drainage holes and lining, the right exterior finish (and what never to use inside the box), how much soil it takes, what to plant in it, whether to raise it or set it on the ground, how to keep it from rotting, and what the whole project costs in time and money.
Before you buy a single board, it helps to understand why this design works. Cedar is the classic planter-box wood because it naturally resists rot and insects far better than pine, without needing chemical pressure treatment. Fence pickets are the cheapest way to buy cedar: they are thin, light, and already roughly the right width for planter sides, and their rough-sawn face gives a rustic look that suits a garden. The box in this guide uses a simple butt-joint frame — boards screwed into corner posts — with no mitres, no dovetails, and no glue-only joints that a beginner has to worry about failing outdoors. If you can drive a screw straight and measure twice, you can build this box.
If this is your very first project, you may also enjoy our pillar guide to easy woodworking projects for beginners that sell, which puts planter boxes in context alongside other simple builds that are worth your weekend. And if you have not chosen your wood yet, our guide to the best wood for beginner woodworking projects explains why cedar wins outdoors and where pine and other woods still make sense.
Planning Your Planter Box: Size, Wood, and Tools
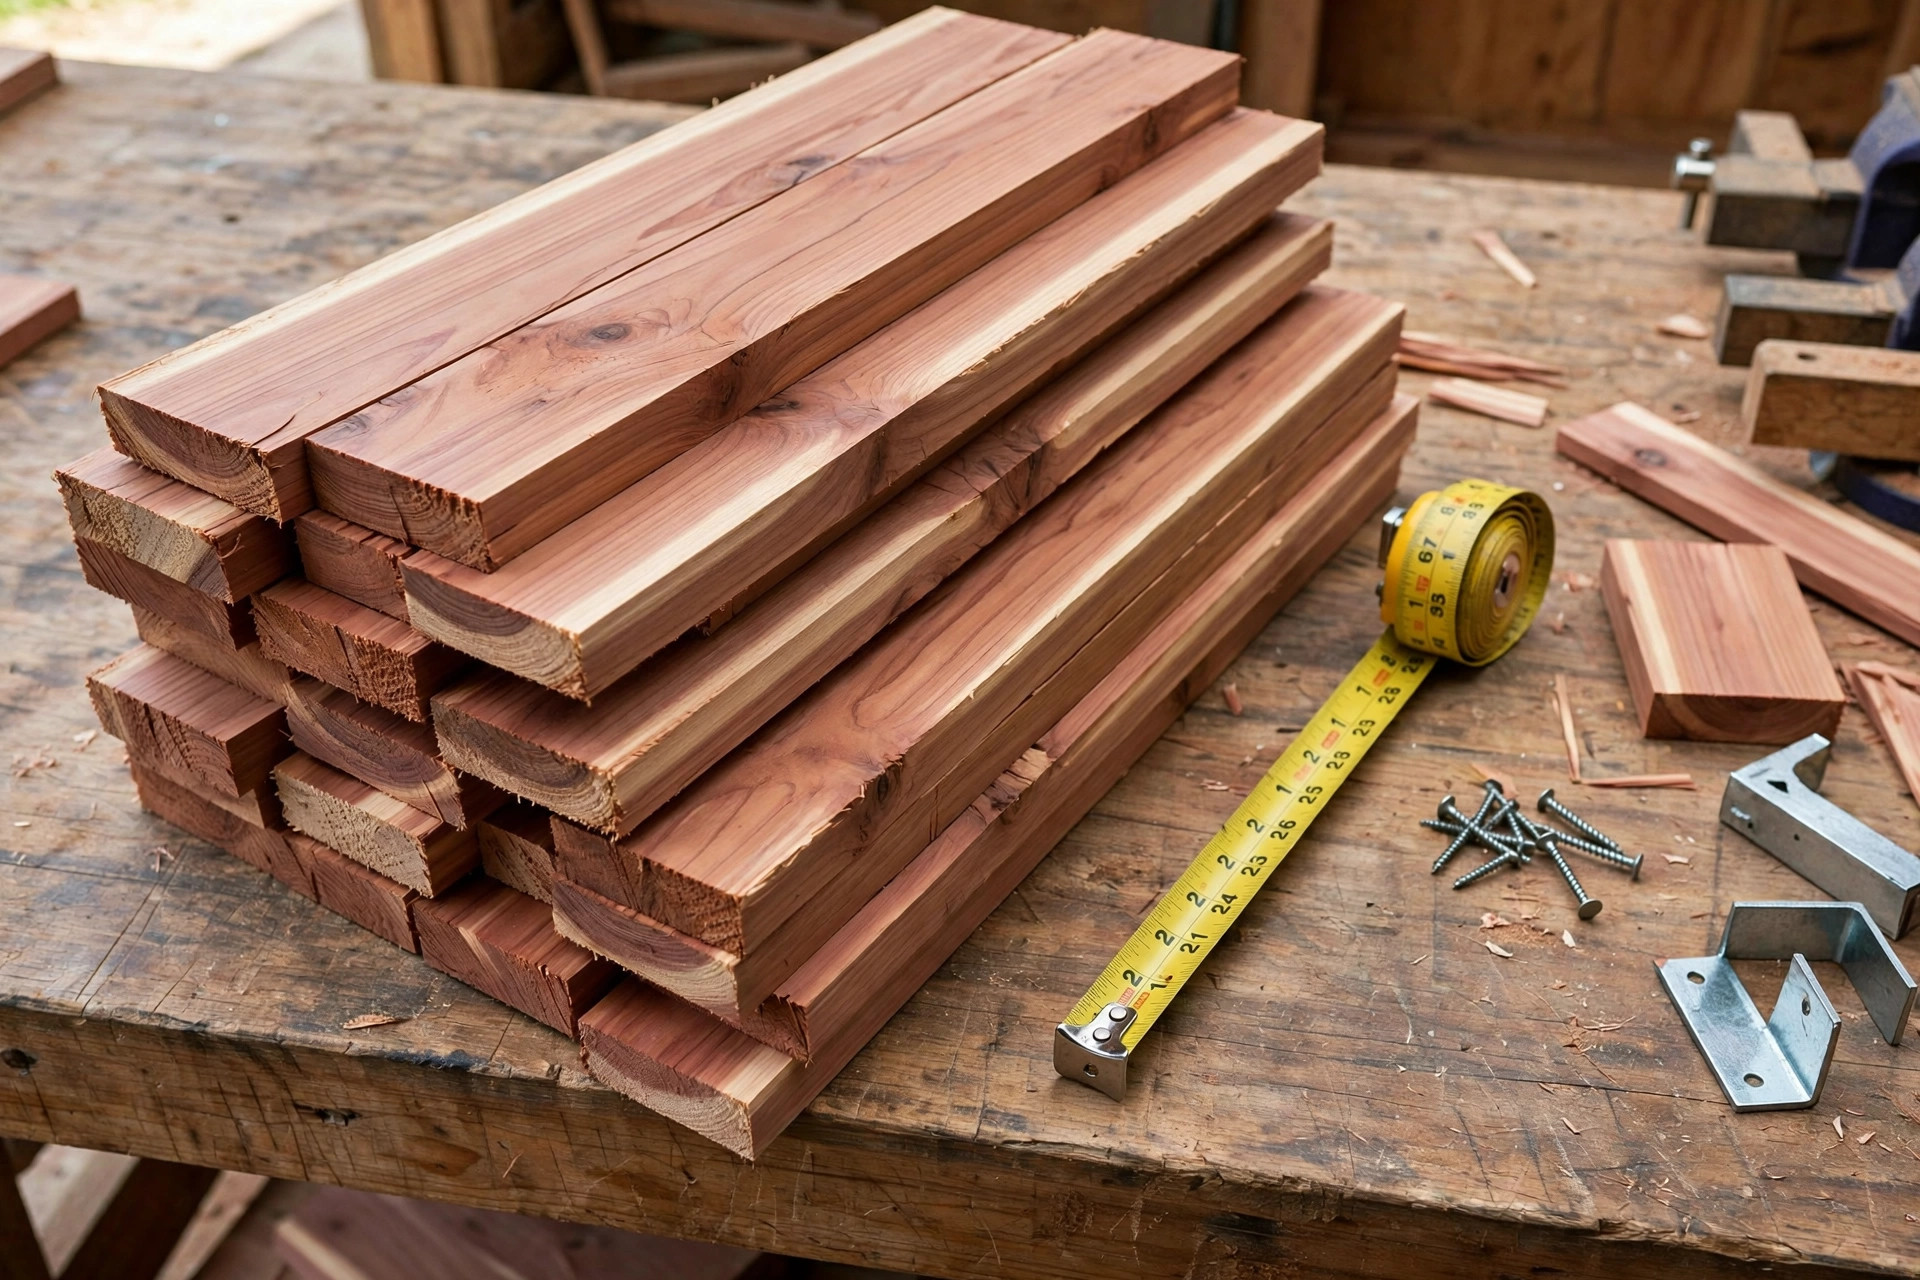
Start with size, because size decides everything else: how many boards you buy, how much soil you need, and what you can grow. The 36-by-12-inch box in this guide is a sweet spot. Go much smaller and the soil dries out in a day of summer sun, stressing your plants. Go much bigger — say 48 or 60 inches long — and a soil-filled box becomes too heavy to move, and the long side boards can bow outward under the weight of wet soil unless you add a centre brace. If you want a longer planter later, build two 36-inch boxes and set them end to end; they look like one long planter but stay manageable.
Depth matters just as much as length. About 9 inches of soil inside the box suits most herbs, flowers, lettuces, and strawberries, whose roots mostly live in the top 6 to 8 inches. Deeper-rooted vegetables such as carrots and parsnips want 12 inches or more, so if carrots are your goal, add one extra side board of height to this design and extend the corner posts accordingly. Shallower boxes dry out faster and limit you to shallow-rooted plants, so resist the temptation to build a pretty but only 4-inch-deep box and then wonder why nothing thrives.
For wood, buy western red cedar fence pickets if you can find them: the common size is 5/8 inch thick, 5-1/2 inches wide, and 6 feet long, often sold as dog-ear pickets with one pointed end. You will cut the pointed end off and use the straight boards. If cedar pickets are unavailable or too expensive where you live, cedar deck boards are a sturdier (and pricier) alternative, and untreated pine boards will work for a season or two but will rot much sooner outdoors, even with finish. Do not use pressure-treated lumber for a planter that will grow anything you plan to eat, unless the treatment is specifically rated safe for garden use and you line the box so soil never touches the wood. For herbs and vegetables, plain cedar plus a liner is the safer, simpler choice.
The tool list is short, and you probably own half of it already: a tape measure, a pencil, a speed square, a saw (a circular saw, a mitre saw, or even a hand saw will do), a drill/driver, a drill bit for pilot holes, a countersink bit or a larger bit for counterbores, 120-grit and 80-grit sandpaper, a 3/4-inch spade or Forstner bit for drainage holes, and a paintbrush for finish. A pair of sawhorses helps, and clamps are handy but not essential if you screw carefully. For sanding guidance, see our guide to the best sandpaper grit for beginners — the short version is to start at 80 grit to knock off rough-sawn fuzz, then finish at 120 grit so the box feels smooth but still grips the finish.
Cut List and Materials: Everything You Need Before You Start
Measure twice and cut once is a cliché because it is true, and it matters most on the first cut. Cut your longest boards first, then use the offcuts for shorter pieces where possible. The cut list below builds one 36-by-12-by-11-inch planter box from cedar fence pickets plus a few thicker boards for the frame. The corner posts do the structural work: the thin side boards screw into them, so the posts should be thicker stock, such as 2-by-2-inch cedar or pine, cut to the full height of the box.
| Part | Material | Size | Quantity | Notes |
|---|---|---|---|---|
| Long side boards | Cedar fence picket, 5/8 in thick | 36 in long (two boards high per side) | 4 | Two stacked boards per long side, giving about 11 in of height |
| Short end boards | Cedar fence picket, 5/8 in thick | 12 in long (two boards high per end) | 4 | Two stacked boards per short end |
| Corner posts | 2-by-2 in cedar or pine | 11 in long | 4 | Sit inside the corners; all side boards screw into these |
| Bottom slats | Cedar fence picket, 5/8 in thick | 12 in long | 4–5 | Laid across the bottom with small gaps for drainage |
| Bottom support battens | 1-by-2 in cedar or pine | 12 in long | 2 | Screwed under the bottom slats, spanning the short direction |
| Top trim (optional) | Cedar fence picket, 5/8 in thick | 38 in and 14 in, mitred or butt-joined | 2 long + 2 short | Flat cap around the rim; hides the top edges and looks finished |
| Screws | Exterior deck screws, 1-5/8 in | — | About 40 | Stainless or coated screws only; interior screws will rust and stain |
| Screws | Exterior deck screws, 2-1/2 in | — | 8 | For fixing bottom battens and legs, if you add legs |
| Drainage layer | Gravel or small stones | About 1/2 gallon | 1 bag | A thin layer over the bottom slats, under the fabric |
| Liner | Landscape fabric | About 1 square yard | 1 piece | Lines the inside; keeps soil in while letting water drain |
| Finish | Exterior wood stain or exterior paint | 1 quart | 1 | Enough for two coats on one box, with plenty left over |
In total, you need roughly five 6-foot cedar fence pickets for the sides, ends, and bottom, one 8-foot 2-by-2 for the corner posts, and a short length of 1-by-2 for the battens. Buy one spare picket: fence pickets vary in quality, and having a spare lets you reject a badly warped or split board without a second trip to the store. At typical prices, the wood and screws for this box come to roughly $35 to $60, the finish another $12 to $20 if you do not already own some, and the gravel and fabric under $10 — a total project cost of about $50 to $90. That is comfortably less than a comparable shop-bought cedar planter, and yours will be sturdier, because shop-bought boxes often use thinner boards and staples instead of screws.
Before assembly, sand every board. Cedar pickets are rough-sawn, which looks charming but gives splinters. Sand the faces and edges with 80-grit paper first, then 120-grit, and round the top edges slightly so nobody catches a hand on a sharp corner. Sanding now is far easier than sanding after assembly, when inside corners become hard to reach. Wipe the dust off with a dry cloth or brush before you start screwing pieces together.
Step-by-Step Assembly: From Boards to Box
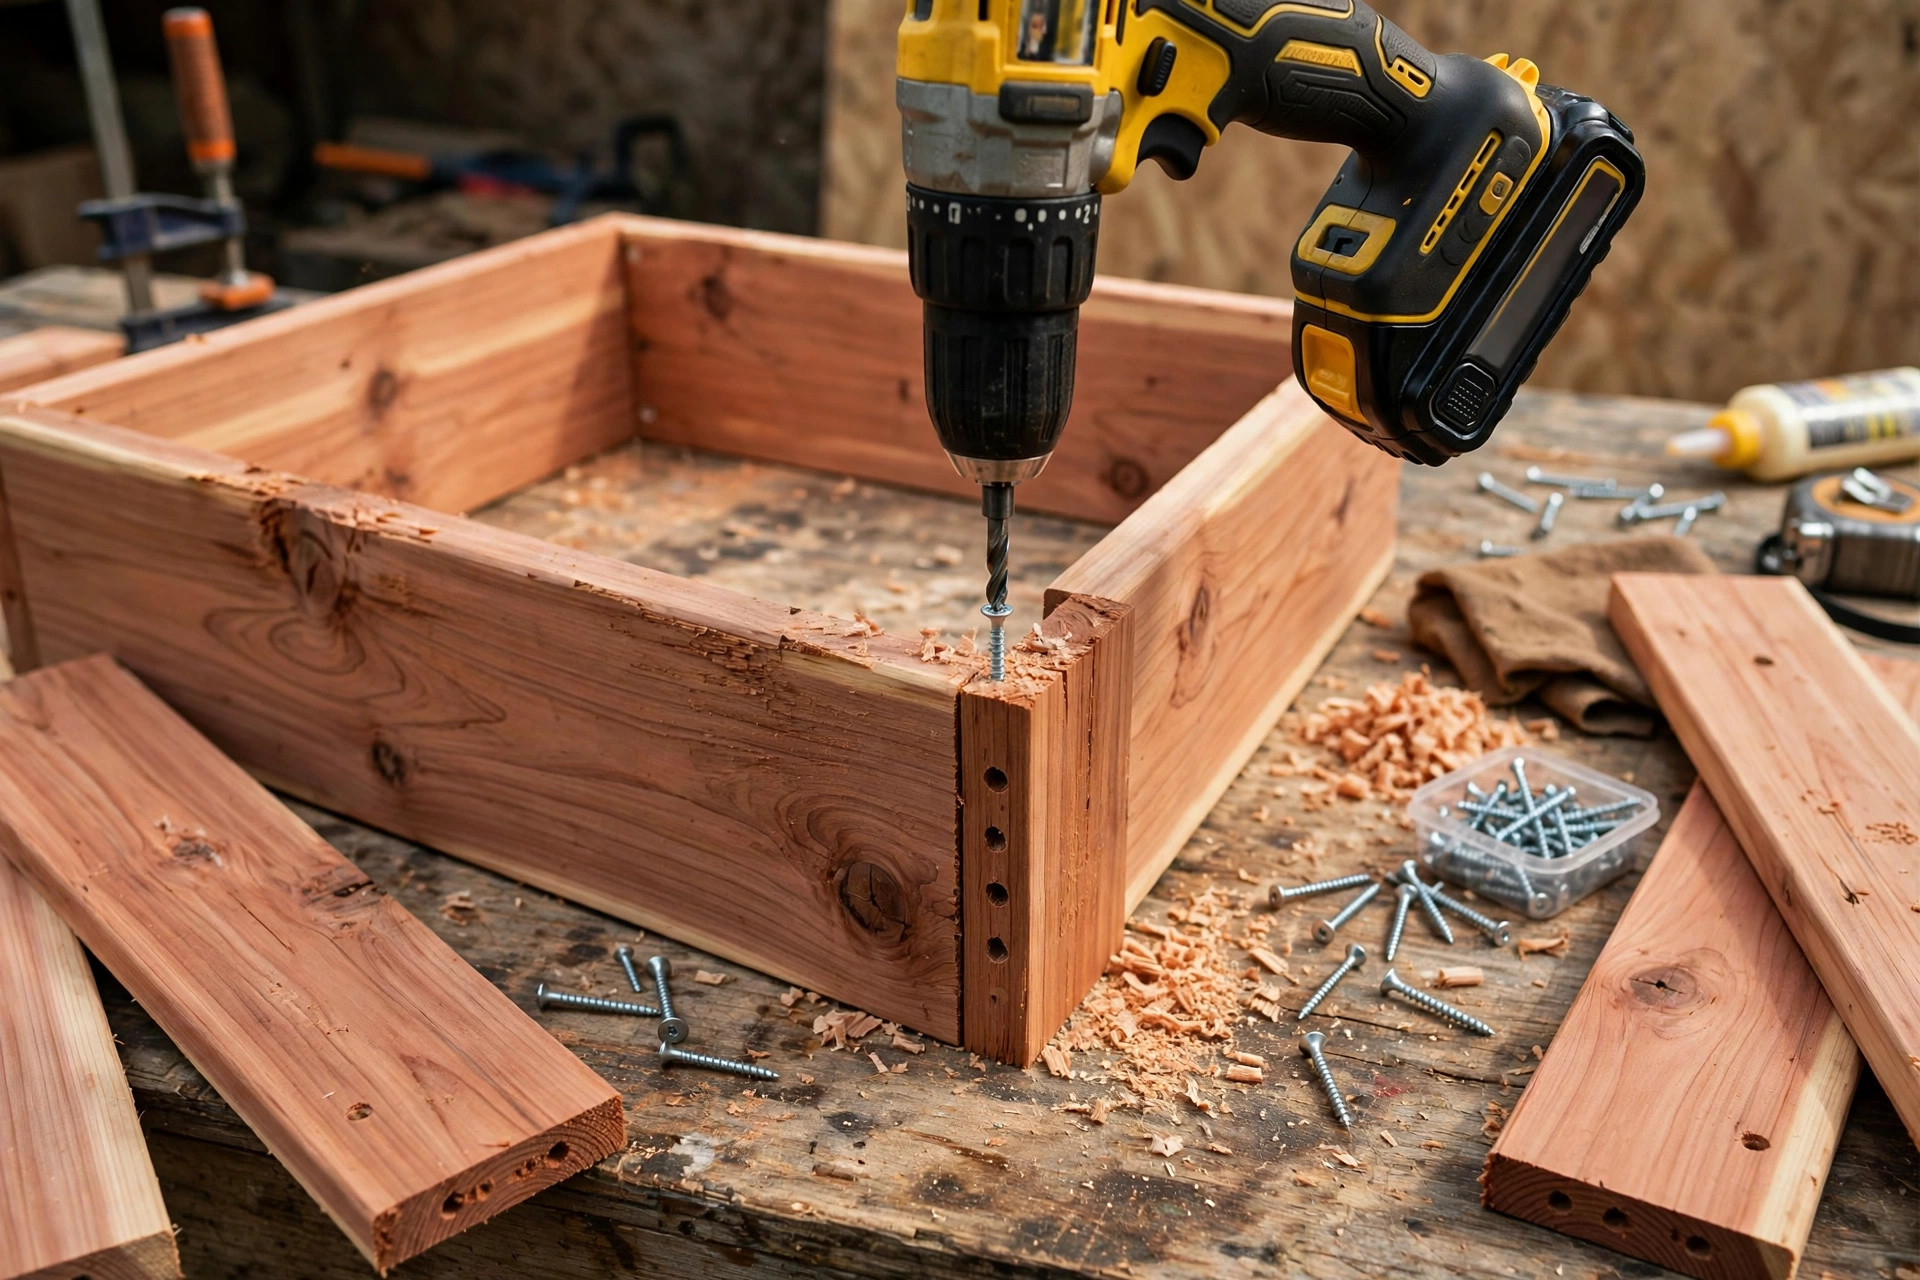
Assembly is a sequence of simple joints, and the trick is to work in the right order so the box stays square. Start by building the two long sides. Lay two 36-inch side boards flat on your bench, edge to edge, with a corner post at each end, flush with the ends of the boards and with the top of the upper board. The posts sit on the inside face of the boards. Pre-drill through each board into each post — two screws per board per post — then drive the screws. Pre-drilling is the single habit that separates a clean beginner build from a split-board build: cedar splits easily near the ends, and a pilot hole removes that risk. Repeat for the second long side, then stand the two long sides up and join them with the short end boards, screwing each end board into the same corner posts. Check for square by measuring diagonally corner to corner; the two diagonal measurements should match within a few millimetres. If they do not, push the longer diagonal’s corners gently toward each other until they match, then add the bottom, which locks the square in place.
Next, fit the bottom. Flip the box upside down and lay the bottom slats across the short direction, spaced about 1/4 inch apart so water can drain between them. Screw each slat into the two bottom battens, or screw the slats directly into the lower side boards from below, depending on your design. The battens add stiffness and stop the slats sagging under wet soil, so do not skip them. Then flip the box right-side up and add the optional top trim: four flat boards laid around the rim, overhanging the outside by about half an inch, which hides the end grain of the side boards, gives the box a finished look, and provides a comfortable edge to grip when moving it. If you add trim, mitring the corners looks neater, but simple butt joints with the long pieces overlapping the short ones look perfectly fine and are easier for a first build.
If you want a raised planter, now is the time to add legs. Four short legs — 2-by-2 posts extended below the box by 10 to 24 inches, or separate legs screwed to the corner posts — lift the box to a comfortable working height and keep the bottom off damp ground, which greatly extends its life. A raised box at about waist height is also much kinder to your back and easier to tend than one sitting on the ground. Keep in mind, though, that raising the box raises its centre of gravity, so a tall, narrow, raised planter on a windy balcony needs to be heavy enough, or braced, not to tip. For a first build, legs of 12 to 18 inches are a good compromise: high enough to improve drainage and access, low enough to stay stable.
Finally, before any finish goes on, do a dry inspection. Run your hand over every surface for splinters, check that every screw head is slightly countersunk so it does not snag or rust in a puddle on the surface, and confirm the box sits flat without rocking. A rocking box usually means one corner post is a fraction longer than the others; a few passes with sandpaper or a saw on the long post fixes it. Fix these small things now, because finish and soil make them much harder to reach later.
Drainage, Lining, and Soil: The Difference Between Thriving and Drowning
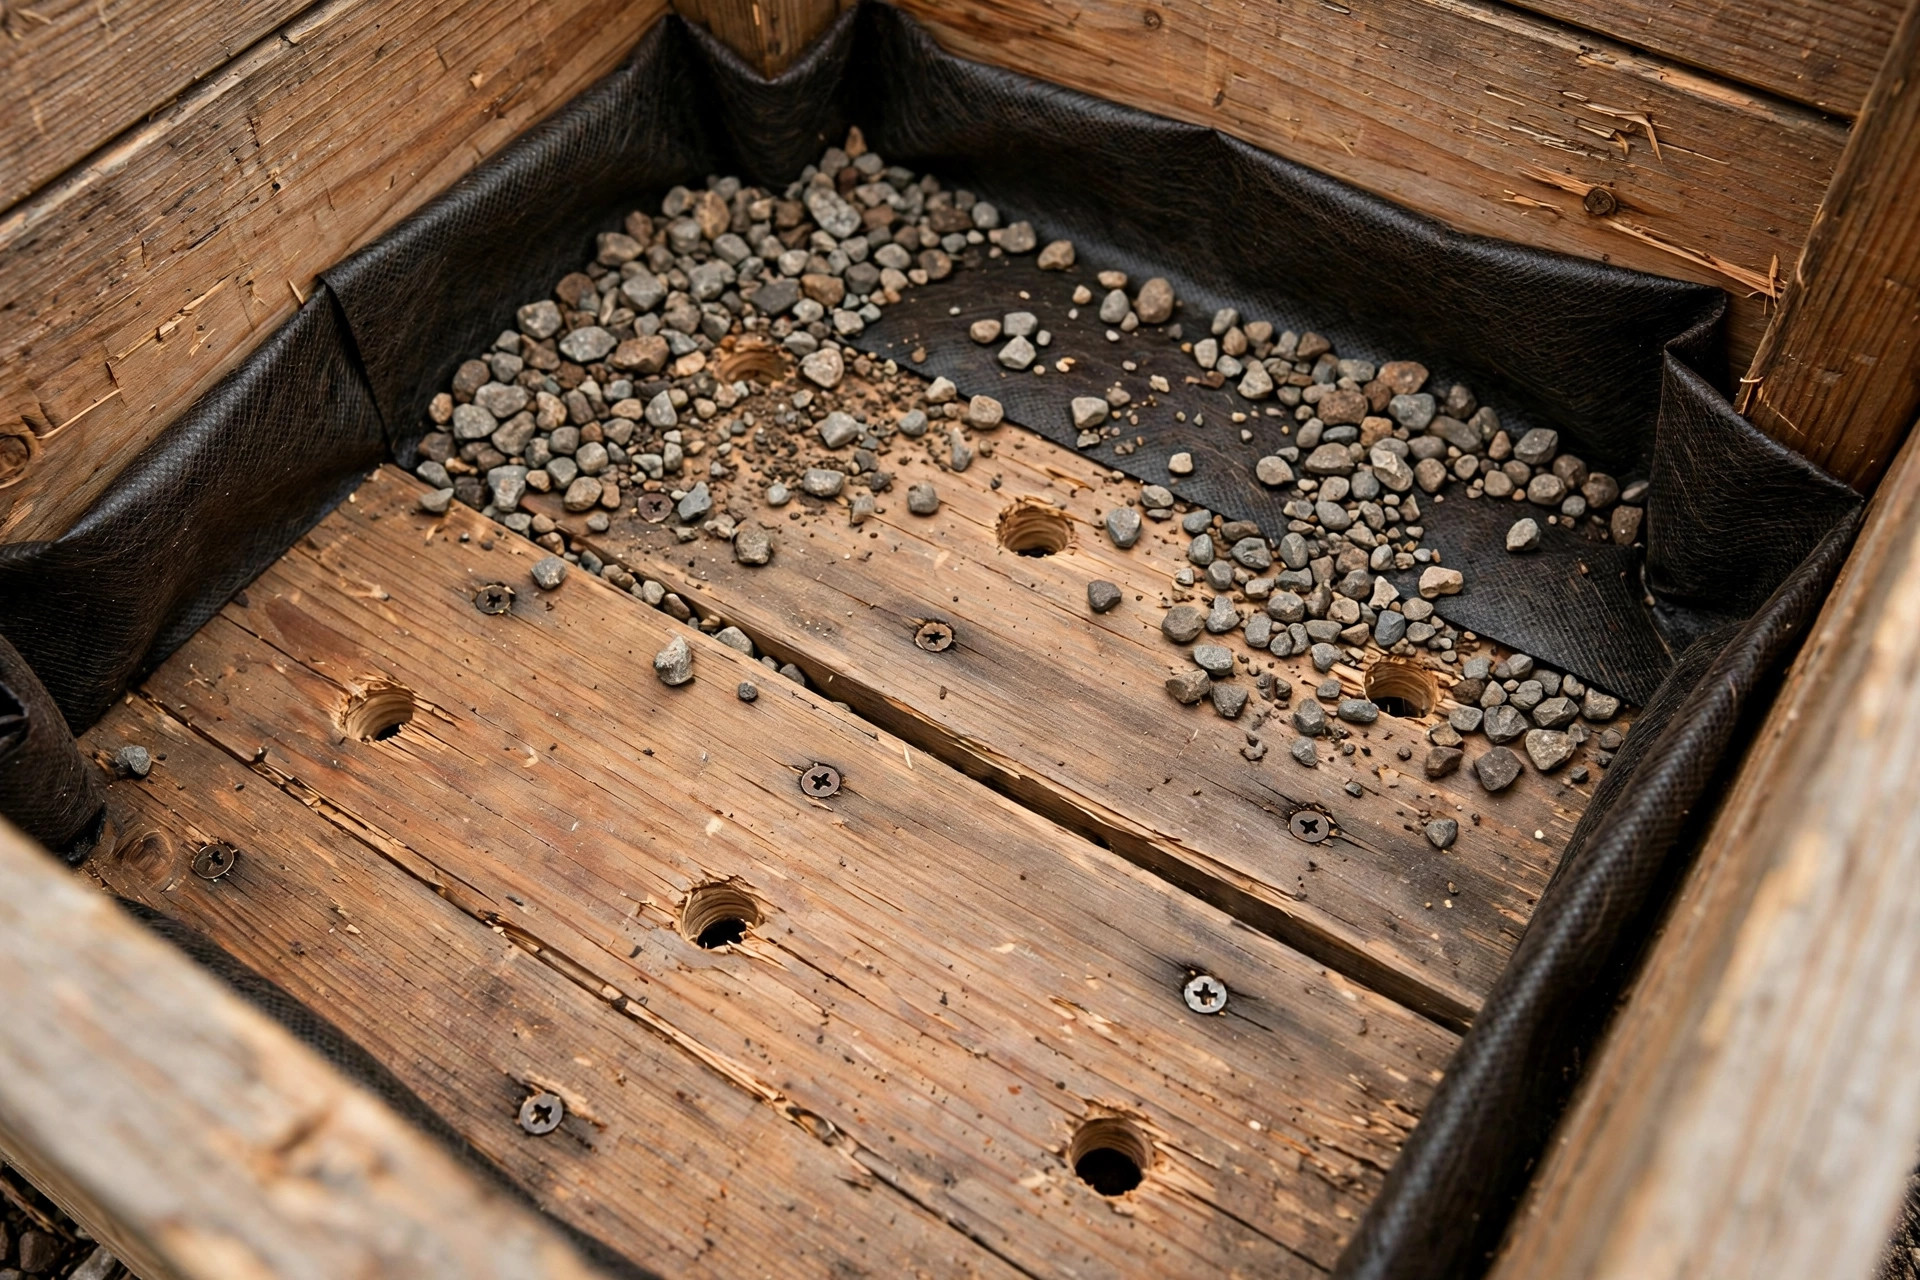
Drainage is where more beginner planters fail than anywhere else. Plants in a box with no way for water to escape sit in soggy soil, their roots rot, and the plants die — and the box itself stays wet and rots faster too. Every planter box needs drainage holes, no exceptions, even if you plan to water carefully. Drill five to seven holes, each about 3/4 inch across, through the bottom slats, spaced evenly along the box. Then add a thin layer of gravel, about an inch deep, over the bottom slats. The gravel stops soil washing straight out of the holes and keeps the lowest layer of soil from sitting in a puddle. On top of the gravel, lay landscape fabric cut to fit the inside of the box, folding it up the sides by an inch or two. The fabric holds the soil in while letting water pass through, and it also keeps damp soil off the wooden sides for longer, which slows rot.
Do not be tempted to seal the inside of the box with plastic sheeting or to paint the inside with a waterproof coating and skip the holes. Plastic traps water against the wood, which rots faster, and it creates exactly the waterlogged conditions that kill roots. A breathable fabric liner plus real drainage holes is the proven combination. One more common mistake is filling the bottom third of a deep planter with polystyrene, cans, or rubble to “save soil.” That reduces the soil volume your plants can root into and can create a perched water table — a soggy layer sitting on top of the filler — so for a box of this size, fill the whole box with soil and skip the filler tricks entirely.
Soil choice matters as much as drainage. Use a good-quality potting mix, not garden soil dug from the ground, which compacts in a container, drains poorly, and may carry weed seeds and pests. Potting mix is lighter, drains well, and holds moisture evenly. You can mix in a handful of slow-release fertiliser or some compost at planting time, but avoid heavy manure in a small box, which can burn young roots. Fill the box to about an inch below the rim, water it well so it settles, then top it up again before planting — fresh potting mix settles noticeably after its first watering, and planting into unsettled mix leaves your plants sitting low in the box a week later.
Exterior Finish: Stain vs Paint, and What Never to Use Inside
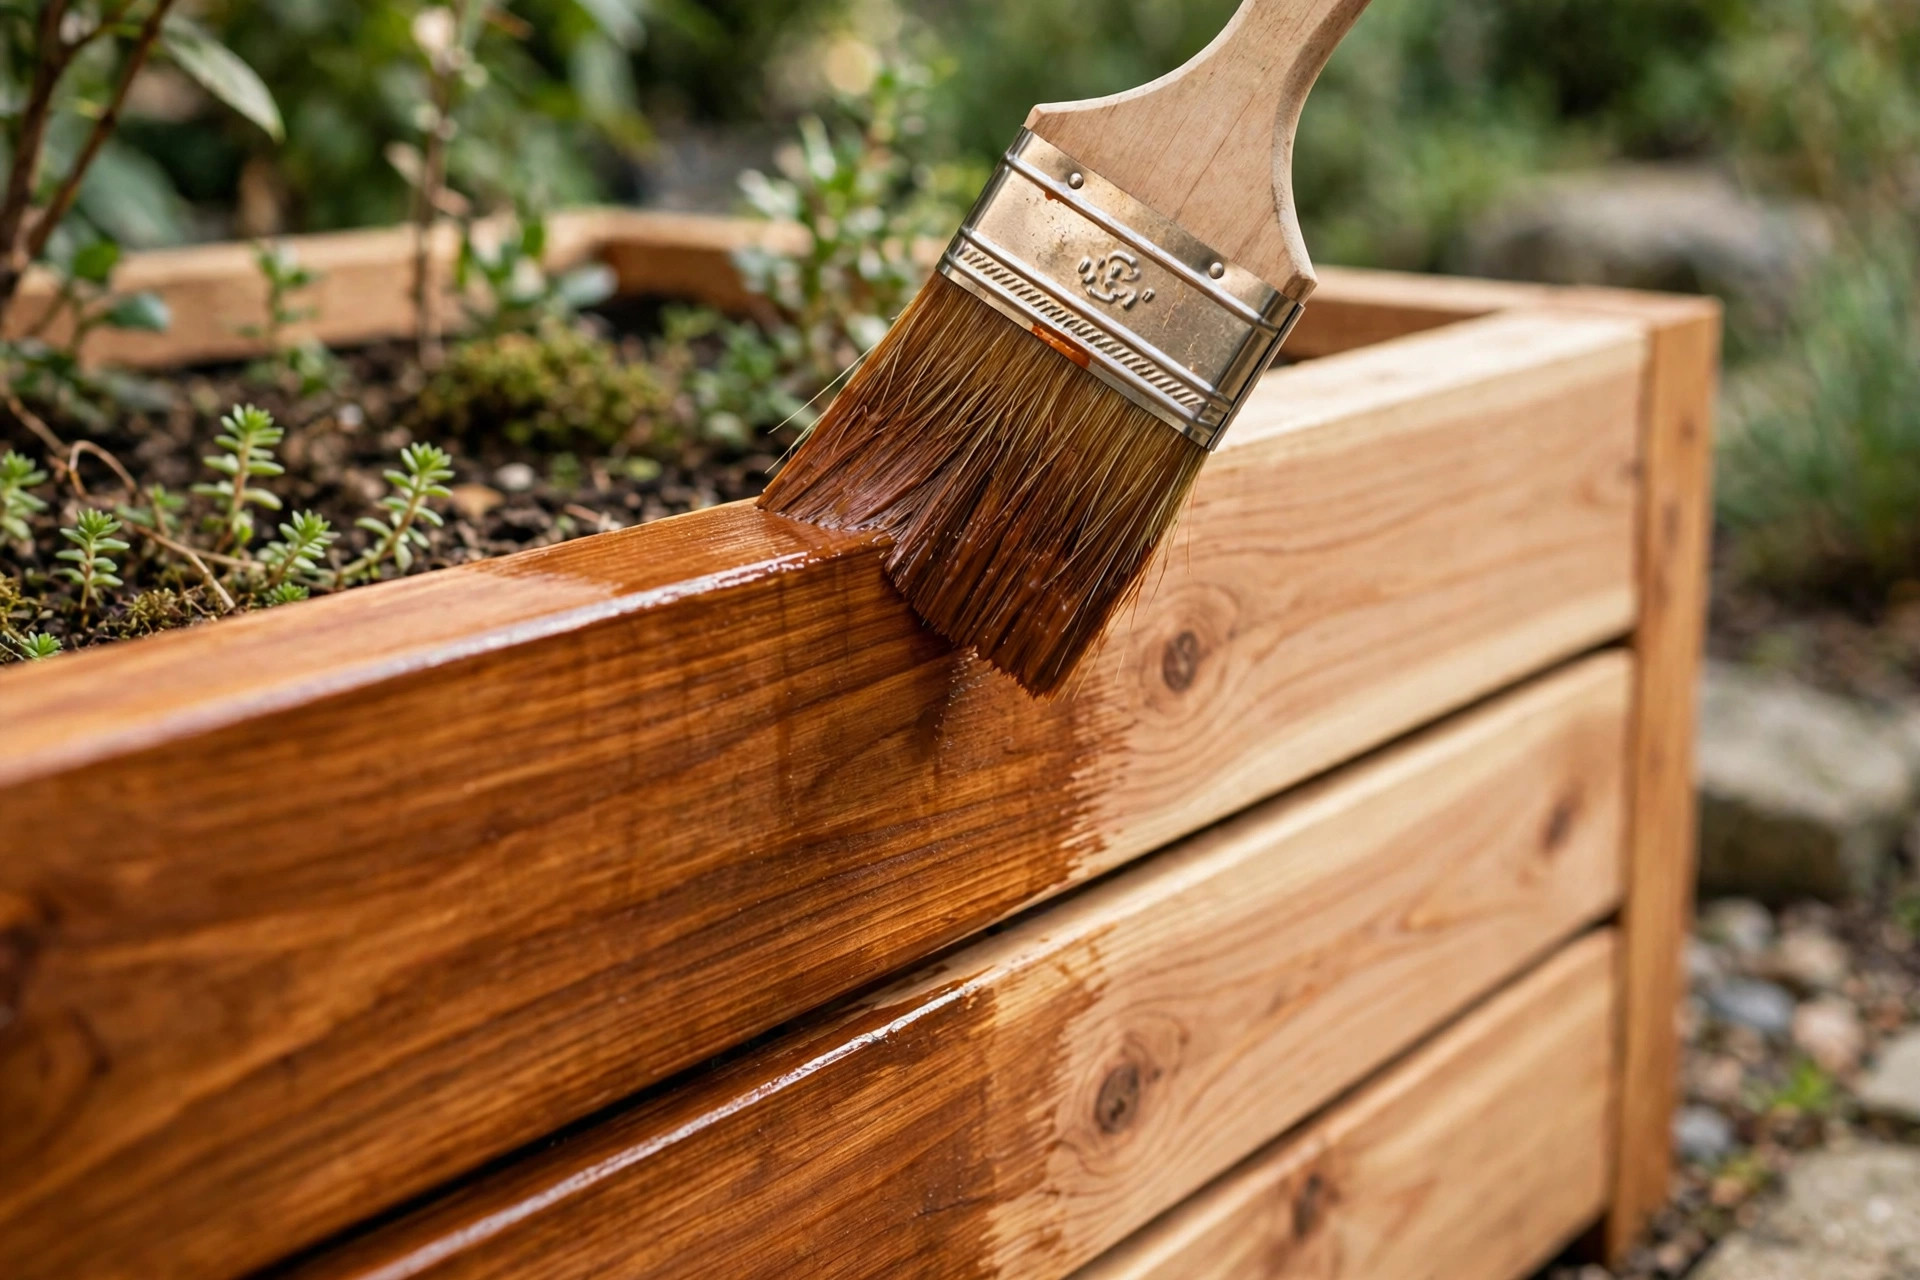
A cedar planter will survive unfinished outdoors for a few years, weathering to a silvery grey that many gardeners love. But if you want the warm cedar colour to last, or you want the maximum lifespan from the box, an exterior finish is worth the extra hour. The choice is between exterior stain and exterior paint, and the right answer depends on the look you want and how much maintenance you are willing to do.
Exterior penetrating stain is the lower-maintenance, more forgiving choice for a first planter. It soaks into the wood, enhances the grain, and does not peel, so when it fades in a year or two you simply clean the box and brush on another coat, with no scraping. A semi-transparent cedar-toned stain keeps the wood looking like wood while adding UV protection that slows greying and surface cracking. For a full comparison of stain types, our guide to the best wood stain for beginners covers oil-based versus water-based stains and how to avoid blotchiness on softwoods like cedar.
Exterior paint gives a bolder look — a painted planter in sage green, navy, or white can anchor a whole patio scheme — and it hides imperfect boards better than stain. The trade-off is maintenance: paint forms a film on the surface, and outdoors that film eventually cracks and peels, at which point you need to scrape and sand before repainting. If you paint, use a proper exterior acrylic paint over an exterior primer, paint only the outside, and let it cure fully before planting. Our guide to how to paint wood furniture for beginners covers brush technique and priming in detail, and the same principles apply outdoors.
What you must not do is coat the inside of the box with paint, varnish, polyurethane, or any film finish and call it waterproofing. Film finishes inside a planter trap moisture against the wood, peel in damp soil, and can leach chemicals into soil that grows food. The inside of the box should stay bare wood behind a fabric liner — that combination breathes, drains, and lasts. The same rule applies to creosote, old engine oil, and other folk “preservatives” sometimes suggested online: never use them on a planter, especially one growing food. Two coats of exterior stain or paint on the outside only, a fabric liner inside, and drainage holes underneath — that is the whole finishing system, and it is enough.
Soil Volume and What to Plant: Matching Plants to Your Box
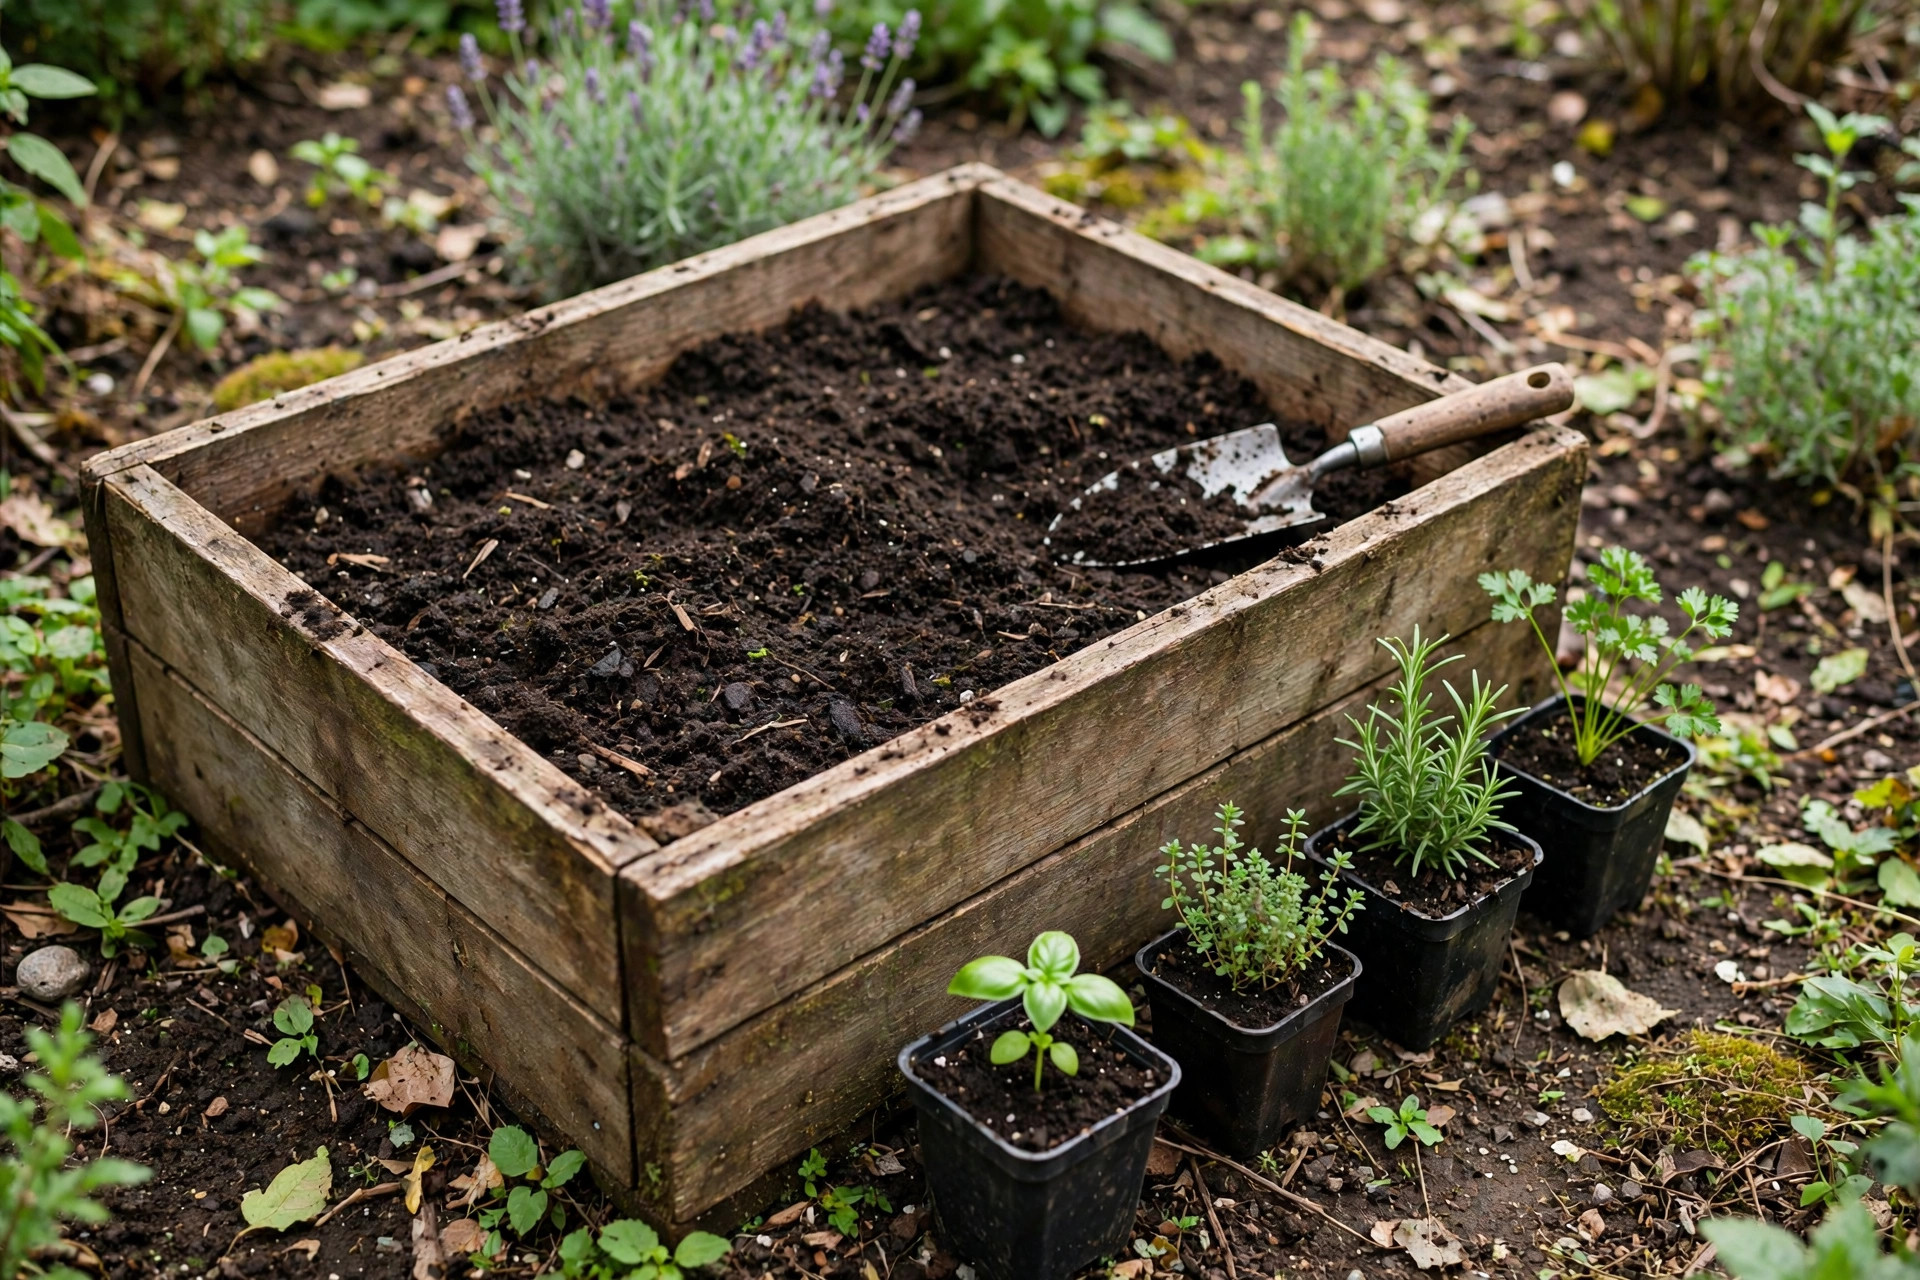
One 36-by-12-by-9-inch box holds roughly 2.2 cubic feet of soil, which is about 16 to 17 gallons, or around three large bags of potting mix. Knowing that number before you go shopping saves a wasted trip, because potting mix is usually sold by cubic feet. The table below gives the same calculation for common planter sizes, so you can scale the recipe up or down, plus planting suggestions matched to each size.
| Planter size (outside) | Soil depth inside | Soil volume (approx.) | Bags of potting mix (2 cu ft bags) | Good plant choices |
|---|---|---|---|---|
| 24 in × 12 in × 11 in | 9 in | About 1.5 cu ft (11 gal) | 1 bag | Herbs: basil, parsley, chives, mint (in its own pot inside the box) |
| 36 in × 12 in × 11 in (this build) | 9 in | About 2.2 cu ft (16–17 gal) | 2 bags (with a little spare) | Herb row, mixed flowers, lettuce, strawberries, dwarf peppers |
| 48 in × 12 in × 11 in | 9 in | About 3.0 cu ft (22 gal) | 2 bags | Herb row plus flowers, bush beans, compact tomatoes (one plant) |
| 36 in × 18 in × 14 in (deeper build) | 12 in | About 4.5 cu ft (34 gal) | 3 bags | Carrots, parsnips, potatoes (in a deep box), larger vegetables |
| 24 in × 24 in × 14 in (square) | 12 in | About 4.0 cu ft (30 gal) | 2–3 bags | A small salad garden: lettuce, radish, spring onion, herbs |
Herbs are the ideal first planting for a box like this one. Basil, parsley, chives, thyme, oregano, and rosemary all thrive in 9 inches of soil, want the same sunny spot, and reward you every time you cook. Plant them about 6 to 8 inches apart and they will fill the box within a few weeks. One warning: mint is famously invasive and will take over the whole box if planted directly in the soil, so grow mint in a small pot sunk into the box instead. For flowers, trailing petunias, lobelia, and nasturtiums spill beautifully over the edges, while marigolds and zinnias give upright colour in the middle. If you want vegetables, start with lettuce, radish, and spring onions, which are fast and forgiving, or strawberries, which love the drainage a raised box provides and stay off damp ground where slugs patrol.
Watering a planter box is different from watering garden beds. Containers dry out faster, especially in sun and wind, so check the soil daily in summer by pushing a finger an inch into the mix: if it feels dry at that depth, water thoroughly until water runs from the drainage holes, then stop. Shallow daily sprinkles encourage shallow roots; deep, less frequent watering grows stronger plants. In winter, raise the box slightly off the ground on feet or bricks if it sits outdoors, so it does not sit in standing water, and move tender plants under cover before hard frosts.
Raised vs Ground Placement, Rot Prevention, and Lifespan
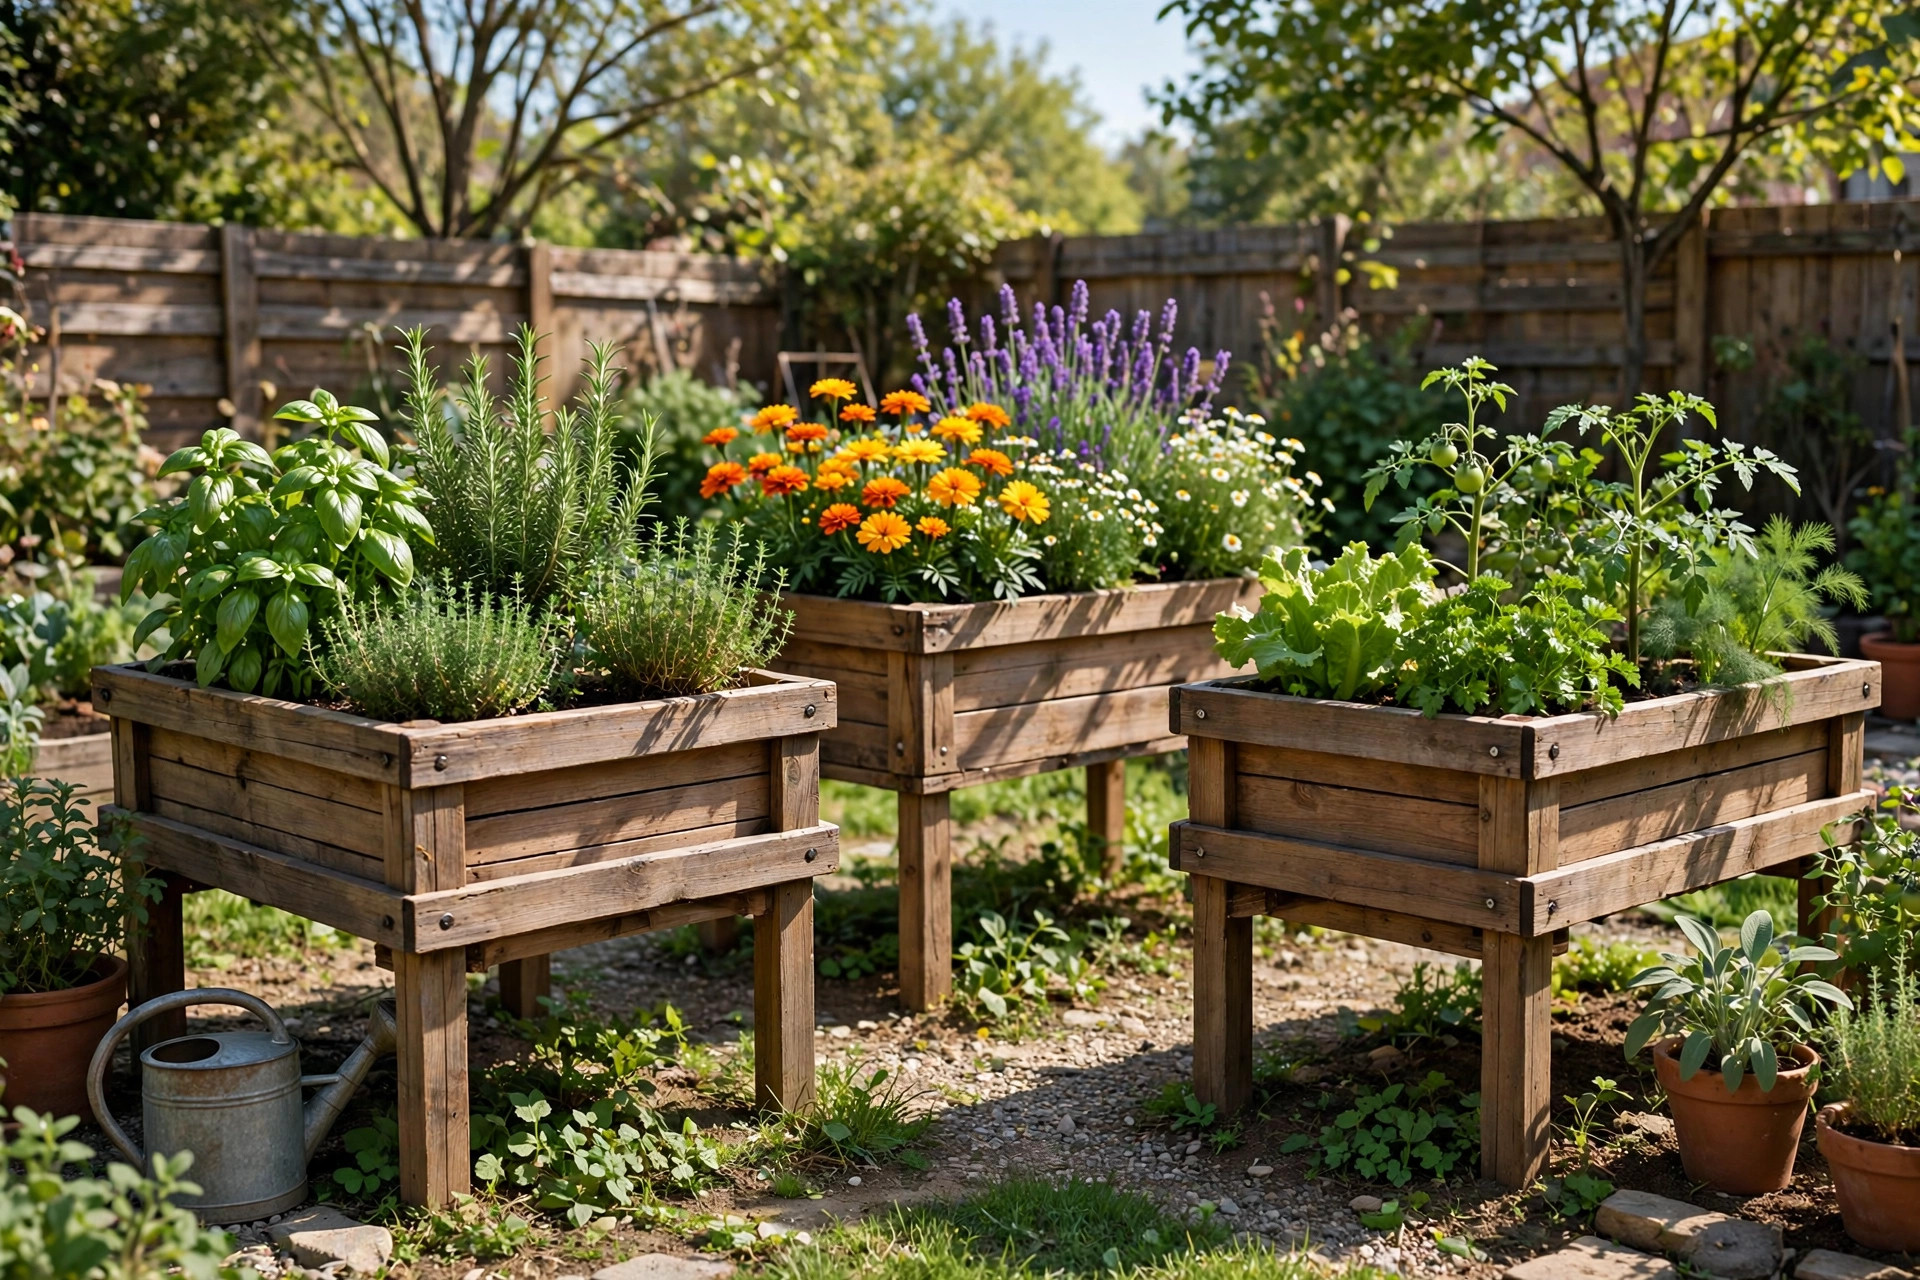
Where you put the box changes how long it lasts and how well plants grow. Sitting directly on soil or grass, the bottom of the box stays damp, which speeds rot from below and invites slugs and ants in through the drainage holes. Sitting on a patio, deck, or paving, the box drains freely, stays drier underneath, and is easier to tend — but remember that water and fine soil will wash out of the drainage holes, so a patio box may stain the surface beneath it over time. A simple tray, a few paving offcuts, or small feet under the box solves both problems: feet lift the box clear of standing water and let air circulate underneath, which is the single most effective rot-prevention step you can take.
Raised planters on legs add the same drainage benefit plus easier access, at the cost of stability and weight. A legged box full of wet soil is heavy — our 36-inch box holds over 100 pounds of wet soil — so legs must be solidly screwed, not just glued or stapled, and the box should not be top-heavy. Keep the planting depth to 9 inches on a legged box unless the legs and frame are beefed up, and avoid placing a tall legged planter where strong wind can catch it. A ground-level or low-footed box is the safer first build if your garden is exposed to wind.
Rot prevention, in short, is a system, not a single product: cedar wood, drainage holes, a gravel layer, a fabric liner, feet or legs that keep the bottom off the ground, an exterior finish on the outside only, and a habit of emptying the box and letting it dry out over winter if you are not growing winter crops. With that system, a cedar planter box like this one typically lasts 5 to 10 years outdoors, with a fresh coat of stain every year or two. The bottom slats usually go first, because they stay wettest; when they do, you can unscrew and replace just the bottom rather than rebuilding the whole box, which is another advantage of screws over staples or nails. Pine boxes built the same way typically last 2 to 4 years, which is why the extra cost of cedar pays for itself.
Cost and time, honestly tallied: expect about 2 to 4 hours from first measurement to finished box, including sanding and one coat of finish, with a second coat the next day after the first has dried. A confident beginner with a mitre saw may finish in under two hours; a first-timer measuring carefully and pre-drilling every hole should still finish comfortably in one afternoon. Total cost, as noted above, is roughly $50 to $90 including finish and liner, and the box will hold plants worth more than that in its first season of herbs alone. If you build a second box, the cost per box falls, because the finish, fabric, and gravel all stretch across several boxes.
Common Beginner Mistakes (and How to Avoid Them)
The mistakes that ruin planter boxes are predictable, which means they are avoidable. Skipping drainage holes is the biggest one — drill them before you fill the box, not after, when soil is in the way. Using interior screws is another: they rust within weeks outdoors, stain the wood, and eventually fail, so buy screws labelled exterior, coated, or stainless. Forgetting pilot holes and splitting a board near its end is the most common assembly frustration; a quick pilot hole takes ten seconds and saves a board. Building with no liner and watching soil wash out of every gap is a mess that a dollar’s worth of landscape fabric prevents. And finishing the inside with paint or varnish, as discussed above, traps moisture and shortens the box’s life — leave the inside bare behind the fabric. Finally, overwatering kills more container plants than underwatering: check the soil with your finger before you water, and always let excess water drain away freely.
Frequently Asked Questions
What is the best wood for a beginner planter box?
Cedar is the best choice for most beginners: it resists rot and insects naturally, is light and easy to cut and screw, and looks good with stain or left to weather grey. Cedar fence pickets are the most affordable way to buy it. Untreated pine is cheaper but lasts only a few years outdoors, and pressure-treated lumber should be avoided for food-growing planters unless it is specifically rated garden-safe and lined so soil never touches the wood.
How deep should a wooden planter box be?
About 9 inches of soil depth suits most herbs, flowers, lettuces, and strawberries. Shallow-rooted plants struggle in less than 6 inches because the soil dries out too fast, while deep-rooted vegetables like carrots need 12 inches or more. If you are unsure what you will grow, build to 9 inches — it covers the widest range of beginner-friendly plants.
Do I need drainage holes if I add gravel?
Yes, always. Gravel alone does not drain a box; it only keeps soil out of the holes. Without holes, water collects at the bottom, roots rot, and the box stays wet and decays faster. Drill five to seven 3/4-inch holes in the bottom, add an inch of gravel, then landscape fabric, then soil.
Should I line my wooden planter box with plastic?
No. Plastic sheeting traps water against the wood and creates waterlogged soil that kills roots. Use breathable landscape fabric instead: it holds soil in, lets water drain, and keeps damp soil off the wooden sides for longer. Leave the inside wood bare behind the fabric.
Can I paint the inside of a planter box?
No, and the same applies to varnish and polyurethane inside the box. Film finishes trap moisture, peel in damp soil, and can leach into soil used for food plants. Finish the outside only with exterior stain or paint, and line the inside with fabric.
How long will a cedar planter box last?
With drainage holes, a fabric liner, feet or legs keeping it off the ground, and an exterior finish renewed every year or two, a cedar planter box typically lasts 5 to 10 years outdoors. The bottom slats wear out first and can be replaced individually, which extends the box’s life further.
How much soil does a 36-inch planter box need?
About 2.2 cubic feet, or roughly 16 to 17 gallons — about two 2-cubic-foot bags of potting mix, with a little spare for topping up after the first watering settles the mix. Always use potting mix, not garden soil, in containers.
The Bottom Line
Learning how to build a wooden planter box for beginners is one of the highest-return projects in woodworking: a single afternoon, a modest pile of cedar pickets, and a handful of screws produce a planter that will grow herbs, flowers, or vegetables for years. Build it square, drill the drainage holes, line it with fabric, finish the outside only, and fill it with potting mix — and you have avoided every mistake that ruins most first planters. When it is planted and sitting on your patio, you will have proof that you can measure, cut, and build something real, and a reason to build the next one a little bigger.
For your next project, browse the pillar guide to easy woodworking projects for beginners that sell for ideas that build on the skills you just practised, and keep your box looking its best with the stain and paint guides linked above. A well-built planter, well planted, is the kind of beginner project that does not look like a beginner project at all — it just looks like a garden that is loved.


