
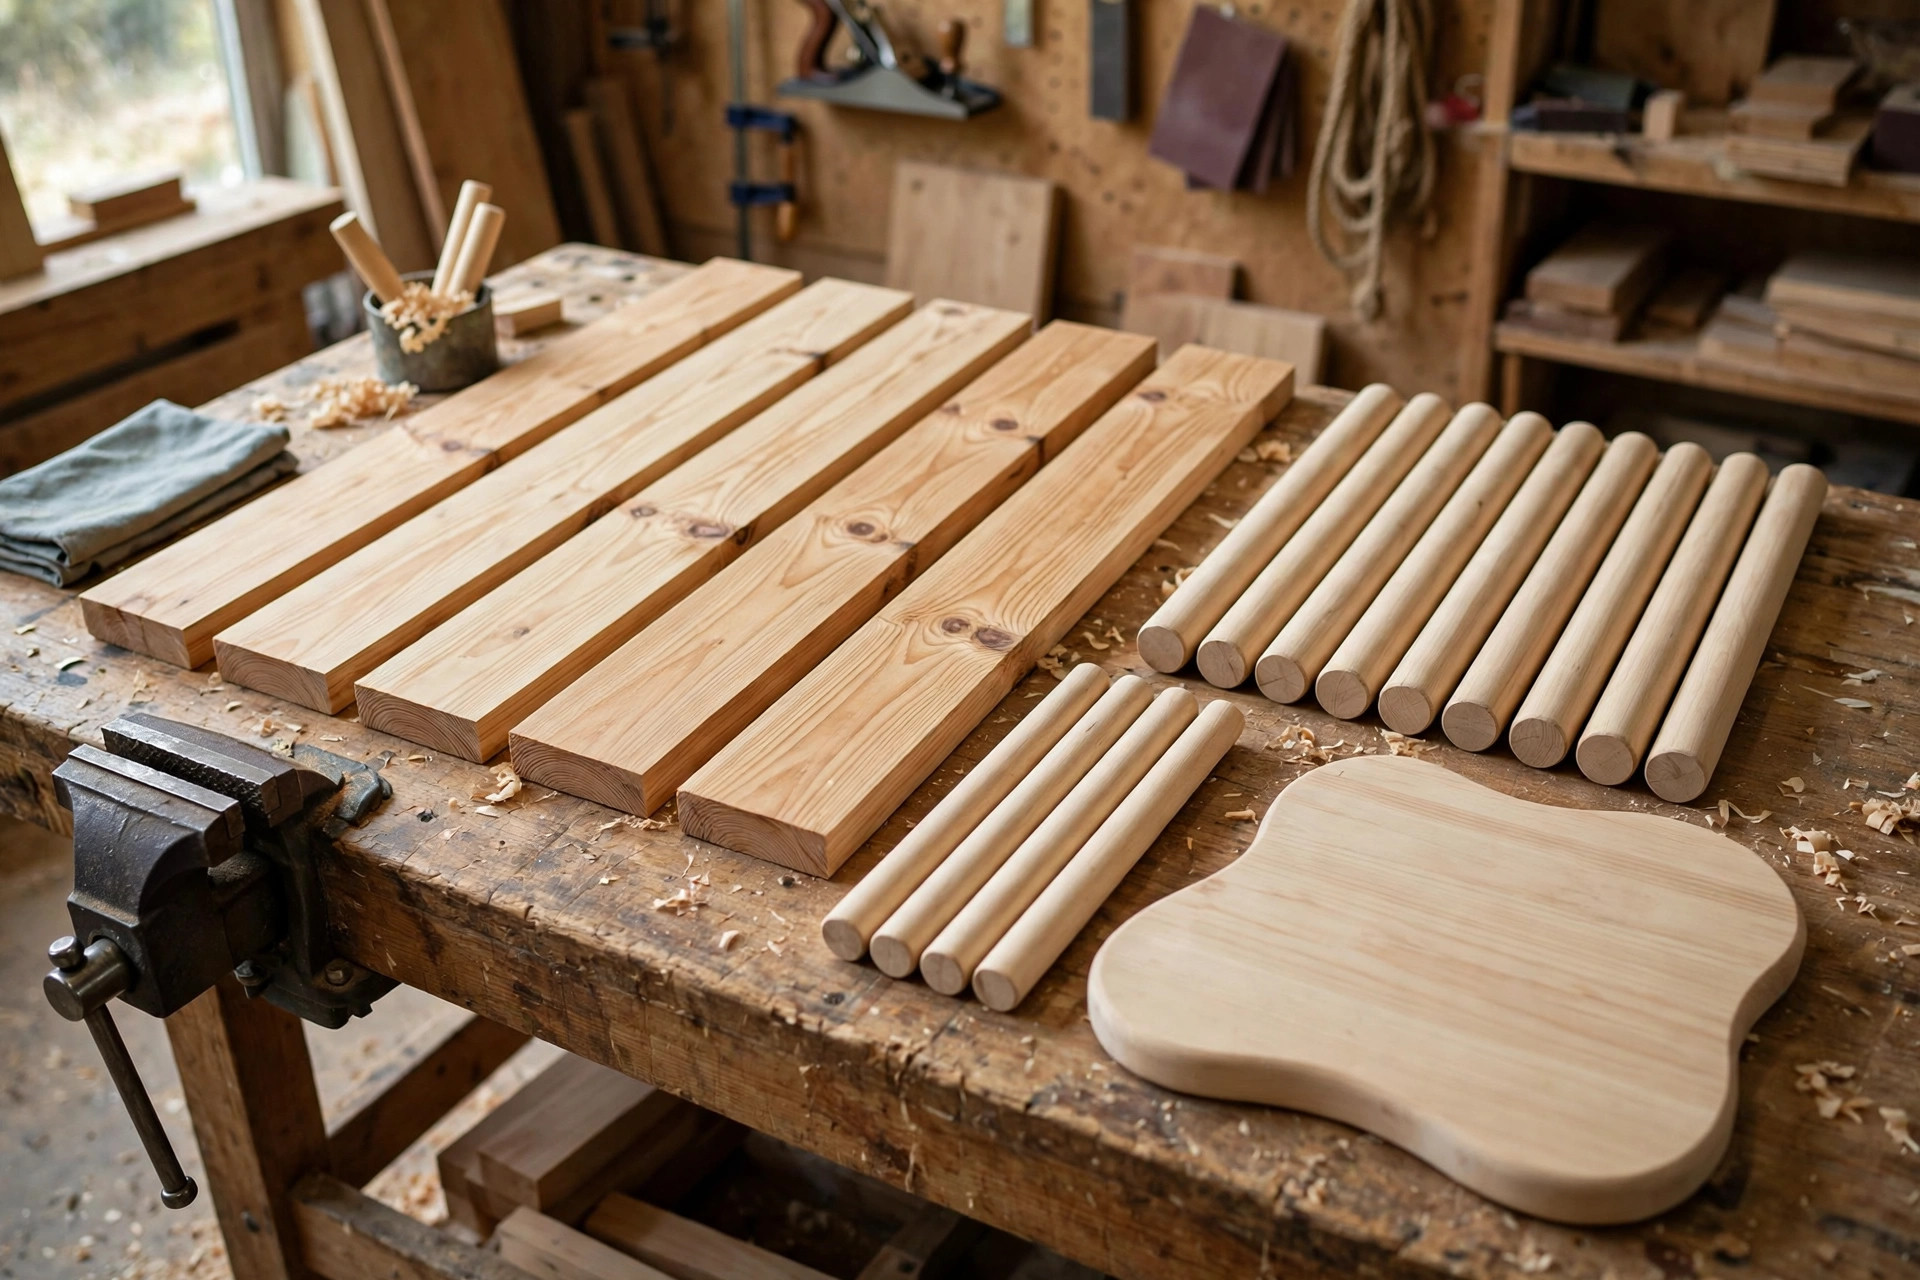
Shoes by the front door are one of those small household messes that never fix themselves, and a shop-bought rack rarely fits the space you actually have. Learning how to build a simple wooden shoe rack for beginners solves both problems at once: you get a rack sized to your hallway, built from cheap pine and dowels in a single weekend, and you learn the core beginner skills of measuring, drilling straight holes, and assembling square frames. This guide builds a bench-style rack — a low seat you can sit on while you put shoes on, with open dowel rails underneath for shoes and a tall row for boots — and it gives you a full cut list, a spacing table for shoes and boots, and the finishing steps that keep an entryway piece looking good under daily abuse.
The design is deliberately forgiving. The two end frames are simple rectangles, the shoe rails are round dowels seated in drilled holes, and the seat is a single flat board. There are no angled cuts, no mortises, and no joints a beginner cannot make with a miter saw or circular saw, a drill, and a pocket-hole jig or screws. If you can drill a straight hole and drive a screw without splitting pine, you can build this rack. Expect about three to four hours of building plus finishing time, and a finished rack roughly 90 centimetres wide, 45 centimetres tall, and 30 centimetres deep — wide enough for three or four pairs per row, low enough to sit on comfortably.
If this is one of your first builds, start with the pillar guide to easy woodworking projects for beginners that sell to see where a shoe rack fits among the best beginner projects, then come back here for the full measured build.
Bench Rack vs Shelf Rack: Pick the Design Before You Cut
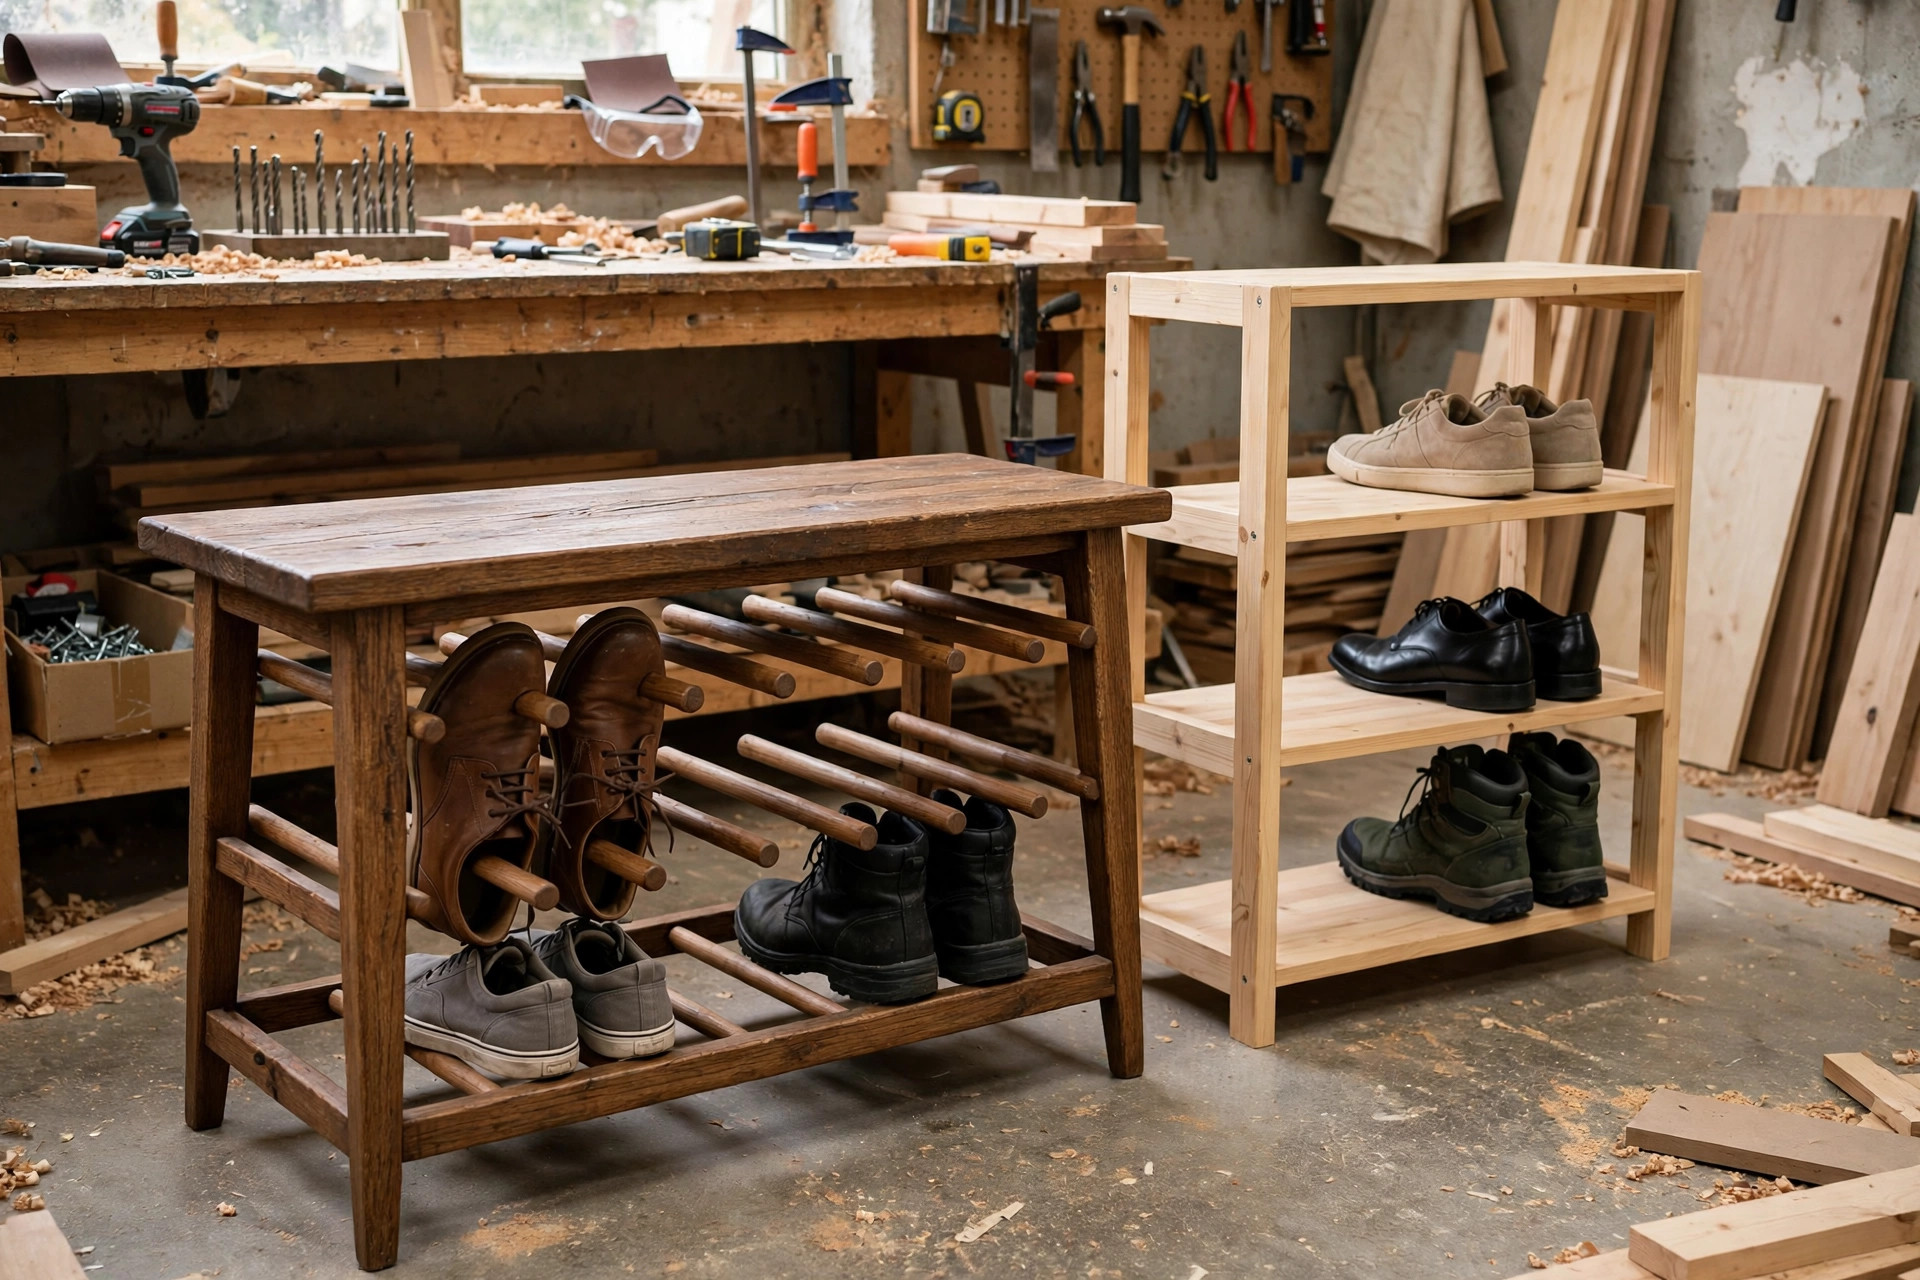
Two shoe rack designs dominate beginner plans, and the choice shapes everything that follows. A shelf rack is a stack of flat shelves on four legs: simple, cheap, and easy to load, but shoes sit on solid boards that collect dust and grit, and tall boots do not fit anywhere except on top. A bench rack, the design in this guide, replaces the shelves with pairs of dowel rails that shoes rest across. Air circulates around the shoes, grit falls through instead of piling up, and the top doubles as a seat — genuinely useful in an entryway, where everyone ends up hopping on one foot otherwise.
The trade-off is one extra skill: drilling matching dowel holes in both end frames. That sounds harder than it is. You mark both ends from the same measurements, clamp them together, and drill through both at once or use a simple jig, so the holes line up by construction rather than by luck. The rest of the build is identical to a shelf rack, and the result looks and works far better. If your hallway is very narrow, shorten the rack to 60 centimetres wide and keep the same end frames and spacing; if you have a large family, stretch it to 120 centimetres, but add a centre support frame at the midpoint, because dowels longer than about 100 centimetres will sag under a row of heavy boots. Our guide to the best miter saw for beginners will help if you are buying your first saw for cuts like these.
Tools and Materials
You need a saw for straight cuts (a miter saw is ideal, a circular saw with a straightedge guide works), a drill with a spade bit or Forstner bit matched to your dowel diameter, a pocket-hole jig or a countersink bit, a tape measure, a speed square, sandpaper from 80 to 220 grit, and two clamps. A random orbital sander speeds up the sanding; without one, a sanding block and patience do the same job. Buy pine or poplar for this build: both are cheap, easy to cut and drill, and take stain or paint well. Avoid MDF for an entryway rack — it swells and sags near damp shoes — and skip hardwood for a first build, since pine’s softness is actually forgiving when you drill dowel holes slightly tight.
| Item | Specification | Quantity | Notes |
|---|---|---|---|
| Pine 2×2 (45 x 45 mm) | End frames, legs and stretchers | 2 lengths, 2.4 m | Straight, knot-free where possible |
| Pine 1×12 (19 x 285 mm) | Seat board | 1 length, 1 m | Or glue two narrower boards edge to edge |
| Hardwood dowel, 25 mm diameter | Shoe rails | 2 lengths, 1 m | Poplar or beech; check diameter before drilling |
| Wood screws, 65 mm | Frame joints | 16 | Exterior grade if the rack may get wet |
| Wood glue | All joints | 1 bottle | See our best wood glue for beginners guide |
| Pocket-hole screws, 32 mm | End frame joints (if using a jig) | 12 | Optional if screwing through the face |
| Sandpaper | 80, 120, 220 grit | A few sheets each | Our best sandpaper grit for beginners guide explains the sequence |
| Finish | Stain + polyurethane, or paint | 1 tin each | Entryway pieces need a hard-wearing topcoat |
The Cut List
Cut every piece before you assemble anything, and label each piece with a pencil as you cut it. Cutting everything first lets you check the whole rack against the table below before a single screw goes in, and it is how you catch a mis-measurement while it is still cheap to fix. For a 90-centimetre-wide rack, the cut list is:
| Part | Size | Quantity | What it does |
|---|---|---|---|
| Legs | 2×2, 450 mm long | 4 | The four uprights of the two end frames |
| End top rails | 2×2, 300 mm long | 2 | Top of each end frame, under the seat |
| End bottom rails | 2×2, 300 mm long | 2 | Bottom of each end frame, keeps legs square |
| End middle rails | 2×2, 300 mm long | 2 | Centre brace; also carries the boot row |
| Seat board | 1×12, 900 mm long | 1 | The bench seat |
| Shoe dowels, upper row | 25 mm dowel, 900 mm long | 2 | Shoes rest across this pair |
| Shoe dowels, lower row | 25 mm dowel, 900 mm long | 2 | Second row, or the tall boot row |
| Long stretchers | 2×2, 840 mm long | 2 | Run front to back under the seat, stop racking |
Actual lumber sizes vary — a nominal 2×2 is usually 38 to 45 millimetres square depending on your region — so measure your own boards and adjust the rail lengths so the seat overhangs the end frames by about 15 millimetres at each end. The critical dimensions are the heights, not the exact board thickness: seat height 450 millimetres, upper dowel row 300 millimetres from the floor, lower dowel row 120 millimetres from the floor. Those heights give the spacing in the table below.
Shoe and Boot Spacing: The Table That Decides Your Rows
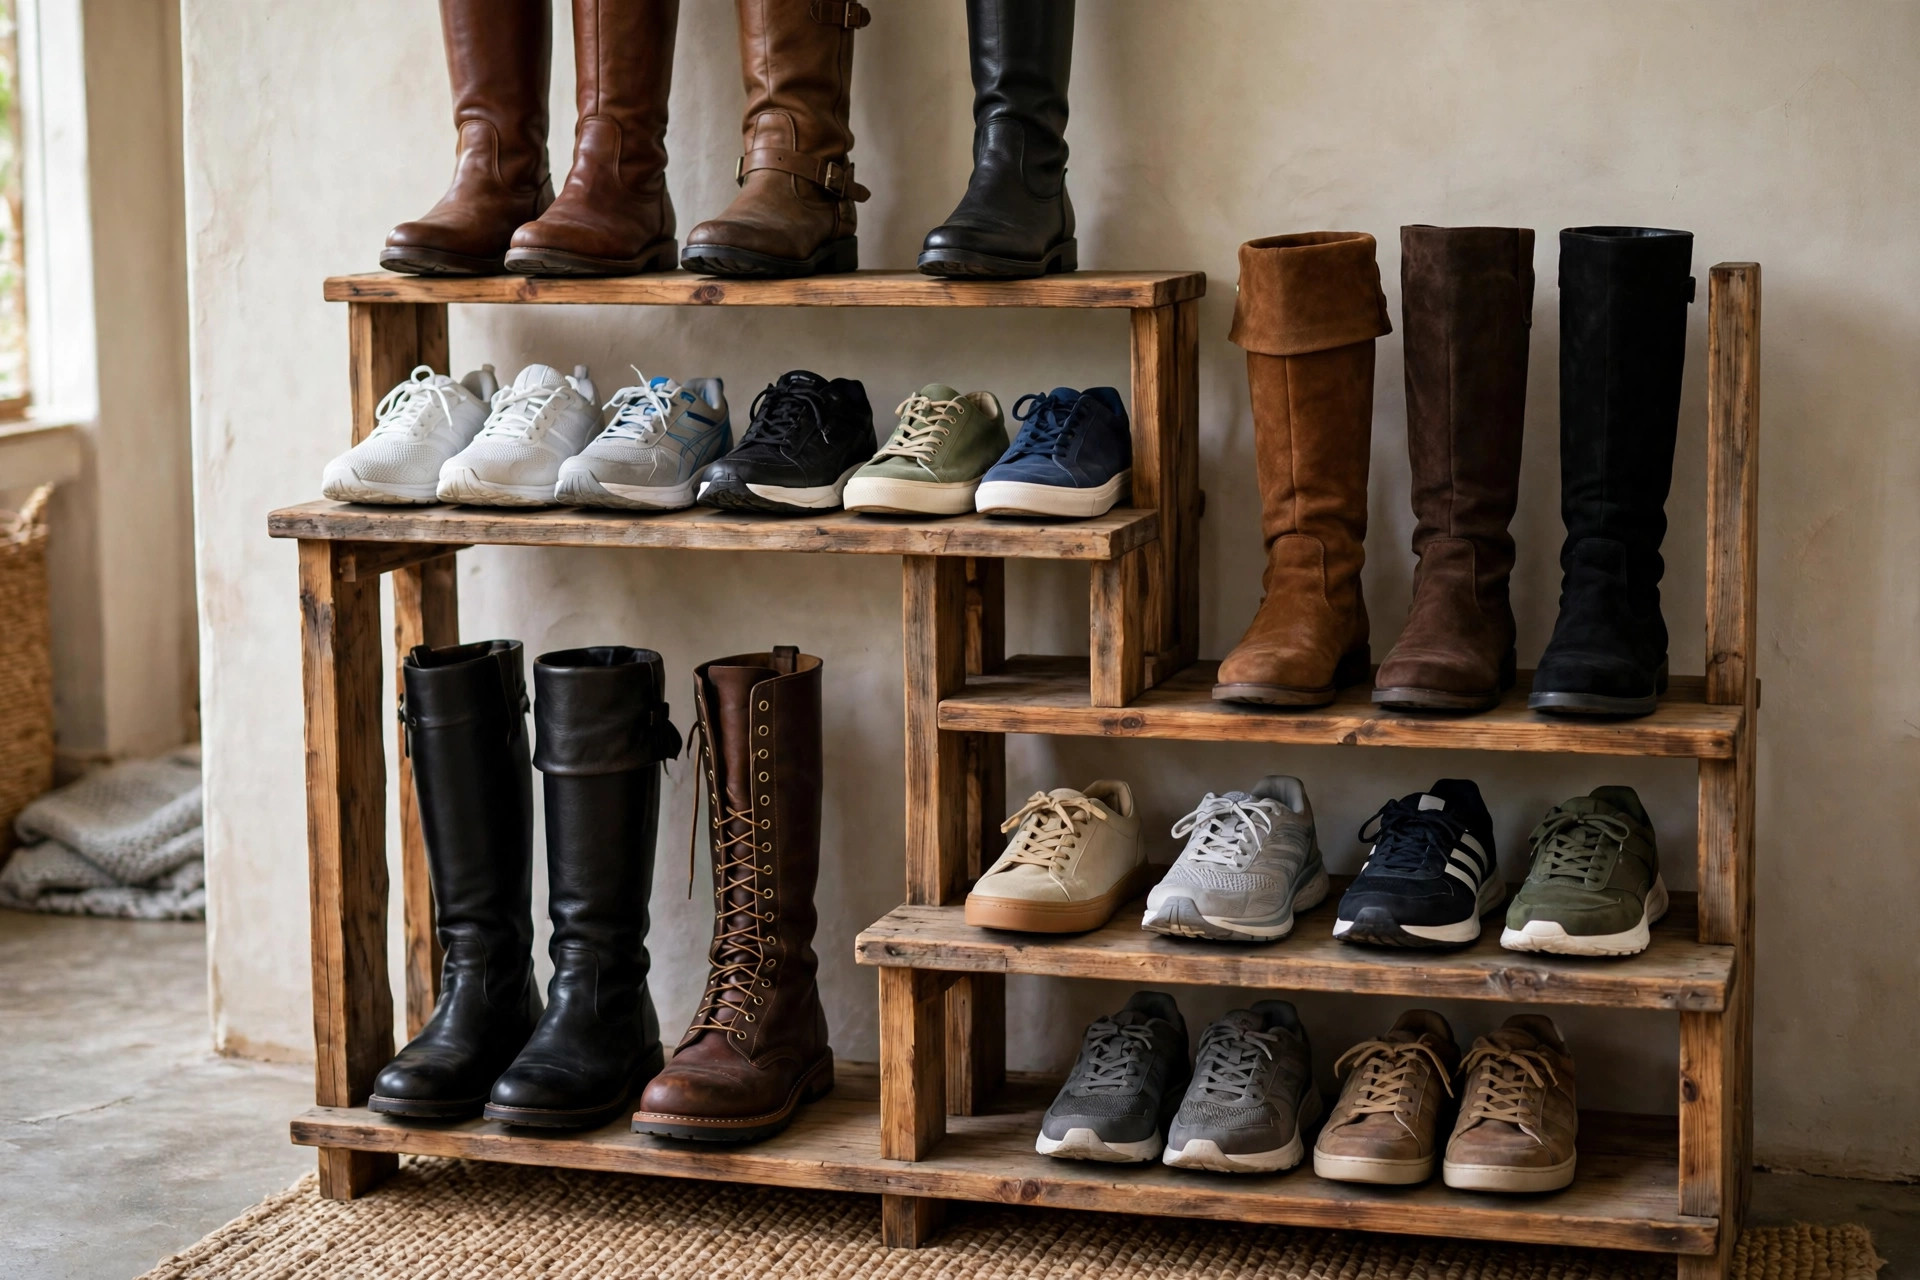
Spacing is where most beginner shoe racks go wrong. Rows spaced for trainers will not fit boots, and rows spaced for boots waste a whole row of trainer space. Plan your rows around what your household actually wears, using these clearances measured from the top of one row’s rails to the underside of the row above:
| Footwear | Height needed above the rails | Works on which row |
|---|---|---|
| Trainers and low shoes | 150–180 mm | Upper or lower row |
| Ankle boots and high-top trainers | 200–250 mm | Upper row, or tall lower row |
| Tall boots and wellingtons | 350–400 mm | Floor row only, or a dedicated tall end |
| Children’s shoes | 120–150 mm | Any row; add a third pair per row |
| Slippers and sandals | 100–130 mm | Any row |
The design in this guide gives you two useful rows: the lower row, from the floor to the upper dowels, is about 300 millimetres tall and swallows ankle boots; the upper row, from the upper dowels to the seat underside, is about 150 millimetres and suits trainers and low shoes. If your household wears mostly tall boots, leave the lower dowels out entirely and use the floor as the boot row — boots stand directly on the floor between the end frames, and the upper row still holds shoes. That single decision, made before you drill, is the difference between a rack that fits everything and one that fits nothing properly.
Step 1: Build the Two End Frames
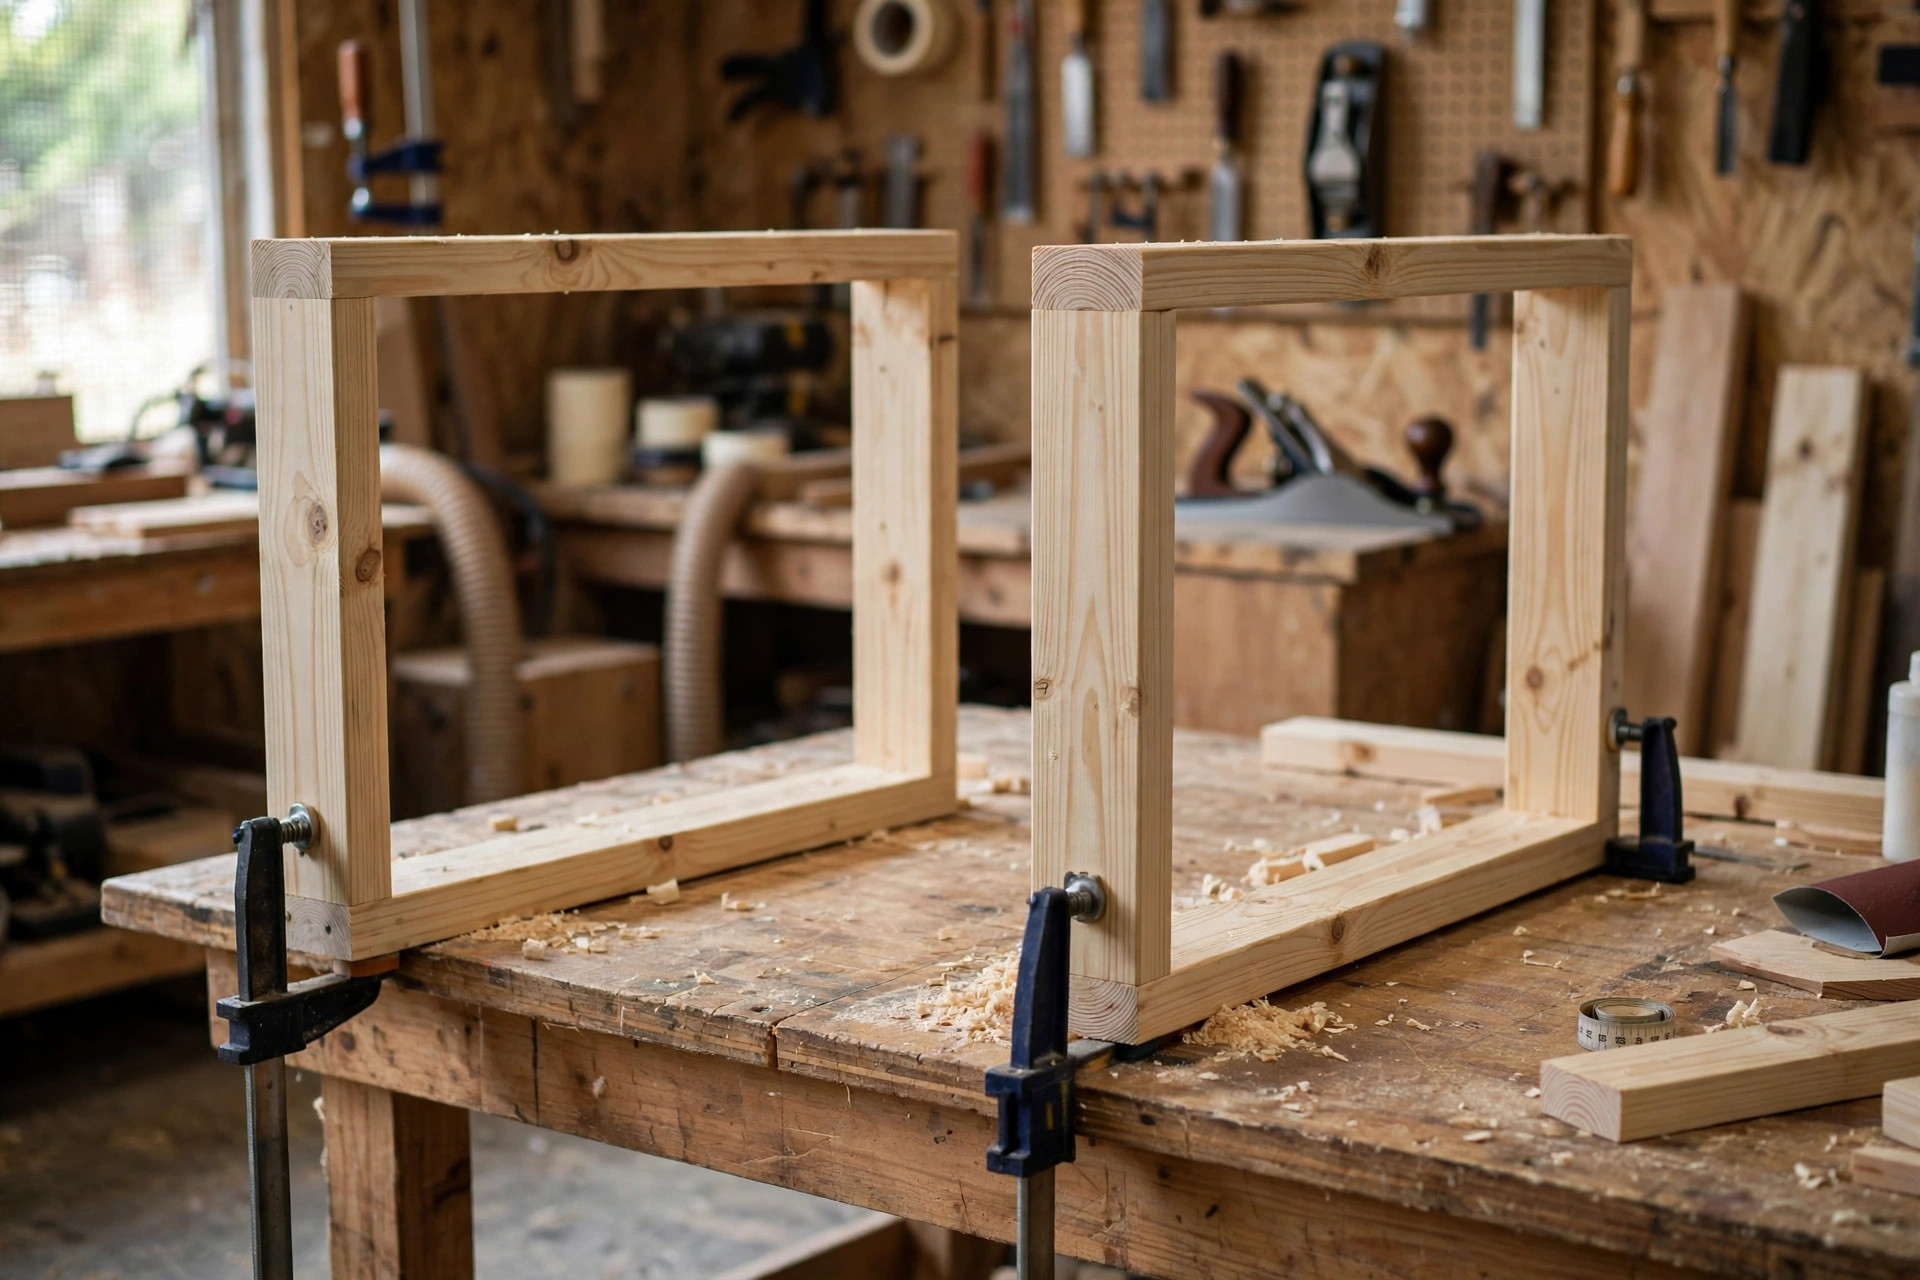
An end frame is a rectangle: two legs joined by a top rail, a middle rail, and a bottom rail. Build both frames identically, and build them flat on your workbench so they come out square. Lay out one frame, check the diagonal measurements match — equal diagonals mean square, unequal diagonals mean a parallelogram — and only then drive the screws. Pocket holes on the inside faces of the rails give the cleanest look, since the holes face inward and are barely visible; if you do not own a pocket-hole jig, drill pilot holes through the legs into the rail ends and countersink the screws, then fill the holes with filler before finishing. Our comparison of pocket hole vs dowel joint strength explains why pocket screws are a good beginner choice for frames like these.
Glue every joint as well as screwing it. Glue is what keeps a frame rigid for years; screws mainly hold it while the glue cures. Apply a thin bead, press the joint together, drive the screws, and wipe squeeze-out with a damp cloth after 20 minutes, when the glue is rubbery rather than wet. Build the second frame on top of the first, using the first as a template, so both frames match exactly — mismatched frames are the most common cause of a wobbly rack.
Step 2: Drill the Dowel Holes So Both Ends Match
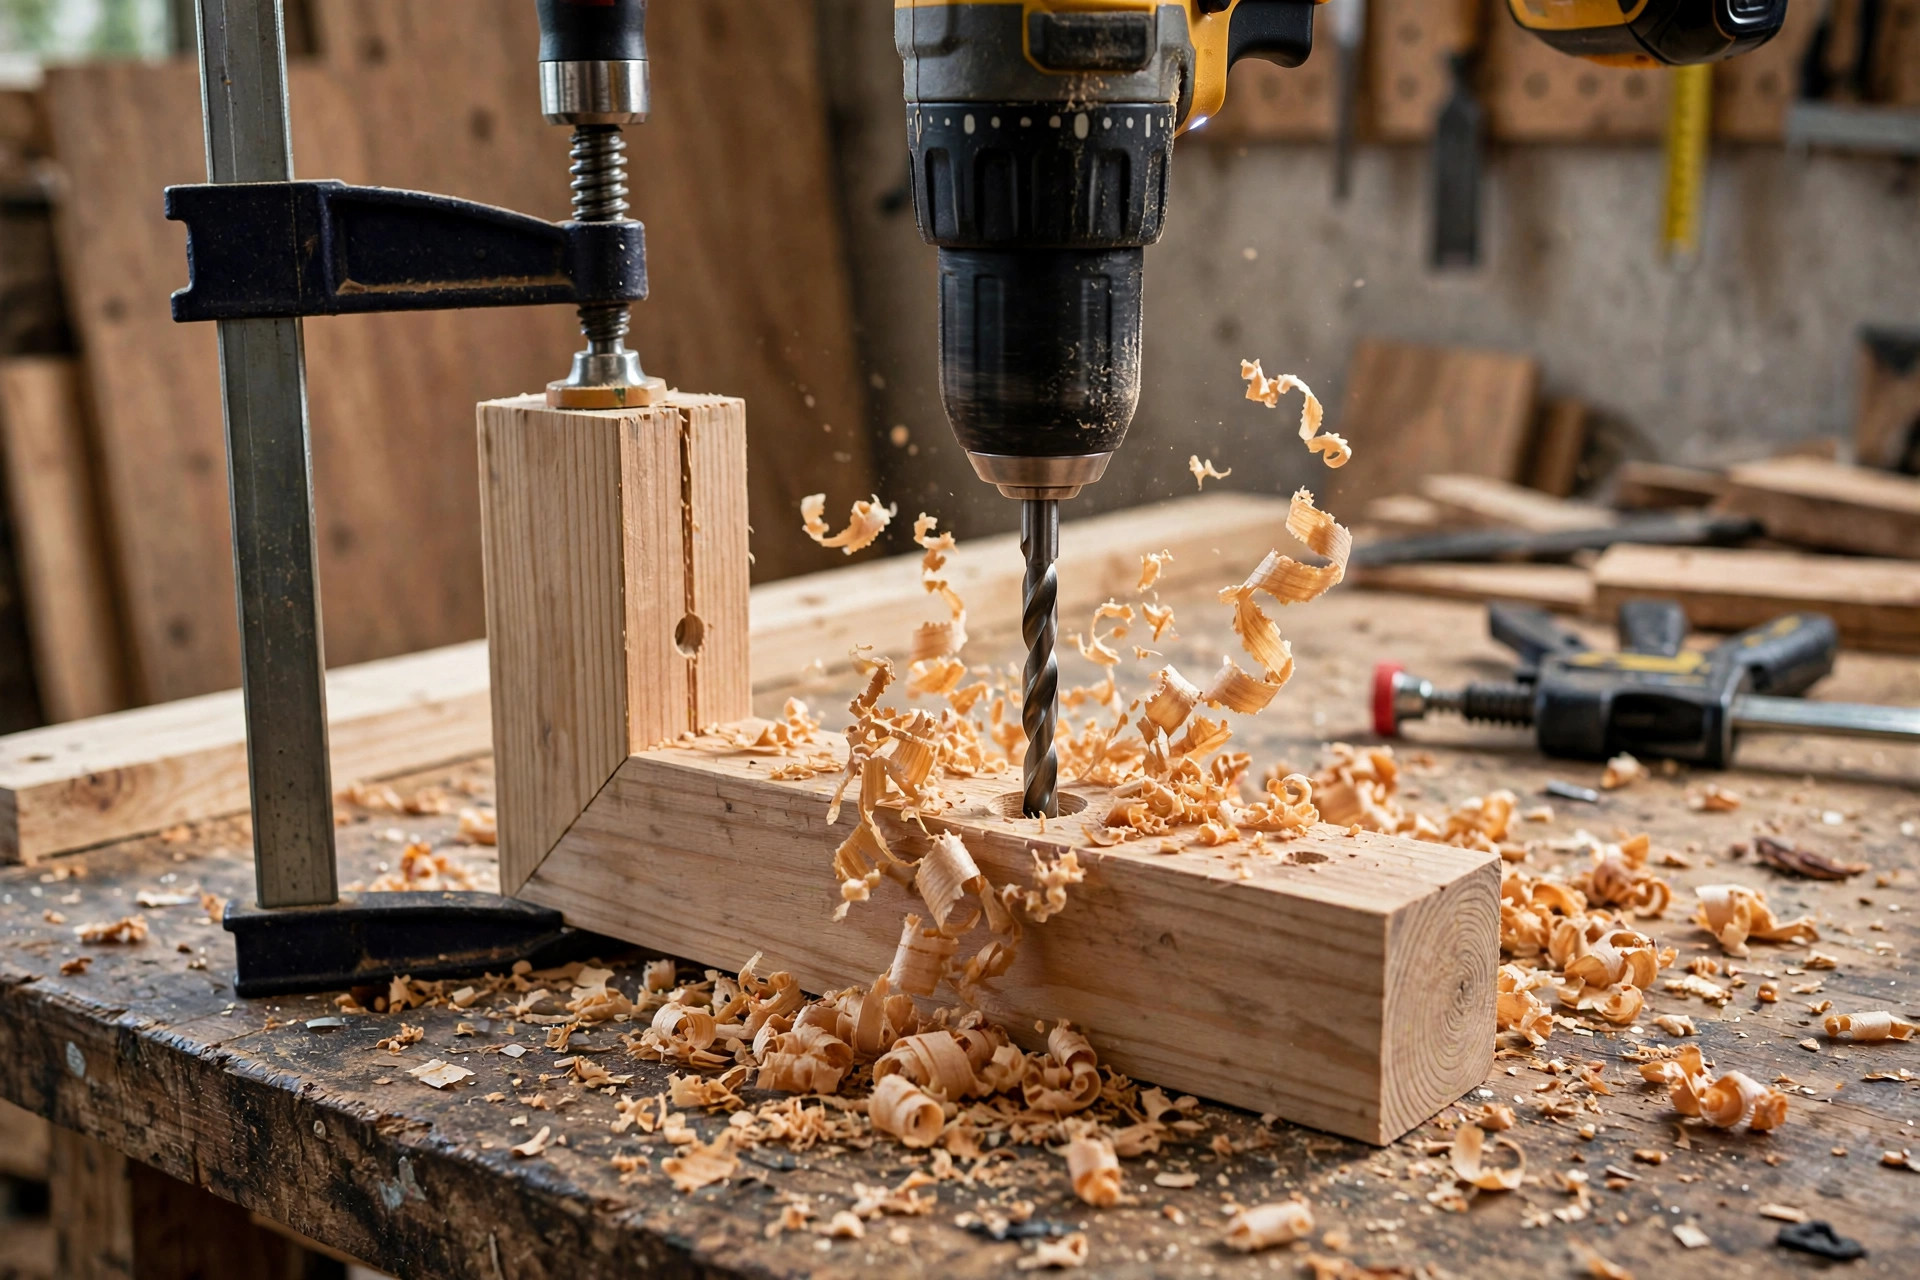
Dowel holes are the only fiddly step, and the trick is to drill both end frames together. Clamp the two frames face to face, mark the hole centres on the outer face of the top frame — two holes per row, spaced 120 millimetres apart front to back, centred on the frame depth — and drill through both frames in one pass with a spade bit or Forstner bit matched to your dowel. Measure your actual dowel diameter first with callipers or by test-drilling scrap: dowels are often a fraction under their nominal size, and a hole drilled for a nominal 25-millimetre dowel may be sloppy for a 24-millimetre dowel. Test on scrap, adjust the bit if needed, and only then drill the real frames.
Drill from the outside face inward, with a scrap board clamped behind the frame to prevent blowout on the exit side. Wrap a piece of painter’s tape around the bit about 20 millimetres from the tip as a depth guide so you do not drill through the far side — dowel holes here are blind sockets about 20 millimetres deep, not through-holes. Drill slowly, clear the chips often, and keep the drill square to the frame; a tilted hole makes a dowel that points downhill and drops shoes off the end.
Step 3: Assemble the Rack
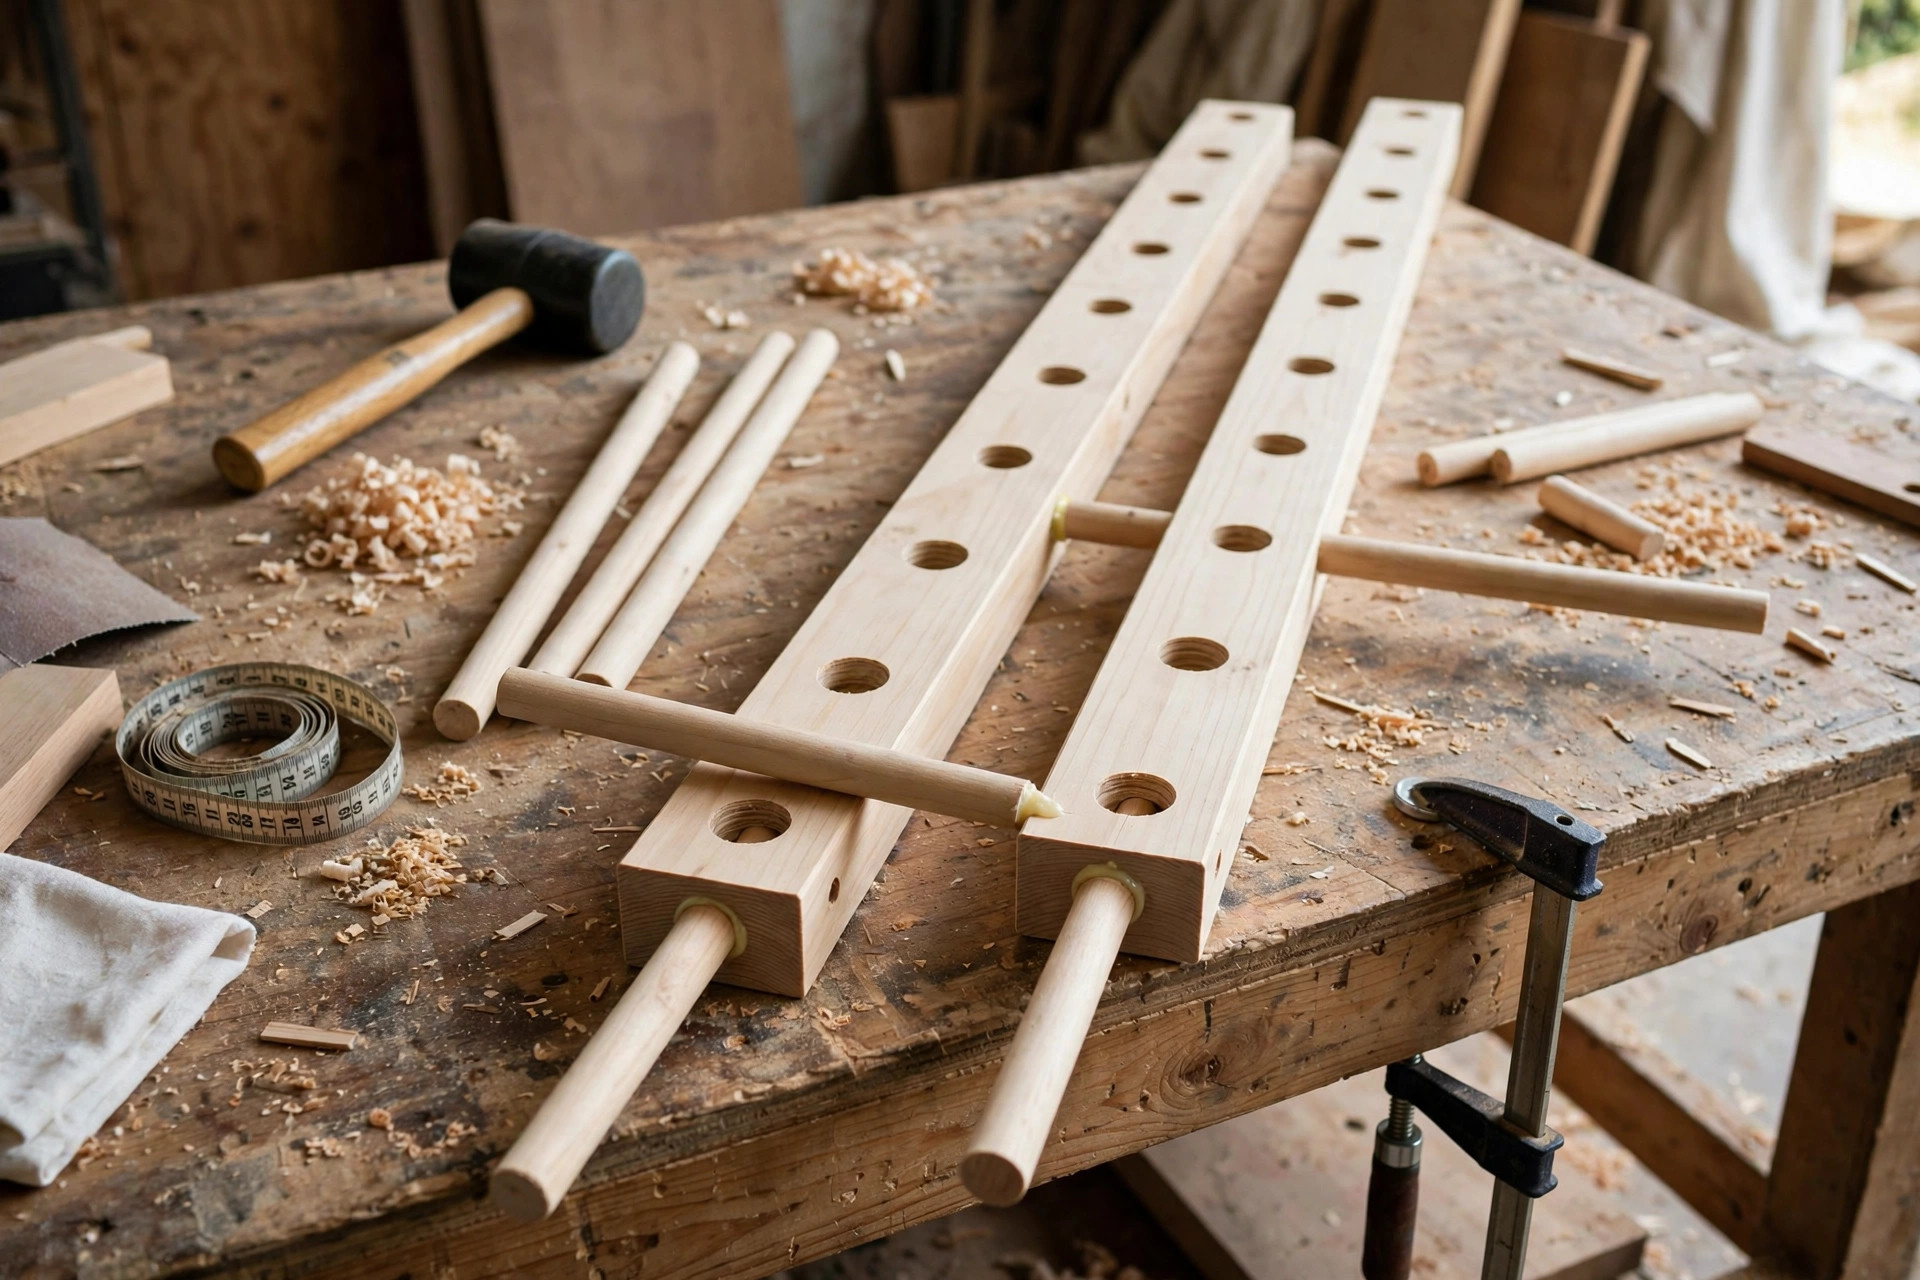
Assembly is satisfying because it goes fast. Stand both end frames upright, glue the dowel ends, and tap the dowels into their sockets with a mallet and a scrap block — never strike a dowel directly with a hammer, or you will mushroom the end. Work one row at a time, checking that both frames stay parallel and the dowels sit at the same depth in each frame. Then add the two long stretchers between the frames, just under the seat, screwed through the end frames into the stretcher ends. Stretchers are what stop the rack racking sideways when someone sits down heavily, so do not skip them.
Set the seat board on top, centre it with equal overhang at each end and a small overhang at the front, and screw it down from underneath through the top rails, so no screw heads show on the sitting surface. Check the rack on a flat floor: it should not rock. If it rocks, one leg is long — identify it by pressing each corner in turn, then sand or trim the long leg a fraction at a time until all four feet touch. A rack that rocks now will rock forever unless you fix it at this stage.
Step 4: Sand and Finish for an Entryway
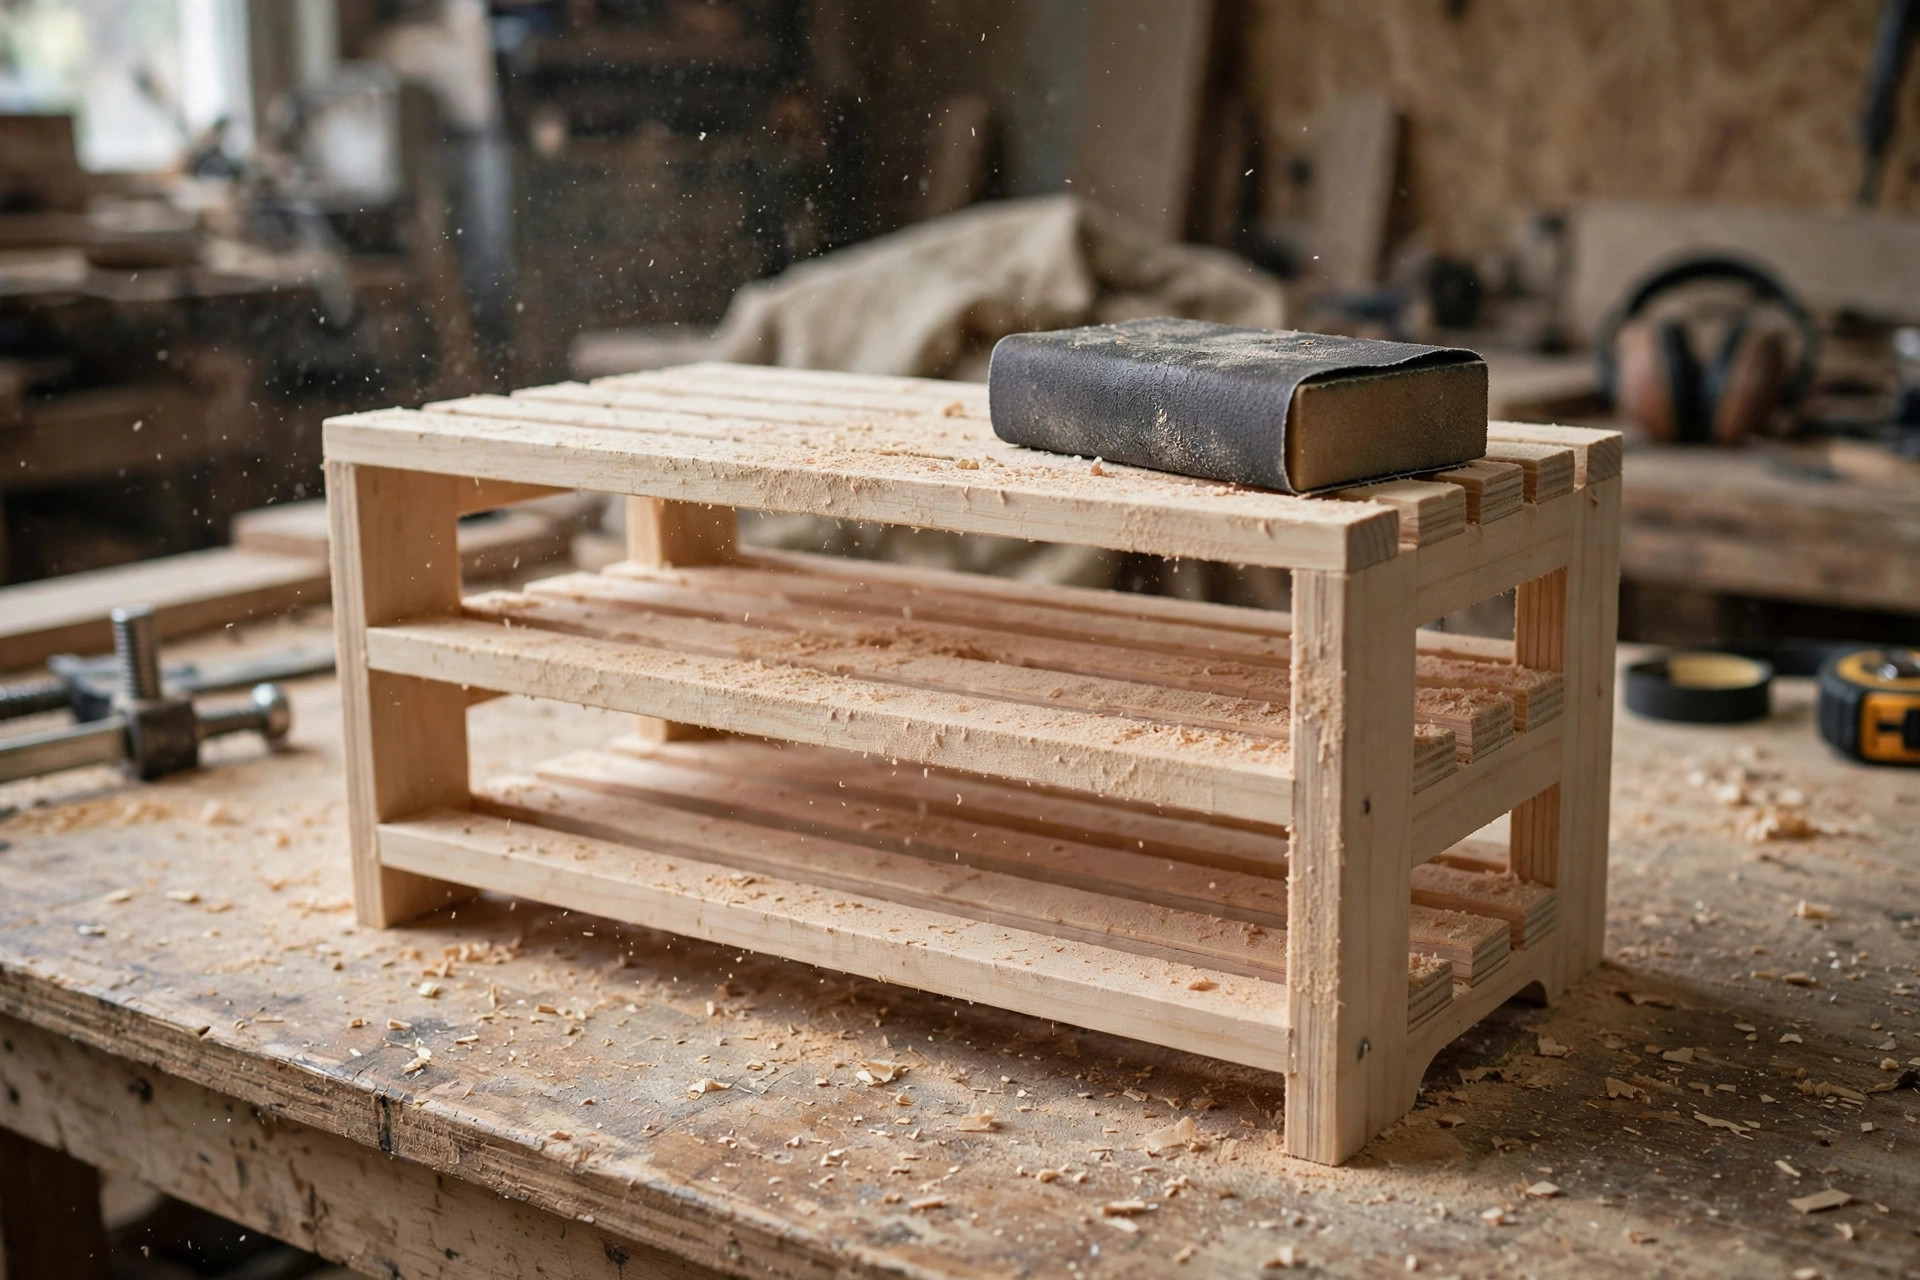
Sand everything before finishing, working through 80, 120, then 220 grit, and sand the dowels too — a rough dowel snags socks and shoelaces. Pay special attention to the seat edges and the top corners of the end frames, since those are the parts hands and shins meet. Round the seat edges slightly with sandpaper wrapped around a block; a sharp seat edge is uncomfortable and chips quickly. Vacuum or brush off all dust, then wipe with a barely damp cloth and let it dry before finishing.
An entryway rack needs a harder finish than a bedroom shelf. If you stain, apply the stain, let it dry fully, then add at least three thin coats of polyurethane, sanding lightly with 220 grit between coats — our guide to how to apply polyurethane for beginners covers the full process. If you paint, prime first, then use two coats of a hard-wearing satin or semi-gloss paint. Either way, finish the feet and the underside of the seat too; shoes bring in moisture, and unfinished pine in an entryway absorbs it, swells, and goes grey. Let the final coat cure for a full day before loading the rack with shoes.
Common Mistakes Beginners Make
The most common mistake is drilling dowel holes one frame at a time and finding the dowels do not line up — always clamp the frames together and drill both at once. The second is making every row the same height and discovering boots fit nowhere; decide your boot row before you drill, using the spacing table above. The third is skipping the long stretchers, which leaves a rack that racks sideways the first time someone sits on it. The fourth is using screws without pilot holes in pine near the ends of boards, which splits the wood — always pilot-drill within 50 millimetres of a board end. The fifth is finishing only the visible faces; in an entryway, the underside and feet see the most moisture. The sixth is building to a plan’s width instead of measuring your hallway and your largest shoes — a rack that blocks a door swing is a rack that gets moved to the garage. Measure the space, measure the shoes, then cut.
Frequently Asked Questions
How wide should a wooden shoe rack be? 90 centimetres suits most hallways and holds three to four pairs per row. Do not exceed about 100 centimetres without a centre support frame, or the dowels will sag under heavy shoes and boots.
What size dowel should I use for shoe rails? 25-millimetre dowels are the sweet spot: thick enough not to bend under shoes, thin enough to drill cleanly in a 2×2 frame. Thinner 19-millimetre dowels work for children’s shoes but flex under adult boots.
Can I build this rack without a pocket-hole jig? Yes. Drill pilot holes through the legs into the rail ends, countersink, and drive screws from the outside, then fill the holes. The joints are just as strong; the holes are simply more visible until filled and finished.
How do I stop the rack wobbling on an uneven floor? First fix leg length so it sits flat on a level floor. For permanently uneven floors, add small adhesive felt pads to the short leg or fit adjustable furniture feet to all four legs.
Should I stain or paint a pine shoe rack? Either works if you topcoat it properly. Stain shows the pine grain and suits a natural hallway; paint hides pine’s knots and colour variation and is easier to wipe clean. Both need a hard polyurethane or hard-wearing paint topcoat for entryway use.
Can I add a third row of shoes? Yes, if your seat height allows it: add a third pair of dowels midway between the lower row and the seat, but only if each row still clears your tallest shoes using the spacing table. For most households, two well-spaced rows beat three cramped ones.
The Bottom Line
Learning how to build a simple wooden shoe rack for beginners comes down to five decisions made in the right order: bench design over shelf design, pine over MDF, your boot row decided before you drill, both end frames drilled together so the dowels line up, and a hard finish that survives an entryway. Get those right and the rest is straightforward cutting, gluing, and screwing. Build it this weekend, let the finish cure overnight, and by Monday morning the shoes by your front door will finally have a place that fits them — and a seat to sit on while you put them on.
If you enjoyed this build, our guide to how to build a simple bookshelf for beginners uses the same frame-and-panel thinking at a larger scale, and the pillar guide to easy woodworking projects for beginners that sell has more first projects in the same spirit.
Recommended Tools and Safety Gear for This Project

Titebond III Ultimate Wood Glue 1413 (8 oz)
Why it fits this shoe rack: it bonds the pine end frames and dowel joints so the rack stays rigid in a busy entryway.

IRWIN QUICK-GRIP Woodworking Clamps Set, 8-piece (IRHT83220)
Why it fits this shoe rack: the set holds both end frames square and the dowels in place while the glue dries.

DEWALT Concealer Safety Goggles DPG82-11C
Why it fits this shoe rack: they protect your eyes from sawdust and chips while drilling dowel holes and sanding the rack.

DEX FIT Cru553 Level 5 Cut Resistant Gloves, Size L
Why it fits this shoe rack: they give cut protection while handling rough-sawn pine, dowels, and sharp tools.

3M PELTOR X4A Over-the-Head Earmuffs, NRR 27 dB
Why it fits this shoe rack: they protect your hearing during the loud sawing and power-sanding steps of the build.
As an Amazon Associate, I earn from qualifying purchases.



Pingback: How to Build a Wooden Storage Bench for Beginners
Pingback: How to Build a Wooden Shoe Rack for Beginners