
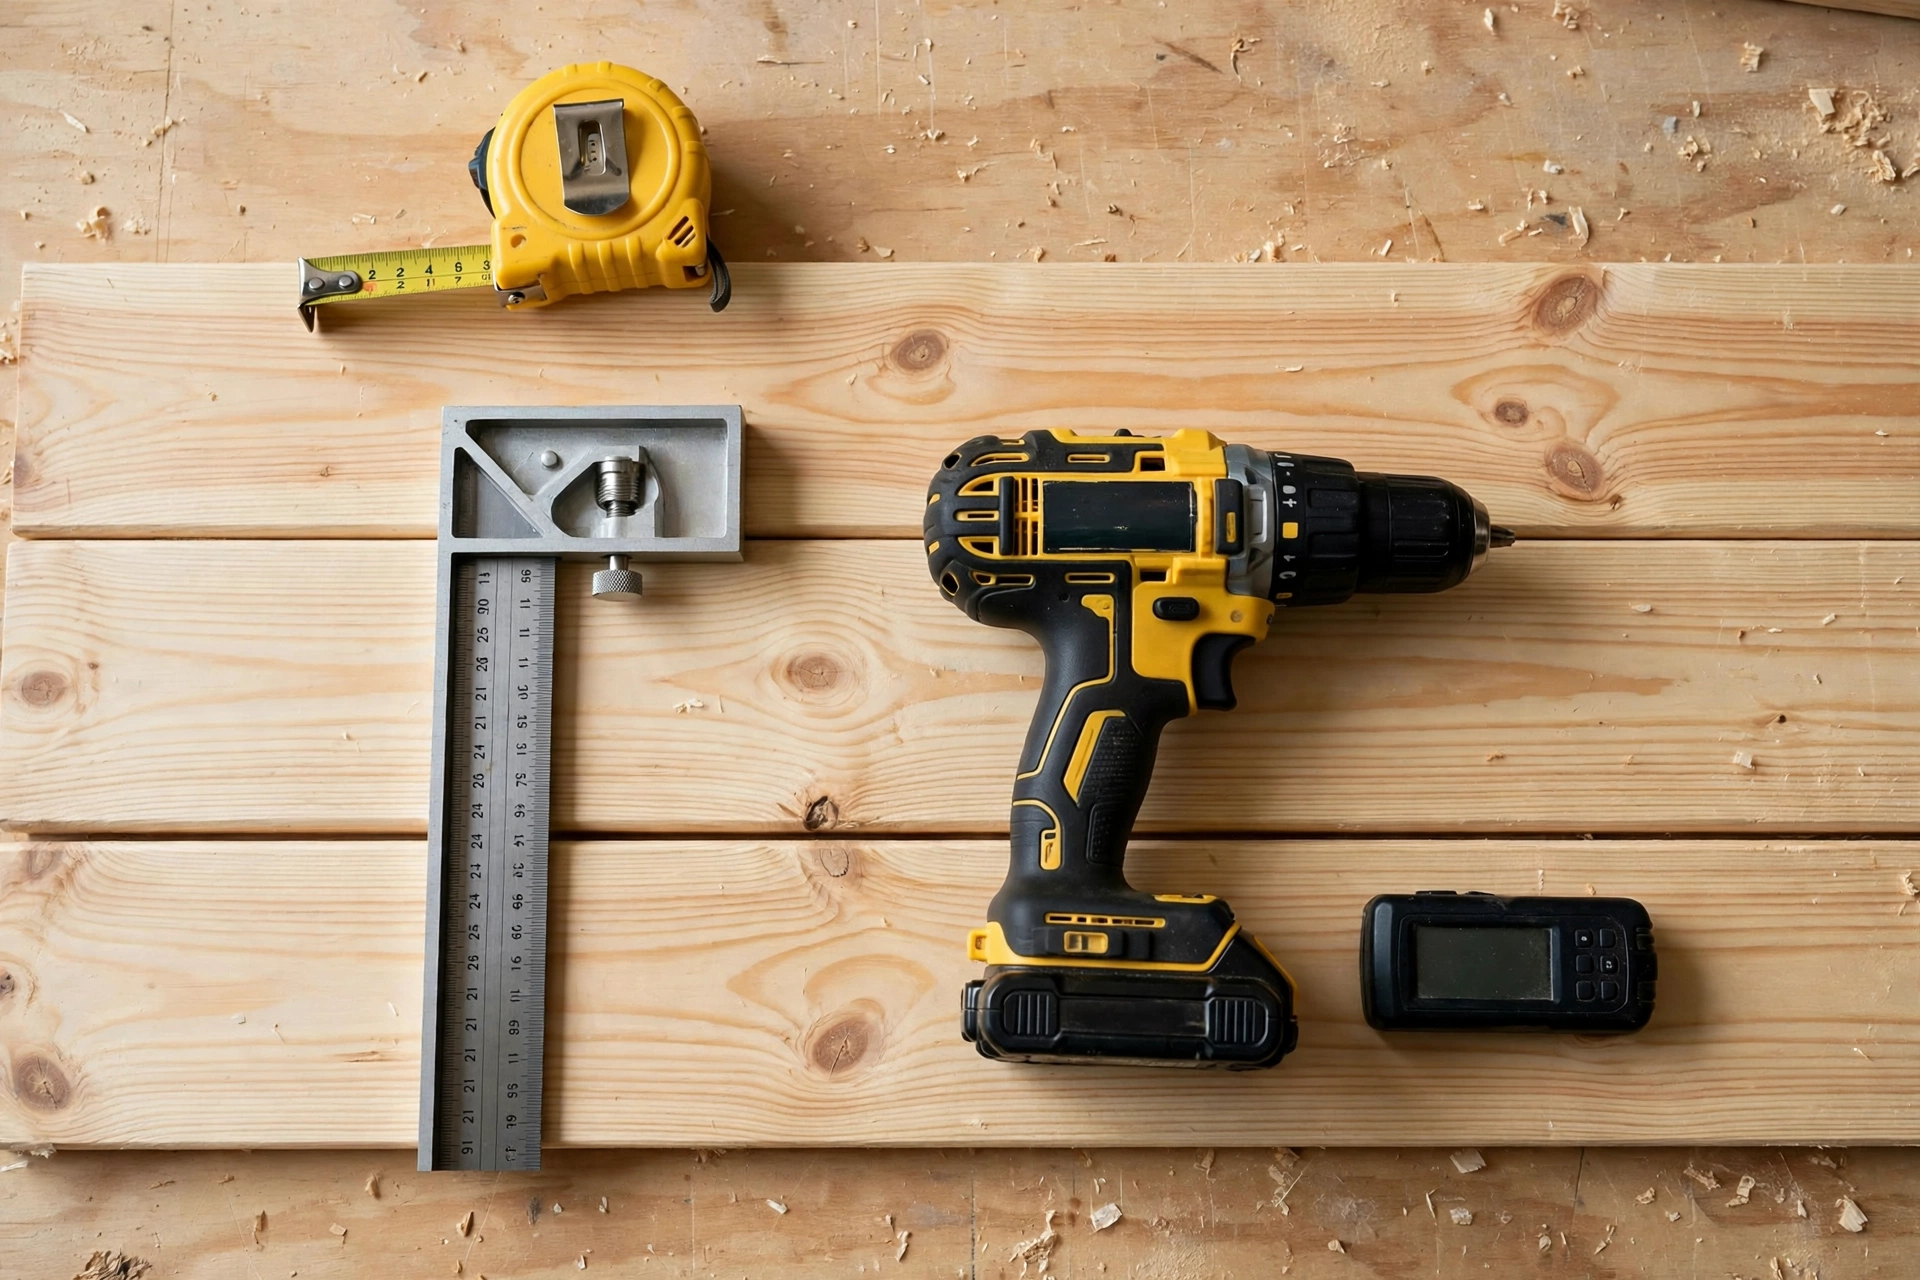
A floating shelf looks like magic — a solid plank of wood hanging on the wall with no brackets, no visible screws, and nothing holding it up. In reality, the secret is simple: a hidden wooden cleat screwed into the wall studs, and a hollow shelf box that slides over it like a sleeve. Learning how to build a wooden floating shelf for beginners is one of the best first wall projects you can take on: only straight cuts, a small glue-up, and a mounting method you can trust with books, plants, and everything you keep by the front door. In this guide, you will learn how to size a floating shelf for your entryway or hallway, choose the right wood, find your wall studs, build a hollow shelf box with a hidden cleat, mount it so it never sags, and finish it so it looks like it came from a furniture shop.
This project builds one measured shelf — 36 inches (91 cm) long, 8 inches (20 cm) deep, and 2 inches (5 cm) thick — and takes most beginners about 2 to 3 hours of hands-on work plus drying time. You do not need a table saw or a router: a circular saw (or a handsaw), a drill, and a sander are enough. The finished shelf costs roughly $25 to $45 in materials, while a comparable solid-wood floating shelf in a shop typically sells for $60 to $150. If you want the broader picture first — other floating-shelf styles, bracket options, and room ideas — start with our general guide on how to build floating shelves for beginners; this guide is the single measured hidden-cleat build, step by step. It also sits comfortably in our easy woodworking projects for beginners that sell collection, and the same cleat-and-box method works for a bathroom shelf, a bedroom shelf, or a whole row of shelves down a hallway.
What Size Floating Shelf Should You Build?
A floating shelf is sized to its wall and to what it will hold, not to a furniture rule. The 36 × 8-inch (91 × 20 cm) shelf in this guide is the sweet spot for an entryway or hallway: long enough for keys, a small plant, a few books, and a bowl for mail, but short enough to span two wall studs and stay rock solid. Most wall studs sit 16 inches (41 cm) apart, so a 36-inch shelf crosses at least two studs — and two studs are what make a hidden-cleat shelf strong. A shelf shorter than 24 inches (61 cm) may only reach one stud, which is why this guide does not build a 12-inch shelf: one stud is not enough for a shelf you will lean on.
Depth matters too. An 8-inch (20 cm) deep shelf holds books, a small plant pot, and a candle without anything sticking out past the edge. Go deeper than 10 inches (25 cm) and the shelf starts to act like a lever: the weight pulls down at the front edge and the cleat has to work much harder, so the load limit drops fast. Go shallower than 6 inches (15 cm) and most books will not fit. Thickness is the third number: a 2-inch (5 cm) thick hollow shelf looks substantial and hides the cleat completely, while a 1-inch shelf looks thin and shows every mounting compromise. The table below gives safe load limits for this exact build — a 36 × 8 × 2-inch hollow pine shelf on a hidden cleat — so you know what you can put on it before you load it up.
| Shelf size | Mounting | Safe load (evenly spread) | Best for |
|---|---|---|---|
| 24 × 8 × 2 in (61 × 20 × 5 cm) | Cleat into 1 stud + drywall anchors | 15–20 lb (7–9 kg) | Keys, photos, small plant |
| 36 × 8 × 2 in (91 × 20 × 5 cm) | Cleat into 2 studs (this build) | 30–50 lb (14–23 kg) | Books, plant, mail, candles |
| 48 × 8 × 2 in (122 × 20 × 5 cm) | Cleat into 3 studs | 40–60 lb (18–27 kg) | Row of books, heavier decor |
| 36 × 10 × 2 in (91 × 25 × 5 cm) | Cleat into 2 studs | 20–35 lb (9–16 kg) | Larger books, wider plant pots |
| 36 × 8 × 2 in (91 × 20 × 5 cm) | Cleat into drywall only (no studs) | 10–15 lb (5–7 kg) | Light decor only — not books |
Measure your wall before you shop: mark the stud positions, then check that a 36-inch shelf will cross two of them. If your studs are 24 inches (61 cm) apart instead of 16, a 36-inch shelf may still cross two studs, but measure first — if it only reaches one, build a 48-inch shelf instead, or shift the shelf sideways until it crosses two. Note the height too: in an entryway, 60 to 66 inches (152 to 168 cm) from the floor puts the shelf at comfortable eye and hand level, above a console table but below the light switch line. In a hallway, 66 to 72 inches (168 to 183 cm) keeps it clear of shoulders and coats.
Choosing the Best Wood for Your Floating Shelf
For a first floating shelf, pine is the best choice: cheap, light, easy to cut and sand, and it takes stain and paint beautifully. A 36-inch pine floating shelf costs about $15 to $25 in lumber. The hollow construction means the shelf stays light — about 5 to 7 lb (2.3 to 3.2 kg) before you load it — so the cleat carries the contents, not the shelf itself. If you want a harder surface that resists dents from keys and books, poplar is a step up: still easy to work with, machines cleanly, and costs a little more. White oak and walnut look stunning, but they are heavier, harder to cut, and three to five times the price — and extra weight is exactly what a floating shelf does not need, so save them for a later project.
Buy 1×8 boards (actual size ¾ × 7¼ inches, or 19 × 184 mm) for the top and bottom panels of the hollow box, and 1×2 boards (actual size ¾ × 1½ inches, or 19 × 38 mm) for the internal frame and the front edge strip. Use a straight 2×4 (actual size 1½ × 3½ inches, or 38 × 89 mm) — or a ripped strip of ¾-inch plywood — for the hidden wall cleat, because the cleat is the part that carries the whole load and it must be straight and strong. Pick boards by sighting down each edge and rejecting any with heavy cupping, twisting, or large face knots. A small knot on the underside is fine; one in the middle of the top face will show through the finish forever.
| Wood | Cost for this shelf | Weight | Best for |
|---|---|---|---|
| Pine | $15–$25 | Light | First build, painted or stained finish |
| Poplar | $25–$40 | Light | Harder surface, painted finish |
| White oak | $50–$80 | Medium | Stained showpiece, heavy loads |
| Walnut | $60–$100 | Medium | Dark, premium look |
| Plywood (¾ in, edge-banded) | $10–$20 | Light | Budget build, painted finish |
Let the boards acclimatise in your house for two to three days before you cut them — wood that moves after the glue-up is the number one cause of a shelf box that will not slide onto its cleat. Avoid reclaimed pallet wood for this build: boards vary in thickness, often hide nails, and a hollow shelf needs exact, consistent thicknesses to fit together and slide onto the cleat.
Tools and Materials You Will Need
You probably own most of these tools already, and the rest can be borrowed or bought cheaply. A stud finder is the one tool worth buying for this project if you do not own one: guessing where the studs are is how floating shelves end up on the floor. A magnetic stud finder costs very little and never needs batteries; an electronic one beeps and lights up at the stud edges.
| Item | Details | Typical cost |
|---|---|---|
| Pine 1×8 board | 1 board, 6 ft (1.8 m) long, for top and bottom panels | $8–$14 |
| Pine 1×2 boards | 1 board, 8 ft (2.4 m) long, for frame and front edge | $4–$7 |
| Pine 2×4 board | 1 board, 4 ft (1.2 m) long, for the hidden wall cleat | $3–$5 |
| Wood screws | #8 × 2½ in (64 mm) for the cleat, about 6 screws | $4–$6 |
| Wood screws | #6 × 1¼ in (32 mm) for the frame, about 16 screws | $3–$5 |
| Wood glue | One 8 oz (237 ml) bottle | $4–$7 |
| Sandpaper | 120 and 220 grit sheets | $4–$6 |
| Finish | Stain + polyurethane, or paint, small cans | $10–$18 |
| Tools | Circular saw, drill, stud finder, level, tape measure, square, clamps | $0 if owned |
| Total (36 in, pine) | Lumber, screws, glue, finish | $25–$45 |
Safety gear matters too: safety glasses, hearing protection for the circular saw, and a dust mask for sanding. Apply stain and polyurethane outside or in a well-ventilated room, and keep oil-soaked rags flat to dry outdoors until stiff, then throw them away — bunched-up oily rags can self-heat.
Cut List for a 36 × 8 × 2-Inch Floating Shelf
This cut list is for one floating shelf 36 inches (91 cm) long, 8 inches (20 cm) deep, and 2 inches (5 cm) thick, built as a hollow box that slides over a hidden wall cleat. The top and bottom panels are 1×8 boards ripped to 8 inches wide; the internal frame is 1×2 stock that leaves a pocket exactly the size of the cleat. Cut the cleat first, then the panels, then the frame pieces — and always measure twice before every cut.
| Part | Material | Size | Quantity |
|---|---|---|---|
| Top panel | 1×8 pine | 36 in (91 cm) long | 1 |
| Bottom panel | 1×8 pine | 36 in (91 cm) long | 1 |
| Front edge strip | 1×2 pine | 36 in (91 cm) long | 1 |
| Internal frame rails | 1×2 pine | 33 in (84 cm) long | 2 |
| Internal frame cross pieces | 1×2 pine | 5 in (13 cm) long | 3 |
| End caps | 1×2 pine | 6½ in (17 cm) long | 2 |
| Hidden wall cleat | 2×4 pine | 33 in (84 cm) long | 1 |
The top and bottom panels are full 36-inch boards. The two frame rails are 33 inches (84 cm) long because they sit between the end caps, and the three cross pieces are 5 inches (13 cm) long because they fit between the rails inside the 8-inch-deep box. The cleat is 33 inches (84 cm) long — 3 inches (8 cm) shorter than the shelf — so it disappears completely inside the hollow box, with 1½ inches (38 mm) of clearance at each end. The cleat’s height must match the inside pocket of the box: the frame rails are 1½ inches (38 mm) tall, so a 2×4 cleat ripped to 1½ inches high, or a 1×4 cleat, slides in with a snug fit. Test the fit before you glue anything: the box should slide onto the cleat with light hand pressure, not a hammer.
Step 1: Find the Studs and Mark Your Wall
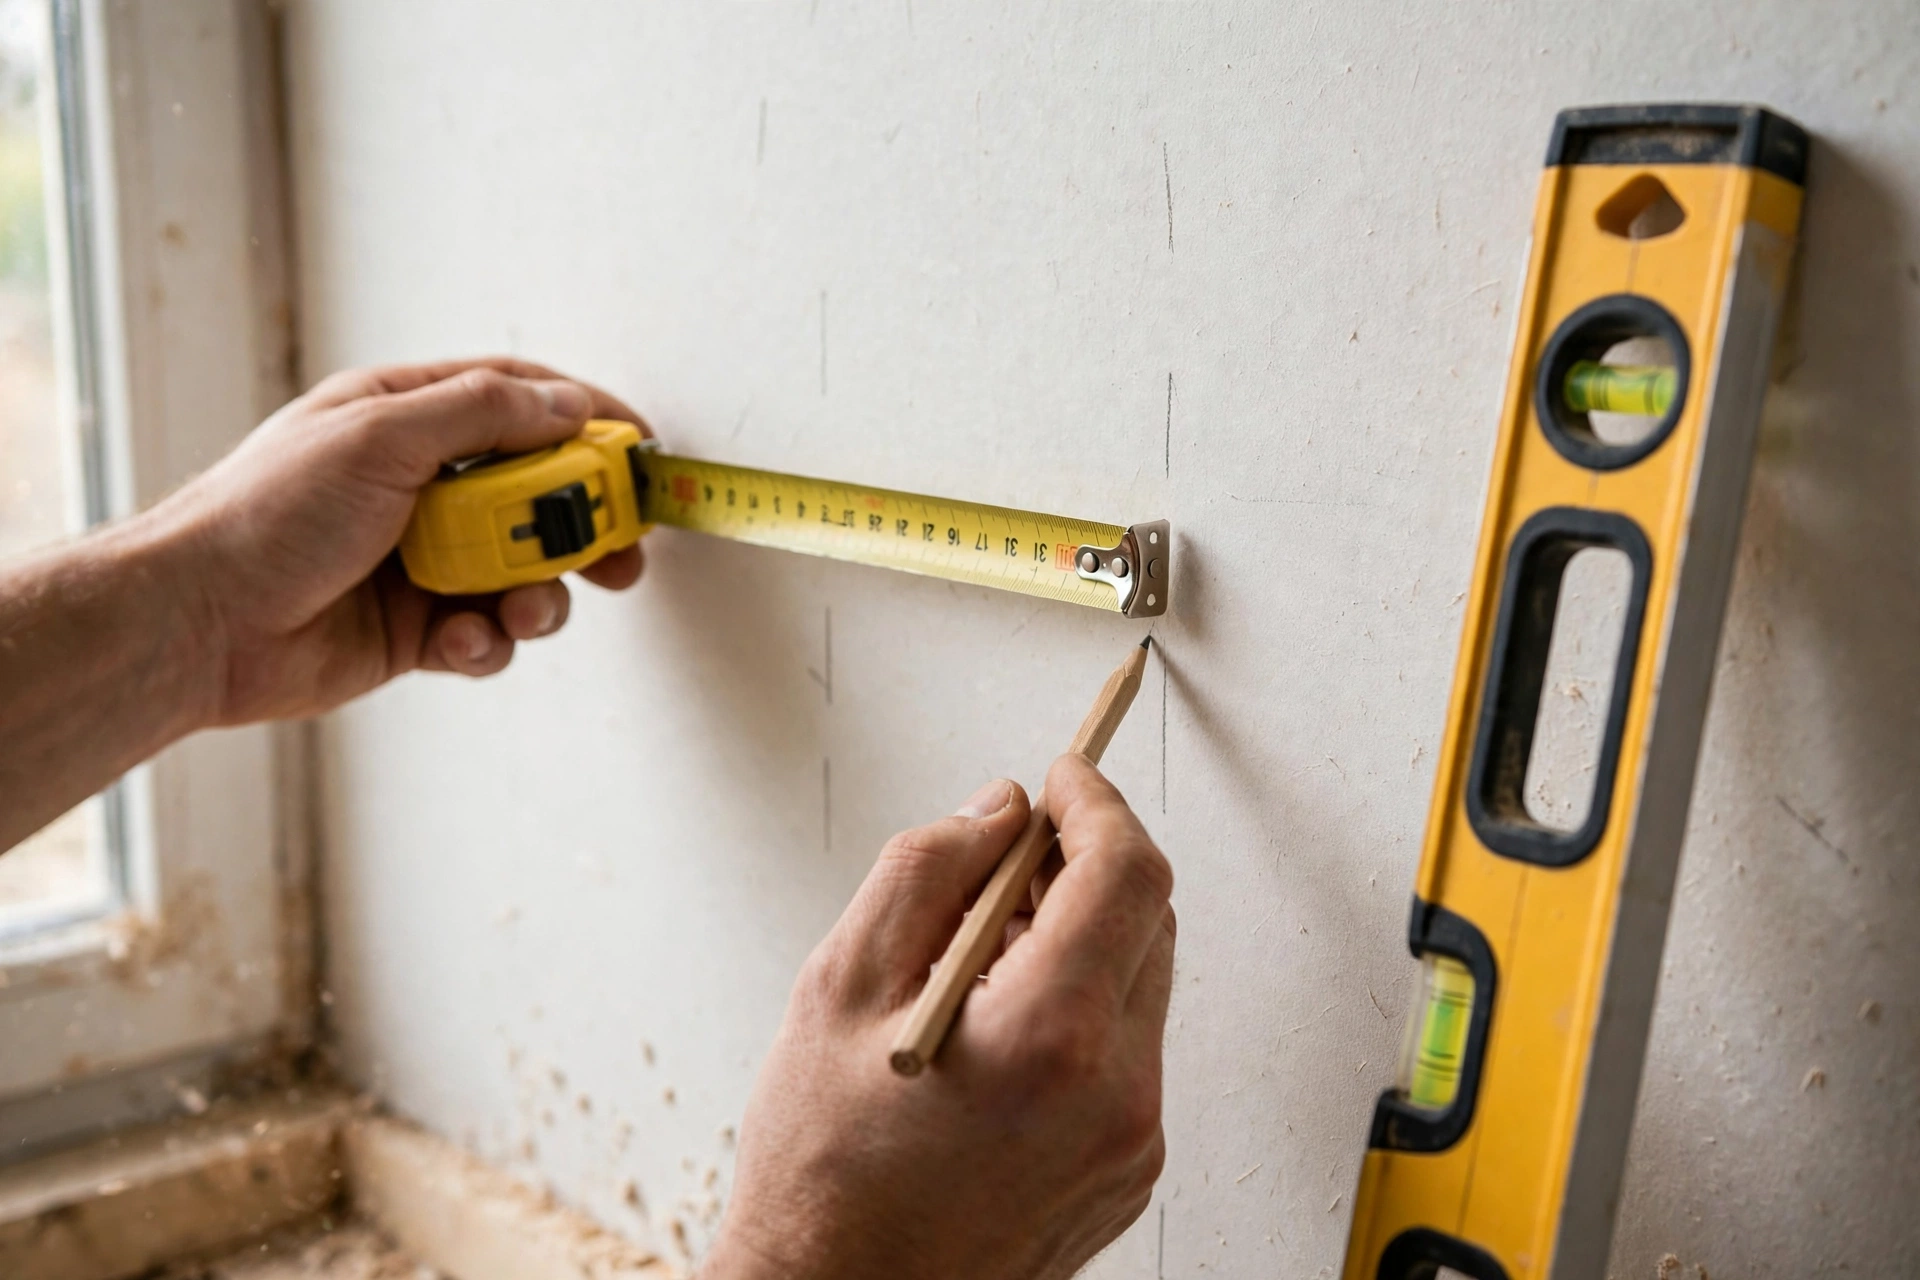
Finding the studs is the step that decides whether your shelf holds 50 lb or falls off the wall, so do it properly. Run the stud finder slowly across the wall at the height where the shelf will hang and mark both edges of each stud with light pencil lines, then mark the centre between them. Studs are usually 16 inches (41 cm) apart, measured centre to centre, so once you find one, the next should be about 16 inches away — but always verify with the finder, because framing is not always regular, especially near doors and corners.
Hold the level against the wall at your chosen shelf height and draw a long, level pencil line where the bottom of the shelf will sit. Mark the two stud centres on that line, then check that a 36-inch shelf centred on your marks will cross both studs with room to spare. If the studs fall near the ends of the shelf, shift the shelf sideways a few inches until each stud is at least 4 inches (10 cm) in from the nearest end — screws too close to the end of the cleat can split it. Mark the cleat’s screw positions on the line: two screws per stud, one near the top of the cleat and one near the bottom, for a total of four screws. Keep the pencil marks light; they will hide behind the shelf, but heavy marks can show on a pale wall.
If your wall is plaster over lath, brick, or concrete, a stud finder will not help — use a masonry bit and wall plugs instead, and drill into the solid wall, not the plaster. And if you truly cannot find a stud where you want the shelf, move the shelf: a floating shelf hung only on drywall anchors is a light-decor shelf, not a book shelf, and it will sag or pull out over time.
Step 2: Cut the Boards to Size
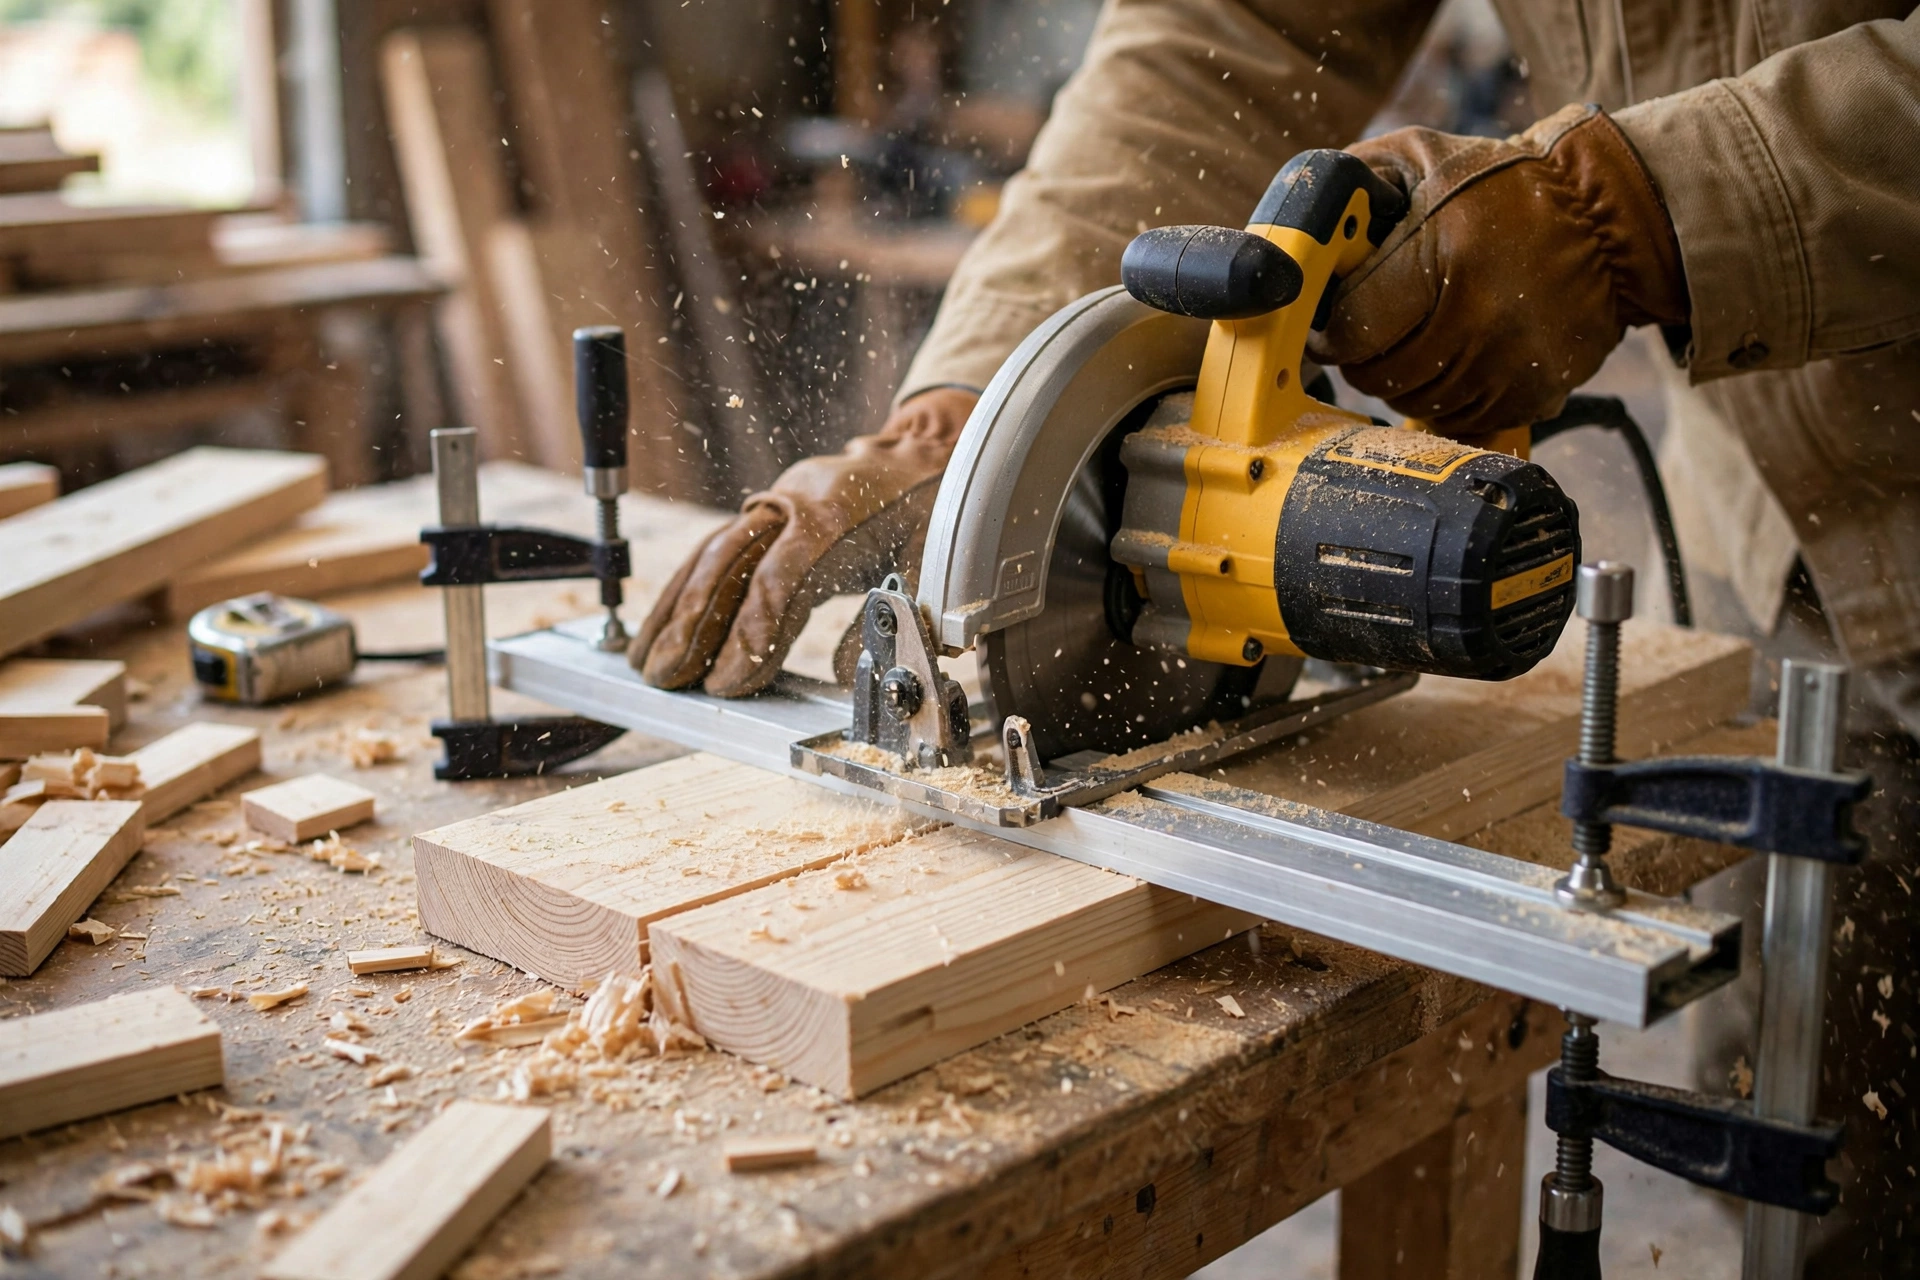
Clamp a straight board or a speed square to your workpiece as a saw guide, and set the circular saw depth so the blade cuts about ¼ inch (6 mm) past the bottom of the board — no deeper. Cut slowly and steadily, letting the saw do the work; pushing hard causes burning and wandering cuts. With a handsaw, use long, even strokes and let the weight of the saw cut. Cut the cleat first — it is the shortest piece and the easiest to get right while you are warming up — then the top and bottom panels, then the frame pieces.
After cutting, dry-fit the hollow box before any glue touches the wood: lay the bottom panel flat, set the two rails and three cross pieces on it, and lay the top panel on top. Check that the box is square by measuring diagonally across it — the two measurements should match within ⅛ inch (3 mm). Then slide the cleat into the pocket between the rails: it should slide in with light hand pressure and sit flat against the back rail. If it is too tight, sand the cleat’s edges lightly; if it is loose, the shelf will wobble, so add a thin shim strip to the back rail. A small error here — even ⅛ inch (3 mm) — is easy to fix now and almost impossible to fix after the glue has set. Sand the cut ends lightly with 120-grit paper to remove splinters and saw marks. Keep your offcuts: a short piece of 1×8 makes a perfect stain test piece.
Step 3: Build and Mount the Hidden Cleat
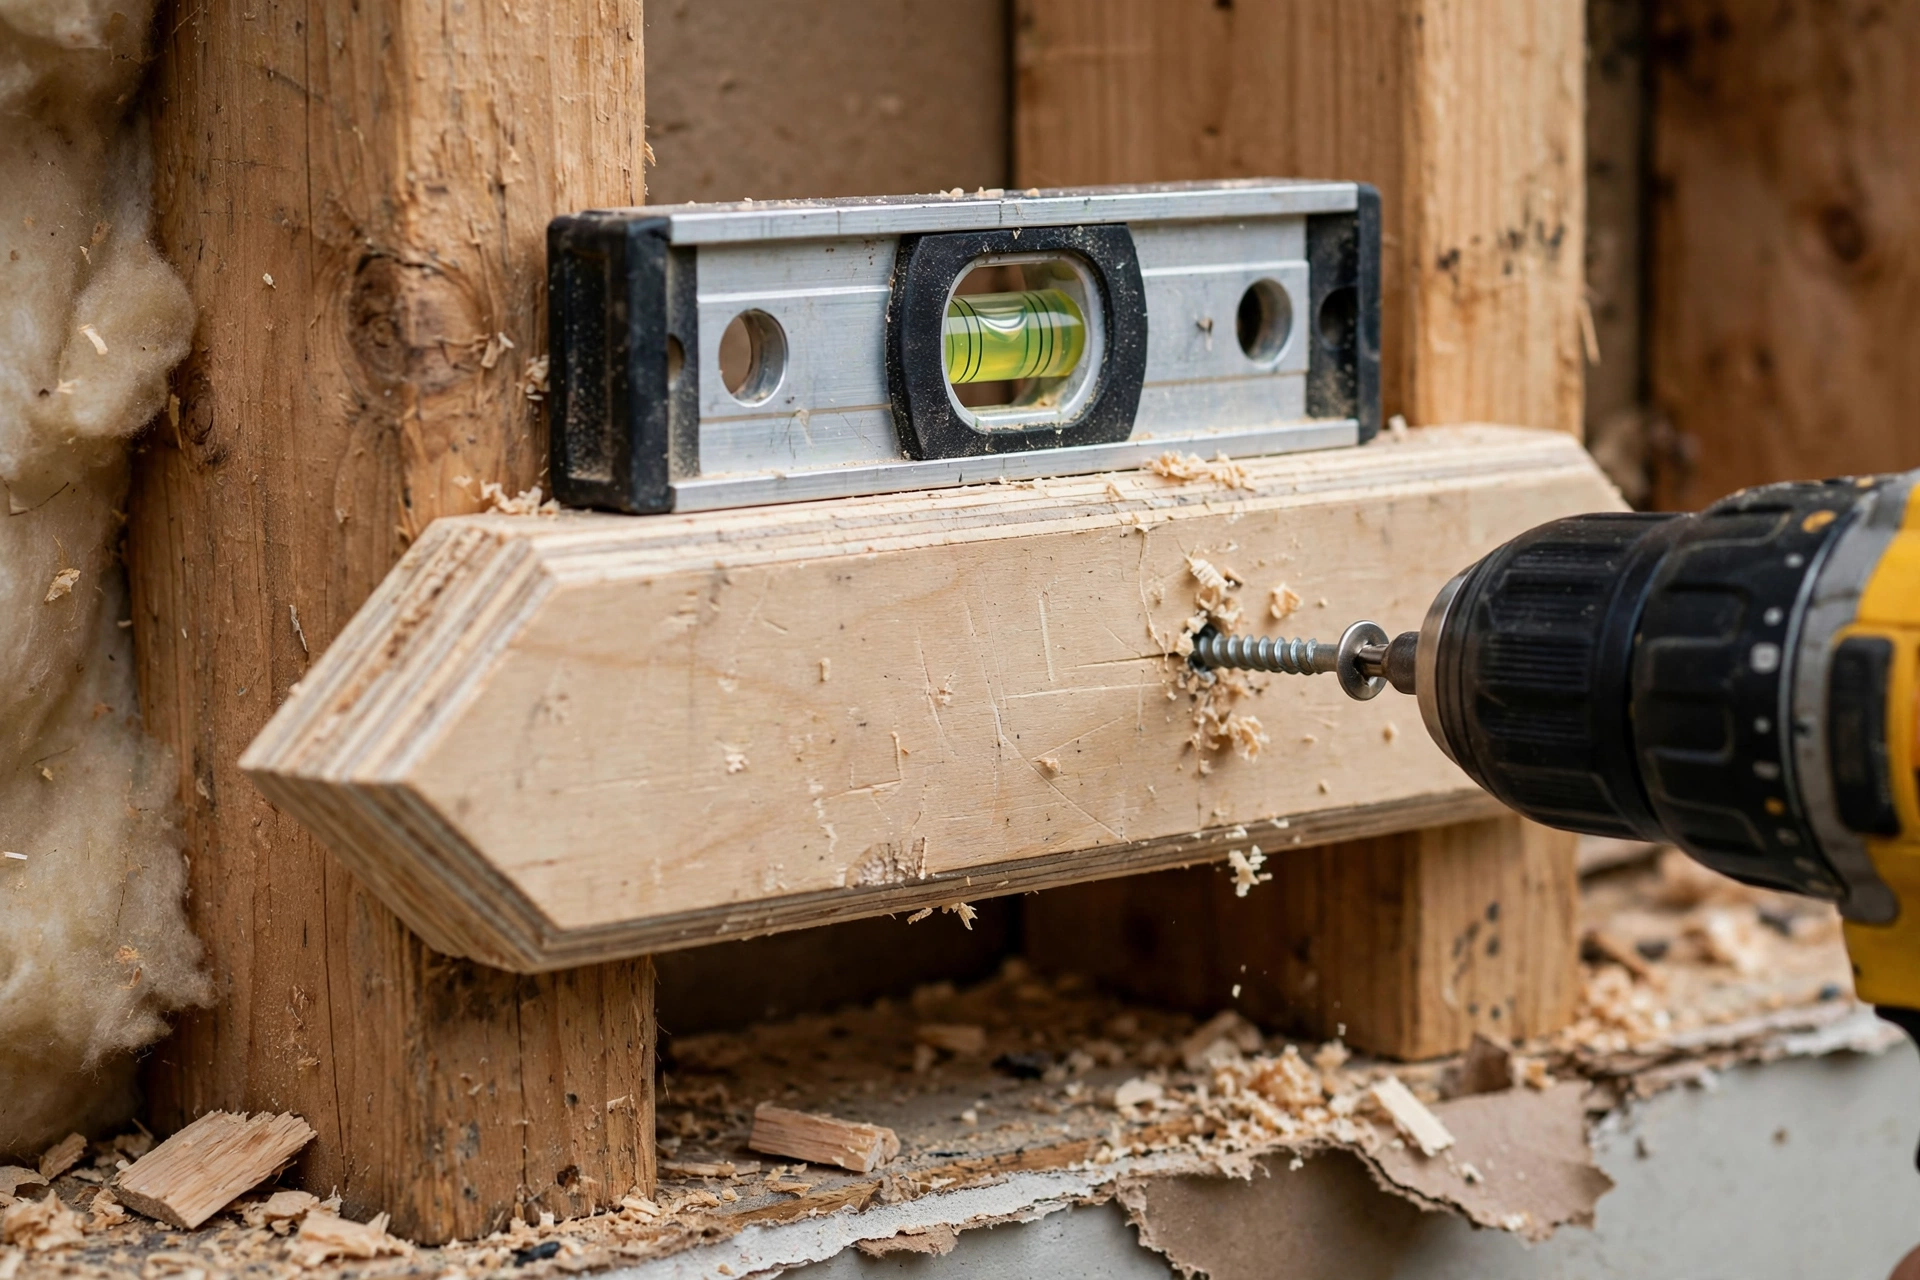
The hidden cleat is a simple strip of wood screwed into the studs, and it carries the entire shelf — so build it straight and screw it properly. If you are using a 2×4 for the cleat, rip it down to 1½ inches (38 mm) high so it matches the inside pocket of the shelf box; a full-height 2×4 will not fit inside a 2-inch-thick shelf. Sand the cleat’s edges smooth so it slides into the box without catching.
Hold the cleat against the wall on your level pencil line, with its top edge exactly on the line, and check it with the level — a cleat that is off by even a degree will show as a tilted shelf. Drive one screw through the cleat into the centre of the first stud, then re-check the level before you drive the rest: two screws per stud, one near the top edge and one near the bottom edge, using #8 × 2½-inch (64 mm) screws. Pre-drill the cleat so it does not split, and drive the screws until the heads sit just below the surface — the shelf box will cover them. Once all four screws are in, pull hard on the cleat with both hands: it should not move at all. If it flexes, you missed a stud — take it down, find the stud centre properly, and re-mount it. Do not proceed until the cleat is solid, because everything else hangs on it.
Step 4: Assemble the Hollow Shelf Box
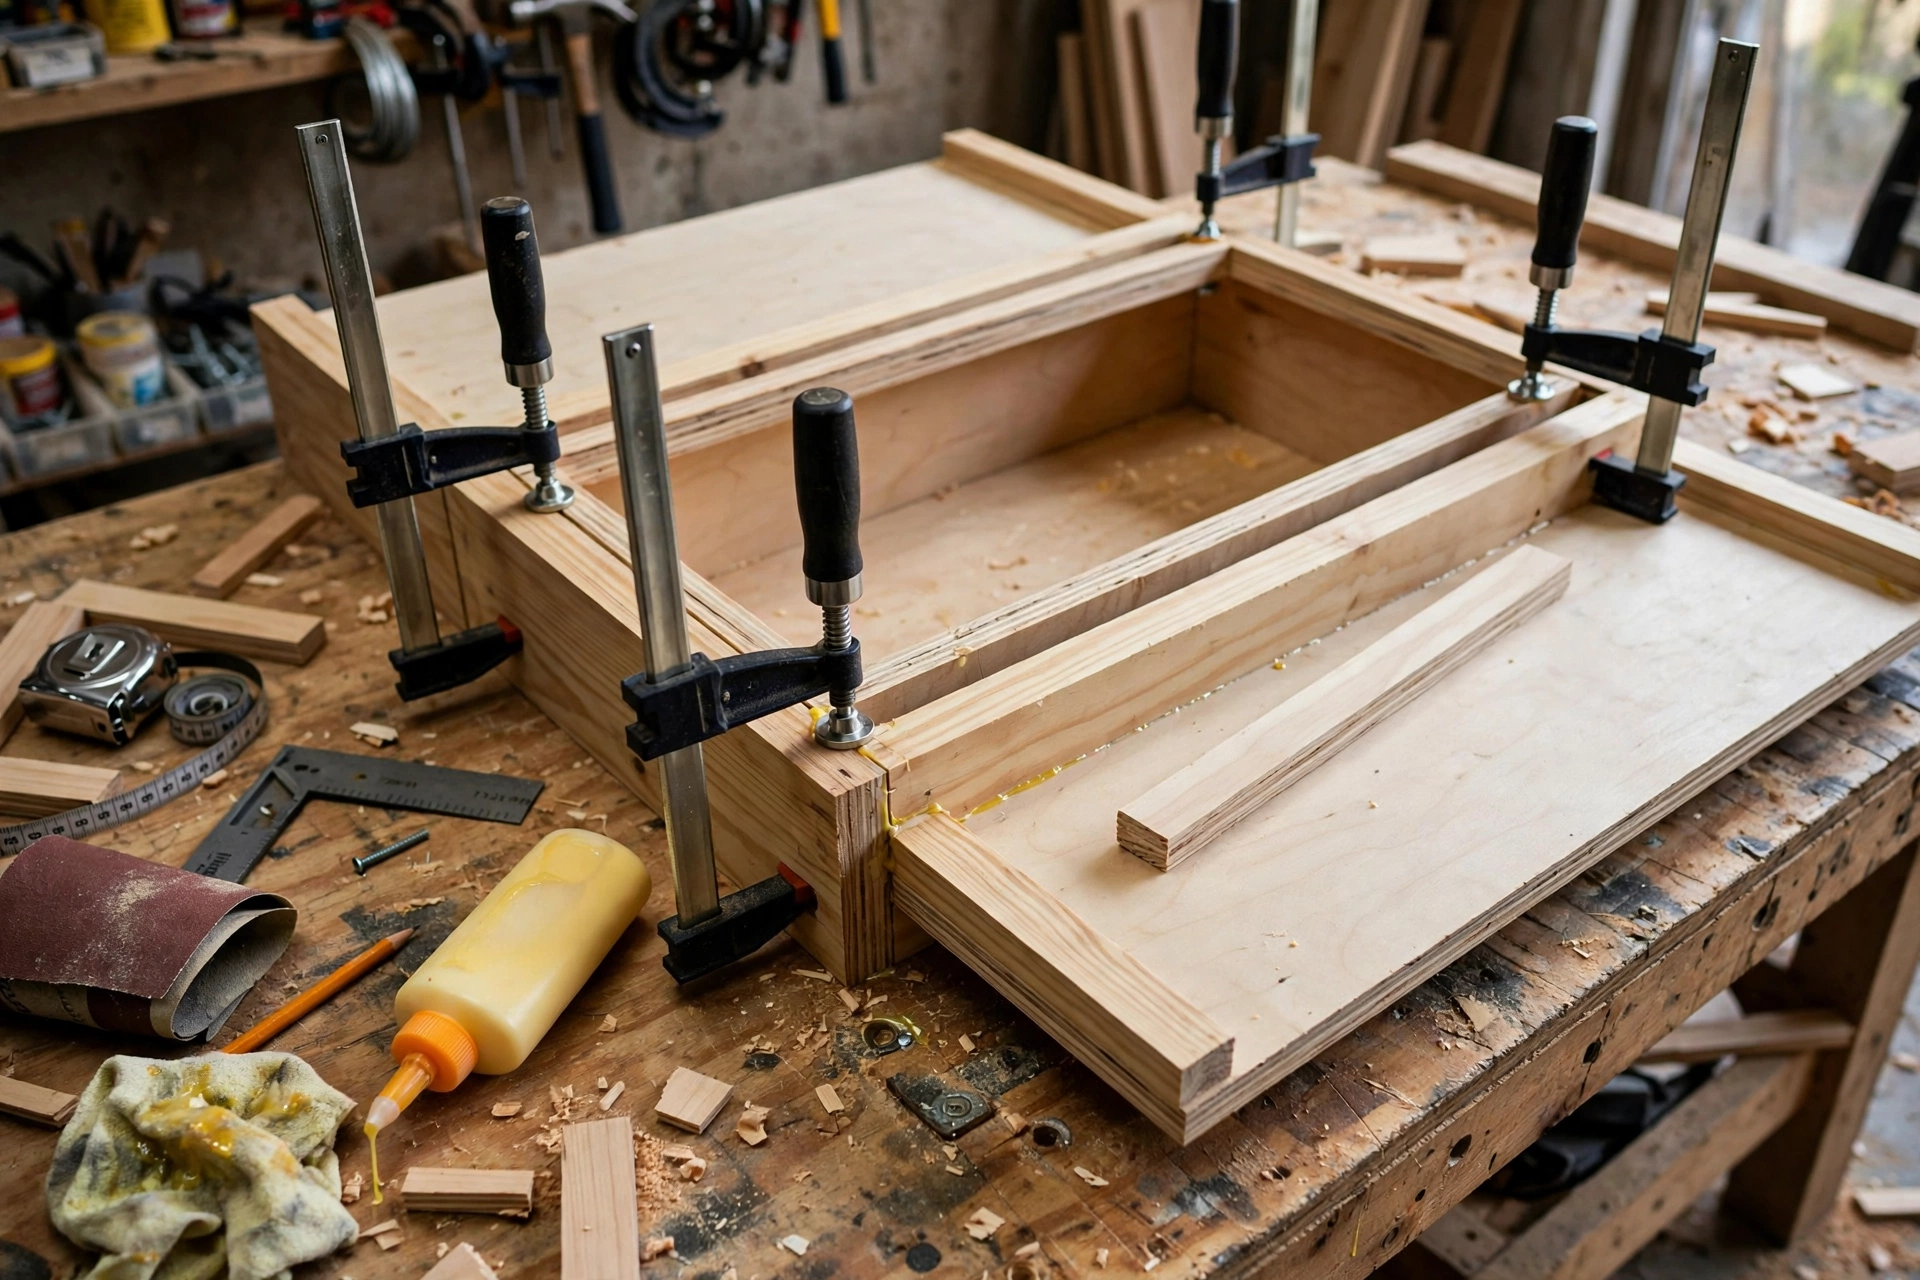
With the cleat on the wall, build the hollow box that slides over it. Spread a thin, even bead of wood glue along the top edges of the two frame rails and the three cross pieces, then set them on the bottom panel: the rails run front to back along the long edges, and the cross pieces sit between them — one at each end and one in the middle. The middle cross piece is important: it stops the top panel from flexing under a heavy book. Check the frame for square, then drive #6 × 1¼-inch (32 mm) screws up through the bottom panel into each rail and cross piece, two screws per joint, pre-drilling so the thin pine does not split.
Glue the front edge strip to the front of the frame — it closes the open front of the box and gives the shelf its clean, solid-looking front face — then glue and screw the top panel on, driving screws down through the top panel into the rails and cross pieces. Clamp the box while the glue sets, and check with a straightedge that the top panel stays flat. Wipe squeeze-out off with a damp cloth while it is still wet; dried glue spots show up as pale blotches under stain. Leave the box clamped for at least an hour, then let it cure overnight.
Before you finish the box, test-fit it on the wall cleat one more time: slide it on and check that it sits level and tight against the wall, with no gap at the back. If the shelf rocks, the cleat is not level — take the shelf off and re-level the cleat. If the box is too tight, sand the inside of the back rail lightly until it slides on with hand pressure. Once it fits, drive one small screw up through the bottom panel into the cleat, near the middle, to lock the shelf in place — this hidden screw stops the shelf from sliding off if someone bumps it, and it is invisible from below.
Step 5: Sand and Finish Your Floating Shelf
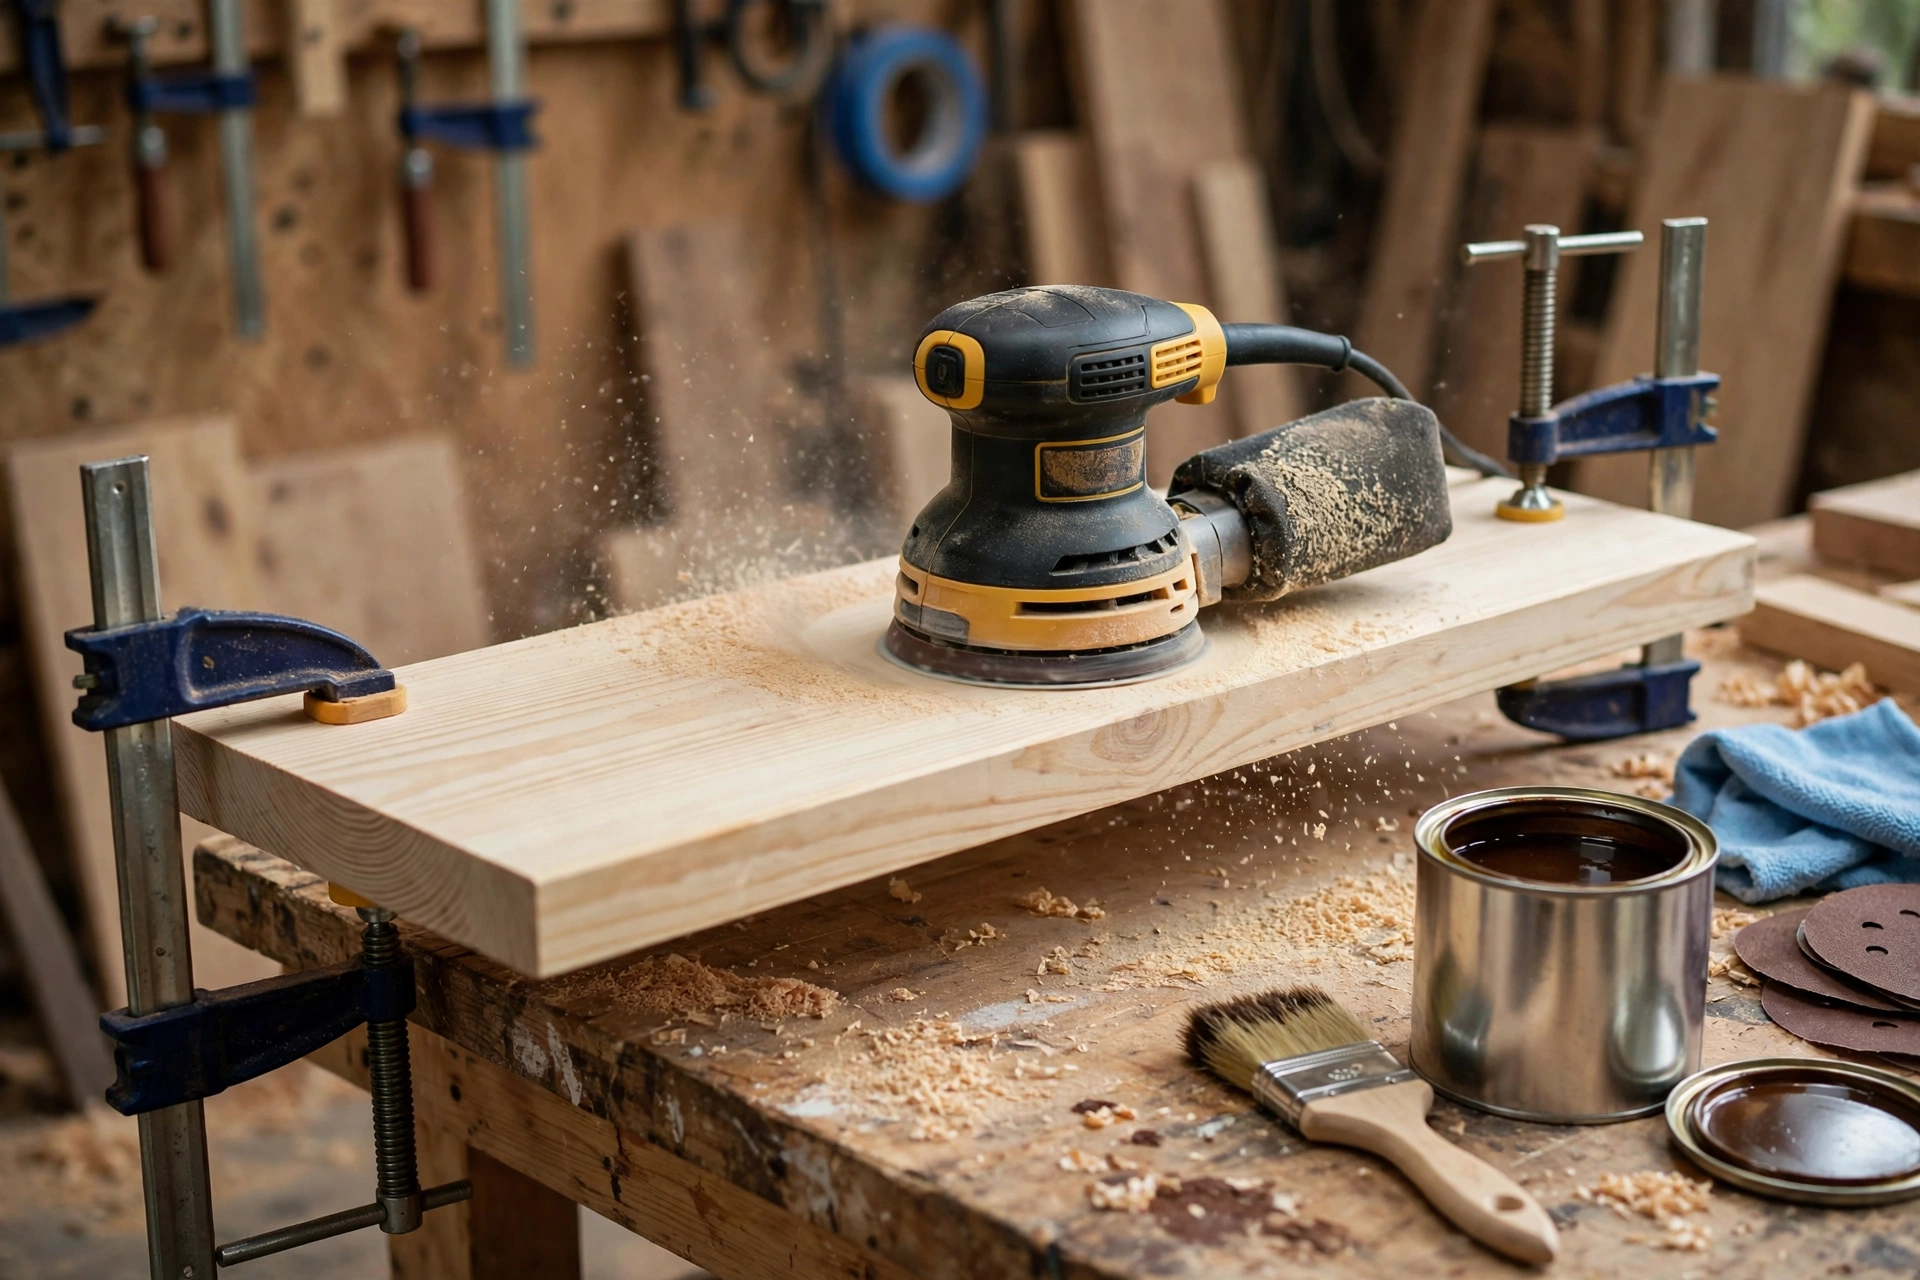
Sanding is where a beginner build starts to look professional, so do not rush it. Sand the shelf box in two passes: 120 grit to smooth the joints and remove saw marks, then 220 grit for a silky final finish. Always sand with the grain, never across it, and round over the sharp front edges slightly with 120-grit paper — people brush past a floating shelf constantly, and sharp edges chip easily and feel unfinished. Vacuum or wipe the dust off with a tack cloth between grits; dust left behind shows up as rough spots under the finish. Our full guide, how to sand and finish wood for beginners, walks through grit progression and common sanding mistakes in detail.
For an entryway shelf, a wipe-on polyurethane is the most forgiving choice: it builds a hard film that shrugs off keys, water rings, and daily handling, and it is easy to repair later with a light sanding and one more coat. Apply three thin coats, sanding lightly with 220-grit paper between coats. If you want colour, stain first, let it dry fully for 24 hours, then seal it with polyurethane — and always test the stain on an offcut first, because pine stains blotchy if you skip the pre-stain conditioner. If you prefer paint, use a primer first and two coats of satin or semi-gloss paint, which wipes clean when the shelf gets dusty. Let the final coat cure for at least 72 hours before you load the shelf — a finish that feels dry is not the same as a finish that has cured hard, and a heavy book on a soft finish will leave a dent. Do the finishing before you slide the shelf onto the cleat, so every face — including the underside — is sealed.
Floating Shelf Mounting Options Compared
Not every wall suits a hidden cleat, and not every shelf needs one. The table below compares the common mounting methods so you can pick the right one for your wall and your load. For this build, the hidden cleat is the best choice for a beginner: it is strong, forgiving, and made from a single piece of wood.
| Mounting method | How it works | Load capacity | Difficulty |
|---|---|---|---|
| Hidden wooden cleat | Wood strip screwed to studs, shelf slides over it | 30–50 lb (14–23 kg) | Easy |
| Hidden metal rod brackets | Steel rods into studs, holes drilled in shelf | 40–60 lb (18–27 kg) | Medium |
| Metal floating-shelf brackets | Bracket plate screwed to wall, rods into shelf | 30–50 lb (14–23 kg) | Easy |
| Keyhole hangers | Keyhole slots routed in shelf back, screws in wall | 15–25 lb (7–11 kg) | Medium |
| Drywall anchors only | Toggle bolts or anchors in drywall, no studs | 10–15 lb (5–7 kg) | Easy, but weak |
| Decorative L-brackets | Visible brackets under the shelf | 40–60 lb (18–27 kg) | Easy, but visible |
Hidden metal rod brackets hold the most weight, but they need perfectly straight, perfectly spaced holes drilled deep into the shelf — a small error and the shelf will not sit level. Keyhole hangers look clean but are fiddly to align and hold less weight. Decorative brackets are strong and simple, but they are not floating shelves at all: the brackets are visible, which defeats the look. If you are building a second shelf for a bathroom, the same cleat method works there too — see our guide to how to build a wooden bathroom shelf for beginners — and the same hidden-cleat box scales up into a full bookshelf in our guide to how to build a simple bookshelf for beginners.
Styling Your Finished Floating Shelf
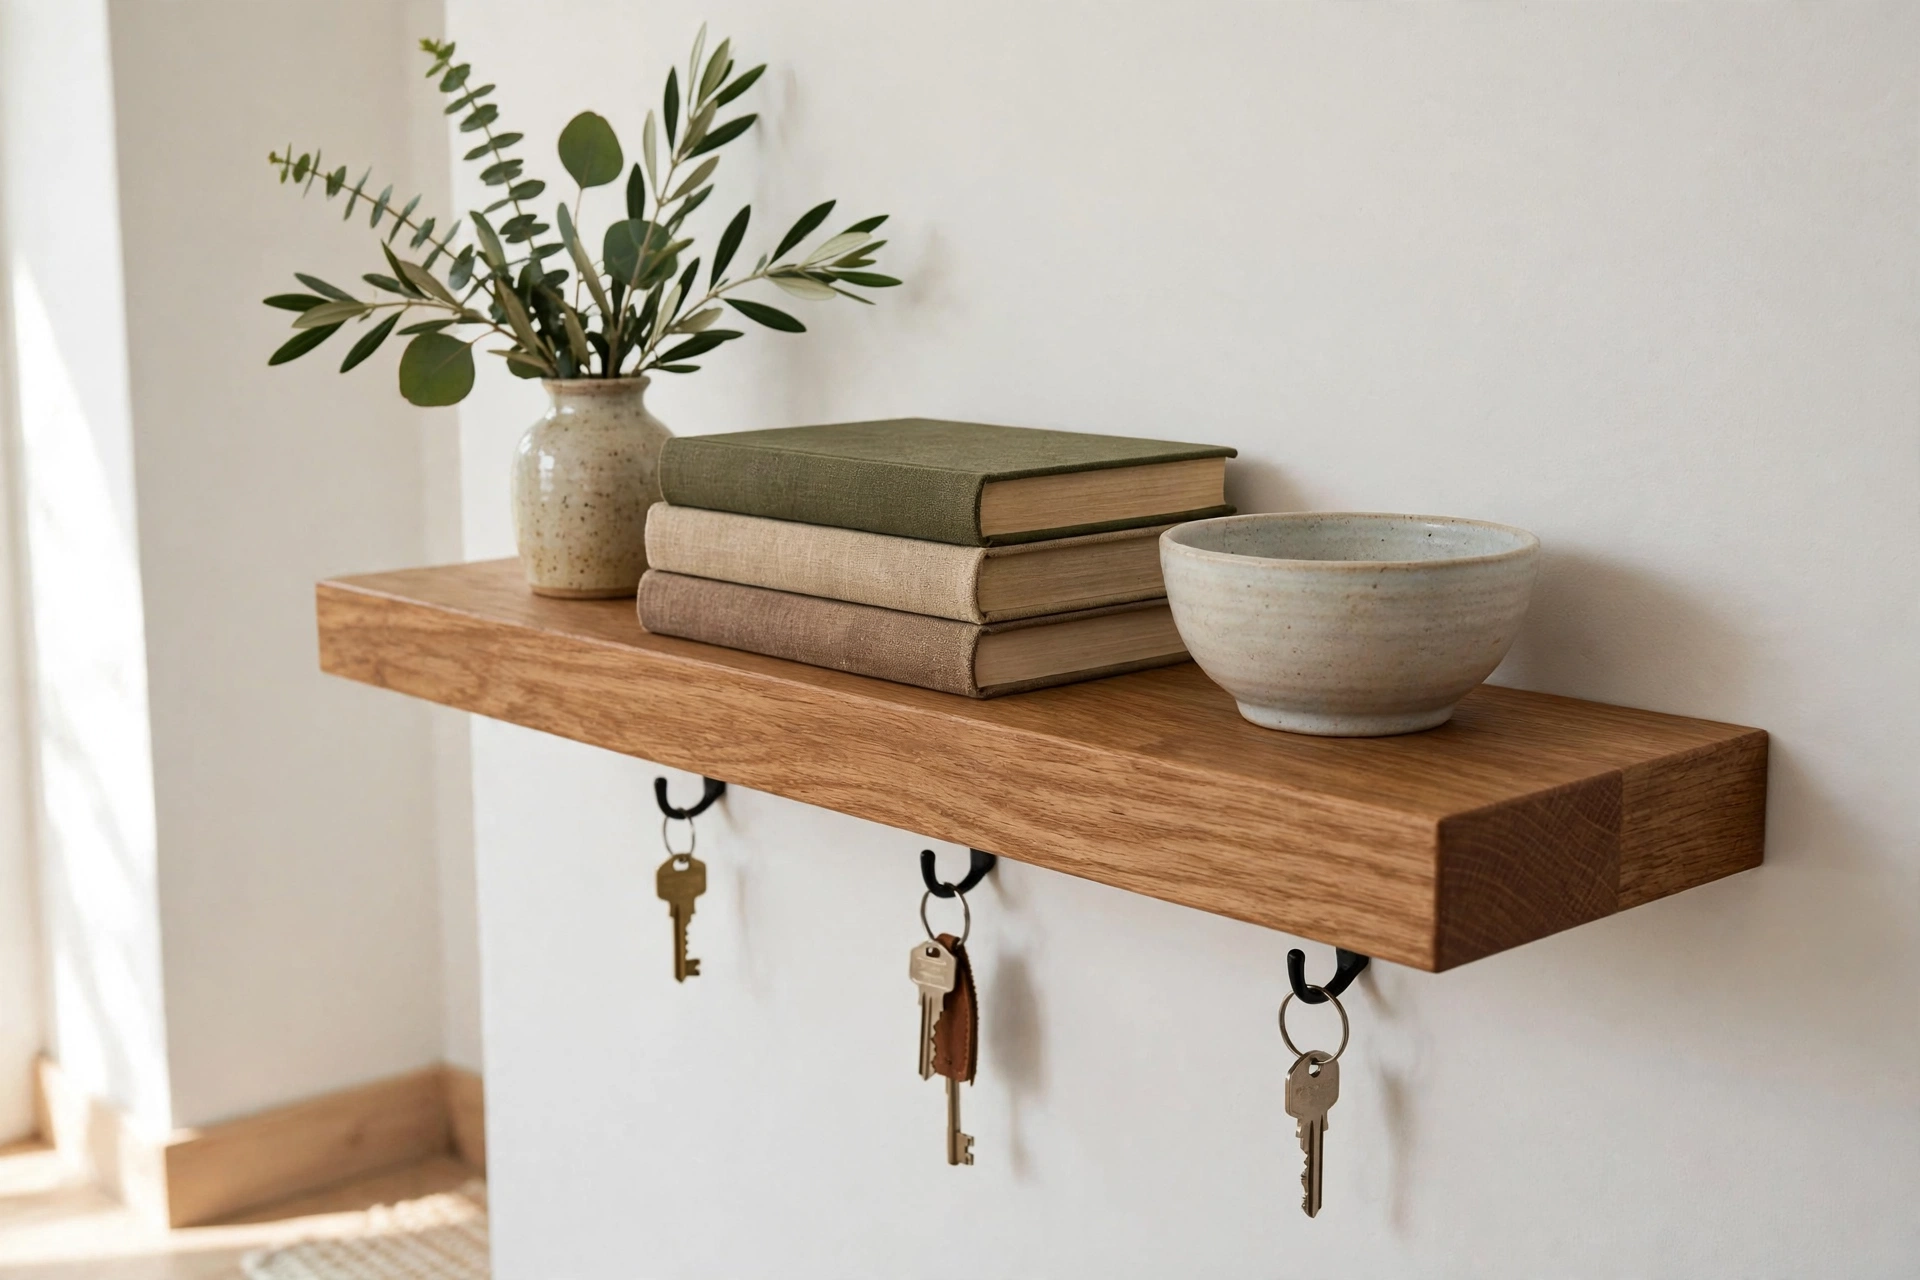
Once the finish has cured, slide the shelf onto its cleat, drive the locking screw up from underneath, and step back. In an entryway, a small tray for keys, a bowl for mail, and a tiny plant make the shelf useful the day it goes up. Add a small wooden key holder underneath the shelf and the whole wall becomes an organised drop zone — keys on the hooks, wallet and sunglasses on the shelf, nothing lost on the way out the door.
Keep the styling light: a floating shelf looks best with three or four objects and some empty space, not a crowded row. Put the heaviest items — books — closest to the wall, and the lightest — a candle or a small plant — near the front edge, so the load stays near the cleat. Leave at least 12 inches (30 cm) of clear wall above the shelf so you can reach over it without knocking things off. To keep it looking new, dust it weekly with a dry cloth and wipe spills straight away — standing water is the enemy of any wood finish. Add a fresh coat of polyurethane once a year, or whenever water stops beading on the surface. A shelf built this way will last for decades, and because it is a hollow box on a cleat, you can slide it off, refinish it, and slide it back on in minutes.
Common Mistakes to Avoid
Most problems come from rushing one of these seven steps — slow down here and the rest of the build goes smoothly.
Missing the studs. A shelf screwed only into drywall will sag and eventually pull out. Find the stud centres, mark them, and drive every cleat screw into solid wood.
Building the cleat too tall. A cleat that is taller than the inside pocket of the box will not slide in at all. Measure the pocket first, then rip the cleat to match.
Skipping the middle cross piece. Without it, the top panel flexes under a heavy book and the shelf looks wavy from the front. Always include the centre support.
Gluing the box before the test fit. Once the glue sets, a box that does not fit its cleat is scrap. Dry-fit the box on the cleat before you glue anything.
Overloading the shelf. A 36-inch cleat shelf holds 30 to 50 lb spread evenly — not 50 lb of books stacked at the front edge. Keep heavy items near the wall.
Forgetting the locking screw. Without the small screw up through the bottom panel, a bump can slide the shelf right off the cleat. Drive it in before you load the shelf.
Rushing the finish. Stain or polyurethane over dust or a skipped grit looks blotchy forever. Sand through the grits, clean the dust, and let each coat cure fully — and finish the shelf before you mount it, so the underside is sealed too.
How Much Does It Cost and How Long Does It Take?
For a 36-inch pine floating shelf, expect $25 to $45 in materials if you already own the tools — roughly a third of a comparable shop-bought solid-wood shelf, sized exactly to your wall. A 24-inch shelf is closer to $20 to $35, a 48-inch shelf around $35 to $55. Hardwood versions cost two to four times more in lumber alone. Time-wise, plan 2 to 3 hours of hands-on work: half an hour to find the studs and cut, an hour to build the cleat and the box, half an hour to sand, and half an hour to finish, plus overnight glue drying and 72 hours for the final coat to cure. Build two shelves at once and the second one takes half the time — the measuring and the saw setup are already done, so cut both sets of parts in one session.
Frequently Asked Questions
How much weight can a wooden floating shelf hold?
A 36 × 8-inch hollow pine shelf on a hidden cleat screwed into two wall studs safely holds 30 to 50 lb (14 to 23 kg) spread evenly across the shelf. The same shelf hung only on drywall anchors holds just 10 to 15 lb (5 to 7 kg), so finding the studs is the single biggest factor in how much weight your shelf can carry.
How do I find studs in my wall?
Run a stud finder slowly across the wall at shelf height and mark both edges of each stud, then mark the centre between them. Studs are usually 16 inches (41 cm) apart, centre to centre. Confirm every stud with the finder rather than assuming the spacing, and drive every cleat screw into the marked centre of a stud.
How thick should a floating shelf be?
A 2-inch (5 cm) thick shelf is the best choice for a beginner build: it looks substantial, hides the hidden cleat completely, and resists sagging. A 1-inch shelf looks thin, shows mounting compromises, and bends under books. Go thicker than 2 inches only for very long shelves, where the extra depth helps hide a heavier cleat.
Can I build a floating shelf without a table saw?
Yes. A circular saw with a straight-edge guide makes every cut in this project, and a handsaw with patience will also work. The only cut that needs care is ripping the 2×4 cleat down to 1½ inches high — a circular saw with a guide handles it, or ask the lumber yard to rip it for you when you buy the board.
What is the best wood for a floating shelf?
Pine is the best wood for a first floating shelf: it is cheap, light, easy to cut and sand, and it takes stain and paint well. Poplar is a good upgrade if you want a harder surface that resists dents. Save white oak and walnut for a later project — extra weight is the last thing a floating shelf needs.
How do I stop my floating shelf from sagging?
Screw the hidden cleat into at least two wall studs, include the middle cross piece inside the hollow box so the top panel cannot flex, keep heavy items close to the wall rather than at the front edge, and stay within the 30 to 50 lb load limit for a 36-inch shelf. A shelf that sags usually means the cleat missed the studs or the box has no centre support.
Recommended Products for This Project
As an Amazon Associate, I earn from qualifying purchases.

DEWALT 20V MAX Drill/Driver Kit DCD771C2
Drives the cleat screws deep into the wall studs and pre-drills the thin pine frame pieces so the hollow shelf box never splits.

Titebond III Ultimate Wood Glue 1413 (8 oz)
Waterproof, strong wood glue that locks the hollow shelf box together — rails, cross pieces, and panels — into one rigid sleeve that slides onto the cleat.
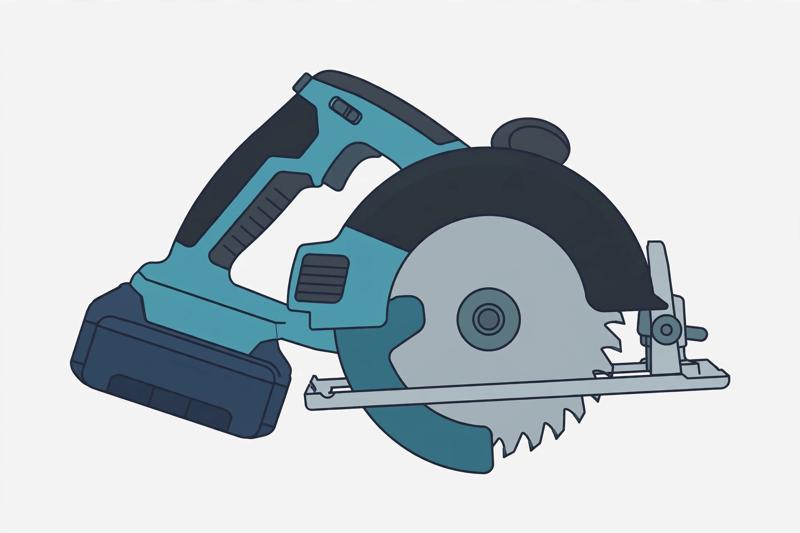
DEWALT 20V MAX Circular Saw DCS391B, 6-1/2-inch
Cordless 20V power for straight cuts in the shelf panels and for ripping the 2×4 hidden cleat down to the exact height of the shelf’s inside pocket.
IRWIN QUICK-GRIP Mini Bar Clamp 4-pack, 6-inch (1964758)
Small, one-handed clamps that hold the hollow shelf box square and flat while the glue sets — the perfect size for a 2-inch-thick shelf frame.

DEWALT Random Orbit Sander DWE6423, 5-inch
Sands the shelf box smooth through the 120 and 220 grit passes and rounds over the front edges so the finished shelf feels as good as it looks.


