
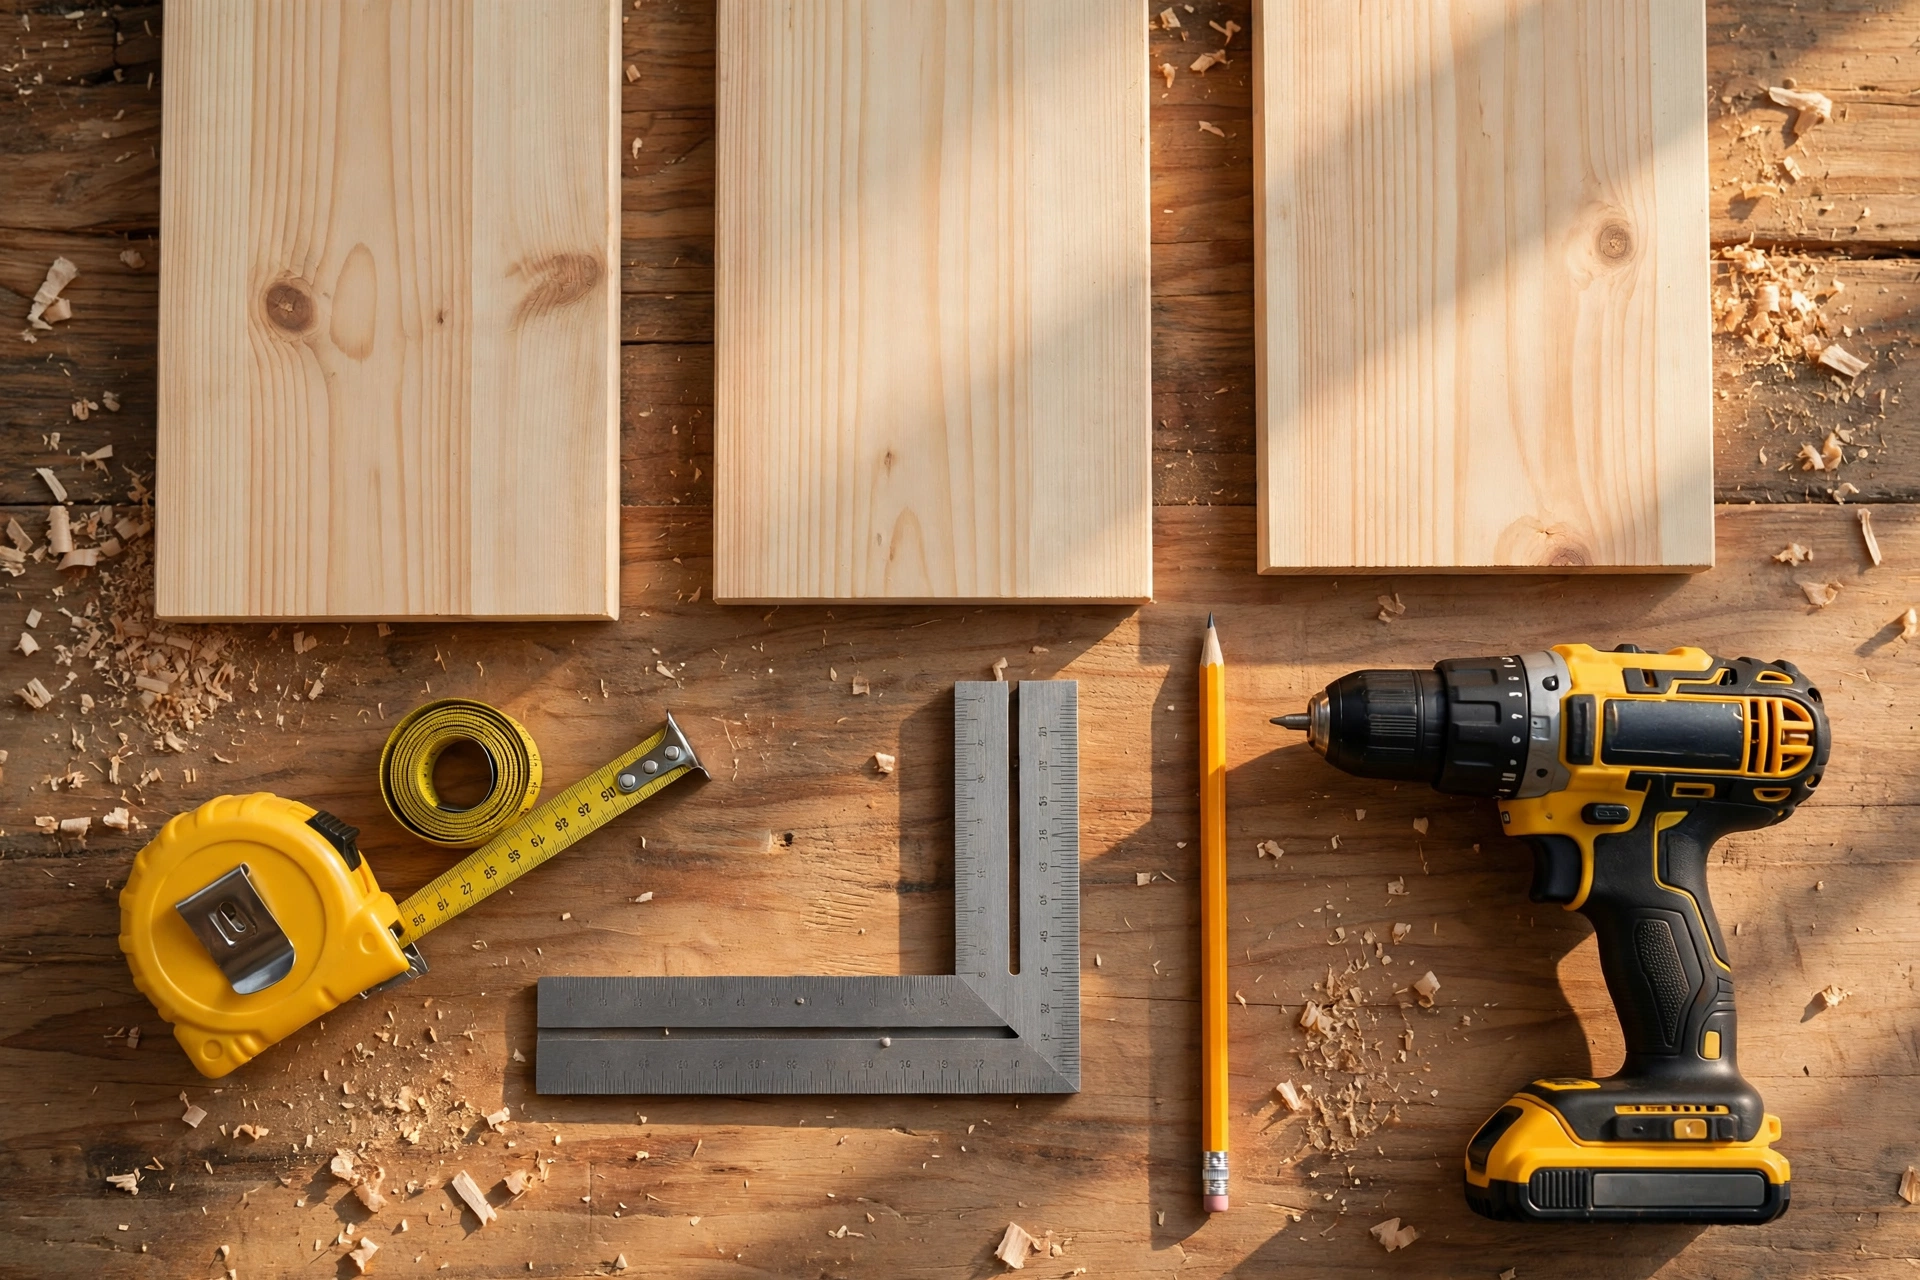
Every home has the same problem at the front door: a pile of shoes that grows every day, dust settling on the pairs nobody wore this week, and one shoe always missing its partner. Learning how to build a wooden shoe storage cabinet for beginners solves it properly — a closed cabinet with doors that hides the clutter, keeps dust and pet hair off your shoes, and looks like real furniture in your entryway instead of a plastic rack. In this guide, you will learn how to size a shoe cabinet to your household, choose the right wood, build a square plywood carcass, fit two doors on hidden hinges, add adjustable shelves that fit everything from trainers to winter boots, and finish it so it survives muddy shoes and daily use.
This project takes most beginners one weekend — about 6 to 8 hours of hands-on work plus drying time. You do not need a table saw, a jointer, or a planer: a circular saw with a straight-edge guide, a drill, and a sander are enough, and every cut in this build is straight. By the end, you will have a solid shoe storage cabinet built exactly to your entryway, for roughly a third of a comparable shop-bought cabinet. If you are just starting out, this project sits comfortably alongside other simple builds in our easy woodworking projects for beginners that sell collection, and the same carcass-and-door skills transfer to almost every cabinet you will ever build.
What Size Shoe Storage Cabinet Should You Build?
Before you buy a single board, count the shoes. Go to your front door and count every pair your household actually wears in a normal week — not the pairs stored in a bedroom cupboard, just the ones that live by the door. Most families of three or four land on 10 to 16 pairs. A cabinet 36 inches (91 cm) wide, 14 inches (36 cm) deep, and 42 inches (107 cm) tall — exactly the size this guide builds — holds 12 to 16 pairs: four pairs per shelf across three adjustable shelves plus the floor of the cabinet.
Depth is the number beginners get wrong most often. A men’s size 11 shoe is about 12 inches (30 cm) long, so the inside of the cabinet needs at least 12½ inches (32 cm) of clear depth. A 14-inch (36 cm) deep cabinet gives you that clearance plus room for the doors to close without pressing on the toes of the longest shoes. Any shallower and the doors will not shut; any deeper than 16 inches (41 cm) and shoes get lost at the back. Height matters too: 42 inches (107 cm) is tall enough for four rows of shoes with a tall bottom row for boots, but low enough to double as a surface for keys, post, and a small plant — and low enough that it never feels like a wardrobe blocking the hallway.
| Household | Pairs to store | Cabinet width | Cabinet depth | Cabinet height | Shelves |
|---|---|---|---|---|---|
| 1–2 people | 6–8 pairs | 24 in (61 cm) | 14 in (36 cm) | 36 in (91 cm) | 2 adjustable |
| 3–4 people | 12–16 pairs | 36 in (91 cm) | 14 in (36 cm) | 42 in (107 cm) | 2 adjustable |
| 4–5 people | 16–20 pairs | 48 in (122 cm) | 14 in (36 cm) | 48 in (122 cm) | 3 adjustable |
| Boots-heavy household | 10–12 pairs | 36 in (91 cm) | 16 in (41 cm) | 48 in (122 cm) | 1 fixed, 2 adjustable |
Measure your entryway before you shop: the width of the wall where the cabinet will stand, the swing of the front door, and the space you need to walk past it. Leave at least 30 inches (76 cm) of clear walkway in front of the cabinet so the doors can open fully without blocking the hall. If your hallway is narrow, build the 24-inch (61 cm) version instead — the cut list scales down by simply shortening the top, bottom, shelves, and doors.
Closed Cabinet vs Open Shoe Rack: Why Doors Matter
If you already own an open shoe rack, you know its limits: every pair is on display, dust settles on the shoes you wear least, and a muddy pair splashes the wall behind it. A closed cabinet fixes all three problems, and it costs only a little more time — the carcass is the same box, and the doors are the only new skill. If you want the simpler open version first, our guide to how to build a simple wooden shoe rack for beginners builds one in an afternoon. But if your entryway is the first thing guests see, the closed cabinet is worth the extra day.
| Feature | Open shoe rack | Closed shoe storage cabinet |
|---|---|---|
| Dust protection | None — shoes gather dust | Doors keep dust and pet hair out |
| Appearance | Shoes always visible | Clean furniture look, clutter hidden |
| Smell control | Odours spread freely | Doors contain odours; add vents to manage them |
| Mud and splashes | Shoes drip onto the floor | Drips stay inside the cabinet |
| Cost (pine/plywood) | $40–$70 | $100–$140 |
| Build time | 2–4 hours | 6–8 hours |
| New skills | Straight cuts, screws | Carcass, hinges, adjustable shelves |
| Best for | Garage, mudroom, rental | Entryway, hallway, small flat |
The doors are the differentiator, and they are also the part beginners fear most — unfairly. A pair of slab doors on hidden barrel hinges has no visible hardware, no mortise to cut, and no complicated adjustment. You drill two small holes per hinge, press the hinge barrels in, and the door hangs. The rest of this guide walks through it step by step.
Choosing the Best Wood for Your Shoe Cabinet
For a first shoe cabinet, ¾-inch (18 mm) plywood is the best choice for the carcass: it is flat, stable, strong, and far easier to build a square box from than solid boards, which can cup and twist. One sheet of 4 × 8 ft (122 × 244 cm) birch or pine plywood covers the whole cabinet — sides, top, bottom, shelves, and doors — with offcuts to spare. Expect $45 to $65 for a good sheet. Avoid the cheapest construction-grade plywood: its voids and rough face will show through the finish and its edges splinter when you cut it.
Use solid pine 1×2 boards for the face frame and the toe-kick, and either ½-inch (12 mm) plywood with iron-on edge banding or solid pine panels for the doors. Pine is cheap, light, easy to cut and sand, and it takes stain and paint beautifully. If you want a harder surface that resists scuffs from shoes being pulled in and out, poplar is a step up for the face frame, but for the carcass plywood is the right call in any species. Let the plywood acclimatise in your house for two to three days before you cut it — a sheet that moves after assembly is the number one cause of doors that will not close.
Shoes bring moisture into a cabinet, so the finish matters more here than on most furniture. A wipe-on polyurethane or a hard-wax oil rated for damp use protects the shelves from wet soles, and the inside of the cabinet deserves the same two coats as the outside. Never leave the inside raw: bare plywood soaks up moisture, swells, and holds smells.
Tools and Materials You Will Need
You probably own most of these tools already, and the rest can be borrowed or bought cheaply. A circular saw with a straight-edge guide makes every cut in this project — the long plywood rips are the only cuts that need care, and a clamped guide rail makes them straight. A drill/driver does the screwing and the hinge holes, and a random orbit sander does the finishing.
| Item | Details | Typical cost |
|---|---|---|
| Birch or pine plywood, ¾ in (18 mm) | 1 sheet, 4 × 8 ft (122 × 244 cm), carcass + shelves + doors | $45–$65 |
| Pine 1×2 boards | 2 boards, 8 ft (2.4 m) long, face frame and toe-kick | $8–$12 |
| Plywood, ¼ in (6 mm) | Half sheet, back panel | $10–$14 |
| Hidden barrel hinges, 8 mm | 4 hinges (2 per door) | $10–$15 |
| Shelf pins | 16 pins, 5 mm or ¼ in | $4–$6 |
| Wood screws | #8 × 1¼ in (32 mm) and #8 × 2 in (51 mm) | $5–$7 |
| Wood glue | One 16 oz (473 ml) bottle | $6–$9 |
| Edge banding | Iron-on, to match plywood, 25 ft (7.6 m) roll | $6–$9 |
| Knobs or pulls | 2, to match your hallway | $6–$12 |
| Sandpaper | 80, 120, and 220 grit sheets | $5–$8 |
| Finish | Wipe-on polyurethane, 1 quart (0.95 L) | $12–$18 |
| Tools | Circular saw, drill, sander, tape measure, square, clamps | $0 if owned |
| Total (36 in, plywood + pine) | Lumber, hardware, glue, finish | $100–$140 |
Safety gear matters too: safety glasses, hearing protection for the circular saw, and a dust mask for sanding — plywood dust is an irritant. Apply the finish outside or in a well-ventilated garage, and keep oil-soaked rags flat to dry outdoors until stiff, then throw them away — bunched-up oily rags can self-heat.
Cut List for a 36 × 14 × 42-Inch Shoe Storage Cabinet
This cut list is for a cabinet 36 inches (91 cm) wide, 14 inches (36 cm) deep, and 42 inches (107 cm) tall, built from ¾-inch (18 mm) plywood with a pine face frame, two slab doors, and two adjustable shelves. For a different size, keep the same structure and change the board lengths to match the sizing table above. Cut the sides first, then the top and bottom, then the shelves and doors — and always measure twice before every cut.
| Part | Material | Size | Quantity |
|---|---|---|---|
| Sides | ¾ in plywood | 42 in (107 cm) × 14 in (36 cm) | 2 |
| Top | ¾ in plywood | 34½ in (88 cm) × 14 in (36 cm) | 1 |
| Bottom | ¾ in plywood | 34½ in (88 cm) × 14 in (36 cm) | 1 |
| Back panel | ¼ in plywood | 36 in (91 cm) × 42 in (107 cm) | 1 |
| Face frame stiles | 1×2 pine | 42 in (107 cm) long | 2 |
| Face frame rails | 1×2 pine | 33 in (84 cm) long | 2 |
| Doors | ½ in plywood | 40 in (102 cm) × 17¼ in (44 cm) | 2 |
| Adjustable shelves | ¾ in plywood | 33¾ in (86 cm) × 12½ in (32 cm) | 2 |
| Toe-kick front | 1×4 pine | 33 in (84 cm) long | 1 |
| Toe-kick sides | 1×4 pine | 12 in (30 cm) long | 2 |
The top and bottom are 34½ inches (88 cm) long because they fit between the two ¾-inch (18 mm) sides: 36 minus ¾ minus ¾ equals 34½. The doors are each 17¼ inches (44 cm) wide so the pair covers the 36-inch opening with a ⅛-inch (3 mm) gap between them and around the edges — that small, even gap is what makes a cabinet look professionally built. The shelves are 12½ inches (32 cm) deep so they sit 1 inch (2.5 cm) short of the front, leaving room for air to circulate behind the doors. The toe-kick is set back 3 inches (8 cm) from the front so your toes fit underneath when you stand close to the cabinet.
Step 1: Measure and Plan Your Cabinet
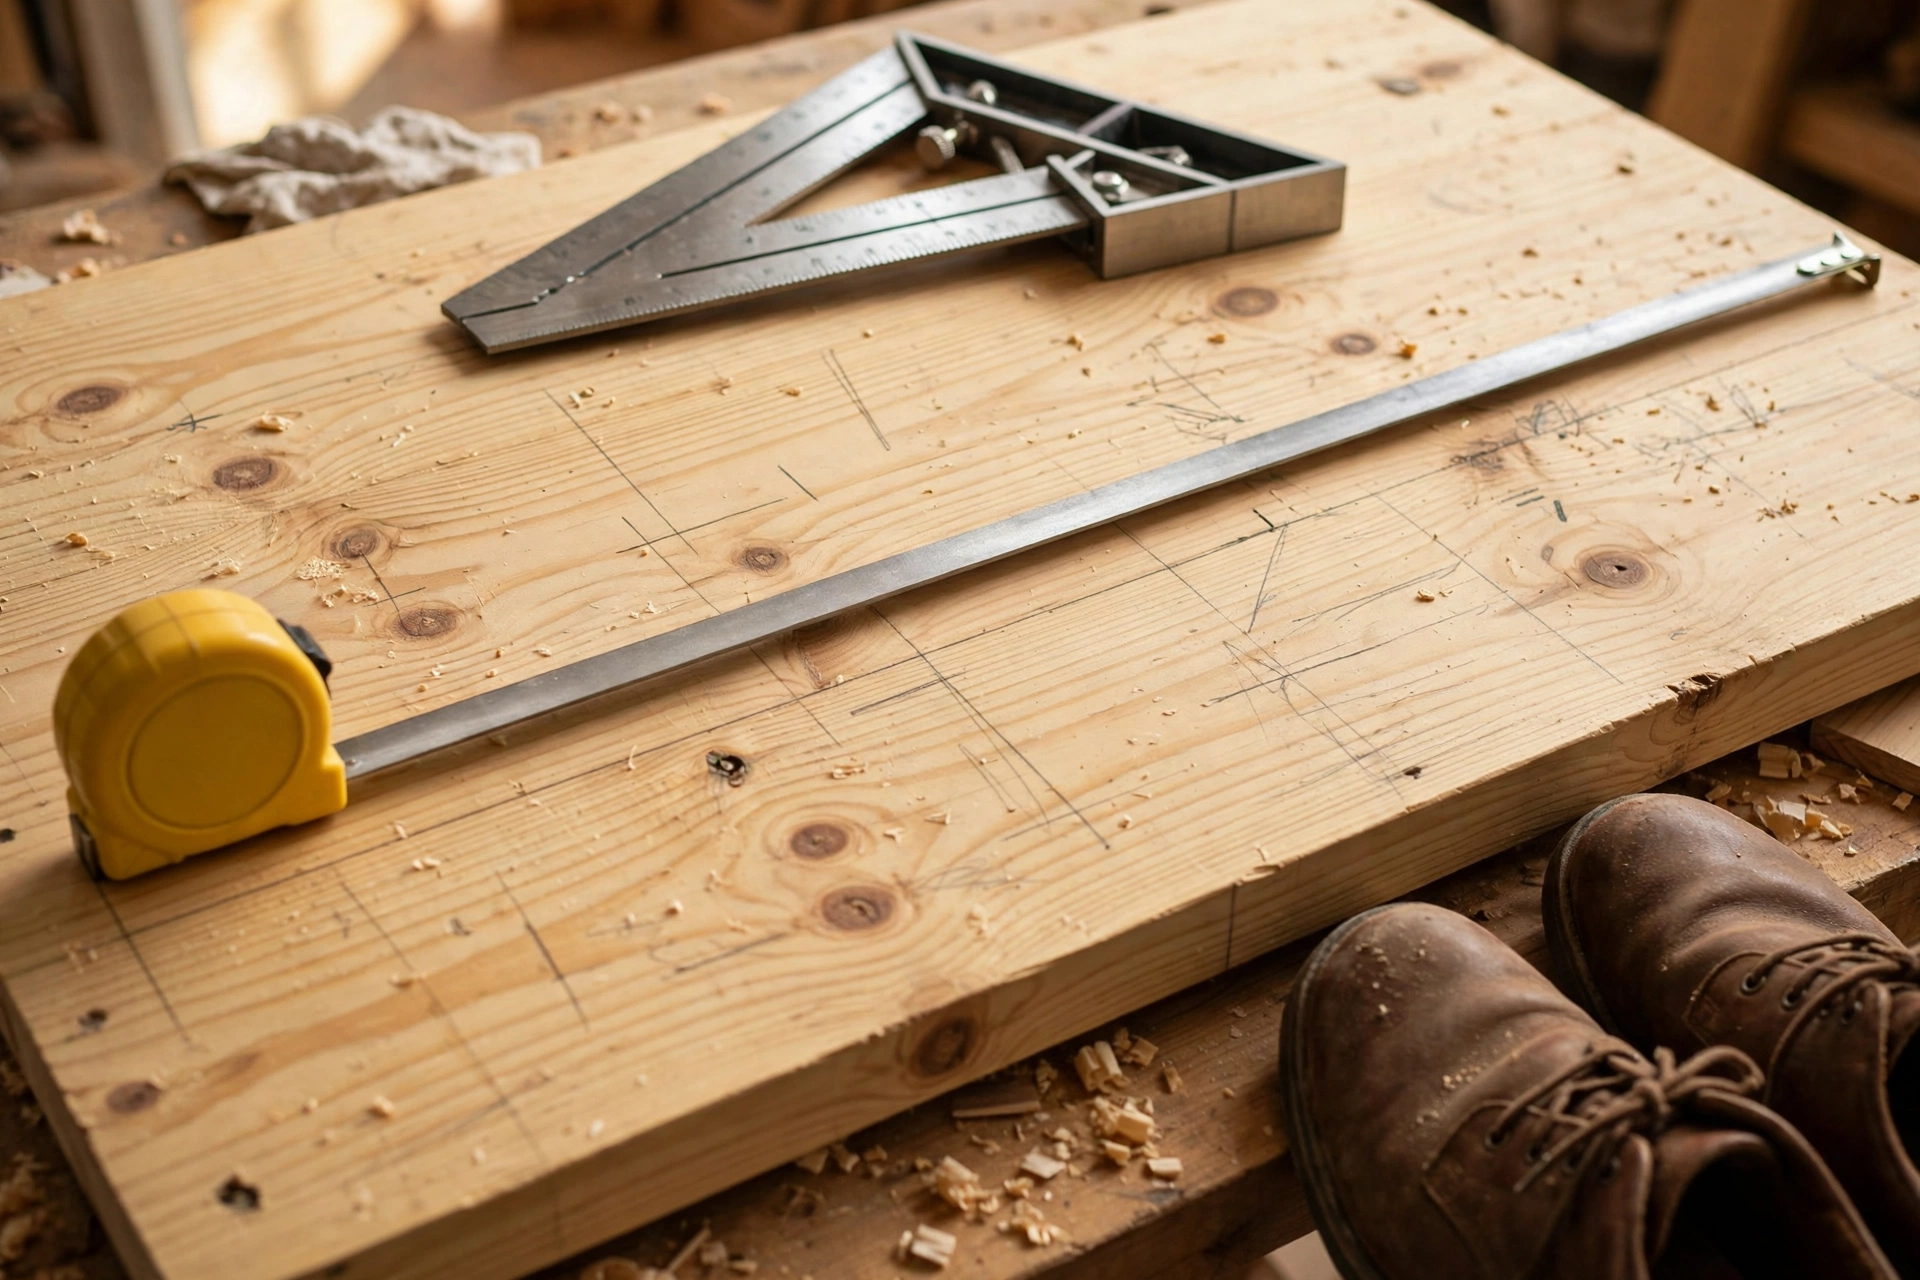
Careful measuring comes first, because every later step depends on it. Measure the wall where the cabinet will stand, the swing of the front door, and the longest pair of shoes in the house — then add ½ inch (13 mm) of clearance. Lay the plywood sheet on a flat floor or on sawhorses and mark every cut with a pencil and a straightedge, drawing the cut line squarely across the full width of the sheet. Mark the straightest factory edge of the sheet and use it as your reference edge for every measurement.
Label every piece as you mark it: “Side L”, “Side R”, “Top”, “Bottom”, “Shelf 1”, “Shelf 2”, “Door L”, “Door R”. Two minutes now saves you from mixing up near-identical panels during assembly. Mark the shelf-pin holes now too, before assembly: two vertical rows of holes on each side panel, starting 6 inches (15 cm) above the bottom and spaced 2 inches (5 cm) apart up to 6 inches (15 cm) below the top. A simple jig — a scrap of plywood with holes drilled at the right spacing — keeps the rows straight and the shelves level. Finally, decide the shelf layout: the bottom row needs 14 inches (36 cm) of height for tall boots, the middle rows 9 to 10 inches (23 to 25 cm) for trainers and shoes, and the top row 8 inches (20 cm) for flat shoes and sandals.
Step 2: Cut the Panels to Size
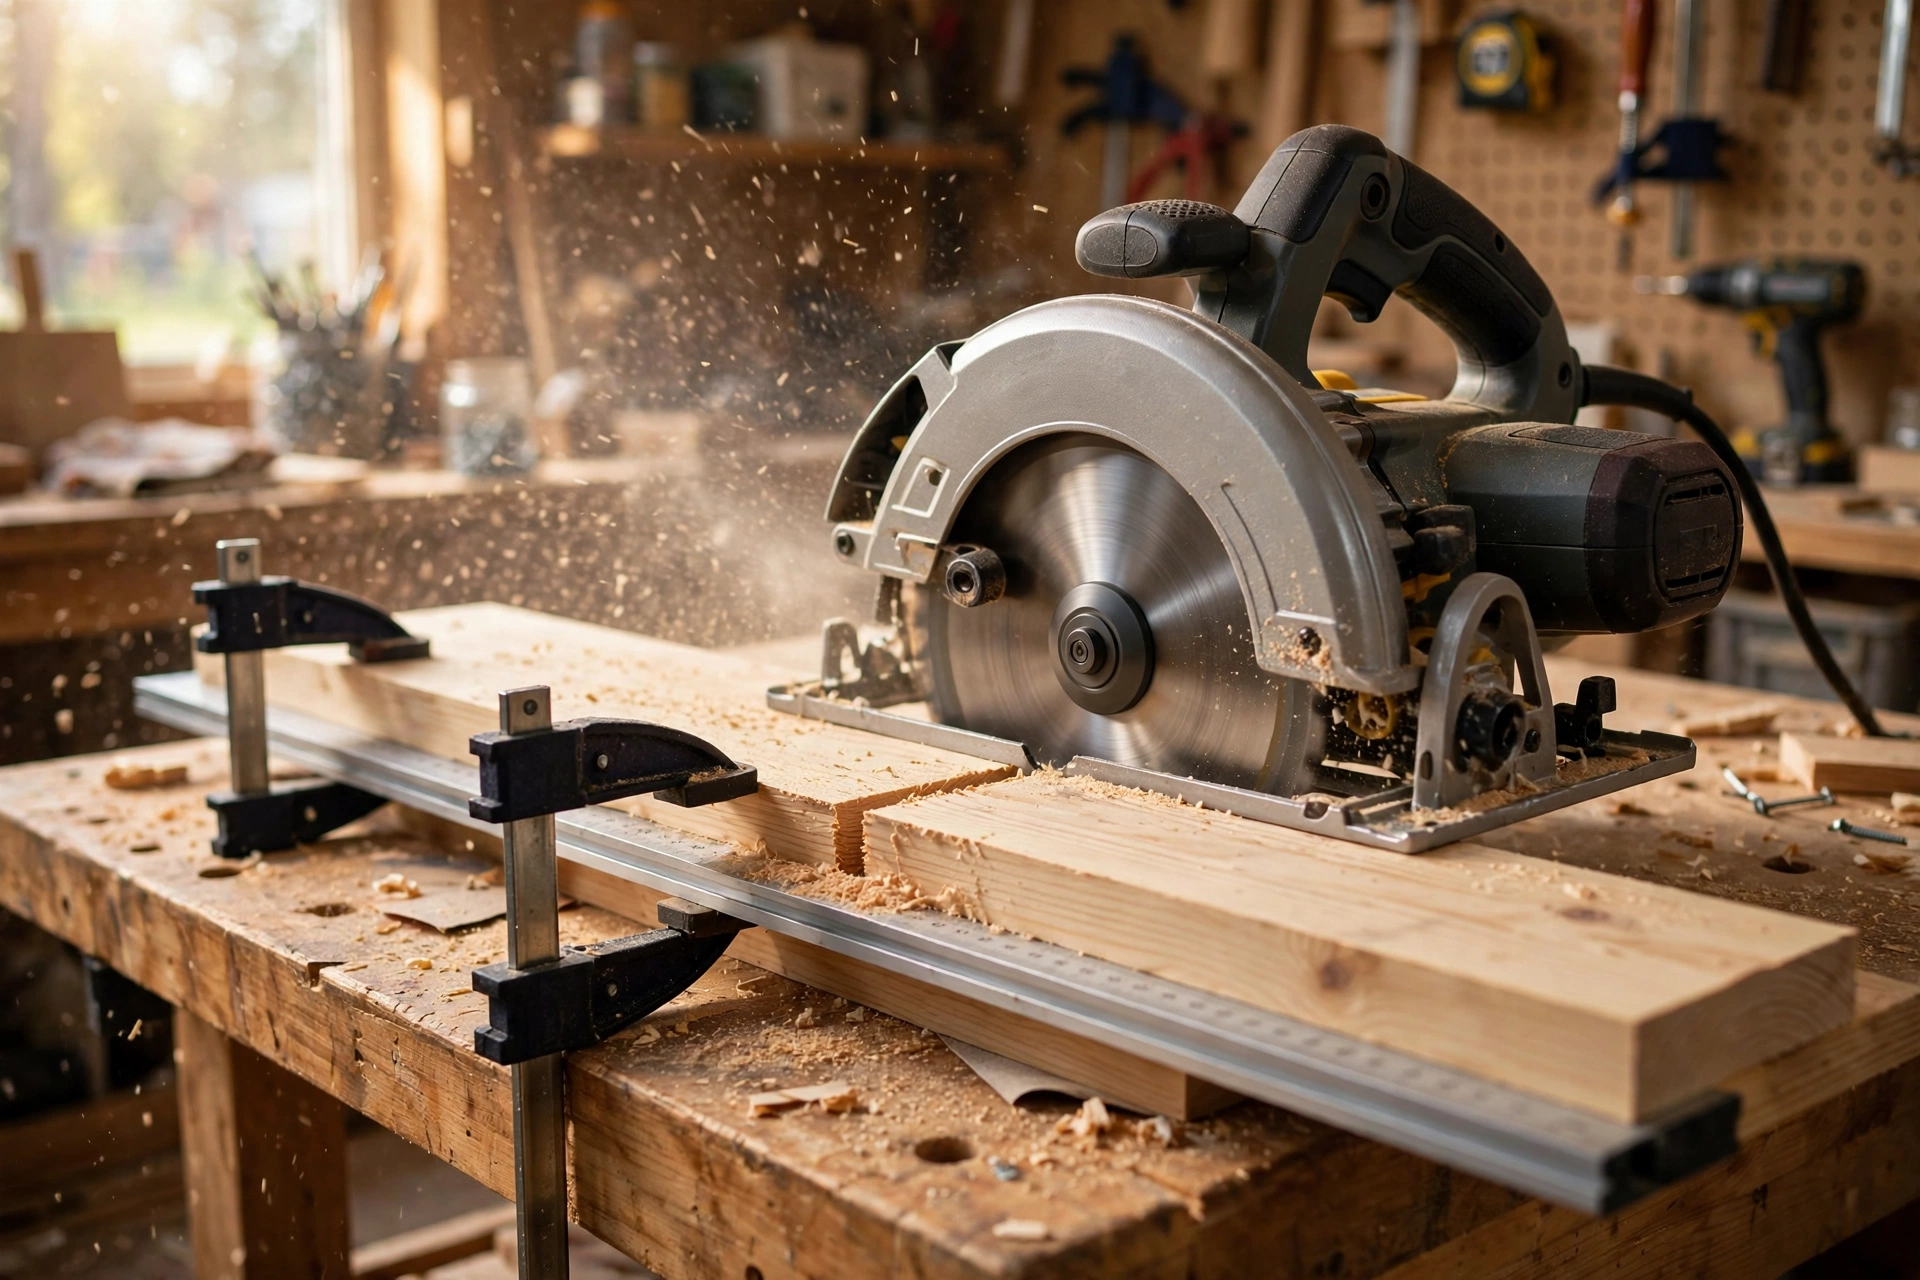
Clamp a straight board or a guide rail to the plywood as a saw guide, and set the circular saw depth so the blade cuts about ¼ inch (6 mm) past the bottom of the sheet — no deeper. Cut slowly and steadily, letting the saw do the work; pushing hard causes burning, wandering cuts, and chipped veneer. To stop the plywood face chipping, score the cut line lightly with a sharp knife first, and put the good face down — a circular saw cuts cleanest on the face away from the blade. Cut the two sides first, then the top and bottom, then the shelves, then the doors.
After cutting, dry-fit the carcass: stand the sides up, lay the top and bottom between them, and check the box is square by measuring diagonally across the opening — the two measurements should match within ⅛ inch (3 mm). A small error here is easy to fix now by trimming one panel, and almost impossible to fix after the glue has set. Sand the cut edges lightly with 80-grit paper to remove splinters, and iron the edge banding onto every visible plywood edge — the front edges of the sides, top, and shelves, and all four edges of the doors. Trim the banding flush with a sharp knife and sand it smooth. Keep your offcuts: a strip of plywood makes a perfect stain test piece, and a scrap is ideal for testing the hinge drill depth.
Step 3: Build the Carcass
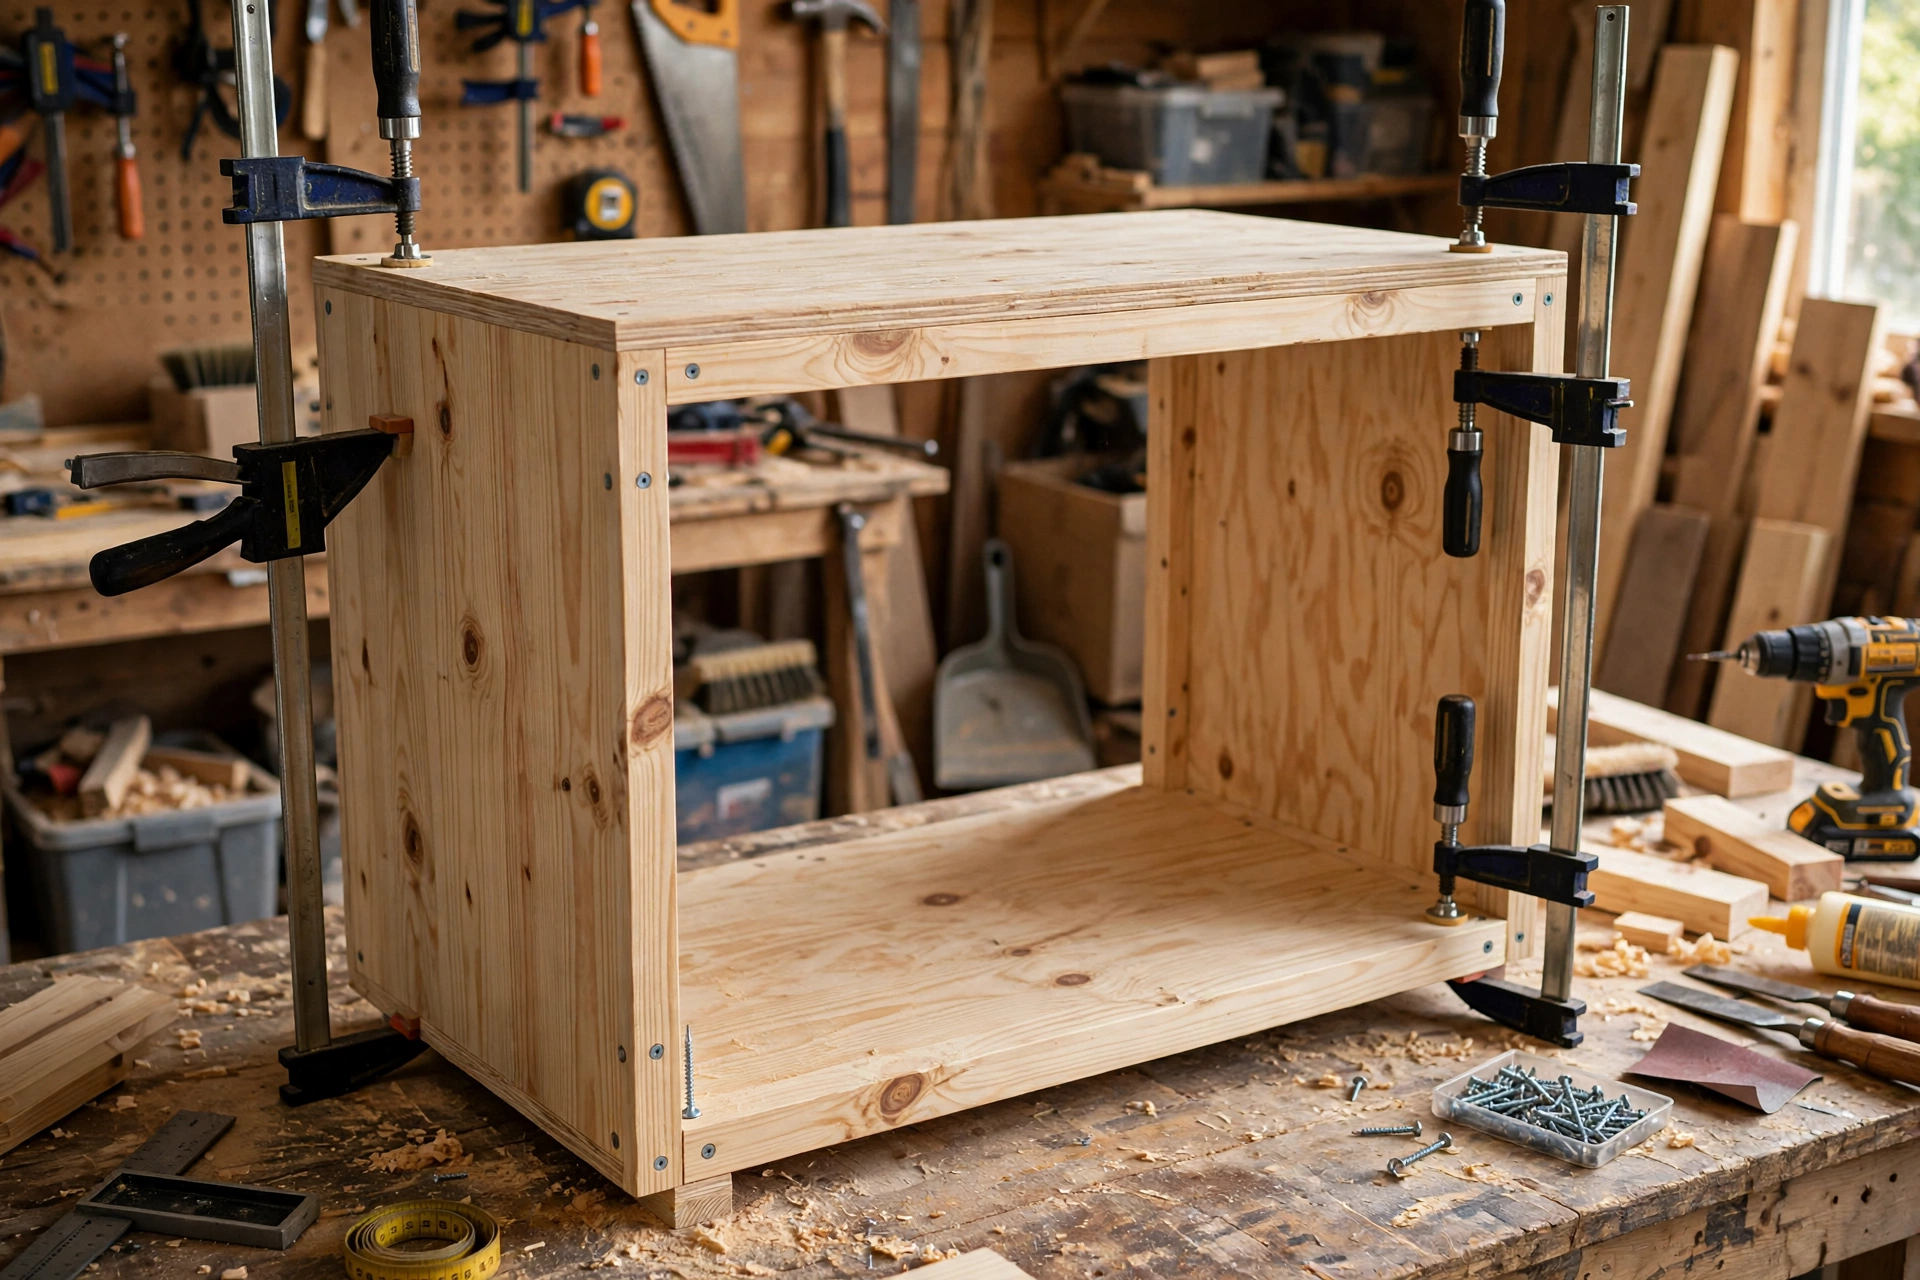
The carcass is a simple box: two sides, a top, and a bottom, glued and screwed together, with a thin back panel that locks it square. Spread glue on the ends of the top and bottom panels, set them between the sides, and drive 2-inch (51 mm) screws through the sides into the panel ends — two screws per joint, pre-drilled so the plywood does not split. Work on a flat floor so you can check that the box sits flat, and clamp a diagonal brace across the front while the glue sets if the box wants to rack.
Once the box is together, fit the back panel: lay the carcass face-down, square it up by measuring the diagonals, then screw or staple the ¼-inch (6 mm) back panel on, checking the diagonals again after every few fasteners. The back panel is what keeps the cabinet square for the life of the piece — do not skip it, and do not fit it with the box out of square, because the doors will never hang straight afterwards. Then glue and screw the pine face frame to the front: the two stiles first, flush with the outside edges of the sides, then the two rails between them. The face frame hides the plywood edges, stiffens the front of the box, and gives the hinges something solid to bite into.
Fit the toe-kick last: a 3-inch (8 cm) tall recessed base made from 1×4 pine, set back 3 inches (8 cm) from the front and screwed to the bottom of the carcass from underneath. It lifts the cabinet off the floor so a damp entryway floor never touches the plywood, and it gives your toes room when you stand close to the cabinet. Check the carcass for square one final time before the glue cures — measure the diagonals, and if they do not match, rack the box gently until they do and leave the clamps on overnight.
Step 4: Hang the Doors, Fit the Hinges and Shelves
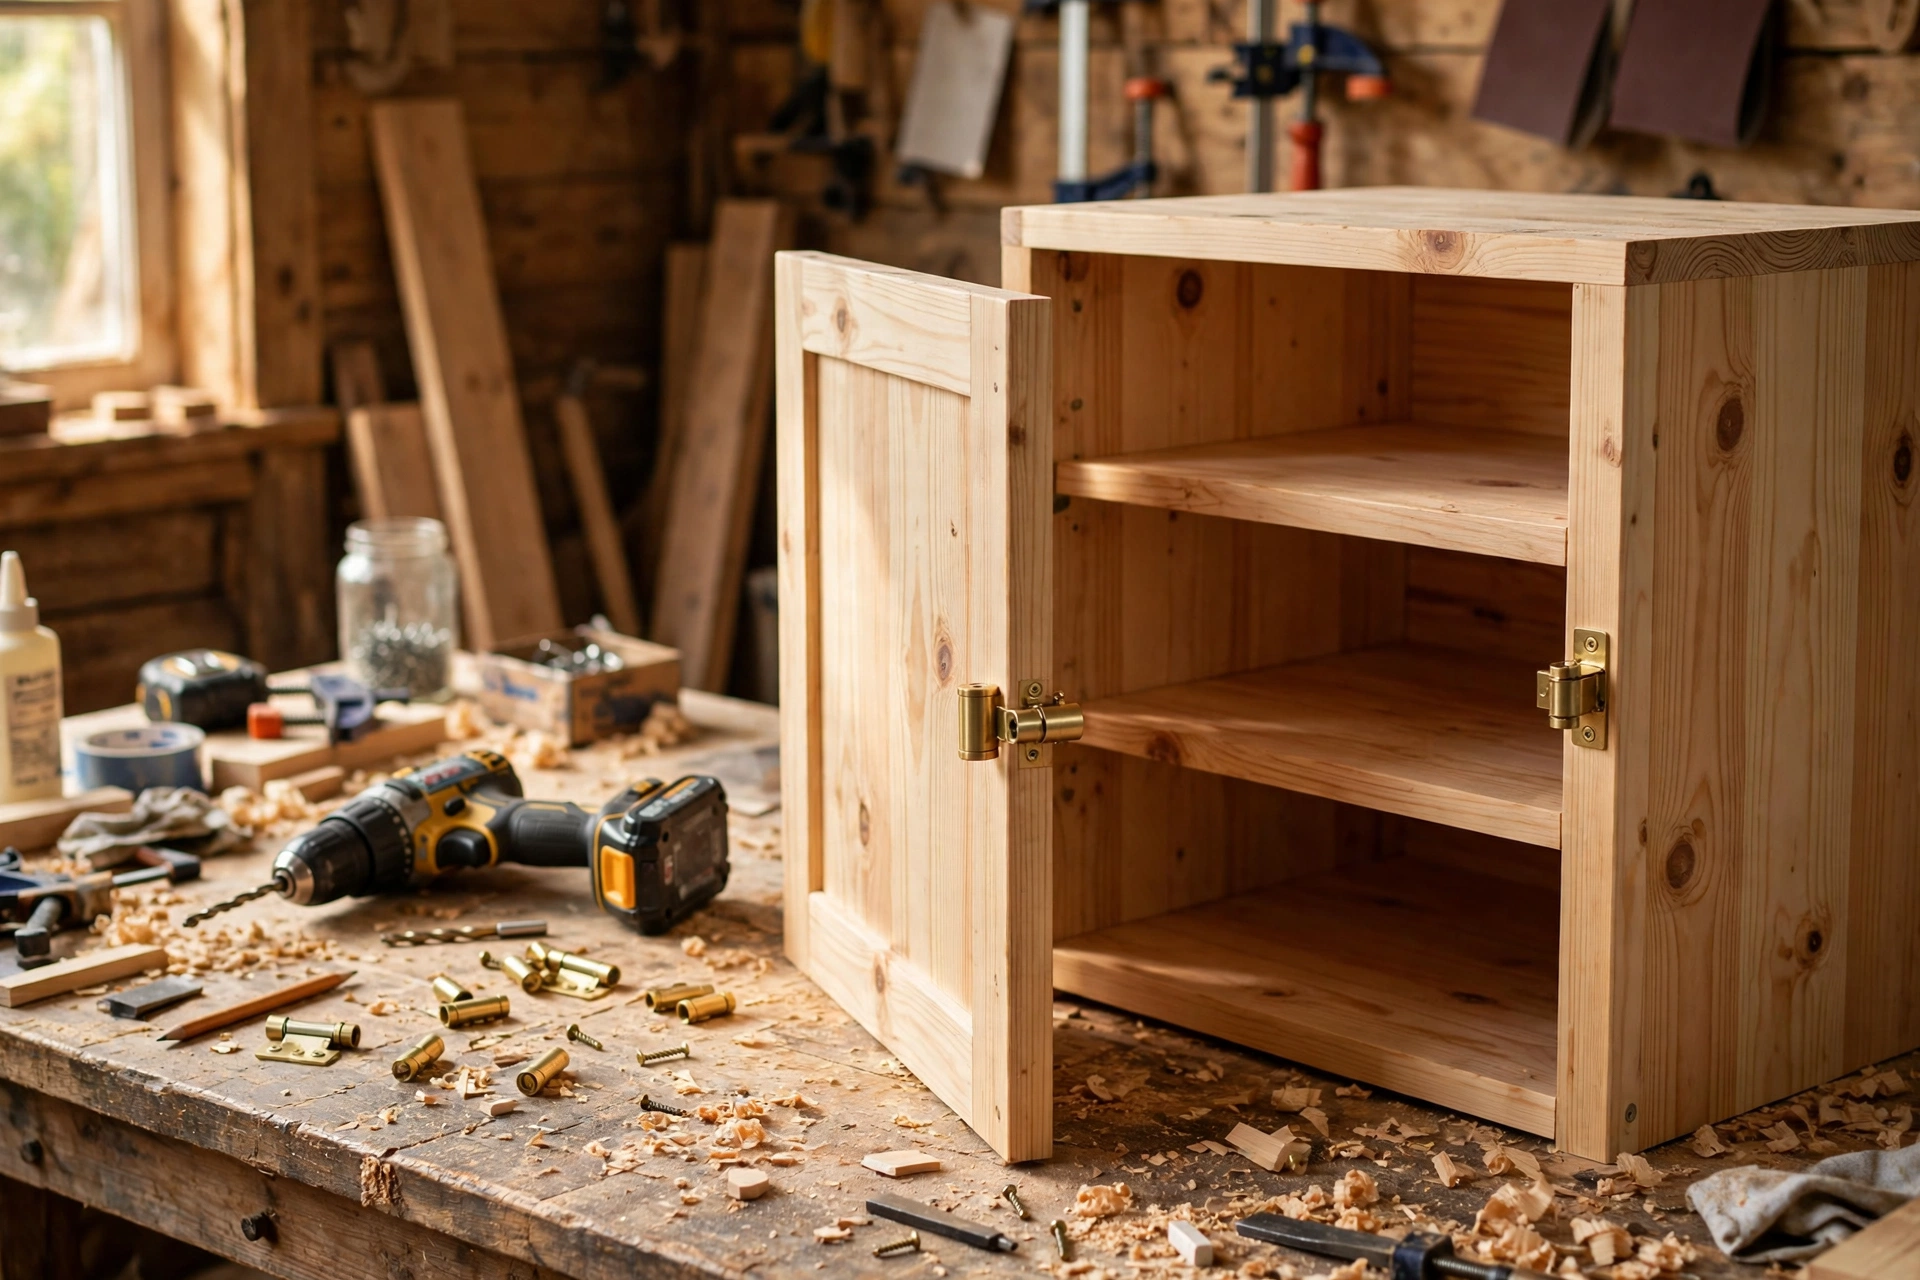
Doors are the step beginners worry about most, and the most forgiving part of the build — if you take it slowly. Start with the hinges: hidden barrel hinges drill into the edge of the door and the edge of the face frame, so no mortise is needed and no hardware shows when the door is closed. Mark two hinge positions on each door — 4 inches (10 cm) down from the top and 4 inches (10 cm) up from the bottom — and drill the 8 mm holes to the depth marked on the hinge, using a scrap piece to test the depth first. Press the hinge barrels into the holes with a drop of glue, and hang the door on the frame.
Hang one door at a time and check the gaps before you hang the second: ⅛ inch (3 mm) all round, even top and bottom. If a door binds, find the high spot with a pencil mark and shave it with a hand plane or 80-grit paper — never force a door closed, because it will only get worse as the wood moves. Fit the knobs or pulls last, centred on the door edge, about 36 inches (91 cm) from the floor or 4 inches (10 cm) from the top of the door — whichever feels natural to reach. Then drop the shelf pins into the holes you drilled in Step 1 and rest the adjustable shelves on them. Test the layout with real shoes before you finish: boots on the bottom row, trainers in the middle, flats on top, and move the shelves until nothing touches the shelf above.
| Hinge type | How it fits | Visible when closed | Cost per door | Beginner friendly |
|---|---|---|---|---|
| Hidden barrel hinge (8 mm) | Drills into door edge and frame edge | No — fully hidden | $5–$8 | Yes — no mortise |
| Concealed cup hinge (35 mm) | 35 mm cup hole in door back | No — fully hidden | $6–$10 | Medium — needs Forstner bit |
| Butt hinge | Screwed to door edge and frame face | Yes — knuckle shows | $4–$7 | Yes — simplest of all |
| Surface-mount hinge | Screwed to door face and frame face | Yes — decorative look | $5–$9 | Yes — no drilling into edges |
| Soft-close concealed hinge | 35 mm cup + soft-close arm | No — fully hidden | $10–$15 | Medium — needs careful adjustment |
Hidden barrel hinges are the right choice for this cabinet: they suit the slim ½-inch (12 mm) doors, they disappear when the doors close, and they need only a drill, not a Forstner bit or a chisel. If you prefer soft-close doors, use concealed cup hinges instead — but drill the 35 mm cup holes in a scrap first, because a cup hole drilled too deep will break through a ½-inch door. Whichever hinge you choose, always fit the doors before you apply the finish, so you can plane and adjust without damaging a finished surface.
Tilt-Out Bins and Cubby Options
The two-door cabinet in this guide is the simplest closed design, but the same carcass takes two popular variations. Tilt-out bins replace the bottom shelf with a hinged front panel that tips forward, so shoes slide in and out without opening a door — ideal if the cabinet sits in a narrow hallway where swinging doors block the walkway. Build the bin as a shallow plywood box with a solid front, hinged at the bottom with a pair of small pivot hinges and a chain or cord to stop it tipping too far. A single tilt-out bin holds 4 to 6 pairs and keeps the most-worn shoes closest to the door.
Open cubbies are the other option: leave the doors off the top section and fit two fixed shelves to make six open cubby holes for the shoes you grab every day, with doors only on the lower section for the pairs you wear less. Cubbies are faster to build than doors and they ventilate better, but they give up the dust protection that makes a closed cabinet worth building — so use them only for the daily pairs, and keep the rest behind doors. Either variation uses the same carcass, the same cut list for the box, and the same finishing steps, so you can mix them: doors on the bottom, cubbies on top, and a tilt-out bin in the middle if you are feeling ambitious.
Step 5: Sand and Finish Your Shoe Cabinet
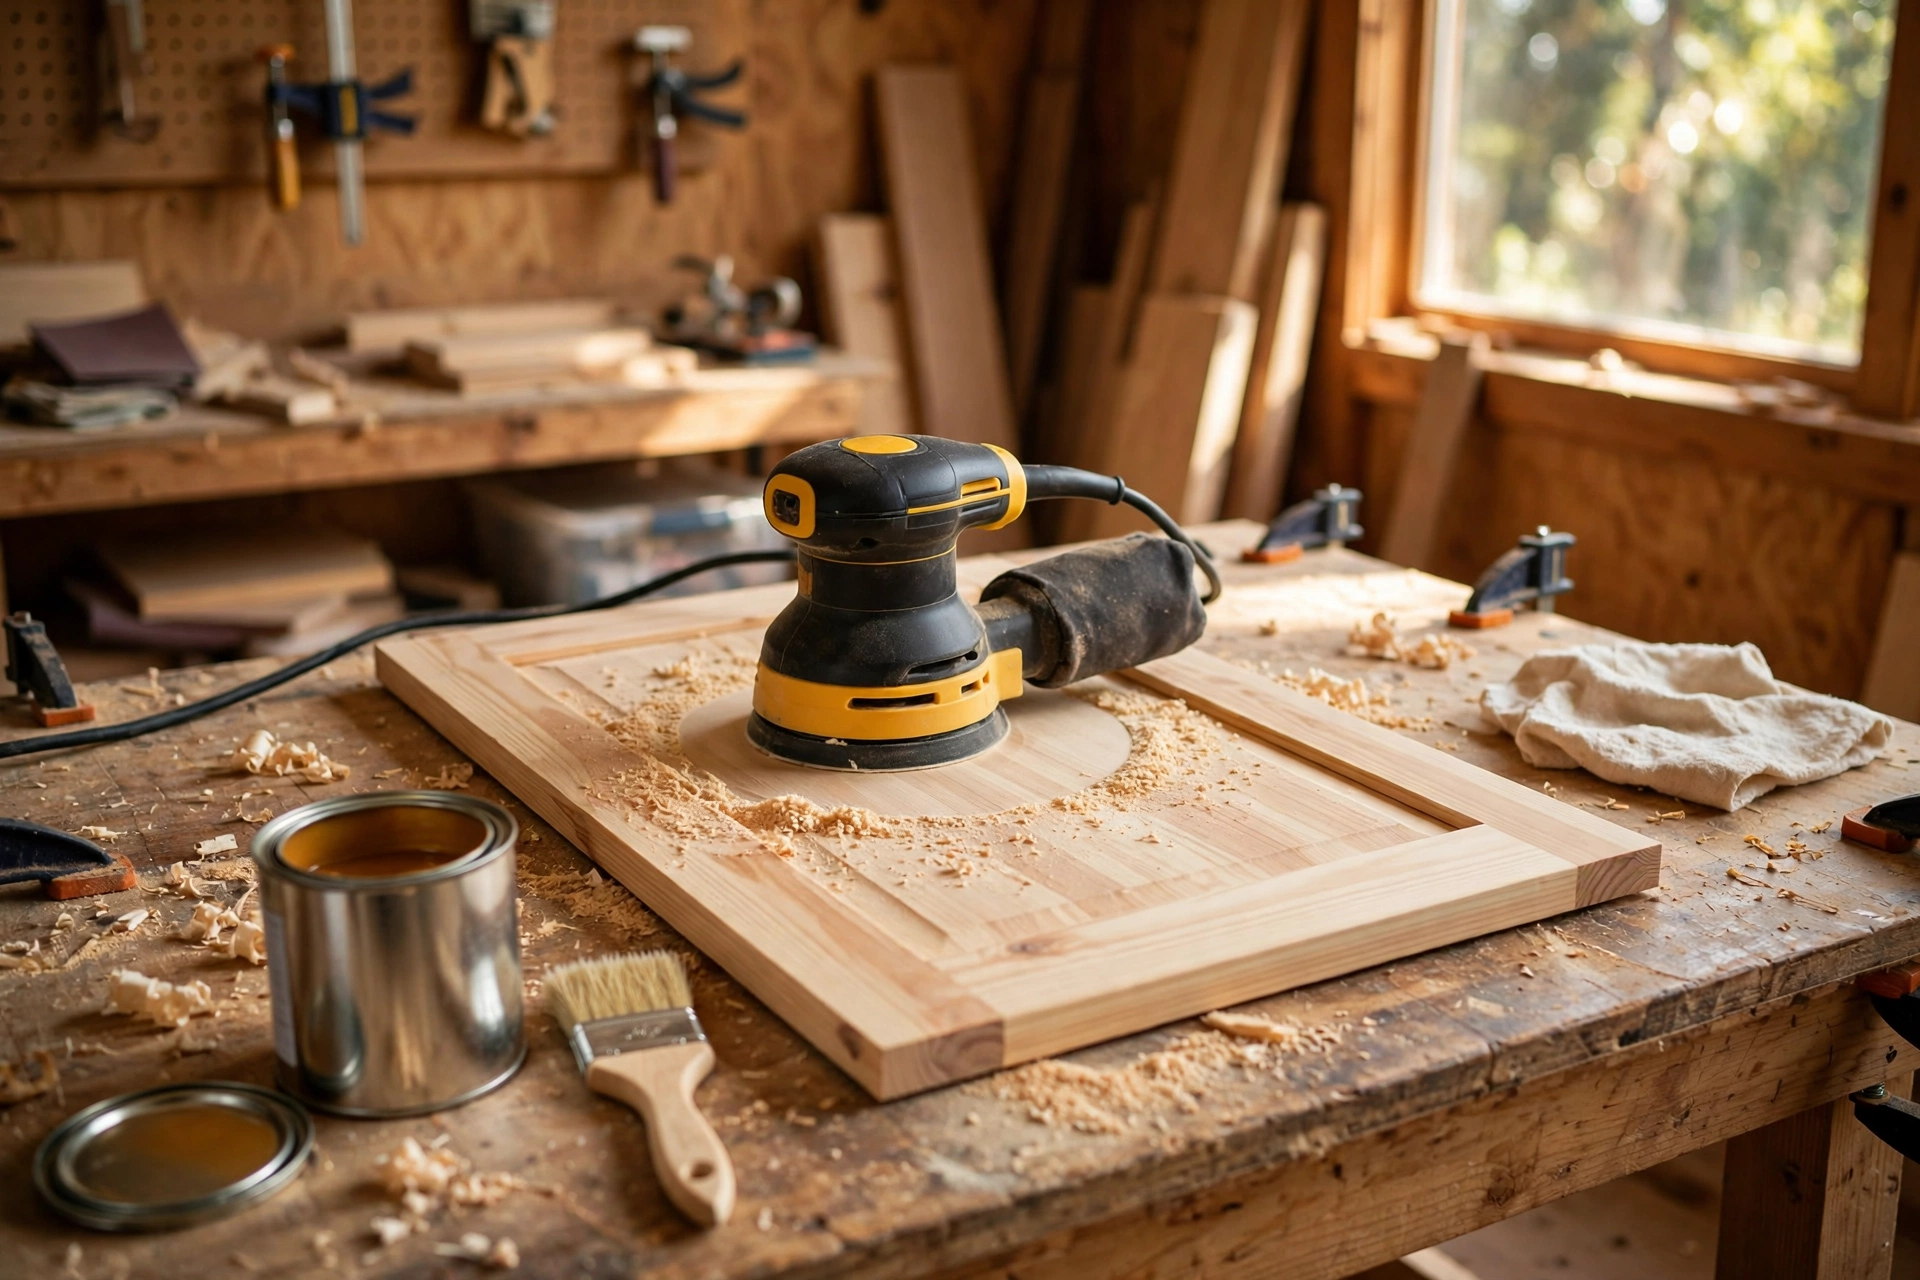
Sanding is where a beginner build starts to look professional, so do not rush it. Sand the doors and the face frame in three passes: 80 grit to level the joints and remove saw marks, 120 grit to smooth the surface, and 220 grit for a silky final finish. Always sand with the grain, never across it, and round over the sharp front edges slightly with 120-grit paper — people brush past a hallway cabinet constantly, and sharp edges are uncomfortable and chip easily. Vacuum or wipe the dust off with a tack cloth between grits; dust left behind shows up as rough spots under the finish. Our full guide, how to sand and finish wood for beginners, walks through grit progression and common sanding mistakes in detail.
A shoe cabinet needs a tougher finish than a decorative oil, because it meets wet soles, mud, and grit every day. A wipe-on polyurethane is the most forgiving choice: it builds a hard, waterproof film that shrugs off damp shoes, and it is easy to repair later with a light sanding and one more coat. Apply three thin coats inside and out, sanding lightly with 220-grit paper between coats, and pay special attention to the shelves and the cabinet floor — that is where the water sits. If you want colour, stain first, let it dry fully for 24 hours, then seal it with polyurethane. Let the final coat cure for at least 72 hours before you load the cabinet with shoes — a finish that feels dry is not the same as a finish that has cured hard. Add ventilation while the finish cures: drill two 1-inch (25 mm) vent holes in the back panel near the top, or leave a ¼-inch (6 mm) gap under the doors, so air circulates and smells never build up. For a matching entryway set, the same plywood-and-door method builds our guide to how to build a wooden storage bench for beginners, which pairs with this cabinet perfectly.
Styling and Organising Your Finished Cabinet
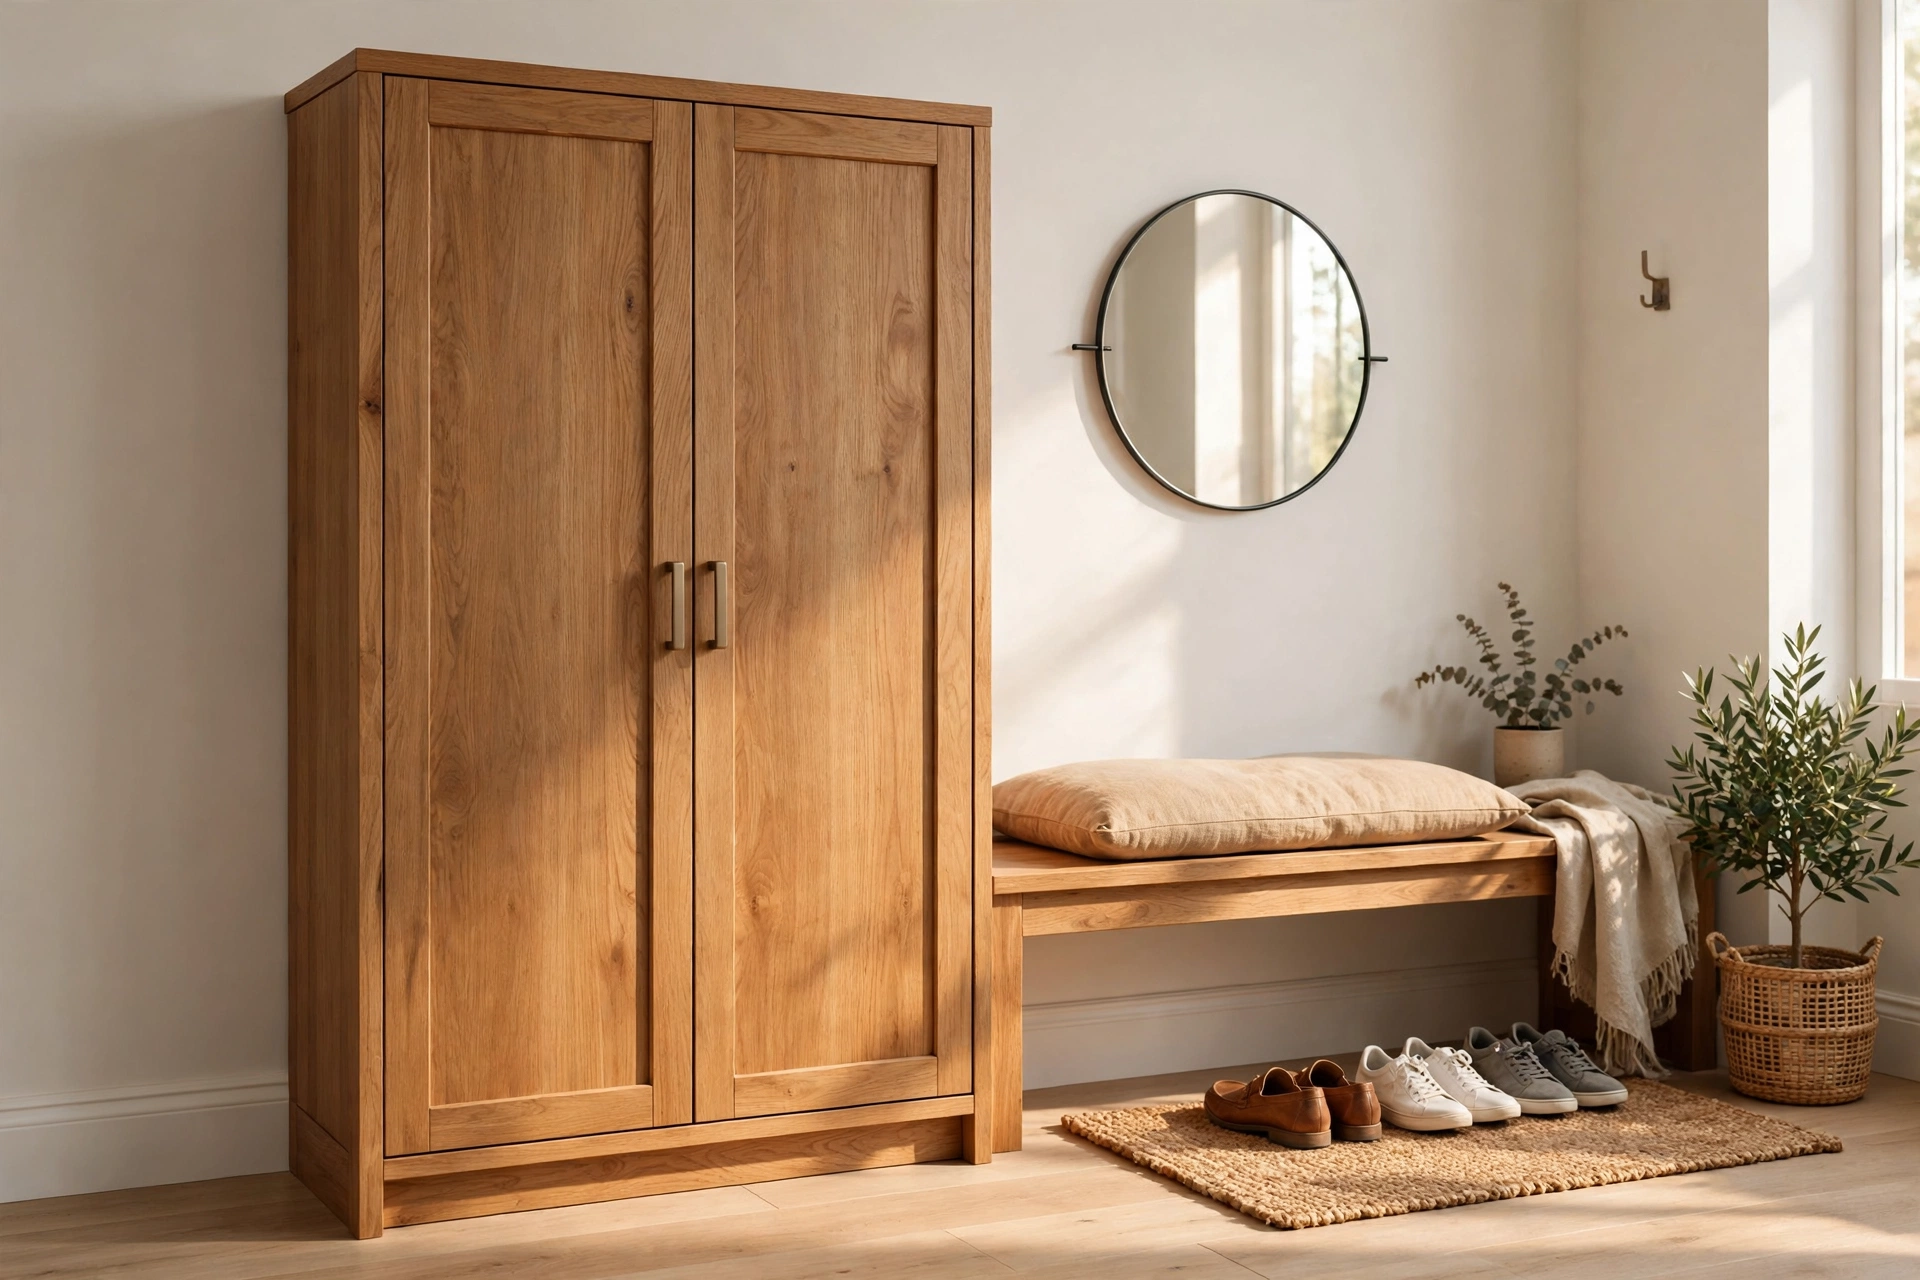
Once the finish has cured, bring the cabinet into the entryway and anchor it to the wall — a tall, narrow cabinet full of shoes can tip forward when a child pulls a door, so drive two screws through the back panel into a wall stud or use anti-tip straps. Put a small tray or a boot mat on the cabinet floor for wet shoes, and keep a shoehorn and a small brush on top. A small mirror above the cabinet and a couple of hooks beside it turn the corner into a complete entryway station; our guide to how to build a wooden key holder for beginners adds the finishing touch.
Organise by wear, not by owner: the shoes you wear every day go on the middle shelves at hand height, the pairs you wear weekly go on the top shelf, and boots and wellingtons live on the cabinet floor where they cannot drip onto anything. One pair per slot, toes facing out, and no stacking — a cabinet holds more shoes, and stays tidier, when every pair has its own place. To keep it smelling fresh, wipe the shelves with a barely damp cloth once a week, dry them straight away, and tuck a small open box of baking soda on the top shelf. If you enjoyed this build, the same carcass skills scale up directly: the same box, face frame, and door method builds its bigger cousin, our guide to how to build a wooden sideboard for beginners.
Common Mistakes to Avoid
Most problems come from rushing one of these seven steps — slow down here and the rest of the build goes smoothly.
Building too shallow. A cabinet less than 14 inches (36 cm) deep will not close over a men’s size 11 shoe. Measure your longest shoe first, then build.
Skipping the back panel. Without the back, the carcass racks out of square and the doors will never hang straight. Fit it with the box square and check the diagonals.
Fitting doors before the carcass is square. Doors fitted to a racked box will bind on one corner and gap on the other. Square the box first, then hang the doors.
Forgetting ventilation. Shoes are damp and a sealed box smells. Drill vent holes in the back panel or leave a small gap under the doors.
Leaving the inside unfinished. Bare plywood soaks up moisture, swells, and holds smells. Finish the inside with the same two or three coats as the outside.
Drilling hinge holes too deep. A barrel hinge hole drilled past its depth will break through the door edge. Test the depth on a scrap piece first.
Forgetting the acclimatisation. Plywood cut the day it arrives will move after assembly. Let it sit in your house for two to three days first.
How Much Does It Cost and How Long Does It Take?
For a 36-inch plywood shoe cabinet, expect $100 to $140 in materials if you already own the tools — roughly a third of a comparable solid wood cabinet in a shop, sized exactly to your entryway. A 24-inch cabinet is closer to $80 to $110, a 48-inch cabinet around $130 to $180. Hardwood doors and a hardwood face frame add $40 to $60. Time-wise, plan 6 to 8 hours of hands-on work over a weekend: an hour to measure and cut, an hour for the carcass, an hour and a half for the doors and hinges, an hour to sand, and an hour to finish, plus overnight glue drying and 72 hours for the final coat to cure. The same skills transfer directly to your next entryway project — a matching storage bench or a hallway sideboard uses the same carcass, face frame, and door method.
Frequently Asked Questions
How deep should a wooden shoe storage cabinet be?
At least 14 inches (36 cm) deep on the outside, giving about 12½ inches (32 cm) of clear space inside. A men’s size 11 shoe is about 12 inches (30 cm) long, so anything shallower will stop the doors closing. Deeper than 16 inches (41 cm) wastes space, because shoes get lost at the back.
How many pairs of shoes fit in a 36-inch cabinet?
A 36-inch (91 cm) wide cabinet with two adjustable shelves holds 12 to 16 pairs: four pairs per shelf across three shelves plus the cabinet floor. Tall boots take more room, so a boots-heavy household fits closer to 10 to 12 pairs — give the bottom row 14 inches (36 cm) of height for boots.
What is the best wood for a beginner shoe cabinet?
¾-inch (18 mm) birch or pine plywood for the carcass, with solid pine 1×2 boards for the face frame and ½-inch (12 mm) plywood doors with edge banding. Plywood stays flat and square, which is exactly what doors need, and it costs far less than solid hardwood for a box this size.
How do I stop my shoe cabinet from smelling?
Finish the inside with the same polyurethane coats as the outside, drill two 1-inch (25 mm) vent holes in the back panel near the top or leave a ¼-inch (6 mm) gap under the doors, and keep a small open box of baking soda on the top shelf. Never put soaking-wet shoes straight into a closed cabinet — let them dry on a mat first.
Can I build a shoe cabinet without a table saw?
Yes. A circular saw with a straight-edge guide makes every cut in this project, including the long plywood rips. Score the cut line with a knife first to stop the veneer chipping, and put the good face down. Many lumber yards will rip a plywood sheet to size for a small fee, so you can have the big panels cut at the store and do the assembly at home with only a drill.
What hinges should I use for a shoe cabinet door?
Hidden barrel hinges are the best choice for a first cabinet: they drill into the edge of the door and the frame, need no mortise, and disappear completely when the door is closed. Concealed cup hinges are the alternative if you want soft-close doors, but they need a 35 mm Forstner bit and careful depth control on a ½-inch door.
How much does it cost to build a wooden shoe storage cabinet?
A 36-inch plywood shoe cabinet costs about $100 to $140 in materials if you already own the tools. A 24-inch cabinet costs roughly $80 to $110, a 48-inch cabinet about $130 to $180. A comparable solid wood cabinet in a shop typically costs $300 to $600.
Recommended Products for This Project
As an Amazon Associate, I earn from qualifying purchases.

DEWALT 20V MAX Drill/Driver Kit DCD771C2
Drives every screw in this shoe storage cabinet build and pre-drills clean pilot holes so the plywood carcass edges never split.

Titebond III Ultimate Wood Glue 1413 (8 oz)
Waterproof, strong wood glue that locks the cabinet carcass joints and the pine face frame together before a single screw goes in — ideal for an entryway cabinet that meets damp shoes.
DEWALT 20V MAX Circular Saw DCS391B, 6-1/2-inch
Cordless 20V power for straight, clean rips in the plywood carcass panels, shelves, and door panels of this shoe storage cabinet.
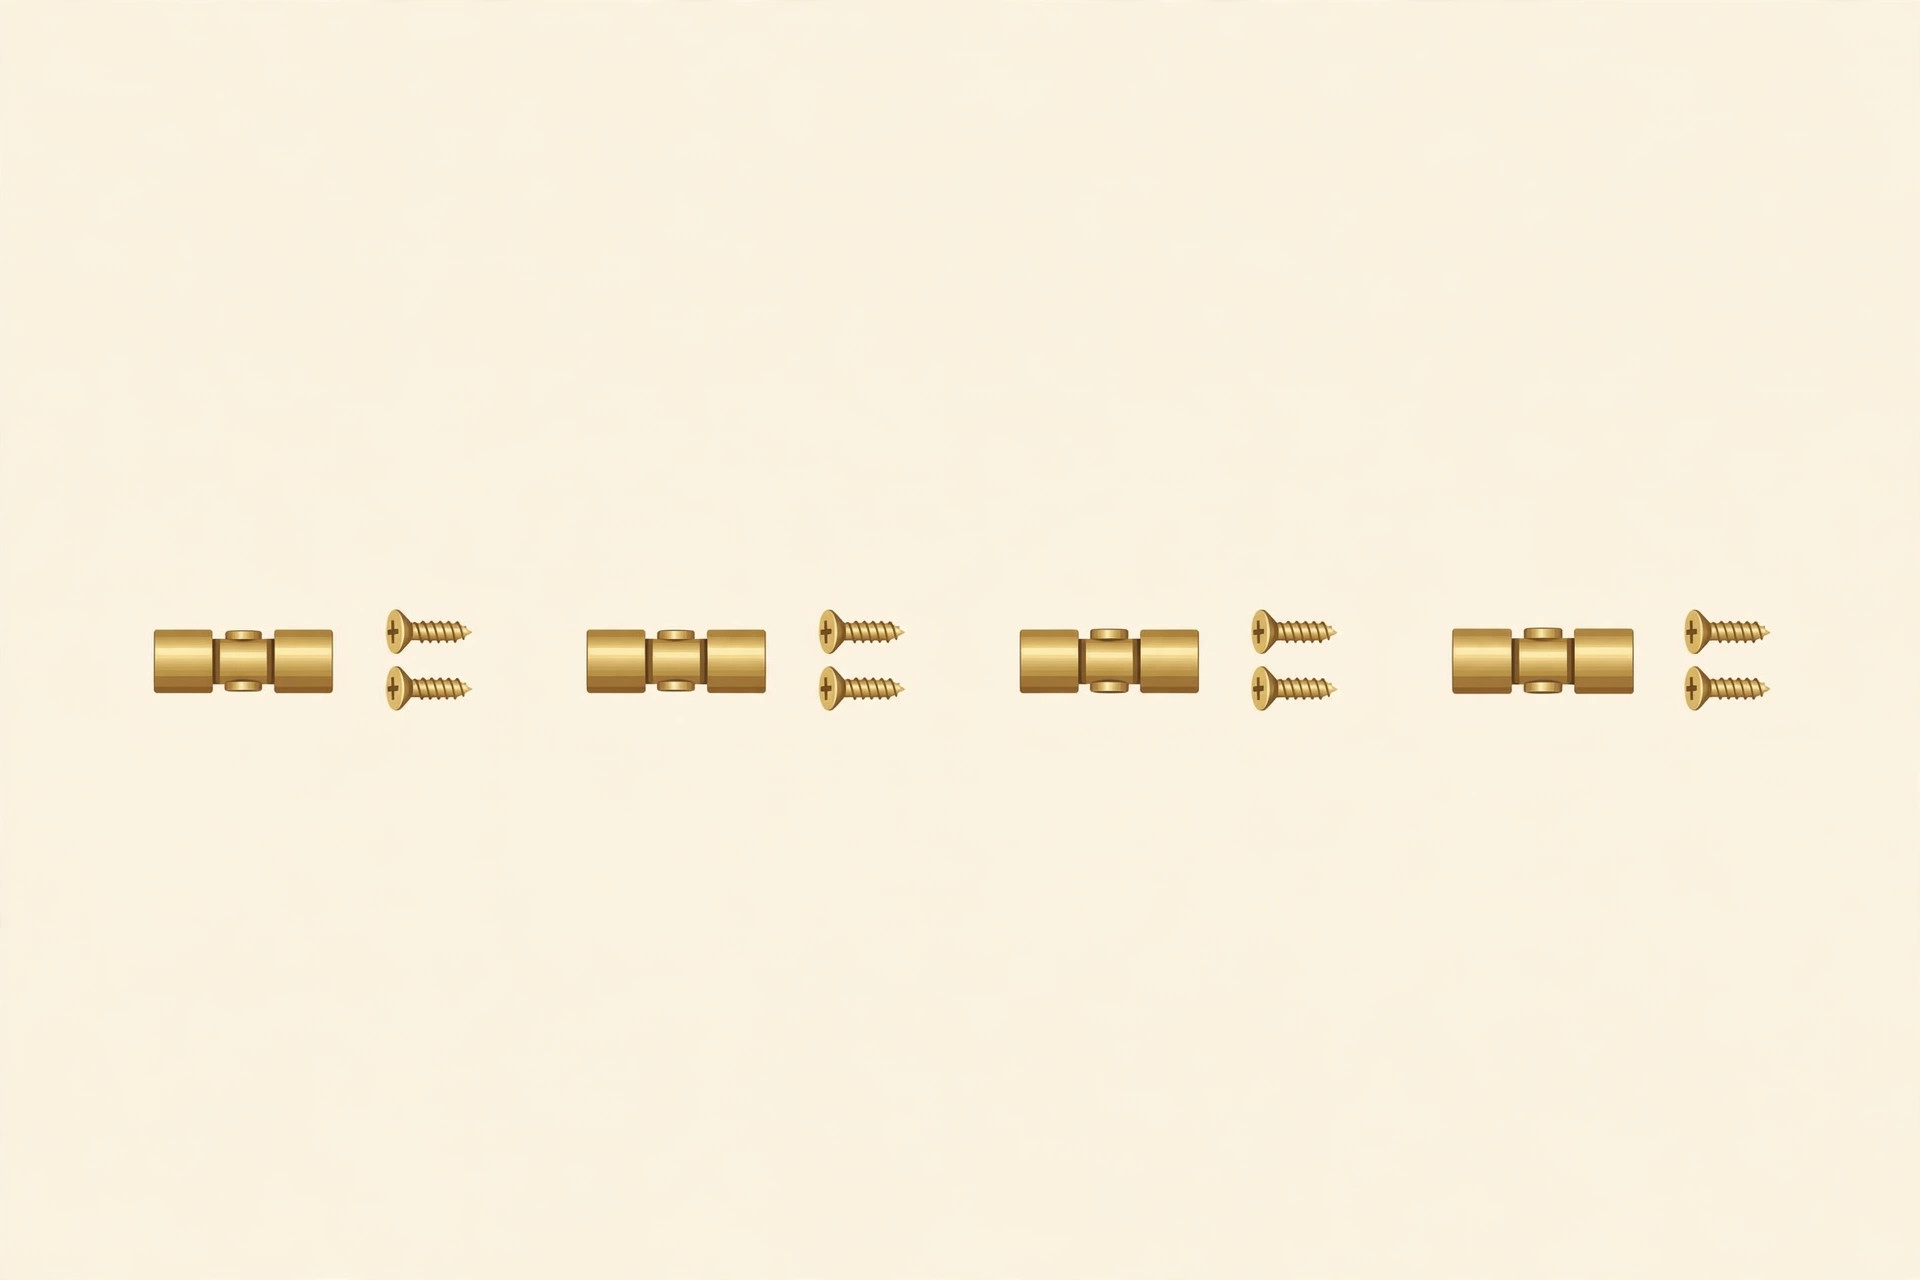
HOJLKLD 8-Pack 8mm Hidden Brass Barrel Hinges for Jewelry Box
Hidden brass barrel hinges matched to this cabinet’s slim doors — they drill into the door and frame edges, need no mortise, and disappear completely when the doors close.

DEWALT Random Orbit Sander DWE6423, 5-inch
Smooths the cabinet doors, face frame, and shelves silky smooth through the 80, 120, and 220 grit passes of this build, so the finish takes evenly inside and out.


