
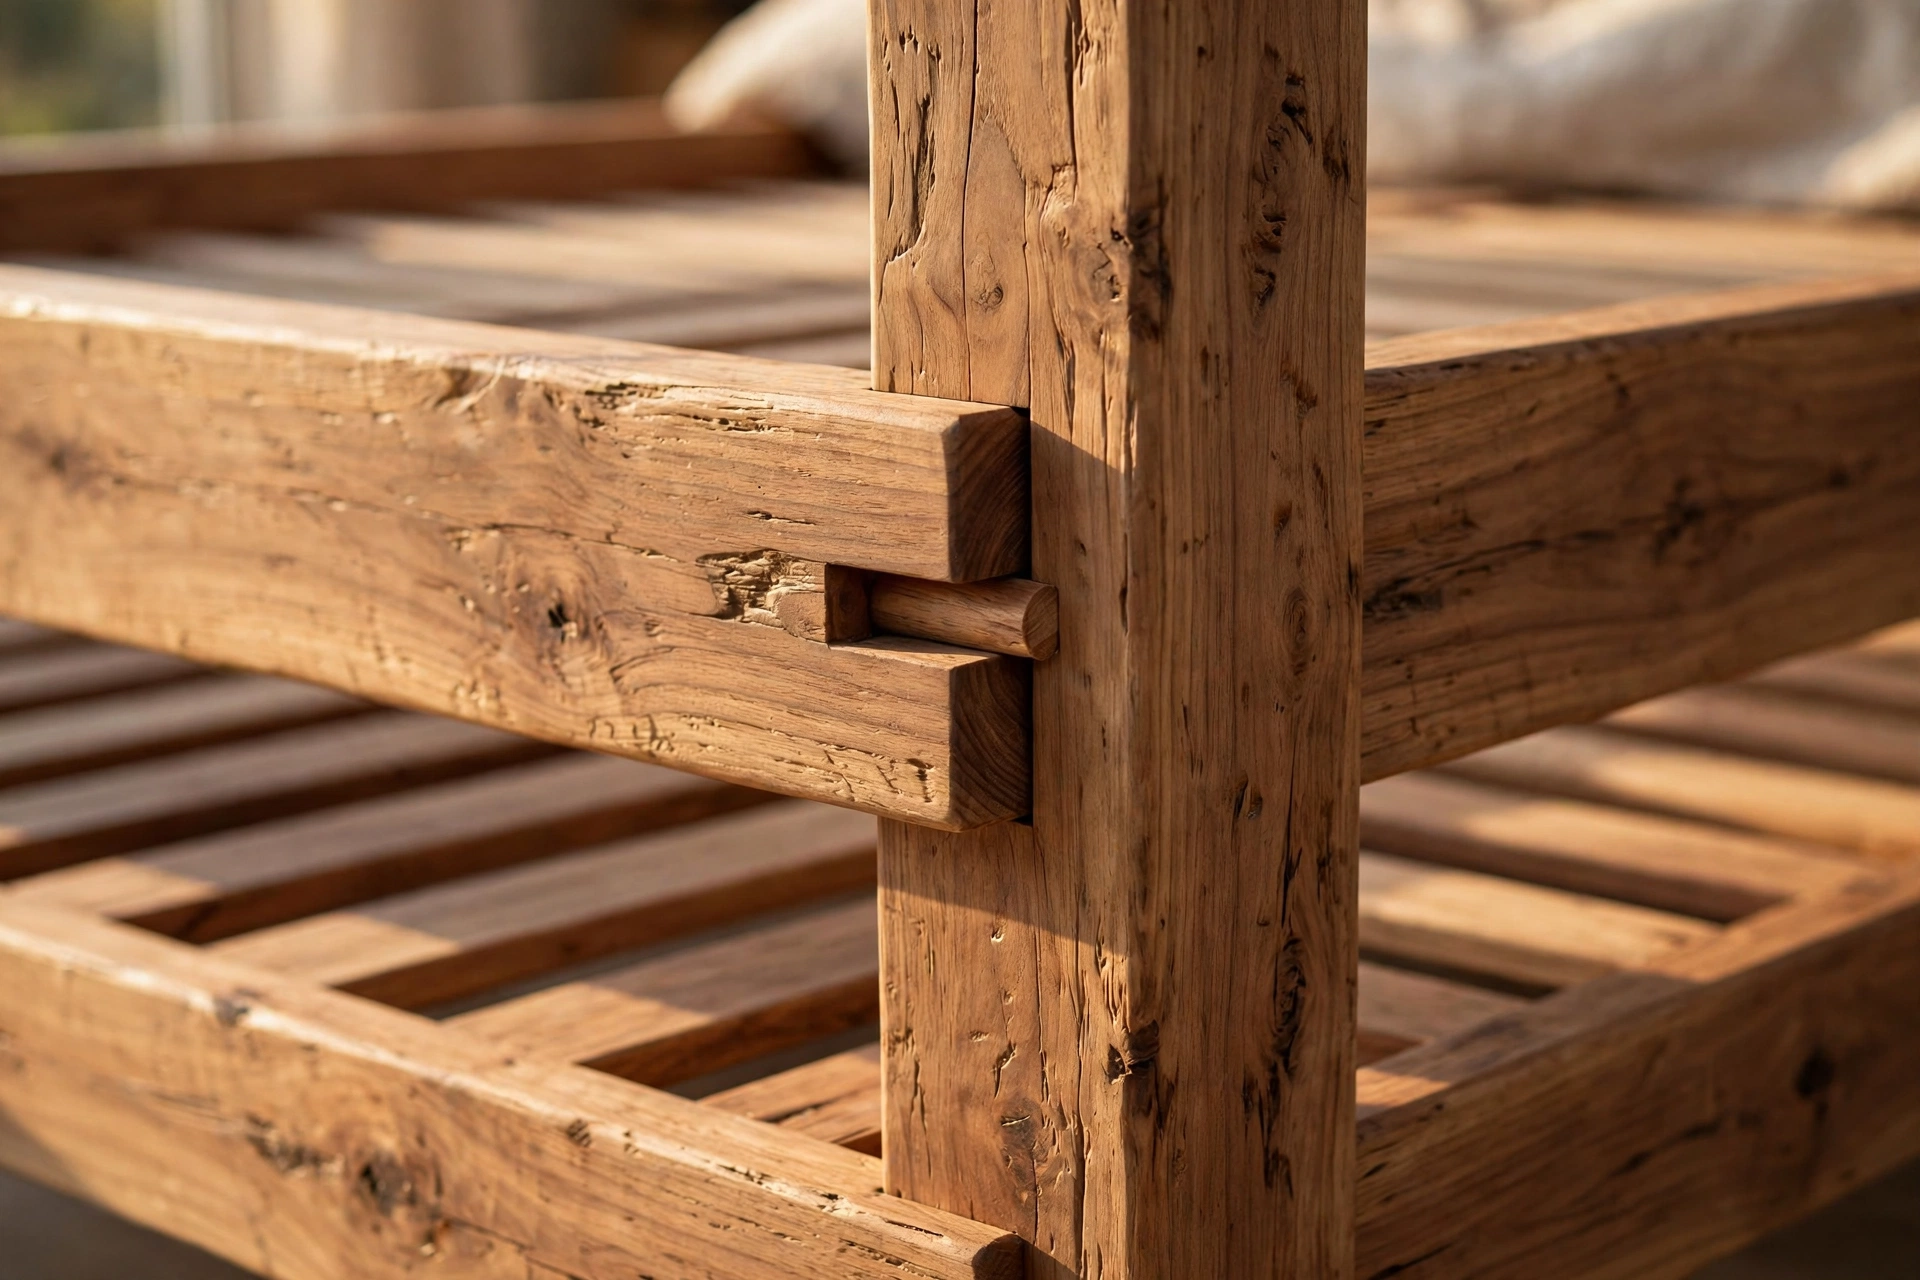
Learning how to build a wooden bed frame for beginners is one of the most satisfying first furniture projects you can take on. A bed frame is big, useful, and forgiving: the joints are simple, the cuts are straight, and the finished piece gets used every single night. You do not need a fully equipped workshop, years of experience, or expensive hardwood to get a strong, good-looking result. With a circular saw, a drill, some pine boards, and a free weekend, you can build a queen-size wooden bed frame for roughly $200–$250 — a fraction of what a comparable solid-wood frame costs in a furniture store.
This guide walks you through the whole project the way a beginner should approach it: choosing the right wood, deciding between a platform and a slatted frame, getting the dimensions right for your mattress, a complete cut list, and a step-by-step build you can follow in order. By the end, you will know exactly how to build a wooden bed frame for beginners, what mistakes to avoid, and how to finish it so it looks like it came from a proper furniture maker.
Why Build Your Own Wooden Bed Frame?
A shop-bought bed frame hides a lot of compromises: thin metal brackets, particleboard slats, and prices that climb quickly once you move past flat-pack furniture. Building your own wooden bed frame gives you three things a store cannot. First, strength — you choose real 2×8 rails and solid 4×4 legs instead of hollow tubing. Second, the exact size and height you want, including space underneath for storage boxes. Third, the satisfaction of sleeping on something you made with your own hands.
For a beginner, a bed frame is also an ideal learning project. Every skill it teaches — measuring accurately, cutting square, drilling pilot holes, checking for square, sanding, and finishing — transfers directly to the next project on your list. If you are working through beginner builds, this project sits naturally alongside other first furniture pieces; a matching wooden nightstand for beginners makes a great companion piece once the bed is done, and our pillar guide to easy woodworking projects for beginners that sell shows how projects like this one can even earn money.
Platform vs Slatted Bed Frame: Which Should a Beginner Build?
Before you buy a single board, decide which style you are building. The two common designs are platform frames and slatted frames, and for a beginner the difference matters.
A platform bed frame uses a solid or closely spaced surface to support the mattress directly. It usually has no box spring, sits low, and looks clean and modern. A slatted bed frame supports the mattress on a row of individual wooden slats laid across the frame, with gaps between them for airflow. Most beginner builds are slatted frames, and that is what this guide teaches: slats are easier to cut, easier to replace, and they let the mattress breathe, which helps prevent moisture and mould.
The design in this guide is a hybrid that gives you the best of both: a sturdy rectangular frame with widely spaced slats plus a centre support beam, so a foam or hybrid mattress is fully supported without a box spring. If your mattress manufacturer requires a solid surface, you can simply lay a sheet of 3/4-inch (19 mm) plywood over the slats later — no redesign needed.
Choosing the Right Wood for Your Bed Frame
Wood choice decides three things: cost, weight, and how the finished frame looks. For a first bed frame, pine is the smart pick. It is cheap, light, widely available at every home centre, and easy to cut and screw without splitting. A queen-size frame in pine costs roughly $120–$150 in lumber. The trade-off is softness: pine dents more easily than hardwood, so be gentle when moving the frame and use felt pads under the legs.
If you want a harder, more premium result and your budget allows it, white oak, ash, or maple are excellent upgrades — expect the lumber bill to roughly double. Poplar is a good middle ground: harder than pine, still easy to work, and it paints beautifully if you plan a painted finish. Avoid construction-grade spruce studs for the visible rails; they are often bowed and full of knots. Whatever species you choose, read our guide to the best wood for beginner woodworking projects before you buy, and pick boards that are straight, dry, and free of large knots on the faces that will show.
One more buying tip: buy your boards a few days early and let them acclimatise in the room where the bed will live. Wood moves as it adjusts to humidity, and cutting boards the same day you bring them home is how frames end up with gaps a week later.
Bed Frame Dimensions by Mattress Size
Measure your actual mattress before you cut anything — nominal sizes vary by brand, and a frame built to the wrong width is a miserable discovery. The table below uses standard US mattress sizes. For this design, the outside width of the frame equals the mattress width plus 3 inches (7.6 cm) for the two 1 1/2-inch (3.8 cm) side rails, and the outside length equals the mattress length plus 3 inches (7.6 cm). The slats and the head and foot rails fit between the side rails, so their length is the mattress width minus 3 inches (7.6 cm).
| Mattress Size | Mattress (in) | Mattress (cm) | Frame Outside (in) | Slat Length (in) | Slats Needed |
|---|---|---|---|---|---|
| Twin | 38 x 75 | 97 x 191 | 41 x 78 | 35 | 11 |
| Twin XL | 38 x 80 | 97 x 203 | 41 x 83 | 35 | 12 |
| Full / Double | 54 x 75 | 137 x 191 | 57 x 78 | 51 | 11 |
| Queen | 60 x 80 | 152 x 203 | 63 x 83 | 57 | 14 |
| King | 76 x 80 | 193 x 203 | 79 x 83 | 73 | 14 |
| California King | 72 x 84 | 183 x 213 | 75 x 87 | 69 | 15 |
This guide builds the queen size, the most common choice, at 63 x 83 inches (160 x 211 cm) outside. If you are building another size, change only the rail and slat lengths in the cut list below — every joint and every step stays exactly the same. That is the beauty of this design: learn it once, and you can build any size.
Tools and Materials You Will Need
You do not need a table saw or a jointer for this project. A circular saw with a straight-edge guide handles every cut, and a drill/driver does all the fastening. If you own a miter saw, it will speed up the crosscuts, but it is not required. A simple, sturdy workbench for beginners makes the whole build easier, because cutting long rails on the floor is awkward and inaccurate.
Tools: circular saw (or miter saw), cordless drill/driver, tape measure, speed square, pencil, 2–4 bar clamps, random orbital sander, safety glasses, hearing protection, and a dust mask.
Materials (queen size): pine or hardwood boards per the cut list below, 2 1/2-inch (64 mm) wood screws, 1 1/4-inch (32 mm) screws for the slats, wood glue, four heavy-duty bed rail brackets (or bed bolts), sandpaper in 80, 120, and 220 grit, and your chosen finish (oil, wax, or polyurethane).
| Item | Quantity | Estimated Cost (USD) |
|---|---|---|
| 2×8 pine boards, 8 ft (2.4 m) | 4 | $60–$80 |
| 4×4 pine posts, 8 ft (2.4 m) | 1 | $15–$20 |
| 1×4 pine boards, 8 ft (2.4 m) for slats | 5 | $30–$40 |
| 1×2 pine cleats, 8 ft (2.4 m) | 1 | $4–$6 |
| 2×4 centre support, 8 ft (2.4 m) | 1 | $5–$8 |
| 2 1/2-inch wood screws (box) | 1 | $8–$12 |
| Bed rail brackets, heavy-duty (set of 4) | 1 set | $20–$30 |
| Wood glue (8 oz / 237 ml) | 1 | $6–$9 |
| Sandpaper 80 / 120 / 220 grit | 1 pack | $8–$12 |
| Finish: hardwax oil or polyurethane | 1 | $18–$28 |
| Total estimated cost | $174–$245 |
Prices vary by region and lumber yard, but the total should land close to $200 for pine. Buying boards in 8-foot (2.4 m) lengths keeps waste low: the 80-inch (203 cm) side rails come from full 8-foot boards with just 16 inches (41 cm) left over, which is perfect for offcuts and test cuts.
Cut List for a Queen-Size Bed Frame
Cut every piece before you start assembling. Working through the cut list in one session keeps your measurements consistent, and it is far easier to fix a wrong cut now than after the frame is half screwed together. Label each piece with a pencil as you cut it — “side rail”, “head rail”, “slat” — so nothing gets mixed up.
| Part | Board Size | Qty | Length (in) | Length (cm) |
|---|---|---|---|---|
| Side rails | 2×8 | 2 | 80 | 203 |
| Head rail & foot rail | 2×8 | 2 | 57 | 145 |
| Legs | 4×4 | 4 | 10 | 25 |
| Slats | 1×4 | 14 | 57 | 145 |
| Support cleats | 1×2 | 2 | 78 | 198 |
| Centre support beam | 2×4 | 1 | 57 | 145 |
| Centre support leg | 4×4 | 1 | 8 1/2 | 22 |
The legs in this design are short — 10 inches (25 cm) — which puts the top of the side rails at about 11 1/2 inches (29 cm) off the floor once the rails sit on top of the legs. Add a 10-inch (25 cm) mattress and the sleeping surface lands near 21 inches (53 cm), a comfortable sitting height for most adults. If you want under-bed storage, lengthen the legs to 12 or 14 inches (30 or 36 cm); just remember to lengthen the centre support leg by the same amount.
Step-by-Step: How to Build a Wooden Bed Frame for Beginners
Work in order, and do not skip the dry-fit in Step 3. Every step below assumes the queen-size cut list above. If you built a different size, the steps are identical — only the numbers change.
Step 1: Measure and Mark Every Board
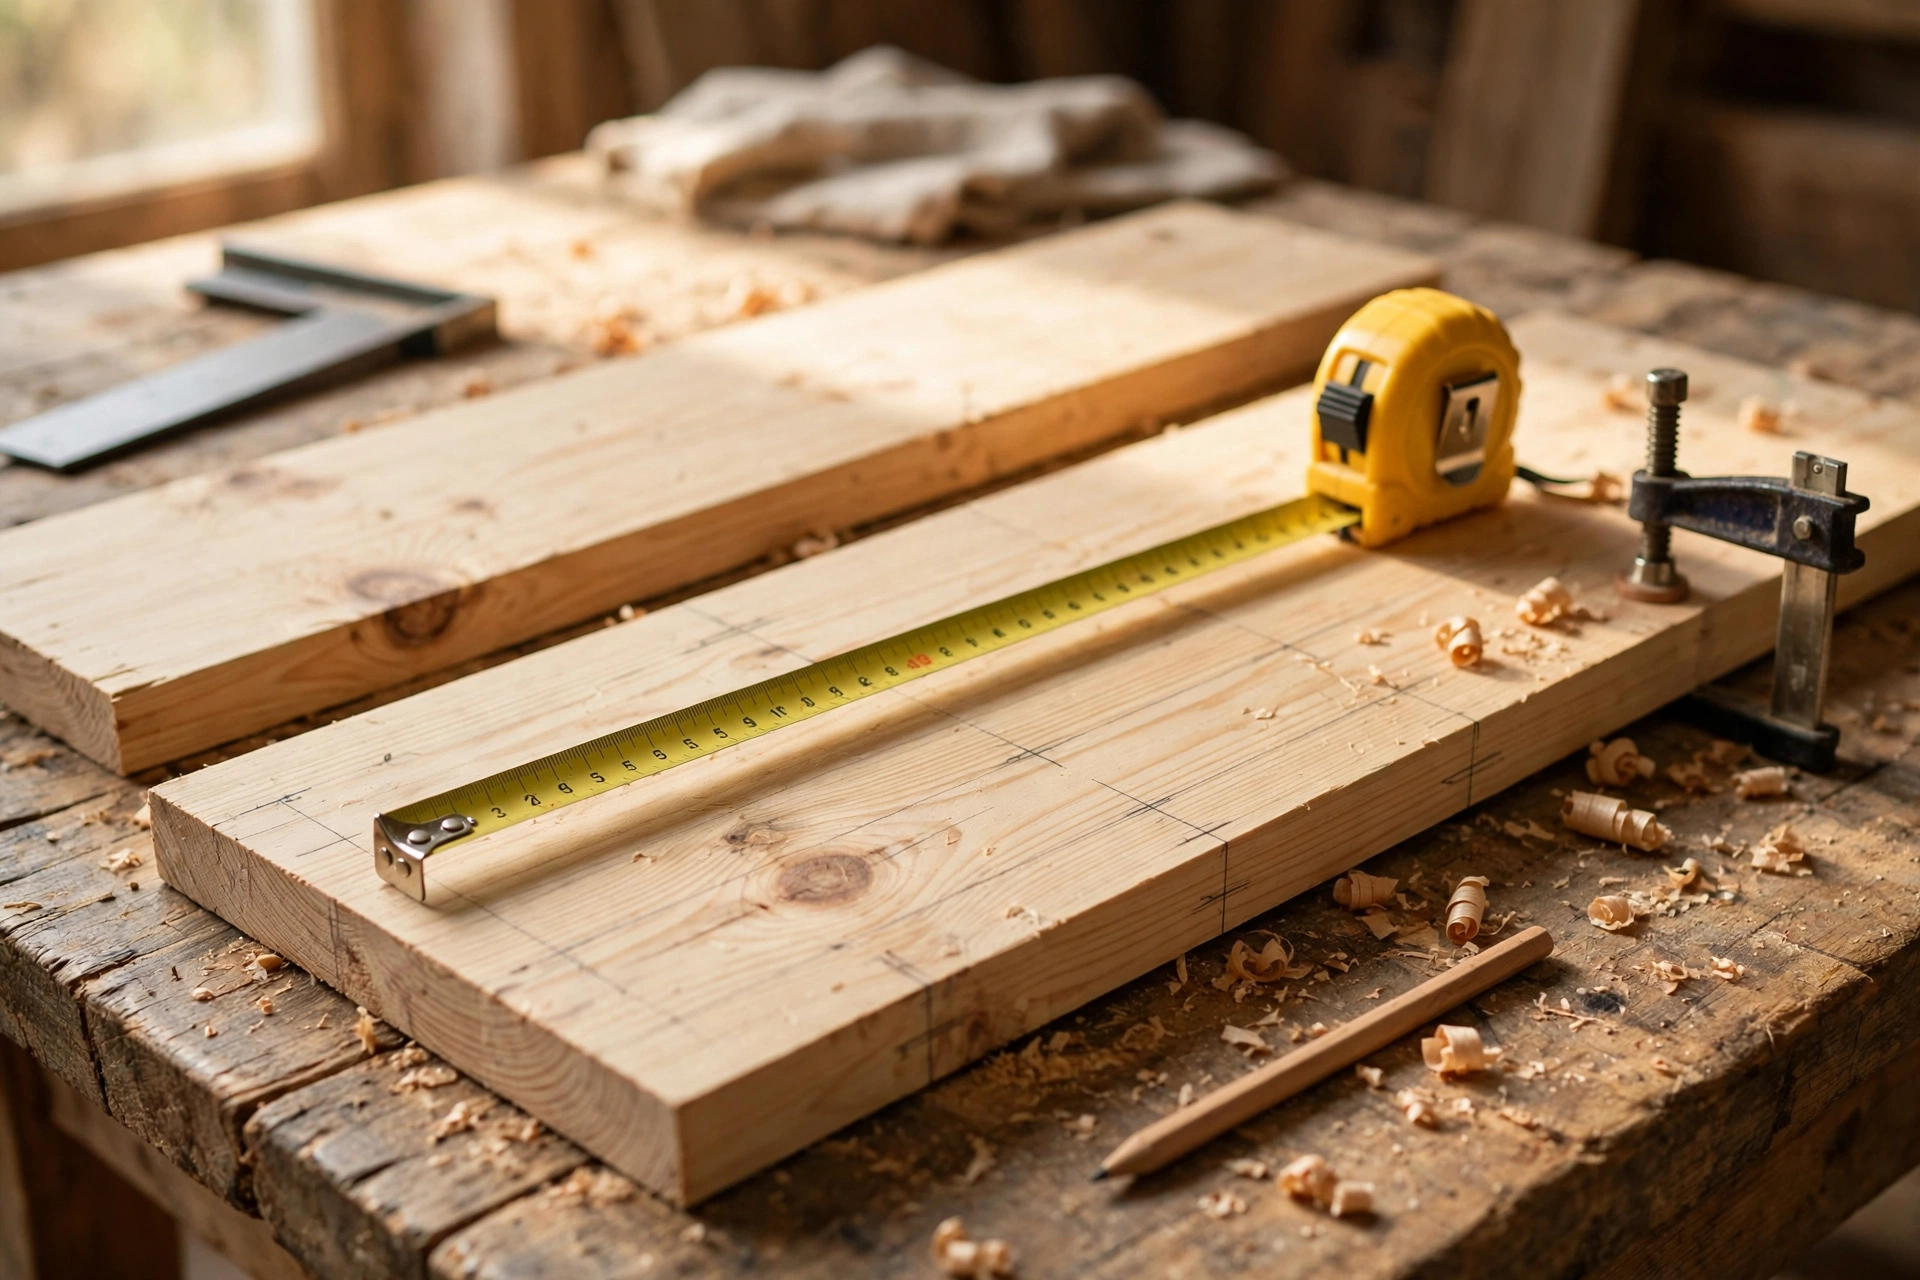
Measure twice, cut once is not a cliché; it is the whole secret to a square frame. Hook your tape on the end of the board, mark the cut line with a sharp pencil, then carry the line across the face with a speed square so your saw has a clear, square guide to follow. Mark all four side and head rails first, then the slats, then the legs and cleats. Check each mark against the cut list before you pick up the saw.
While marking, inspect each board for bow or twist. Sight down the length of every rail: if one edge curves, mark the concave side and face it inward, toward the mattress, where a slight bow will not show. Save your straightest boards for the two long side rails, since they are the most visible parts of the finished bed.
Step 2: Cut the Rails, Legs, and Slats
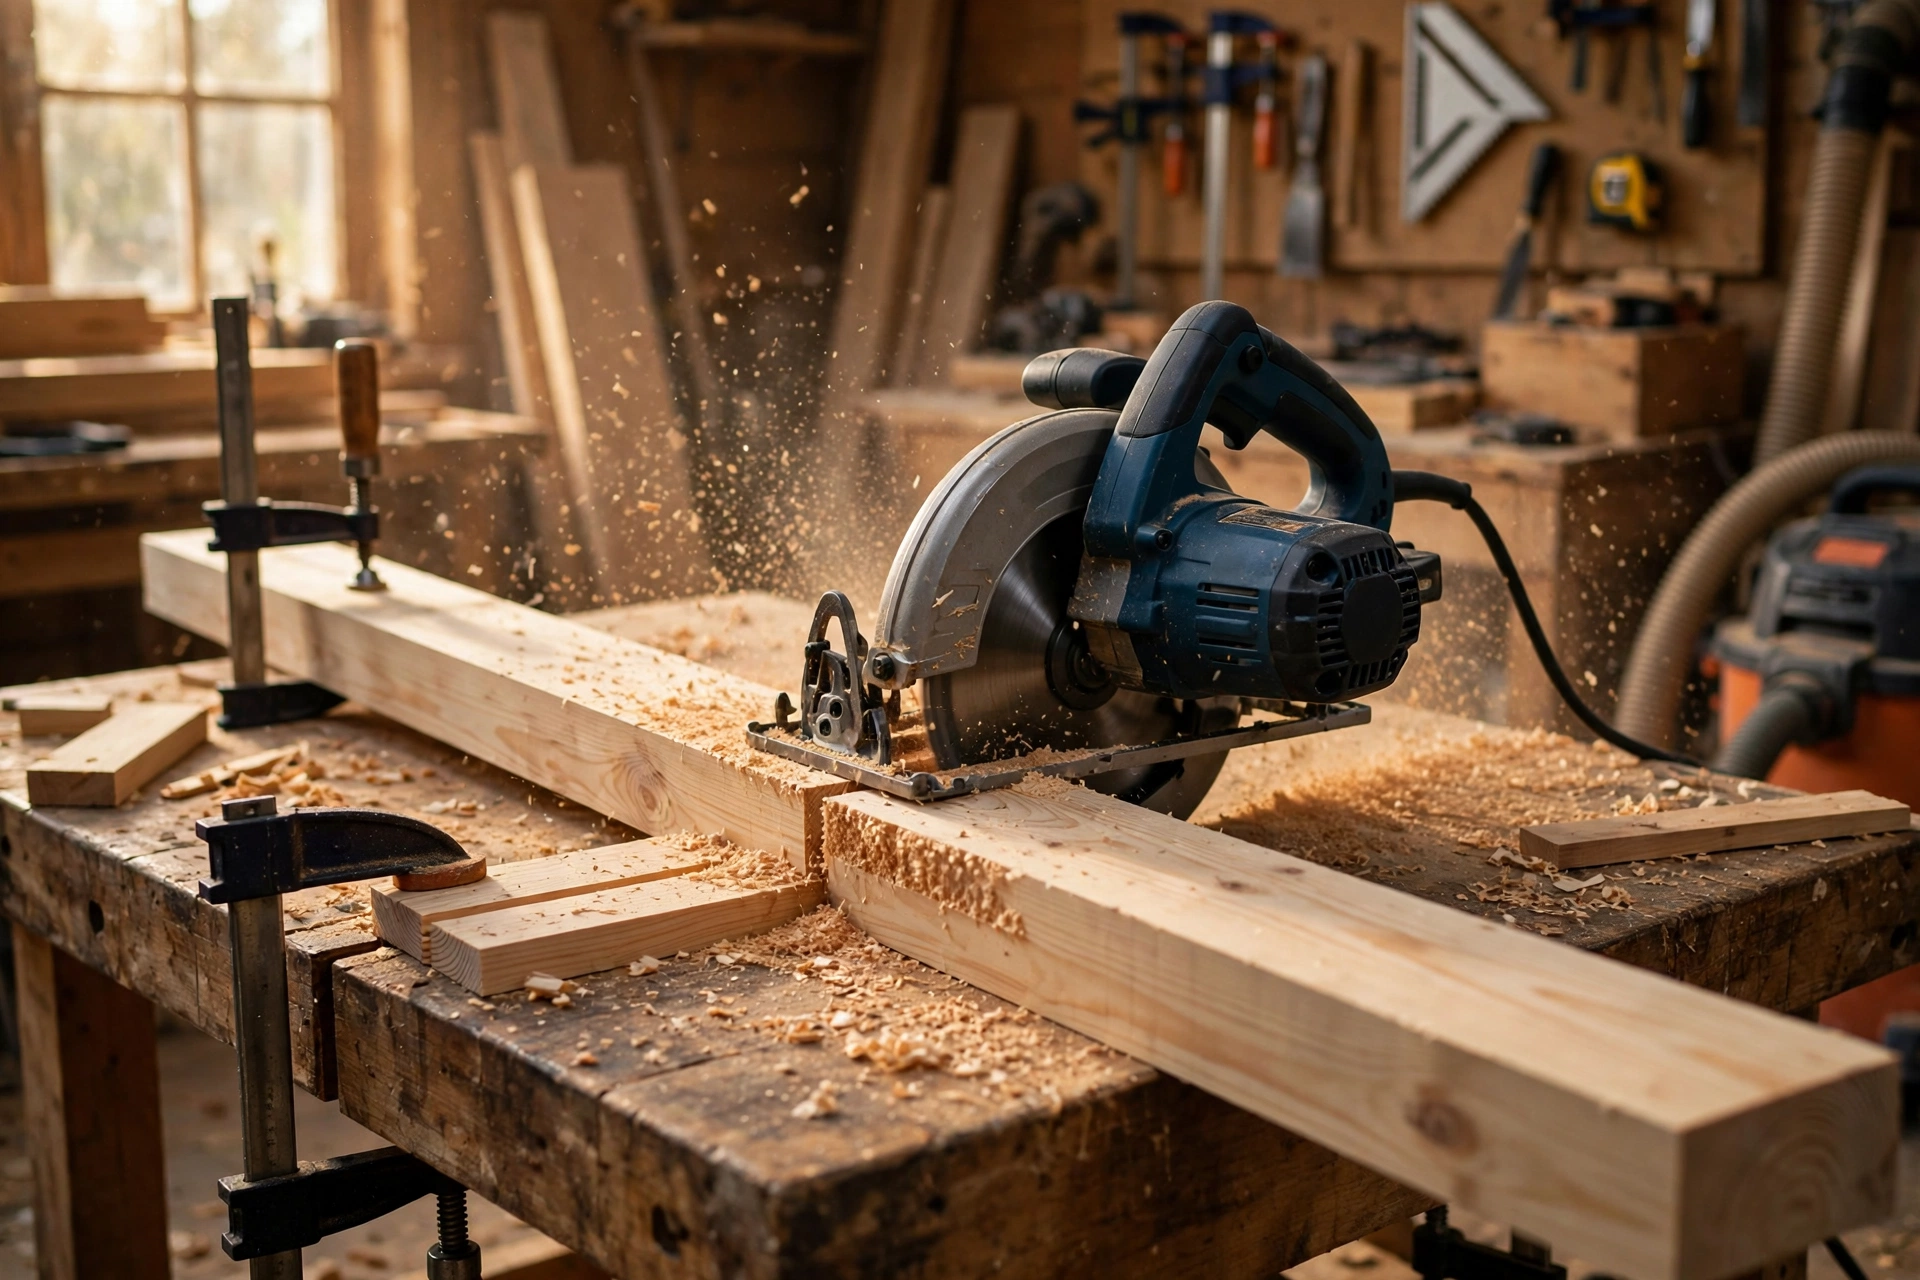
Clamp a straight-edge guide to the board and cut with your circular saw, keeping the saw base flat and moving at a steady pace — forcing the saw causes burning and wandering cuts. Cut the two 80-inch (203 cm) side rails first, then the two 57-inch (145 cm) head and foot rails, then the 14 slats. If you are using a miter saw, clamp the board and let the blade reach full speed before lowering it through the cut.
After cutting, stack matching pieces and check that each pair is exactly the same length. A side rail that is even 1/8 inch (3 mm) longer than its partner will show up as a frame that refuses to sit square. Trim the longer piece now. Lightly sand the cut ends with 80-grit paper to remove splinters before assembly.
Step 3: Build the Leg Assemblies and Attach the Rails
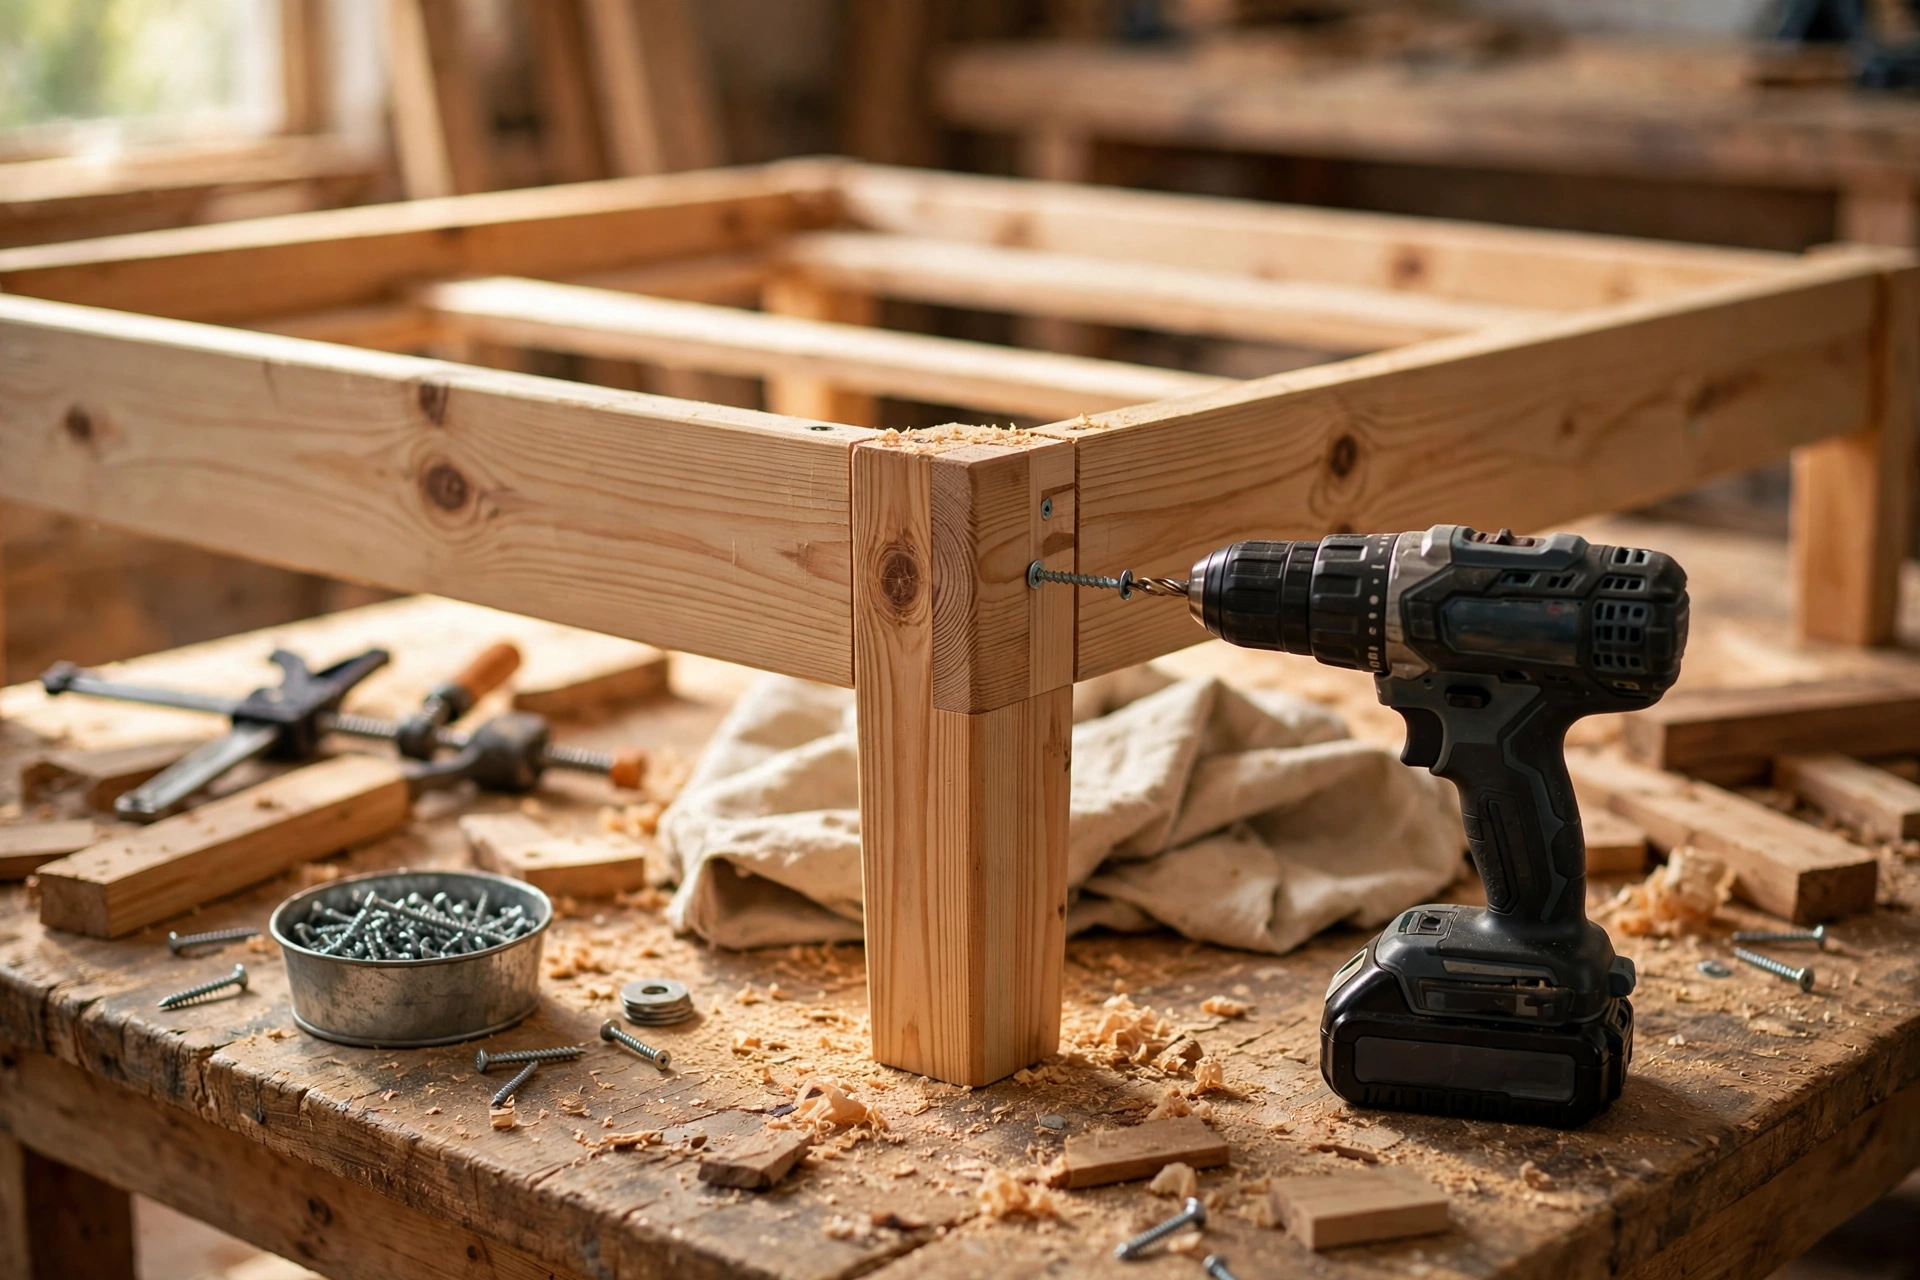
Start by joining each leg to the ends of the head and foot rails. The head and foot rails sit between the two legs at each end: the top of the rail sits flush with the top of the leg, and the rail is centred on the 3 1/2-inch (8.9 cm) leg face. Drill two pilot holes through the leg into the end of each rail, add a dab of wood glue, and drive 2 1/2-inch (64 mm) screws. Pilot holes are essential — driving screws into end grain without them splits pine almost every time.
You now have two end assemblies: head-end and foot-end. Stand them up and dry-fit the two side rails between them, using the bed rail brackets to mark their positions. Bed rail brackets are the smart beginner choice here: they are strong, they let you take the frame apart later for moving, and they forgive small mistakes far better than permanent bolted joints. If you prefer a fully traditional look, bed bolts through the legs work too — our guide to woodworking joinery types for beginners explains both options. Once the brackets are fitted, take the frame apart again for finishing, or finish it assembled — your choice, but finishing before final assembly reaches every surface more easily.
Step 4: Fit the Slats and Centre Support
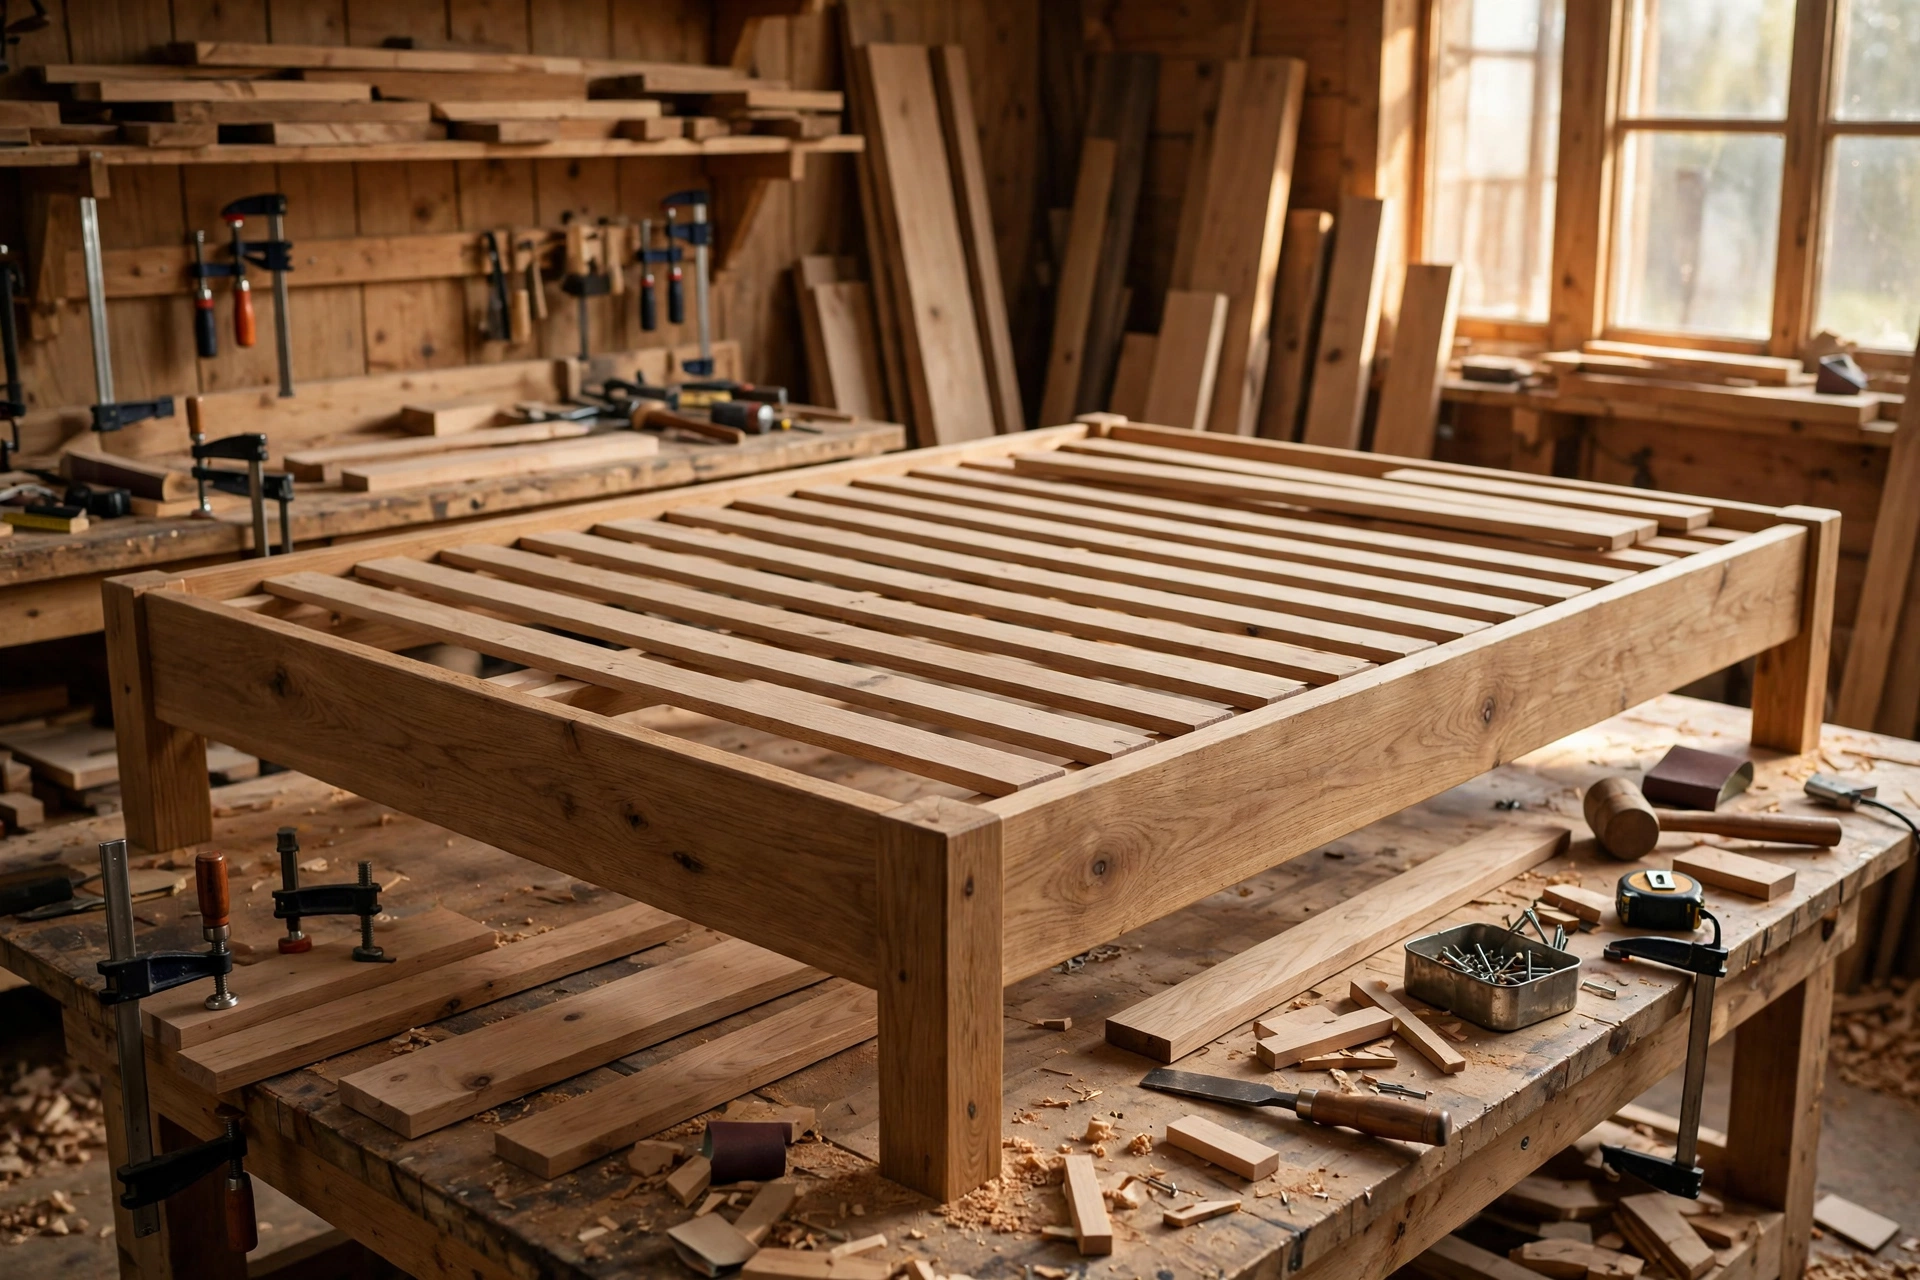
With the frame assembled and square, screw the 1×2 support cleats along the inside face of each side rail, 3/4 inch (19 mm) below the top edge, so the slats sit flush with the top of the rails. Then lay the 14 slats across the frame, resting on the cleats. Space them evenly: for a queen frame, that works out to roughly 2 1/2 to 3 inches (6.4 to 7.6 cm) between slats.
| Mattress Size | Slats | Gap Between Slats | Why It Matters |
|---|---|---|---|
| Twin / Twin XL | 11–12 | 2 1/2–3 in (6.4–7.6 cm) | Even support, good airflow |
| Full / Double | 11 | 2 1/2–3 in (6.4–7.6 cm) | Even support, good airflow |
| Queen | 14 | 2 1/2–3 in (6.4–7.6 cm) | Even support, good airflow |
| King / Cal King | 14–15 | 2 1/2–3 in (6.4–7.6 cm) | Centre support is essential |
Use a spare offcut as a spacer block so every gap is identical — eyeballing the spacing is how slats end up bunched at one end. Screw each slat down with one 1 1/4-inch (32 mm) screw at each end, or leave them loose and add a strip of non-slip mesh if you want the frame fully knock-down. Finally, fit the centre support beam across the middle of the frame (it runs head-to-foot direction, sitting on cleats under the slats) and screw the centre leg underneath it so it touches the floor. On a queen or king, this centre support is what stops the slats sagging under two sleepers.
Step 5: Check for Square and Test for Wobble
Before you sand or finish anything, measure both diagonals of the frame corner to corner. If the two measurements match, the frame is square. If they differ by more than 1/8 inch (3 mm), push the longer diagonal’s corners gently toward each other until the numbers match, then tighten the brackets. Now set the frame on a flat floor and press down on each corner in turn. Any rocking means one leg is long — mark it, flip the frame, and trim or sand the high leg until all four sit flat.
Also test it the honest way: lay the slats in, put the mattress on, and lie down. Listen for creaks. A creak usually means a screw that needs tightening or a slat that needs a felt pad underneath. Fix it now, while the frame is still bare, rather than after you have moved it into the bedroom.
Step 6: Sand and Finish the Frame
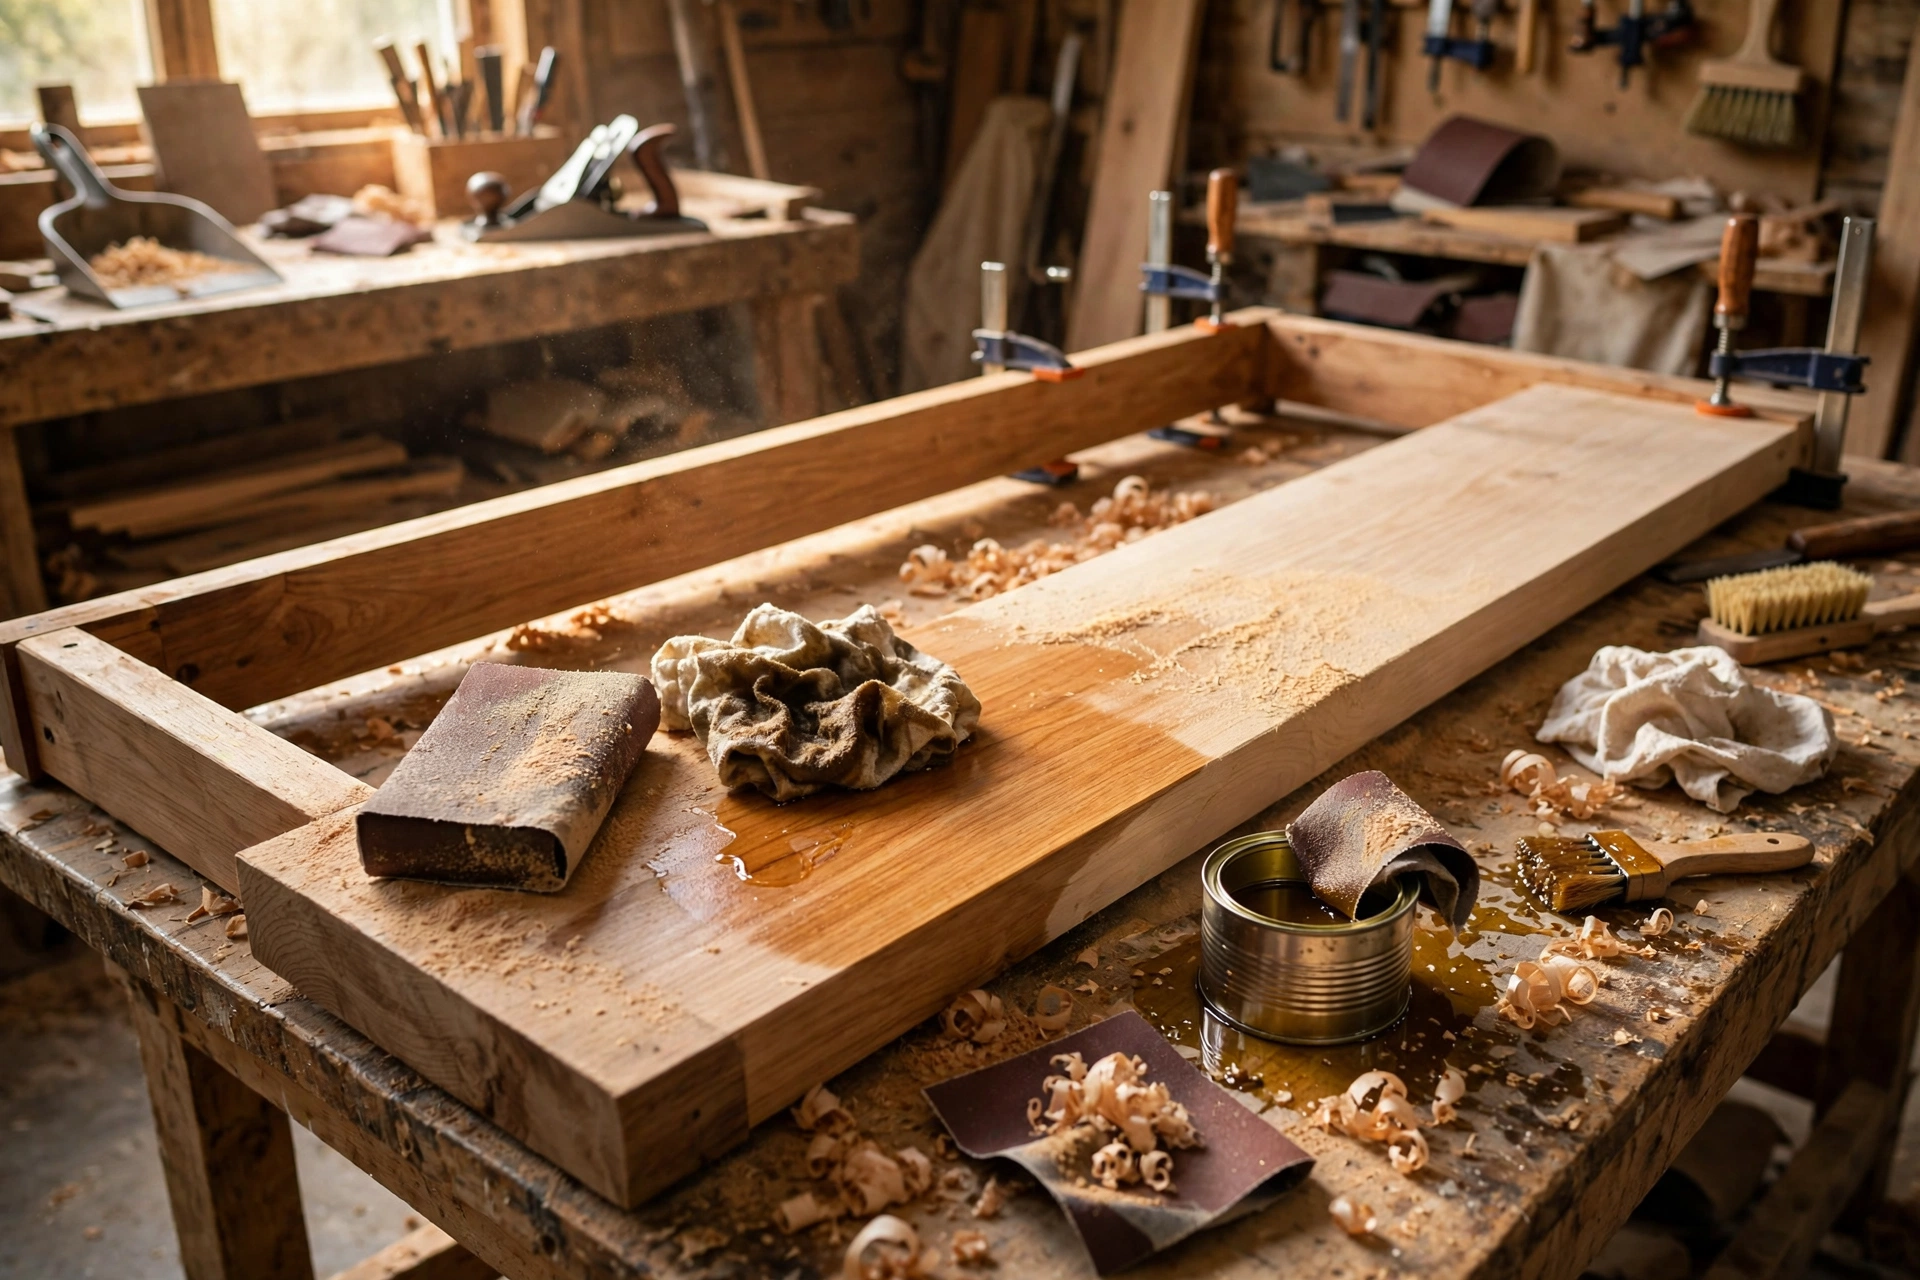
Sand in stages: 80 grit to remove saw marks and level the joints, 120 grit to smooth the surface, and 220 grit for the final pass on every surface you will touch. Always sand with the grain, and round over the top edges of the rails slightly — sharp 90-degree edges dent shins and chip easily. Vacuum the dust, then wipe every surface with a slightly damp cloth and let it dry completely.
For a first bed frame, hardwax oil is the most forgiving finish: wipe it on with a cloth, wait, wipe off the excess, and you get a warm, natural look that is easy to repair later. Polyurethane is tougher and more water-resistant but shows brush marks if you rush it. Whatever you choose, apply two coats, sanding lightly with 220 grit between coats. Finish all sides of the slats too — unfinished slats absorb bedroom humidity and can stain a mattress over time.
Step 7: Move It In and Dress the Bed
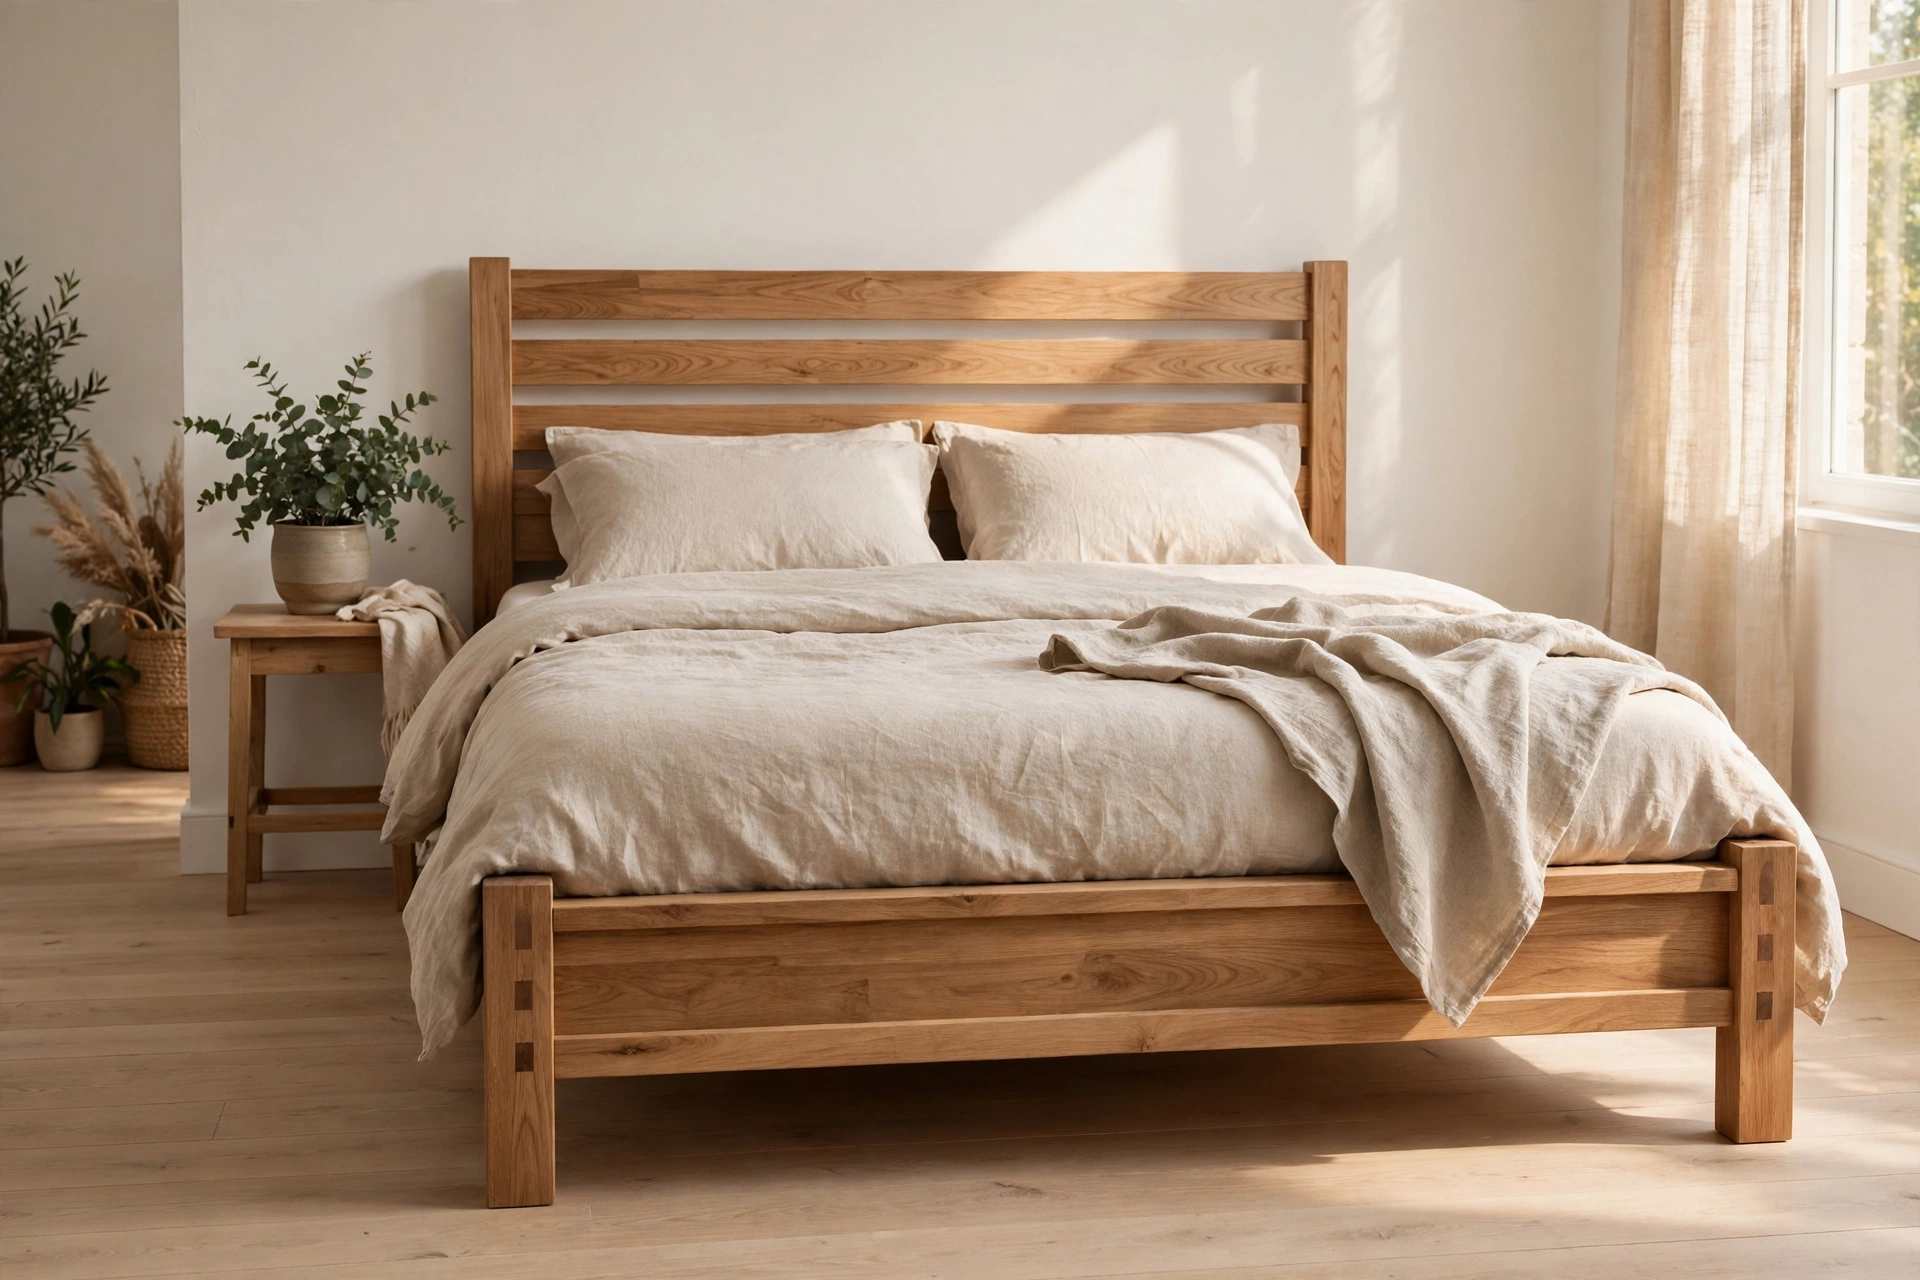
Carry the frame into the bedroom in pieces if the doorway is tight — that is exactly why the bed rail brackets are worth having. Reassemble it in its final position, re-check the diagonals, lay in the slats, and drop the mattress on top. Add felt pads under the legs to protect wood floors, and leave a finger-width gap between the mattress and the side rails so bedding tucks in easily.
Stand back and look at it: a solid, square, handmade wooden bed frame that cost about $200 and a weekend of work. Pair it with the matching nightstand, and your bedroom has the start of a real handmade furniture set.
Common Mistakes When Building a Wooden Bed Frame
Skipping pilot holes. Screws driven into pine end grain without a pilot hole will split the board, usually right at the joint you care about most. Drill first, every time.
Building to the wrong mattress size. Measure the mattress you actually own, not the size on the label. A queen mattress from one brand can be an inch narrower than another, and a frame that is too tight will bow the side rails outward.
Forgetting the centre support. On any frame wider than a twin, a centre beam and leg are not optional. Without them, slats sag, the mattress dips in the middle, and the frame creaks within months.
Spacing slats too far apart. Gaps wider than 3 inches (7.6 cm) let foam and hybrid mattresses sag between slats and can void a mattress warranty. Use a spacer block and keep gaps even.
Finishing after assembly in a rush. Trapped dust, missed undersides, and drips in the corners are all much harder to fix once the frame is together. Sand and finish before final assembly whenever you can.
Using wet or bowed lumber. Boards from the top of the pile at the store are often the most warped. Dig through the stack, sight down every board, and let lumber acclimatise at home for a few days.
Frequently Asked Questions
How much does it cost to build a wooden bed frame for beginners?
A queen-size pine bed frame built with this guide costs roughly $174–$245 in materials, including lumber, screws, bed rail brackets, glue, sandpaper, and finish. Hardwood versions cost roughly double the lumber portion. That compares with $400–$900 for a comparable solid-wood frame from a furniture store.
How long does it take to build a wooden bed frame?
Expect 6–10 hours of work spread over a weekend: about 2 hours for measuring and cutting, 2–3 hours for assembly, 2 hours for sanding and finishing, plus drying time between finish coats. Beginners should allow a full Saturday for the build and Sunday morning for the final coat and assembly in the bedroom.
Do I need a box spring with a DIY wooden bed frame?
No. This slatted design supports the mattress directly, so no box spring is needed for most foam, hybrid, and latex mattresses. Check your mattress warranty first — some manufacturers require slats no more than 3 inches (7.6 cm) apart, which this design meets. If your mattress needs a solid surface, lay a sheet of 3/4-inch (19 mm) plywood over the slats.
What is the best wood for a beginner bed frame?
Pine is the best choice for a first bed frame: it is cheap, light, easy to cut and screw, and available everywhere. Poplar is a good step up if you plan to paint the frame. White oak or ash give a harder, more premium result but cost about twice as much and are harder on saw blades. Avoid bowed construction studs for visible parts.
How do I stop my wooden bed frame from squeaking?
Most squeaks come from loose joints or slats rubbing on their supports. Tighten all screws and brackets, add a thin felt pad or a dab of wax where slats meet cleats, and check that the centre support leg touches the floor firmly. Building with pilot holes, glue, and bed rail brackets — as this guide does — prevents most squeaks from starting.
Can I build a wooden bed frame with only a circular saw and a drill?
Yes. Every cut in this project is a straight crosscut, which a circular saw with a straight-edge guide handles easily, and a drill/driver does all the fastening. A miter saw, random orbital sander, and clamps make the work faster and neater, but none of them is required to get a strong, square result.
Recommended Products for This Project
As an Amazon Associate, I earn from qualifying purchases.

DEWALT 20V MAX Cordless Drill/Driver Kit (DCD771C2)
A compact, reliable drill/driver that handles pilot holes and driving long screws into bed rails all day without tiring your arm.
FIXLINK Deck Screws #8 x 2 Inch, 310-Pack
Strong, self-drilling screws in a bulk pack — plenty for rails, cleats, and slats, with enough left over for your next project.

Titebond III Ultimate Wood Glue 1413 (8 oz)
Waterproof wood glue that strengthens every rail and leg joint in the frame — cheap insurance against wobble and squeaks.
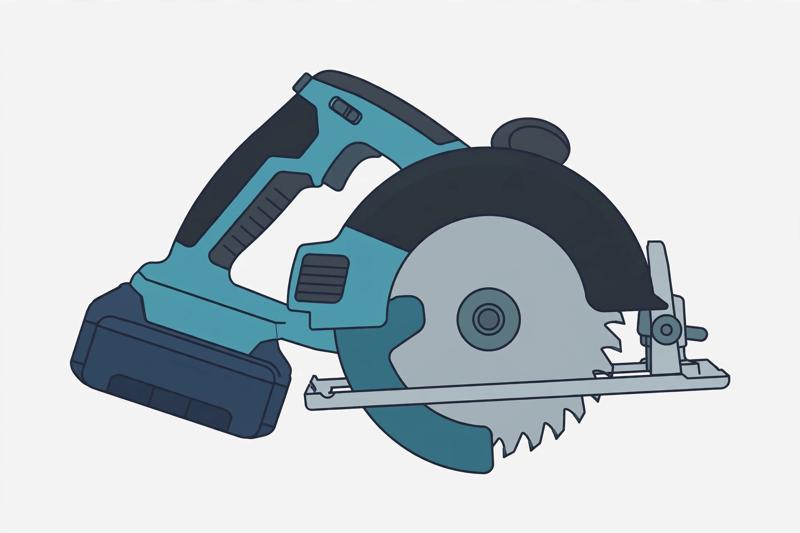
DEWALT 20V MAX Circular Saw DCS391B (Tool Only)
A cordless circular saw that makes fast, clean crosscuts through long 2×8 bed rails anywhere in the workshop or driveway.
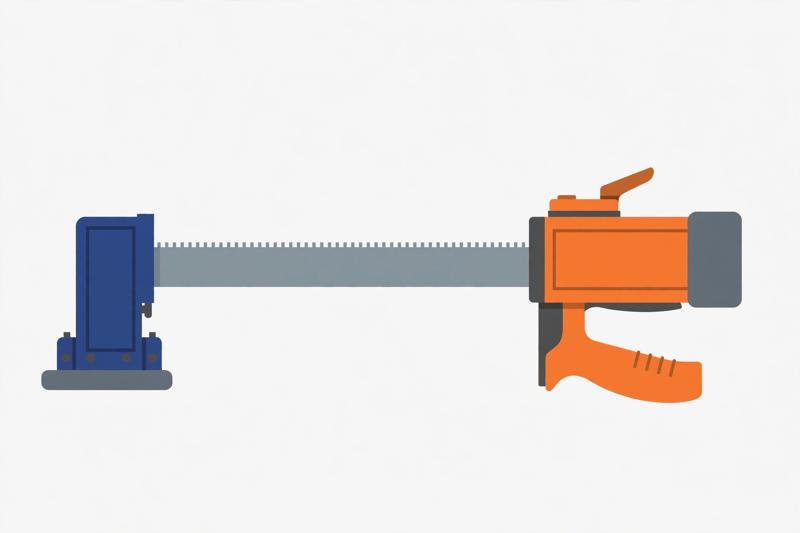
IRWIN QUICK-GRIP One-Handed Bar Clamp, Heavy-Duty, 12-Inch (1964712)
Holds rails and legs square while you drill and drive screws, so your joints stay tight and your frame stays true.


