
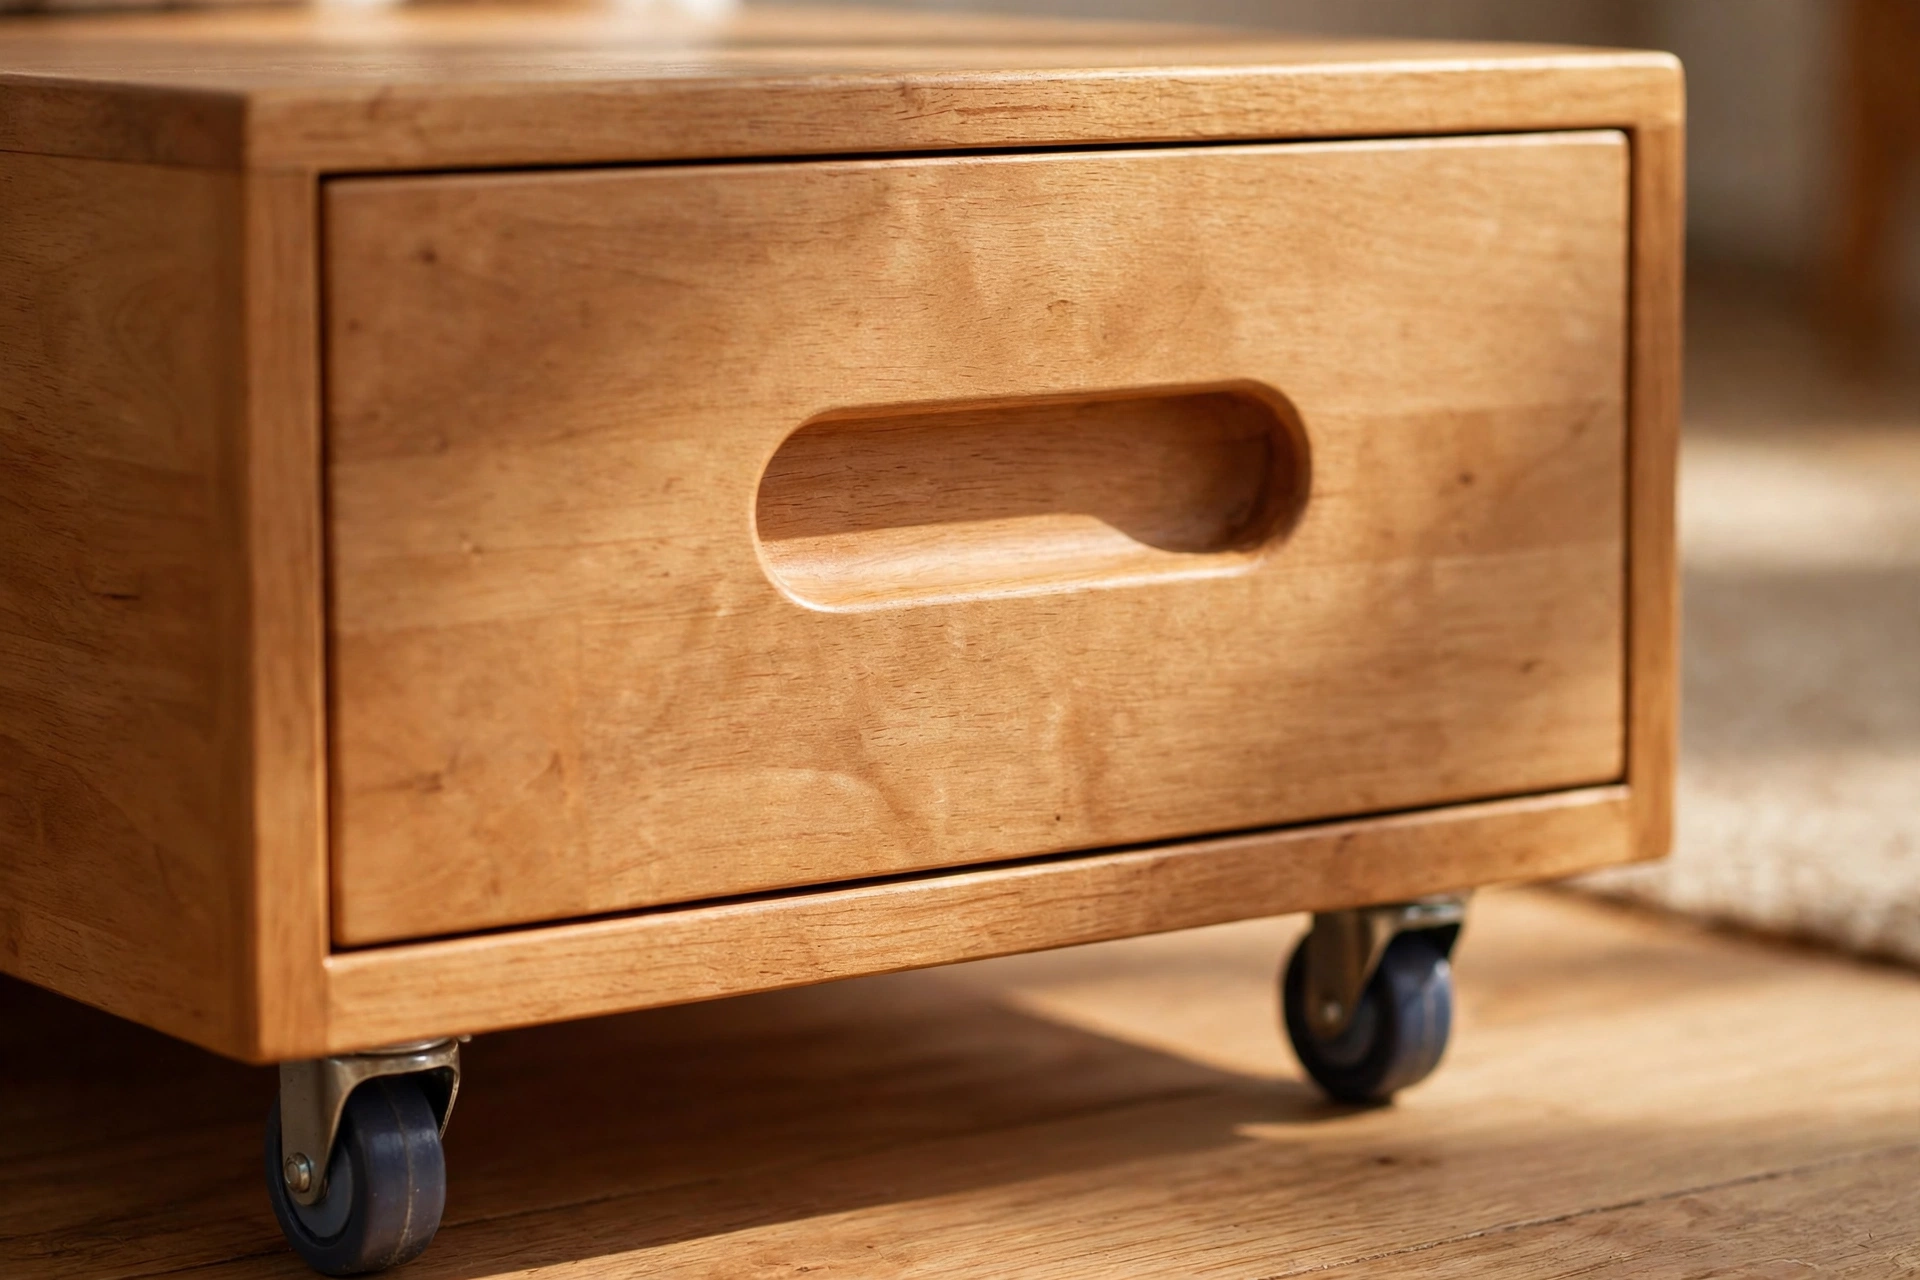
The space under your bed is probably the biggest unused storage area in your bedroom. A ready-made under-bed drawer can cost $80 to $200, yet the box itself is one of the simplest woodworking projects you can build: four sides, a bottom, and a set of small wheels. In this guide you will learn how to build a wooden under-bed storage box for beginners from start to finish — measuring your bed, choosing plywood, cutting the panels, joining the box, fitting casters, and finishing it so it slides in and out smoothly for years.
This is a true first project. You only need a circular saw (or a handsaw), a drill, a tape measure, and a square. There are no dovetails, no mortise-and-tenon joints, and no fancy hardware. The whole build takes one weekend afternoon, costs roughly $45 to $75 in materials, and leaves you with a sturdy rolling box that holds out-of-season clothes, spare bedding, shoes, or books. If you have already tried one of our easy woodworking projects for beginners that sell, this box uses the same basic skills — measuring, straight cuts, and screws — and adds casters and a lid option to your toolkit.
Measure Your Under-Bed Clearance First
Before you buy a single board, measure the gap under your bed. This one step decides everything about your box: its height, whether it rolls or sits flat, and whether it fits at all. Too many beginners build first and measure later, then discover their beautiful box is 2 cm too tall to slide under the bed rail.
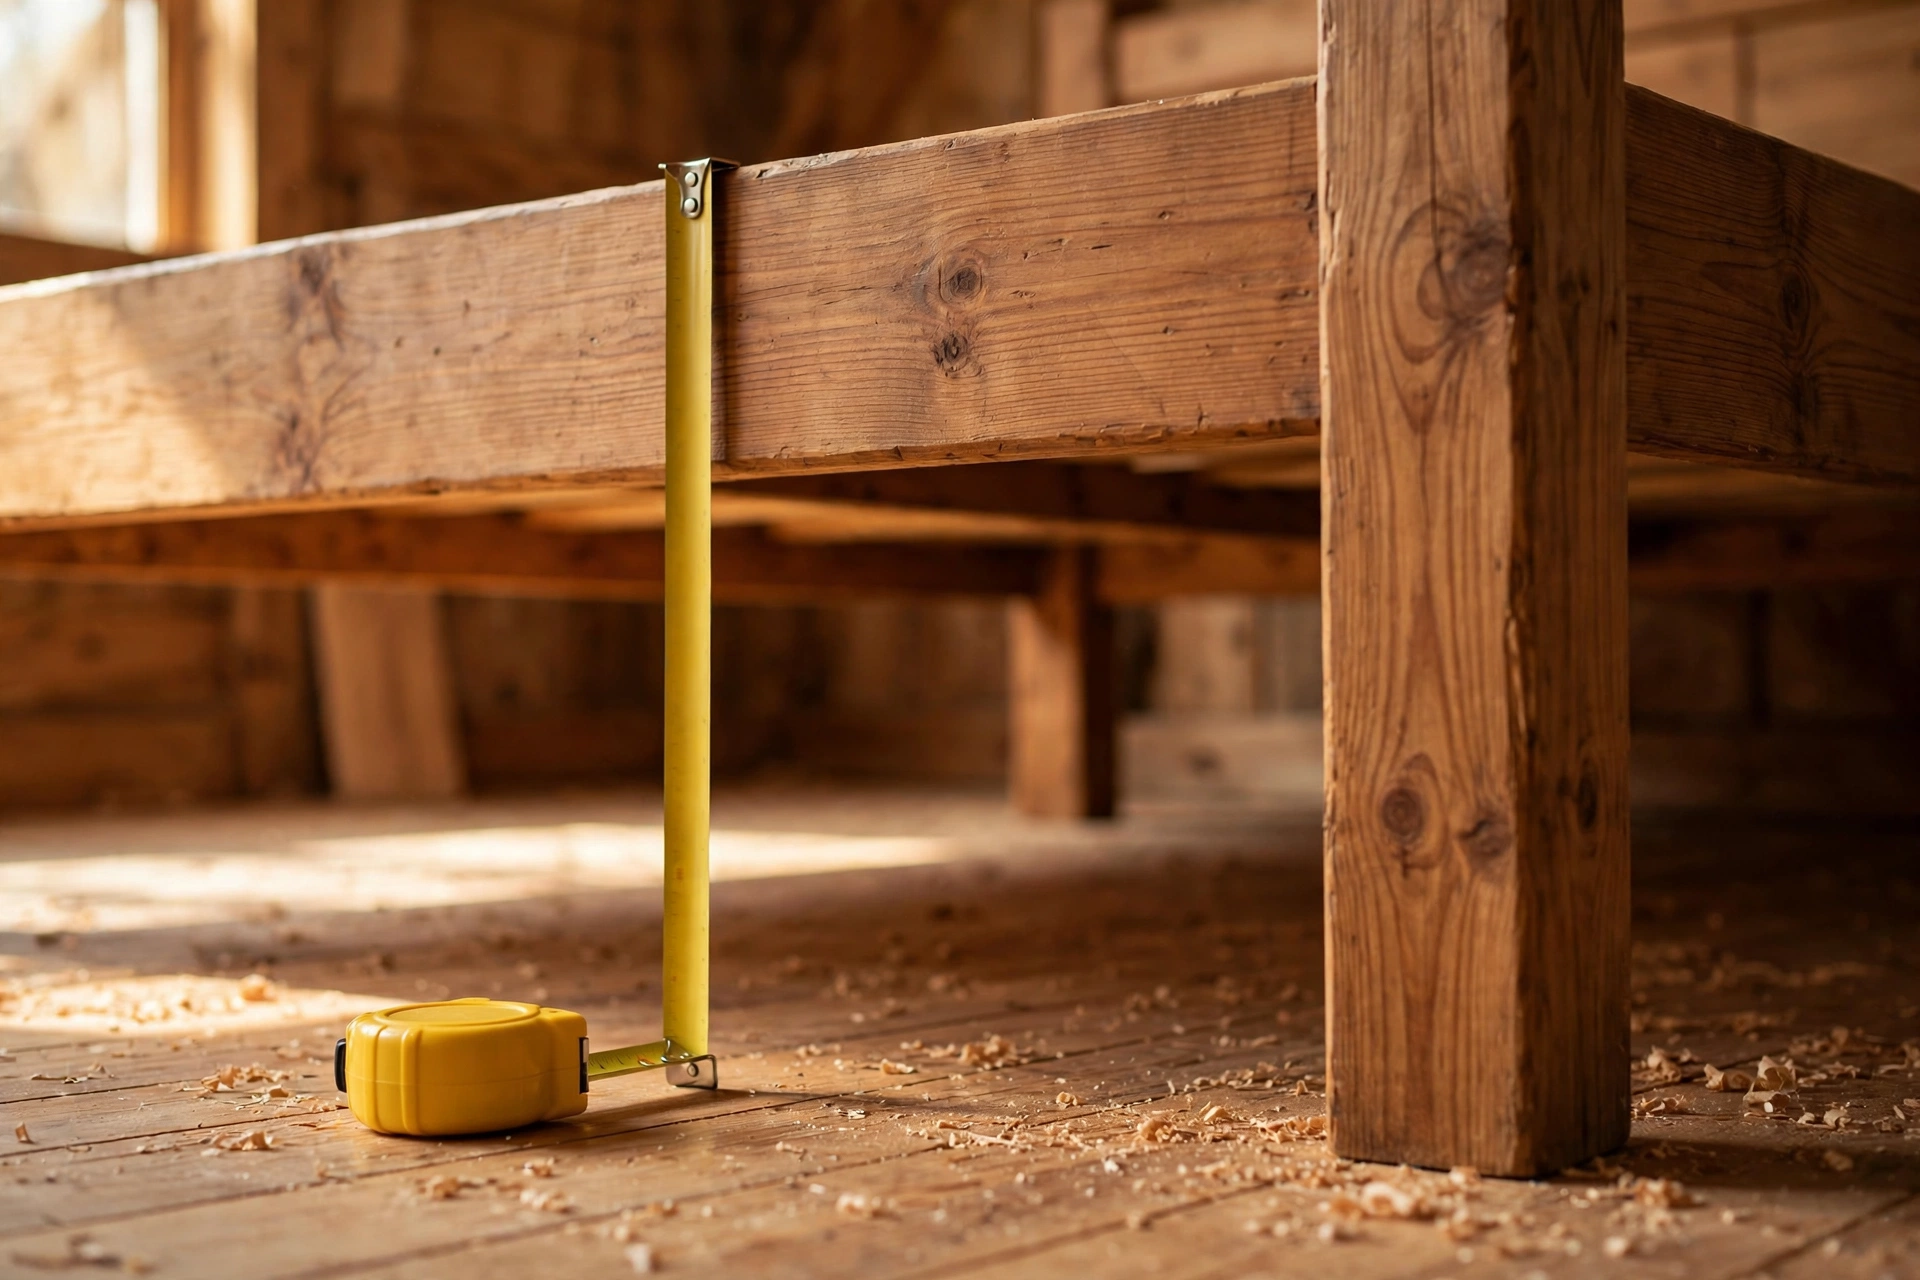
Take three measurements. First, the clearance: hook your tape measure on the floor and read the height to the lowest point under the bed — usually the bottom of the side rail or the slat support. Measure at the front, middle, and back, because floors are rarely perfectly level and bed frames can sag. Use the smallest of the three numbers. Second, the usable depth: measure from the front edge of the bed frame to the back rail or wall, and subtract 5 cm (2 in) so the box never sticks out or jams against the wall. Third, the usable length: measure the length of the bed’s side opening and subtract 10 cm (4 in) so you can pull the box out at a slight angle without catching the legs.
Your finished box height must be at least 2.5 cm (1 in) less than your clearance. That gap covers the caster height, a little carpet compression, and the fact that a loaded box rides slightly lower than an empty one. The table below shows typical clearances by bed type and the box height that works with each.
| Bed Type | Typical Clearance | Recommended Box Height | Best Box Style |
|---|---|---|---|
| Low platform bed | 10–15 cm (4–6 in) | 8–12 cm (3–5 in) | Flat tray, no casters |
| Standard bed frame | 20–25 cm (8–10 in) | 15–20 cm (6–8 in) | Rolling box on 5 cm (2 in) casters |
| High frame / tall legs | 28–35 cm (11–14 in) | 20–25 cm (8–10 in) | Rolling box, two stacked or one deep box |
| Captain’s bed (built-in drawers) | 0 cm | — | No under-bed box possible |
| Bed on a thick rug | Subtract 2 cm (¾ in) | Reduce height by 2 cm | Large 7.5 cm (3 in) casters |
If your clearance is under 15 cm (6 in), do not force a rolling box into the space. Build a flat open tray instead — the same panels, just shorter sides and felt pads instead of casters — and slide it in by hand. A box that scrapes the bed rail every time you pull it out will not get used, no matter how well it is built.
Rolling Box vs. Fixed Box: Which Should You Build?
A rolling box on casters is the better choice for most bedrooms. Four small swivel casters let you pull the box out with one hand, even when it is loaded with heavy blankets, and they keep the bottom panel off the floor so it never traps dust or moisture. Casters also protect your floor: a wooden box dragged across hardwood will leave scratches within a week.
A fixed box — one that sits directly on the floor with no wheels — makes sense in only two cases: your clearance is too low for casters, or the box will live under a bed you almost never move and you want the lowest possible profile. If you go fixed, glue felt furniture pads to the bottom corners so the box glides instead of scraping, and keep the load light.
The build in this guide is the rolling version, because that is what most beginners actually want: a box you can pull out, load, and push back in one smooth motion. If your measurements say rolling will not fit, simply skip the caster step and reduce the side height by the caster height. Everything else in the build stays the same.
Choosing the Right Wood for Your Storage Box
For a first project, 18 mm (¾ in) birch plywood is the best material. It is flat, stable, and strong for its weight, it does not split when you drive screws into the edge, and one half sheet (122 x 122 cm / 48 x 48 in) is enough for the whole box. A half sheet of birch plywood costs about $25 to $35. Avoid construction-grade pine plywood: its voids and rough faces make a poor-looking box and it can split along the screw line.
Solid pine boards (19 x 200 mm / ¾ x 8 in) are the second-best option and the cheapest if you already have offcuts. They look warmer and more “handmade” than plywood, and they are a good choice if you plan to stain the box. The trade-off is that boards can cup slightly over time, so check each one for flatness before you buy, and keep the box under 150 cm (60 in) long so any movement stays small. MDF is not recommended: it is heavy, it swells if it ever gets damp, and its edges crumble around screws unless you pre-drill and use special fasteners.
Whatever you choose, buy your wood the same week you build. Plywood and pine both move as they acclimatise to your home, and a sheet that sat in a damp garage for a month may not be flat when you cut it. Pick boards with straight edges and no visible twist, and ask the store to cut the sheet in half for transport if it will not fit in your car — most home stores do one or two cuts free.
Tools and Materials (With Costs)
You do not need a full workshop for this project. The table below lists everything, with realistic prices for new tools — if you already own a drill and a saw, your materials bill is only the wood, screws, casters, and glue, which comes to about $45 to $60.
| Item | What It Is For | Typical Cost |
|---|---|---|
| Birch plywood 18 mm (¾ in), half sheet 122 x 122 cm (48 x 48 in) | All box panels | $25–$35 |
| Swivel casters 5 cm (2 in), set of 4 | Rolling the loaded box | $8–$12 |
| #8 x 50 mm (2 in) wood screws, box of 50 | Joining the panels | $5–$7 |
| Wood glue (Titebond III or similar) | Strengthening every joint | $5–$8 |
| Sandpaper 120-grit and 220-grit | Smoothing edges and faces | $4–$6 |
| Danish oil or clear polyurethane, small tin | Finishing and protecting the wood | $8–$12 |
| Optional: rope handles or a lid panel | Pulling the box out / covering contents | $5–$10 |
For tools, you need a circular saw or a jigsaw (a handsaw works too, it just takes longer), a cordless drill with a 3 mm (⅛ in) pilot bit and a driver bit, a tape measure, a speed square or combination square, two clamps, and a pencil. If you are choosing clamps for the first time, our guide to the best clamps for woodworking beginners explains which two to buy first — for this box, two 60 cm (24 in) bar clamps are all you need. Safety gear matters even on a simple build: wear safety glasses while cutting, hearing protection with a circular saw, and a dust mask while sanding.
Cut List: Exact Sizes for a Queen Bed
The cut list below builds a box 152 cm long x 61 cm deep x 20 cm high (60 x 24 x 8 in) — the right size for a queen or king bed with at least 23 cm (9 in) of clearance. If your bed is a twin or a double, shorten the length to 100 cm (40 in) and keep everything else the same. If your clearance is smaller, reduce the side height and keep the length and depth unchanged. Always measure your own bed first and adjust the numbers below — a cut list is a starting point, not a rule.
| Part | Quantity | Size (cm) | Size (inches) |
|---|---|---|---|
| Bottom panel | 1 | 152 x 61 | 60 x 24 |
| Front panel | 1 | 152 x 20 | 60 x 8 |
| Back panel | 1 | 152 x 20 | 60 x 8 |
| Side panels | 2 | 57.4 x 20 | 22⅝ x 8 |
| Lid panel (optional) | 1 | 152 x 61 | 60 x 24 |
| Handle cut-out (front panel) | 1 | 15 x 4, centred | 6 x 1½, centred |
Notice that the side panels are 57.4 cm (22⅝ in) long, not 61 cm. That is because the front and back panels run the full length of the box, so each side panel must be shorter by twice the plywood thickness (2 x 1.8 cm). This is the single most common beginner mistake in box building — cutting all four sides to the same length and ending up with a box that is 3.6 cm too deep. Mark every piece with its name and an arrow showing which edge faces up before you start cutting; it takes two minutes and saves a ruined panel.
Step-by-Step: How to Build a Wooden Under-Bed Storage Box for Beginners
Step 1: Cut the Panels
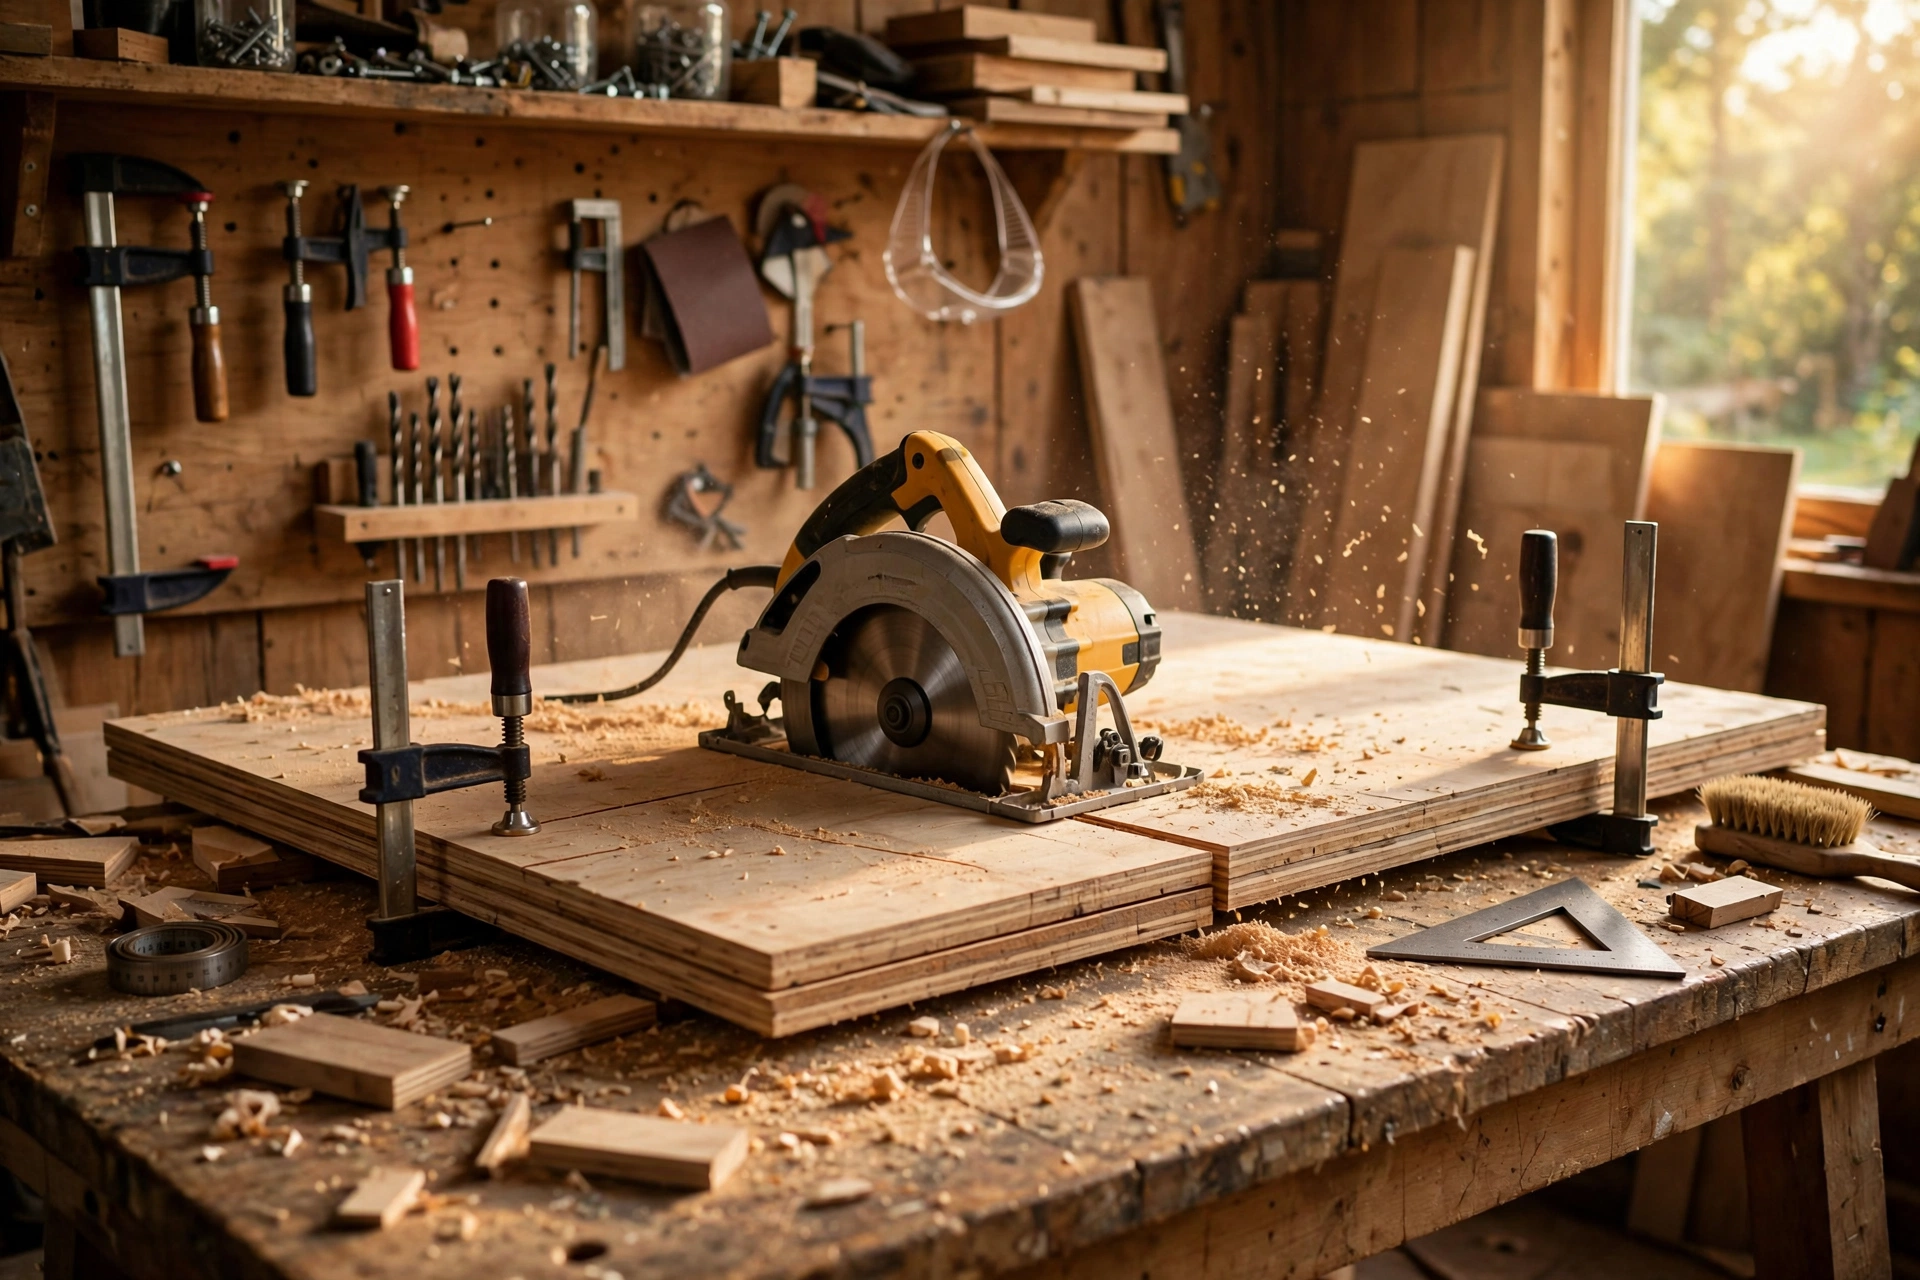
Mark your cut lines on the plywood with a pencil and a straight edge, then double-check every measurement before the saw touches the wood. Clamp a straight board to the plywood as a saw guide — this is how beginners get factory-straight cuts with a circular saw. Set the blade depth so it cuts about 3 mm (⅛ in) past the bottom of the sheet, and cut slowly, letting the saw do the work. Cut the bottom panel first, then the front and back, then the two sides. After cutting, label each piece and check it against the cut list with your tape measure.
Step 2: Cut the Handle Opening
A handle is what makes the box usable: without one you will be hooking your fingers under the front edge every time. The simplest beginner handle is a slot cut in the front panel. Mark a 15 x 4 cm (6 x 1½ in) rectangle in the centre of the front panel, 5 cm (2 in) below the top edge. Drill a 10 mm (⅜ in) hole inside each corner of the rectangle, then cut between the holes with a jigsaw and round the edges with 120-grit sandpaper. If you do not own a jigsaw, skip the slot and screw on two rope handles instead — drill two holes 10 cm (4 in) apart, thread a short length of rope through, and knot it inside.
Step 3: Assemble the Box
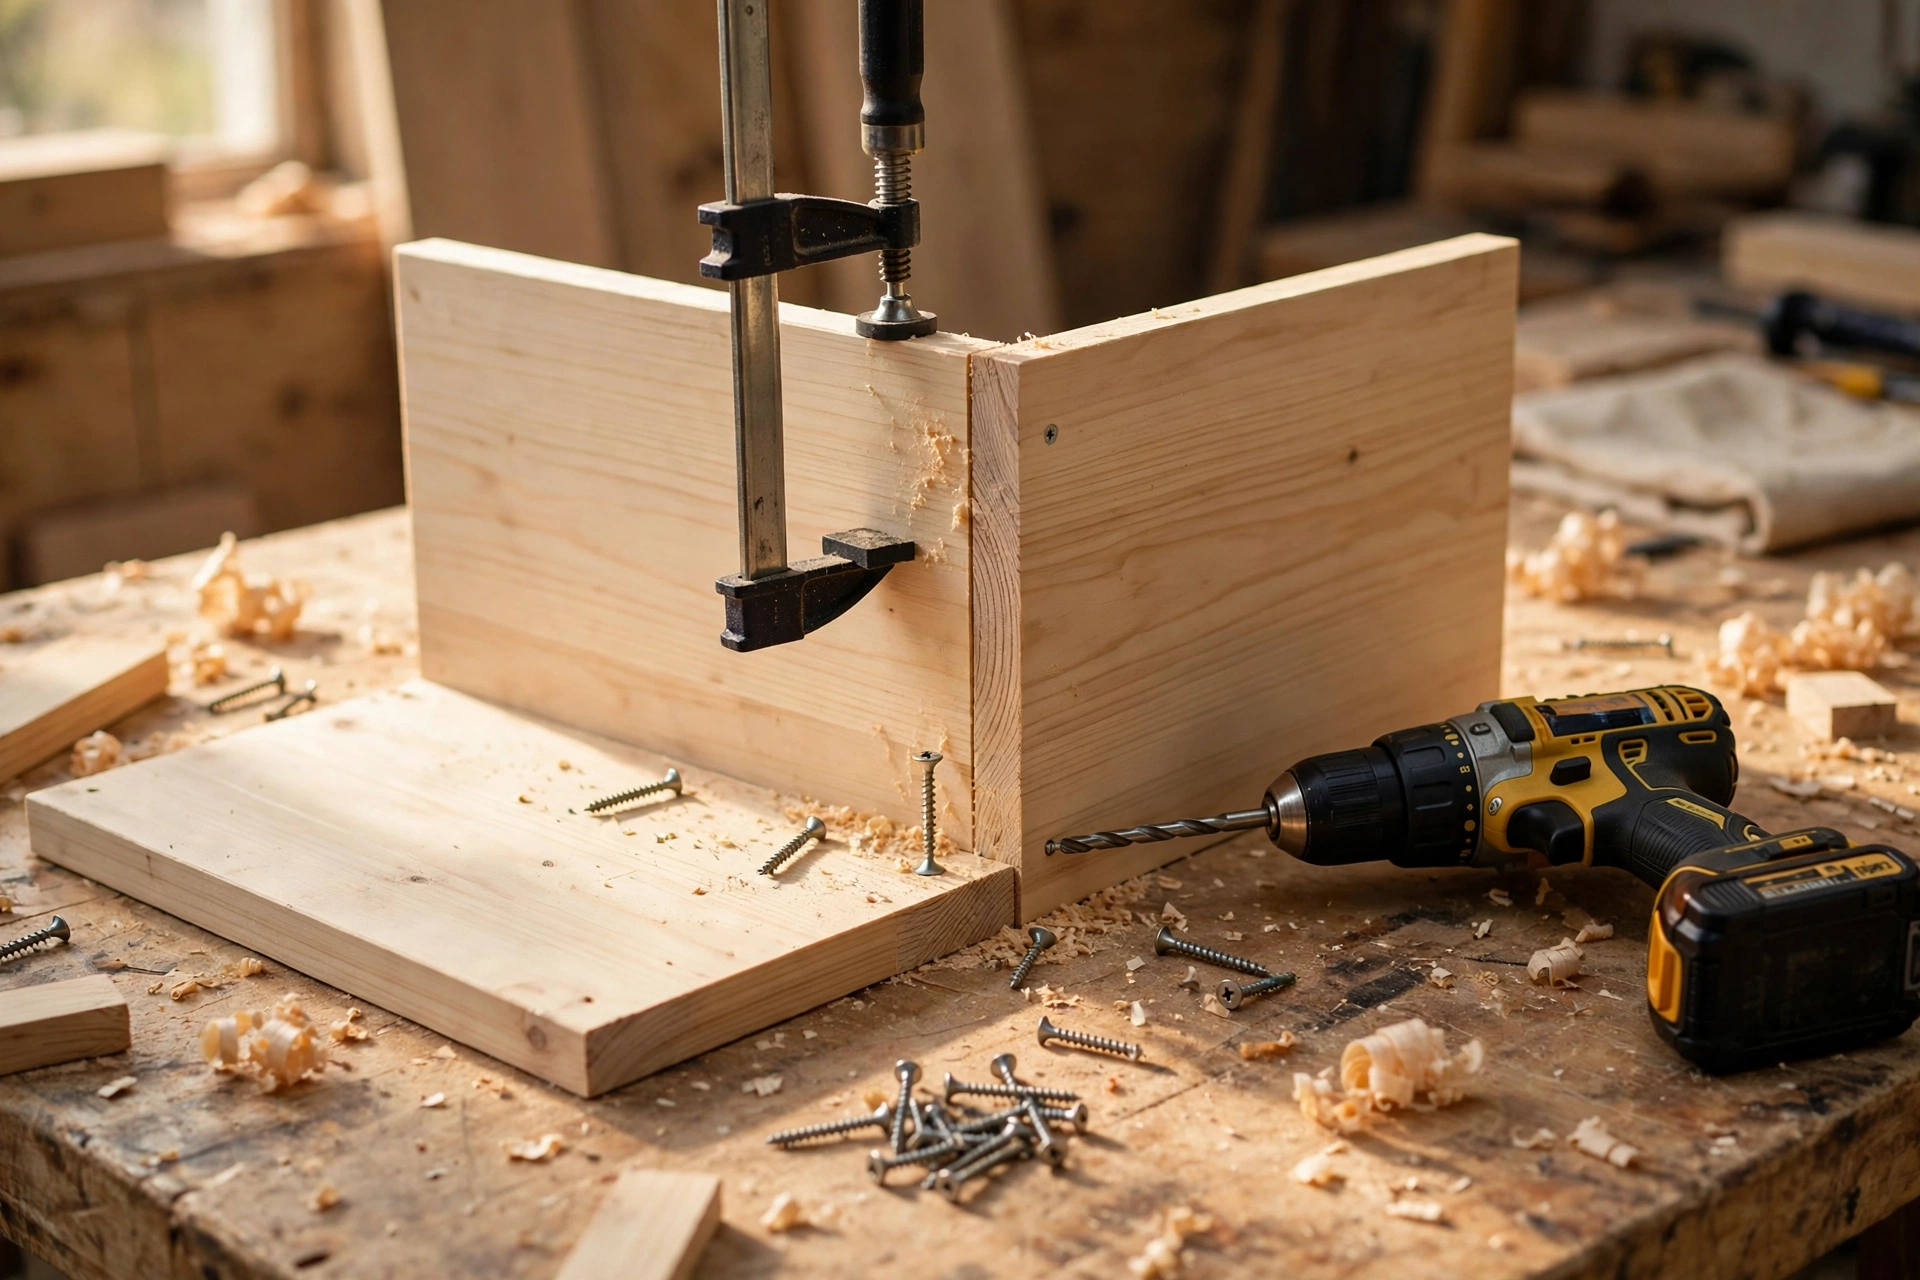
Dry-fit the box first: stand the four side panels around the bottom panel on your bench and check that the corners are square and the top edges line up. Then take it apart and rebuild it one joint at a time with glue and screws. Run a thin bead of wood glue along the edge of the bottom panel, stand the front panel in place, clamp it square, drill 3 mm pilot holes, and drive three #8 x 50 mm screws up through the bottom into the front panel — one near each end and one in the middle. Repeat for the back panel, then the two sides, screwing through the front and back panels into the side panel ends. Work on a flat surface and check for square after every panel: measure the diagonals across the top of the box, and if they are not equal, tap the longer corner gently until they match. Let the glue dry for at least an hour before moving the box. If you want more practice with this kind of simple box joinery first, our guide on how to build a wooden storage crate for beginners uses the same glue-and-screw method on a smaller box.
Step 4: Fit the Casters
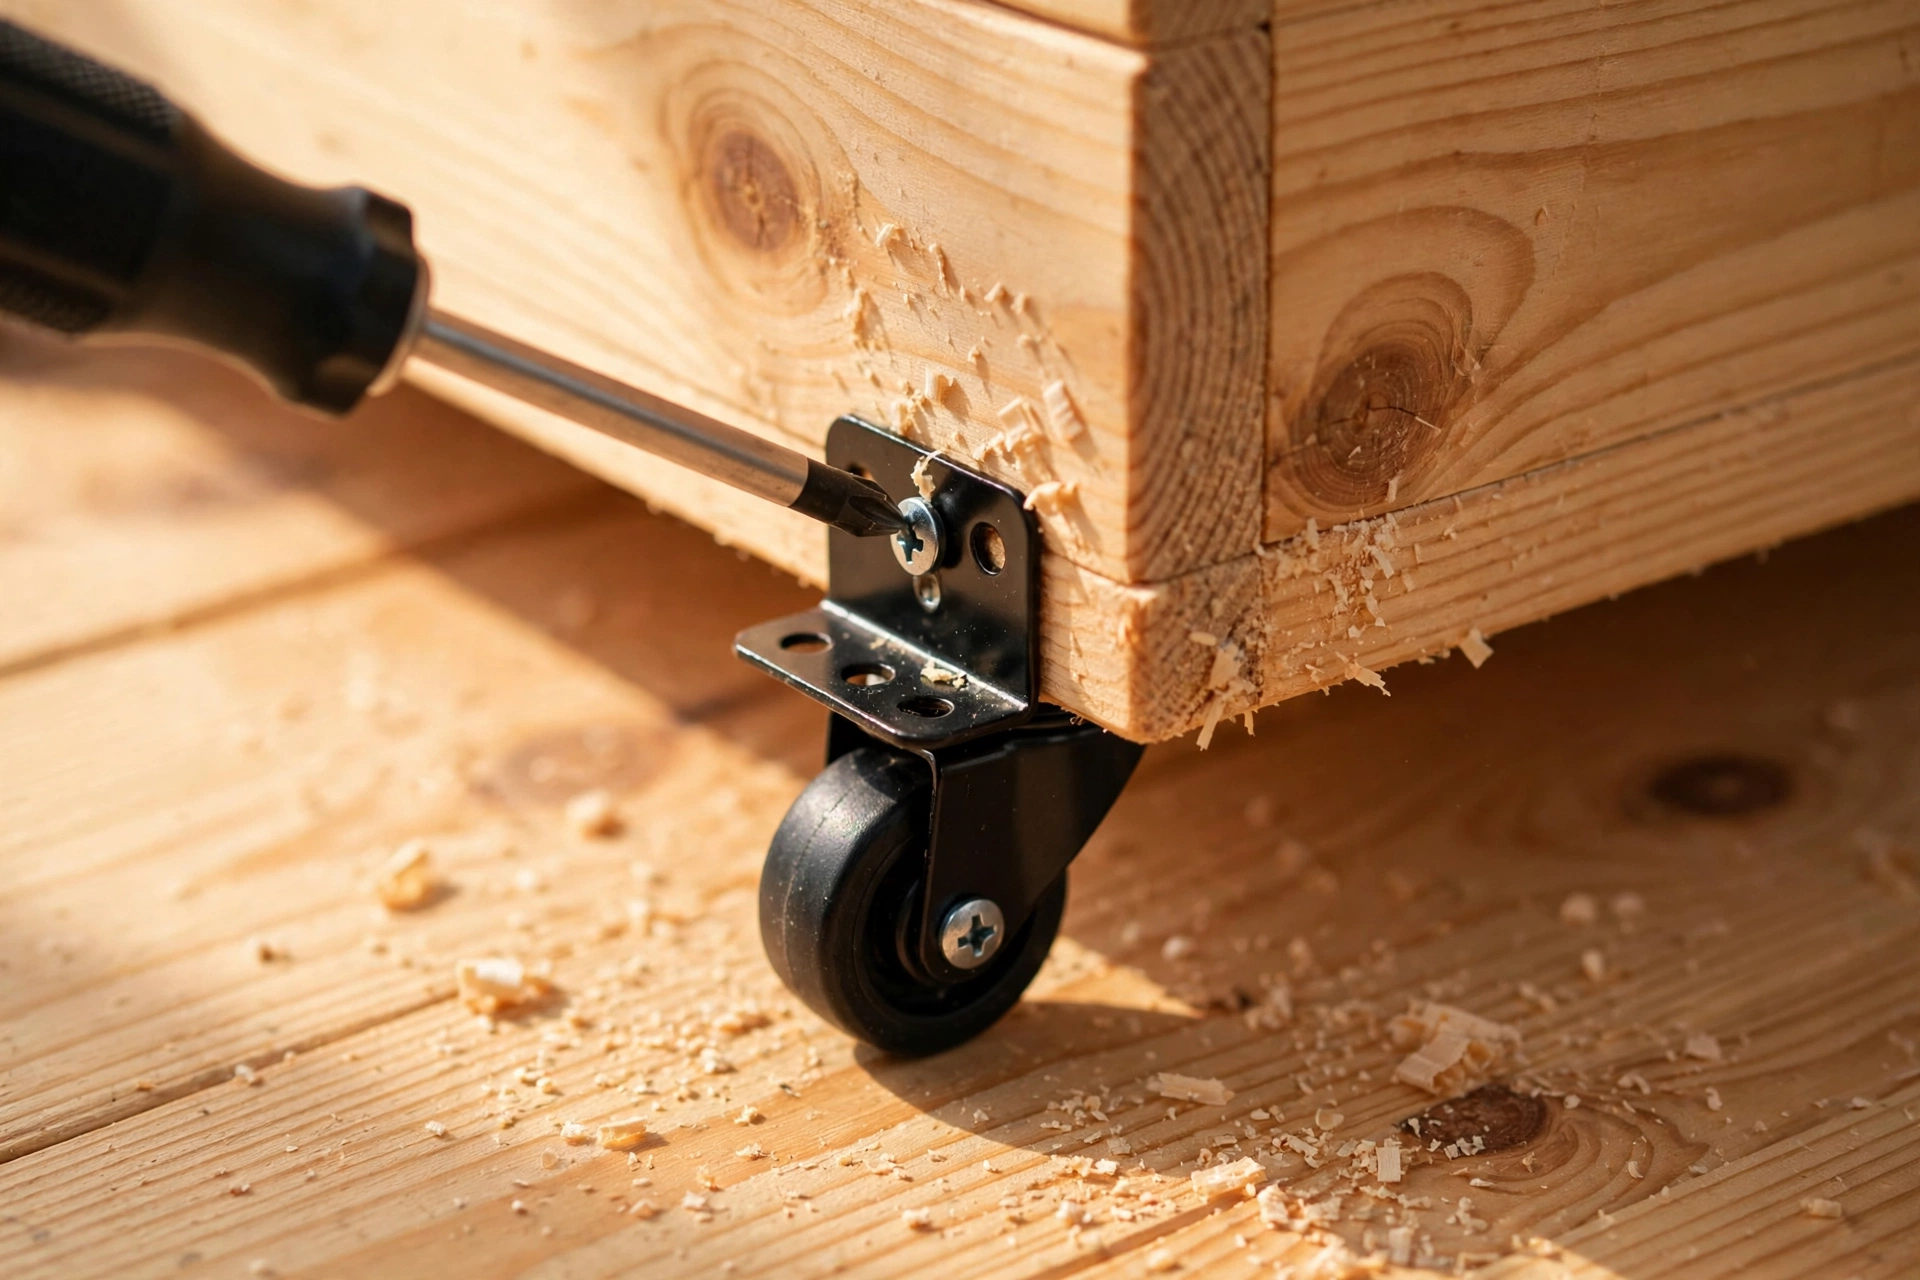
Turn the box upside down on your bench. Mark the caster positions 5 cm (2 in) in from each corner of the bottom panel — putting them right at the corners makes the box tippy, and putting them too far in makes it sag in the middle. Use two swivel casters at the front and two fixed casters at the back: the swivels let you steer the box out at an angle, while the fixed pair keeps it tracking straight when you push it back under the bed. Screw each caster plate down with the short screws supplied with the casters, drilling pilot holes first so the plywood does not split. The table below compares your caster options.
| Caster Type | Wheel Size | Load Capacity (set of 4) | Best For |
|---|---|---|---|
| Swivel, rubber wheel | 5 cm (2 in) | 60–80 kg (130–175 lb) | Hardwood and laminate floors |
| Swivel, rubber wheel | 7.5 cm (3 in) | 80–100 kg (175–220 lb) | Carpet and thick rugs |
| Fixed, hard plastic | 5 cm (2 in) | 50 kg (110 lb) | Budget builds on smooth floors |
| Ball transfer / furniture glides | — | 40 kg (90 lb) | Very low clearance, flat trays |
After fitting the casters, flip the box over and roll it across the floor. It should move with a light push and stop squarely — if it veers to one side, one caster is mounted slightly crooked; loosen it, straighten it, and re-tighten.
Step 5: Add a Lid or Leave It Open
An open-top box is easier to load and is the best choice for blankets and clothes you grab often. A lid is better for shoes, books, and anything you want to keep dust-free. If you want a lid, cut the optional lid panel from the cut list and attach it to the back panel with two small butt hinges, or simply rest it on top as a loose cover — a loose lid is easier for a beginner and cannot pinch fingers. A hinged lid with soft-close supports stays open while you load the box; if you go that route, fit the supports before you finish the wood. Either way, leave a 3 mm (⅛ in) gap around the lid so seasonal wood movement never makes it stick.
Step 6: Sand and Finish
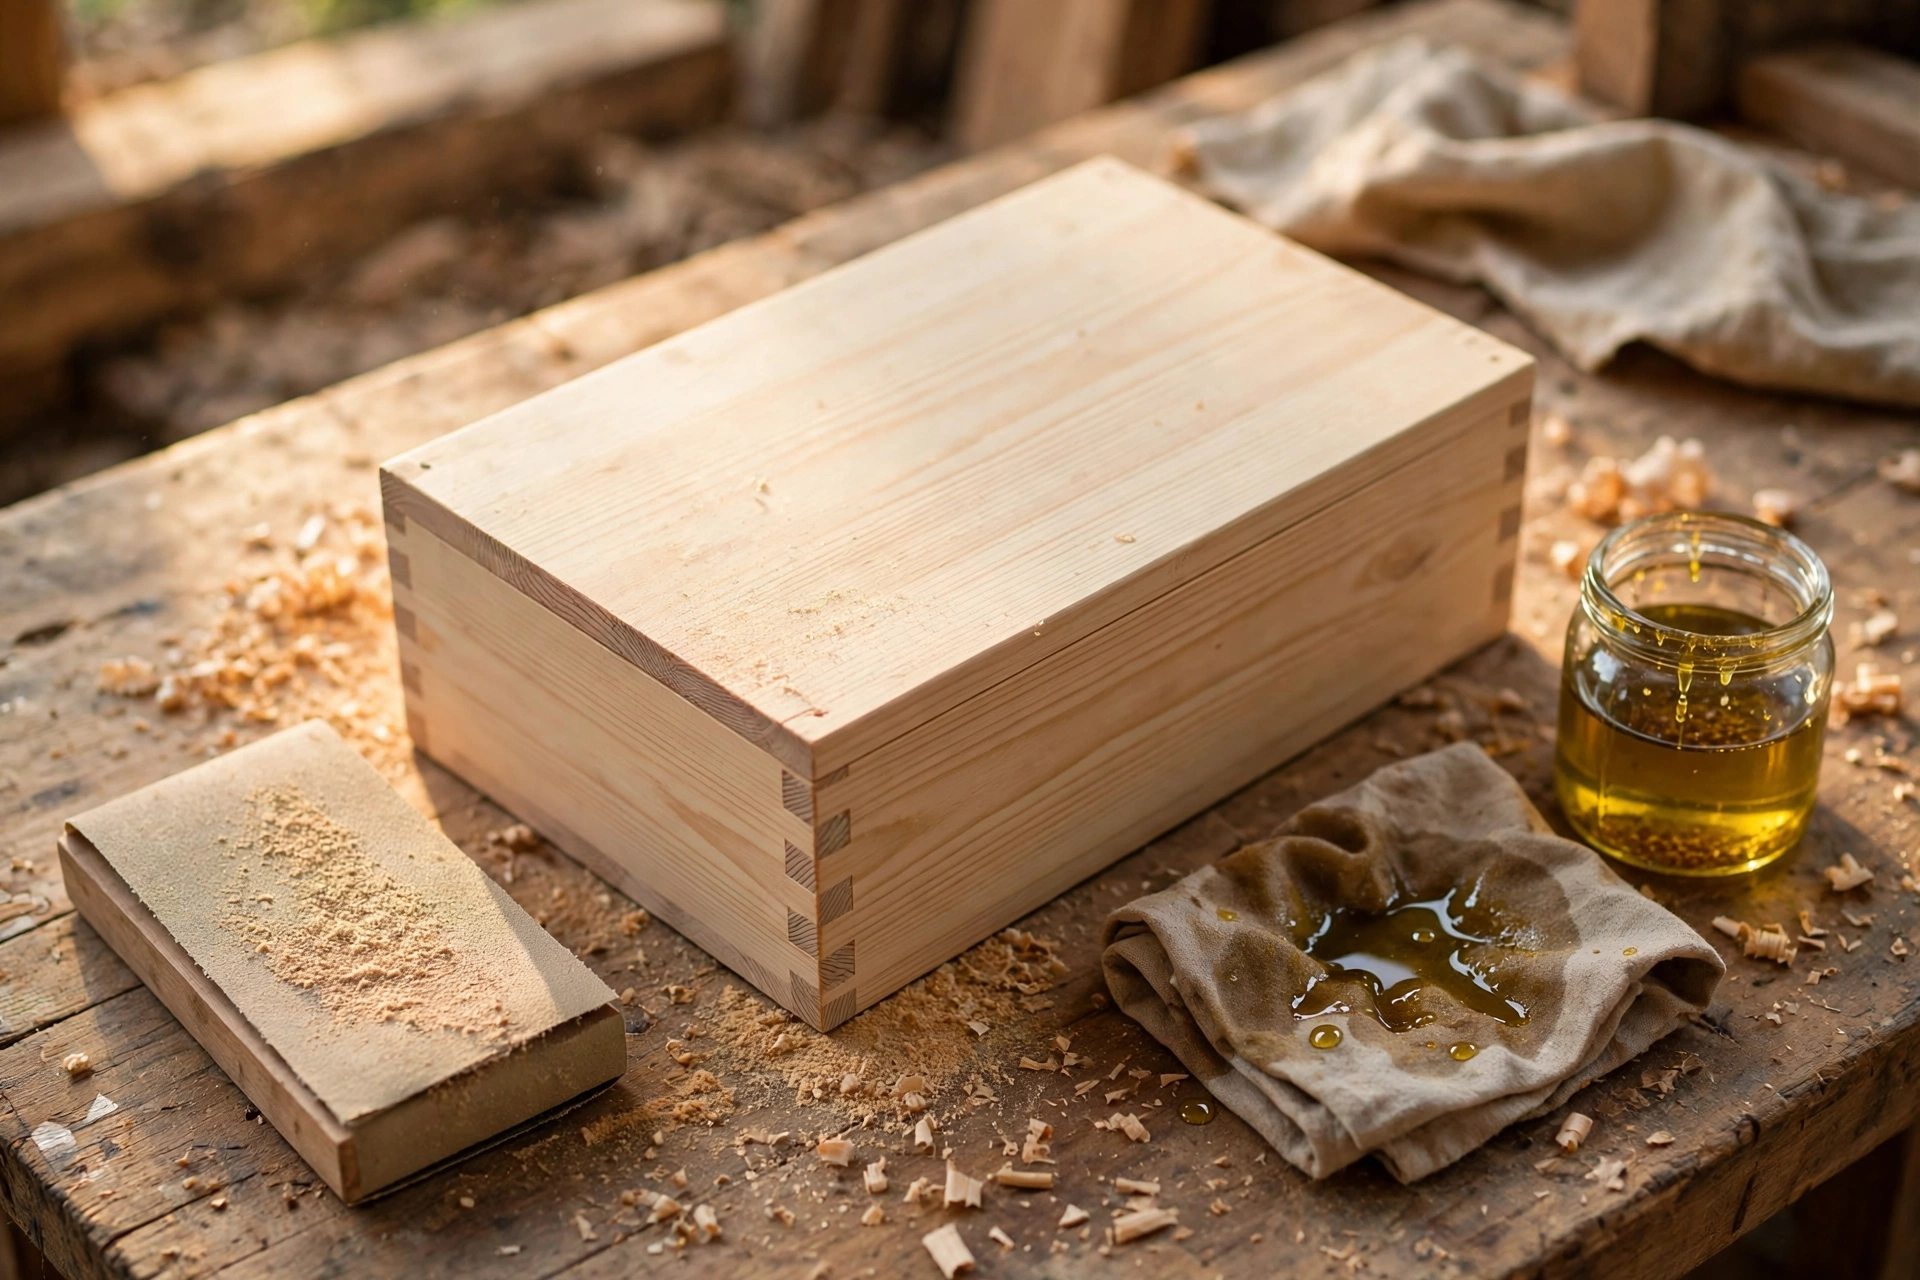
Sand every surface that hands will touch, starting with 120-grit to remove saw marks and pencil lines, then 220-grit for a smooth finish. Pay special attention to the top edges and the handle slot — run your bare hand over them and sand again anywhere you feel a sharp edge or a splinter. Vacuum the dust off, wipe the box with a slightly damp cloth, and let it dry completely before finishing. For a storage box that lives under a bed, Danish oil is the simplest finish: wipe on a thin coat, wait 15 minutes, wipe off the excess, and repeat once the next day. It brings out the grain, protects against scuffs, and needs no brush skill. If the box will hold damp items like shoes, use two coats of clear water-based polyurethane instead. Let the finish cure for 24 hours before you load the box, or your clothes will pick up the smell. For a bigger storage project using the same finishing steps, see our guide on how to build a wooden storage bench for beginners.
Step 7: Test the Fit and Load It Up
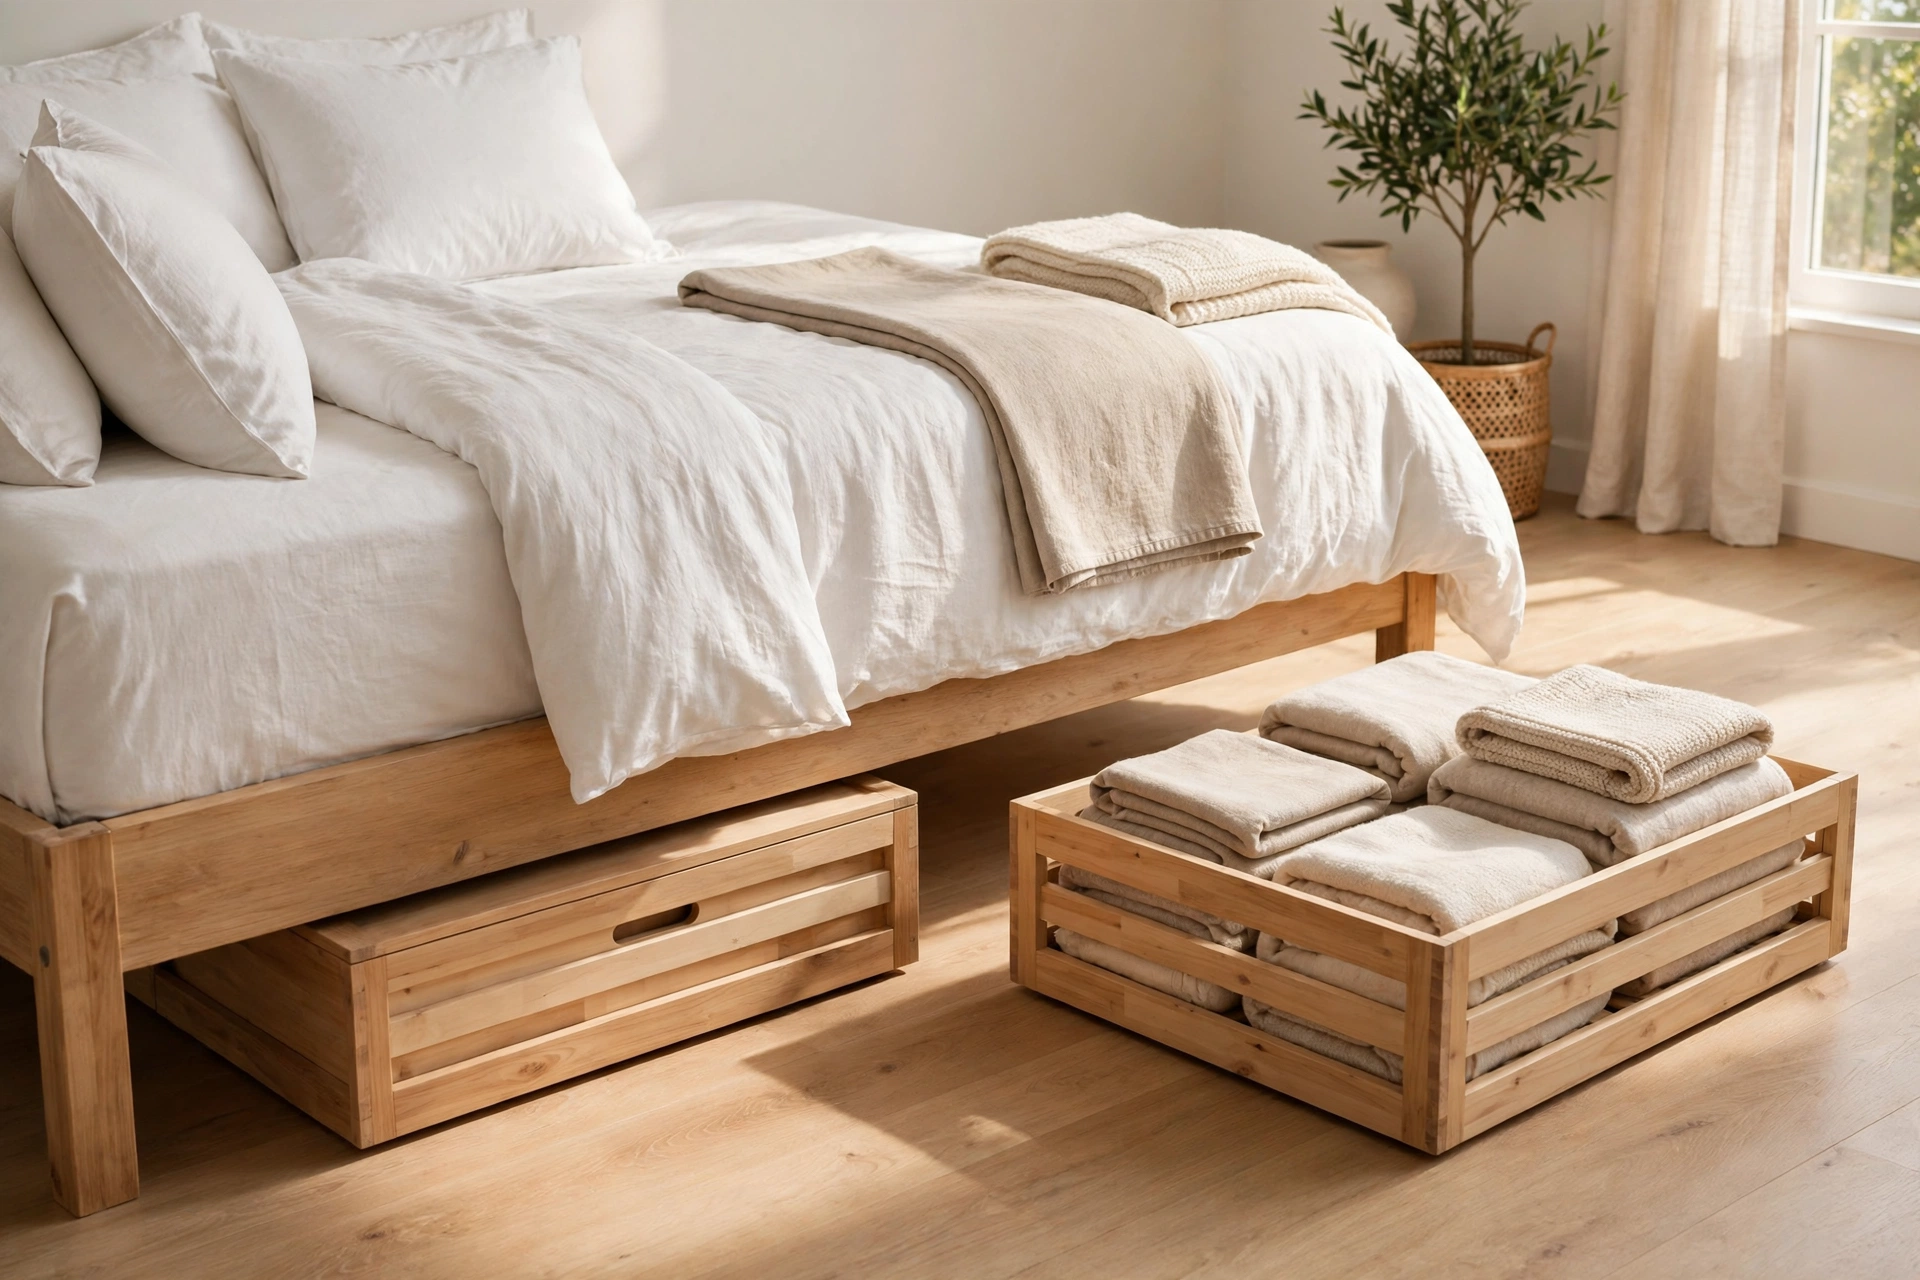
Slide the empty box under the bed and pull it out a few times. It should glide without scraping the bed rail or the floor, and the handle should be easy to grip. If it catches, check whether the casters are hitting a rug edge or whether the box is slightly too tall — a 3 mm (⅛ in) trim off the top edge with a plane or sander usually fixes it. Once it rolls freely, load it and test again with weight: a full box of books behaves very differently from an empty one. Congratulations — you now know how to build a wooden under-bed storage box for beginners, and the same box method scales up to toy chests, blanket boxes, and the bookshelf in our guide on how to build a simple bookshelf for beginners.
What to Store Under Your Bed (and What Not To)
A box this size holds about 90 litres — roughly four folded duvets, six pairs of shoes, or a full set of out-of-season clothes for one person. The best things to store under a bed are items you need a few times a year but not every week: winter blankets in summer, summer clothes in winter, spare bedding, gift wrap, board games, and books you have already read. Put heavier items at the bottom and lighter items on top, and keep a simple list taped inside the lid so you never have to pull the box out just to check what is in it.
Do not store anything that hates dust or damp: important papers, photographs, electronics, leather goods, or anything that could be damaged by a small spill. If your bedroom floor is concrete or the room is humid, put a sheet of plastic or a cedar liner in the bottom of the box first, and never store items directly against the floor. And resist the urge to fill the box so full that the lid will not close — an overstuffed box is a box that never slides back under the bed.
Common Mistakes to Avoid
The most expensive mistake is building before measuring, and we covered that first for a reason. The second is skipping pilot holes: driving a screw into plywood without one splits the edge, and the split shows on the outside of your finished box. The third is using screws that are too long — a 60 mm screw through 18 mm plywood will poke through the other side and scratch your floor or your hands. Stick to 50 mm screws for the frame and the short screws supplied with your casters.
Other mistakes are quieter but just as annoying. Forgetting to check for square after each panel gives you a box shaped like a parallelogram that rocks on its casters. Sanding after finishing instead of before leaves a rough finish you will feel every time you pull the box out. Loading the box before the oil has cured transfers the smell to your clothes. And building the box wider than the gap between your bed legs — not the bed rail — means it will not fit at all, because the legs are the narrowest point. Measure the leg gap too, and keep the box at least 5 cm (2 in) narrower than it.
Frequently Asked Questions
How tall should an under-bed storage box be?
Measure the clearance from your floor to the lowest point under the bed, then subtract at least 2.5 cm (1 in) for the casters and easy movement. For a standard bed frame with 20–25 cm (8–10 in) of clearance, a box 15–20 cm (6–8 in) tall works well. Never build the box to the exact clearance — it will scrape every time you move it.
What is the best wood for an under-bed storage box?
18 mm (¾ in) birch plywood is the best choice for beginners: it is flat, strong, does not split at the screw line, and one half sheet is enough for a full-size box. Solid pine boards are a good second choice if you prefer a warmer look and plan to stain the box. Avoid MDF, which is heavy and swells if it gets damp.
Do I need casters on an under-bed storage box?
Casters are strongly recommended if your clearance allows them, because a loaded box is heavy and dragging it scratches floors. Use 5 cm (2 in) swivel casters on hard floors and 7.5 cm (3 in) casters on carpet. If your clearance is under 15 cm (6 in), skip the casters and use felt pads instead.
How much does it cost to build a wooden under-bed storage box?
Expect $45 to $75 if you already own a drill and a saw: about $25–$35 for a half sheet of birch plywood, $8–$12 for casters, $5–$7 for screws, and $5–$8 for glue, plus sandpaper and finish. Buying a first circular saw and drill adds $80 to $150, but those tools will serve every project after this one.
Can I build an under-bed storage box without a circular saw?
Yes. A jigsaw cuts plywood well if you follow a clamped straight-edge guide, and a handsaw works too — it just takes longer. Many home stores will also cut a sheet to your sizes for a small fee, which means you can build the whole box with just a drill and a screwdriver.
Should the box have a lid?
An open-top box is best for blankets and clothes you reach for often, because it is faster to load. A lid is better for shoes, books, and anything you want to keep dust-free. If you add a lid, make it loose or fit soft-close lid supports so it cannot slam shut on your fingers.
Recommended Products for This Project
As an Amazon Associate, I earn from qualifying purchases.

DEWALT 20V MAX Cordless Drill/Driver Kit (DCD771C2)
This compact cordless drill handles every pilot hole and screw in this build, and its light weight makes it easy to control when you are driving screws into plywood edges.
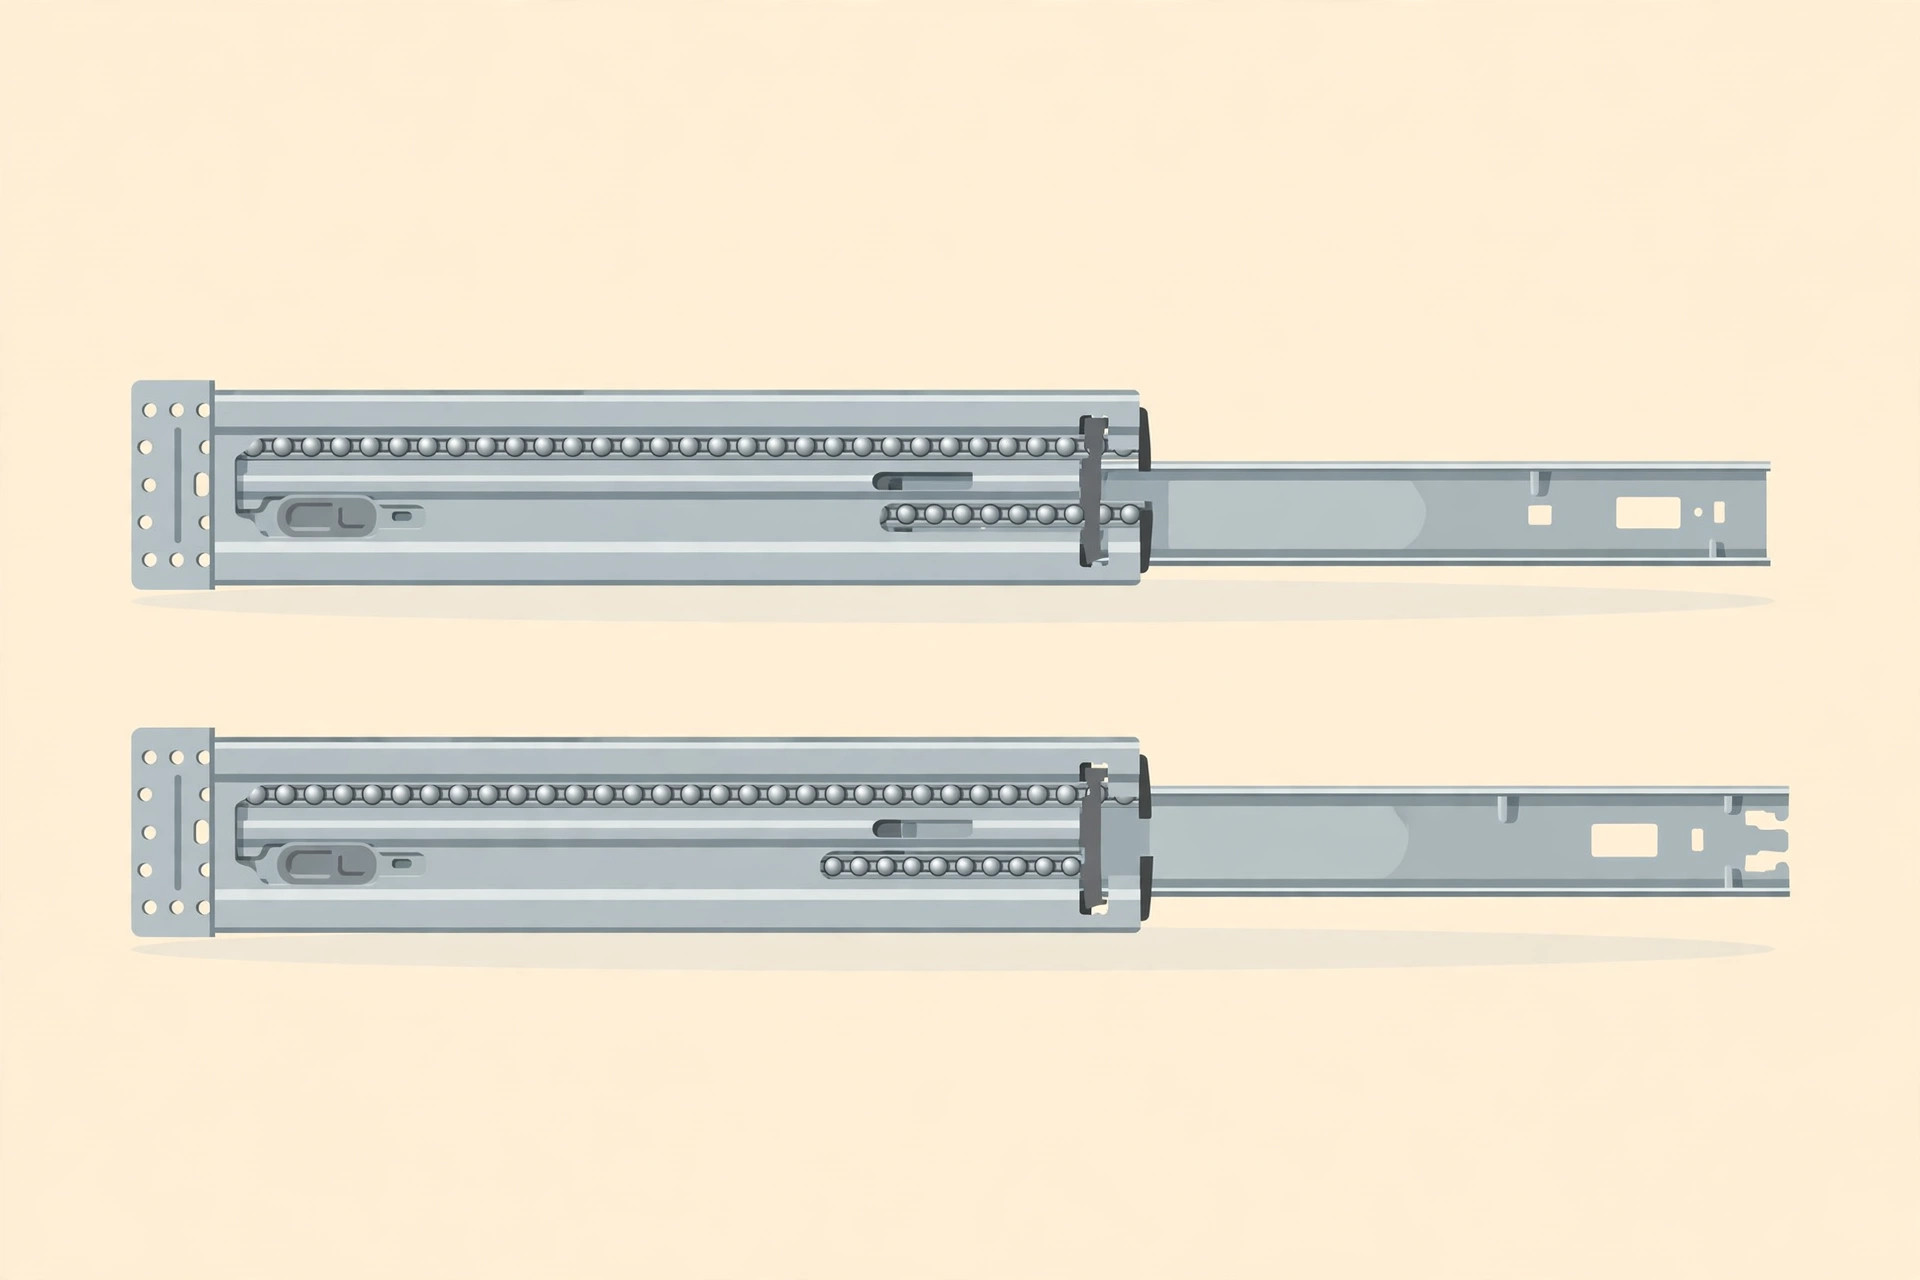
VALISY Soft Close Drawer Slides 14 Inch, 1 Pair, 100 lb
If you would rather guide your box on smooth steel slides than free-rolling casters, these 14-inch soft-close slides give a controlled, quiet glide and carry up to 100 lb.
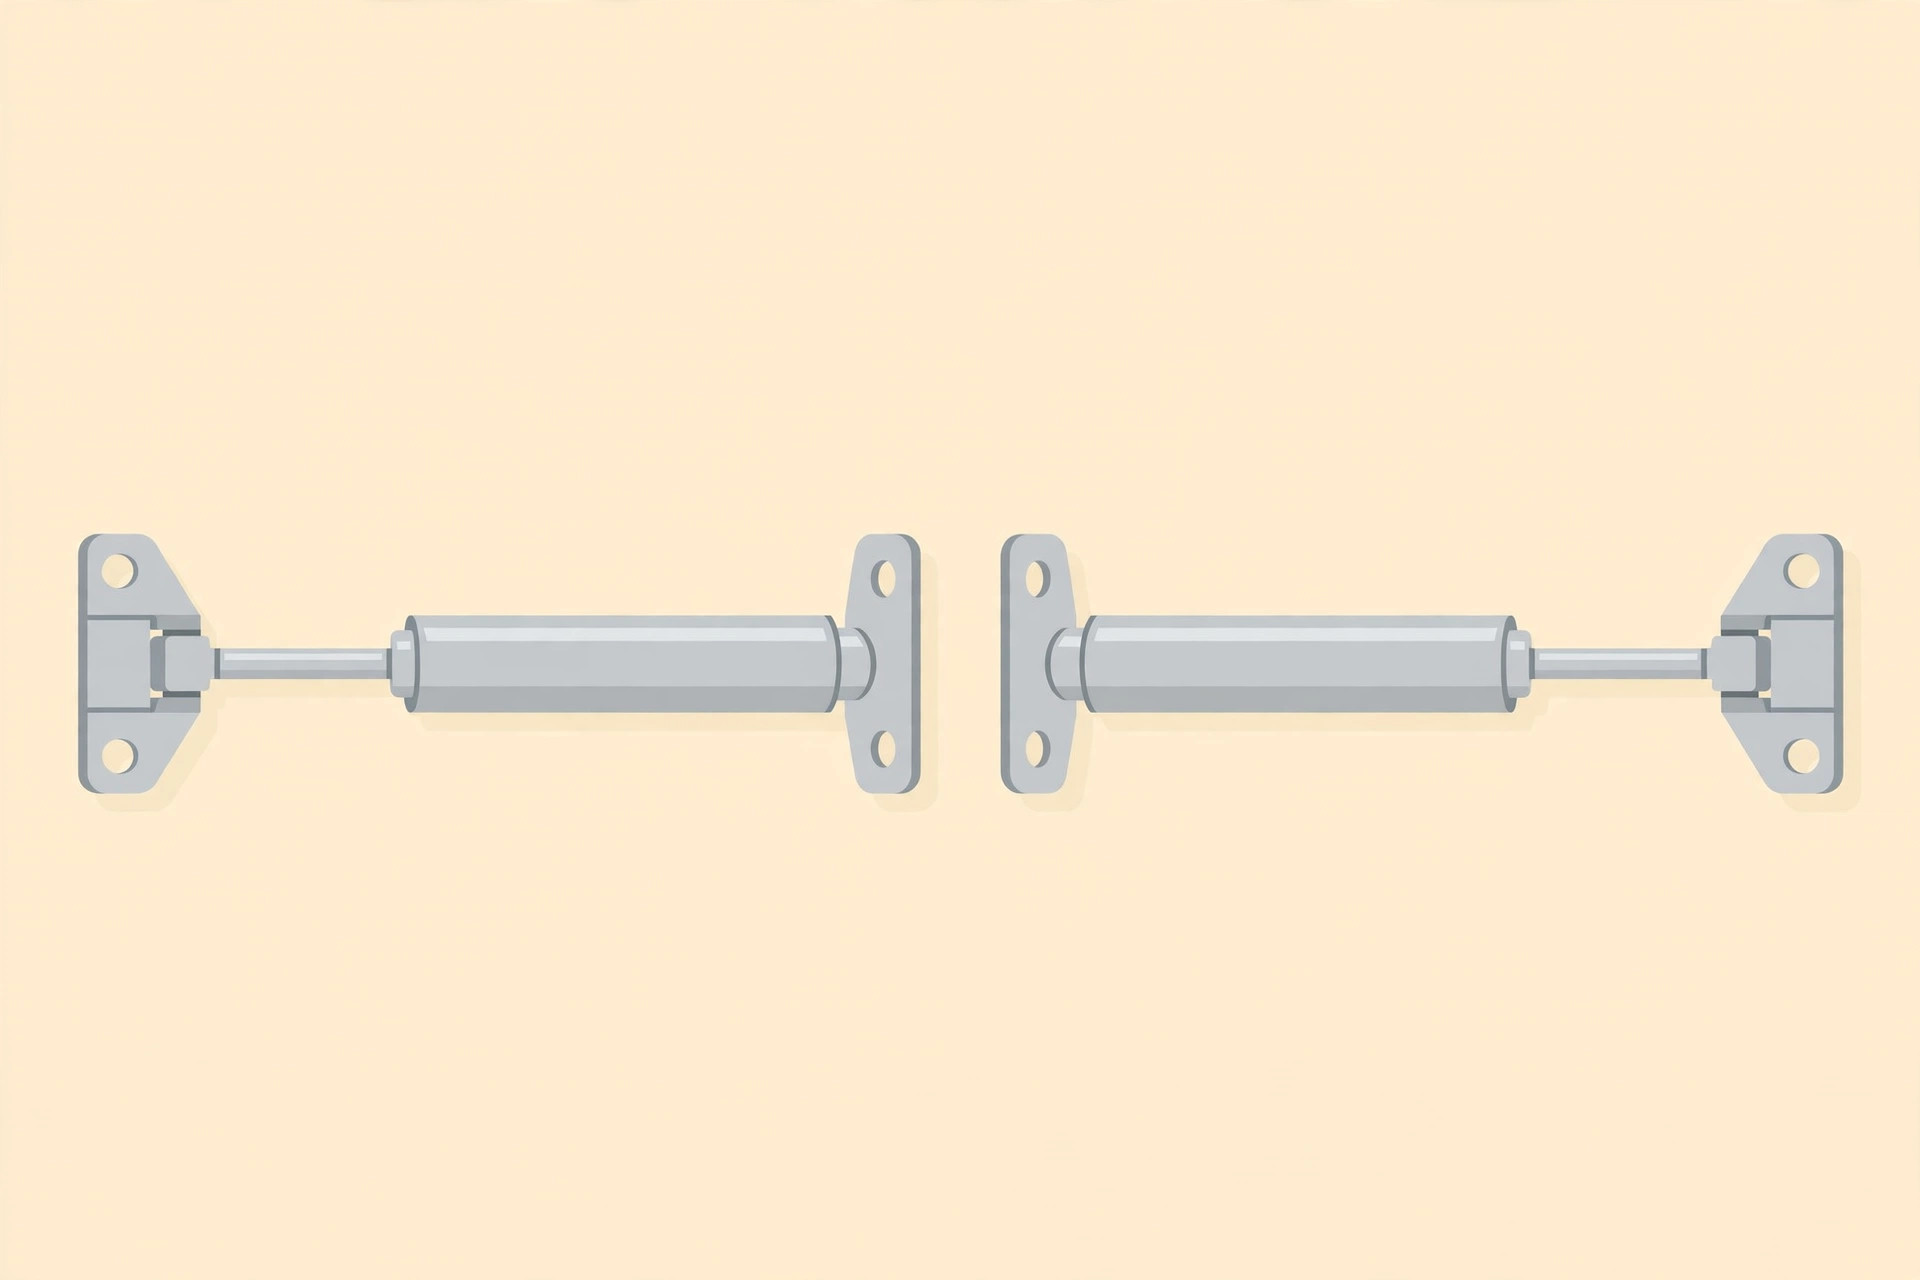
APFFSY Soft Close Lid Support Hinges, 200N / 60 lb, 2-Pack
Adding a hinged lid? These soft-close lid supports hold the lid open at any angle so it never slams on your fingers, and they support up to 60 lb.
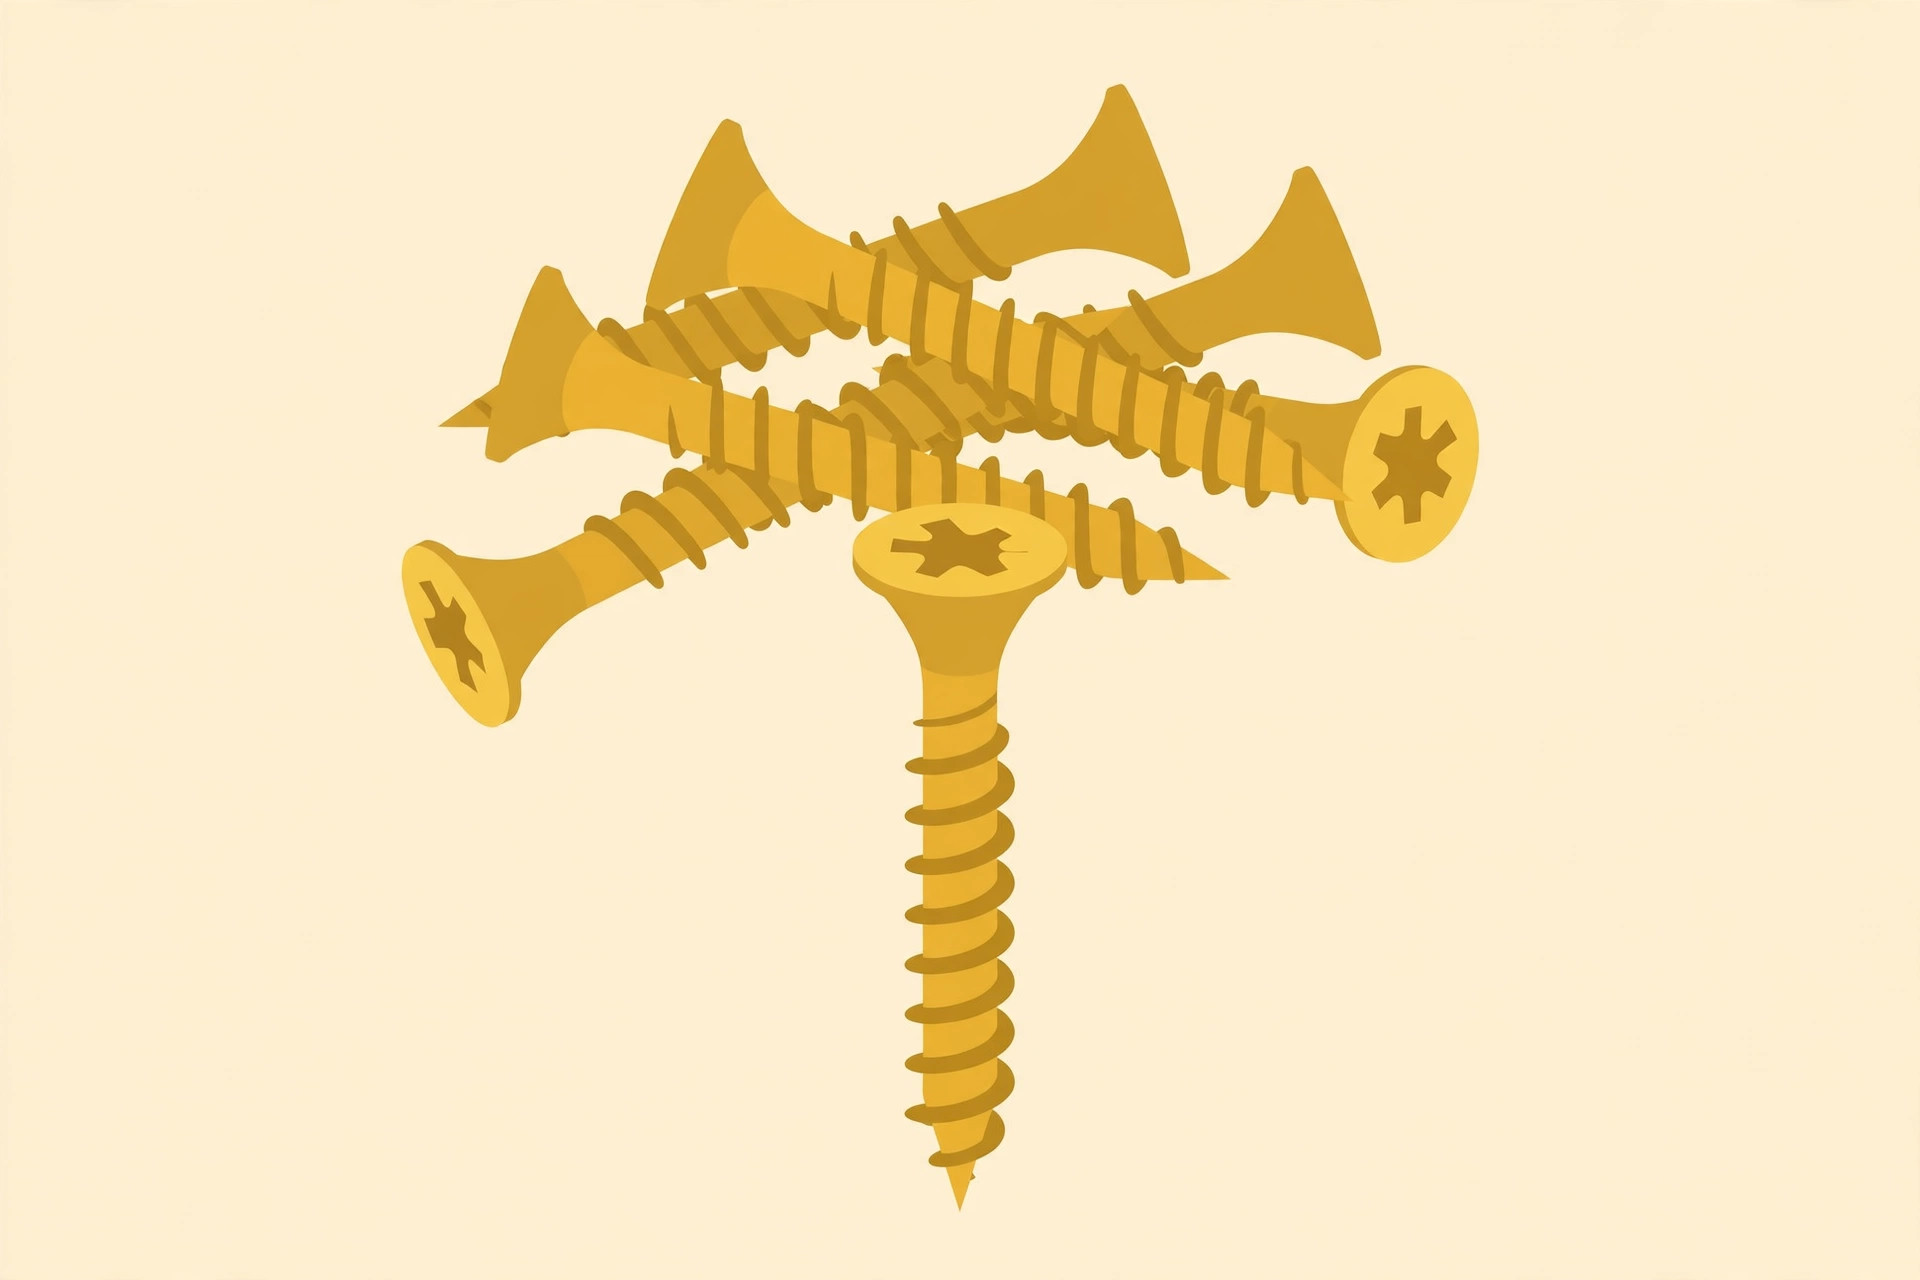
FIXLINK Deck Screws #8 x 2 Inch, 310-Pack
These #8 x 2-inch screws are the right length for joining 18 mm plywood without poking through, and the 310-pack leaves plenty for this box and your next project.

Titebond III Ultimate Wood Glue 1413 (8 oz)
A thin bead of Titebond III on every joint, clamped until dry, makes this box far stronger than screws alone — and it is waterproof, so a damp bedroom floor will not weaken it.


