
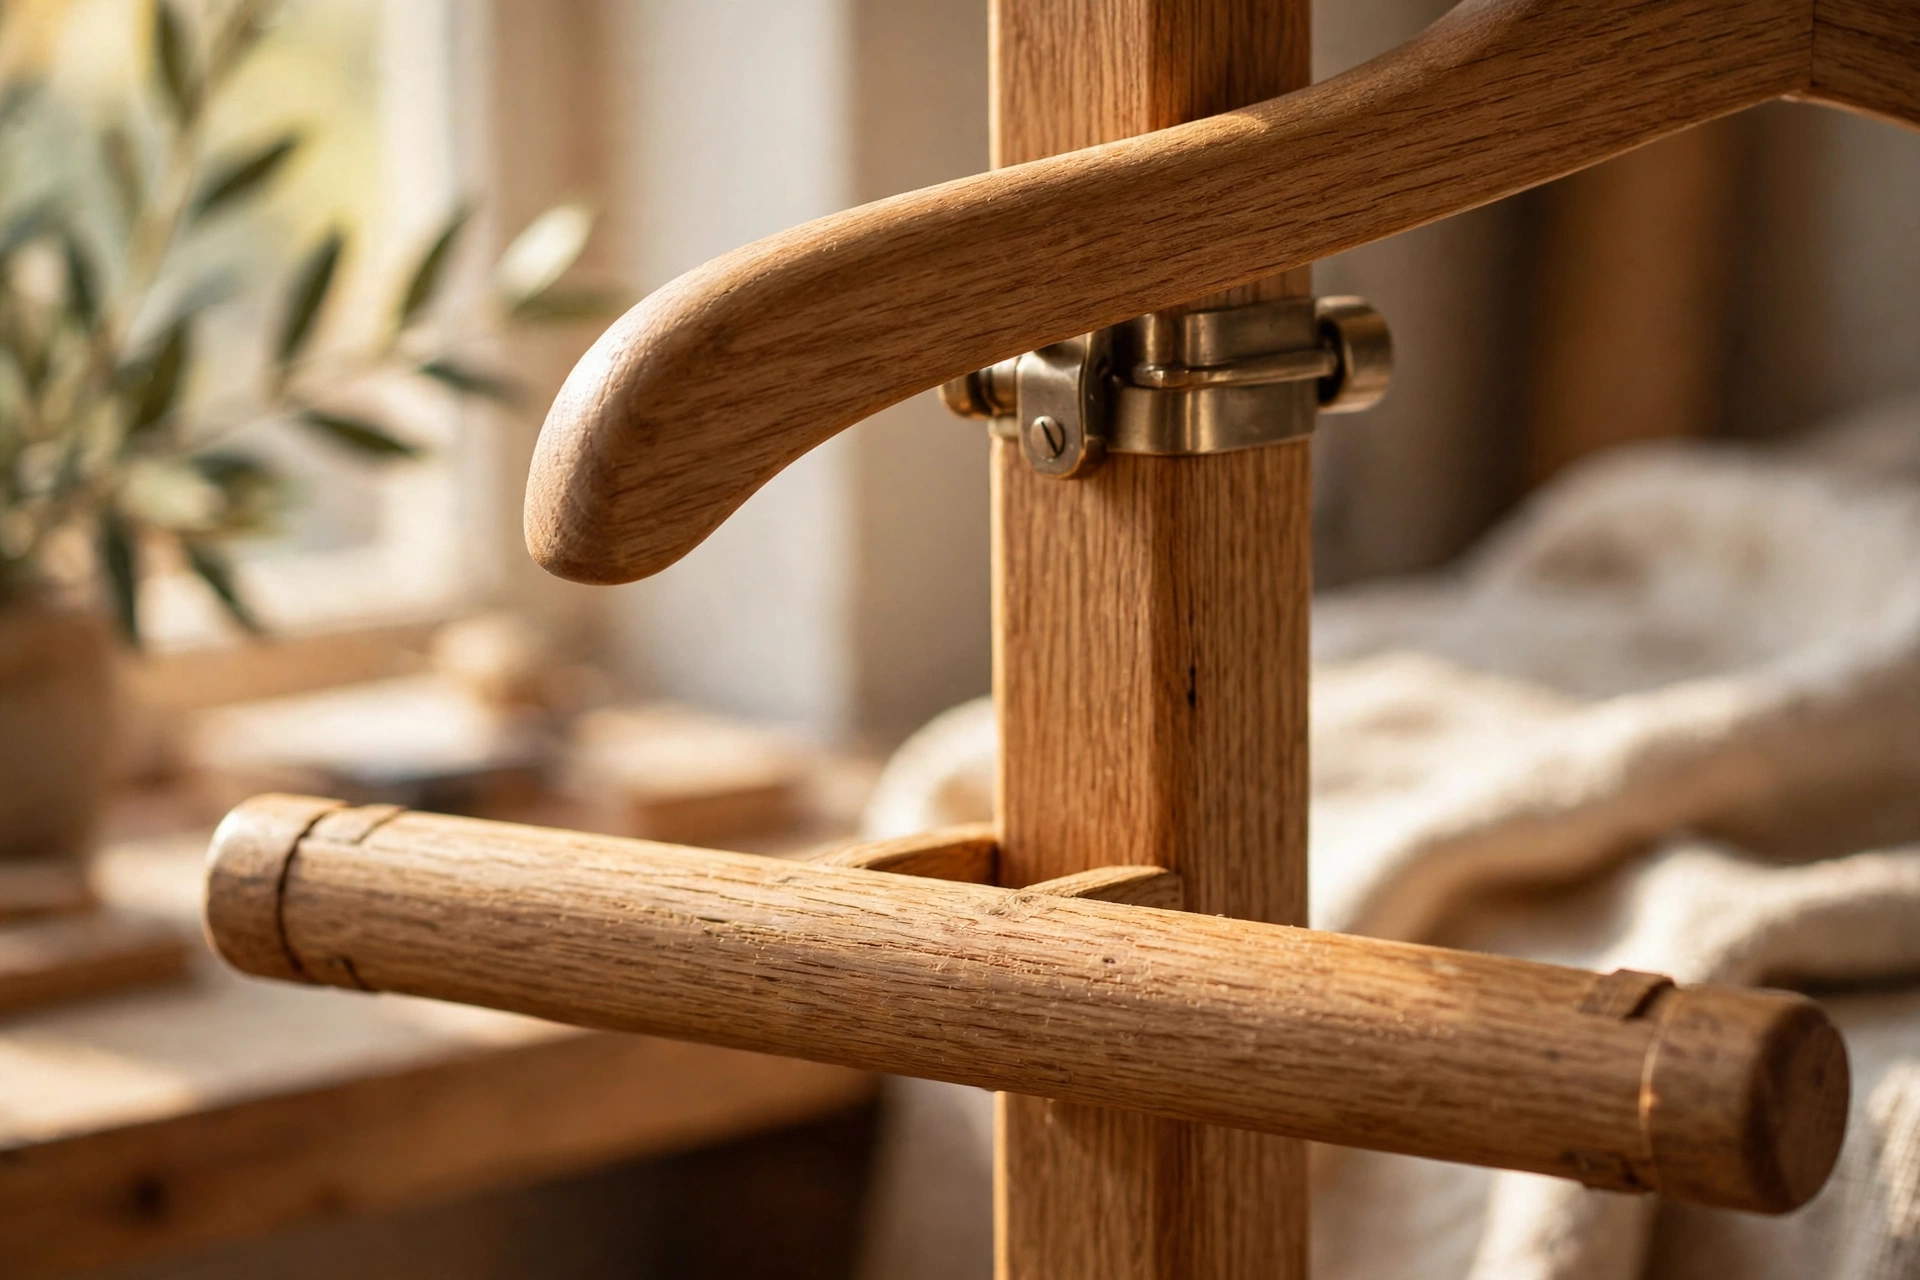
A wooden valet stand is one of those small pieces of furniture that quietly changes your mornings. Instead of draping tomorrow’s shirt over a chair or hunting for your watch and keys, everything has one home: jacket on the hanger arm, trousers over the bar, wallet and watch in the tray. In this guide you will learn how to build a wooden valet stand for beginners from start to finish — no advanced joinery, no expensive machinery, and no experience beyond basic measuring and sawing.
This is a genuine beginner project. The whole build uses straight cuts, screws and glue, and a single upright. If you can cut a board to length and drive a screw straight, you can build this stand. Expect to spend a relaxed weekend afternoon on it — around 3 to 4 hours of work plus drying time for glue and finish — and about $45 to $75 (roughly £35 to £60) on materials if you buy hardwood from a lumber yard. Use pine or poplar and the cost drops closer to $30 to $45.
By the end of this article you will have a complete cut list, a materials and cost table, step-by-step instructions for the base, upright, hanger arm, trouser bar and tray, tips for making the stand rock-solid, and a finishing routine that makes even budget wood look like a piece from a furniture shop. If you are just starting out, this project sits comfortably alongside other easy woodworking projects for beginners that sell — it is useful, giftable, and a great way to practise the fundamentals.
What Is a Wooden Valet Stand?
A valet stand — sometimes called a valet chair, a suit stand or a bedroom valet — is a freestanding piece of bedroom furniture designed to hold one complete outfit overnight. Unlike a coat rack, which only hangs things, a valet stand combines five parts into one slim footprint:
- The base: a wide, flat foot (or two crossed feet) that keeps the stand upright and stable on the floor.
- The upright: a single vertical post, usually 100 to 110 cm (39 to 43 inches) tall, that carries everything else.
- The hanger arm: a shaped, shoulder-like bar at the top that holds a jacket or shirt without creasing the shoulders.
- The trouser bar: a horizontal dowel or bar, roughly 45 to 55 cm (18 to 22 inches) long, for draping trousers so they hang straight.
- The tray: a small lipped tray near the base (or at waist height) for a watch, wallet, keys, cufflinks and loose change.
That is the whole design. Nothing is curved in a complicated way, nothing needs a lathe, and every part is a straight board or a dowel. The classic proportions below work well for most bedrooms, and you can scale them up or down by 5 to 10 percent to suit a taller or shorter user.
Valet Stand Dimensions at a Glance
Before you buy wood, decide your sizes. These dimensions suit a standard adult outfit and fit neatly in a bedroom corner without blocking a walkway.
| Part | Length | Width / Diameter | Thickness | Height from floor |
|---|---|---|---|---|
| Base (foot) | 45 cm (18 in) | 30 cm (12 in) | 2.5 cm (1 in) | Floor level |
| Upright | 105 cm (41 in) | 7 cm (2¾ in) | 3.5 cm (1⅜ in) | 0–105 cm (0–41 in) |
| Hanger arm | 45 cm (18 in) | 5 cm (2 in) | 3 cm (1¼ in) | 105 cm (41 in) |
| Trouser bar | 50 cm (20 in) | 2.5 cm (1 in) dowel | — | 70 cm (27½ in) |
| Tray | 35 cm (14 in) | 20 cm (8 in) | 2 cm (¾ in) | 25 cm (10 in) |
| Tray lip | 35 cm (14 in) | 2 cm (¾ in) | 1.5 cm (⅝ in) | On tray edge |
The finished stand is about 105 cm (41 inches) tall, 50 cm (20 inches) wide and 45 cm (18 inches) deep — roughly the footprint of a small bedside table, so it tucks into a corner or beside a wardrobe. If you plan to hang a heavy winter coat on it, widen the base to 50 cm (20 inches) and add a second cross foot for extra stability.
Choosing the Best Wood for a Valet Stand
Wood choice affects three things: how the stand looks, how much it costs, and how forgiving it is to work with. For a first build, pick a wood that is straight-grained, easy to sand and not too hard on your tools.
Oak is the classic choice. It is strong, has a beautiful open grain, takes oil and stain well, and will last for decades. It costs more — expect $40 to $60 for the boards in this project — and it is heavier, which actually helps stability. Walnut looks stunning with a simple oil finish but is the most expensive option and can be overkill for a first project.
Maple is pale, hard and smooth, great for a modern bedroom, but it can burn slightly under a dull saw blade, so keep your blade sharp. Pine is the budget-friendly beginner favourite: cheap, light and very easy to cut and sand. Its downside is softness — it dents if you knock it with a belt buckle — but for a first valet stand it is perfectly sensible. Poplar sits between pine and oak: inexpensive, stable, and it paints beautifully if you prefer a painted finish over a natural one.
Whatever species you choose, buy boards that are straight, flat and free of large knots, especially for the upright — a bowed upright will make the whole stand lean. If you want a deeper guide to picking species for your first projects, read our roundup of the best wood for beginner woodworking projects before you go to the lumber yard.
Tools and Materials You Will Need
You do not need a fully equipped workshop for this build. A circular saw or a handsaw, a drill, a sander and a tape measure cover almost everything. A mitre saw speeds up the crosscuts, and a jigsaw helps shape the hanger arm, but both are optional.
Tools
- Circular saw or mitre saw (or a sharp handsaw)
- Cordless drill/driver and drill bits (3 mm pilot, 8 mm for dowel holes)
- Random orbital sander or sanding block with 80, 120 and 220 grit paper
- Tape measure, pencil, combination square and a clamp or two
- Wood glue, a glue brush or old credit card to spread it
- Safety gear: safety glasses, dust mask and hearing protection
- Jigsaw (optional, for shaping the hanger arm curve)
Materials and Cost
| Material | Quantity | Approximate cost (USD) |
|---|---|---|
| Hardwood board, 2.5 cm × 30 cm × 120 cm (1 × 12 in × 4 ft) — base and tray | 1 board | $12–$18 |
| Hardwood board, 3.5 cm × 7 cm × 120 cm (1⅜ × 2¾ in × 4 ft) — upright | 1 board | $10–$15 |
| Hardwood board, 3 cm × 10 cm × 60 cm (1¼ × 4 in × 2 ft) — hanger arm | 1 board | $6–$10 |
| Hardwood dowel, 2.5 cm (1 in) diameter × 60 cm (24 in) — trouser bar | 1 dowel | $4–$6 |
| Wood screws, 5 cm (2 in), No. 8 | 12 screws | $3–$5 |
| Wood glue (waterproof, e.g. Titebond III) | 1 bottle (shared) | $5–$8 |
| Sandpaper, 80 / 120 / 220 grit | 3–4 sheets | $3–$5 |
| Danish oil or hardwax oil, 250 ml | 1 tin (shared) | $8–$12 |
| Total (hardwood version) | — | $51–$79 |
Buying the glue, sandpaper and oil as shared workshop supplies brings the per-project cost down a lot on your second build. A pine version of the same stand typically costs $30 to $45 all-in, which makes it a smart first attempt before you cut into expensive oak.
Cut List: Every Piece Measured
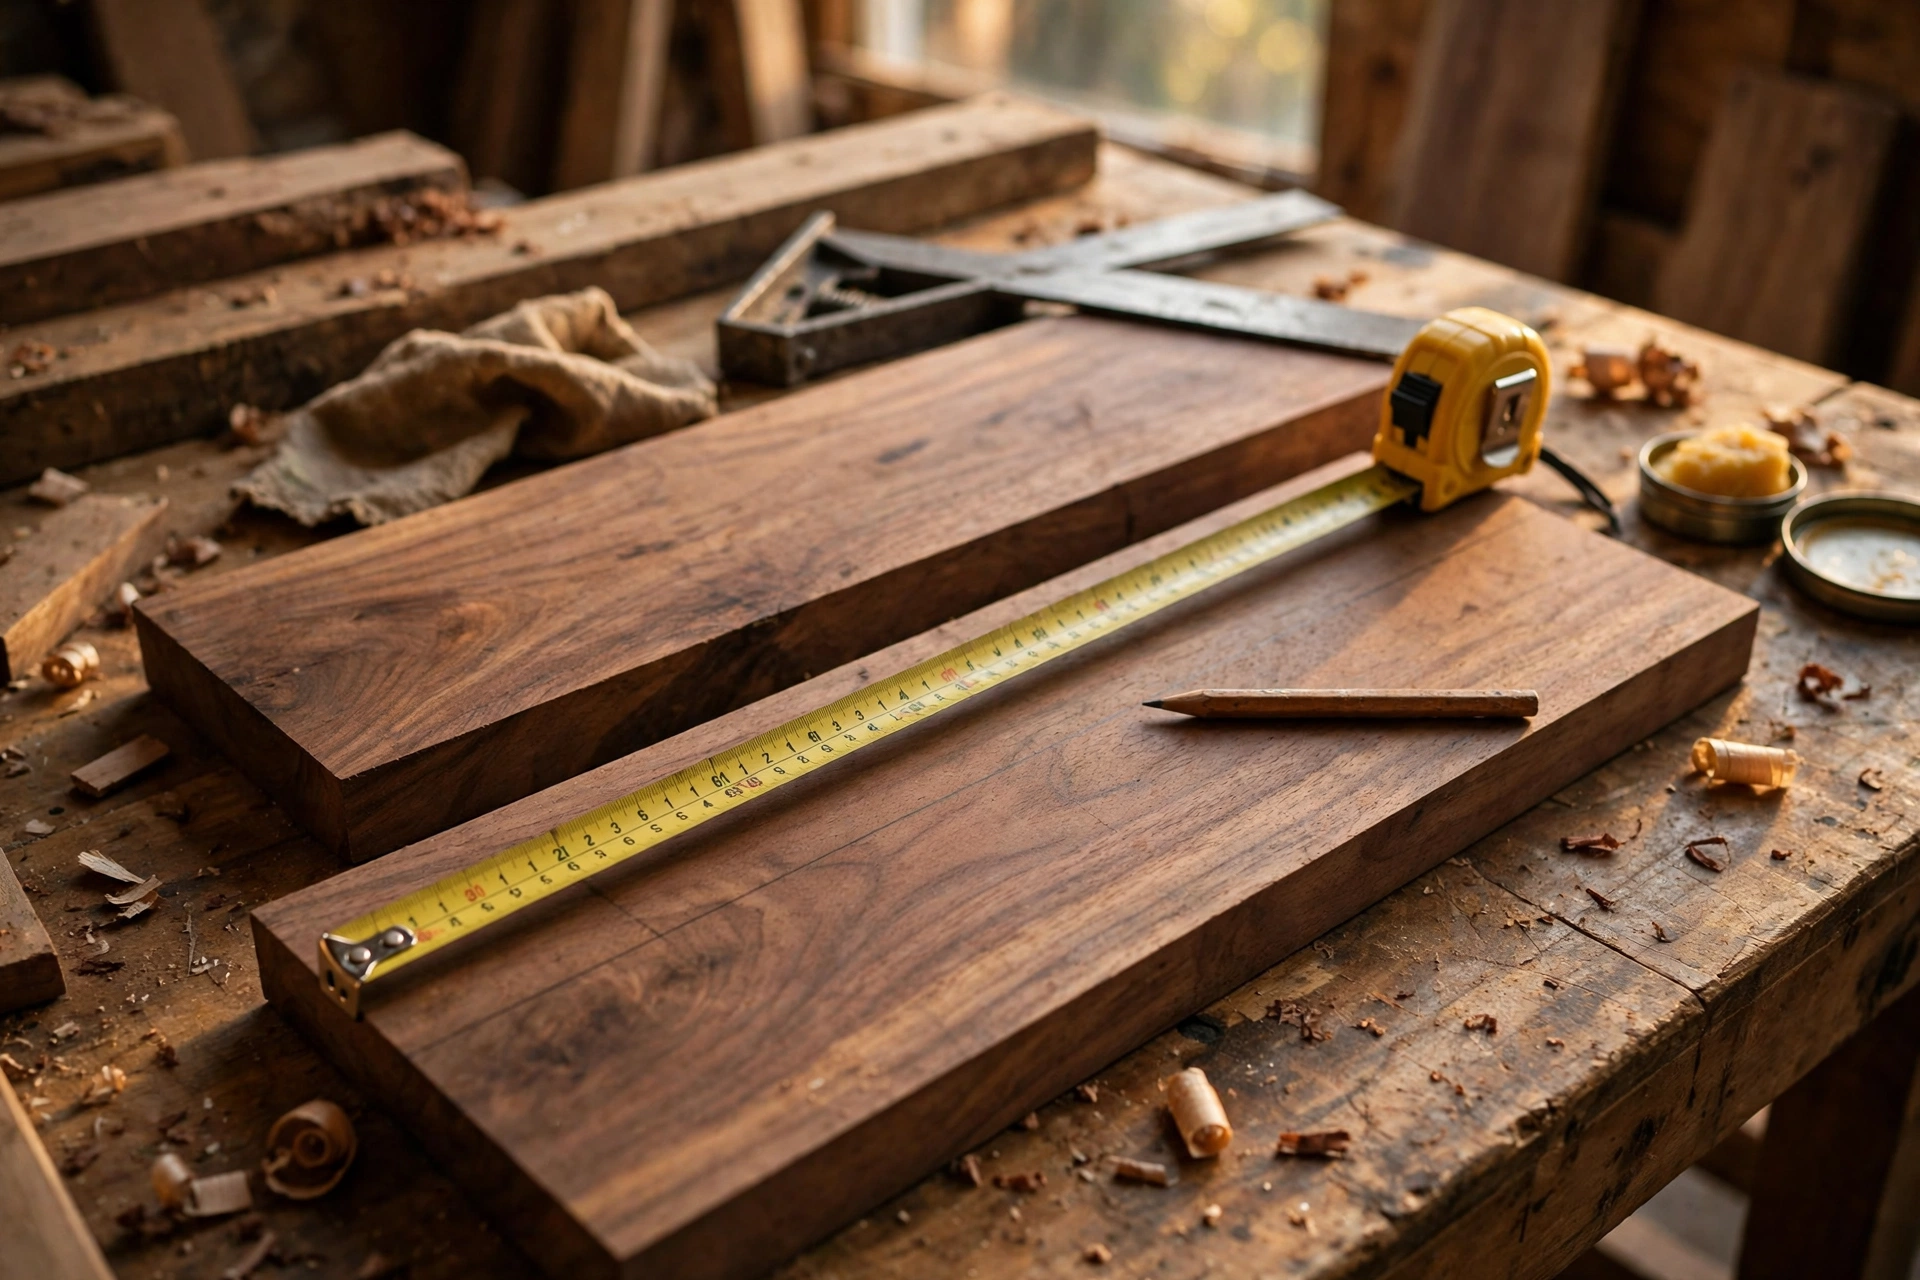
Measure twice and cut once — it is a cliché because it saves real money. Mark every piece with a pencil before you pick up the saw, and label each one (base, upright, arm, bar, tray) so nothing gets mixed up on the bench.
| Part | Qty | Finished size | Notes |
|---|---|---|---|
| Base | 1 | 45 × 30 × 2.5 cm (18 × 12 × 1 in) | Cut from the wide board; round the front corners slightly |
| Upright | 1 | 105 × 7 × 3.5 cm (41 × 2¾ × 1⅜ in) | Keep this piece dead straight — check it against a straight edge |
| Hanger arm blank | 1 | 45 × 10 × 3 cm (18 × 4 × 1¼ in) | Shaped into a shoulder curve after cutting |
| Trouser bar (dowel) | 1 | 50 cm (20 in) long, 2.5 cm (1 in) diameter | Sand the ends smooth so fabric never snags |
| Tray bottom | 1 | 35 × 20 × 2 cm (14 × 8 × ¾ in) | Cut from the wide board offcut |
| Tray lip — long sides | 2 | 35 × 2 × 1.5 cm (14 × ¾ × ⅝ in) | Thin strips glued and pinned to the tray edge |
| Tray lip — short sides | 2 | 17 × 2 × 1.5 cm (6¾ × ¾ × ⅝ in) | Fit between the long lip strips |
| Support cleat (optional) | 1 | 20 × 4 × 2 cm (8 × 1½ × ¾ in) | Small block under the tray for extra support |
Cut the longest pieces first — the upright and the base — then use the offcuts for the tray and the lip strips. That order wastes the least wood and means a measuring mistake on a small part never ruins a big board.
Step 1: Cut All the Parts
Set your saw up on a stable surface and clamp a straight edge as a guide for the circular saw. Cut the upright to 105 cm (41 inches) and the base to 45 × 30 cm (18 × 12 inches). Then cut the hanger arm blank to 45 cm (18 inches) long and the tray bottom to 35 × 20 cm (14 × 8 inches). Cut the dowel to 50 cm (20 inches) and the four tray lip strips to length.
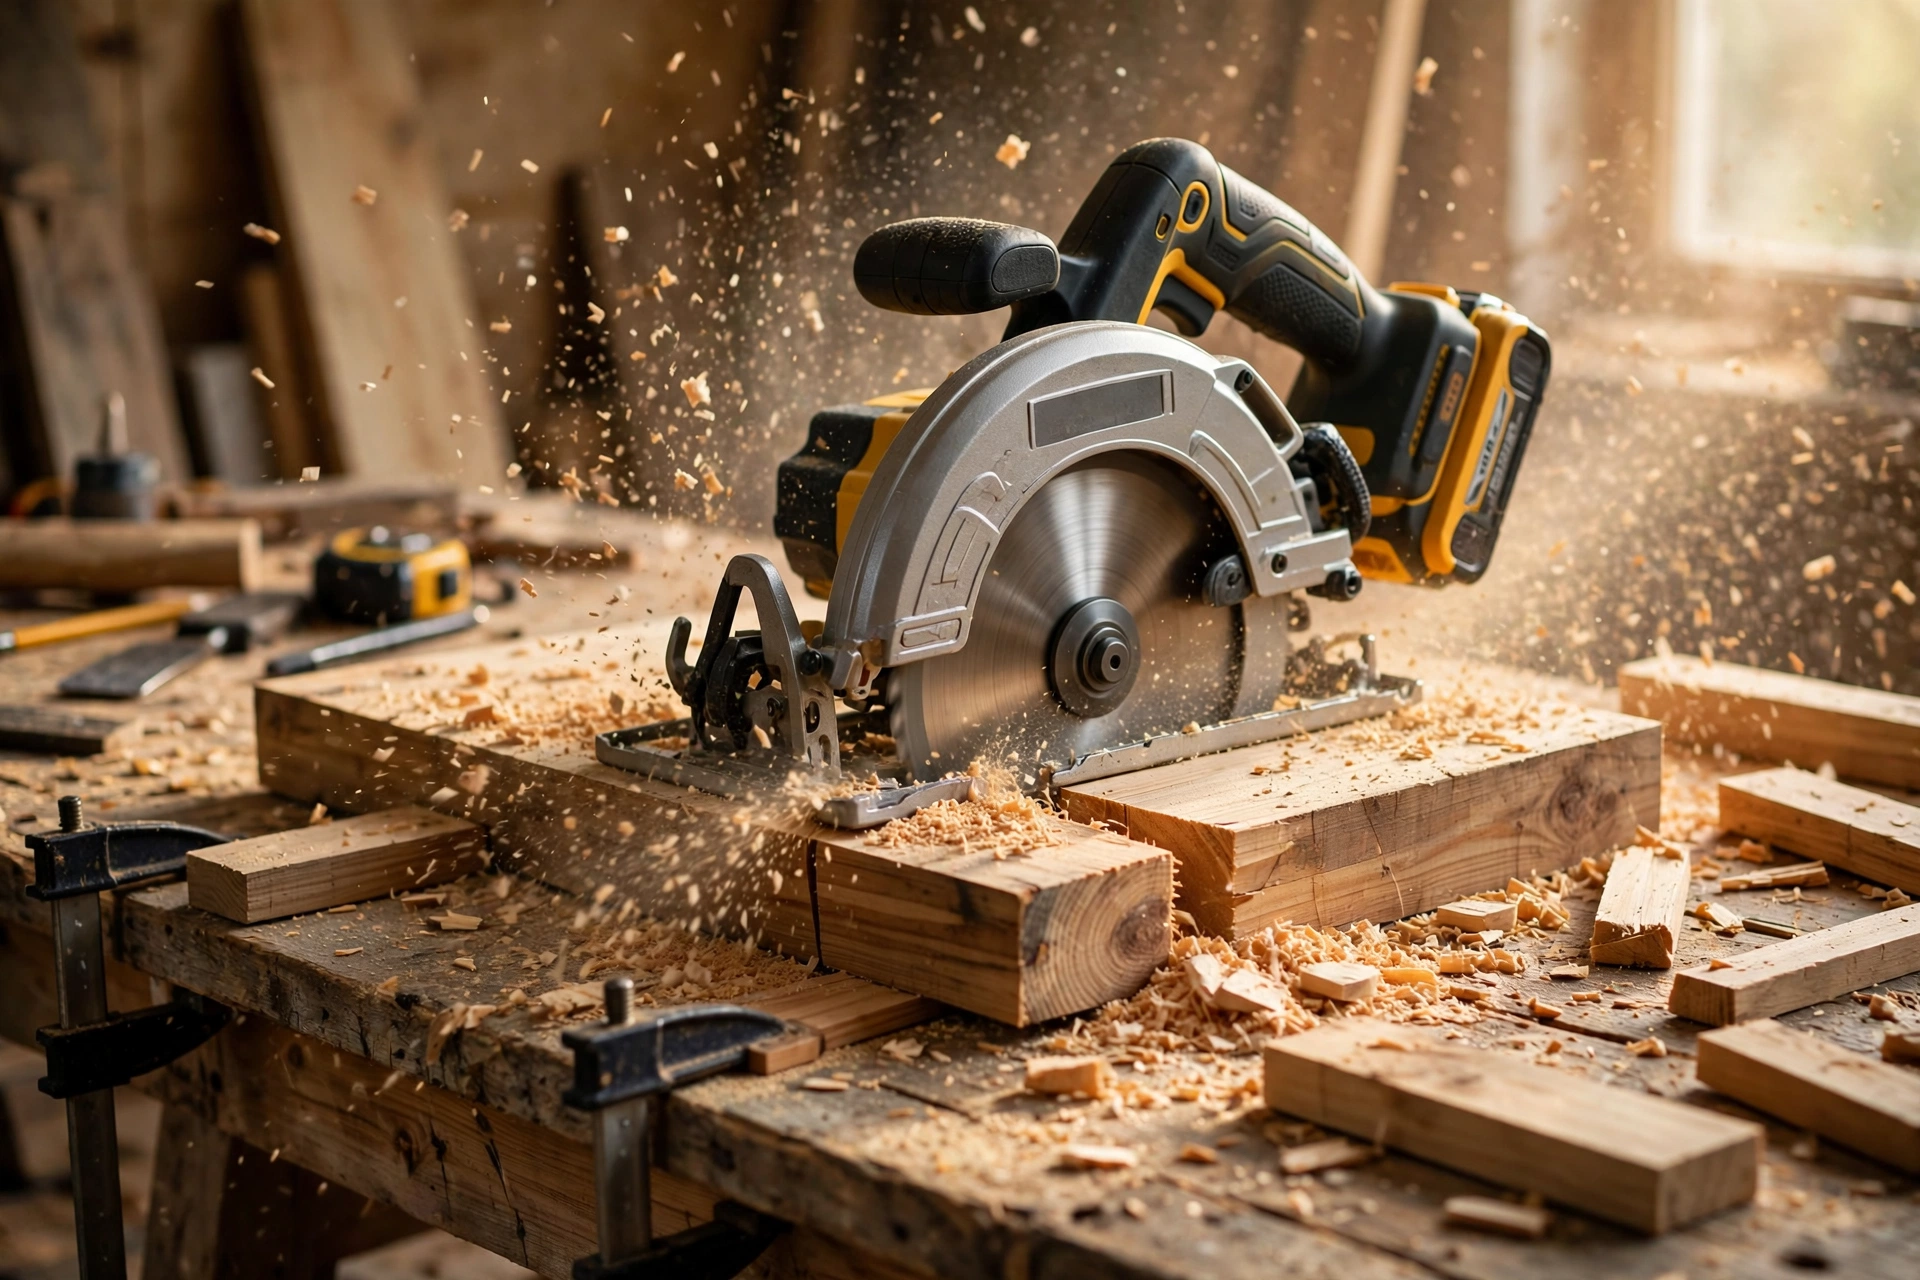
After every cut, check the end with your square. A cut that is even 2 degrees out of square will show up later as a wobbly joint, so re-cut any piece that is visibly off rather than hoping glue will hide it. It will not. Lightly sand the cut ends with 120-grit paper now — it is much easier than sanding them once the stand is assembled.
Step 2: Shape the Hanger Arm
The hanger arm is what makes a valet stand look like furniture instead of a coat rack. Draw a gentle shoulder curve on the 45 cm (18 inch) blank: mark the centre, then sketch a curve that dips about 2 cm (¾ inch) from the centre toward each end, so the top edge slopes like a coat hanger. Cut along the line with a jigsaw, then smooth the curve with 80-grit paper followed by 120-grit.
Round over all the edges of the arm with sandpaper — sharp edges crease jacket shoulders, and a softly rounded edge is kinder to fabric and feels better in the hand. If you do not own a jigsaw, you can skip the curve and simply round the ends; the stand will still work perfectly, it will just look a little more modern and minimal.
Step 3: Build the Base and Fit the Upright
The base is the foundation of the whole project, so build it first and build it square. Mark the centre of the base board and draw the footprint of the upright on it. Drill two 3 mm (⅛ inch) pilot holes through the base into the upright position, then spread wood glue on the mating faces, set the upright in place and drive two 5 cm (2 inch) screws up through the base into the upright.
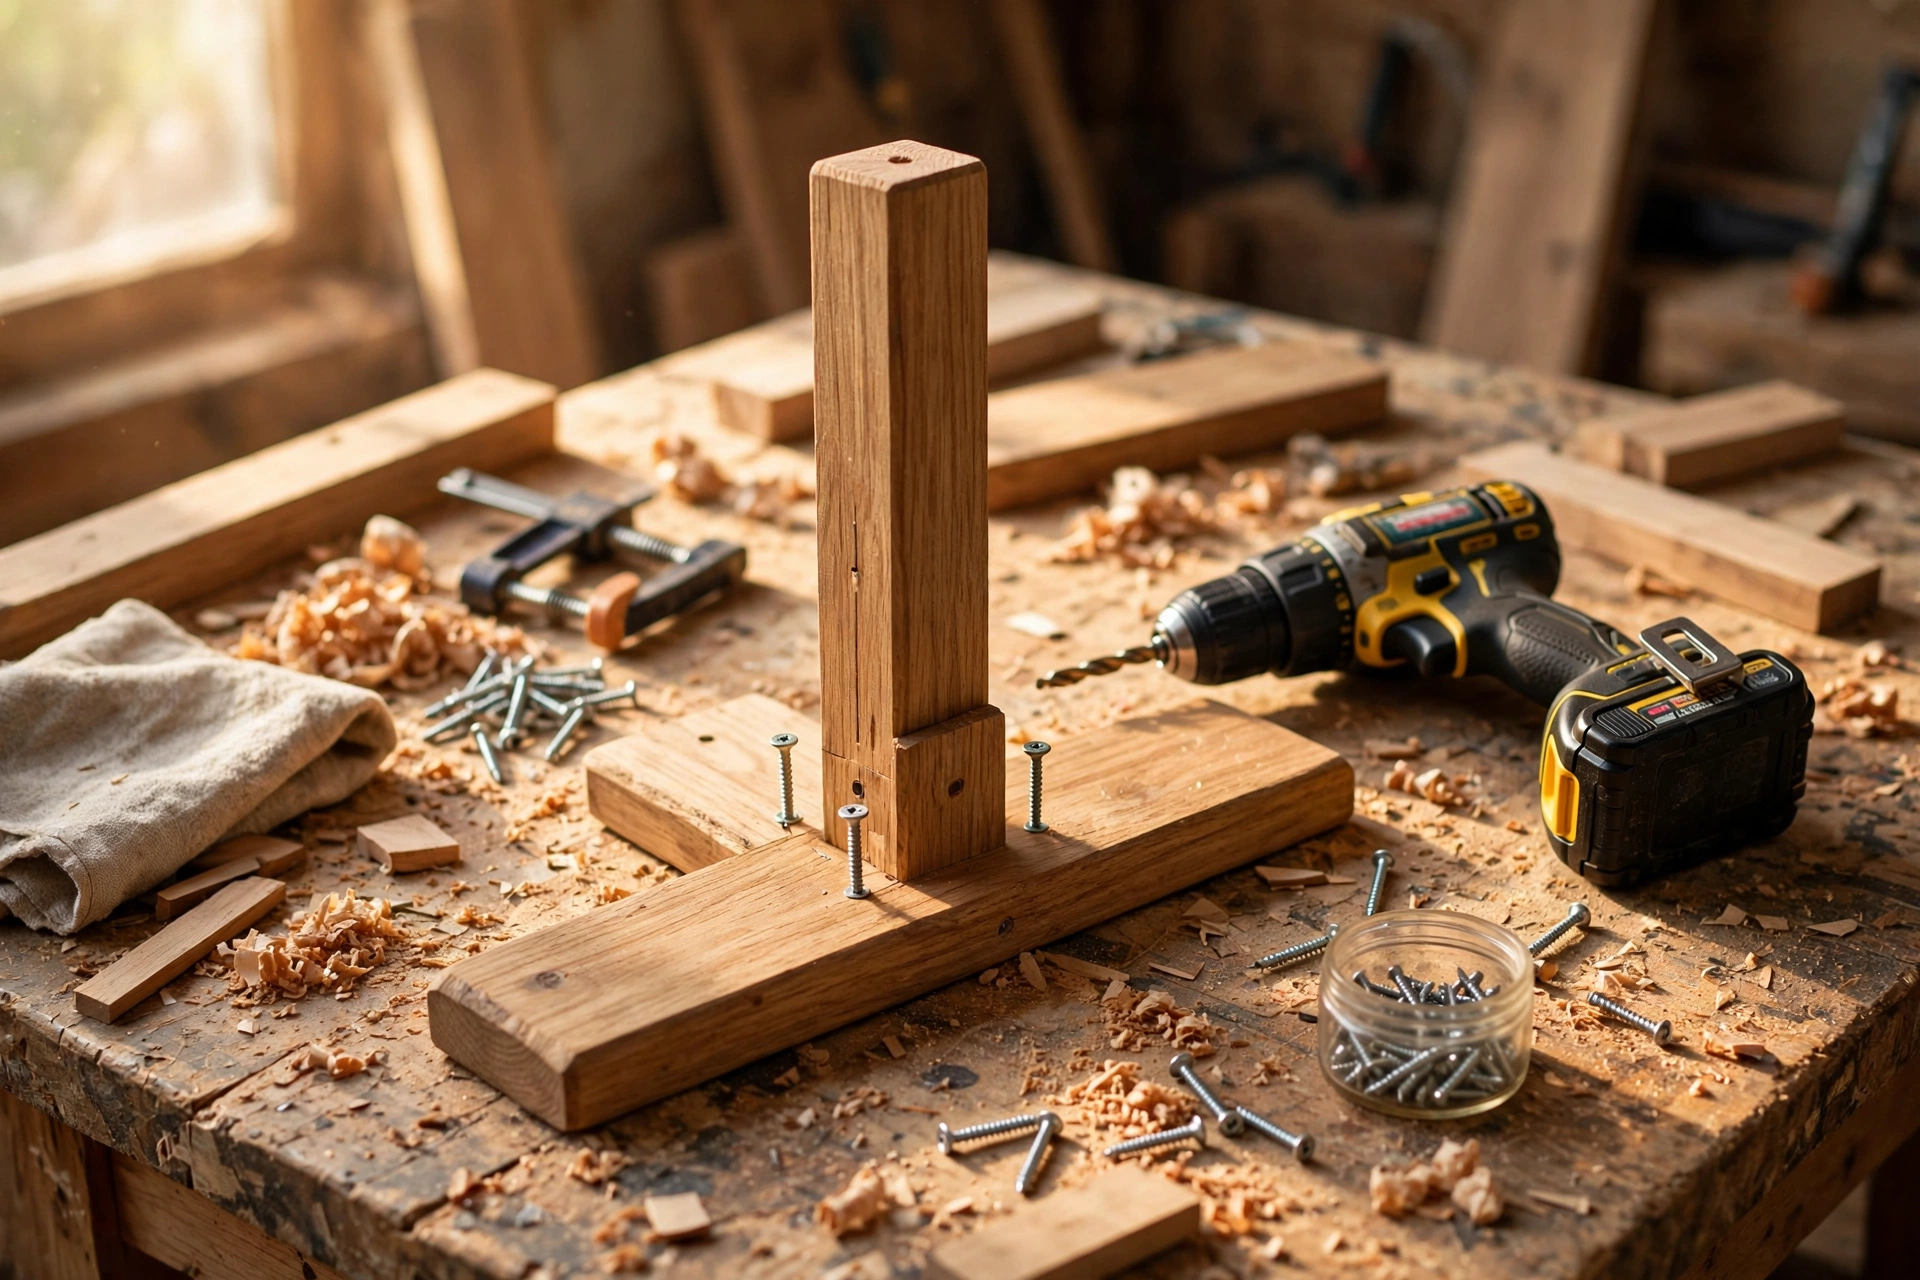
Check the upright with a square on two faces before the glue sets — it must be at 90 degrees in both directions. If it leans, tap it gently with a mallet and re-check. Leave the base and upright clamped or standing undisturbed for at least an hour while the glue cures. A small triangular support cleat or a pair of short diagonal braces between the upright and the base will add a lot of rigidity for very little effort; glue and screw them in now if you want a stand that never wobbles.
Step 4: Add the Trouser Bar and the Tray
Drill a 2.5 cm (1 inch) hole through the upright at 70 cm (27½ inches) from the floor for the trouser bar, or drill two shallow 12 mm (½ inch) sockets on opposite faces if you prefer a cleaner look. Slide the dowel through, centre it so about 25 cm (10 inches) sticks out on each side, and fix it with a dab of glue and one small screw from the back of the upright.
Next, fit the tray. Glue and screw the four lip strips around the tray bottom to form a shallow box, then attach the tray to the upright at about 25 cm (10 inches) from the floor using glue and two screws from the back, plus the small support cleat underneath. The lip is only 1.5 cm (⅝ inch) high, but it is enough to stop a watch or a set of keys sliding off. This is also the moment to think about what else the stand will hold — a second small hook on the upright for a belt or tie is a useful extra that costs nothing to add now.
Step 5: Joinery — Screws, Glue and Strong Joints
Beginners sometimes worry that screws and glue are “cheating” compared to traditional joinery. They are not — a glued and screwed joint, properly made, is stronger than the wood around it for a piece this size. The keys are pilot holes, glue coverage and clamping.
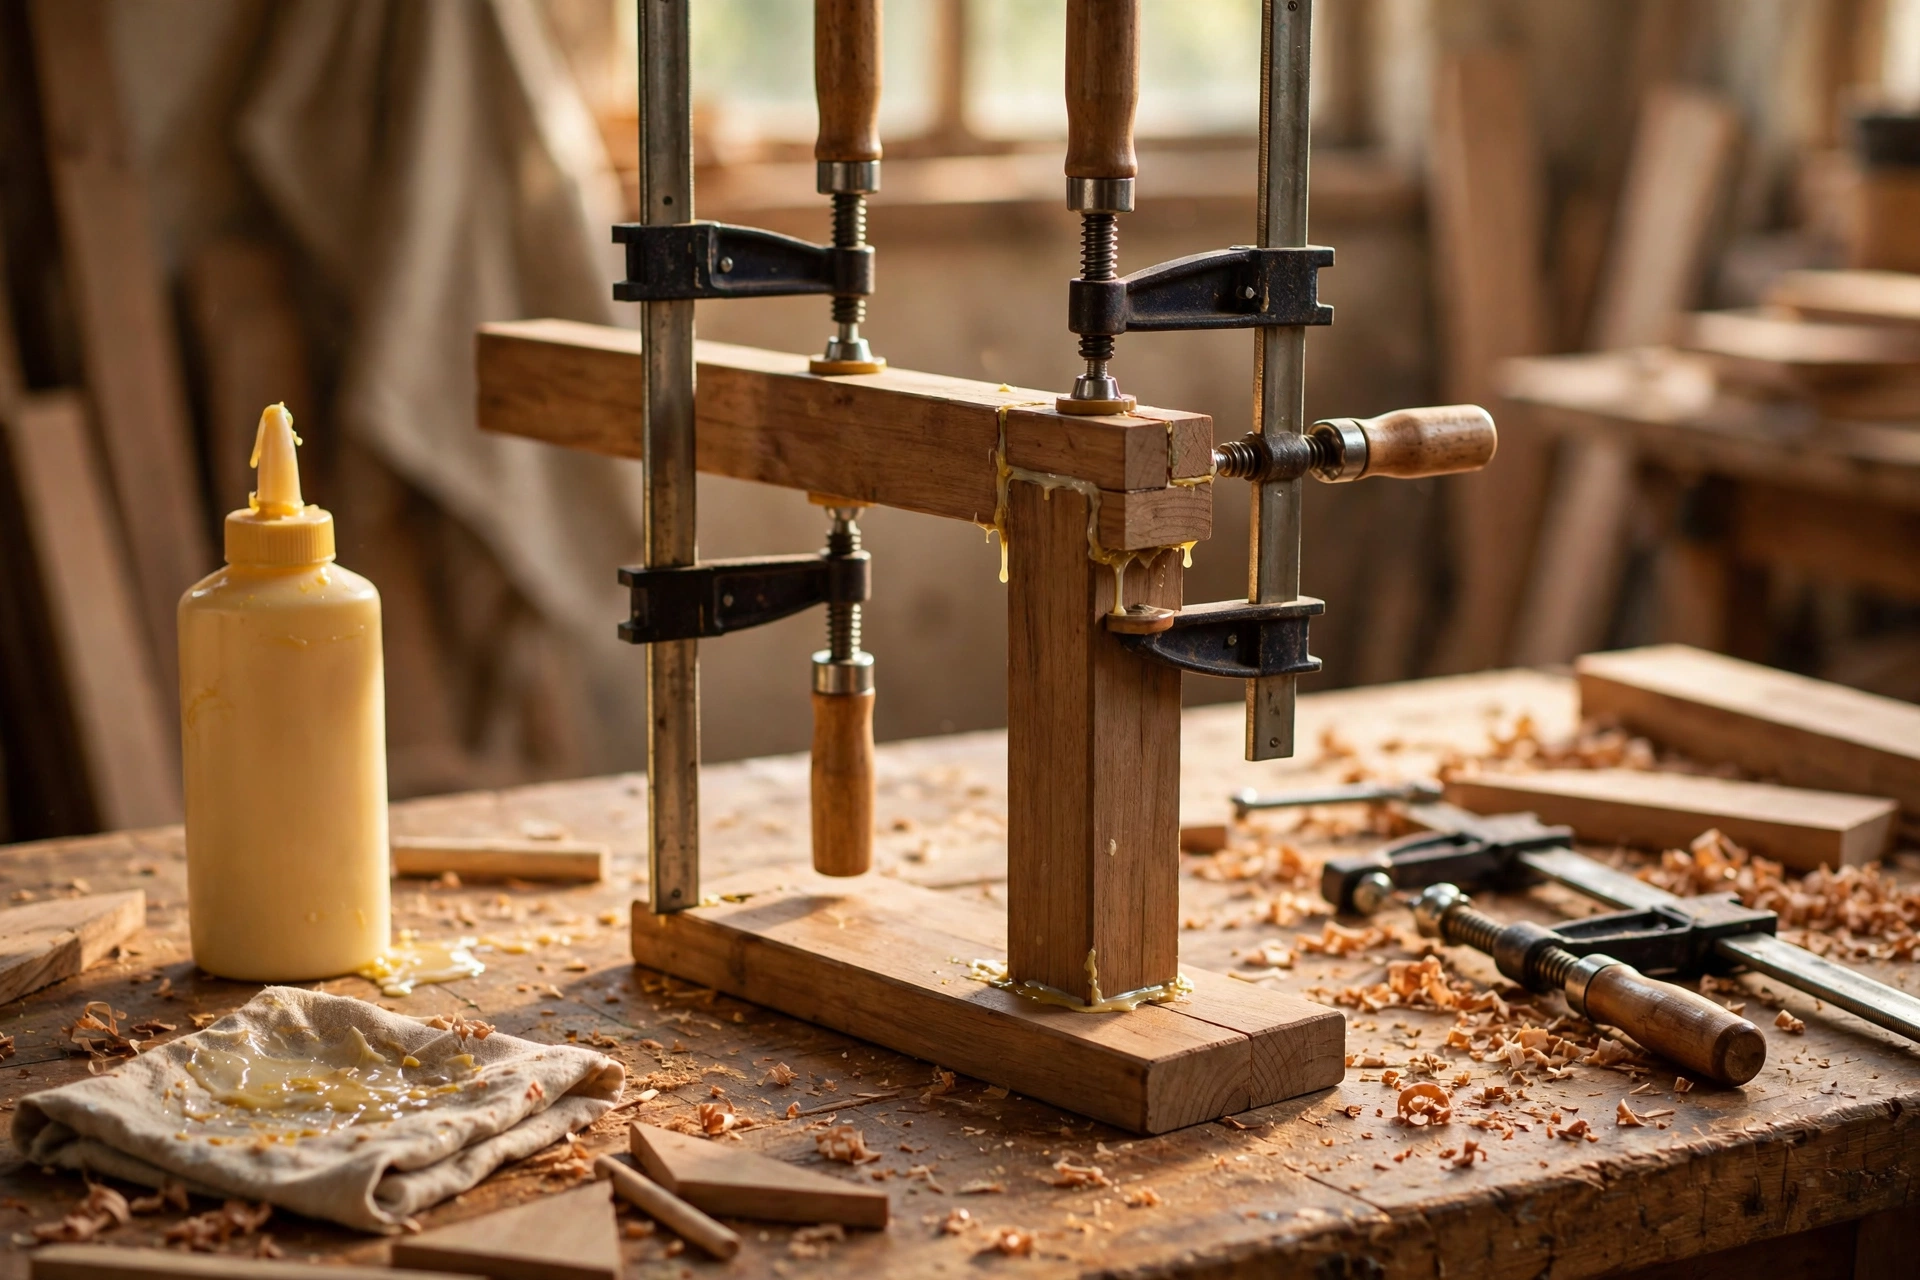
Always drill a pilot hole before driving a screw near the end of a board — it stops the wood splitting, which is the single most common beginner mistake. Spread a thin, even layer of glue on both faces, press the joint together, and clamp it for 30 to 60 minutes. Wipe away squeeze-out with a damp cloth before it dries, because dried glue blocks stain and oil and shows up as a pale blotch under the finish.
If you want to practise a more traditional joint, the upright-to-base joint is a good place to try a simple mortise and tenon, and the trouser bar can be fitted with a wedged through-tenon. Our guide to woodworking joinery types for beginners explains both in plain language, but neither is required — the screwed and glued version will serve you for years.
Step 6: Make It Stable
A valet stand fails in one way more than any other: it tips over when a heavy coat goes on one side. Test stability before you finish the wood. Hang your heaviest jacket on the arm, drape trousers on the bar, and push the stand gently from the side. It should feel planted.
If it rocks or tips, fix it now, not after finishing. The three reliable fixes are: widen the base by 5 cm (2 inches) in each direction, add a second crossed foot underneath the base at 90 degrees, or add weight low down — a steel plate or a bag of sand screwed under the base works well and stays invisible. Also check that the stand sits flat: if it rocks on a hard floor, sand the high corner of the base until all four corners touch. A stand that is stable empty will be stable loaded, but the reverse is never true.
Step 7: Sanding and Finishing
Sanding is where a beginner build starts to look professional, so do not rush it. Work through the grits in order: 80 to remove saw marks, 120 to smooth the surface, and 220 for the final pass. Always sand with the grain, never across it, and break every sharp edge slightly with the paper — a tiny round-over catches the light and feels far better in daily use.
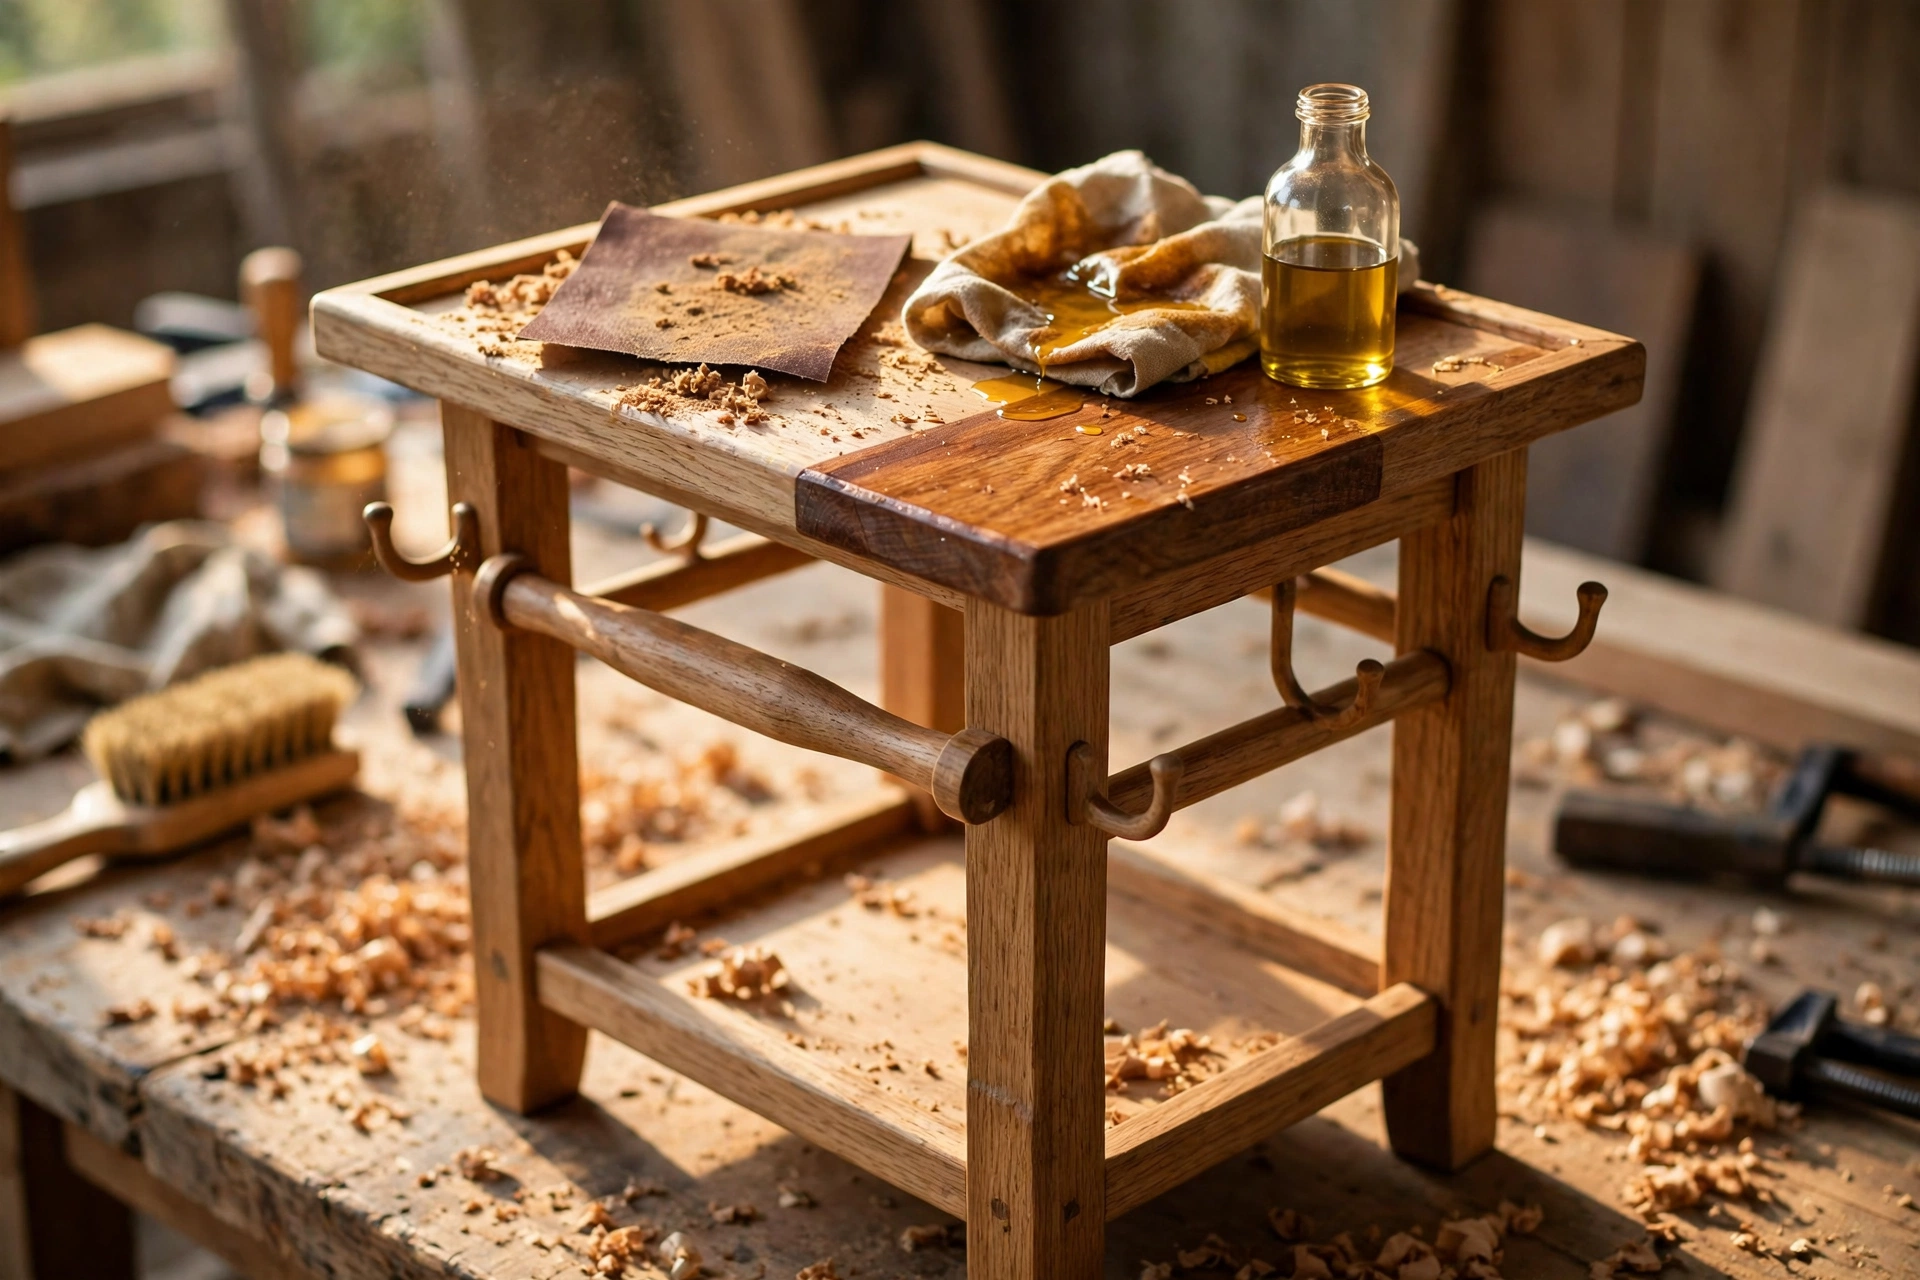
Vacuum or wipe off all dust with a tack cloth before finishing — dust trapped under oil becomes permanent texture. For a bedroom valet stand, Danish oil or hardwax oil is the best beginner finish: wipe it on with a cloth, wait 10 to 15 minutes, wipe off the excess, and repeat for two or three coats. It deepens the grain, feels like wood rather than plastic, and is easy to repair later with a light sand and another coat. Let the final coat cure for 24 hours before you load the stand with clothes.
How to Use and Style Your Finished Valet Stand
Place the stand near your wardrobe or bedroom door, where you naturally undress in the evening. Hang tomorrow’s jacket or shirt on the hanger arm, fold the trousers over the bar so the crease falls straight, and set your watch, wallet and keys in the tray. In the morning everything is in one place, unwrinkled, and ready in seconds.
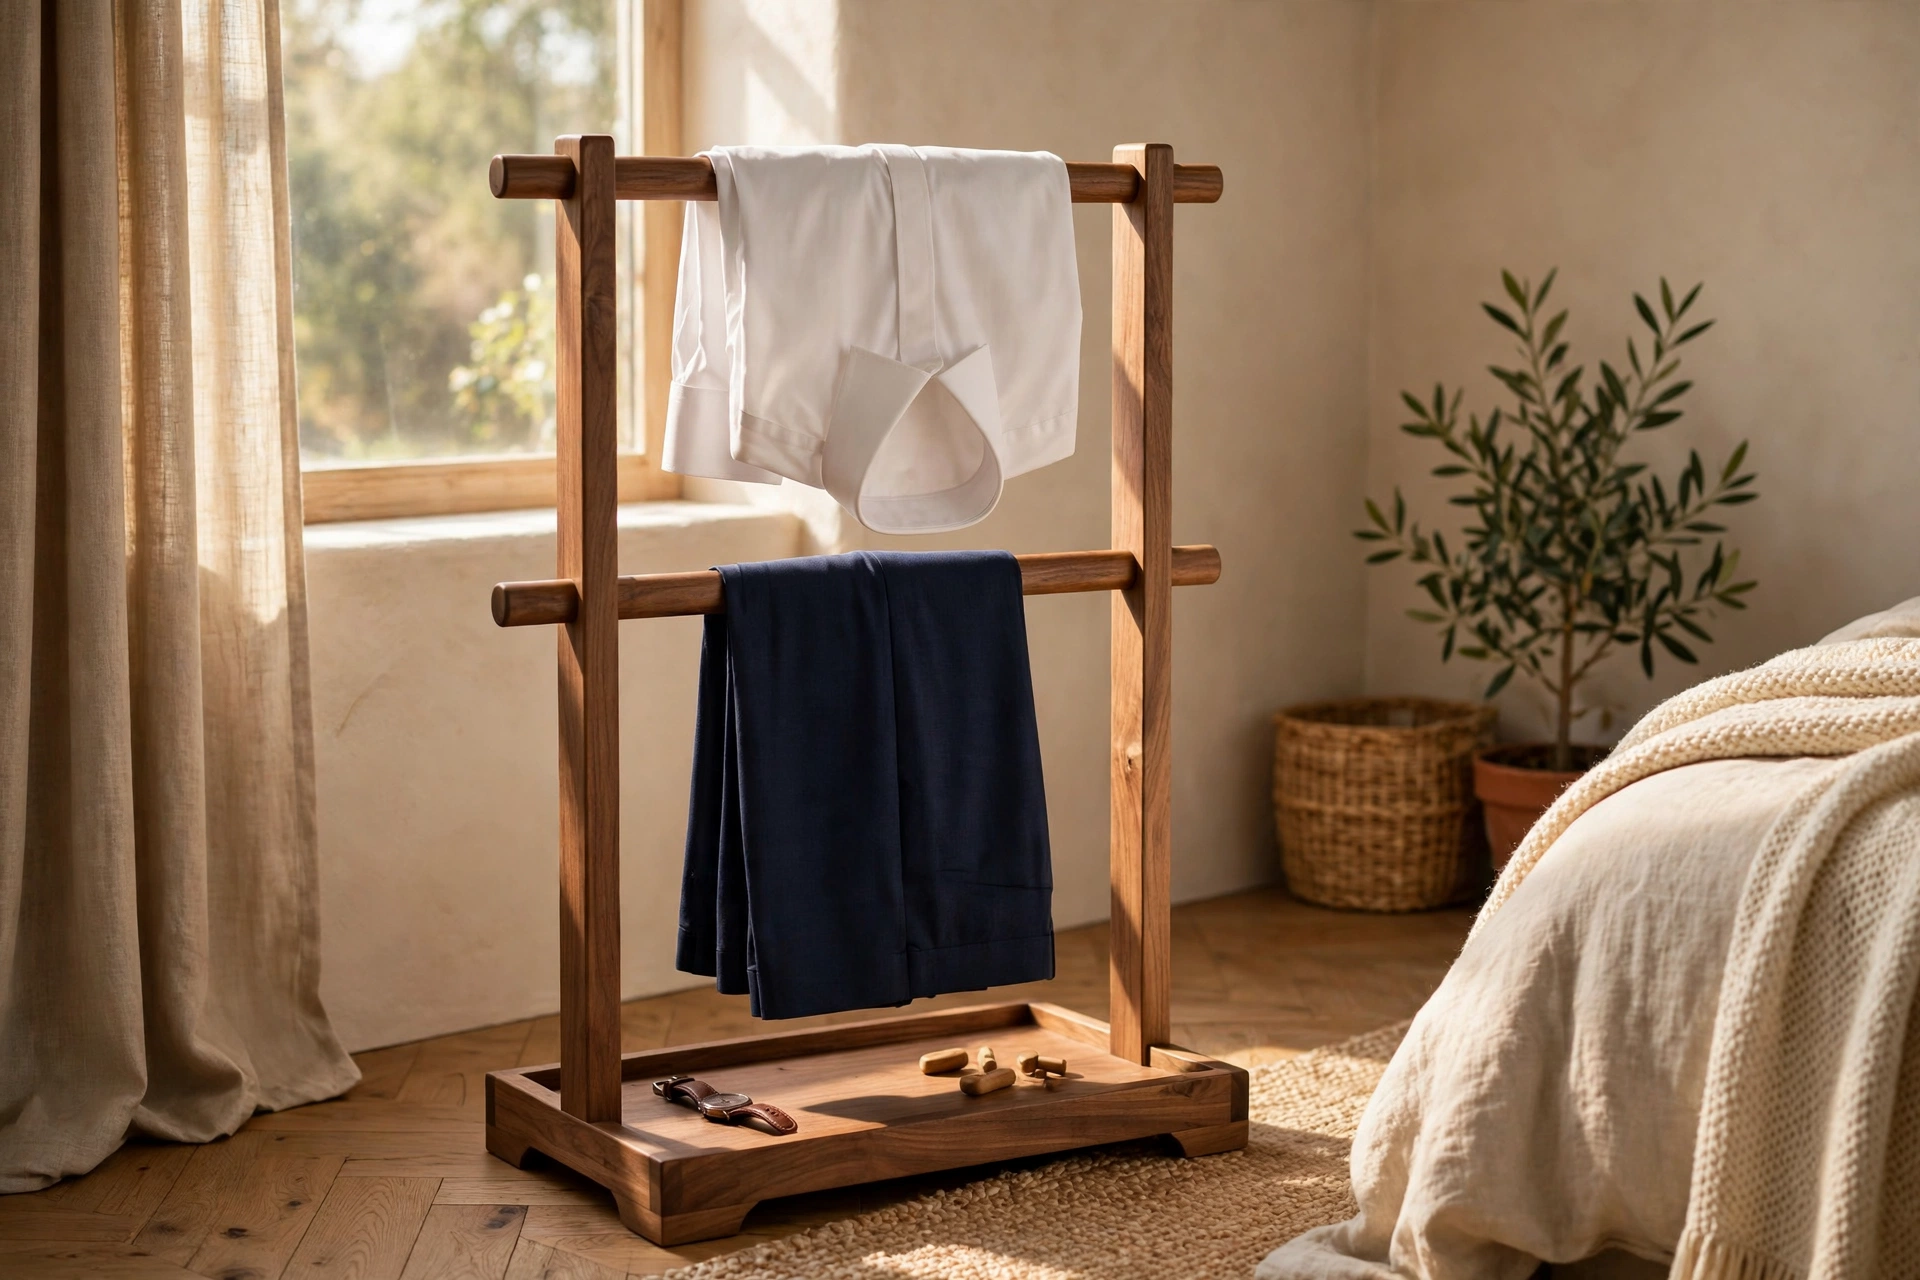
The same build makes a thoughtful gift — a valet stand is the kind of thing people never buy for themselves but use every single day. If you enjoy small bedroom furniture, our wooden nightstand for beginners uses the same core skills at a slightly larger scale, and a wooden jewelry box for beginners is a perfect companion project for the tray skills you just practised.
Common Mistakes to Avoid
- Skipping pilot holes: screwing straight into hardwood near an end grain almost always splits the board. Drill first, every time.
- A base that is too small: a narrow base looks elegant and tips over. Keep the base at least 45 cm (18 inches) long and 30 cm (12 inches) deep.
- Glue squeeze-out left to dry: dried glue shows as a pale patch under oil or stain. Wipe it off while it is wet.
- Sanding across the grain: cross-grain scratches show up clearly under a finish. Always sand along the grain.
- Finishing before a stability test: test the stand loaded with clothes first — fixing a wobble after oiling means sanding the finish off.
- Sharp hanger-arm edges: square edges crease jacket shoulders. Round the arm over properly.
- Rushing the glue cure: moving the stand before the glue has set weakens the joint. Give it at least an hour, ideally overnight.
Frequently Asked Questions
How long does it take to build a wooden valet stand?
For a beginner, plan on 3 to 4 hours of hands-on work spread over a day, plus drying time. Cutting and shaping takes about an hour, assembly about an hour, and sanding and finishing another hour. Glue needs at least an hour to cure and oil needs 24 hours before heavy use, so start on a Saturday morning and the stand is ready for Monday’s outfit.
What is the best wood for a beginner valet stand?
Oak is the best all-round choice for looks and durability, but pine or poplar is the smartest first build — both are cheap, easy to cut and sand, and forgiving of small mistakes. If the stand will hold heavy coats daily, choose oak or maple for the upright and base, and use pine only for the tray and smaller parts.
How much does it cost to build a wooden valet stand?
A hardwood version costs about $45 to $75, while a pine or poplar version costs $30 to $45. Most of that is the lumber; glue, screws, sandpaper and oil are shared workshop supplies that cost very little per project once you own them. A comparable shop-bought valet stand usually sells for $120 to $250, so the DIY version saves real money.
Can I build a valet stand without a power saw?
Yes. Every cut in this project is a straight crosscut, which a sharp handsaw and a mitre box can handle perfectly well — it just takes longer. A hand drill, sandpaper and a bit of patience replace the power tools entirely. The only step that is harder by hand is shaping the hanger arm curve, and you can simply round the ends instead.
How do I stop my valet stand from tipping over?
Keep the base wide — at least 45 × 30 cm (18 × 12 inches) — and add a second crossed foot or hidden weight under the base if it still feels tippy. Always test the stand with your heaviest coat on the hanger arm before finishing, and fix any wobble then rather than after the oil is applied.
What finish should I use on a bedroom valet stand?
Danish oil or hardwax oil is ideal for beginners: it is wiped on with a cloth, deepens the wood grain, feels natural to the touch and is easy to repair with a light sand and a fresh coat. Avoid thick varnish on your first build — it shows brush marks and drips far more easily than oil.
Recommended Products for This Project
As an Amazon Associate, I earn from qualifying purchases.

DEWALT 20V MAX Cordless Drill/Driver Kit (DCD771C2)
Drills clean pilot holes and drives screws straight into the upright and base, which is exactly what keeps this valet stand wobble-free.

Titebond III Ultimate Wood Glue 1413 (8 oz)
A waterproof, strong wood glue that bonds the upright, base and tray joints so the stand stays solid for years of daily use.
Amazon Basics 8-Piece Wood Chisel Set with Honing Guide and Sharpening Stone
Handy for cleaning up the hanger arm curve and paring the tray joints flush for a neat, professional-looking finish.

DEWALT Random Orbit Sander DWE6423, 5-Inch
Makes quick work of the 80-120-220 sanding sequence, leaving every surface smooth and ready for oil.

DEWALT Concealer Safety Goggles DPG82-11C
Protects your eyes from sawdust and flying chips during every cutting and sanding step of this build.


