
Every small woodworking shop has the same enemy, and it is not the tool that is too loud or the project that went wrong. It is the dust. Sanding a single cutting board can leave a fine layer of sawdust over your entire garage, and the particles you cannot see are the ones that matter most for your lungs. Professional dust collection systems solve this problem for $500 to $2,000, which is a tough sell when you are just getting started and your whole shop fits in a single-car garage.
Here is the good news: you can build genuinely effective DIY dust collection for a small workshop for under $50 per build, using a shop vacuum you probably already own and parts from a hardware store. In this guide you will find three proven builds, each with a real parts list, step-by-step instructions, honest cost estimates, and clear notes on what each one catches and where it falls short. Pick the one that matches your biggest dust problem, or combine all three and you will have a shop that stays clean enough to breathe easy.
If you are setting up your shop from scratch, read our guide to small garage workshop setup ideas alongside this one, and if your bench is not built yet, start with how to build a simple workbench for beginners so you have a solid station to work from. And when you are ready for the bigger picture, our pillar guide to easy woodworking projects for beginners that sell shows which projects fund your shop upgrades.
Why a Small Shop Needs Dust Collection More Than a Big One

In a big shop, dust spreads out. In a small shop, it concentrates. A one-car garage might hold 5,000 cubic feet of air, and a random orbit sander can fill a shocking share of that volume with fine dust in twenty minutes. There is nowhere for it to go, so it settles on your tools, your finish, your lungs, and everything you own.
Wood dust is not just a cleaning nuisance. Fine wood dust is a recognized respiratory irritant, and dust from hardwoods like oak, beech, and walnut has been classified as carcinogenic to humans by the International Agency for Research on Cancer. Even if you never develop anything serious, chronic exposure can cause nasal irritation, coughing, and eventually woodworker’s asthma or sensitization, where you start reacting to woods that never bothered you before. Dust from exotic species and MDF can be worse than pine, because MDF contains adhesives and releases extremely fine particles. This is why dust collection is a health investment first and a cleanliness investment second.
A small shop also punishes you at finish time. Dust in the air lands in wet finishes. If you have ever sprayed or brushed a coat of polyurethane in a dusty garage and watched it dry with little bumps in it, you already know this lesson. Cleaner shop air means smoother finishes, and smoother finishes mean projects that sell at better prices.
The three builds below cover the two kinds of dust you must fight: chips and coarse dust at the tool (captured at the source), and fine airborne dust floating in the room (scrubbed from the air). Builds 1 and 2 are source-capture separators that upgrade your shop vac. Build 3 is an ambient air cleaner that scrubs the fine stuff your separator misses. Used together, they are the classic small-shop dust strategy that woodworkers have relied on for decades.
What You Already Have (and Why It Is Not Enough)
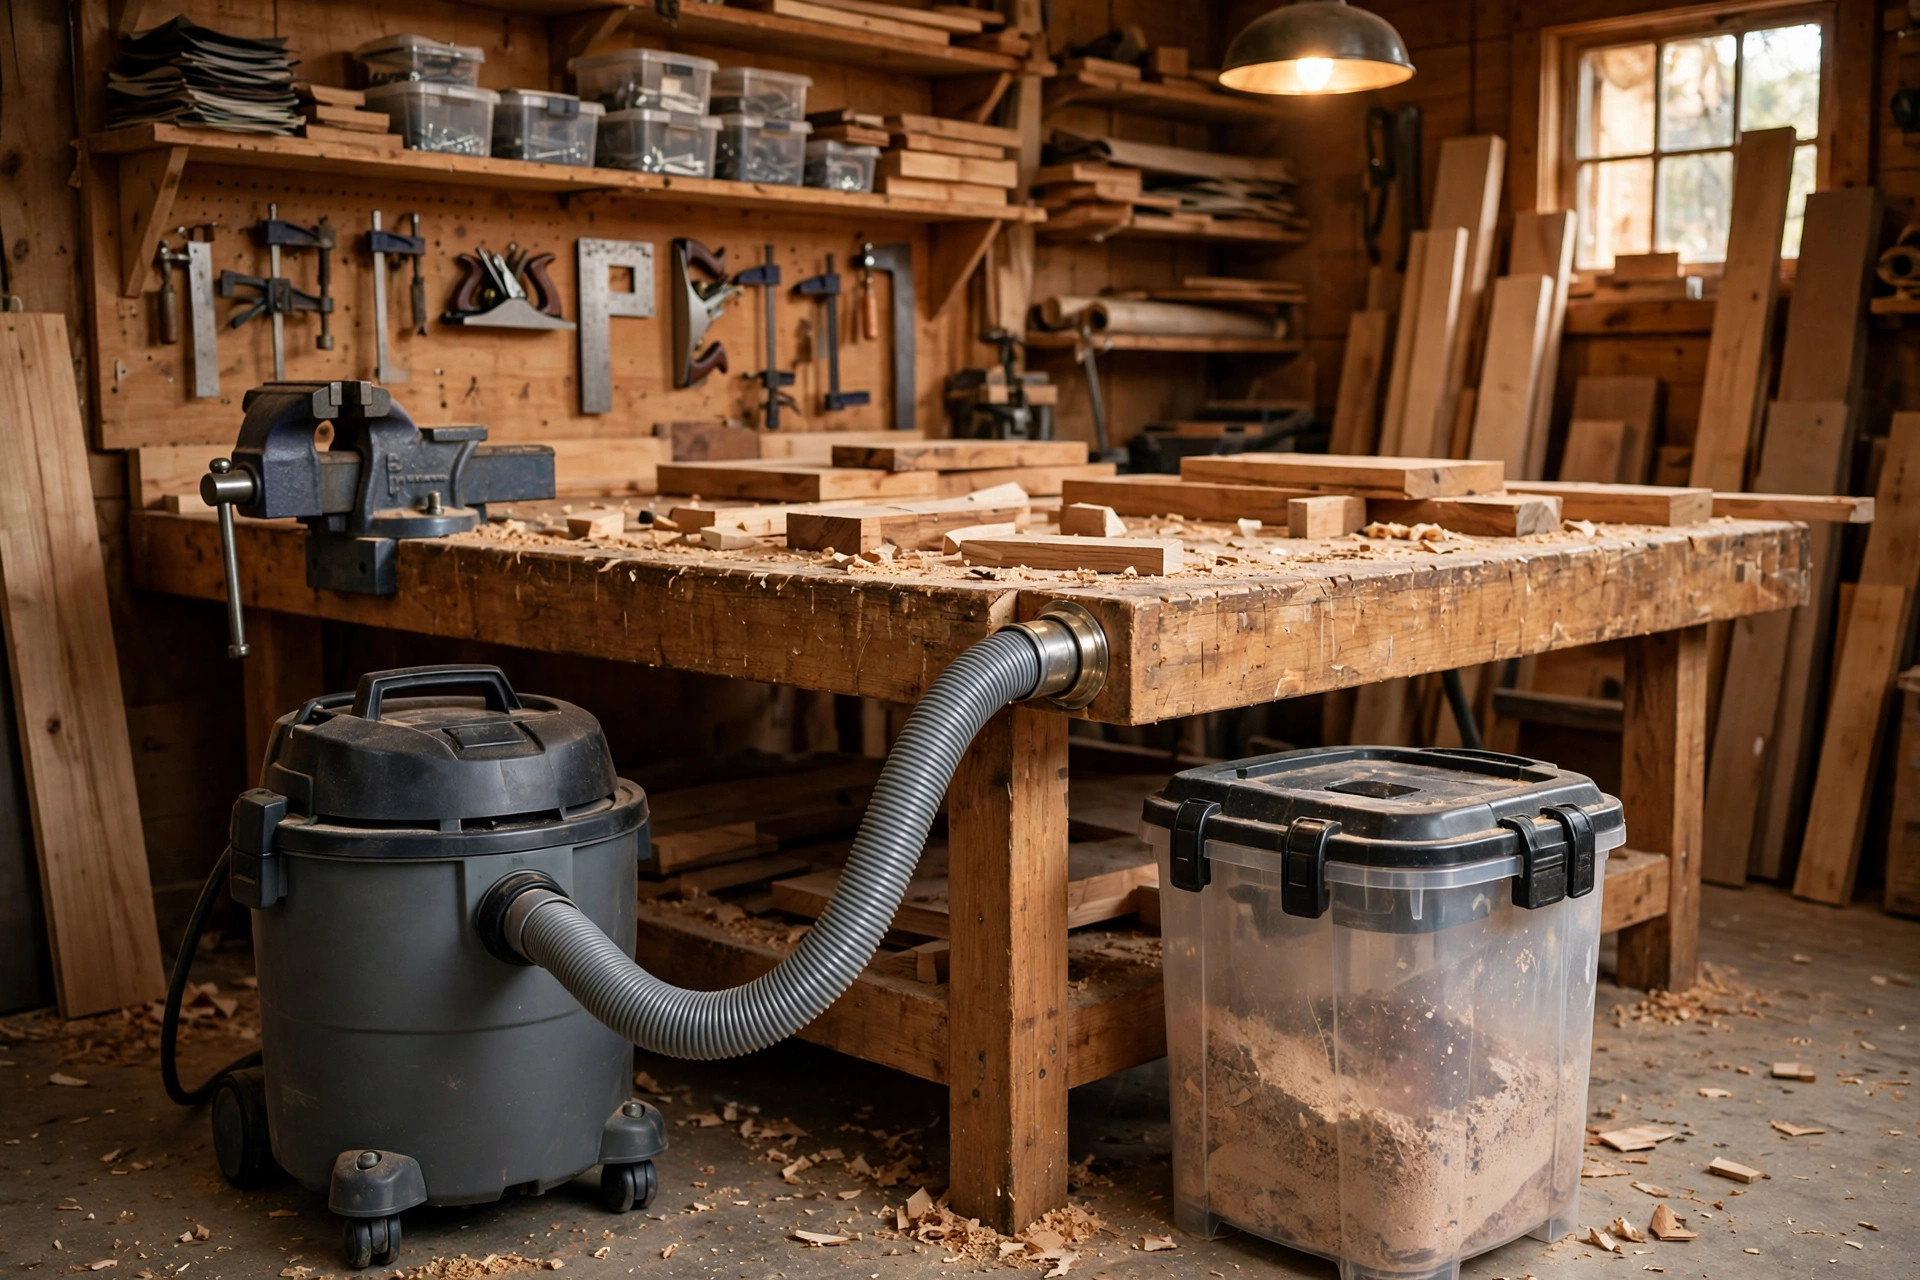
Most beginners start with a shop vacuum, and that is the right instinct. A shop vac is excellent at sucking up chips and coarse dust from a sander or a router. The problem is not the suction; it is the filter. Without a separator, every shaving goes straight into the vac, the filter clogs fast, suction drops, and the finest dust eventually passes right through a cheap filter and back into your room. You end up emptying a dusty bag or canister constantly, and you are still breathing the dangerous fine fraction.
The fixes below solve exactly this. A separator in front of the vac drops the bulk of the debris into a bucket before it ever reaches the filter, so the filter stays clean and suction stays strong. That is the single highest-value upgrade a small shop can make, and it costs less than a tank of gas.
Build 1: Shop-Vac Cyclone Separator Lid on a Bucket ($35-45)
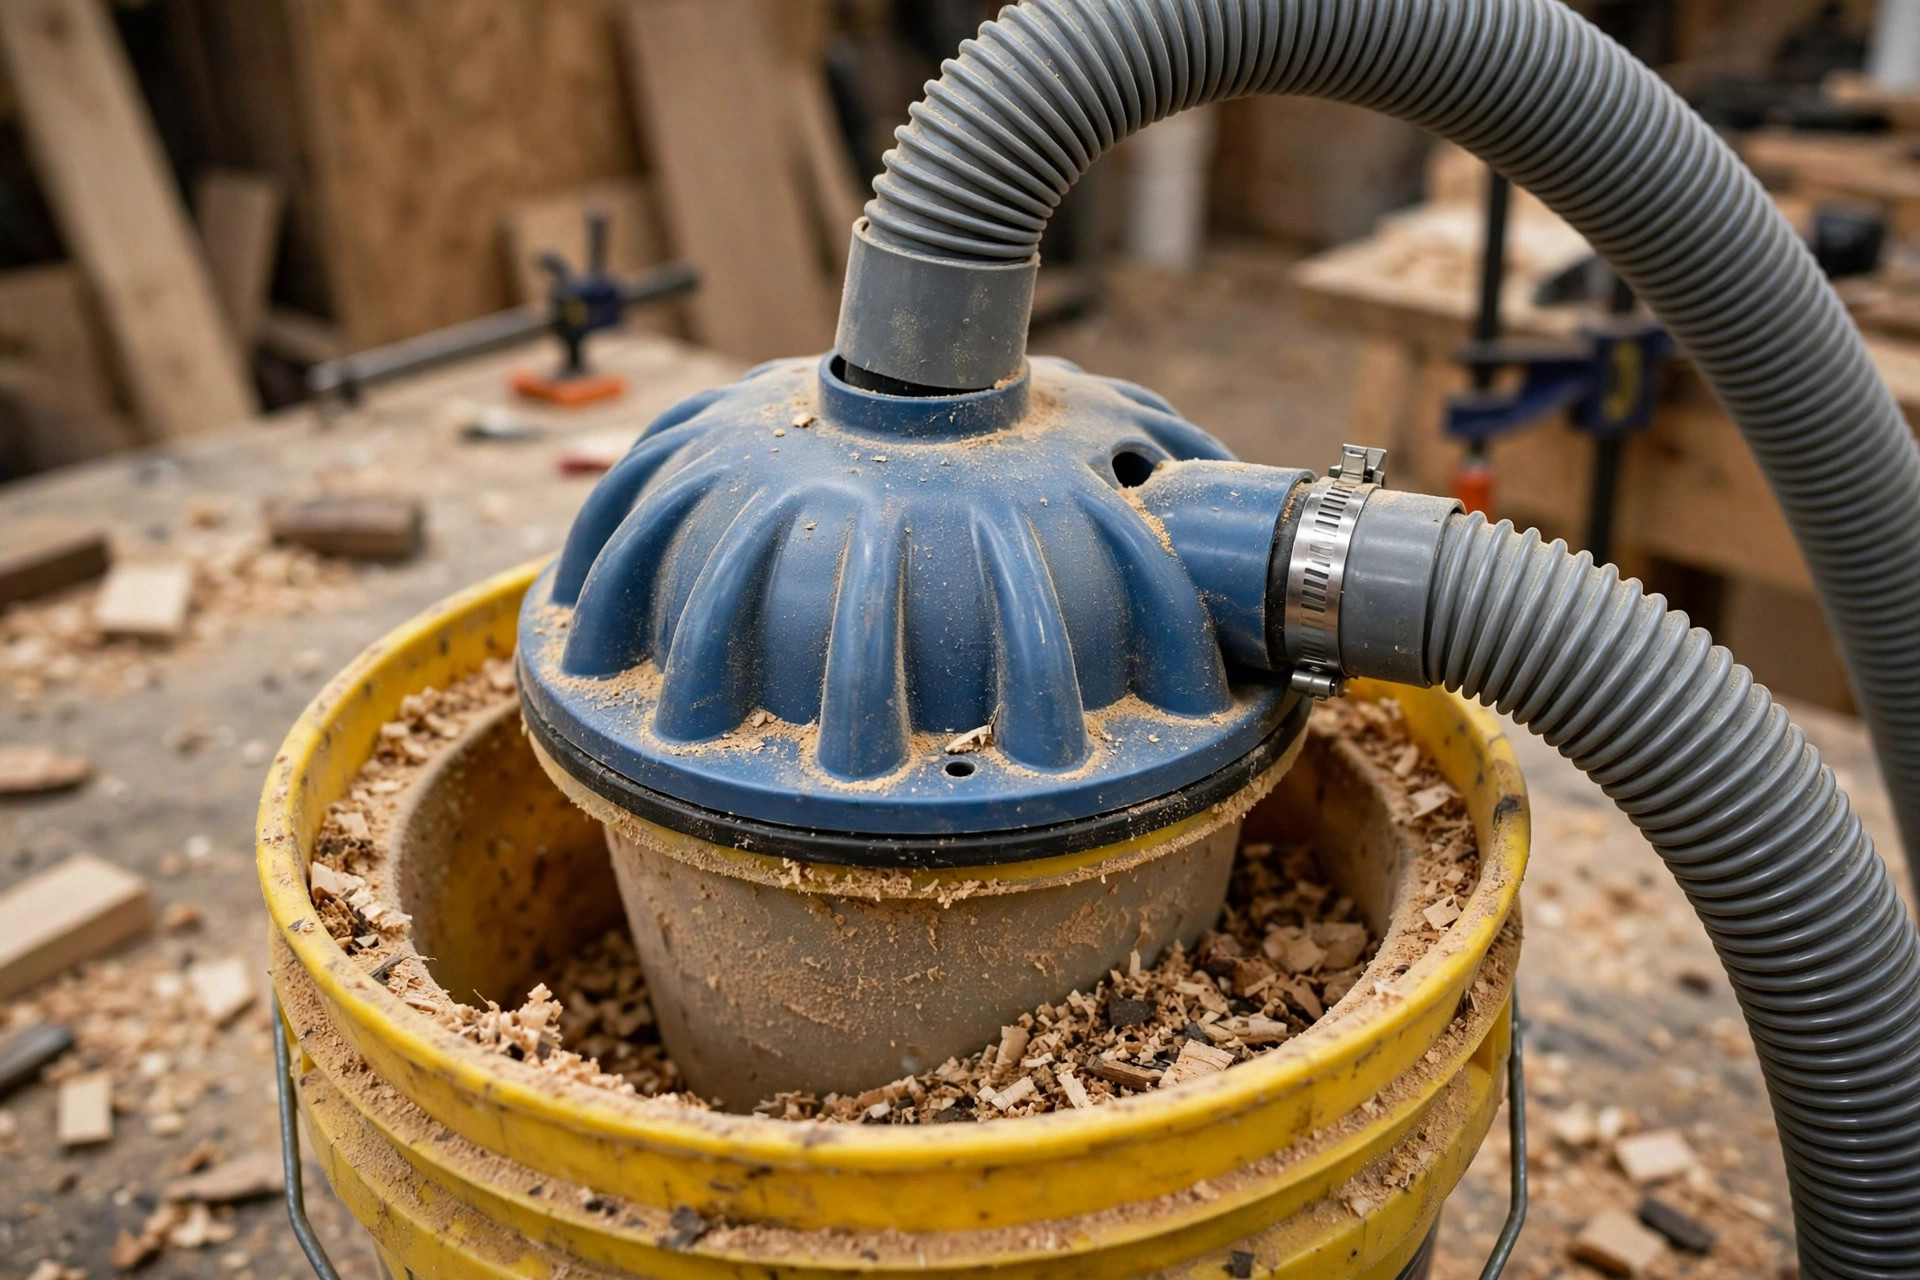
This is the most popular dust collection upgrade in small woodworking shops, and for good reason. A cyclone separator lid sits on top of a standard 5-gallon bucket. The shop-vac hose connects to one port on the lid, and the hose from your tool connects to the other. Incoming air spins inside the cone, centrifugal force throws the heavy chips and dust against the walls, and they drop into the bucket. Only the lightest, finest dust continues on to the shop vac. In real-world use, 90 to 99 percent of debris lands in the bucket instead of your vac filter.
The lid is the only specialty part. Budget cyclone lids cost around $20 to $30 at hardware stores and online. Pair it with a sturdy 5-gallon bucket and a couple of hose adapters and you are done.
Parts List
- Cyclone separator lid for 5-gallon buckets (budget model, about $20-30)
- One sturdy 5-gallon bucket with lid (about $4-6; food-grade buckets work fine)
- Shop vacuum you already own (not counted in the build cost)
- 2 hose adapters or rubber couplers to match your shop-vac hose diameter (about $4-6 each)
- Optional: weatherstrip or foam gasket tape for an airtight seal ($4)
Real cost estimate: $35-45 in new parts, assuming you own a shop vac and basic tools.
Step-by-Step Build
- Test-fit the lid. Set the cyclone lid on the bucket and press down. It should sit flat and seal against the rim. If it rocks, add foam gasket tape around the bucket rim. An airtight seal is the single most important detail of this build; leaks kill separation efficiency.
- Connect the shop vac to the lid outlet. Push the shop-vac hose onto the top port of the cyclone lid (usually the one on top or marked “outlet”). Snug it with a hose clamp or wrap a layer of tape if it fits loosely.
- Connect the tool hose to the lid inlet. Attach a second hose from the side port of the lid to your tool’s dust port. This is the hose that collects dust from your sander, router, miter saw, or planer.
- Match hose diameters. Many shop vacs use 2-1/4 inch or 2-1/2 inch hoses, while small sanders use 1-1/4 or 1-1/2 inch ports. Use rubber step-down adapters so every connection is snug. Loose connections leak suction and dust.
- Test the seal. Turn on the shop vac and run your hand around every joint. If you feel air hissing in anywhere except the tool end, seal it with tape or caulk. Then toss a handful of sawdust into the tool hose and watch: nearly everything should land in the bucket.
- Anchor the bucket. Suction can tip a light bucket. Place it on the floor next to the vac, and if it wanders, add a bag of sand or a scrap of plywood underneath. A dolly or wheeled base is a nice upgrade later.
What It Catches
Everything from planer shavings and router chips down to medium-fine sanding dust. Expect 90-99 percent of the mass of debris to land in the bucket. Your shop-vac filter stays dramatically cleaner, suction stays consistent for much longer, and you empty a bucket instead of fighting a dusty bag.
Limitations
- The very finest dust (the sub-micron fraction from power sanding) partially passes through to the vac filter. Use a HEPA-style or fine-dust-rated filter bag in the vac for this fraction.
- It adds one more thing on the floor. In a truly tiny shop, mount the bucket lid assembly on a small rolling cart so it tucks under your workbench between uses.
- Cheap lids sometimes warp in hot garages. Check the seal seasonally.
Build 2: Thien-Baffle Bucket Separator ($15-25)
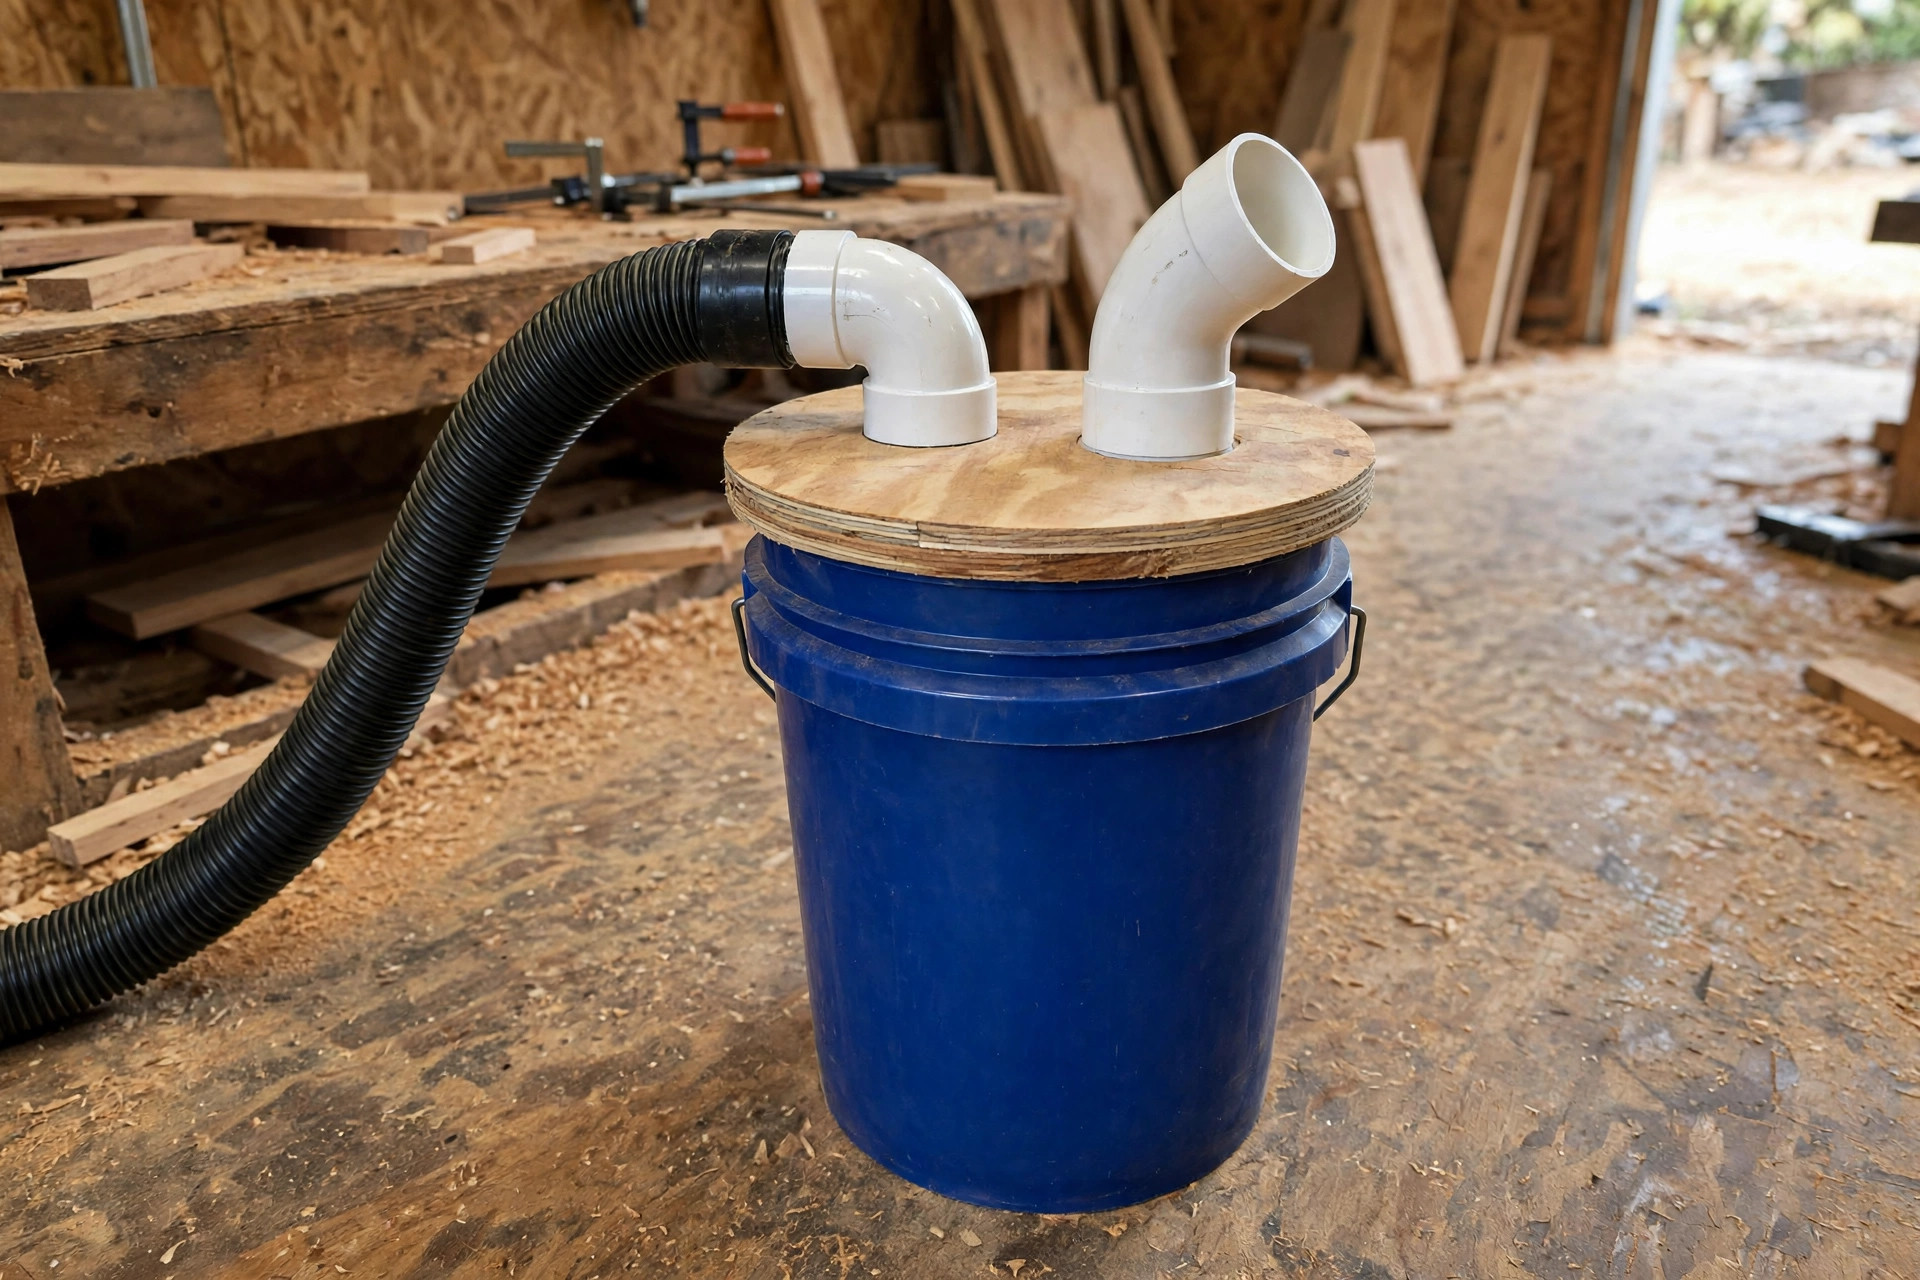
Named after woodworker Phil Thien, this is the all-scratch DIY separator. It uses no cone and no specialty parts, just a clever disc of plywood (the baffle) mounted inside a bucket lid that forces incoming air to swirl downward before it can exit. Chips and dust fall out of the airstream into the bucket, and the cleaned air leaves through the center. Separation efficiency is slightly lower than a real cyclone lid, but it costs less than half as much and works beautifully with a shop vac.
This is the build to choose if you are on the tightest budget, you already have scrap plywood, or you just enjoy making things instead of buying them.
Parts List
- One 5-gallon bucket with lid ($4-6)
- Scrap of 1/2-inch plywood big enough to cut a disc slightly smaller than the bucket diameter (free if you have scraps, like leftover pieces from easy scrap wood projects)
- Two 2-inch PVC elbows or toilet-flange connectors ($3-4 each)
- Silicone caulk or foam weatherstrip for sealing ($4-6)
- A few screws and small wood blocks to mount the baffle
- Your shop vac and tool hose (already owned)
Real cost estimate: $15-25 in new parts if you have plywood scraps and a shop vac.
Step-by-Step Build
- Cut the baffle disc. Measure the inside diameter of your bucket lid and cut a plywood disc about 1/4 inch smaller. This disc is the baffle; air will swirl in the gap between the baffle edge and the bucket wall.
- Cut the baffle slot. Cut a wedge or rectangular slot out of one side of the disc, roughly 120 degrees of the disc, with one end near the edge. Dust-laden air enters above the baffle, drops through the slot as it slows, and cannot easily climb back out.
- Drill the lid holes. Drill two holes in the bucket lid: one for the inlet elbow (offset toward the edge, angled so incoming air enters tangentially and swirls), and one for the outlet (centered over the baffle). Two-inch holes fit standard 2-inch PVC fittings snugly.
- Mount the elbows. Push a PVC elbow through the inlet hole with the inside end angled along the bucket wall so air spins. The outlet gets a short straight stub or elbow pointing down just above the baffle. Seal both with silicone caulk.
- Install the baffle. Mount the baffle disc 3-4 inches below the lid using small wood blocks and screws into the lid underside, leaving a uniform gap between the baffle edge and the bucket wall all around. Seal the blocks with caulk so air cannot short-circuit past the baffle.
- Connect and test. Shop vac goes to the center outlet, tool hose goes to the tangential inlet. Test with a pile of sawdust: most of it should stay in the bucket, and the vac filter should stay nearly clean.
What It Catches
Planer chips, router shavings, and the bulk of sanding dust. Efficiency typically runs 80-95 percent of debris mass, which is more than enough to transform how often you clean your shop vac.
Limitations
- More DIY fiddling than a ready-made cyclone lid. Getting the tangential inlet angle right takes some trial and error.
- The lid must seal perfectly or the baffle cannot do its job. If suction is weak, check for leaks first.
- Like the cyclone lid, it will not capture the finest airborne dust on its own; pair it with Build 3 or a good respirator for the fine fraction.
Build 3: Box-Fan and Furnace-Filter Air Cleaner ($25-35)
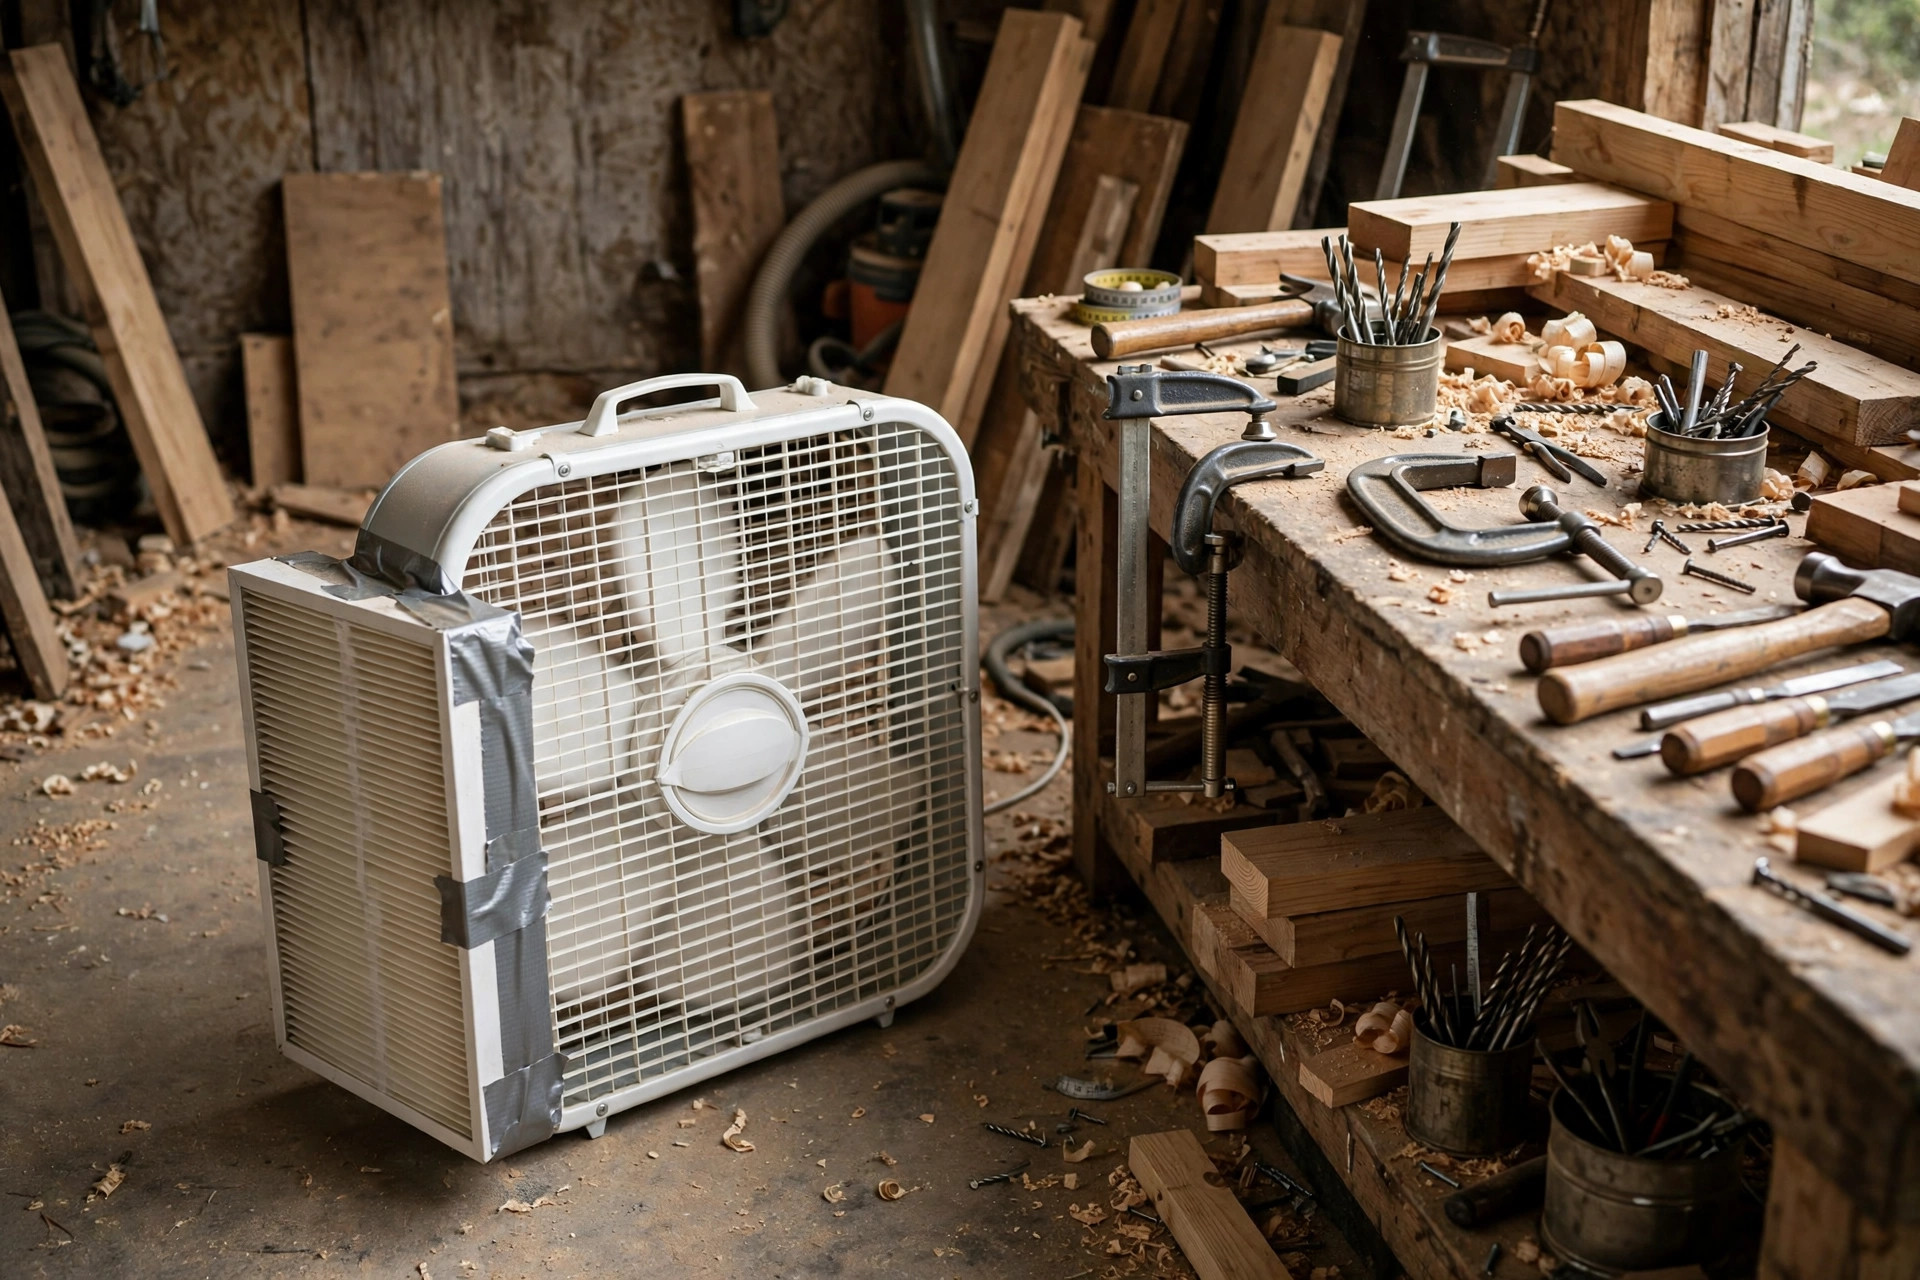
Builds 1 and 2 catch dust at the tool. This build catches the dust that escapes anyway: the fine airborne cloud that drifts off your sander and hangs in the room for hours. It is the famous box-fan air cleaner. A standard 20-inch box fan with a 20×20-inch furnace filter taped to the intake pulls room air through the filter and blows it back out clean. Run it while you work and for 30-60 minutes after you stop, and you will visibly reduce the dust haze in a small shop.
This will not replace source collection, but it is the cheapest way to scrub the fine dust fraction that is worst for your lungs, and every small workshop should have one.
Parts List
- One 20-inch box fan ($20-25; buy the cheapest one with a sturdy frame)
- One 20x20x1-inch pleated furnace filter, MERV 11-13 ($6-10). MERV rating matters: MERV 8 catches coarse dust, MERV 11-13 catches fine particles.
- Duct tape or a bungee cord ($0-5)
- Optional: a second 20×20 filter for the exhaust side, or a cardboard shroud around the fan frame to force all air through the filter
Real cost estimate: $25-35 for a single-filter build. Upgrade to two filters or a shroud for a few dollars more.
Step-by-Step Build
- Pick the right filter. Buy a 20x20x1 pleated filter rated MERV 11 or higher. Check the airflow arrow printed on the filter frame; it must point toward the fan, meaning air flows through the filter and then into the fan.
- Attach the filter to the intake. Set the box fan on a stable surface with the intake side up. Center the filter on the intake, arrow pointing into the fan, and tape all four edges to the fan frame with duct tape. There must be no gaps; air that bypasses the filter is air that stays dirty.
- Optional shroud. Cut a cardboard panel the size of the fan frame with a circle matching the fan blades, and tape it around the intake. This stops air from sneaking around the filter edges and noticeably improves performance.
- Position it well. Place the cleaner 3-6 feet from your sanding or routing area, with the filter side facing the work. For a whole-room scrub, put it in a corner so air circulates around the shop.
- Run it right. Turn it on high before you start making dust and leave it running 30-60 minutes after you stop. Fine dust takes a long time to settle; the cleaner keeps pulling it out of the air the whole time.
- Replace filters monthly (or when visibly loaded). A clogged filter barely filters. Mark the date on the filter frame with a marker so you remember.
What It Catches
Fine airborne dust, sanding haze, and the invisible PM2.5 fraction that separators miss. It will not pick up chips off the floor, but your lungs care far more about the floating stuff.
Limitations
- It is slow. A box fan moves maybe 1,500-2,000 CFM, so in a one-car garage it takes 20-40 minutes to scrub the room a few times over. Run it as a background companion, not as your primary defense.
- Higher-MERV filters restrict airflow more. MERV 13 on a cheap box fan can overwork the motor; if the fan gets hot, drop to MERV 11.
- This is ambient cleanup, not source capture. Never use it as an excuse to skip collecting dust at the tool.
Health and Safety: Fine Dust Is the Real Danger
Everything above reduces dust, but nothing in a DIY setup eliminates it, and the dust you cannot see is the dust that hurts you. Fine wood dust, particles under 10 microns (PM10) and especially under 2.5 microns (PM2.5), penetrates deep into the lungs. You do not need a laboratory to understand the risk: if your nose runs after sanding, you are already getting an irritant dose, and hardwoods, MDF, and some exotics are worse than softwoods. MDF dust carries formaldehyde-based resins, and exotic woods like cocobolo and padauk can cause allergic reactions on top of irritation.
So treat dust collection as one layer of a three-layer system:
- Collect at the source with Builds 1 or 2, so most dust never enters the room air.
- Scrub the room air with Build 3, so the escaped fine dust gets pulled out.
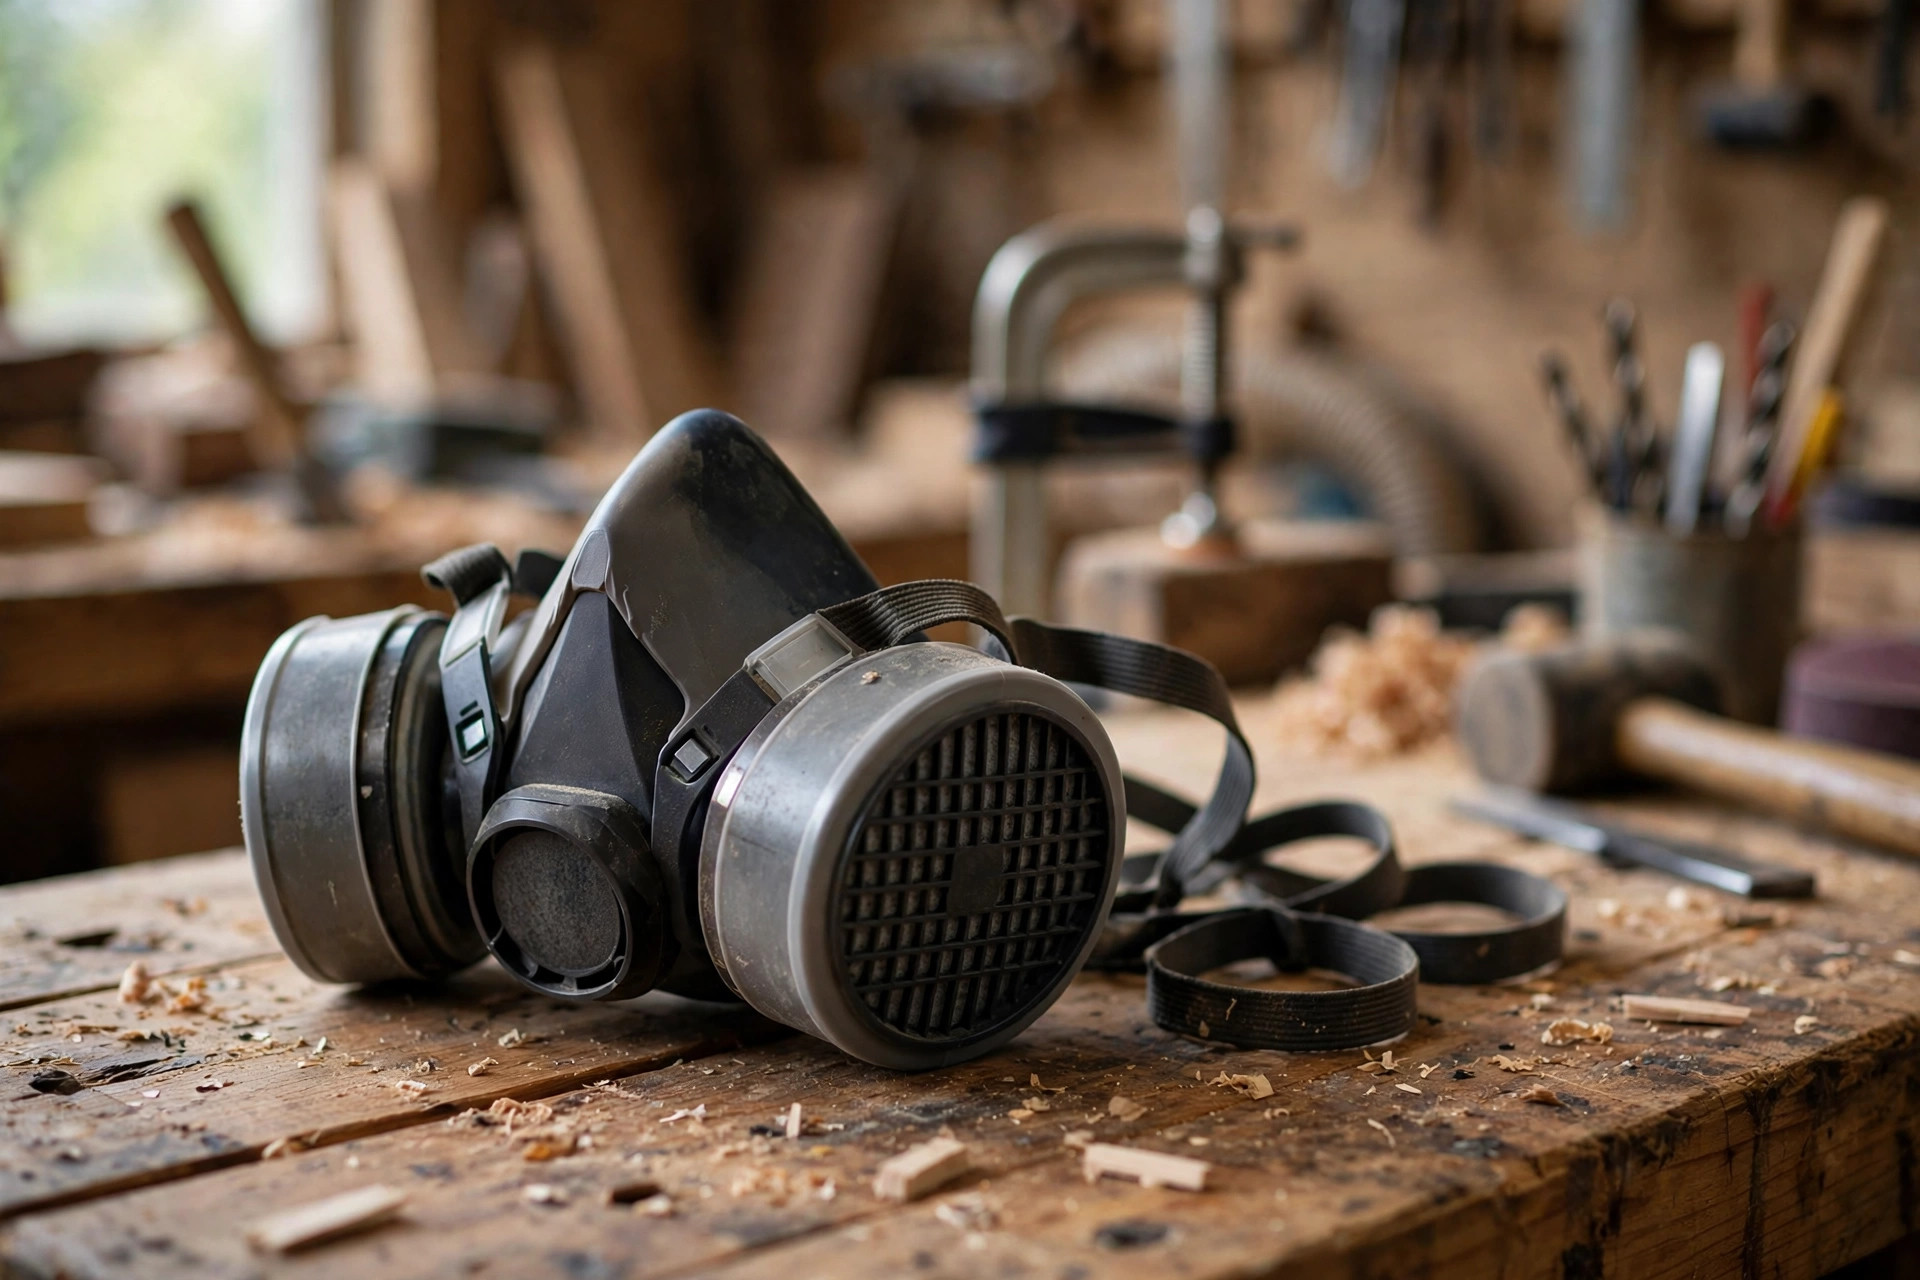
- Wear a respirator anyway for any power sanding, routing, or MDF work. A simple N95 dust mask is the minimum; a half-face respirator with P100 filters is the gold standard for shop work and costs around $25-35. It is reusable, seals far better than a paper mask, and makes sanding genuinely comfortable.
Additional safety notes that beginners often miss: never use compressed air to blow dust off your clothes or skin without a respirator on, because it launches the fine fraction straight into your breathing zone. Do not sand with the garage door fully closed; some fresh-air exchange helps, though keep it modest so you are not fighting your own airflow. Empty dust buckets outdoors or into a bag with the lid closed, and never near the box-fan cleaner that is trying to scrub your air. Finally, wood dust is combustible. Clean dust off motor housings and lights, and never let a pile of fine dust accumulate near heaters or open flames. A small shop is not just a dust trap; it is a tighter space around heat sources, so keep them clear.
Mistakes to Avoid
Skipping the airtight seal. Every separator build in this guide lives or dies on airtight connections. A single leaky joint can cut separation efficiency in half, and beginners almost always underestimate how much suction escapes through a loose hose fit. Test every joint with your hand and seal what leaks.
Using hose that is too long. A 20-foot hose looped across the garage looks convenient and works terribly. Every extra foot of hose and every bend steals suction. Keep hose runs short, straight, and as wide as your tool ports allow. Move the vac and separator to the work instead of stretching the hose to the work.
Choking the tool port with the wrong adapter. Adapters that step a 2-1/2 inch hose down to a 1-1/4 inch sander port are necessary, but they restrict airflow. Accept the restriction, but do not add more: avoid stacking adapters and avoid corrugated hose where a smooth connection fits.
Relying on the box fan alone. The box-fan cleaner is wonderful background help and terrible primary protection. If all you do is scrub room air, the cloud at your tool stays in your face for the entire cut. Source capture first, ambient cleaning second, respirator always for dusty tasks.
Forgetting static electricity. Plastic buckets, PVC pipe, and dry dust build static charges. In a small shop the risk is mainly annoying shocks, but wood dust is combustible, so ground your setup: run a bare copper wire from the metal parts of your separator and hose to a known ground, or at least touch a grounded surface before handling fine dust. Do not skip this if you ever work with very fine dust or flammable finishes.
Letting the bucket overfill. When the bucket fills to the lid, debris stops separating and goes straight into the vac. Check the bucket before every session and empty it when it is two-thirds full. This one habit protects everything downstream.
Never replacing the box-fan filter. A filter that is caked solid filters almost nothing. Hold it up to a light; if you cannot see light through it, replace it. Monthly replacement in a busy small shop is realistic and cheap.
Maintenance Tips That Keep Everything Working
Good dust collection is mostly about small, regular habits rather than big projects. Empty the separator bucket when it reaches two-thirds full, and inspect the lid gasket every month; foam tape compresses over time and needs occasional replacement. Wash or replace your shop-vac filter per the manufacturer’s schedule, and switch to a fine-dust or HEPA-style filter bag if your vac supports one. Check hose ends for cracks, because flexing hoses eventually split at the cuffs. For the box-fan cleaner, mark the filter install date and replace it monthly, and vacuum the fan blades when you change the filter so buildup does not throw the fan off balance. Twice a year, wipe down the outside of your tools and motor housings with a damp cloth instead of blowing them off, which just redistributes the fine dust. If you choose the best wood for beginner woodworking projects carefully, you will also produce less hazardous dust in the first place, since softwoods and domestic species are generally gentler than exotics and MDF.
Cost Breakdown Per Build
| Part | Source | Est. Price |
|---|---|---|
| Cyclone separator lid (budget model) | Hardware store / online | $20-30 |
| 5-gallon bucket with lid | Hardware store | $4-6 |
| Hose adapters / rubber couplers (2) | Hardware store | $8-12 |
| Foam gasket tape (optional) | Hardware store | $4 |
| 2-inch PVC elbows (2, Thien build) | Hardware store | $6-8 |
| Silicone caulk (Thien build) | Hardware store | $4-6 |
| Plywood baffle (Thien build) | Scrap / leftover wood | $0-5 |
| 20-inch box fan | Hardware / discount store | $20-25 |
| 20×20 pleated furnace filter, MERV 11-13 | Hardware store | $6-10 |
| Duct tape / bungees | Hardware store | $0-5 |
| Shop vacuum | Already owned | $0 |
Which Build Should You Choose?
| Build | Est. Cost | Dust Captured | Build Difficulty | Best For |
|---|---|---|---|---|
| Shop-vac cyclone lid | $35-45 | 90-99% of debris mass | Easy (buy the lid, seal it) | Beginners who want maximum effect fast |
| Thien-baffle separator | $15-25 | 80-95% of debris mass | Medium (DIY plywood work) | Tight budgets and DIY enthusiasts |
| Box-fan air cleaner | $25-35 | Fine airborne dust only | Easy (tape filter to fan) | Every small shop, as a companion to source capture |
If you can only build one thing, build the cyclone lid separator. It transforms your shop vac from a filter-clogging chore into a reliable dust collector. If you sand a lot, add the box-fan cleaner next. If you enjoy the build as much as the result, the Thien baffle is a satisfying weekend project that works nearly as well for half the money. The ideal small-shop setup is a separator plus the air cleaner plus a respirator, all for under $120 total, which is still a fraction of a commercial system.
Frequently Asked Questions
Is DIY dust collection good enough for a small workshop?
Yes, for a hobbyist or beginner working a few hours a week. A separator in front of a shop vac plus an ambient air cleaner captures the large majority of dust at the source and scrubs the fine dust from the room. It will not match a commercial 2HP dust collector with 4-inch ducting, but it solves the real health and cleanliness problems in a one-car garage shop. Wear a respirator for sanding and you are in genuinely good shape.
Do I need a cyclone lid, or will the Thien baffle work as well?
The Thien baffle works surprisingly well, typically within 5-15 percent of a budget cyclone lid’s separation efficiency. The cyclone lid is easier because it is one ready-made part, while the Thien baffle rewards careful building and a perfect seal. If money is tight or you like making things, build the Thien baffle. If you want the fastest path to a working setup, buy the cyclone lid.
What MERV rating should my box-fan filter be?
MERV 11 to 13 is the sweet spot for a box-fan cleaner. MERV 8 filters are too coarse for fine wood dust. MERV 13 catches the finest particles but restricts airflow more, which can strain a cheap box fan motor. If the fan runs hot or slows noticeably with MERV 13, step down to MERV 11. Never stack more filters than the fan can handle.
How often should I empty the separator bucket?
Empty it when it is about two-thirds full, and check it before every work session. If the bucket fills to the lid, separation stops working and debris goes straight into your shop vac. The whole point of the separator is protecting the vac filter, and an overflowing bucket defeats it instantly.
Can I use these builds with a miter saw or table saw?
Yes, with realistic expectations. Hook the separator’s tool hose to the tool’s dust port with an adapter, and you will capture a large share of the dust a miter saw or table saw throws at the port. But these tools fling a lot of dust away from the port, especially miter saws. Position the box-fan cleaner nearby to catch what escapes, and wear your respirator. For heavy stationary-tool dust, a dedicated dust collector is eventually the right upgrade.
Is wood dust really dangerous, or is that overblown?
It is genuinely hazardous with chronic exposure. Hardwood dust is a classified carcinogen, fine dust irritates the lungs and can trigger asthma or sensitization over time, and MDF dust carries adhesives that make it worse than plain wood dust. Occasional light exposure with a mask is low risk, but years of unprotected sanding in a closed garage is not a gamble worth taking. Build the cheap systems, wear the respirator, and the risk drops enormously.


