
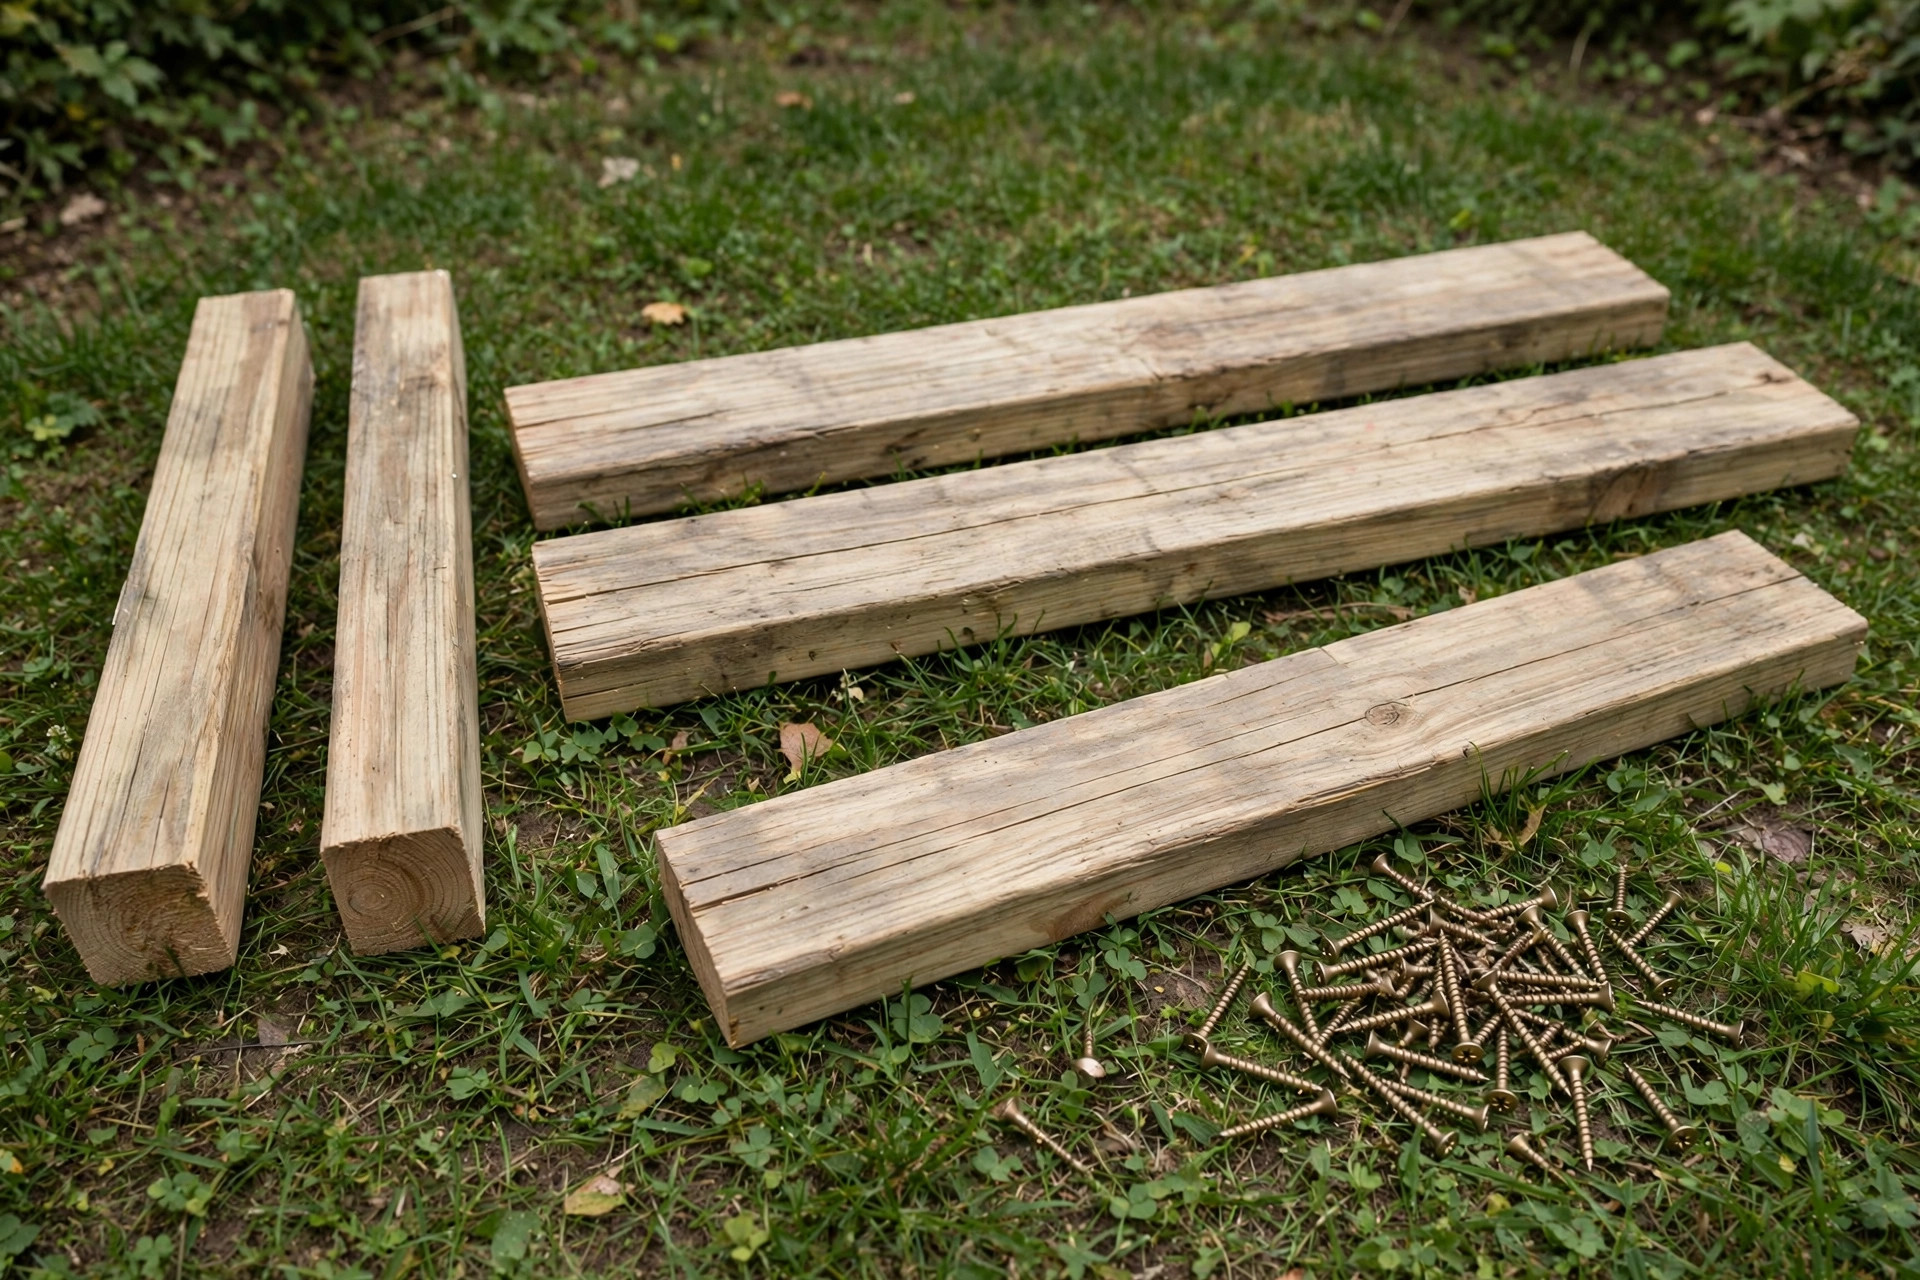
A garden bench is the outdoor project that teaches beginners the most for the least money: a few 2x4s, a box of exterior screws, and a weekend are enough for a seat that will last years outside. Learning how to build a simple garden bench for beginners means learning the three decisions that decide whether an outdoor bench survives or sags: how long the seat can span without support, how high the seat should sit, and which wood and finish can stand up to rain. This guide builds a backless 2×4 bench about 120 centimetres long and 45 centimetres tall — a comfortable sitting height, a span that needs no centre leg, and a design simple enough that every cut is a straight 90-degree cut.
Backless is a deliberate beginner choice. A backrest adds angled cuts, back supports, and slat spacing that complicate a first outdoor build, while a backless bench is just two leg frames joined by seat boards — and it doubles as a side table, a plant stand, or extra seating pulled up to a fire pit. If you want a backrest later, this bench’s leg frames can be extended upward, but build the backless version first and learn how an outdoor seat behaves through a season of weather before you add complexity.
If this is one of your first builds, start with the pillar guide to easy woodworking projects for beginners that sell to see where a garden bench fits among the best beginner projects, then come back here for the full measured build.
Seat Height and Span: The Two Numbers That Decide Comfort
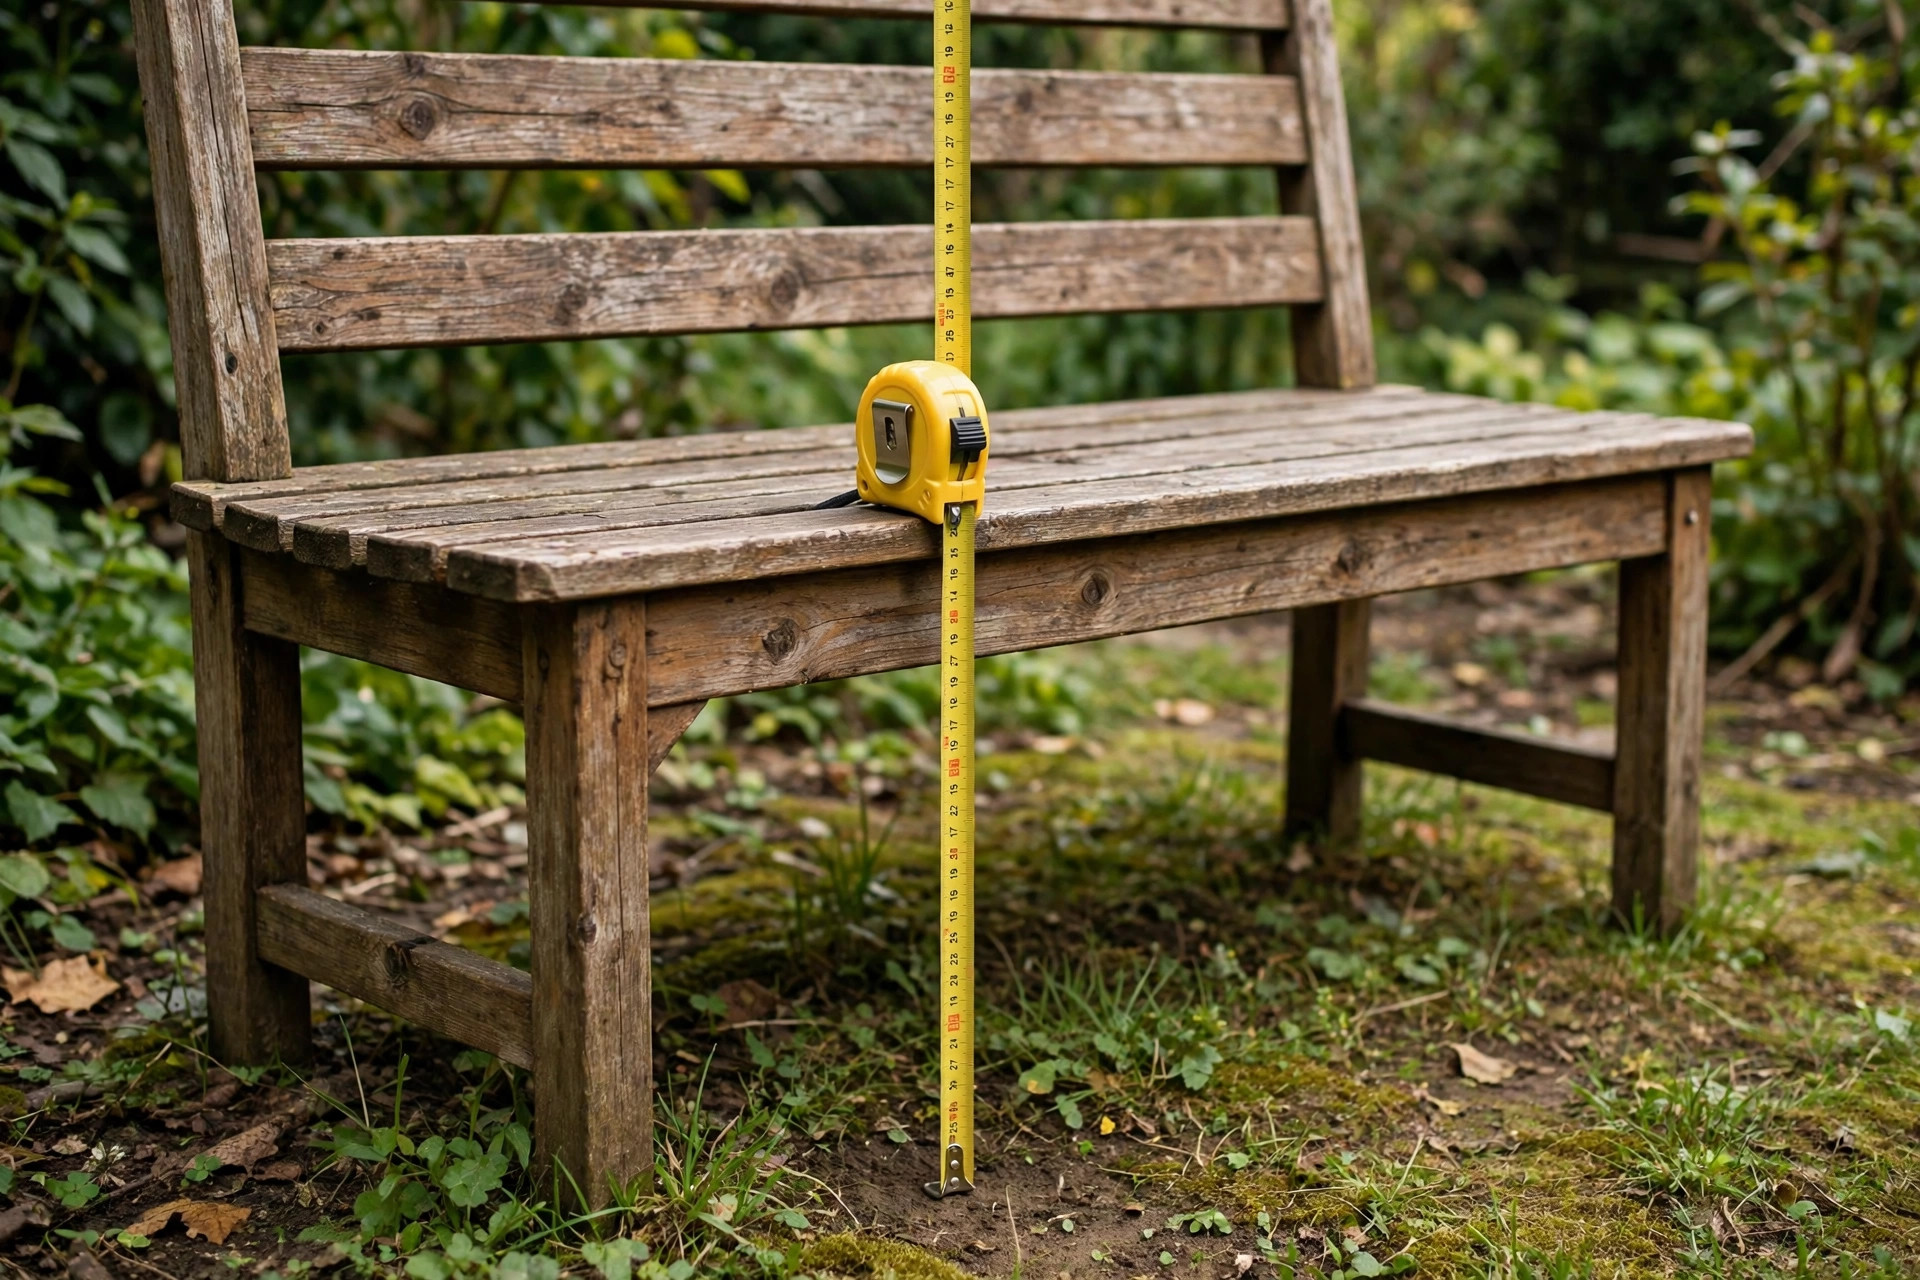
A bench that is the wrong height is a bench nobody sits on, and a bench that spans too far is a bench that sags in the middle. Get these two numbers right before you cut. Seat height for most adults is 430 to 470 millimetres — 450 millimetres is the comfortable middle, low enough that feet rest flat on the ground, high enough that knees are not up around ears. For a bench mainly used by children or shorter adults, drop to 400 millimetres. For a bench that doubles as a work seat at a potting table, 500 millimetres works, but it is too high for relaxed sitting.
Span is about how far seat boards can run between supports before they bend under weight. With 2×4 seat boards laid flat (38 millimetres thick in the vertical direction when laid on edge is stronger, but this bench lays them flat for a comfortable seat), the practical limits are:
| Bench length | Seat board layout | Centre support needed? | Notes |
|---|---|---|---|
| Up to 90 cm | 2×4 seat boards, supports at each end | No | Ideal first bench; very rigid |
| 90–120 cm | 2×4 seat boards, supports at each end | No | This guide’s 120 cm bench; fine for two adults |
| 120–150 cm | 2×4 seat boards | Yes, one centre frame | Without it, the seat will sag over time |
| 150–180 cm | 2×4 seat boards | Yes, one centre frame | Also consider thicker 2×6 seat boards |
| Over 180 cm | 2×6 seat boards + centre frame | Yes | Long benches belong to a different design |
This guide’s bench is 120 centimetres long, which is the sweet spot: long enough for two adults to sit comfortably, short enough to need no centre leg, and light enough for one person to move around the garden. If you want a longer bench, add a third leg frame in the middle using the same frame design — do not simply stretch the seat boards and hope.
Tools and Materials
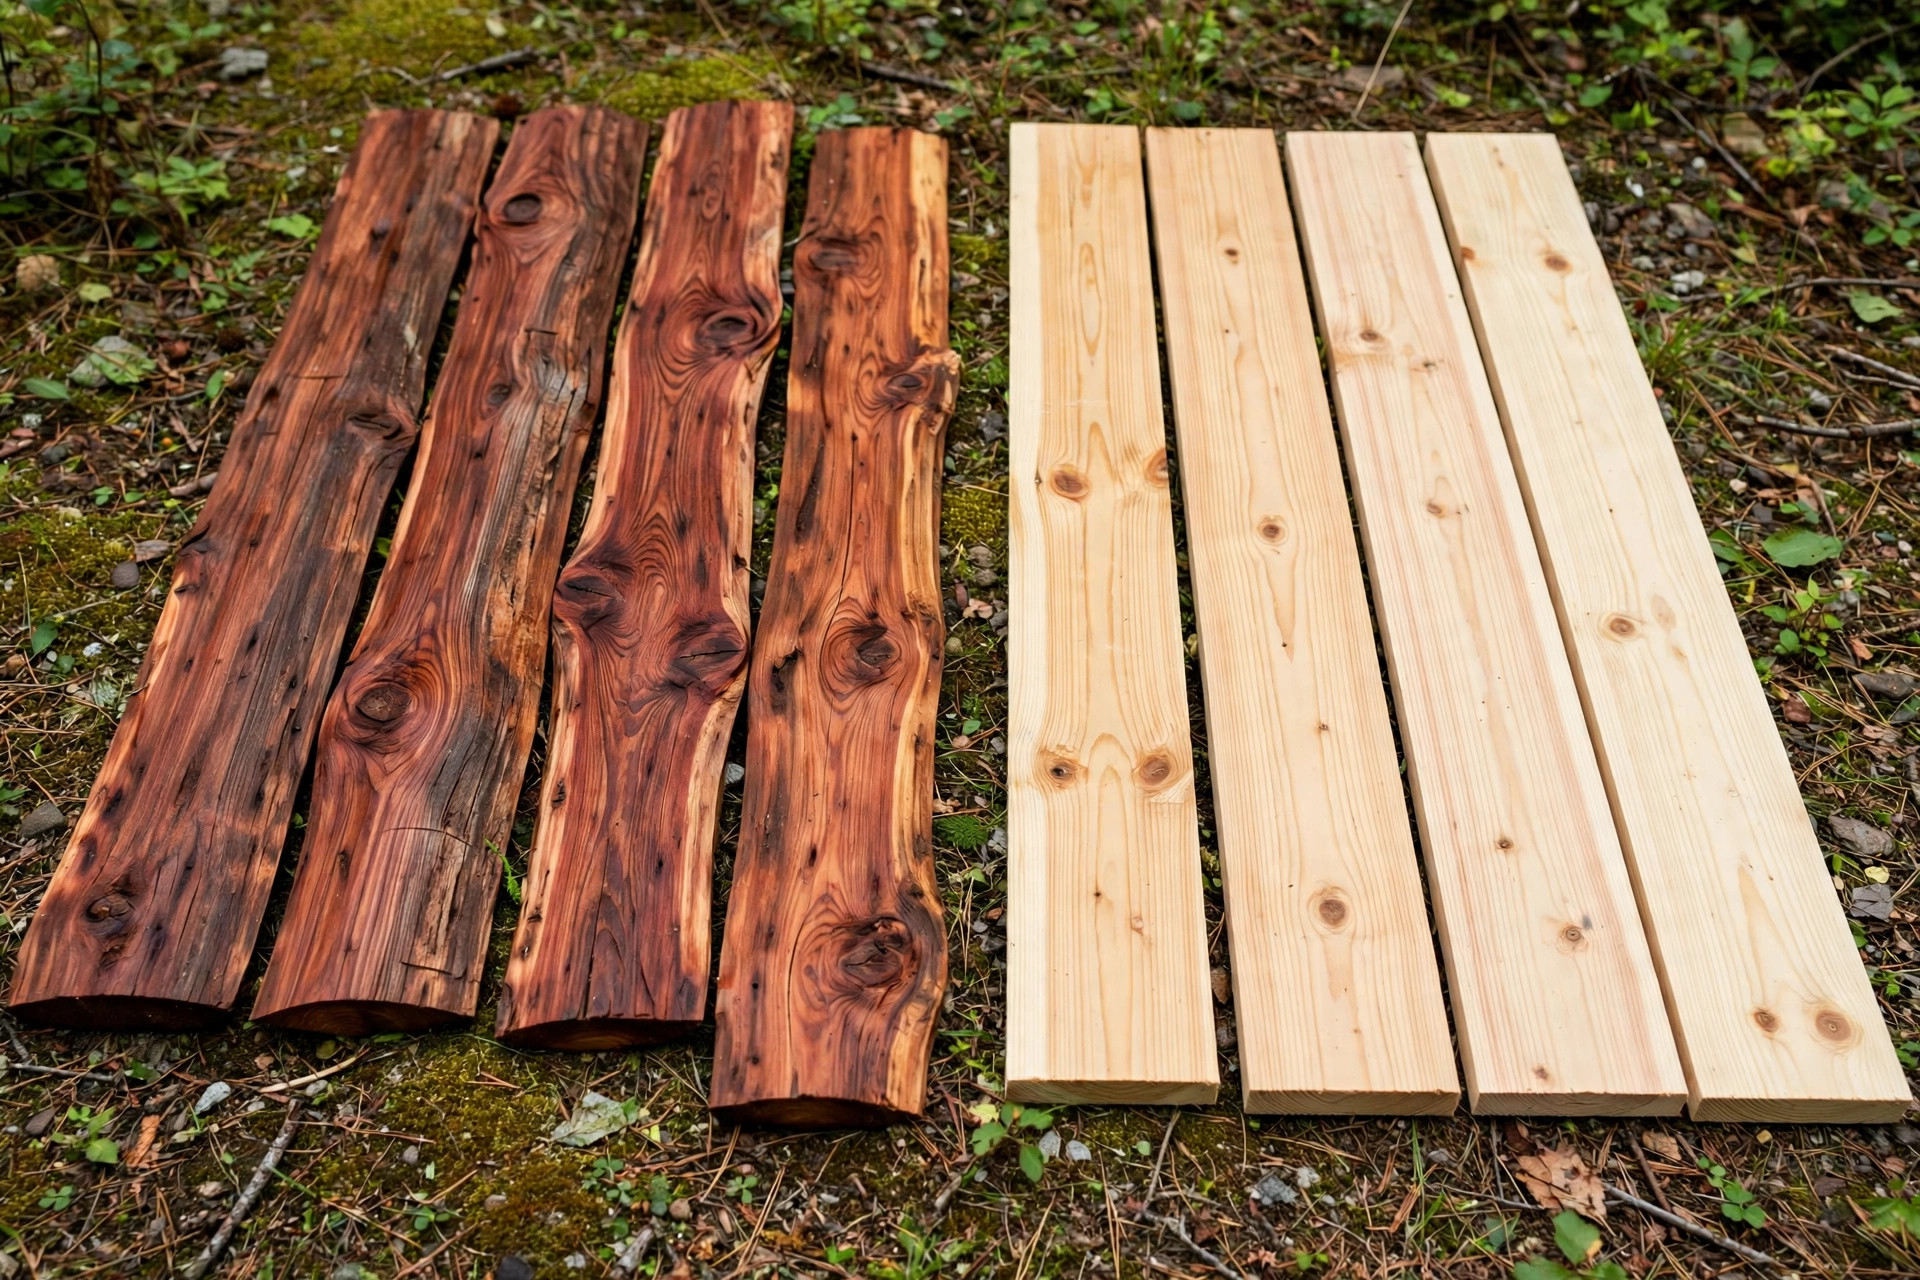
You need a saw for straight cuts — a miter saw is ideal, a circular saw with a guide works — plus a drill, a tape measure, a speed square, sandpaper from 80 to 220 grit, and two clamps. A random orbital sander speeds up finishing. For lumber, the choice is cedar versus pine, and it matters outdoors: cedar is naturally rot-resistant and weathers to a silver grey if left unfinished, while pine is cheaper but must be fully sealed or it will rot within a couple of seasons. For a first bench, either works if you finish it properly; cedar is worth the extra cost if you plan to leave the bench outside year-round.
| Item | Specification | Quantity | Notes |
|---|---|---|---|
| 2×4 lumber, 2.4 m | Legs, frames, seat boards, stretchers | 5 lengths | Cedar preferred; pine acceptable if sealed |
| Exterior wood screws, 75 mm | Frame and seat joints | 40 | Stainless or coated; interior screws will rust and stain |
| Exterior wood glue | Frame joints | 1 bottle | Waterproof Type III; see our best wood glue for beginners guide |
| Sandpaper | 80, 120, 220 grit | A few sheets each | Our best sandpaper grit for beginners guide explains the sequence |
| Exterior finish | Spar urethane, exterior oil, or exterior paint | 1 tin | See finish section; interior finishes fail outdoors |
Never use interior screws or interior glue on an outdoor bench. Interior screws rust, the rust bleeds brown stains down the legs, and the joints loosen as the screws corrode. Exterior screws cost little more and are the difference between a bench that lasts five years and one that lasts fifteen.
The Cut List
Cut everything first, label each piece, and check it against this table. All cuts are straight 90-degree cuts — no angles anywhere in this bench, which is exactly why it suits a first outdoor build.
| Part | Size | Quantity | What it does |
|---|---|---|---|
| Seat boards | 2×4, 1200 mm long | 4 | The seat surface, laid side by side |
| Legs | 2×4, 430 mm long | 4 | Two per leg frame |
| Leg frame top rails | 2×4, 400 mm long | 2 | Top of each leg frame, under the seat |
| Leg frame bottom rails | 2×4, 400 mm long | 2 | Bottom of each leg frame, keeps legs square |
| Long stretchers | 2×4, 1000 mm long | 2 | Run lengthwise between frames, stop racking |
| Seat spacers | 2×4 offcuts, 90 mm | 4 | Optional: spacers between seat boards for drainage gaps |
Measure your actual 2x4s before cutting the frame rails: a nominal 2×4 is usually 38 x 89 millimetres, so four seat boards side by side make a seat about 360 millimetres deep plus gaps. The frame rails above assume that depth; if your boards differ, adjust the frame width so the seat boards overhang the frames by about 20 millimetres front and back. Seat height ends up at 450 millimetres once the seat board thickness sits on top of the 430-millimetre legs — check this arithmetic against your own lumber before you cut the legs.
Step 1: Build the Two Leg Frames
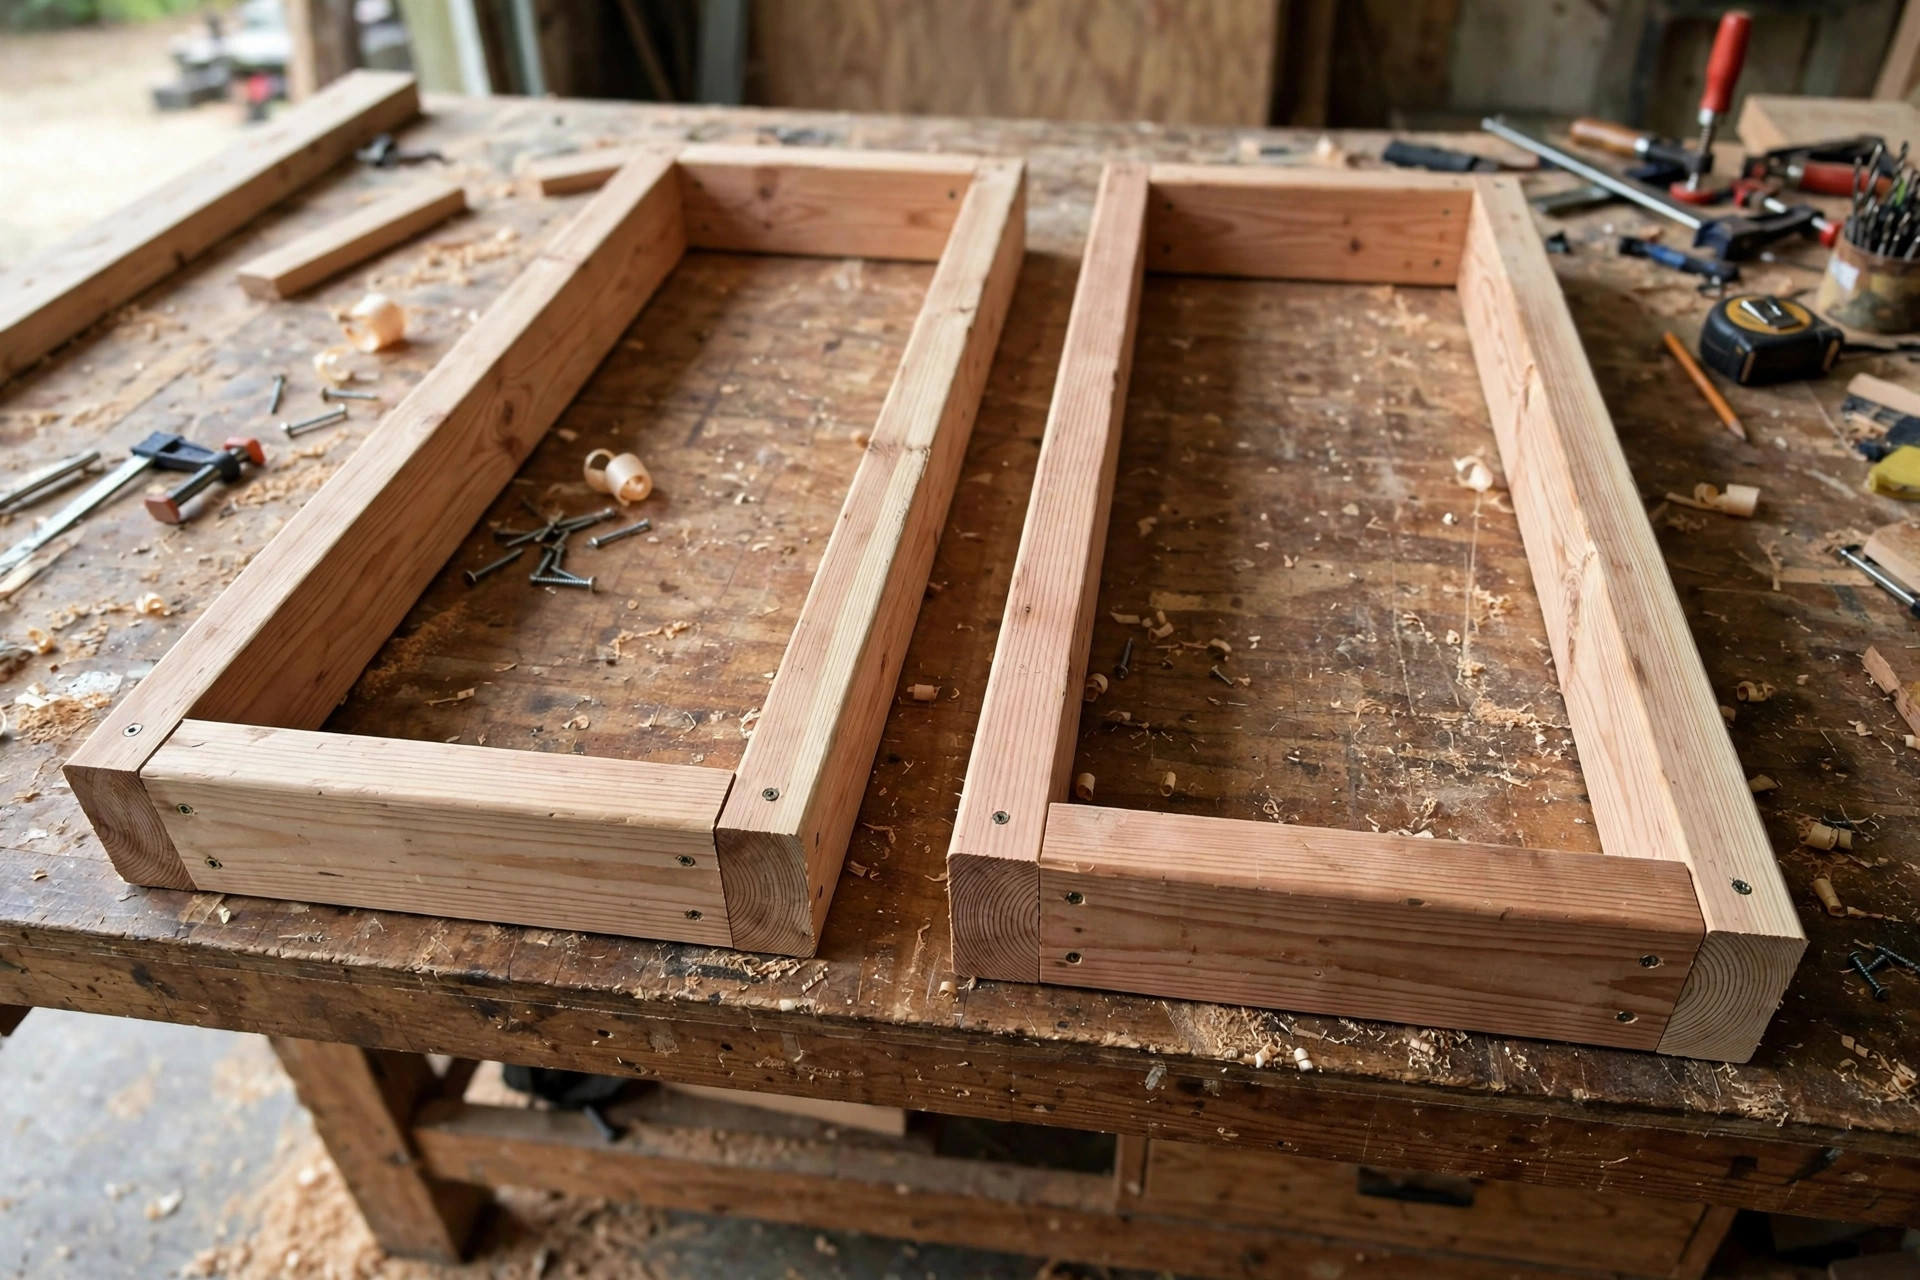
A leg frame is a rectangle: two legs joined by a top rail and a bottom rail. Build both frames flat on your workbench, glue every joint, and check the diagonals match before screwing — equal diagonals mean square. Screw through the legs into the rail ends with two exterior screws per joint, pilot-drilled, since screws driven near board ends in softwood split easily without a pilot hole. Our guide to the best drill for woodworking beginners covers pilot hole sizes, and our guide to the best miter saw for beginners covers the straight cuts these frames depend on.
Build the second frame on top of the first so they match exactly. Mismatched frames make a bench that rocks, and a rocking bench on a patio is annoying every single time someone sits down. If a frame comes out slightly out of square, fix it now — loosen one joint, re-square, and re-drive — rather than hoping the seat boards will pull it straight. They will not.
Step 2: Join the Frames and Add the Seat
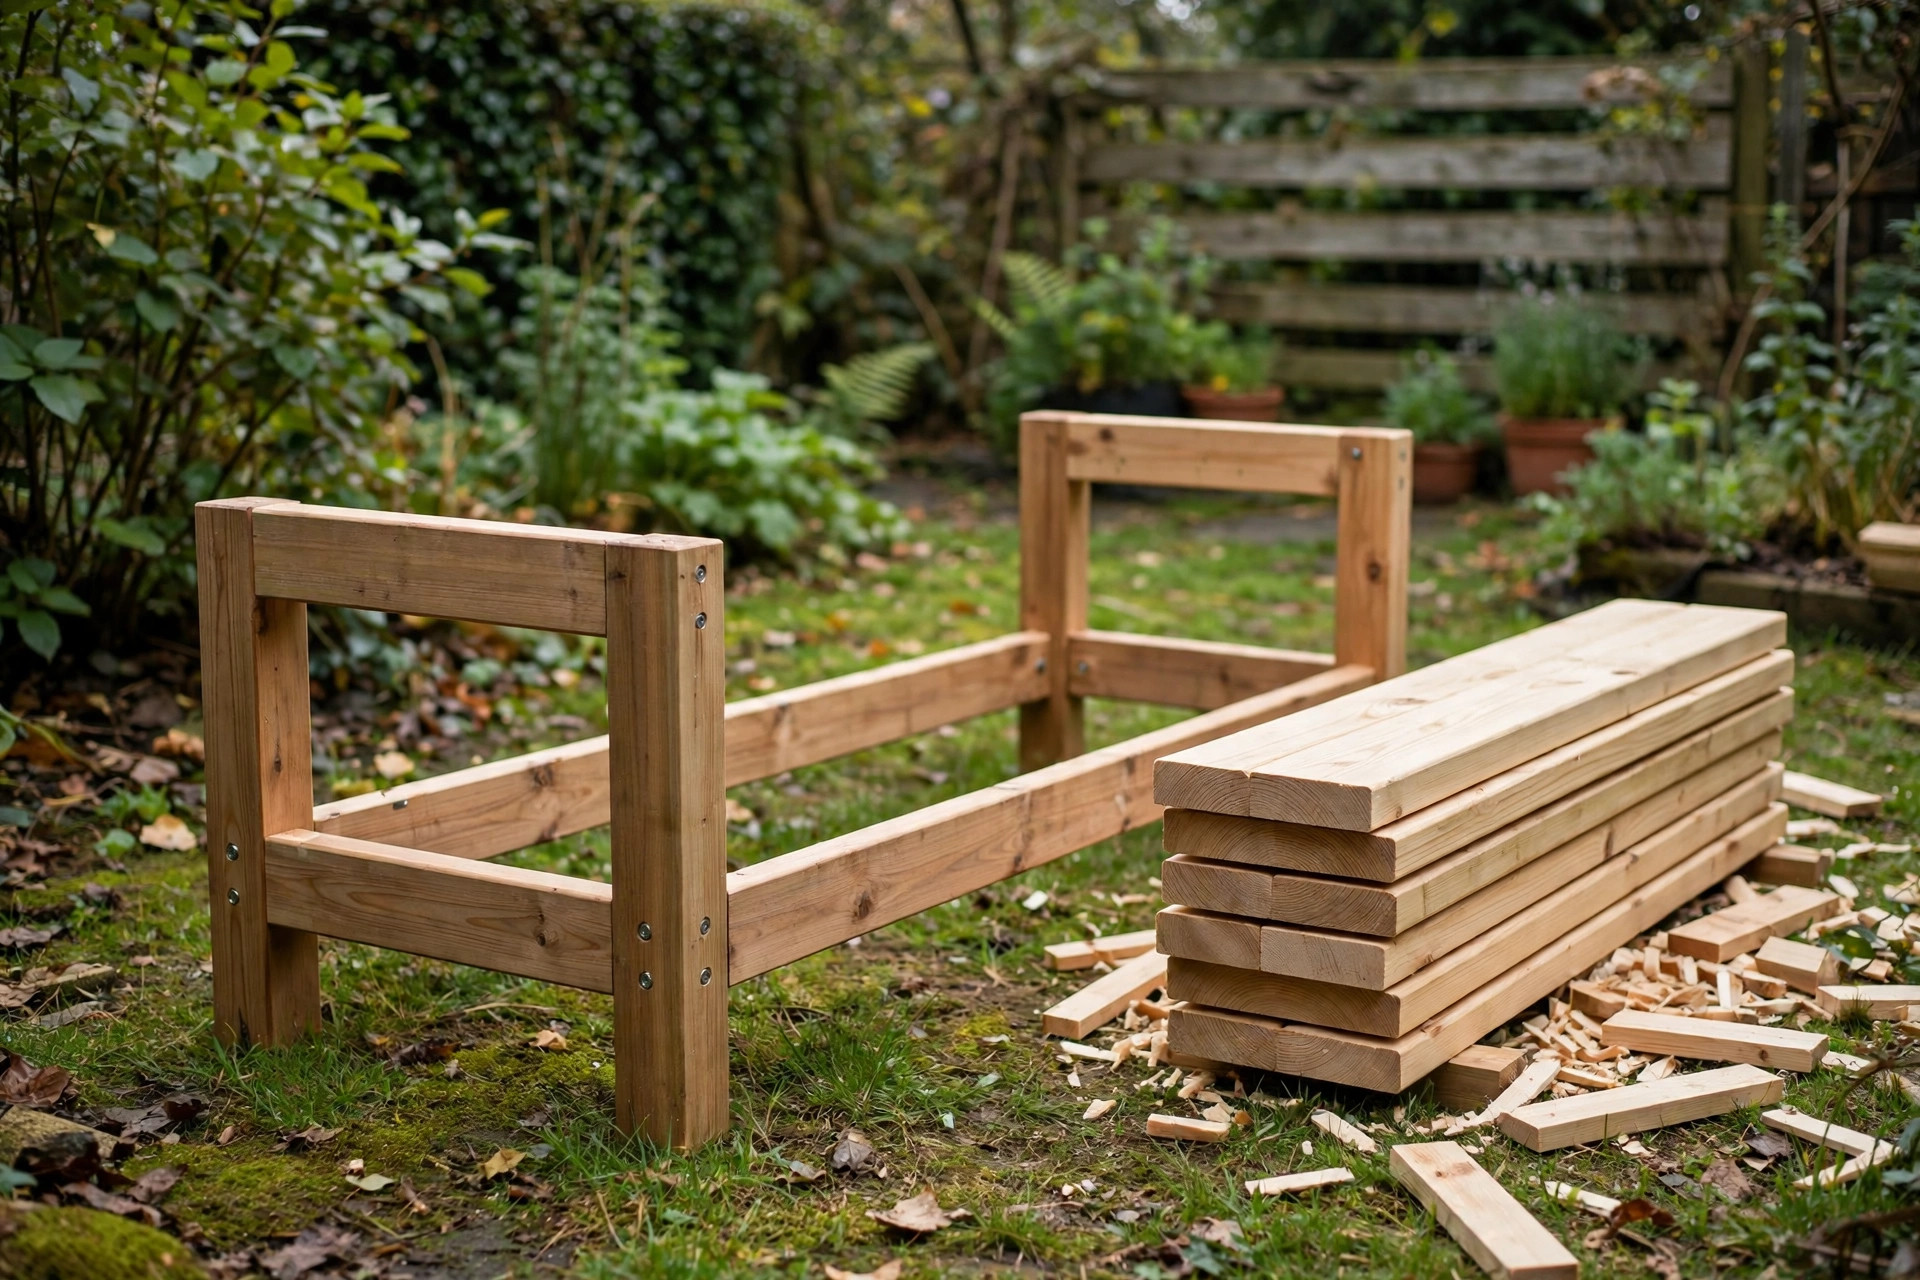
Stand both frames upright and join them with the two long stretchers, screwed through the frames into the stretcher ends, one stretcher near the top (just under the seat) and one near the bottom. Stretchers do two jobs: they set the bench length, and they stop the bench racking sideways when someone sits down off-centre. Without the lower stretcher, a backless bench twists noticeably; with it, the bench feels solid.
Lay the four seat boards across the frames, leaving a 6 to 10-millimetre gap between boards. Gaps matter outdoors: they let rain drain through instead of pooling on the seat, and they let the boards expand and contract with humidity without buckling. Use a spare offcut as a spacer so every gap matches. Screw each seat board down into each frame’s top rail with two exterior screws per joint, driven from above and countersunk slightly, or from underneath if you prefer a clean seat surface with no visible screw heads. Check the bench on a flat surface — it should not rock. If it does, find the long leg by pressing each corner and trim it a fraction at a time.
Step 3: Sand for Outdoor Use
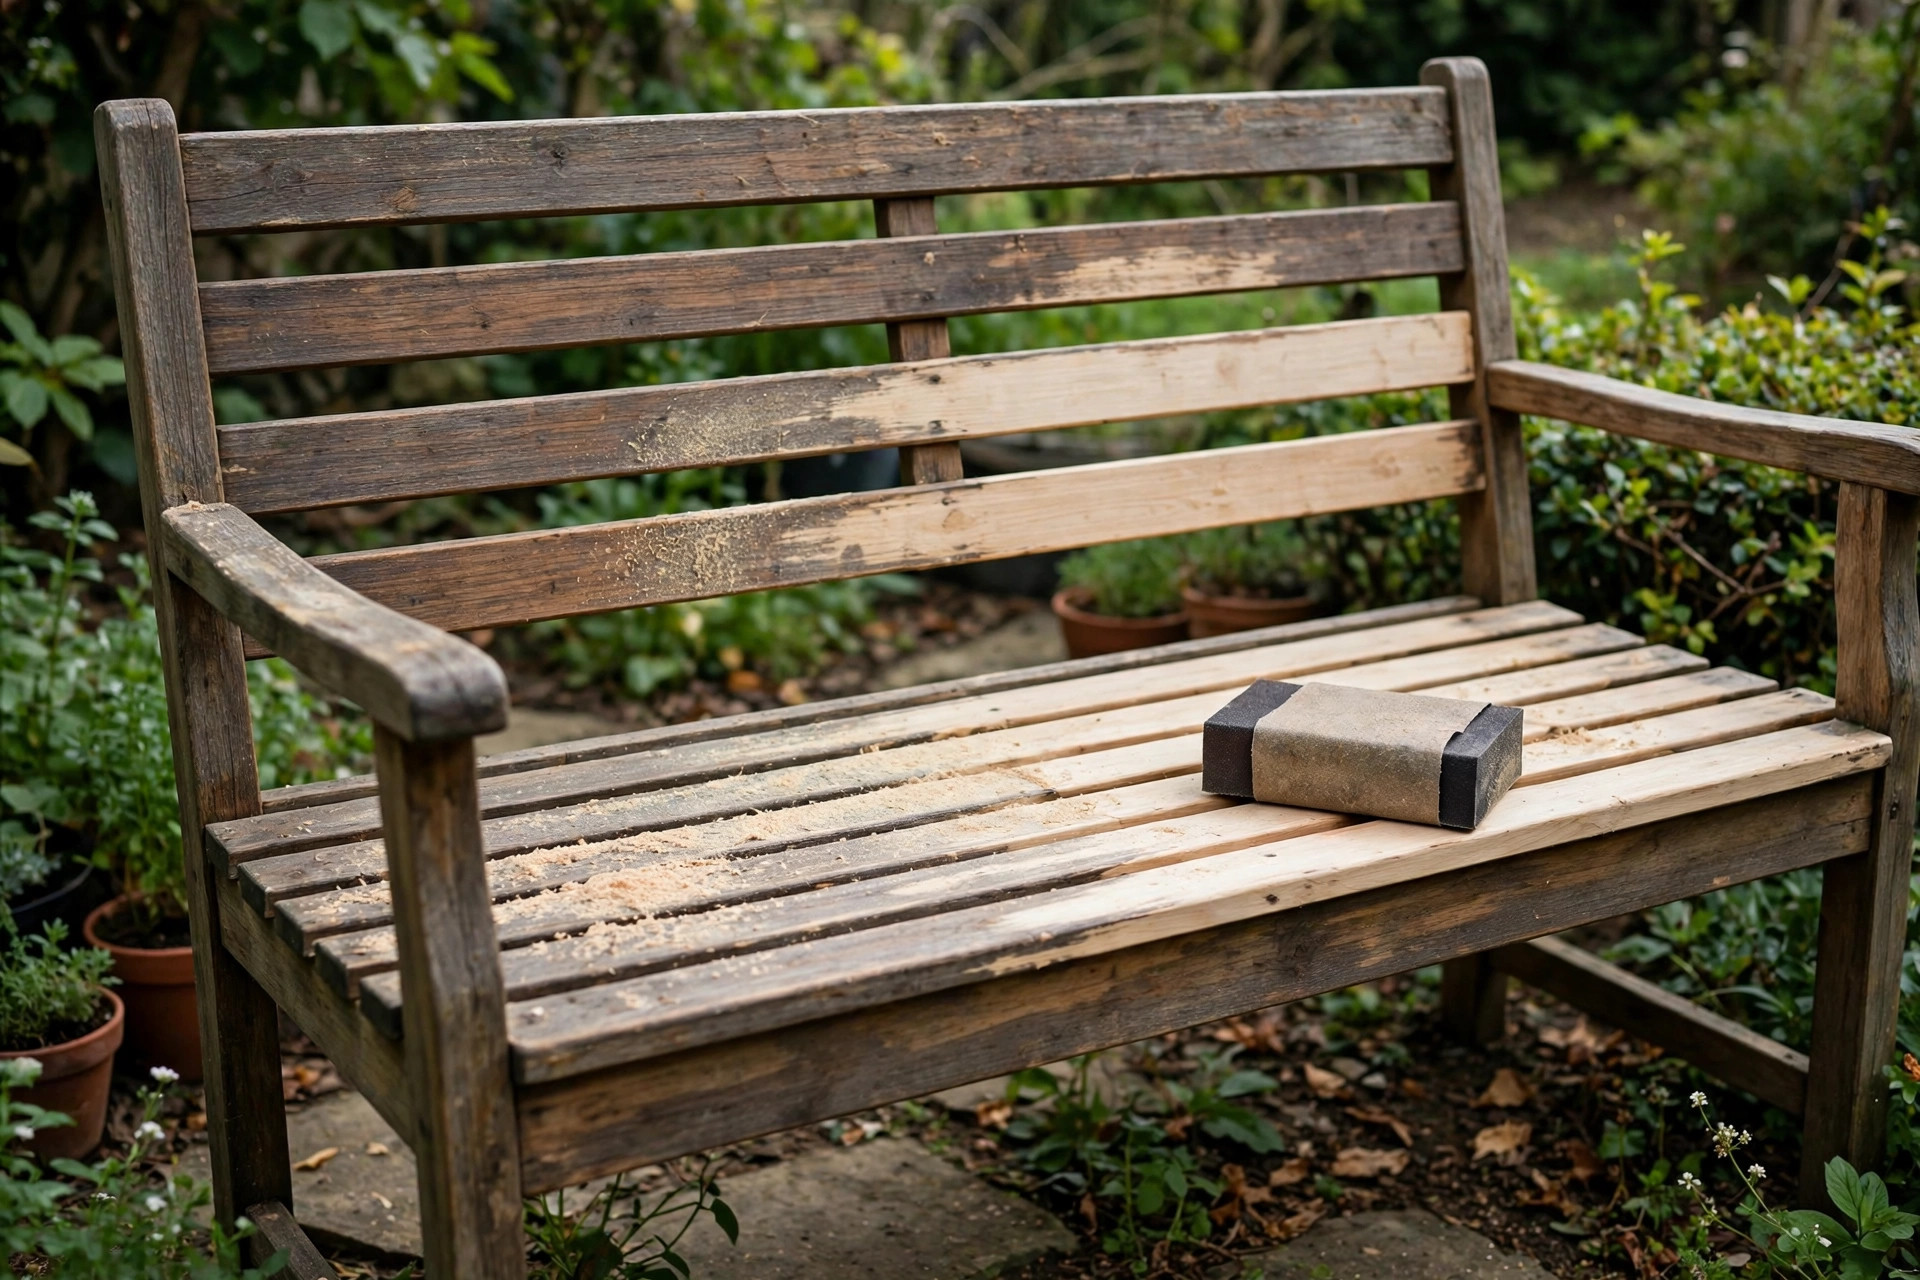
Sand the whole bench through 80, 120, then 220 grit, rounding the seat board edges and the top corners of the leg frames — outdoor furniture gets sat on in shorts, so sharp edges and splinters matter more than on indoor pieces. Pay attention to the end grain of the legs, which is where water enters wood fastest: sand it smooth so finish soaks in evenly, and consider sealing the leg ends with an extra coat of finish (see below). Vacuum or brush off all dust before finishing; dust trapped under exterior finish shows as rough patches that catch dirt all season.
Exterior Finish: Cedar vs Pine, Oil vs Paint vs Spar Urethane
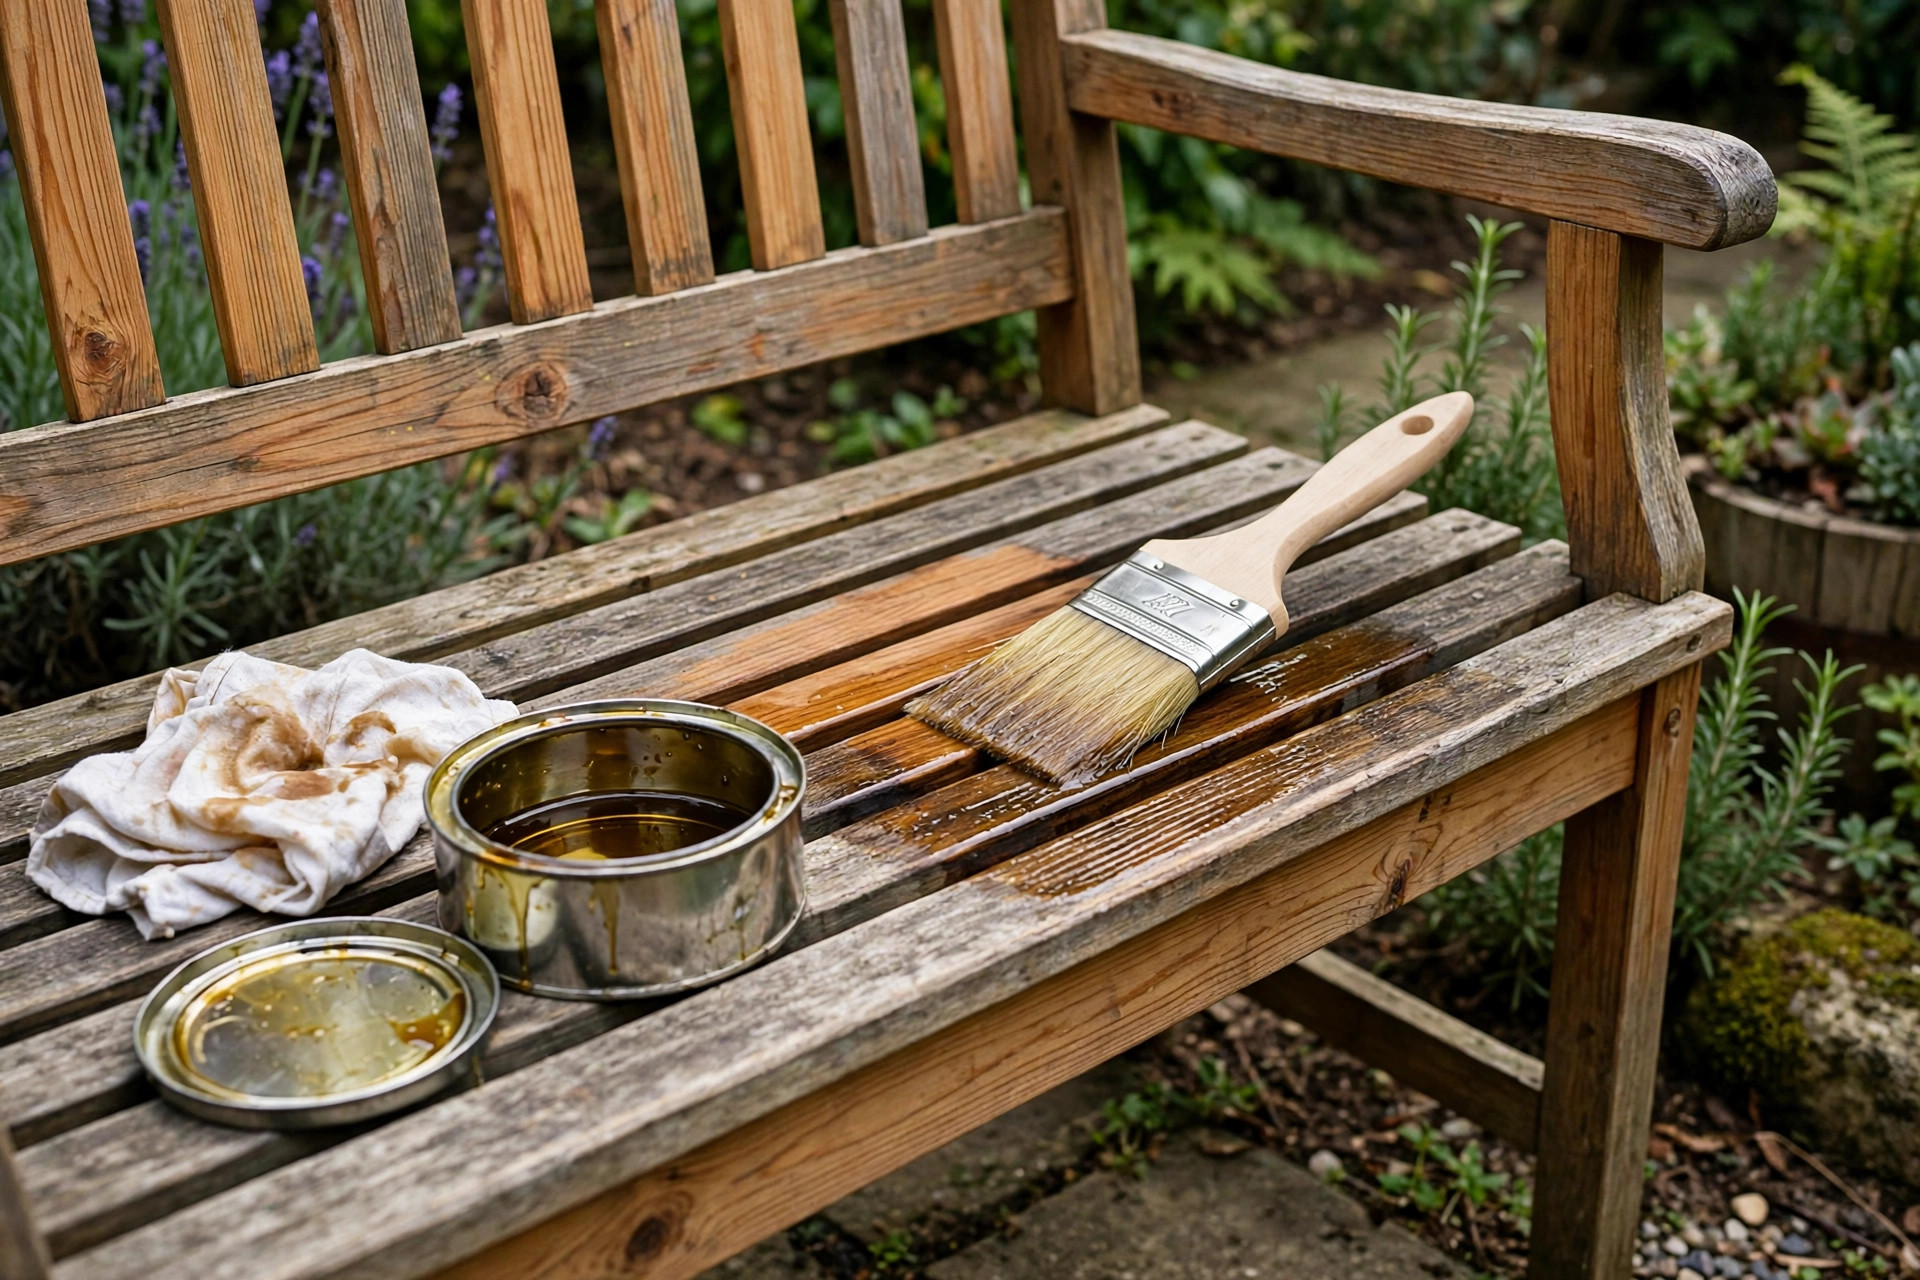
Exterior finish is not decoration on a garden bench — it is the only thing between your lumber and the weather. The right choice depends on your wood and how much maintenance you will actually do. Our guide to the best wood stain for beginners covers stain application in detail; the table below summarises the outdoor options for this bench.
| Finish | Best on | Look | Maintenance | Notes |
|---|---|---|---|---|
| Exterior penetrating oil | Cedar | Natural, warm; greys slowly if not re-oiled | Re-oil every 6–12 months | Easiest to refresh; never peels |
| Spar urethane (3 coats) | Pine or cedar | Clear, glossy, shows grain | Recoat every 1–2 years | Hard film; must sand before recoating |
| Exterior paint (primer + 2 coats) | Pine | Any colour; hides knots | Repaint every 2–3 years | Best protection for pine; hides grain |
| No finish | Cedar only | Weathers to silver grey | None | Cedar survives; pine does not — never leave pine unfinished |
Whichever finish you choose, seal the leg ends with two extra coats — end grain absorbs water many times faster than face grain, and leg ends sitting on damp ground are where outdoor benches rot first. Better still, keep the bench off the ground on patio slabs or small stone feet, and move it under cover in the worst winter weather if you can. A bench that never sits in standing water lasts twice as long as one that does, whatever the finish.
Common Mistakes Beginners Make
The most common mistake is building a bench longer than 120 centimetres with no centre support and watching the seat sag within a season — respect the span table. The second is using interior screws and glue outdoors; rust stains and loose joints follow within a year. The third is butting seat boards tight together, which traps water and causes buckling when the boards swell. The fourth is skipping pilot holes and splitting leg ends. The fifth is finishing only the top faces and leaving leg ends and undersides bare, which is exactly where rot starts. The sixth is building to a plan’s height instead of sitting on a test stack of boards at 450 millimetres and checking it suits the people who will actually use the bench.
Frequently Asked Questions
How long does a wooden garden bench last outside? A cedar bench with an exterior oil finish, kept off standing water, lasts 10 to 15 years. A pine bench with exterior paint lasts 5 to 10 years if repainted on schedule. An unfinished pine bench may last only 2 to 3 years.
Can I use pine for a garden bench? Yes, provided you seal it completely — primer and two coats of exterior paint, or three coats of spar urethane — and keep it off wet ground. Unfinished pine rots quickly outdoors; cedar is the safer low-maintenance choice.
Do I need a centre leg on a 120 cm bench? No. Two leg frames at the ends support 2×4 seat boards up to 120 centimetres comfortably for two adults. Add a centre frame at 150 centimetres and beyond.
What is the best seat height for a garden bench? 450 millimetres suits most adults. Drop to 400 millimetres for children or shorter adults, and test by sitting on a stack of boards before you cut the legs.
Should seat boards have gaps between them? Yes — 6 to 10 millimetres. Gaps drain rainwater, let boards expand without buckling, and dry the seat faster after rain.
Can I leave a cedar bench unfinished? Yes. Cedar weathers naturally to a silver grey and remains structurally sound for years without finish. If you prefer the warm brown colour, apply exterior oil and re-oil yearly.
The Bottom Line
Learning how to build a simple garden bench for beginners comes down to three numbers and one habit: a 450-millimetre seat height, a 120-centimetre span with no centre leg needed, exterior screws and glue throughout, and the habit of sealing leg ends and keeping the bench out of standing water. Get those right and the build itself is just straight cuts, square frames, and seat boards with drainage gaps. Build it this weekend, finish it properly, and by next weekend you will have a seat in the garden that was not there before — built by you, sized for your space, and strong enough to last seasons.
If you enjoyed this build, our guide to how to build a wooden planter box for beginners is a natural next outdoor project, and the pillar guide to easy woodworking projects for beginners that sell has more first projects in the same spirit.
Recommended Tools and Safety Gear for This Project

Titebond III Ultimate Wood Glue 1413 (8 oz)
Why it fits this garden bench: it is a waterproof Type III glue for the outdoor leg-frame and seat joints, so the bench holds up in rain.

IRWIN QUICK-GRIP 12-inch Heavy-Duty Bar Clamp
Why it fits this garden bench: the 12-inch bar clamp holds the long leg frames and seat boards square while the glue dries.

DEWALT Concealer Safety Goggles DPG82-11C
Why it fits this garden bench: they protect your eyes from sawdust and chips while cutting 2×4 lumber and sanding outdoors.

DEX FIT Cru553 Level 5 Cut Resistant Gloves, Size L
Why it fits this garden bench: they give cut protection while handling rough 2×4 lumber, sawn edges, and sharp tools.

3M PELTOR X4A Over-the-Head Earmuffs, NRR 27 dB
Why it fits this garden bench: they protect your hearing during loud miter-saw cutting and power sanding.
As an Amazon Associate, I earn from qualifying purchases.



Pingback: How to Build a Wooden Adirondack Chair for Beginners
Pingback: How to Build a Wooden Porch Swing for Beginners