
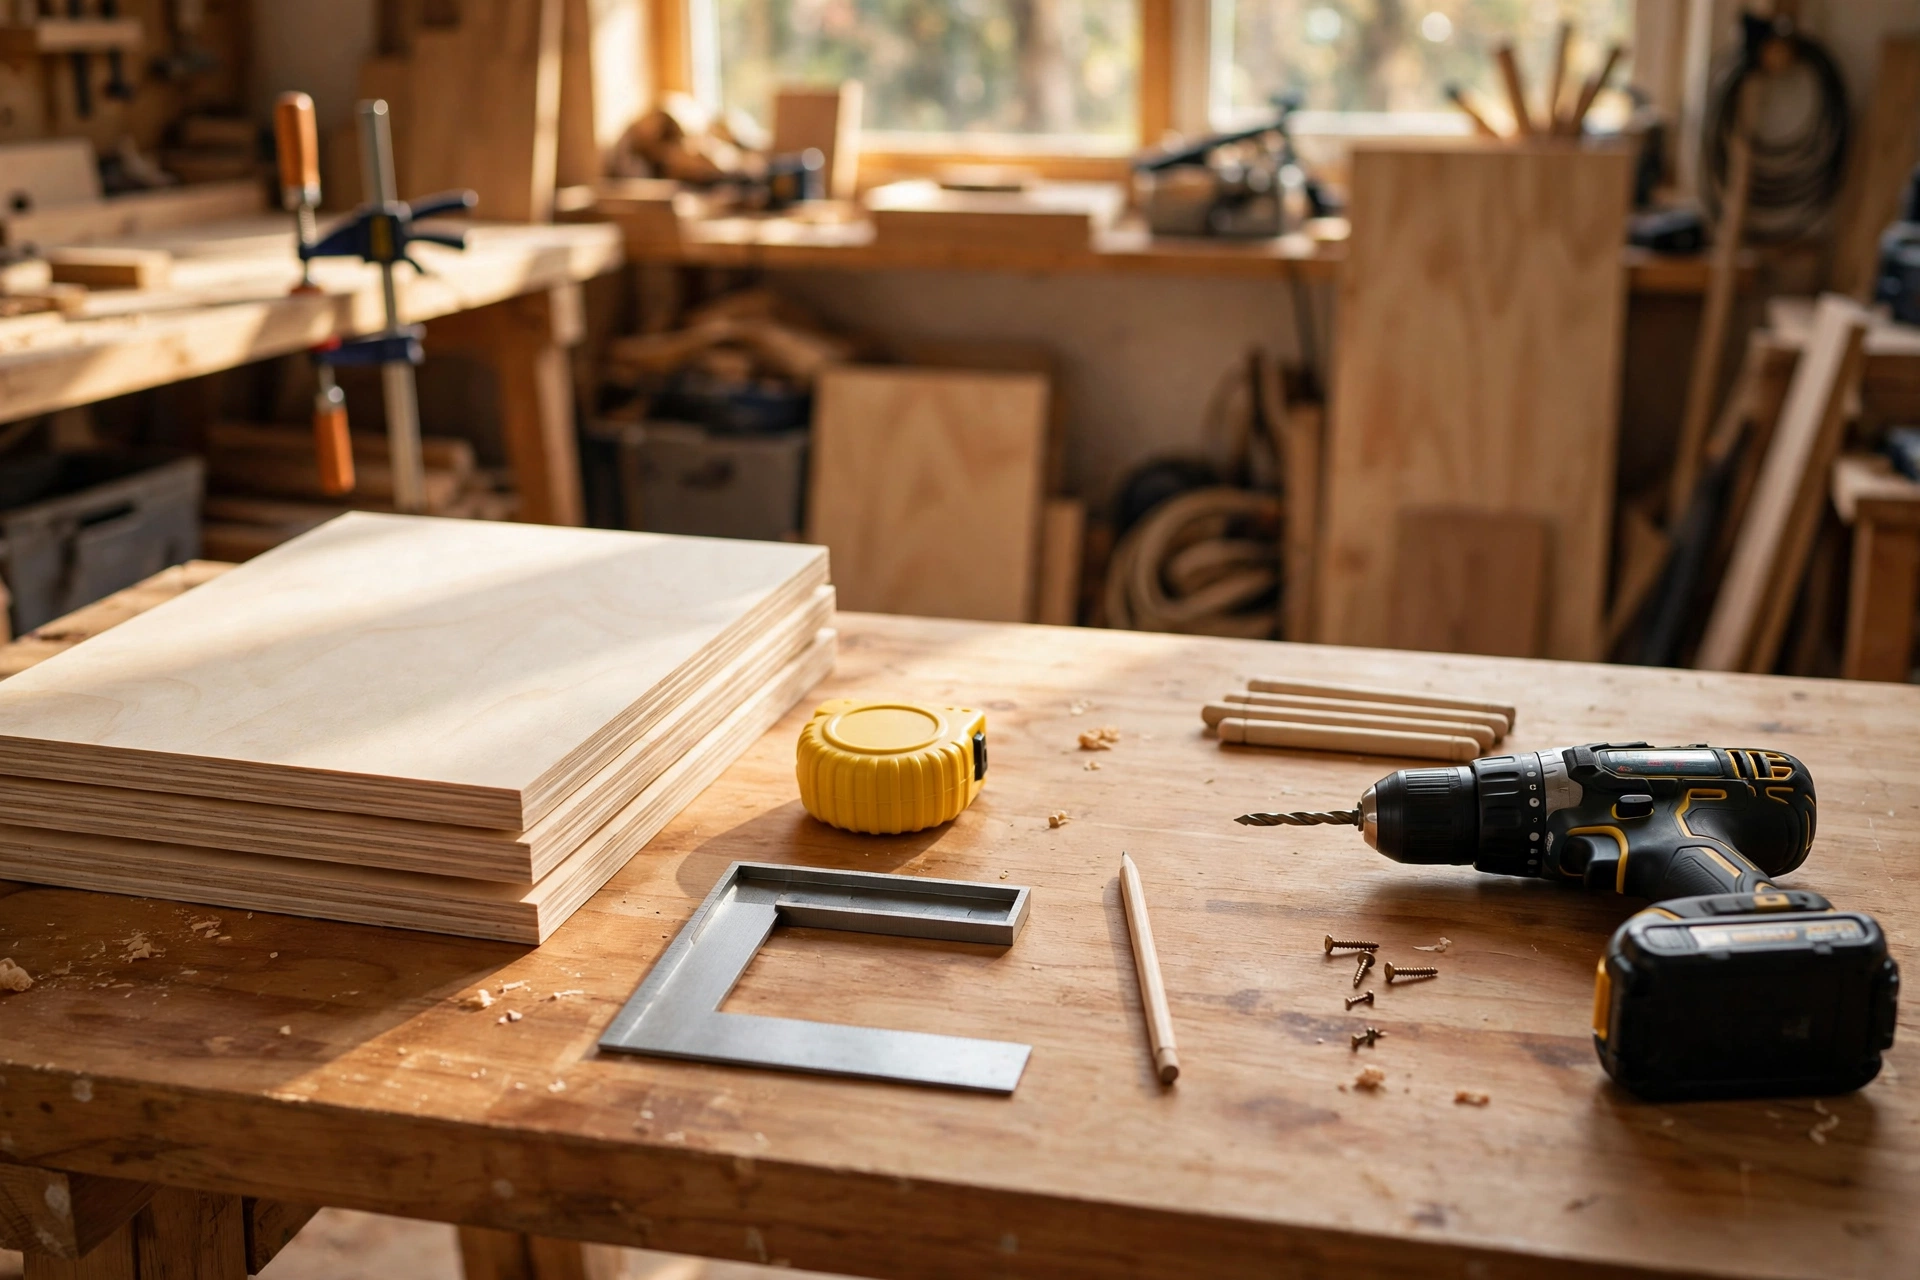
A home office without a filing cabinet is a desk buried under paper. Tax returns, warranties, school forms, and contracts end up in piles, then in boxes, then lost entirely — and shop-bought filing cabinets are either flimsy metal boxes that dent and rattle, or solid wood pieces that cost several hundred dollars. Learning how to build a wooden filing cabinet for beginners solves both problems: this measured 20 × 24 × 28-inch (51 × 61 × 71 cm) design holds two full hanging-file drawers, uses simple butt joints and pocket holes, and is built from a single sheet of plywood plus a pair of ball-bearing drawer slides. No dovetails, no dadoes, no advanced joinery — just careful measuring, straight cuts, and screws.
This cabinet is sized for real paper, not guesswork. Each drawer takes standard hanging files — letter size in the top drawer and legal size in the bottom one, or both the same if you prefer — and the drawers run on full-extension slides, so every folder slides all the way out where you can see it. The build takes most beginners one weekend afternoon — about 4 to 5 hours of hands-on work plus drying time — and it fits neatly under a desk-height side table or stands on its own beside your desk, alongside the other home-office builds in our easy woodworking projects for beginners that sell collection.
What Size Filing Cabinet Should You Build?
A filing cabinet is sized by the paper it holds, and the one measurement that matters most is the distance between the two hanging-file rails inside each drawer. Hanging folders hook over two parallel rails, and the rail spacing is fixed by the paper size: letter folders need the rails about 12⅜ inches (31 cm) apart, while legal folders need them about 15⅜ inches (39 cm) apart. Get the rail spacing wrong and your folders sag, jam, or fall into the drawer — so decide your paper sizes before you cut a single board.
This build is 20 inches (51 cm) wide, 24 inches (61 cm) deep, and 28 inches (71 cm) tall, with two drawers. The carcass interior is 18½ inches (47 cm) wide, which leaves room for legal-size rails (15⅜ inches apart) with space to spare, and the 24-inch depth gives a full 22 inches of drawer travel — long enough for legal folders front to back with room for the drawer front and slide hardware. Each drawer holds roughly 25 to 30 hanging folders, so the cabinet stores 50 to 60 folders in total — enough for a whole household’s paperwork in one place.
| Paper size | Folder width (rail to rail) | Folder depth (front to back) | Drawer in this build |
|---|---|---|---|
| Letter (8½ × 11 in) | 12⅜ in (31 cm) | 11 in (28 cm) | Top drawer, rails 12⅜ in apart |
| Legal (8½ × 14 in) | 15⅜ in (39 cm) | 14 in (36 cm) | Bottom drawer, rails 15⅜ in apart |
| A4 (210 × 297 mm) | 12⅜ in (31 cm) | 11½ in (29 cm) | Fits the letter drawer |
| Both sizes, one cabinet | 15⅜ in (39 cm) max | 14 in (36 cm) max | Set both drawers to legal spacing |
If you only ever file letter paper, set both drawers to the 12⅜-inch spacing — the folders sit tighter and waste less width. If you file even a few legal documents, make the bottom drawer legal size: a legal folder will never fit in a letter-spaced drawer, but a letter folder hangs perfectly well on legal-spaced rails. Also measure your office before you build: 28 inches tall slides under most desk-height side tables and beside a standard 29-inch desk, while 24 inches deep is the same as a typical desk, so the cabinet lines up flush when pushed against the wall.
Choosing the Best Wood for Your Filing Cabinet
For a first filing cabinet, ¾-inch (19 mm) plywood is the best choice: it is flat, stable, strong across a 20-inch span, and far cheaper than the solid boards you would need for a carcass this size. A single 4 × 8-foot sheet of birch or maple plywood covers the entire carcass, both drawer fronts, and the drawer-box parts, and it costs about $55 to $85 depending on the grade. Avoid construction-grade pine plywood — its thin face veneer splinters at the edges and shows voids where you cut it. Cabinet-grade birch plywood has a smooth, pale face that looks like real furniture once it is sanded and finished, and its edges take edge banding or a solid-wood nosing cleanly.
For the drawer boxes, use ½-inch (13 mm) plywood: it is lighter than ¾-inch stock, which matters when a drawer is full of paper, and it is plenty strong for a 5½-inch-tall drawer side. The drawer bottoms are ¼-inch (6 mm) plywood sitting in a shallow groove or screwed under the box — never use hardboard for a file drawer, because a full drawer of hanging folders weighs 30 to 40 pounds (14 to 18 kg) and hardboard sags. For a deeper dive into species, grain, and cost, read our guide to the best wood for beginner woodworking projects.
Let the plywood acclimatise in your house for two to three days before you cut it — a sheet that moves after assembly is the number one cause of a drawer that binds. Check each sheet for flatness by sighting along the edges, and reject any with a bow you can see, because a bowed side panel will make the drawer slides bind. Buy one extra half-sheet of ½-inch plywood if your lumber yard sells it: it is cheap insurance against a miscut drawer side, and the offcuts become hanging-file rails and drawer dividers.
Tools and Materials You Will Need
You probably own most of these tools already, and the rest can be borrowed or bought cheaply. The one tool worth owning for this project is a decent cordless drill — it drives every pocket-hole screw and slide screw in the build — and a circular saw with a straight-edge guide makes every plywood cut straight enough for drawer slides, which are unforgiving of wavy cuts.
| Item | Details | Typical cost |
|---|---|---|
| Birch plywood, ¾ in | 1 sheet, 4 × 8 ft (122 × 244 cm), for the carcass and drawer fronts | $55–$85 |
| Plywood, ½ in | 1 half-sheet, 4 × 4 ft (122 × 122 cm), for the drawer boxes | $20–$30 |
| Plywood, ¼ in | 1 quarter-sheet, 2 × 4 ft (61 × 122 cm), for the drawer bottoms and back | $10–$15 |
| Ball-bearing drawer slides | 2 pairs, 22 in (56 cm), full extension, 100 lb rated | $18–$30 |
| Hanging-file rails | 4 rails, 22 in (56 cm) long, with mounting brackets | $12–$18 |
| Pocket-hole screws | 1¼ in (32 mm) coarse-thread, about 40 screws | $6–$10 |
| Wood glue | One 8 oz (237 ml) bottle | $5–$8 |
| Drawer knobs or pulls | 2 knobs or pulls, your choice | $4–$12 |
| Sandpaper | 80, 120, and 220 grit sheets | $5–$8 |
| Finish | Wipe-on polyurethane or hard-wax oil, 1 pint (0.47 L) | $10–$16 |
| Edge banding | Iron-on birch, 25 ft (7.6 m) roll, optional | $6–$10 |
| Tools | Circular saw or table saw, drill, sander, tape measure, square, clamps | $0 if owned |
| Total (20 in, plywood) | Materials only, tools owned | $145–$235 |
Safety gear matters too: safety glasses, hearing protection for the saw, and a dust mask for sanding — plywood dust is an irritant, and the glue in plywood makes it worse than solid-wood dust. Apply the finish outside or in a well-ventilated garage, and keep oil-soaked rags flat to dry outdoors until stiff, then throw them away — bunched-up oily rags can self-heat.
Cut List for a 20 × 24 × 28-Inch Filing Cabinet
This cut list is for a filing cabinet 20 inches (51 cm) wide, 24 inches (61 cm) deep, and 28 inches (71 cm) tall, with two hanging-file drawers. Cut the carcass parts first, then the drawer fronts, then the drawer boxes — and always measure twice before every cut.
| Part | Material | Size | Quantity |
|---|---|---|---|
| Side panels | ¾ in plywood | 28 in (71 cm) × 24 in (61 cm) | 2 |
| Top | ¾ in plywood | 18½ in (47 cm) × 24 in (61 cm) | 1 |
| Bottom | ¾ in plywood | 18½ in (47 cm) × 24 in (61 cm) | 1 |
| Back | ¼ in plywood | 18½ in (47 cm) × 26½ in (67 cm) | 1 |
| Drawer fronts | ¾ in plywood | 18⅜ in (47 cm) × 13⅛ in (33 cm) | 2 |
| Drawer-box sides | ½ in plywood | 5½ in (14 cm) × 22 in (56 cm) | 4 |
| Drawer-box front/back | ½ in plywood | 16½ in (42 cm) × 5½ in (14 cm) | 4 |
| Drawer bottoms | ¼ in plywood | 16½ in (42 cm) × 21¼ in (54 cm) | 2 |
| Toe-kick front | ¾ in plywood | 18½ in (47 cm) × 3 in (8 cm) | 1 |
The top and bottom are 18½ inches wide because they fit between the two side panels: 20 inches minus two ¾-inch side thicknesses. The drawer fronts are 18⅜ inches wide and 13⅛ inches tall, which leaves a neat ⅛-inch gap all round when they sit over the carcass front — the top and bottom drawer fronts plus their gaps fill the 26½-inch front opening exactly. The drawer-box sides are 22 inches long to match the 22-inch slides, and the drawer bottoms are 16½ inches wide so they sit inside the box with the front and back pieces overlapping their ends. The toe-kick front is recessed 3 inches back from the front edge of the bottom panel, so your toes slide under the cabinet when you stand in front of it.
Step 1: Measure and Mark Your Plywood
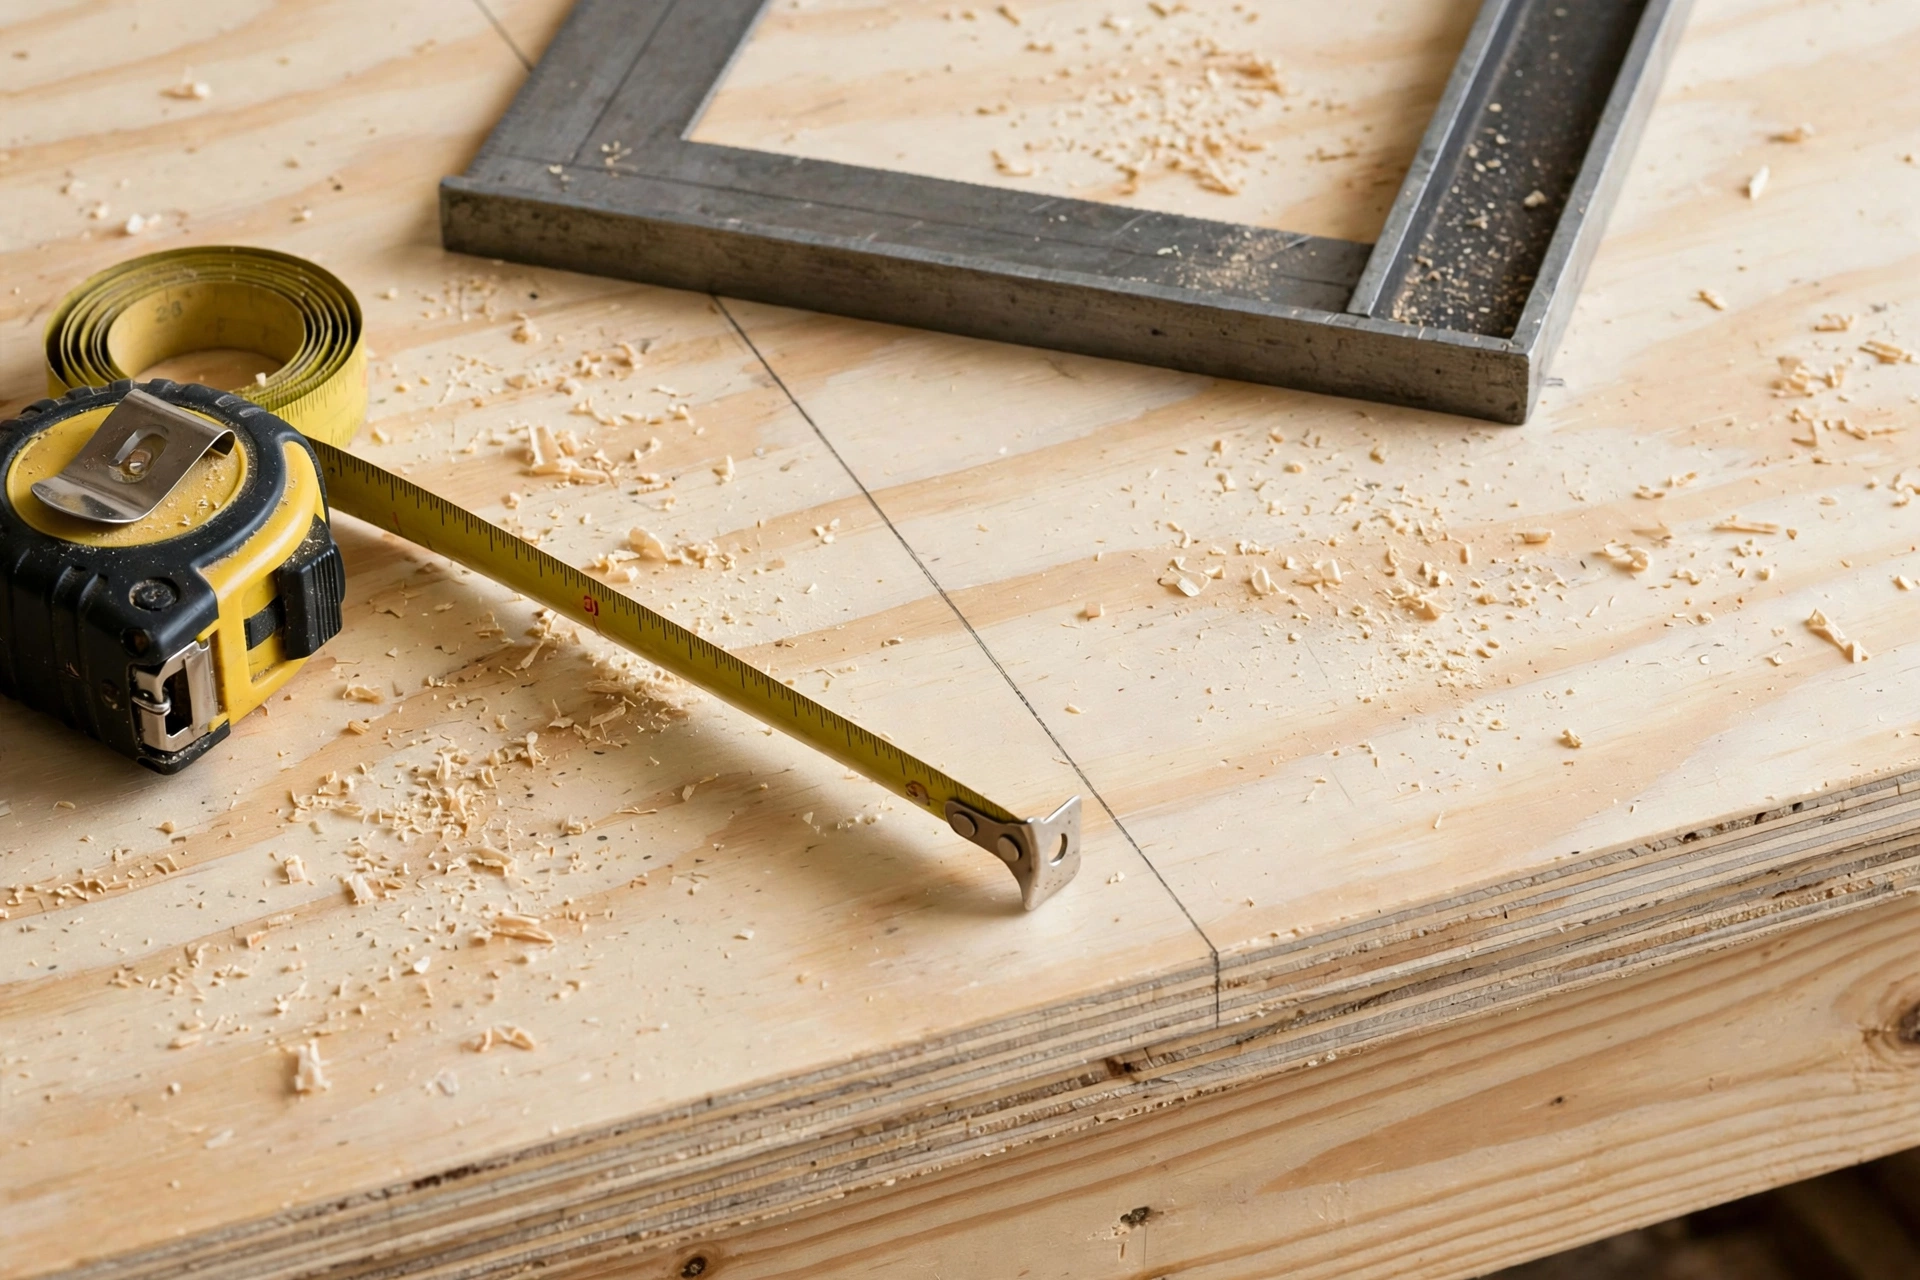
Careful measuring comes first, because drawer slides forgive almost nothing: a side panel even ⅛ inch out of square will make a drawer bind, and a carcass that is not square will make both drawers stick. Lay your plywood sheet on a flat surface — sawhorses with a sacrificial sheet underneath, or the floor on a sheet of foam insulation — and check it for flatness before you mark anything. Mark the best face of every carcass panel with a small pencil tick; that face goes outward, where everyone sees it.
Measure and mark each cut with a pencil and a straightedge, drawing the cut line squarely across the full width of the sheet. Label every piece as you mark it: “Side L”, “Side R”, “Top”, “Bottom”, “Drawer Front 1”, “Drawer Front 2”, and the drawer-box parts. Plywood parts all look alike once they are cut, and the labels stop you from drilling slide holes into a drawer front by mistake. Next, mark the drawer-slide positions on the inside faces of both side panels: measure up from the bottom and draw a level line for the centre of each slide — the bottom drawer slide centreline at 8 inches (20 cm) from the bottom, and the top drawer slide centreline at 21½ inches (54 cm) from the bottom. Mark both side panels at the same time, clamped together, so the slides sit at exactly the same height on each side. Finally, measure your largest legal folder once more and confirm the 15⅜-inch rail spacing fits inside the 18½-inch interior. If anything has changed, adjust the pencil lines now, not after the saw is running.
Step 2: Cut the Plywood to Size
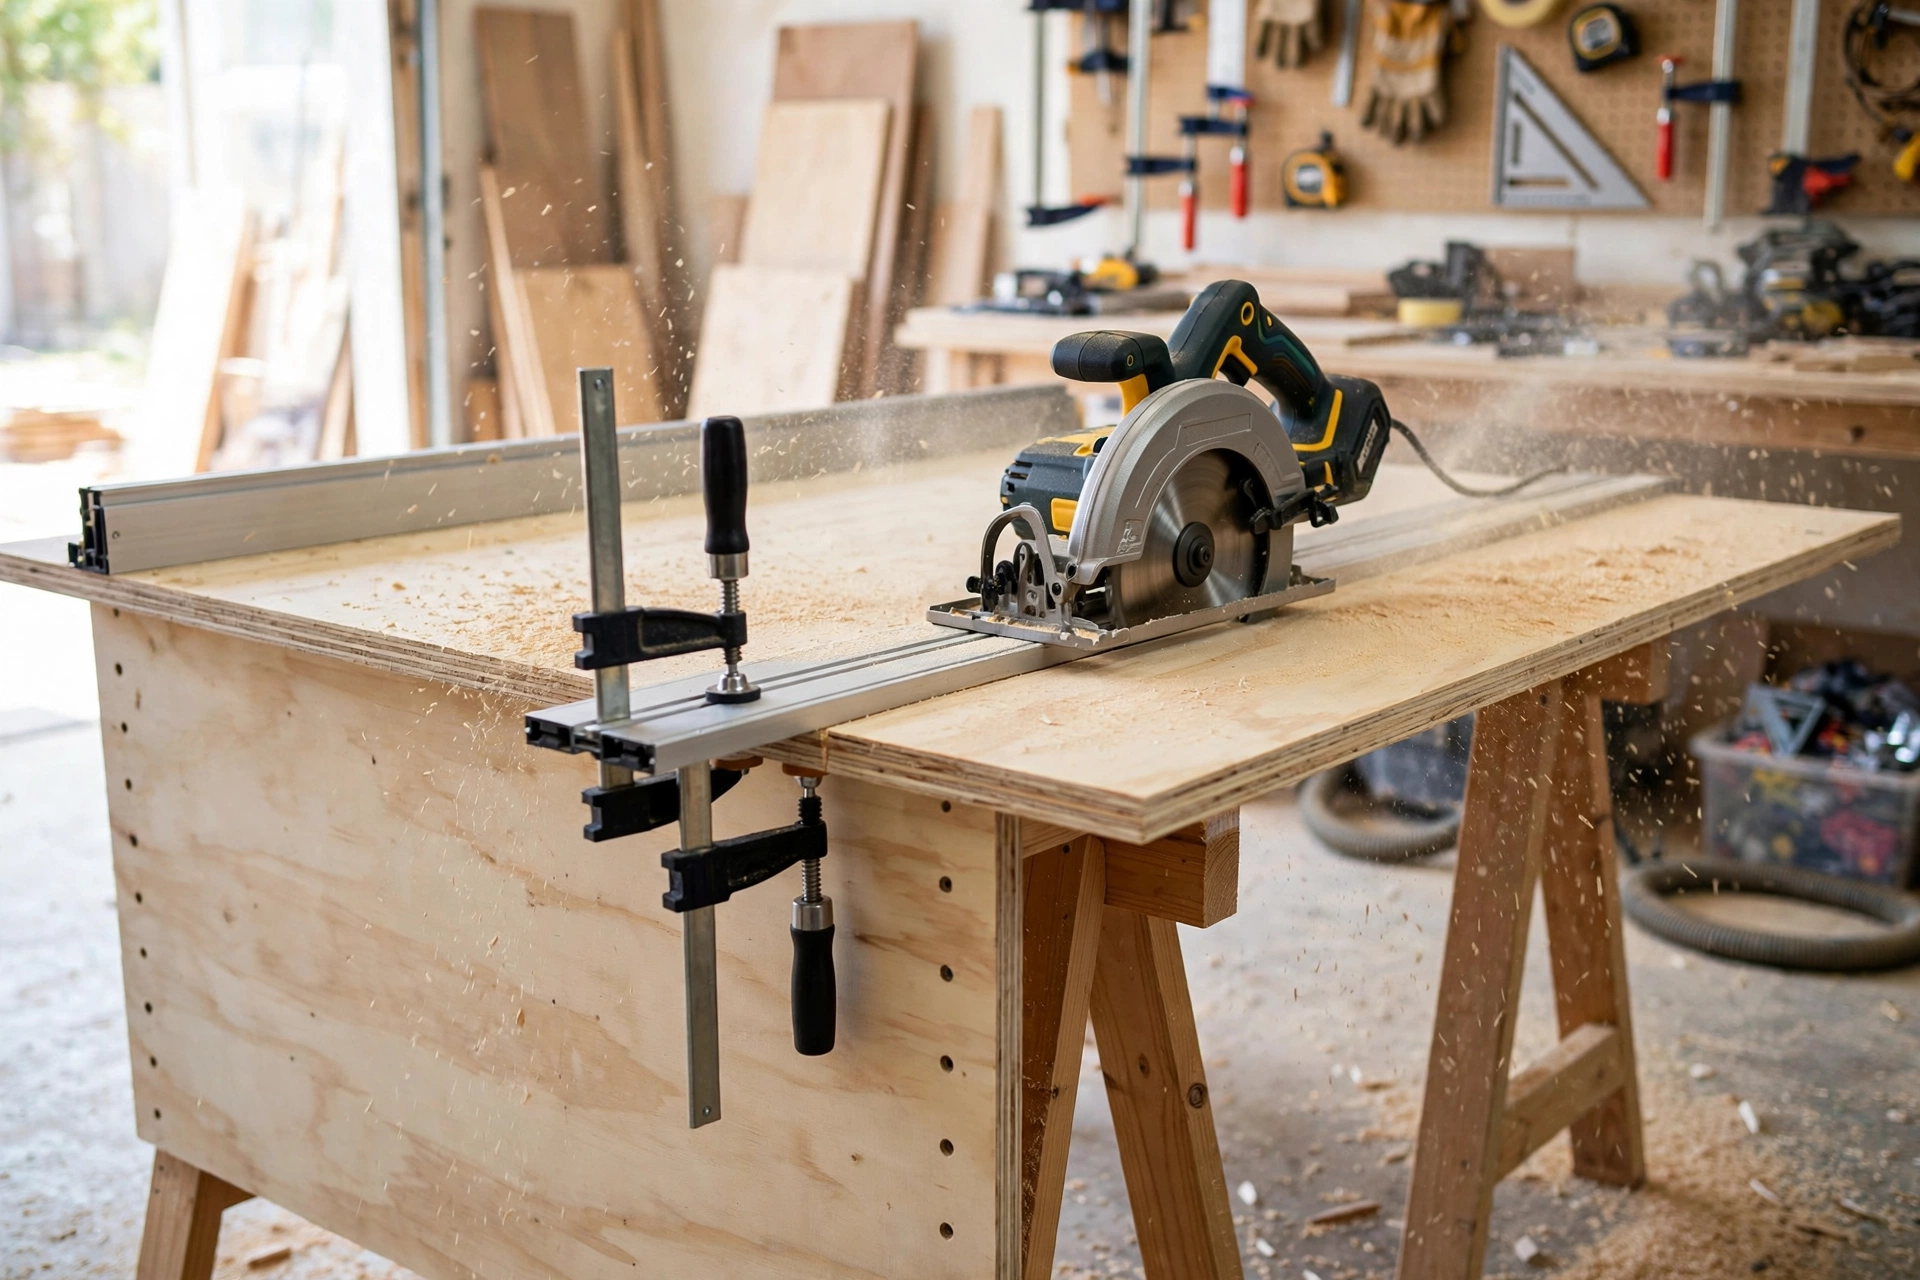
Clamp a straight board or a metal straight-edge to your plywood as a saw guide, and set the circular saw depth so the blade cuts about ¼ inch (6 mm) past the bottom of the sheet — no deeper. Cut slowly and steadily, letting the saw do the work; pushing hard causes burning, chipping, and wandering cuts. To stop the plywood face from splintering, score the cut line lightly with a sharp knife first, or stick a strip of painter’s tape along the line and cut through it — the tape holds the veneer fibres down as the blade passes. A table saw makes these cuts faster, but a circular saw with a good guide gives exactly the same result. Cut the two side panels first — the largest pieces, and the ones where a square cut matters most — then the top, bottom, and back, then the drawer fronts, and finally the drawer-box parts.
After cutting, dry-fit the carcass: stand the two side panels up with the top and bottom between them and check that everything is square. Measure diagonally across the front — the two measurements should match within ⅛ inch (3 mm). A small error here is easy to fix now by trimming one panel, and almost impossible to fix after the pocket holes are drilled. Sand the cut edges lightly with 80-grit paper to remove splinters, and keep your offcuts: a strip of ½-inch plywood makes a perfect hanging-file rail spacer, and a scrap of ¾-inch plywood is ideal for setting up the pocket-hole jig.
Step 3: Build the Carcass with Pocket-Hole Joinery
The carcass is a simple box: two sides, a top, a bottom, and a back. Drill two pocket holes at each end of the top and bottom panels, on the face that will be hidden inside the cabinet, using your pocket-hole jig set for ¾-inch (19 mm) stock. Test the jig setting on a scrap first: the screw should stop just short of poking through the outer face. If the screw tip shows, lower the drill collar one notch and test again.
Lay one side panel flat on the workbench, inside face up, and set the top and bottom panels on their pencil lines. Spread a thin bead of glue on each joint, then drive 1¼-inch (32 mm) coarse-thread pocket-hole screws through the top and bottom into the side panel — two screws per joint. Clamps hold everything tight while you drive the screws; with only two clamps, fix one joint at a time and move the clamps along. Stand the half-built carcass up and fit the second side panel the same way, working from the top down so gravity helps keep the panels seated. Then fit the back panel: a ¼-inch plywood back, screwed into a shallow rabbet or simply screwed and glued to the rear edges of the sides, top, and bottom, squares the whole cabinet up and stops it racking sideways. Fit the toe-kick front recessed 3 inches back from the front edge of the bottom panel, and screw it to the underside of the bottom. Set the finished carcass on a flat floor and press down on each corner in turn. If it rocks, find the long side and trim it — never shim a filing cabinet, because shims work loose under 80 pounds of paper and it will wobble again. Our guide to how to build a wooden nightstand for beginners uses the same pocket-hole carcass method, so the skills transfer directly to your next piece of bedroom furniture.
Step 4: Build the Drawer Boxes
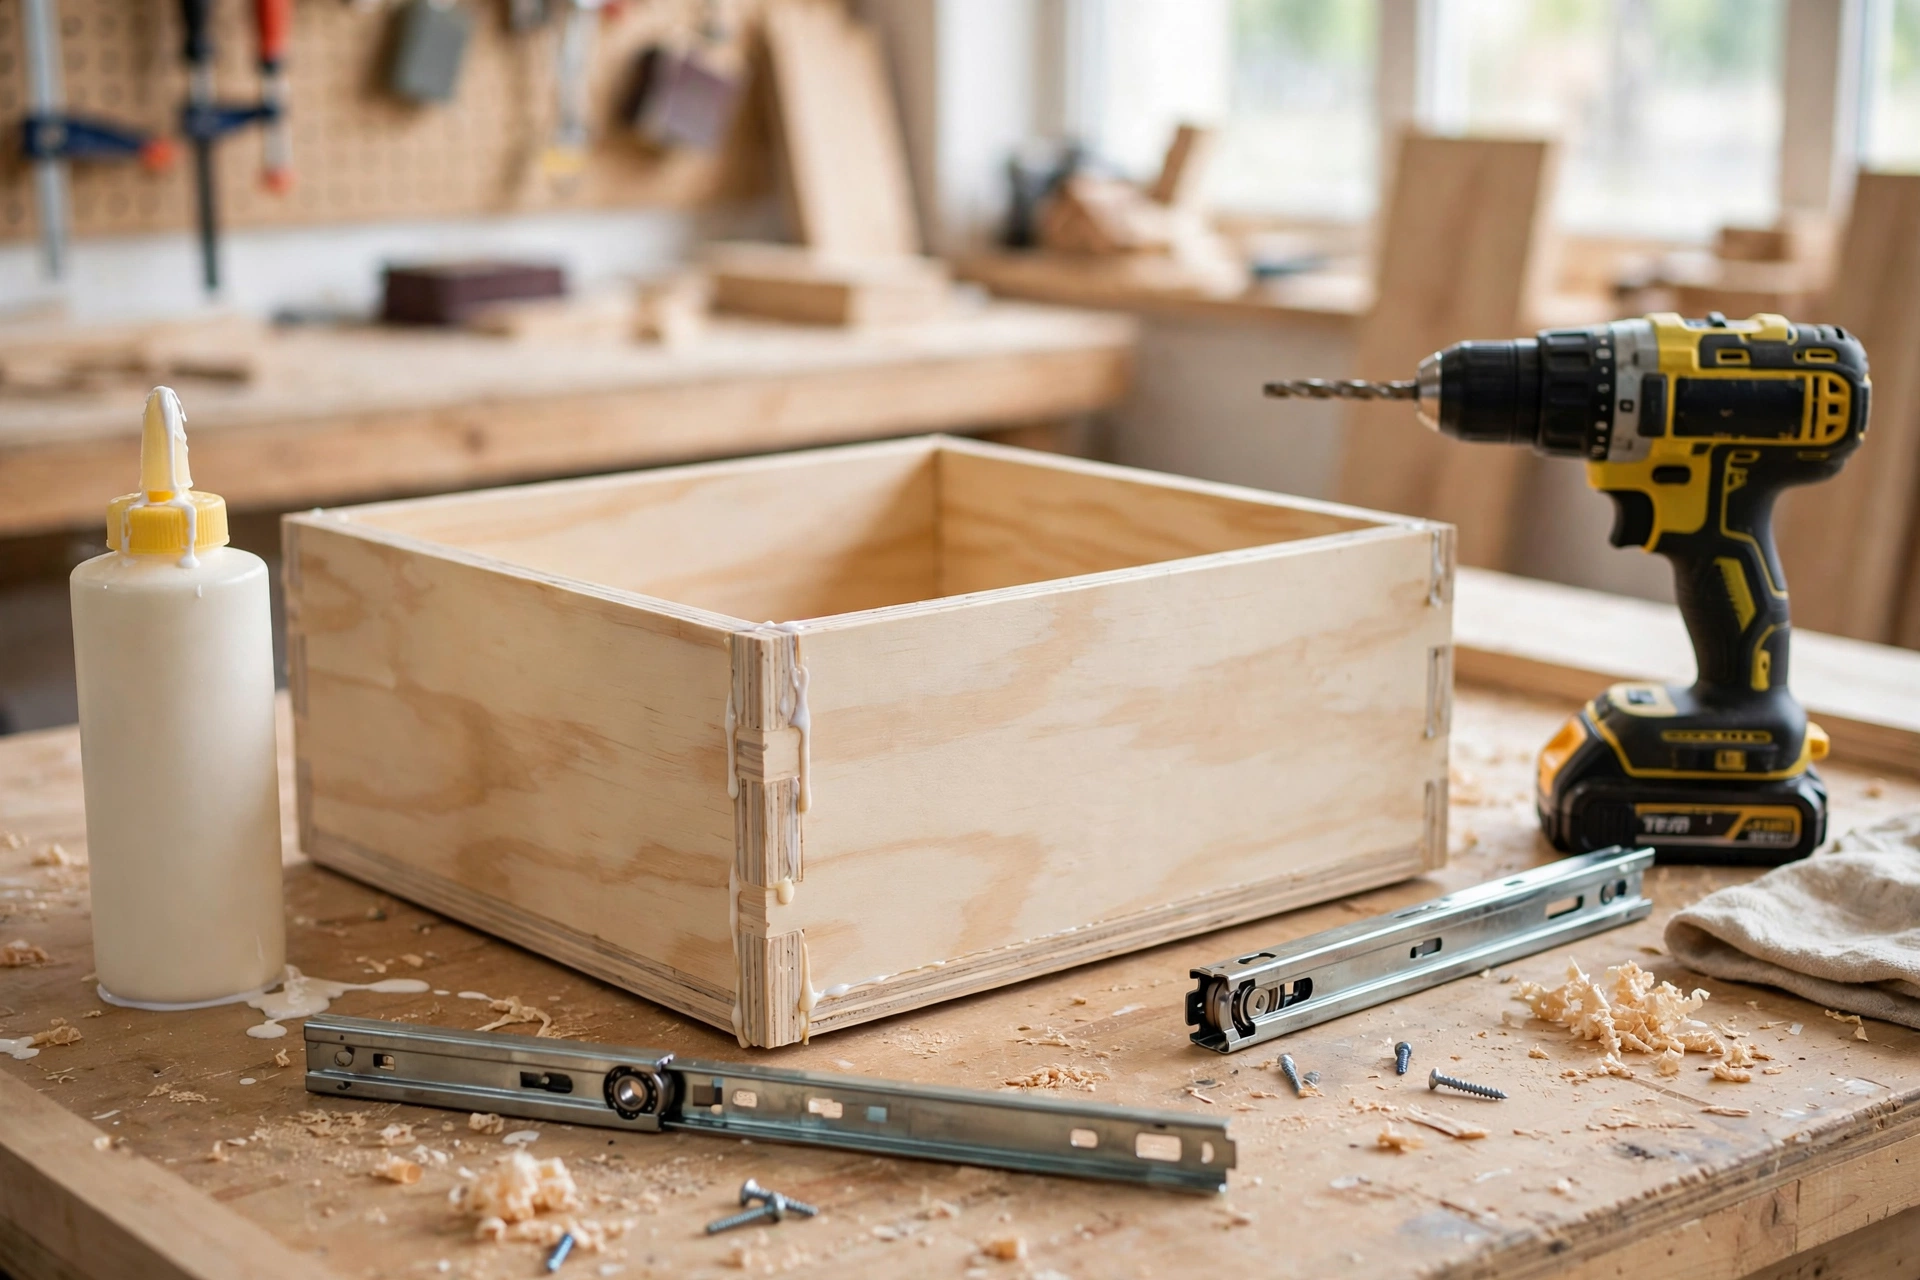
The drawer box is where this build earns its keep: it must be square, strong, and exactly the right width for the slides, or the drawer will bind every time you open it. Each drawer box is a simple butt-jointed box — two sides, a front, a back, and a bottom — held together with glue and screws, with no dovetails needed. The drawer-box front and back pieces are 16½ inches wide, and the sides are 22 inches long; together they make a box 17½ inches wide outside, which leaves exactly ½ inch of clearance on each side for the ball-bearing slides inside the 18½-inch carcass interior.
Build each box on a flat workbench. Spread glue on the ends of the front and back pieces, then screw them to the sides with 1¼-inch screws — two screws per corner, driven from the outside of the side pieces into the ends of the front and back. Check the box for square by measuring diagonally across the top: the two measurements must match within 1/16 inch (2 mm), because a drawer box even slightly out of square will bind on its slides. While the glue is still wet, you can rack the box square by hand and hold it with a clamp across the diagonal. Then fit the ¼-inch bottom: lay it on top of the box frame, square it up, and screw it to the underside of the sides, front, and back with short screws every 4 inches. A bottom screwed under the box is stronger than one sitting in a groove, and it cannot drop out when the drawer is full of paper. Sand the top edges of the drawer-box sides smooth with 120-grit paper — the hanging-file rails sit on these edges, and a rough edge will catch the folder hooks.
Drawer-Slide Types Compared
| Slide type | Load rating | Extension | Best for |
|---|---|---|---|
| Ball-bearing side-mount | 100 lb (45 kg) | Full extension | Filing cabinets — smooth, strong, easy to fit |
| Roller side-mount | 50–75 lb (23–34 kg) | ¾ extension | Light drawers, budget builds |
| Undermount soft-close | 75–100 lb (45 kg) | Full extension | High-end furniture, hidden hardware |
| Wooden runners | 25 lb (11 kg) | Partial | Rustic or reproduction furniture only |
Ball-bearing side-mount slides are the right choice for a filing cabinet, and the only type this build uses. A full drawer of hanging folders weighs 30 to 40 pounds (14 to 18 kg), which is well within a 100-pound-rated pair, and full extension means the back folders slide all the way out where you can read their tabs — with ¾-extension roller slides, the folders at the back stay hidden inside the cabinet. Undermount slides look cleaner, but they need an exact drawer-box width and a routed groove in the drawer bottom, which is a lot of extra work for a first build. Wooden runners belong on a decorative box, not on a drawer that opens twenty times a day.
Step 5: Install the Slides and Hang the Files
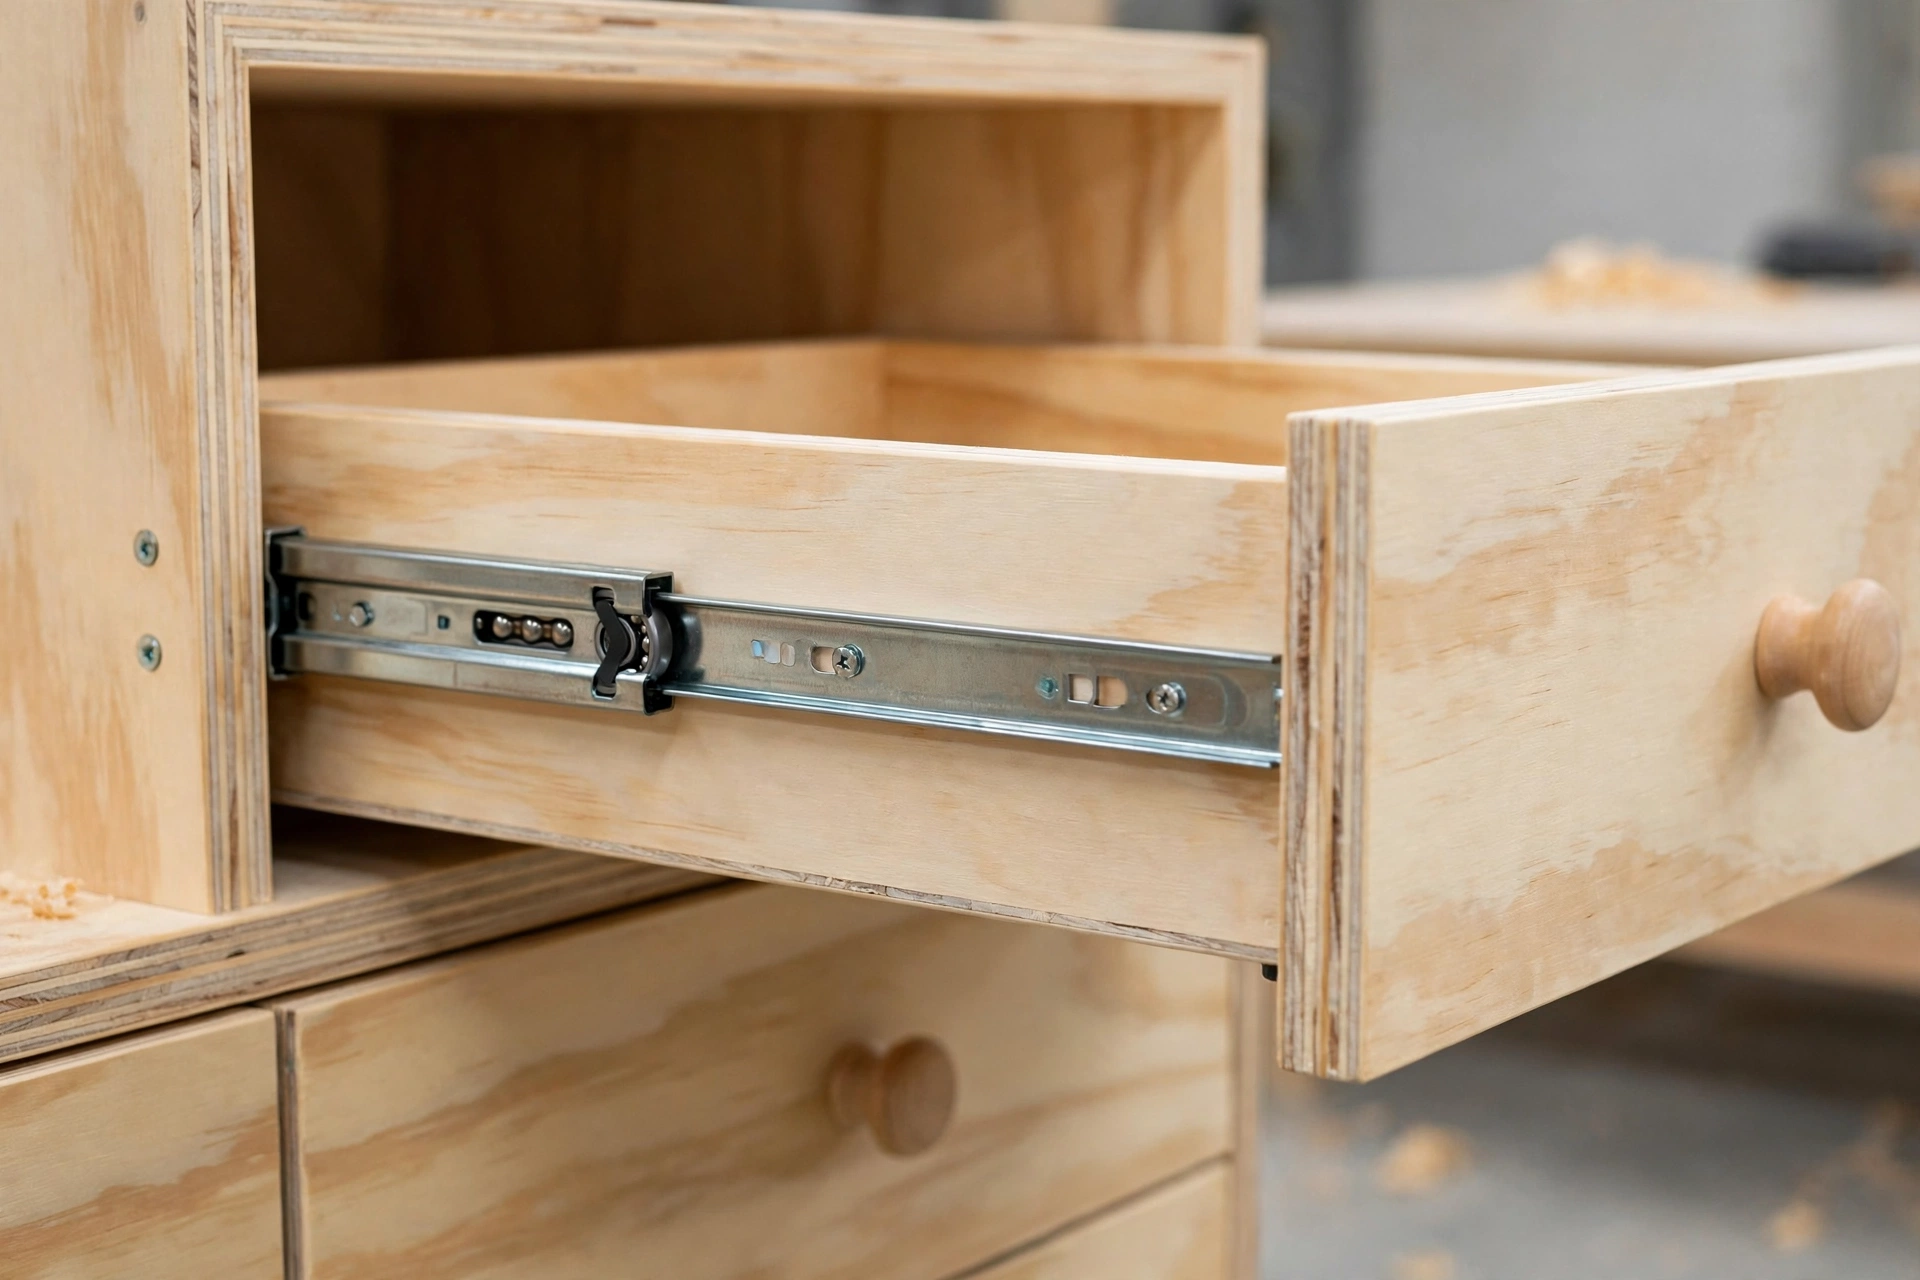
Drawer slides are the most fiddly part of the build, so take your time here. Start by separating each slide into its two halves: the cabinet member (the wider half) screws to the inside of the carcass, and the drawer member (the narrower half) screws to the outside of the drawer box. Fit the cabinet members first. Hold one against the inside face of a side panel on your pencil centreline, with the front of the slide flush with the front edge of the carcass, and drive the screws through the slots — the slots let you adjust the slide up or down by a fraction before you tighten fully. Repeat on the other side panel, at exactly the same height, and for the second drawer. The golden rule is that both slides in a pair must be level with each other and at the same distance from the front edge, or the drawer will rack and stick.
Now fit the drawer members to the outside of the drawer boxes, centred on the drawer-box sides, with the front of the slide flush with the front of the box. Slide the drawer into the carcass slowly, feeling for any binding: it should glide in and out smoothly with one hand. If it sticks, loosen the screws on one cabinet member, nudge it up or down a hair, and re-tighten — the slots are there for exactly this adjustment. Once both drawers glide smoothly, fit the drawer fronts: centre each front over its drawer box with a ⅛-inch gap all round, clamp it in place, and screw it to the drawer-box front from inside the box with four short screws. Drill the knob or pull holes through the front and the box together so they line up perfectly.
Finally, fit the hanging-file rails. Each drawer takes two rails running front to back along the inside of the drawer-box sides, held by small brackets screwed to the box. Set the rail spacing with a spacer cut from your offcuts — 12⅜ inches apart for the letter drawer, 15⅜ inches apart for the legal drawer — and test with a real hanging folder before you tighten the brackets: the folder hooks should sit on the rails without wobbling, and the folder should slide freely from front to back. If you want the cabinet to do double duty, add a simple divider or two to a drawer and it works as a desk-side organiser too — our guide to how to build a wooden desk organizer for beginners shows the same divider idea on a smaller scale.
Step 6: Sand and Finish Your Filing Cabinet
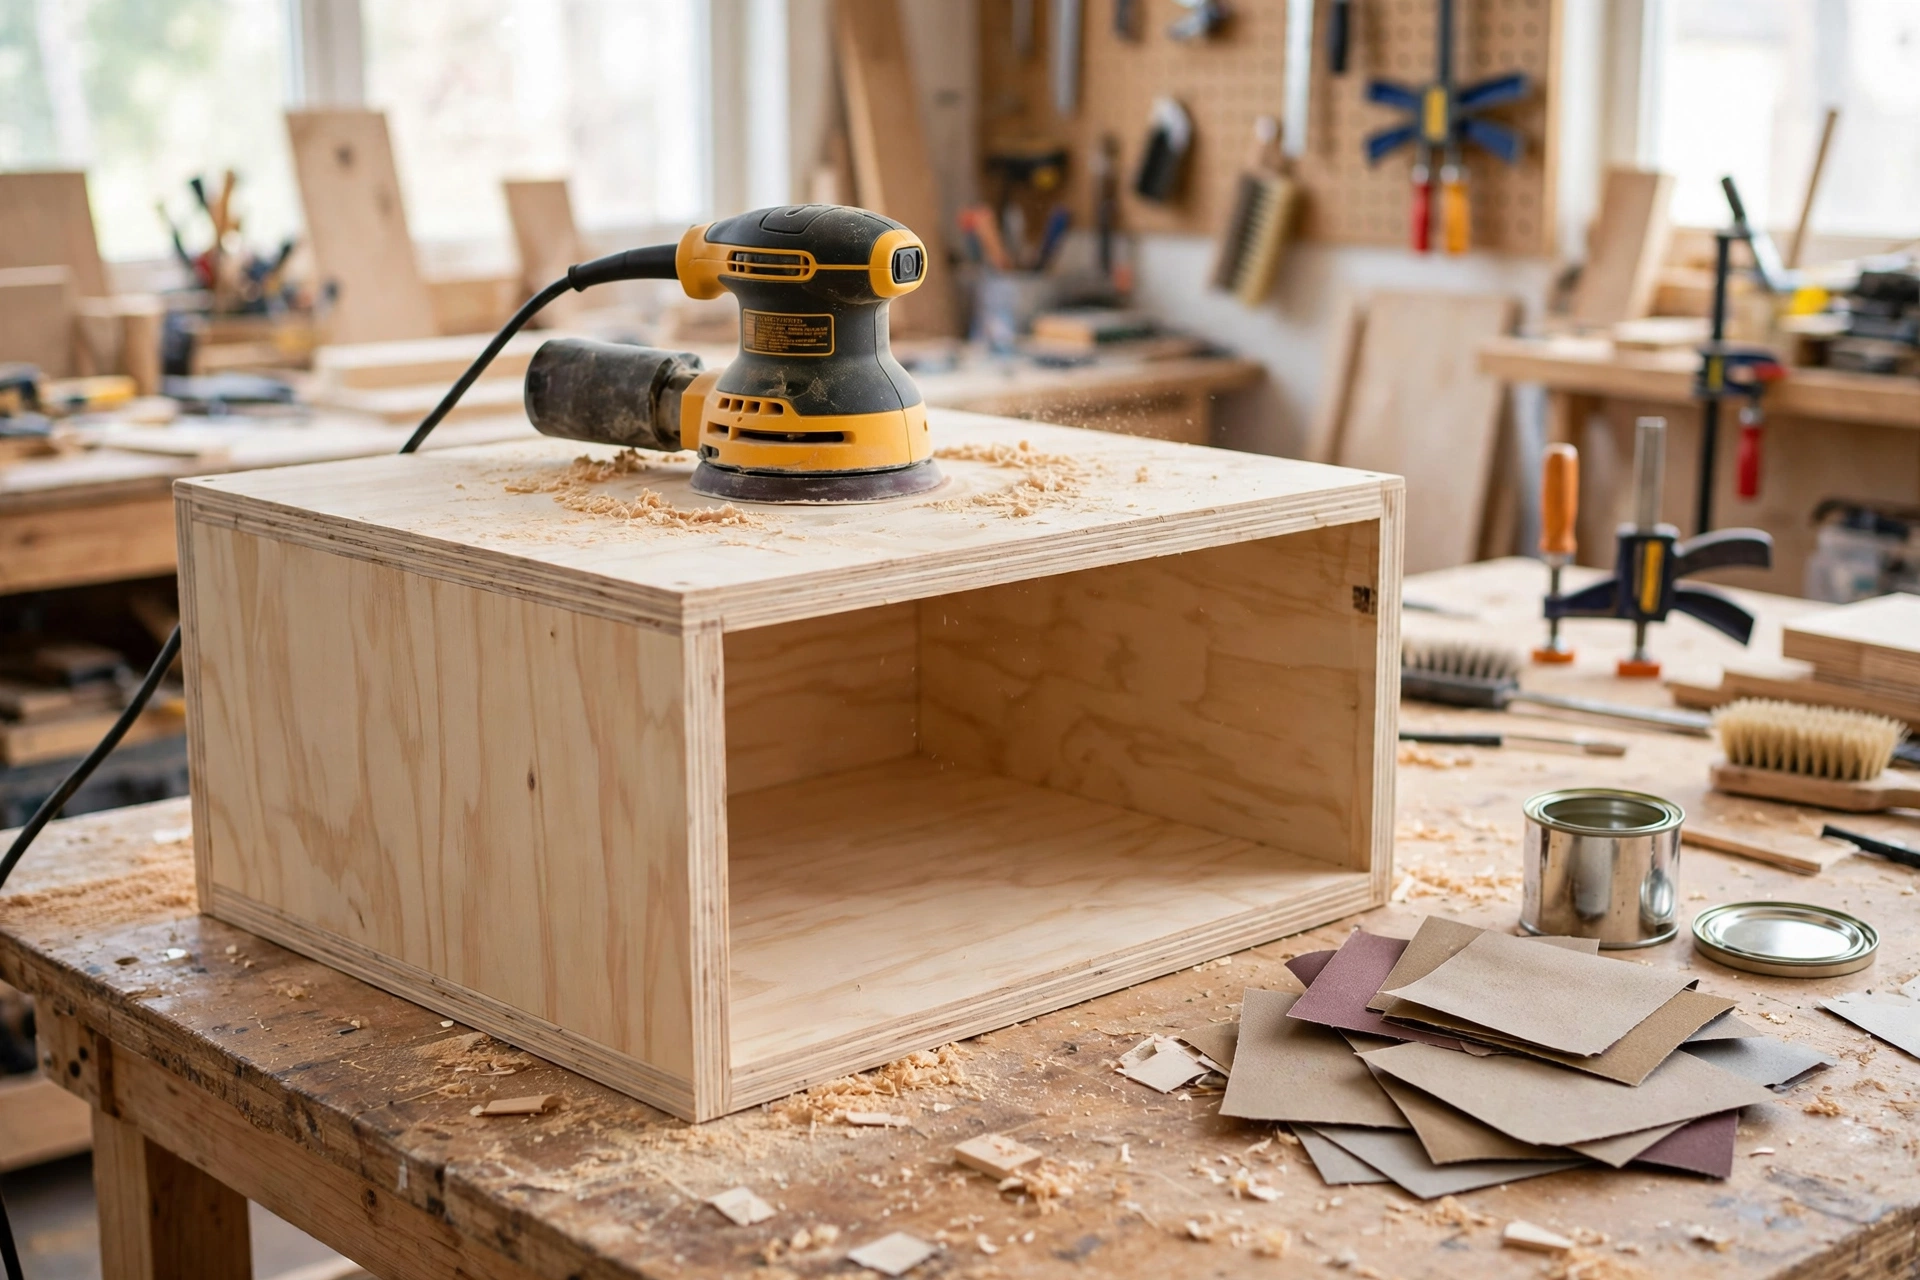
Sanding is where a beginner build starts to look professional, so do not rush it. Sand the carcass and drawer fronts in three passes: 80 grit to remove saw marks and level the plywood edges, 120 grit to smooth the surface, and 220 grit for a silky final finish. Always sand with the grain, never across it, and round over the front edges of the drawer fronts slightly with 120-grit paper — hands touch those edges every time a drawer opens, and sharp plywood edges are uncomfortable and splinter easily. Vacuum or wipe the dust off with a tack cloth between grits; dust left behind shows up as rough spots under the finish. Our full guide, how to sand and finish wood for beginners, walks through grit progression and common sanding mistakes in detail.
Iron-on edge banding hides the layered plywood edges on the drawer fronts and the top of the carcass: cut it slightly long, press it on with a household iron on medium heat, trim the overhang with a sharp knife, and sand it flush. A filing cabinet needs a tougher finish than a decorative oil, because it meets paper dust, coffee rings, and daily handling. A wipe-on polyurethane is the most forgiving choice: it builds a hard, waterproof film that shrugs off spills and scuffs, and it is easy to repair later with a light sanding and one more coat. Apply three thin coats, sanding lightly with 220-grit paper between coats, and pay special attention to the top surface, where cups and papers sit. If you prefer an oil look, use a hard-wax oil rated for floors or tabletops, at least three coats, letting each cure fully. If you want colour, stain first, let it dry fully for 24 hours, then seal it with polyurethane. Let the final coat cure for at least 72 hours before you load the drawers with files — a finish that feels dry is not the same as a finish that has cured hard.
Finishing Options Compared
| Finish | Water resistance | Coats needed | Best for |
|---|---|---|---|
| Wipe-on polyurethane | Excellent | 3 thin coats | Daily use, coffee rings, home offices |
| Hard-wax oil | Good | 3 coats | Natural look, easy spot repairs |
| Paint (semi-gloss) | Excellent | Primer + 2 coats | Matching office trim, hiding plywood grain |
| Danish oil | Fair | 2–3 coats | Light-use cabinets, decorative look only |
| Stain + polyurethane | Excellent | Stain + 3 coats | Matching existing woodwork |
Styling Your Finished Filing Cabinet
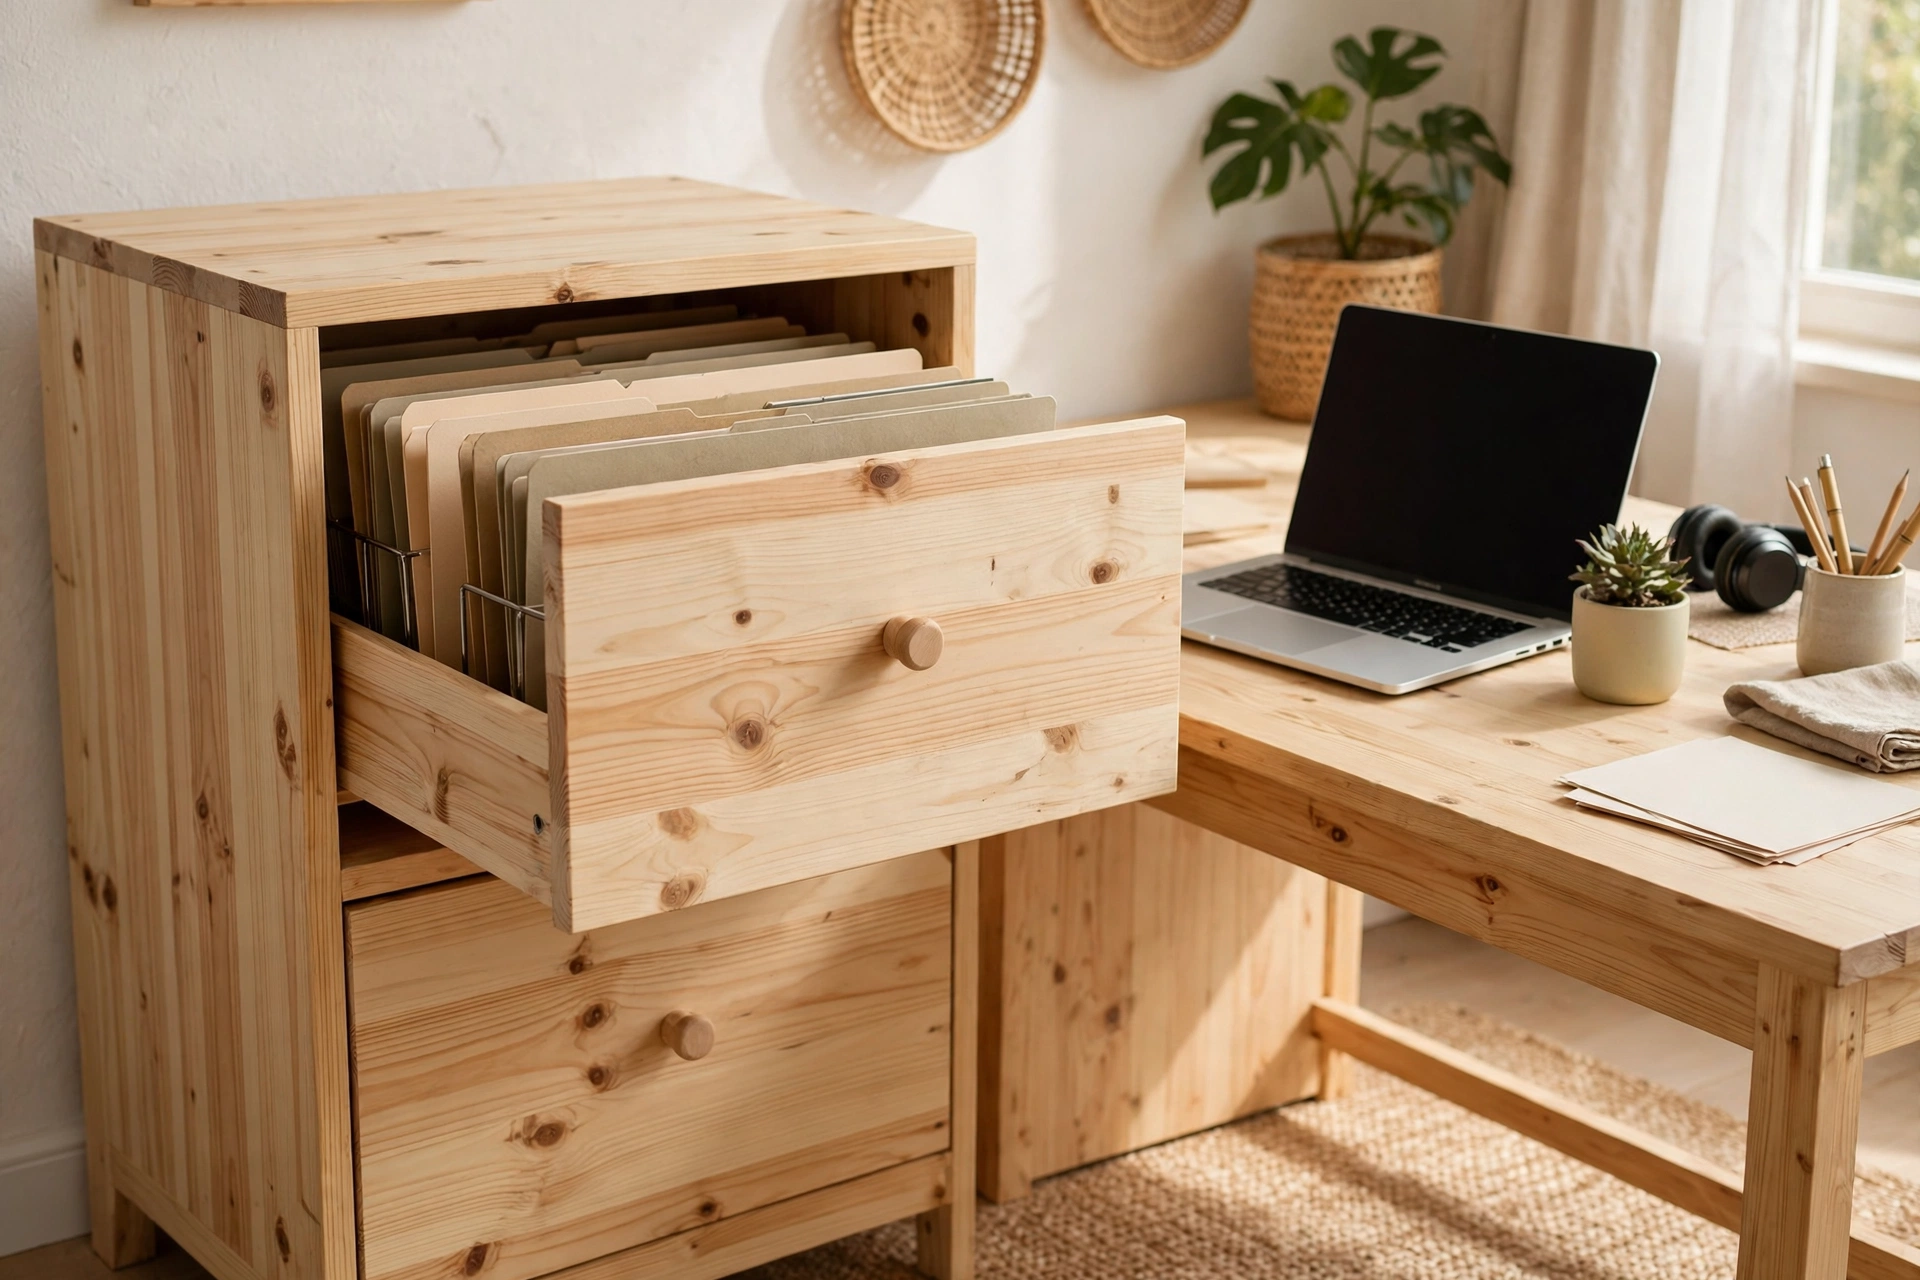
Once the finish has cured, bring the cabinet into the home office. Push it against the wall beside your desk, or under a desk-height side table if the 28-inch height allows — leaving at least 24 inches (61 cm) of clear floor in front of it so the drawers pull all the way out. Load the top drawer first with your most-used letter files — bills, insurance, and household paperwork — then the bottom drawer with legal documents, tax folders, and anything you reach for less often. Label every hanging folder with a tab, and put the most-used folders at the front of each drawer where they are easiest to grab.
A small desk organiser on top of the cabinet keeps pens, clips, and sticky notes in one place — our guide to how to build a wooden desk organizer for beginners makes a matching weekend project, and the same plywood offcuts work for both. To keep the cabinet looking new, dust the top weekly, wipe spills with a barely damp cloth and dry it straight away, and add a fresh coat of polyurethane once a year, or whenever water stops beading on the top. If your office needs more storage, the same carcass-and-drawer method builds its bigger cousin, our guide to how to build a wooden storage crate for beginners — and a matching wooden storage bench for beginners gives you a place to sit while you sort the paperwork.
Common Mistakes to Avoid
Most problems come from rushing one of these seven steps — slow down here and the rest of the build goes smoothly.
Getting the rail spacing wrong. Letter folders need the rails 12⅜ inches apart, legal folders 15⅜ inches. Measure your folders before you fit the rails, and test with a real folder before you tighten the brackets.
Building the drawer box out of square. A drawer box even 1/16 inch out of square binds on its slides. Measure both diagonals before the glue sets, and rack the box square while it is still wet.
Fitting the slides at different heights. Both slides in a pair must be level with each other and the same distance from the front edge. Mark both side panels clamped together so the heights match exactly.
Skipping the dry fit. A bowed side panel or a miscut top hides until the screws are in. Dry-fit the carcass, check the diagonals, and test the drawer glide before you glue anything.
Forgetting the glue. Pocket screws alone will loosen under 80 pounds of paper. Glue every joint, and the screws mainly hold everything tight while it cures.
Using underrated slides. A full file drawer weighs 30 to 40 pounds. Roller slides rated for 50 pounds will sag and stick within a year — use 100-pound ball-bearing slides from the start.
Rushing the finish. Polyurethane over dust or a skipped grit looks blotchy forever. Sand through the grits, clean the dust, and let each coat cure fully before you load the drawers.
How Much Does It Cost and How Long Does It Take?
For a 20-inch plywood filing cabinet, expect $145 to $235 in materials if you already own the tools — roughly a third of a comparable solid wood filing cabinet in a shop, sized exactly to your paper and your office. A single-drawer version is closer to $90 to $140, a three-drawer cabinet around $200 to $300. Hardwood versions cost two to three times more in lumber alone. Time-wise, plan 4 to 5 hours of hands-on work over one afternoon: half an hour to measure and mark, an hour to cut, an hour to build the carcass and drawer boxes, an hour to fit the slides and rails, and an hour to sand and finish, plus overnight glue drying and 72 hours for the final coat to cure. The same skills transfer directly to your next office project — a matching desk organiser or storage bench uses the same cuts, pocket holes, and drawer-slide fitting.
Frequently Asked Questions
How deep should a wooden filing cabinet be?
Twenty-four inches (61 cm) deep is the standard for a filing cabinet: it gives a full 22 inches of drawer travel, which fits legal folders front to back with room for the drawer front and slide hardware. A shallower cabinet — 18 inches deep — works for letter files only, but legal folders will stick out of the back of the drawer. Measure your largest folder before you cut, and never build shallower than 22 inches if you file legal paper.
What size plywood do I need for a filing cabinet?
One 4 × 8-foot sheet of ¾-inch cabinet-grade birch or maple plywood covers the whole carcass and both drawer fronts, plus a half-sheet of ½-inch plywood for the drawer boxes and a quarter-sheet of ¼-inch plywood for the drawer bottoms and back. Buy cabinet-grade plywood, not construction-grade — its smooth face veneer looks like real furniture once it is finished, and its edges take edge banding cleanly.
Can I build a filing cabinet without a table saw?
Yes. A circular saw with a straight-edge guide makes every cut in this project, and a jigsaw with a fine-tooth blade handles the drawer-box parts. Many lumber yards will cut a plywood sheet to size for a small fee, so you can have the side panels, top, and bottom cut at the store and do the drawer boxes and assembly at home with only a drill.
What drawer slides should I use for a filing cabinet?
Use 22-inch full-extension ball-bearing side-mount slides rated for 100 pounds (45 kg). A full drawer of hanging folders weighs 30 to 40 pounds, and full extension lets the back folders slide all the way out where you can read their tabs. Avoid roller slides — they only extend three-quarters of the way and are rated too light for a full file drawer.
How do I stop my filing cabinet drawers from sticking?
Make sure the carcass is square (both diagonals within ⅛ inch), the drawer box is square (both diagonals within 1/16 inch), and both slides in a pair are level and at the same height. If a drawer still sticks, loosen the screws on one cabinet slide member, nudge it a hair, and re-tighten — the slots in the slide are there for exactly this adjustment. Never force a sticking drawer: it will wear the ball bearings out.
How many hanging folders fit in a wooden filing cabinet drawer?
Each drawer in this build holds roughly 25 to 30 hanging folders, depending on how full each folder is — so the two-drawer cabinet stores 50 to 60 folders in total. Do not overfill the drawers: folders packed too tightly are hard to flip through, and the extra weight wears the slides faster. Leave about an inch of slack at the back of each drawer.
How much does it cost to build a wooden filing cabinet?
A 20-inch two-drawer plywood filing cabinet costs about $145 to $235 in materials if you already own the tools. A single-drawer version costs roughly $90 to $140, a three-drawer version about $200 to $300. A comparable solid wood filing cabinet in a shop typically costs $400 to $900, and a metal one costs $150 to $300 but dents, rattles, and cannot be refinished.
Recommended Products for This Project
As an Amazon Associate, I earn from qualifying purchases.

DEWALT 20V MAX Drill/Driver Kit DCD771C2
Drives every pocket-hole screw in this filing cabinet carcass and pre-drills clean pilot holes for the drawer-slide screws so the plywood never splits.

Titebond III Ultimate Wood Glue 1413 (8 oz)
Waterproof, strong wood glue that bonds every carcass joint and drawer-box corner, holding up under 80 pounds of paper in two full drawers.

DEWALT 20V MAX Circular Saw DCS391B, 6-1/2-inch
Cuts the full plywood sheet into straight, splinter-free carcass panels with a straight-edge guide, including the long 28-inch side panels.
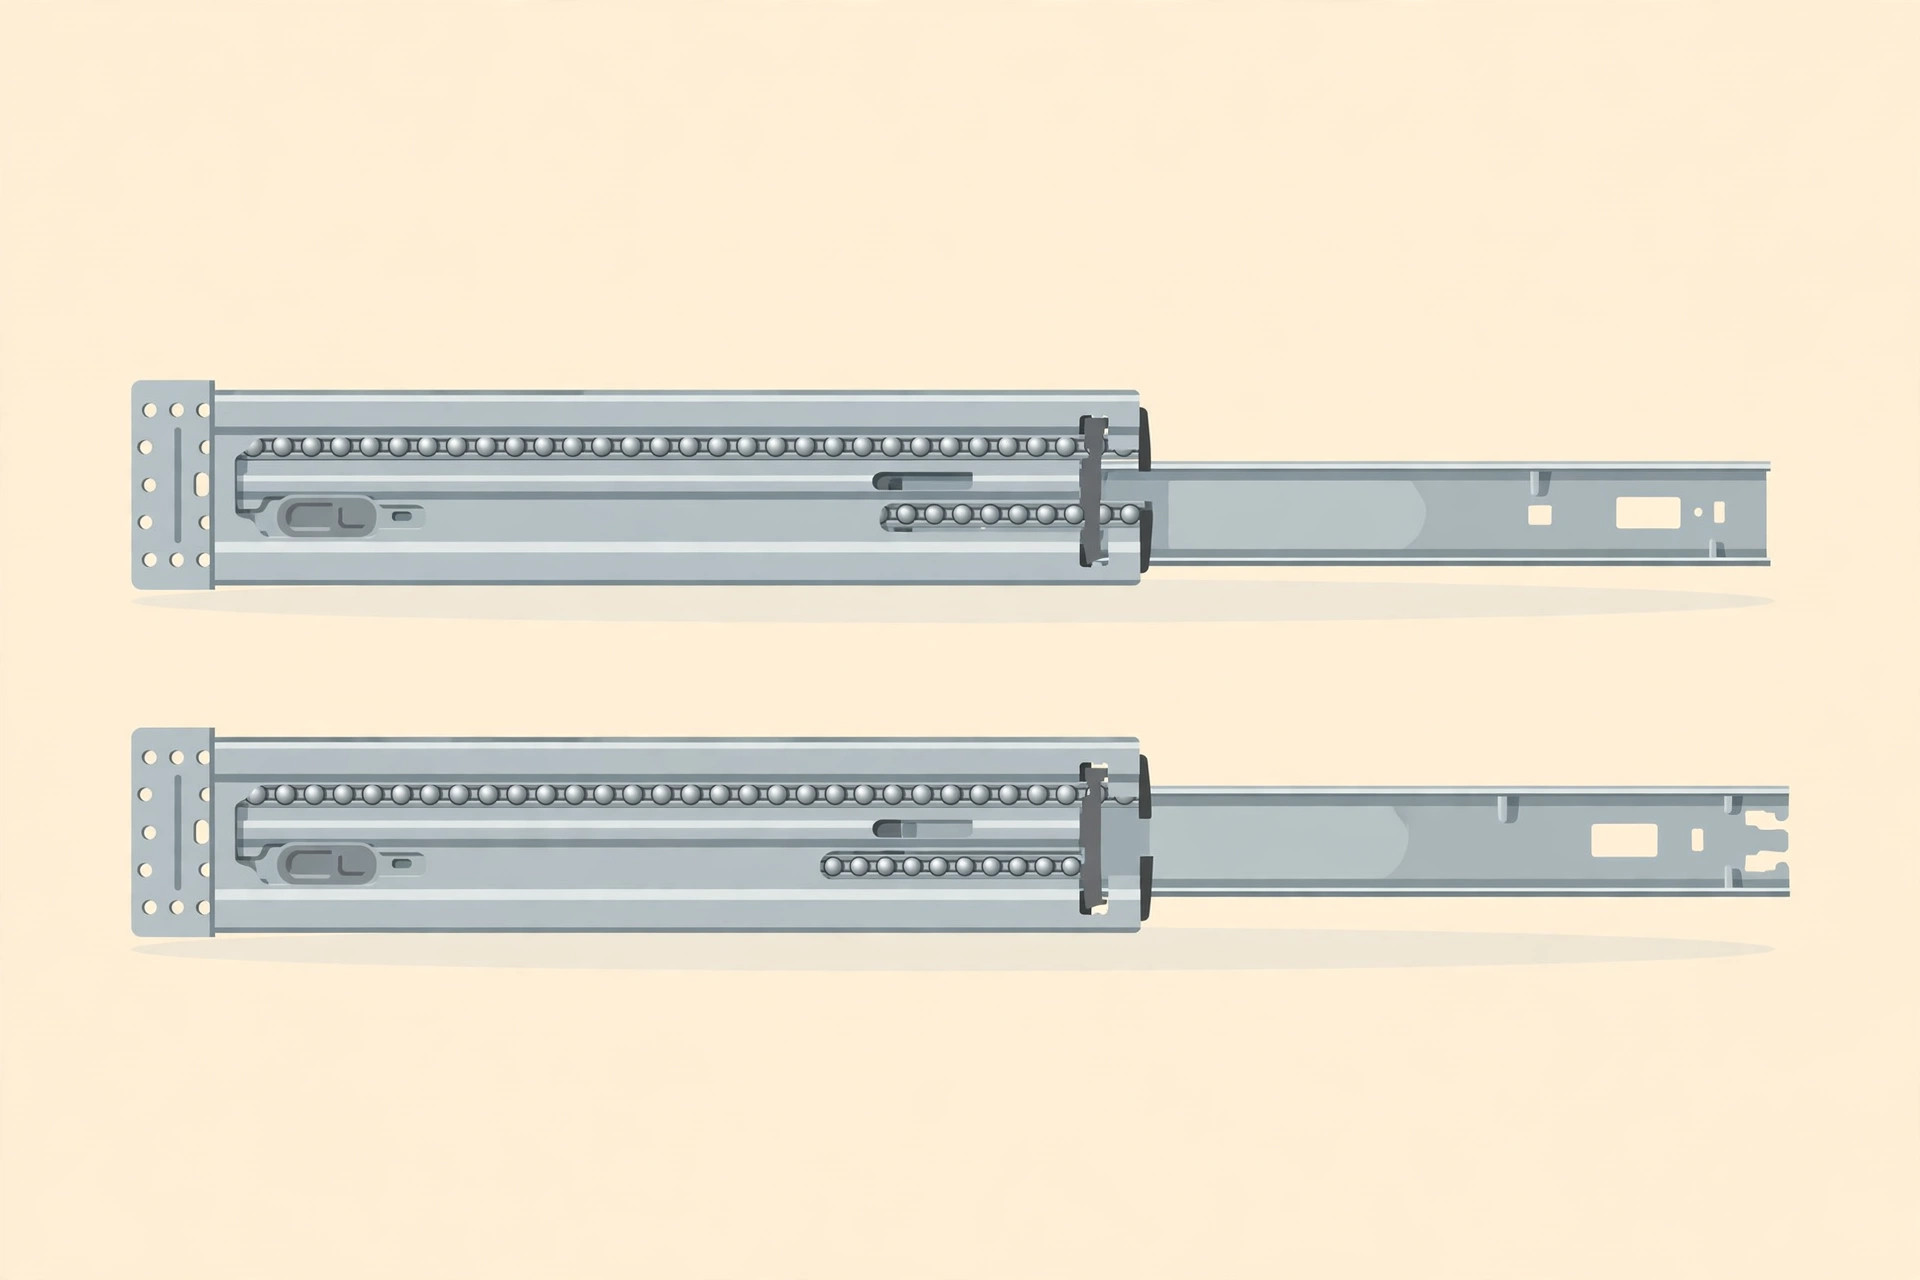
VALISY Soft Close Drawer Slides 14 Inch, 1 Pair, 100 lb
Full-extension ball-bearing slides rated for 100 pounds, so a drawer full of hanging folders glides smoothly all the way out and closes softly. (This listing is the 14-inch pair — this cabinet’s full-depth drawers use 22-inch slides, so match the slide length to your drawer depth.)

IRWIN QUICK-GRIP Woodworking Clamps Set, 8-piece (IRHT83220)
Holds the carcass panels square while you drive the pocket-hole screws, and keeps the drawer boxes clamped tight while the glue cures.


