
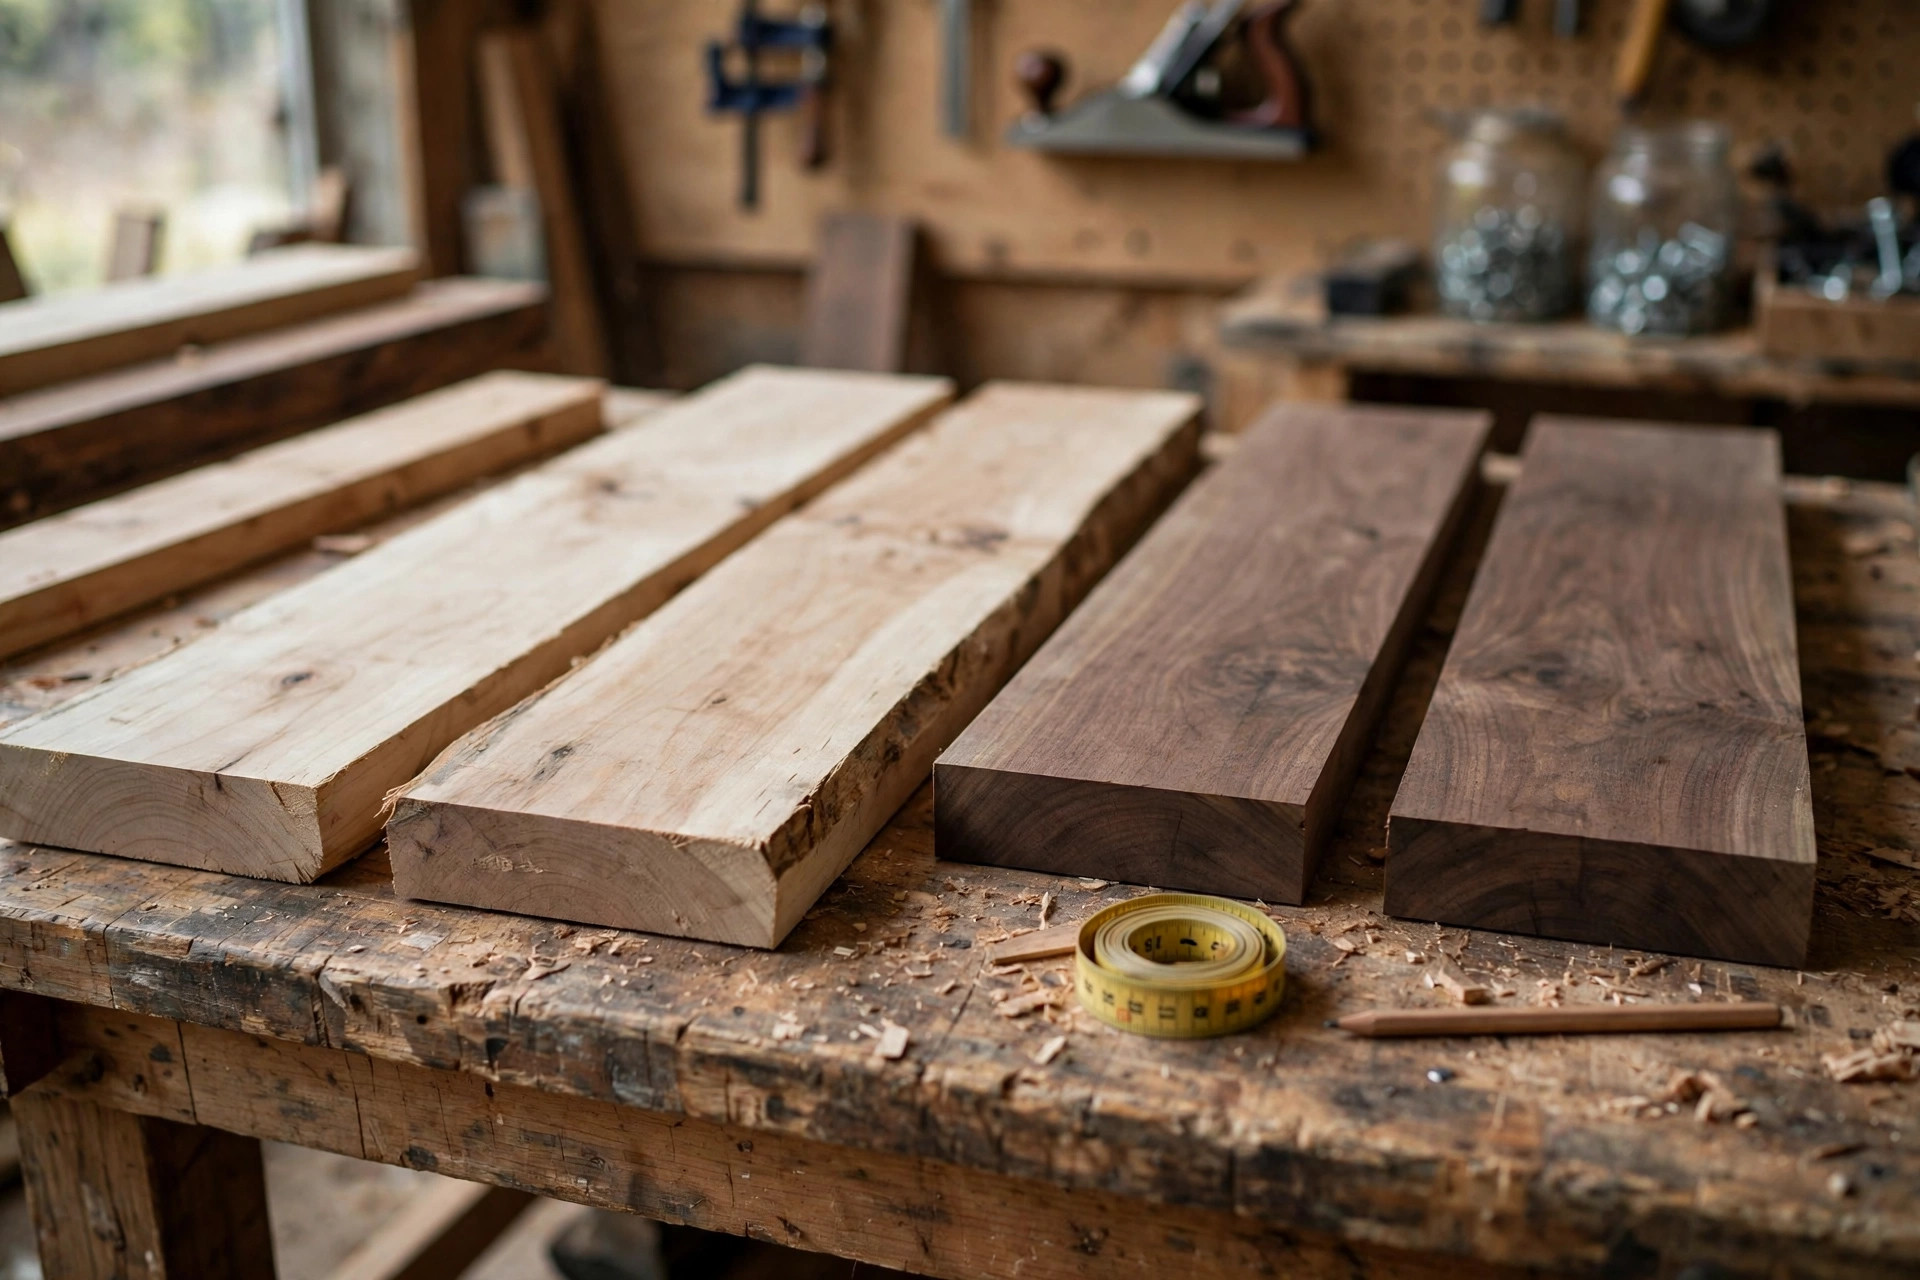
Few first projects reward a beginner the way a cutting board does. It is useful every single day, it can be built in a weekend with basic tools, and it teaches the core skills of real woodworking — choosing lumber, making a flat glue-up, sanding through the grits, and applying a finish — without the pressure of a piece of furniture that has to be square, level, and load-bearing. If you are learning how to make a wooden cutting board for beginners, this guide walks you through the whole job from lumber yard to kitchen counter, including the two main ways to build one, the woods that work and the ones to avoid, the food-safe glue and finish that keep your board safe for actual food, and the mistakes that turn a promising board into firewood.
The good news is that you do not need a fully equipped workshop. A circular saw or a table saw, a few clamps, a random orbital sander, and a free afternoon are enough for the simpler version. The fancier striped version needs nothing more than the same tools plus a bit more patience at the glue-up stage. Both versions end up as boards you will genuinely use, and both teach skills you will reuse on every project that follows.
If this is one of your very first builds, start with our pillar guide to easy woodworking projects for beginners that sell to see where a cutting board fits among the best beginner projects, then come back here for the full step-by-step.
Two Ways to Build a Cutting Board: Single-Board vs Strip Glue-Up
Every beginner cutting board is one of two designs, and the choice you make here shapes the whole project. The single-board version is exactly what it sounds like: one wide, flat board, cut to size, edges softened, sanded smooth, and oiled. It is the fastest route to a finished board, it needs no glue-up at all, and it is the best choice if you own only a saw and a sander. Its only real limitation is width: a single board is only as wide as the lumber you can buy, usually around 20 to 30 centimetres for a reasonably priced hardwood board, which is fine for a compact everyday board but small for a big carving station.
The strip glue-up version is the classic striped board you see in kitchens and craft shops. Several narrow strips of wood are glued side by side into one wide panel, and the strips can mix species — light maple beside dark walnut, for example — to create a pattern. This version takes longer because of the glue-up and the extra flattening, but it can be any width you like, it looks far more impressive, and it is actually more stable than a single wide board, because narrow strips move less with humidity changes than one wide slab does. It is also the version that teaches you glue-ups, which is a skill every woodworker needs.
For your very first board, either version is a win. If you want a finished board tonight, build the single-board version. If you want a board that looks like it came from a craft fair, build the strip version. The rest of this guide covers both, step by step, and the finishing, sanding, and care sections apply to both equally.
Choosing the Right Wood for a Cutting Board
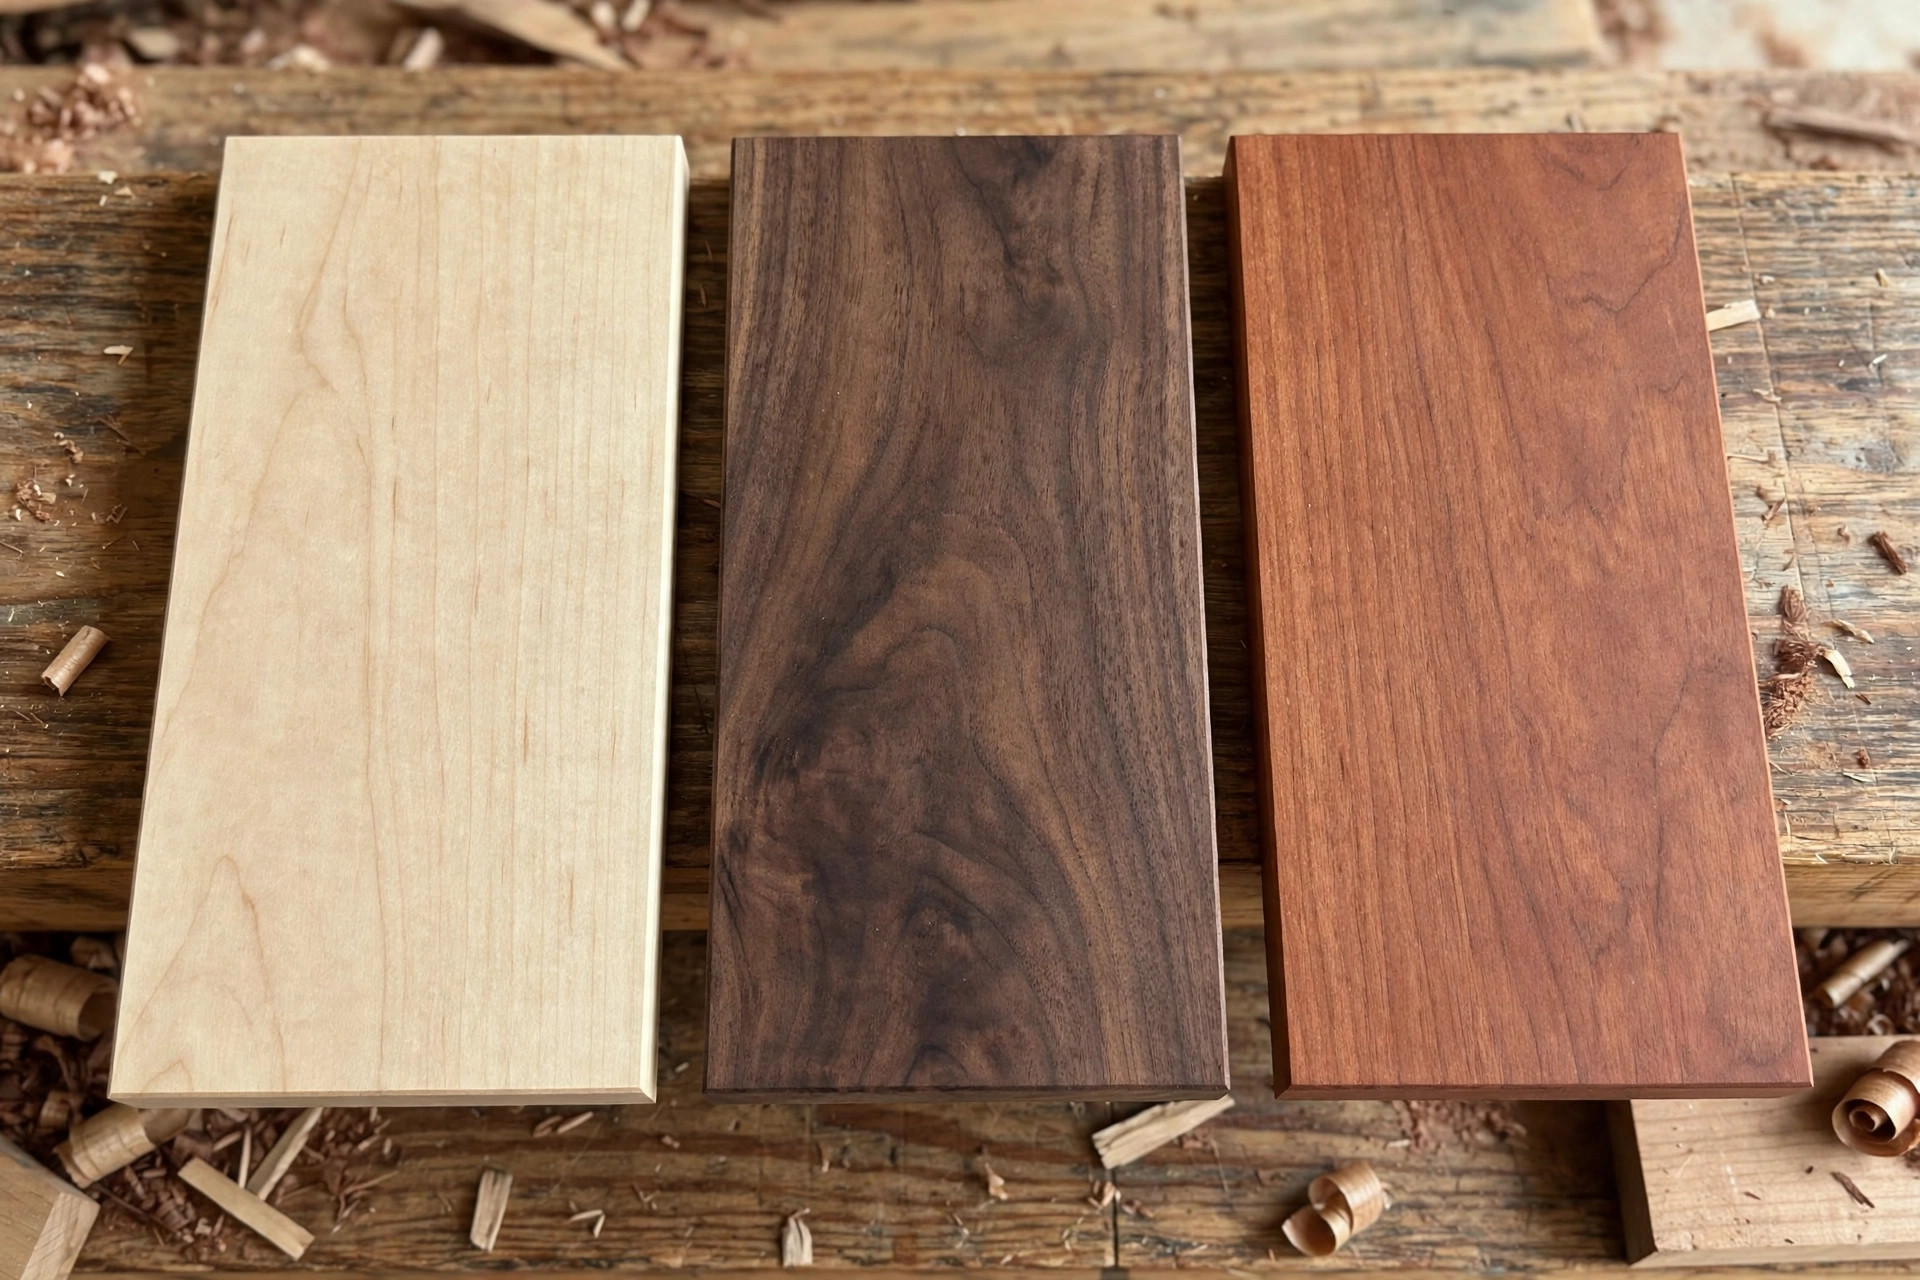
Wood choice is the single most important decision in learning how to make a wooden cutting board for beginners, because a cutting board lives in water, meets knives every day, and touches food. The ideal board wood is a closed-grain hardwood: hard enough to resist deep knife cuts, dense enough not to soak up water and bacteria, and fine-grained enough that it does not splinter into food. Three species meet that test better than any others, and they also happen to look beautiful together.
Hard maple is the workhorse. It is pale, dense, hard, and affordable compared with walnut, and it is the wood most commercial cutting boards are made from. It shows knife marks less than darker woods in some lights, and it takes an oil finish beautifully. Walnut is the premium choice: rich chocolate brown, naturally beautiful, and slightly softer than maple, which is actually a kindness to your knife edges. Cherry sits between the two in colour and hardness, starting as a warm reddish pink and deepening to a rich amber-brown with age and light exposure, which means a cherry board genuinely gets better looking over its first year.
Just as important is knowing what to avoid. Red oak is a common beginner trap: it is cheap and easy to find, but its open pores soak up water and food juices, and it is very hard to seal properly on a board that will be washed repeatedly. Pine and other softwoods are worse — they are far too soft, they dent and gouge under a knife, and they can leave resinous tastes. Bamboo boards exist commercially, but bamboo is extremely hard on knife edges and is not a lumber you will buy and mill as a beginner. Exotic woods can also be a problem: some, like padauk or purpleheart, can cause allergic reactions or are not recommended for food contact, so stick to maple, walnut, and cherry until you have more experience. Our guide to the best wood for beginner woodworking projects covers these species in more depth if you want to compare them across other projects too.
Buy lumber that is already surfaced on two faces (S2S) or surfaced on all four sides (S4S) if your local yard offers it, because that saves you the hardest flattening work. A board around 20 millimetres thick is a good target for a first cutting board — thick enough to feel solid and to survive years of resurfacing, thin enough to handle easily. Avoid warped, twisted, or cupped boards at the lumber yard; sight down the length of each board before you buy it, and reject any that rock on a flat surface.
| Wood | Hardness and feel | Grain and water resistance | Look | Price | Best for |
|---|---|---|---|---|---|
| Hard maple | Very hard, dense, kind to knives | Tight closed grain, excellent | Pale cream, clean and classic | Moderate | Everyday boards, first builds |
| Walnut | Hard but slightly softer than maple | Closed grain, very good | Rich dark brown, premium look | Higher | Gift boards, striped glue-ups |
| Cherry | Medium-hard | Closed grain, very good | Warm red-brown, deepens with age | Moderate to high | Warm-toned boards, gifts |
| Red oak | Hard | Open pores, poor for wet use | Warm brown, strong grain | Low | Avoid for cutting boards |
| Pine / softwood | Too soft, dents easily | Open grain, absorbs moisture | Pale, knotty | Very low | Avoid for cutting boards |
Tools and Materials You Need
You do not need a cabinet shop. For the single-board version, the essentials are a saw to cut to size (a circular saw with a straightedge guide works fine, a table saw is faster), a random orbital sander, sandpaper from 80 to 220 grit, a pencil and measuring tape, and a bottle of food-safe wood glue if you are doing the strip version. For the strip version, add at least three or four bar clamps long enough to span the width of your board, plus two cauls — straight scrap boards that sit across the glue-up to keep it flat — and a damp cloth for glue squeeze-out. A router is optional but useful for juice grooves and rounded edges; without one, you can round edges with sandpaper and skip the groove entirely.
Materials for one standard board, roughly 30 by 40 centimetres, are modest: either one wide hardwood board or five to seven strips of hardwood, each about 40 centimetres long; food-safe wood glue (more on that below); food-grade mineral oil; and a small amount of beeswax for the finishing board butter. Add a pair of non-slip rubber feet if you want the board to stay put on a countertop, though many cooks prefer a board they can flip and use on both sides. Our guides to the best wood glue for beginners and the best clamps for woodworking beginners will help you pick the right products if you are buying glue and clamps for the first time.
| Item | Single-board version | Strip glue-up version | Approximate cost band |
|---|---|---|---|
| Hardwood lumber | 1 wide board, ~30 x 40 cm | 5–7 strips, each ~40 cm long | Low to moderate |
| Saw (circular or table) | Yes | Yes, for ripping strips | Already owned or borrowed |
| Random orbital sander + paper | Yes, 80–220 grit | Yes, 80–220 grit | Low |
| Bar clamps (3–4) | Not needed | Yes, plus 2 cauls | Low to moderate |
| Food-safe wood glue | Not needed | Yes, one bottle | Low |
| Food-grade mineral oil + beeswax | Yes | Yes | Low |
| Router (optional) | For juice groove / edges | For juice groove / edges | Optional |
| Total build time | 2–4 hours plus overnight oiling | 4–6 hours plus overnight glue drying and oiling | One weekend |
The Single-Board Version, Step by Step
Start by choosing your board and cutting it to size. Mark your rectangle — 30 by 40 centimetres is a generous everyday size, 25 by 35 centimetres is a good compact one — and cut with your saw, keeping the cut line steady and the board supported so it does not pinch the blade at the end of the cut. If your board has a live edge or rough sawn edges, trim at least one long edge straight first, then measure from that straight edge.
Next, soften the edges. A sharp 90-degree edge on a cutting board is uncomfortable to hold and chips easily, so round all four edges slightly. If you have a router with a roundover bit, one light pass on each edge does the job beautifully. Without a router, wrap 80-grit sandpaper around a small wood block and work each edge until it feels comfortably rounded, then follow with 120 grit. Do the same for the corners, rounding them generously so the board feels good in the hand.
Now sand the faces. Work through the grits in order — 80, 120, 180, then 220 — sanding with the grain and spending enough time at each grit to remove the scratches from the one before. A common beginner error is jumping from 80 straight to 220; the fine paper cannot remove coarse scratches, and they show up the moment oil goes on. Wipe the board with a barely damp cloth between grits to raise the grain, let it dry, and sand again lightly; this pre-raises the grain so the board does not go rough the first time it is washed. Finish by brushing off all dust and wiping the board clean before oiling.
The Strip Glue-Up Version, Step by Step
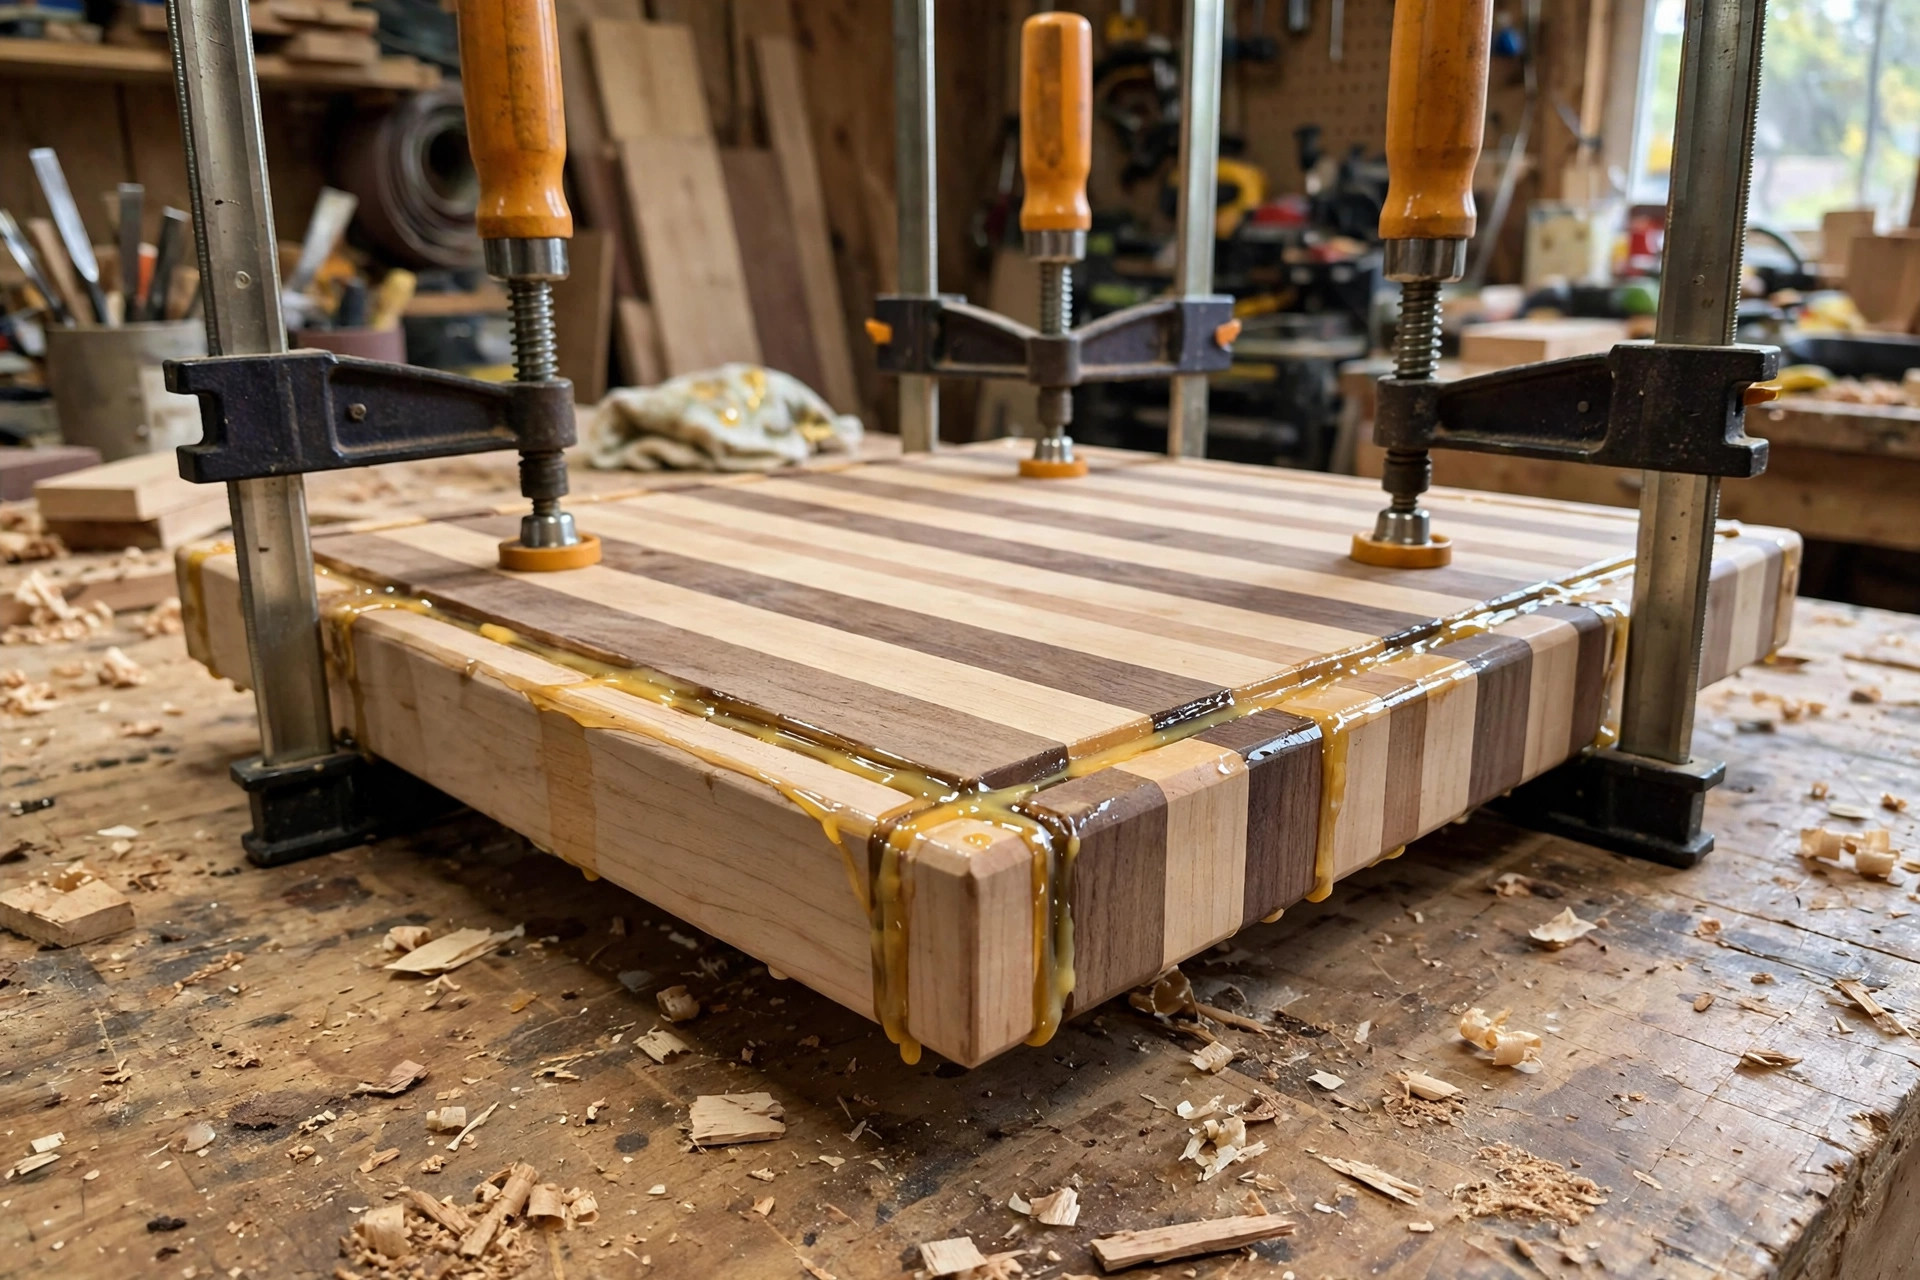
The strip version starts with ripping: cutting your lumber into narrow strips of equal width, usually 35 to 45 millimetres wide. Consistent width matters more than the exact number — uneven strips make an uneven pattern and a glue-up that is hard to flatten. If you are mixing species, plan the pattern before you cut: alternate maple and walnut for a bold stripe, or group two maple strips, one walnut, two maple for a calmer rhythm. Lay the strips out dry, in order, and mark the top face of each strip with a pencil triangle drawn across the whole panel; that triangle is your map for putting the strips back in the same order after glue is on them, and it saves many beginners from a scrambled pattern.
Glue choice is not a detail here — it is a safety decision. Use a Type III waterproof PVA wood glue labelled food-safe or FDA-compliant for indirect food contact once cured, such as Titebond III or an equivalent in your region. Standard interior PVA glue is not waterproof, and a cutting board is washed constantly, so an interior glue joint can eventually fail. Apply a thin, even bead of glue to one face of each joint, spread it with a brush or a finger, and press the strips together. Too much glue is a mess; too little starves the joint. A thin, continuous film that squeezes out slightly when clamped is about right.
Clamping is where strip glue-ups succeed or fail. Lay the panel on a flat surface, place your bar clamps underneath and on top alternately if you can, and tighten gradually from the middle outward, checking that the strips stay flush on the top face. Add a caul across each end — a straight scrap board clamped across the panel — to stop the strips from bowing upward under clamp pressure, which is the most common glue-up failure. Wipe squeeze-out with a damp cloth after about 20 to 30 minutes, when the glue is rubbery rather than liquid; wiping wet glue pushes it into the grain and leaves pale blotches under the oil finish. Leave the panel clamped for at least an hour, and ideally overnight, before you touch it again. Full cure takes 24 hours, so do not sand or stress the joints before then.
Once cured, trim the panel to its final rectangle with your saw, cutting off the uneven ends, and then flatten and sand exactly as described for the single-board version. If one face is slightly proud of its neighbours, do not panic — the flattening section below fixes that without a planer.
Flattening Without a Planer
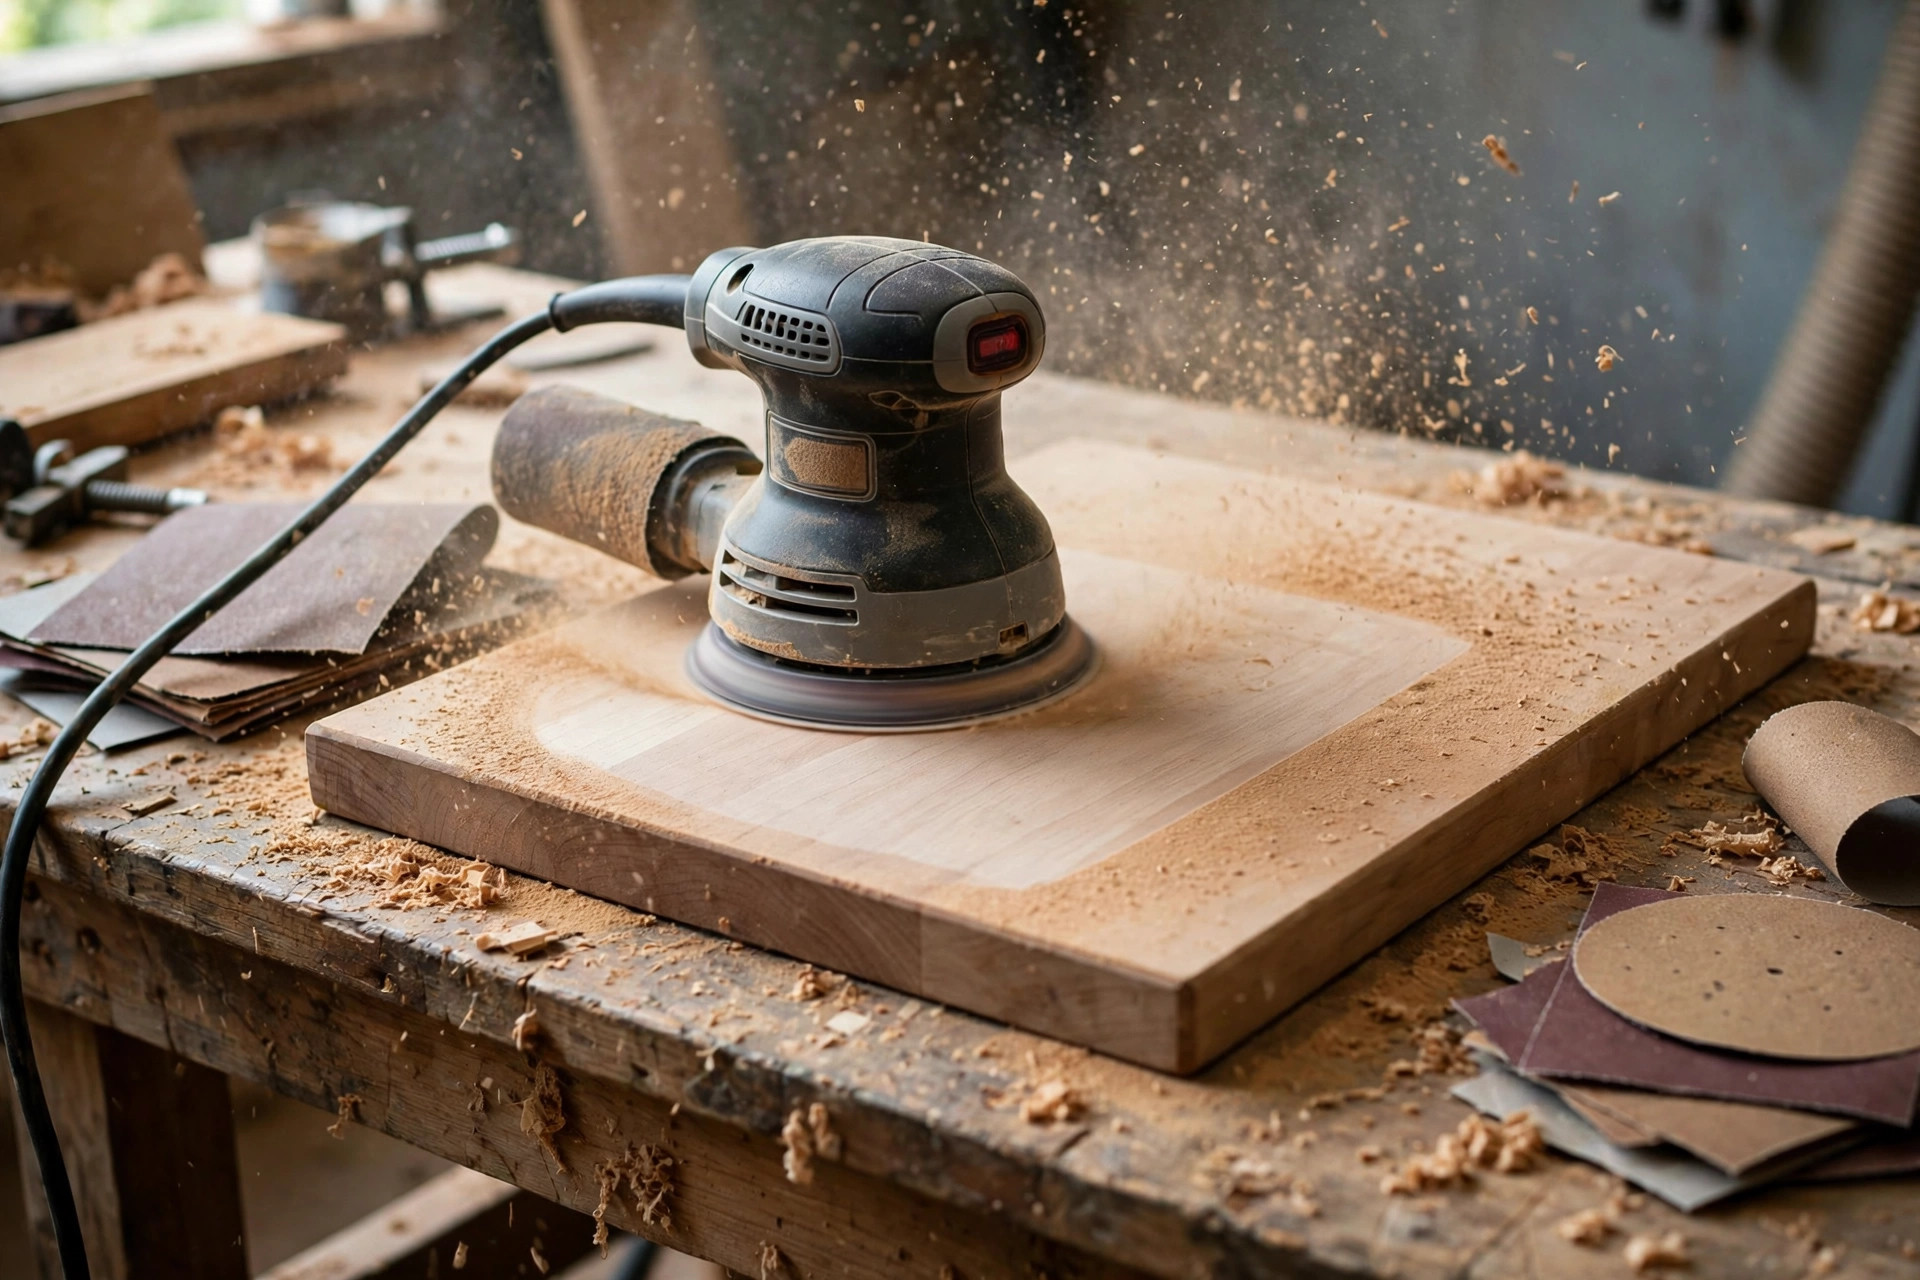
Many beginners assume they need a thickness planer to make a flat board, but for a first cutting board you do not. The simplest flattening method is a belt sander or a random orbital sander with coarse 40- or 60-grit paper, worked diagonally across the high spots until the board sits flat without rocking. Check your progress constantly with a straightedge or by setting the board on a known-flat surface and pressing each corner: a board that rocks has a high spot diagonally opposite the rocking corner. Mark high spots with pencil scribbles — sand until the scribbles disappear evenly, and you have found flat.
A second method, useful for worse glue-ups, is a router sled: two straight rails on either side of the board and a router riding across on a flat sled, shaving a fraction of a millimetre at a time. It sounds advanced but it is just a simple jig made from scrap, and it produces a genuinely flat face. A third option is hand planes — a sharp No. 4 or No. 5 plane across the grain first, then with the grain — which is quiet, satisfying, and very effective once you learn to sharpen. Whichever method you use, flatten one face first, then flip the board and bring the second face parallel to the first by sanding evenly. A board that is flat on one side and roughly parallel on the other is all a cutting board needs; it does not need furniture-grade precision.
Sanding Grit Progression: The Sequence That Makes Oil Look Good
Sanding is where patience pays visibly, because an oil finish magnifies every scratch you leave behind. Work through the full progression: 80 grit to remove saw marks and flatten, 120 to remove the 80 scratches, 180 to refine, and 220 for the final smoothness before oiling. Some builders stop at 180 for a board that will be used hard, because a slightly more open surface absorbs oil better; going beyond 220 on a cutting board is usually wasted effort, since the first wash and use will roughen the surface again anyway. Our guide to the best sandpaper grit for beginners explains the full grit sequence and why skipping grits always shows in the finish.
Sand with the grain on the final passes, keep the sander moving so you do not dish out soft areas, and vacuum or brush off dust between grits. The damp-cloth grain-raising trick from the single-board section is worth repeating here: wipe the board with a barely damp cloth, let it dry completely, then give it a final light pass at 220 grit. That pass knocks down the raised grain fibres so they do not stand up the first time the board is washed. Finish by wiping the whole board with a dry cloth and inspecting it in raking light — light coming across the surface at a low angle shows scratches that overhead light hides. If you see scratches, go back one grit and work forward again; it takes ten minutes and saves a disappointing finish.
Juice Groove and Handle Options
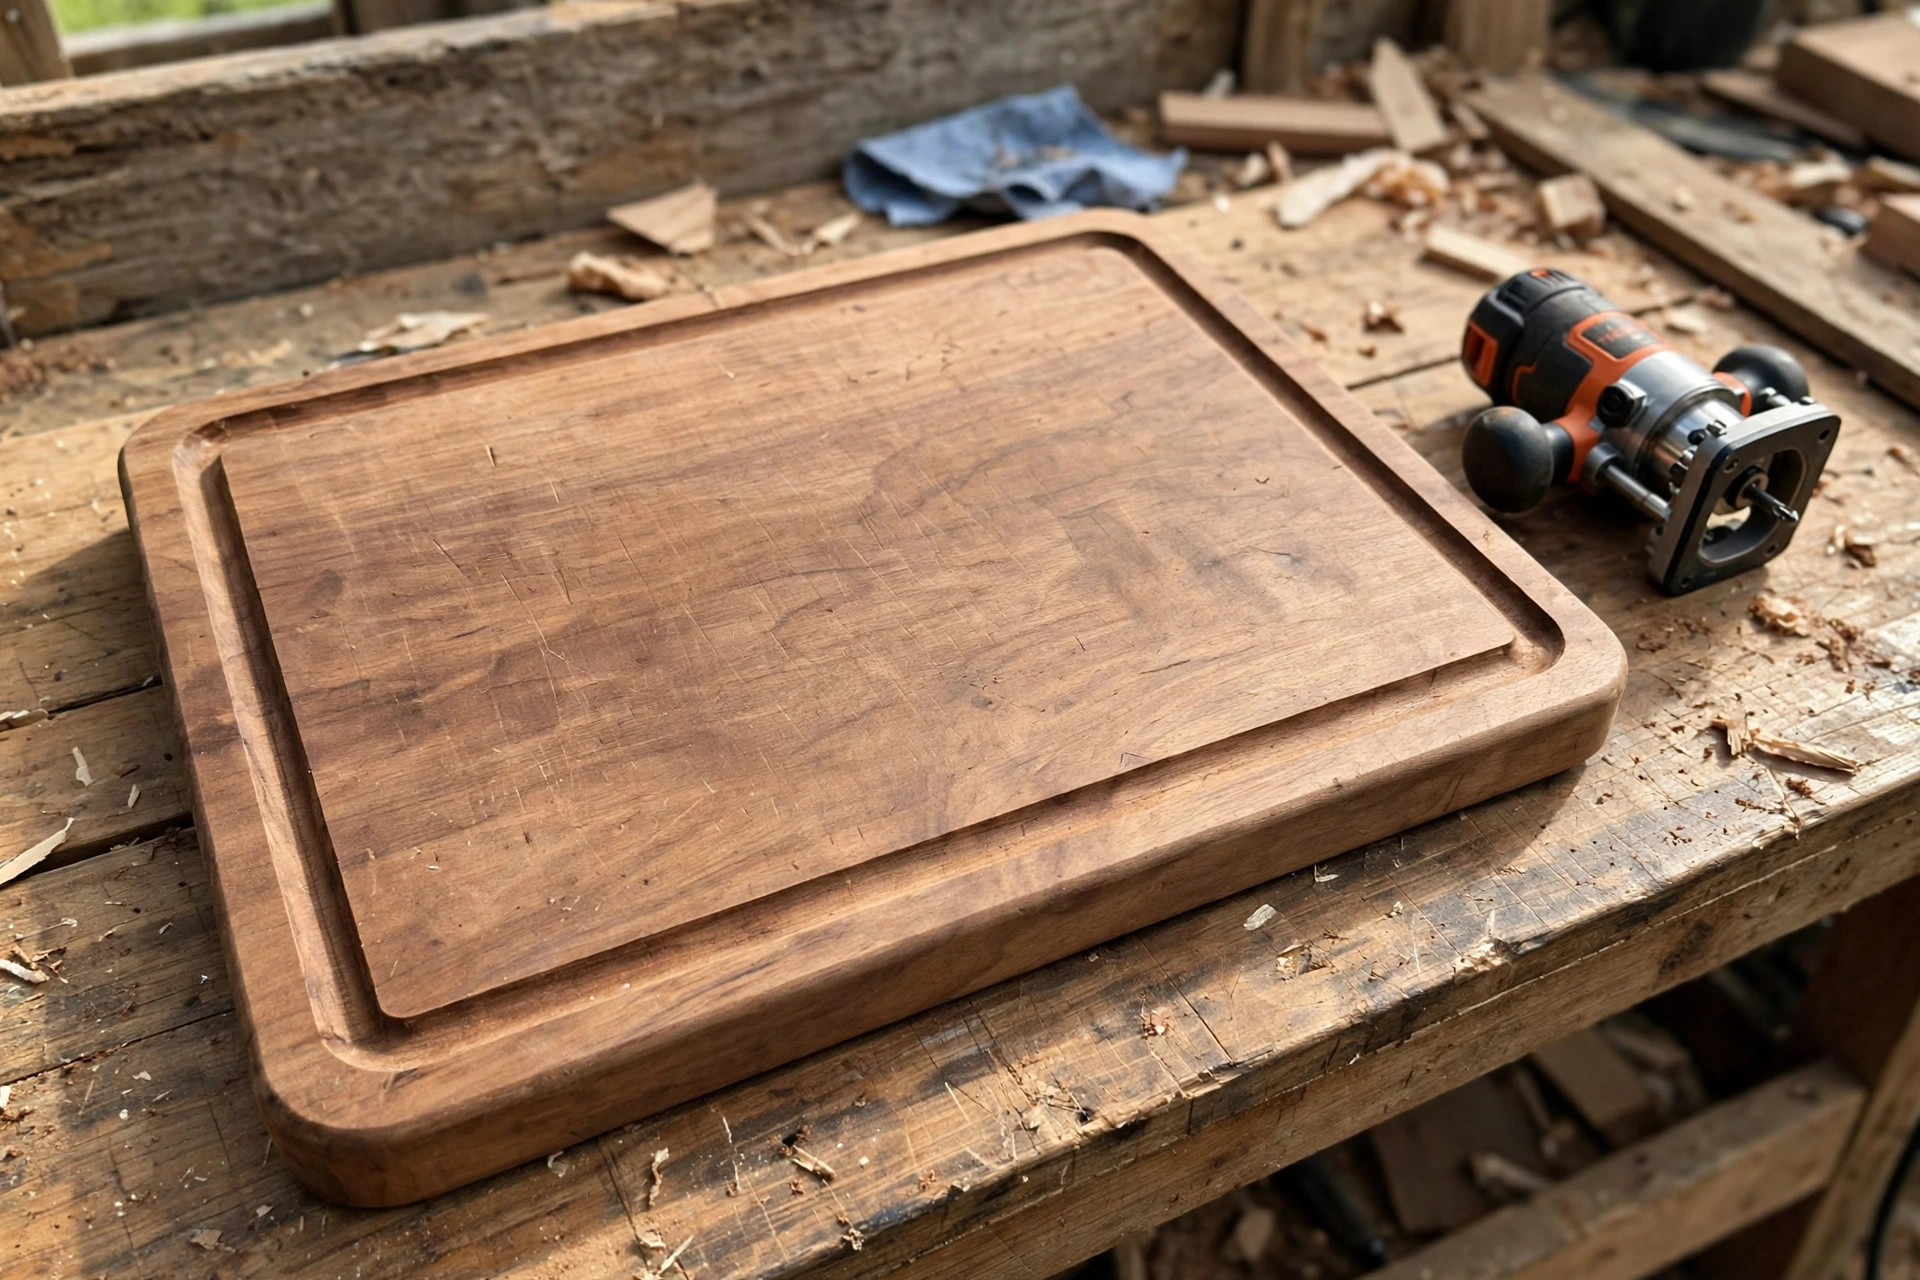
A juice groove — the shallow channel routed near the edge of a board to catch juices from tomatoes, melons, or a roast — is entirely optional, and many beautiful boards have none. If you want one, a router with a core box or round-nose bit and a simple template or edge guide is the clean way to cut it. Route a channel about 6 to 10 millimetres wide and 4 to 6 millimetres deep, inset roughly 15 to 20 millimetres from the edge, and keep the router moving steadily so the depth stays even. Square the corners of the groove by hand with a chisel or a small gouge if your template leaves rounded corners, or simply design the groove with rounded corners from the start, which looks intentional and needs no cleanup. Practise the groove on scrap first: a groove cut too deep weakens the board, and a groove that wanders looks worse than no groove at all.
Handles are the other optional extra. The simplest handle is no handle at all — a board with rounded edges and finger grooves routed or sanded into the two short ends is easy to pick up and fully reversible. A second option is a single handle cut into one end, which makes the board easy to hang but means one end is not usable as cutting surface. A third option is small rubber feet screwed to one face, which stop the board sliding but mean the board has a dedicated top side. For a first board, finger grooves or no handle at all are the sensible choices: they add no weak points, they keep both faces usable, and they let you focus on the flatness and finish that actually matter.
Food-Safe Finish: Mineral Oil and Beeswax (Never Stain or Polyurethane)
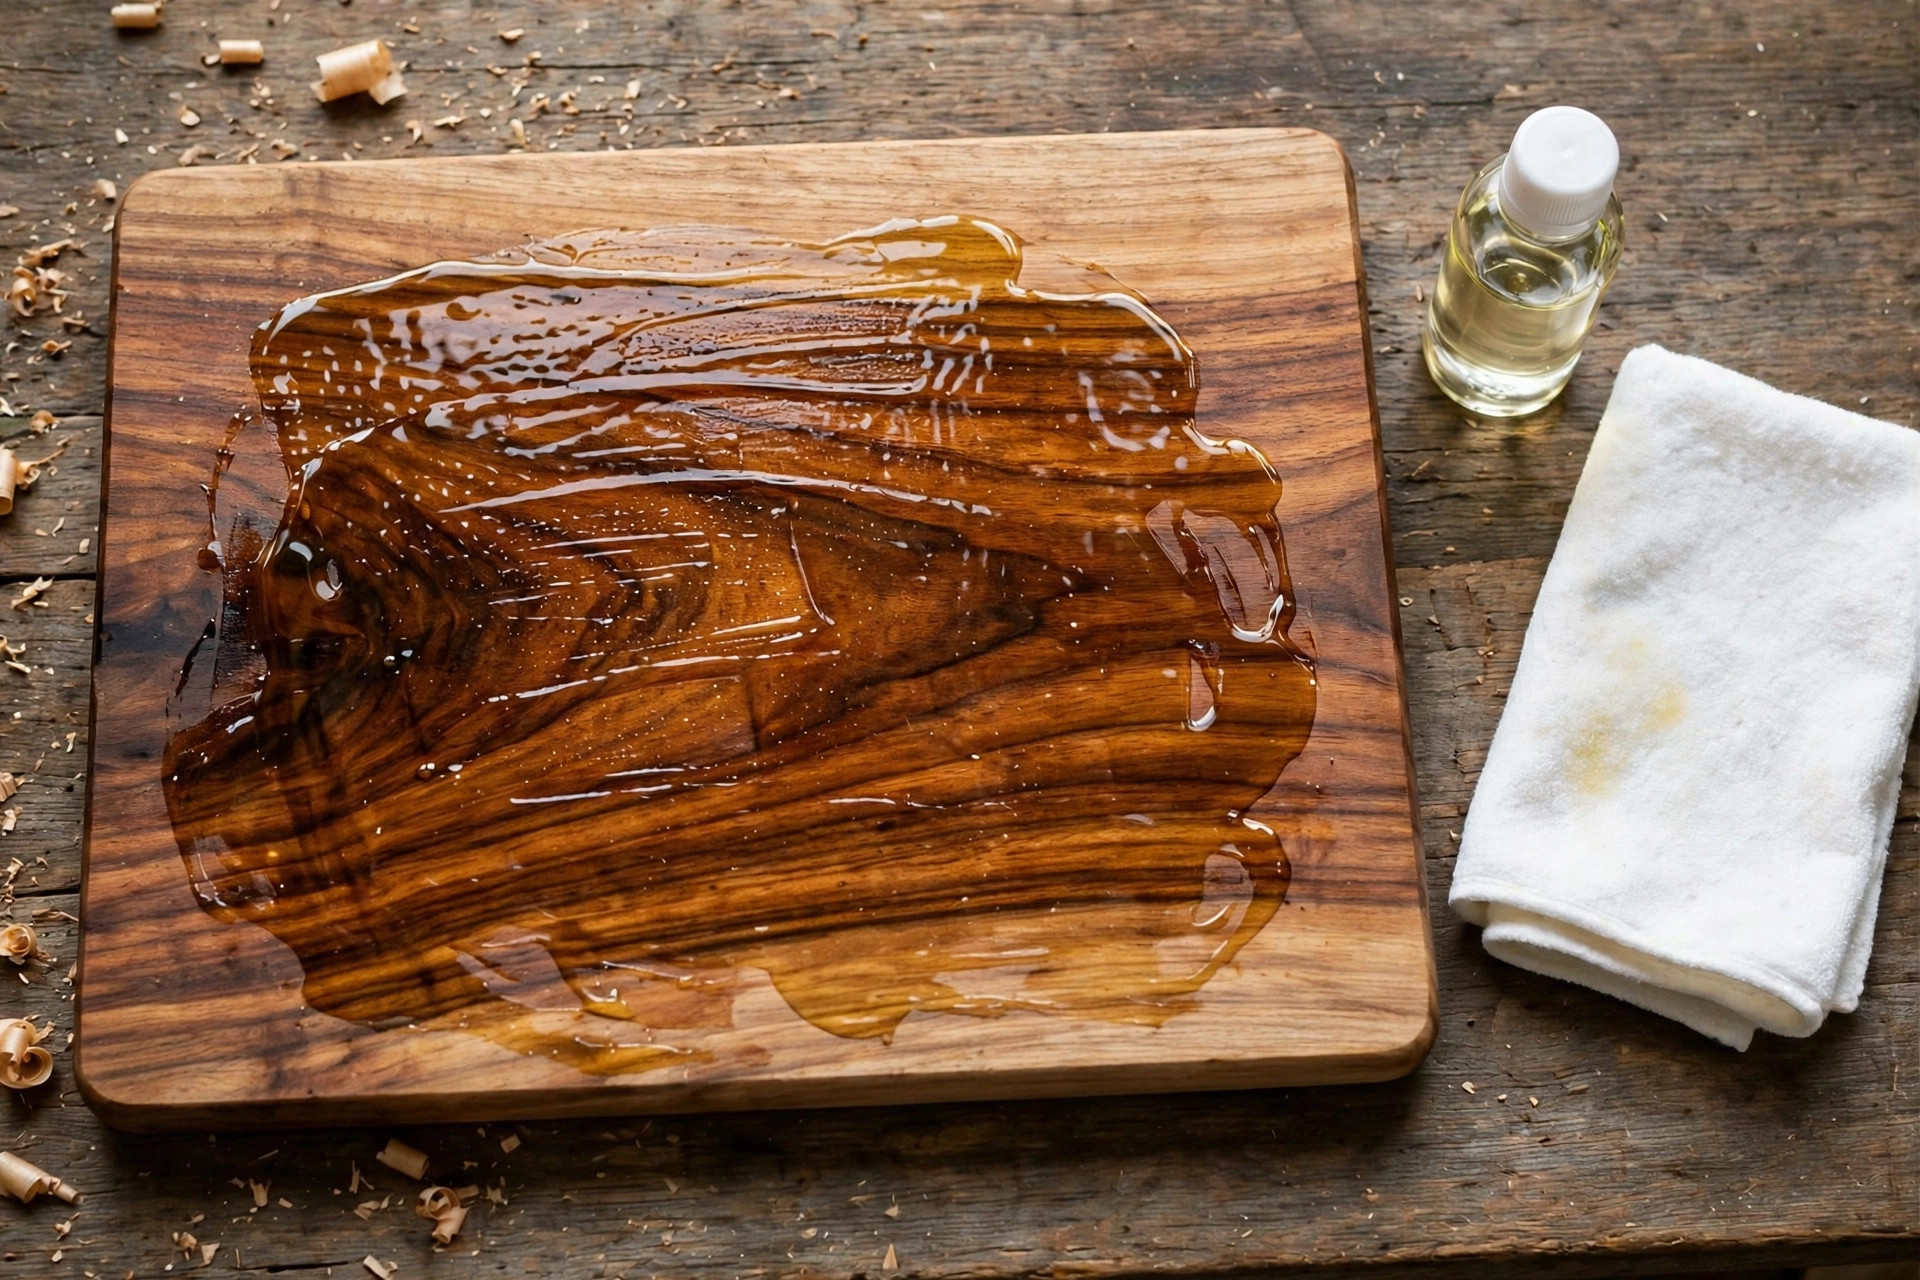
This is the section that protects everyone who will eat off your board, so it deserves to be explicit. A cutting board finish must be food-safe, and the standard is simple: food-grade mineral oil, followed by a board butter made from mineral oil and beeswax. Mineral oil is a non-drying oil that soaks into the wood, slows water absorption, and never goes rancid, unlike cooking oils such as olive or vegetable oil, which turn rancid in the wood and smell terrible. Beeswax mixed into the oil adds a light water-repellent top layer and a soft sheen. Buy mineral oil sold as food-grade or USP-grade — the same grade sold as a pharmacy laxative or labelled for butcher blocks — not industrial mineral oil.
Equally important is what NOT to use. Do not stain a cutting board: stain is not food-safe for a surface that meets knives and food, and a stained board bleeds colour into wet food. Do not use polyurethane, varnish, lacquer, or any film finish: a knife cuts through a film finish, the film flakes into food, and the board cannot be refreshed without stripping. Do not use tung oil or Danish oil unless the product is explicitly labelled food-safe and fully cured, because many “tung oil finishes” are actually varnish blends. Mineral oil and beeswax are the beginner-safe, traditional, and fully refreshable choice, and they are also the easiest finish in woodworking to apply well.
To apply the finish, flood the board generously with mineral oil — pour it on, spread it with a cloth or your hands, and let it soak for at least four to six hours, preferably overnight. The thirsty end grain and any dry patches will drink it in; add more oil to any spots that go dull. Wipe off all excess oil, let the board sit for another few hours, then apply a coat of board butter: warm a mixture of roughly four parts mineral oil to one part beeswax until the wax melts, let it cool to a soft paste, rub a thin coat over the whole board, let it sit for a few hours, then buff off the excess with a clean cloth. Repeat the oil step once more for a new board if the wood still looks thirsty — two to three oil coats on the first finishing is normal for maple — and finish with one final butter coat.
| Step | Product | How to apply | Drying / waiting time |
|---|---|---|---|
| 1. First oil soak | Food-grade mineral oil | Flood the surface, keep wet, add more to dull spots | 4–6 hours, ideally overnight |
| 2. Wipe excess | Clean lint-free cloth | Wipe until no puddles remain | A few hours |
| 3. Second oil coat | Food-grade mineral oil | Repeat the flood and soak | Overnight |
| 4. Board butter | Mineral oil + beeswax paste (4:1) | Rub on thinly, let sit, buff off | A few hours, then buff |
| 5. Final buff | Clean cloth | Buff to a soft, dry sheen | Ready to use |
Caring for Your Board and Re-Oiling
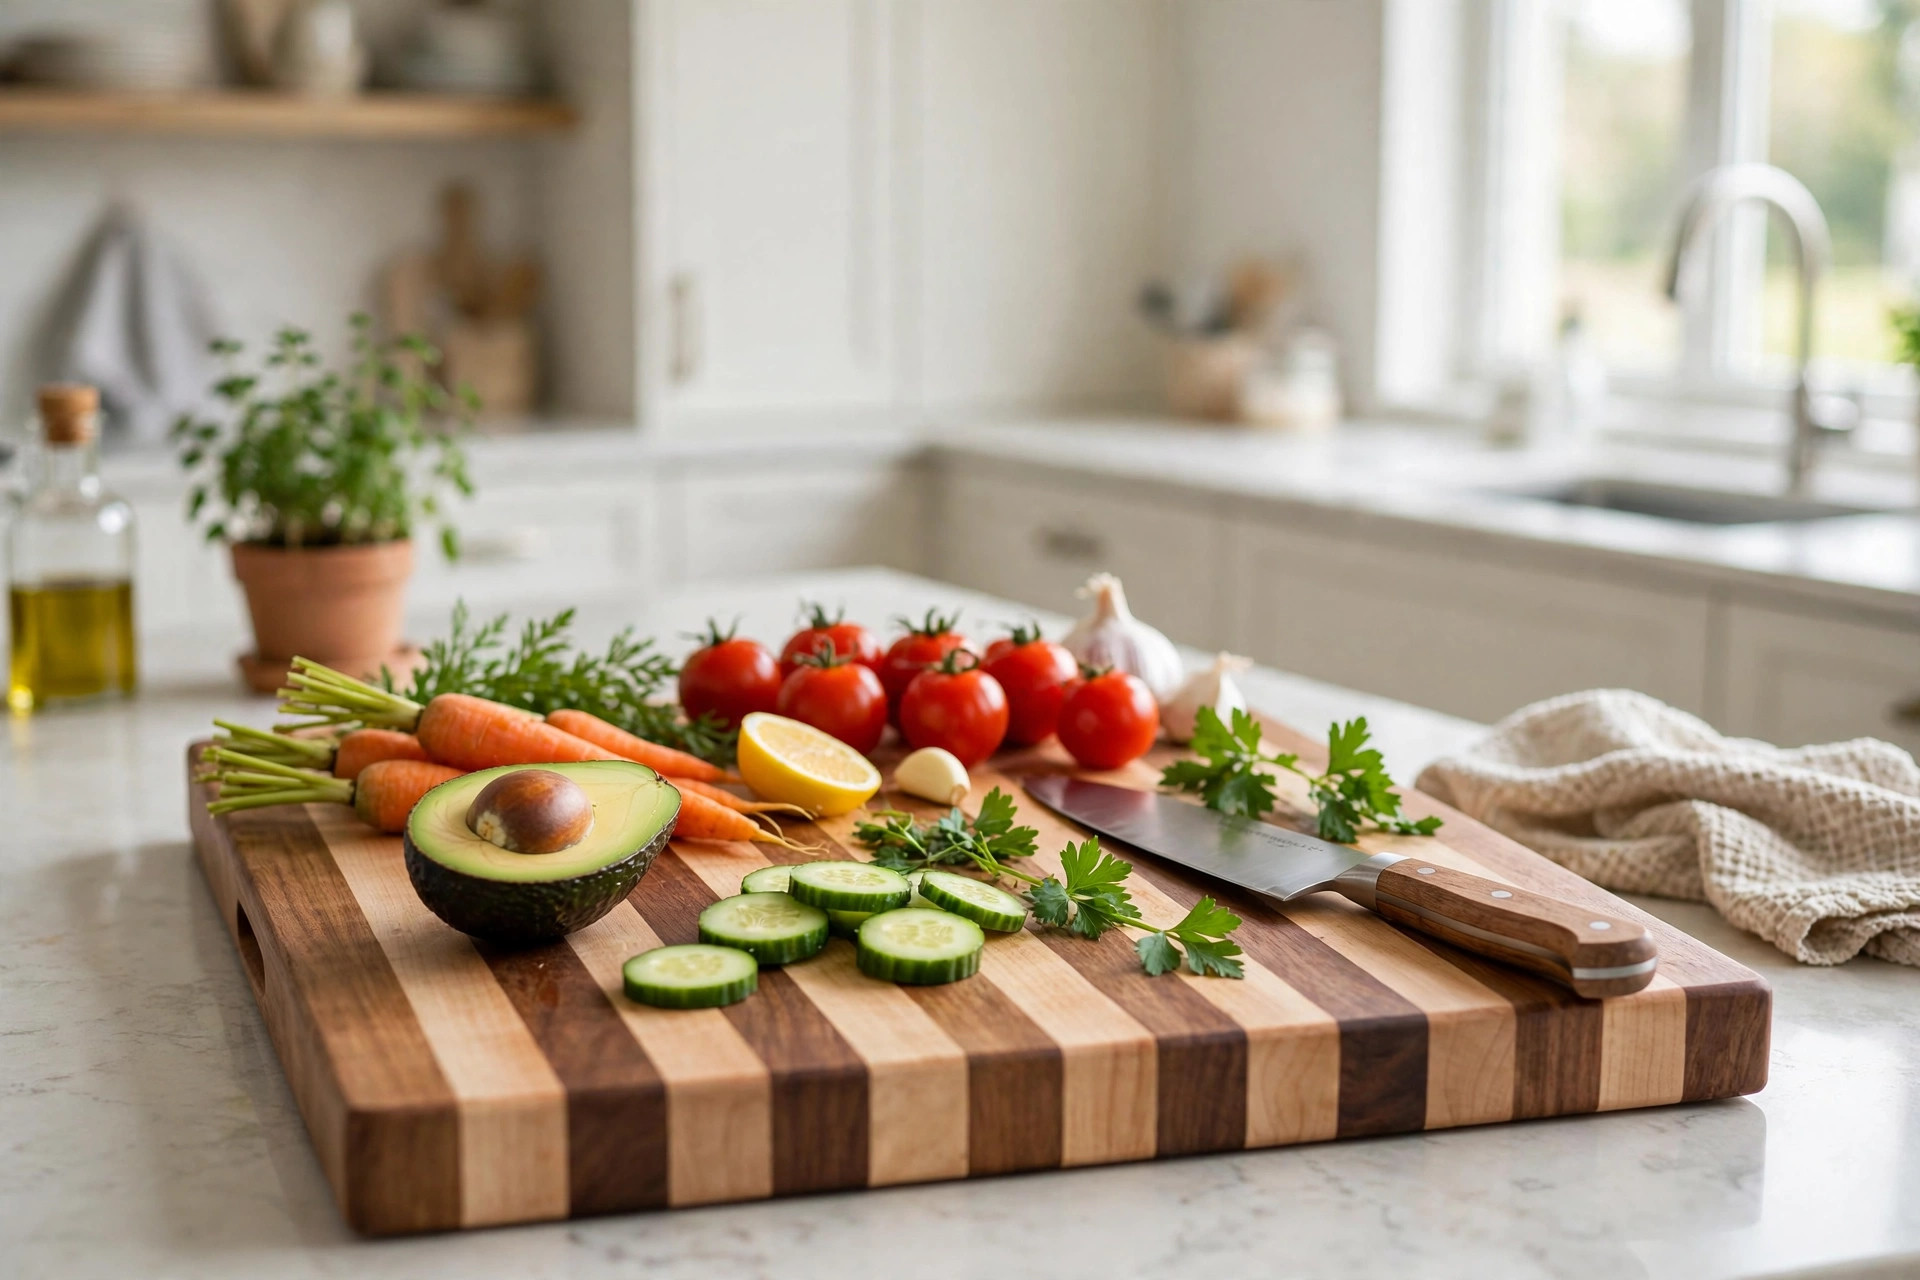
A well-oiled board is easy to care for, and most of its care is about what not to do. Never put a wooden cutting board in the dishwasher: the heat and prolonged soaking warp it, crack glue joints, and strip the oil finish in one cycle. Wash it by hand with hot soapy water, scrub lightly, rinse, and dry it upright on its edge so air reaches both faces; a board left flat on a wet countertop traps moisture on one side and cups toward the dry side. Towel-dry it rather than leaving it dripping, and never soak it in the sink.
Re-oiling is not a chore to dread — it takes ten minutes. When water stops beading on the surface and instead soaks in and darkens the wood, or when the board looks pale and dry, it is time. Sand lightly with 220 grit only if the surface feels rough or has deep knife scoring; otherwise just clean the board, let it dry fully, flood it with mineral oil, let it soak overnight, wipe off the excess, and apply a coat of board butter. For a board used daily, expect to re-oil every three to four weeks; for a lightly used board, every couple of months is plenty. A board that is re-oiled regularly will last decades, and when knife marks eventually get deep, you can resurface the whole board by sanding it back through the grits and re-oiling — a board is one of the few kitchen tools that is genuinely renewable.
Common Mistakes Beginners Make
The most common mistake is choosing the wrong wood — open-grained oak or soft pine — and discovering the problem only after the board has been washed a dozen times. The second is using the wrong glue or the wrong finish: interior glue that fails in water, cooking oil that goes rancid, or a film finish that flakes into food. All three are avoided by the choices in this guide. The third mistake is rushing the glue-up: clamping unevenly, skipping the cauls, or sanding before the glue has cured for 24 hours, which opens joints that will never fully close again. The fourth is skipping grits in sanding and finding scratches under the oil that cannot be fixed without sanding back. The fifth is over-oiling in a different way — leaving pools of oil on the surface instead of wiping off the excess, which leaves a sticky, gummy board. The sixth is flattening only one face and ending up with a board that rocks on the countertop; always check for rocking on a flat surface before you call the board done. Every one of these mistakes is cheap to avoid and expensive to fix, which is exactly why they are worth naming before you start.
Frequently Asked Questions
What is the best wood for a first cutting board?
Hard maple is the best first choice: affordable, dense, closed-grained, kind to knives, and widely available. Walnut and cherry are excellent alternatives, and all three mix beautifully in a striped glue-up. Avoid red oak, pine, and softwoods.
Do I need a planer to make a cutting board?
No. A random orbital sander with coarse paper, a belt sander, a router sled, or a hand plane can all flatten a cutting board. For a single-board build from surfaced lumber, you may not need to flatten at all beyond normal sanding.
Is wood glue safe for a cutting board?
Yes, provided you use a waterproof Type III PVA glue labelled food-safe or FDA-compliant for indirect food contact once cured, and you let it cure fully for 24 hours. Interior PVA glue is not waterproof and should not be used on a board that will be washed.
Can I use olive oil or coconut oil on a cutting board?
No. Cooking oils go rancid in wood and develop an unpleasant smell. Use food-grade mineral oil, which never goes rancid, followed by a mineral oil and beeswax board butter.
Can I put stain or polyurethane on a cutting board?
No. Stain is not food-safe for a surface that meets knives and food, and film finishes like polyurethane flake into food when cut. Stick to food-grade mineral oil and beeswax, which are fully refreshable.
How often should I re-oil my cutting board?
When water stops beading and soaks in instead, or the board looks pale and dry — roughly every three to four weeks for daily use, or every couple of months for light use. Re-oiling takes about ten minutes plus an overnight soak.
How thick should a cutting board be?
Around 20 millimetres is a good target for a first board: thick enough to feel solid and survive years of resurfacing, thin enough to handle and store easily. Thicker boards of 25 to 40 millimetres suit large carving stations.
The Bottom Line
Learning how to make a wooden cutting board for beginners is really learning the whole craft in miniature: pick a closed-grain hardwood, build it flat and square, sand patiently through the grits, and finish it with nothing but food-grade mineral oil and beeswax. Whether you choose the quick single-board version or the striped glue-up that looks like a craft-fair piece, the rules are the same — the right wood, the right glue, the right finish, and no shortcuts on sanding or curing time. Build it this weekend, oil it tonight, and by tomorrow you will be chopping dinner on a board you made yourself. And when it eventually shows its age, you already know how to bring it back: sand it, oil it, and it is new again.
If you enjoyed this build, the pillar guide to easy woodworking projects for beginners that sell has more first projects in the same spirit, and our earlier guides will help you sharpen every skill this project introduced.



Pingback: Easy Wooden Coasters for Beginners (Scrap Wood)
Pingback: How to Build a Wooden Bread Box for Beginners
Pingback: How to Build a Wooden Bath Tray for Beginners