
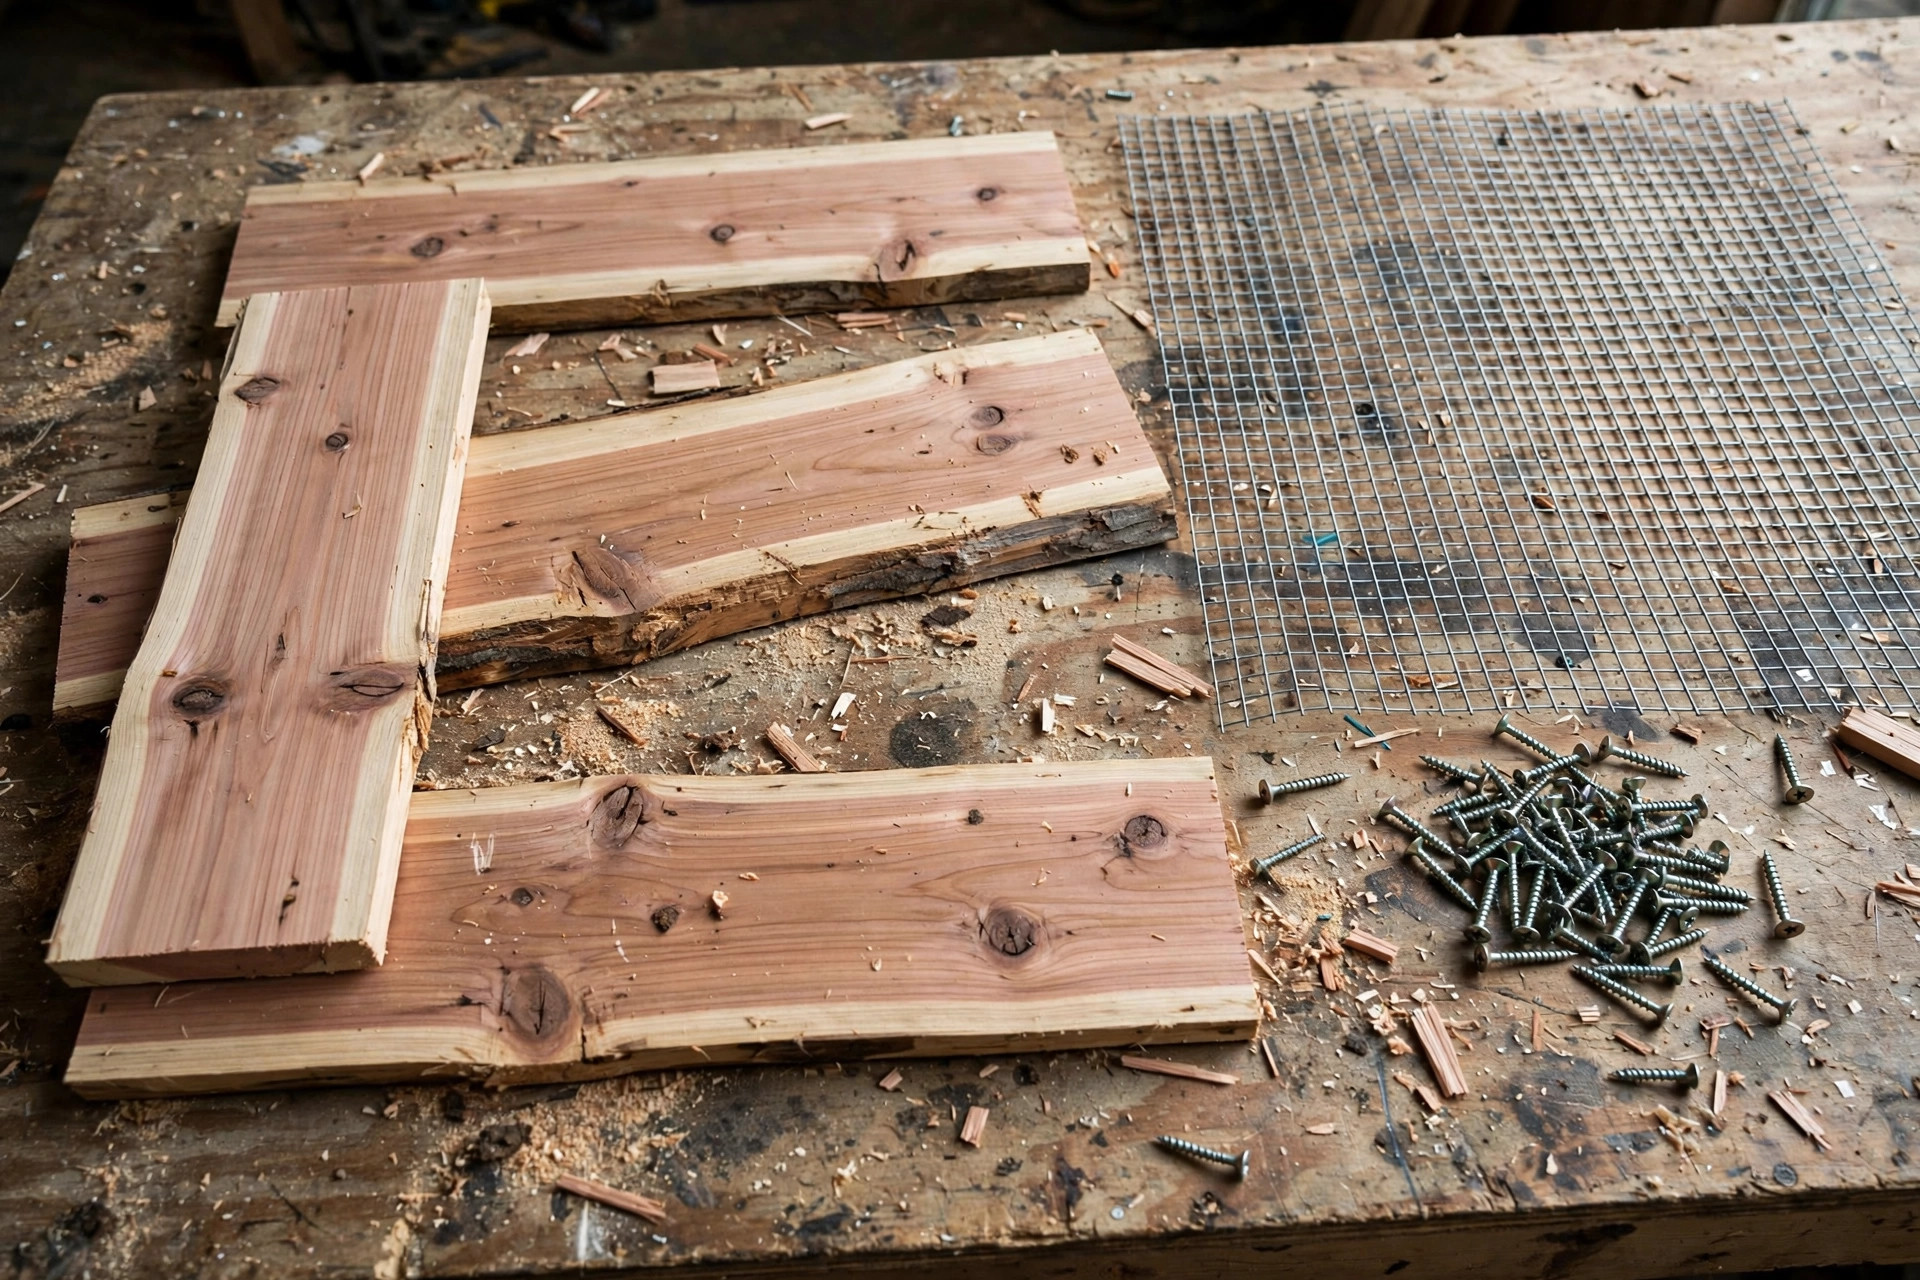
A wooden bird feeder is a satisfying first outdoor project for a different reason than most: you build it in a weekend, and then birds use it every day. Learning how to build a wooden bird feeder for beginners means learning three outdoor lessons at once: which woods are safe for birds, how to keep seed dry in rain, and how to design drainage so wet seed never turns mouldy. This guide builds a cedar hopper feeder — a tray with a roof, seed held between two side panels, and a mesh or slatted base that drains — sized for common garden birds, hangable from a branch or a pole, and simple enough that every cut is straight except for two roof bevels.
This feeder is deliberately different from a birdhouse. A birdhouse, like our guide to how to build a simple birdhouse for beginners, is a nesting box birds live in; a feeder is a feeding station birds visit. The designs look similar from a distance but solve different problems: a feeder must keep seed dry, flowing, and clean, while a house must stay dark, dry, and undisturbed. Do not confuse the two, and never put seed inside a birdhouse or nesting material inside a feeder — each design works because it is built for one job.
If this is one of your first builds, start with the pillar guide to easy woodworking projects for beginners that sell to see where a bird feeder fits among the best beginner projects, then come back here for the full measured build.
Bird-Safe Wood: What to Use and What to Avoid
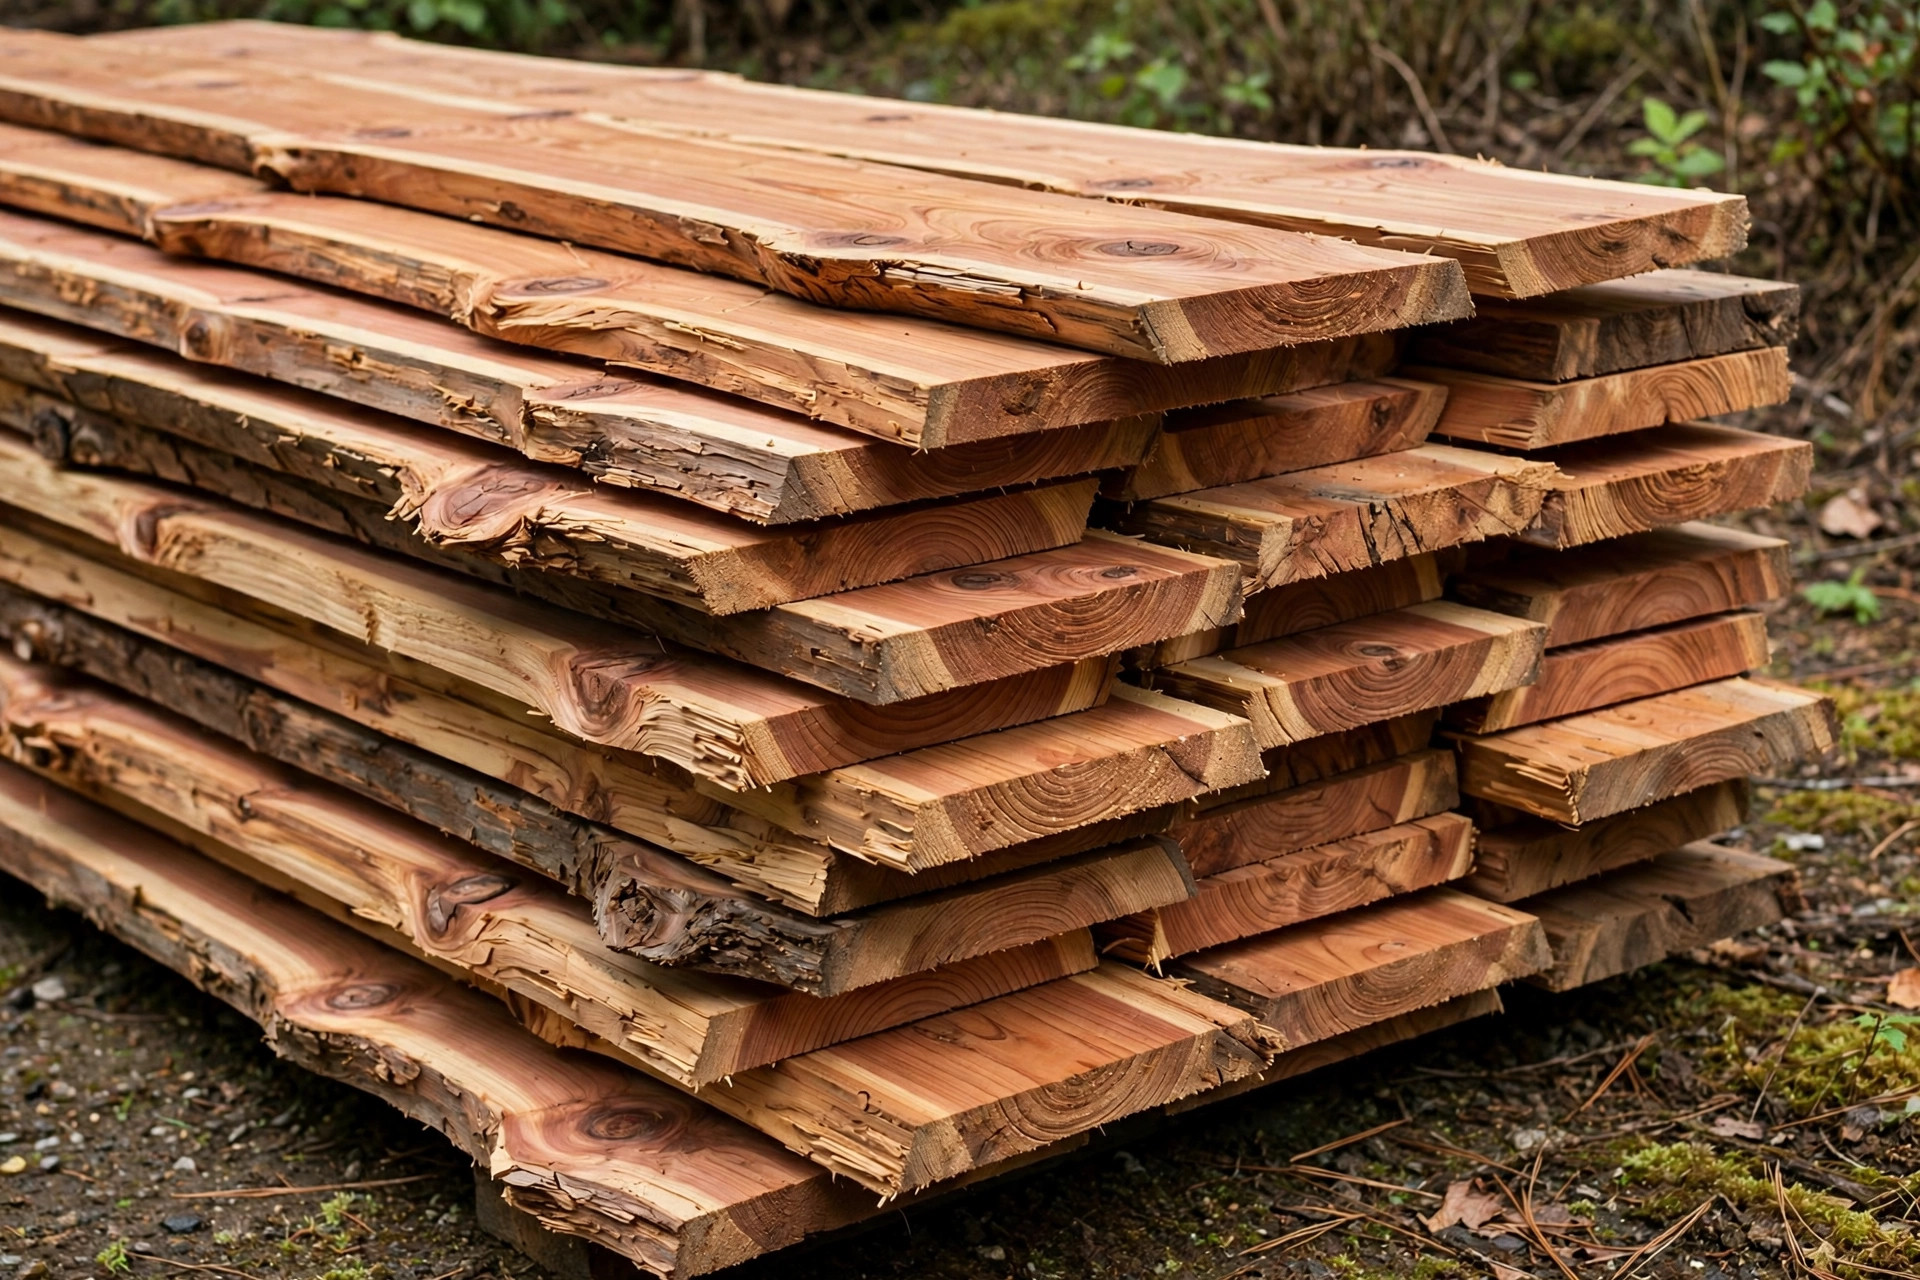
Wood choice for a bird feeder is a bird-health decision, not just a durability one. Birds peck at wood, perch on it for hours, and eat seed that has sat against it in rain — so treated lumber, painted surfaces birds can chew, and toxic species are all out. The table below is the rule for this project:
| Wood | Safe for birds? | Durability outdoors | Notes |
|---|---|---|---|
| Untreated cedar | Yes — best choice | Excellent, naturally rot-resistant | Soft, easy to cut, weathers well |
| Untreated pine | Yes, if sealed with bird-safe oil | Moderate; needs sealing | Cheap and easy; seal cut ends well |
| Untreated redwood | Yes | Excellent | Pricier; similar to cedar |
| Pressure-treated lumber | No — avoid | Very durable | Chemicals leach into seed and water; never use |
| Painted or stained wood (unknown paint) | Avoid | Varies | Birds chew paint; only use labelled bird-safe finishes |
| Plywood (exterior grade) | Acceptable for roof only | Good | Edges swell outdoors; not ideal for seed-contact parts |
| Reclaimed painted wood | No — avoid | Unknown | Old paint may contain lead |
Cedar is the clear winner: naturally rot-resistant without any chemical treatment, soft enough for easy beginner cuts, and safe for birds to peck and perch on. One 1×6 cedar board, 1.8 metres long, plus a short 1×4 for the roof, is enough for the whole feeder. Leave cedar unfinished — it weathers to a silver grey and needs no finish at all — or seal it with a single coat of food-safe mineral oil on the outside only, never on seed-contact surfaces. If you want colour, use a water-based exterior paint labelled safe for bird feeders and let it cure fully before hanging, but unfinished cedar is simpler and safer.
Tools and Materials
You need a saw for straight cuts — a miter saw is ideal, a circular saw with a guide works — plus a drill, a jigsaw for the side panel shape, sandpaper from 80 to 220 grit, and a tape measure and square. A Forstner or spade bit drills the drainage and hanging holes. Keep the tool list short: this feeder is designed to need nothing a beginner does not already own or cannot borrow.
| Item | Specification | Quantity | Notes |
|---|---|---|---|
| Cedar 1×6 (19 x 140 mm) | Sides, tray, seed hopper | 1 board, 1.8 m | Untreated only — never pressure-treated |
| Cedar 1×4 (19 x 89 mm) | Roof boards | 1 board, 0.6 m | Or rip from the 1×6 offcut |
| Wire mesh or hardware cloth, 6 mm | Tray base (drainage) | 1 piece, 200 x 300 mm | Galvanised mesh is fine for the base only |
| Exterior wood screws, 40 mm | Frame joints | 20 | Stainless or coated; see our best drill for woodworking beginners guide for pilot holes |
| Exterior wood glue | Joints | Small bottle | See our best wood glue for beginners guide |
| Eye screw + hanging wire or chain | Hanging | 1 set | Rated for at least 5 kg (feeder + seed + birds) |
| Sandpaper | 80, 120, 220 grit | A few sheets each | Our best sandpaper grit for beginners guide explains the sequence |
The Cut List
Cut everything first and label each piece. The side panels carry the feeder’s shape — a simple house-like profile with a peaked top — so cut one side panel carefully with a jigsaw, then use it as a template to trace and cut the second. Matching sides are essential: a feeder with mismatched sides leans, and its roof will not sit level.
| Part | Size | Quantity | What it does |
|---|---|---|---|
| Side panels | 1×6 cedar, 300 mm tall x 140 mm wide, peaked top | 2 | Feeder ends; roof sits on the peaks |
| Tray base frame, long | 1×2 cedar offcut, 300 mm | 2 | Edges of the tray base |
| Tray base frame, short | 1×2 cedar offcut, 180 mm | 2 | Ends of the tray base |
| Seed hopper front/back | 1×4 cedar, 280 mm long | 2 | Low walls that hold seed in the tray |
| Roof boards | 1×4 cedar, 360 mm long | 2 | The two roof slopes |
| Perch dowels | 12 mm dowel, 120 mm | 2 | Perches at the tray ends |
| Roof ridge cap | 1×2 cedar offcut, 360 mm | 1 | Covers the roof peak joint |
Measure your actual cedar board before cutting the side panels: a nominal 1×6 is usually about 140 millimetres wide, and the tray width follows from it. The feeder ends up about 300 millimetres long, 180 millimetres wide, and 350 millimetres tall including the roof — a good size for finches, sparrows, chickadees, and other small garden birds, without being so large that it empties a whole bag of seed at once.
Step 1: Cut and Shape the Side Panels
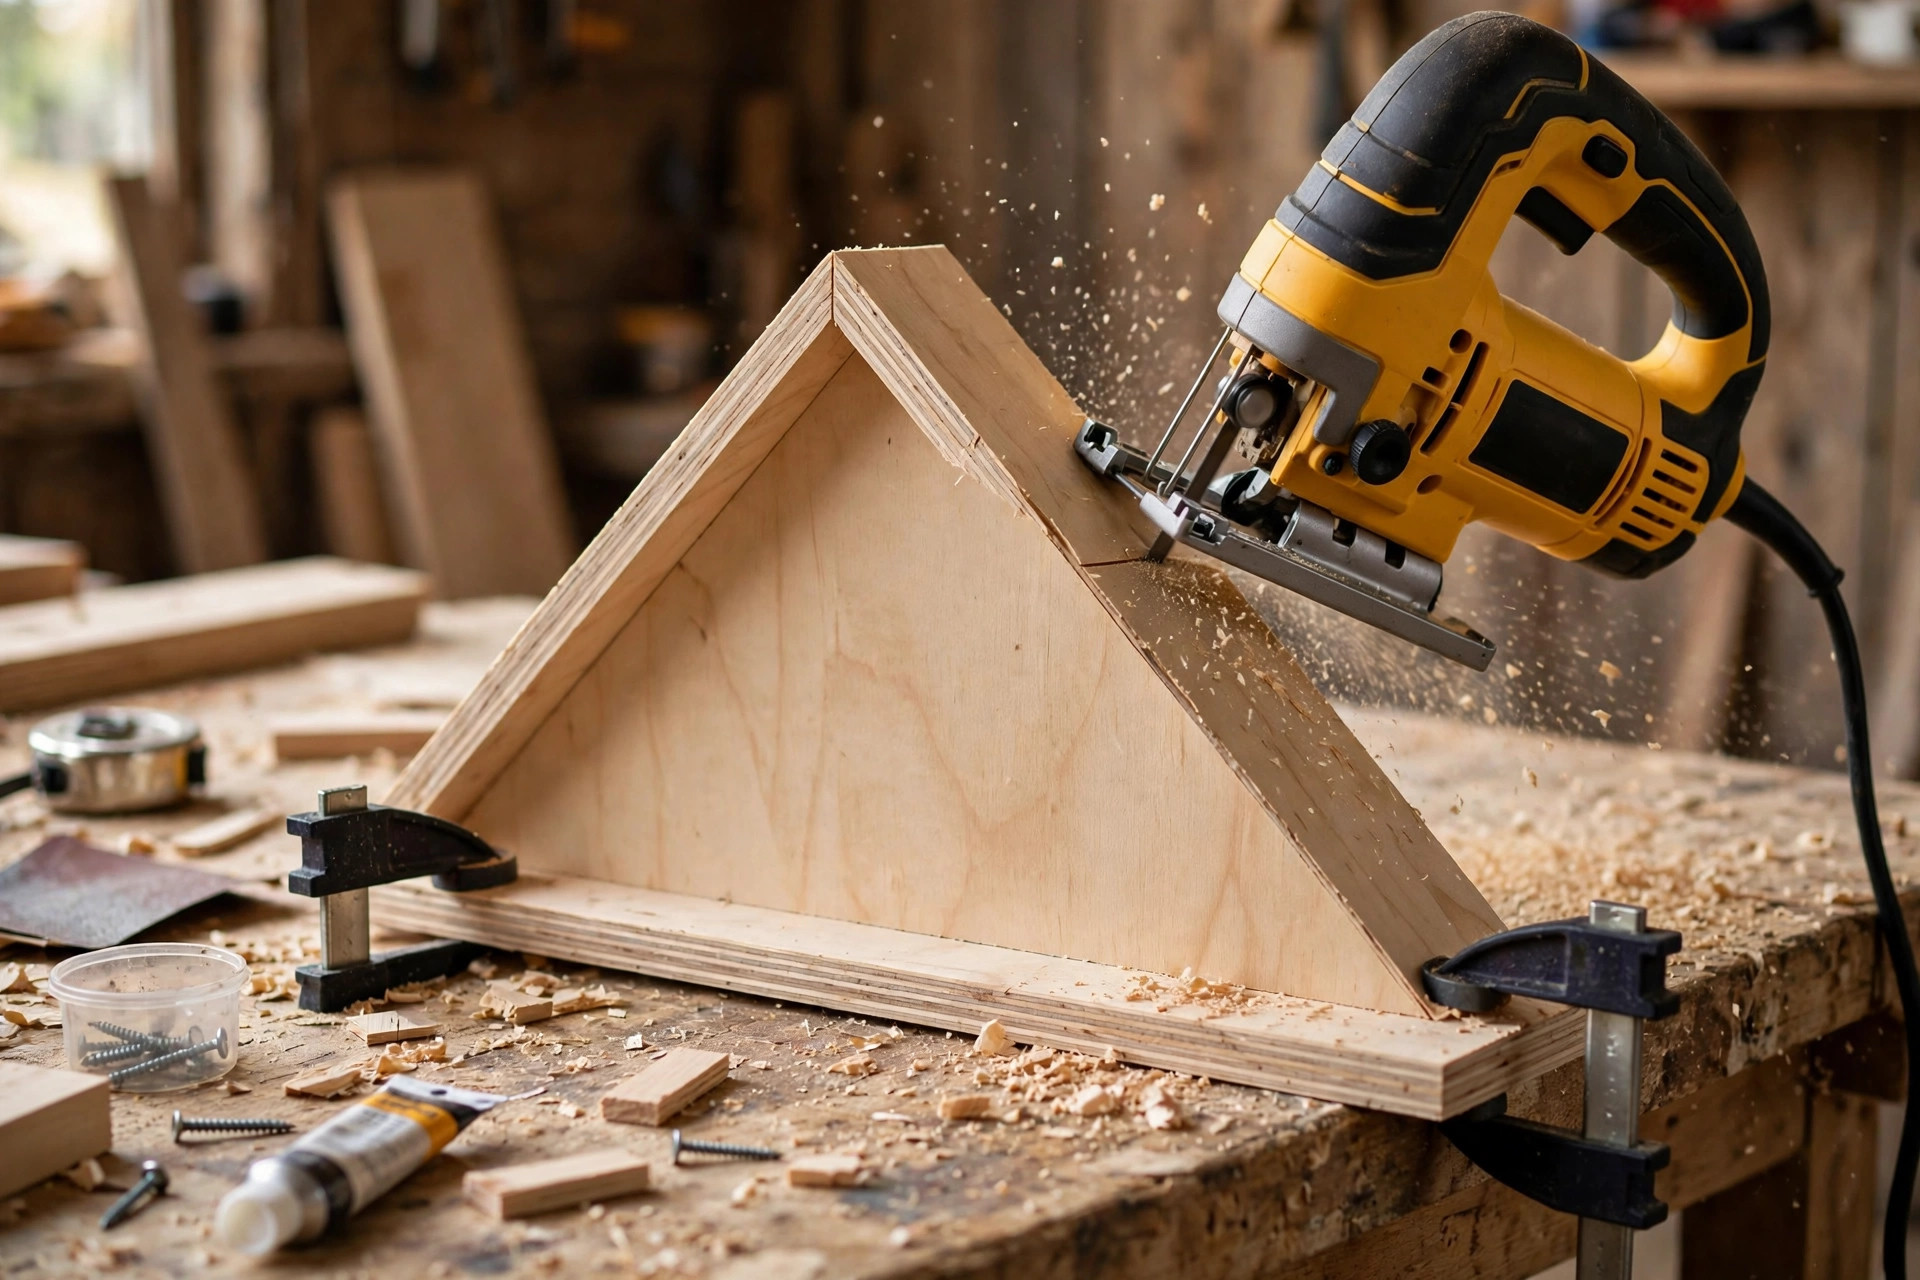
Draw the side panel profile on one cedar piece: a rectangle 300 millimetres tall with a peaked top — mark the peak centre at the top edge, and two eave points 60 millimetres down each side. Cut the peak with a jigsaw, staying just outside the line, then sand to the line with 80-grit paper for a clean edge. Trace this finished panel onto the second piece and cut it the same way, so both sides match. Our guide to the best jigsaw for beginners covers the curved and angled cuts this step needs.
Sand both panels fully, inside and out, through 80, 120, then 220 grit. Birds perch on panel edges and rub against them constantly, so no edge should be sharp or splintery. Round the bottom corners of the panels slightly — a feeder that gets lifted, carried, and hung by its roof puts stress on sharp corners, and rounded corners resist chipping.
Step 2: Build the Tray With Drainage
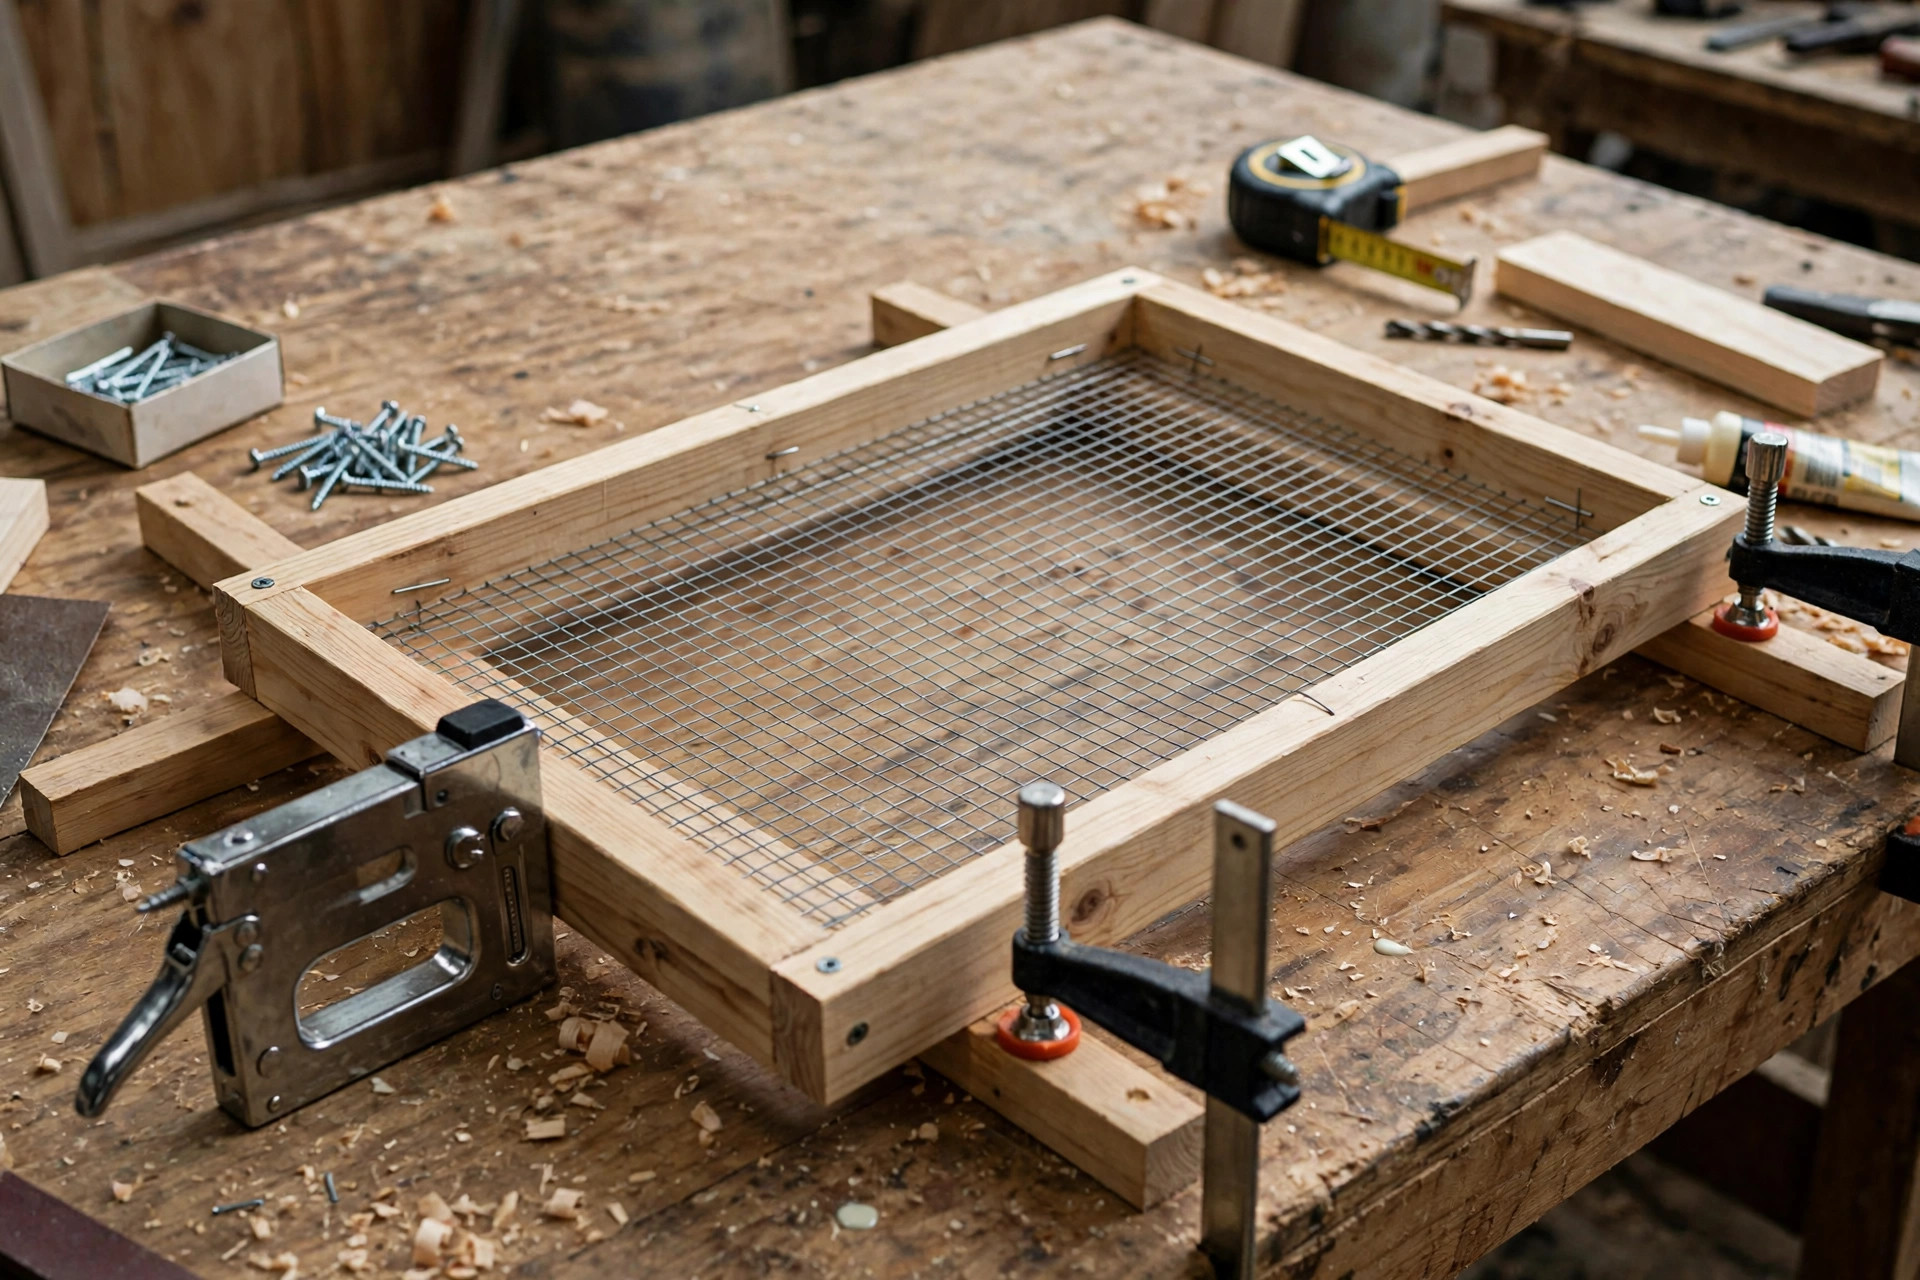
Drainage is what keeps seed from rotting, and it is the step most beginner feeders skip. Build the tray as a shallow rectangular frame from the 1×2 offcuts, then staple or screw the wire mesh across the bottom of the frame. The mesh lets rain drain straight through instead of pooling under the seed, and it lets air circulate, which keeps seed dry between showers. Cover the mesh edges with thin cedar trim strips so no sharp wire ends poke out where birds land.
Screw the tray frame between the two side panels, about 40 millimetres up from the panel bottoms, so the tray sits inside the feeder with a small gap underneath for airflow. Then fit the two low hopper walls (the 1×4 pieces) along the tray’s long sides, leaving a 25-millimetre gap between the bottom of each wall and the tray — seed flows out through that gap onto the tray as birds eat, which is how a hopper feeder self-refills. Add the two perch dowels through the side panels at tray level, one at each end, glued and sanded smooth. Test the seed flow with a handful of seed before you fit the roof: pour seed in, and it should flow gently onto the tray without flooding it.
Step 3: Fit the Roof and Hanging Hardware
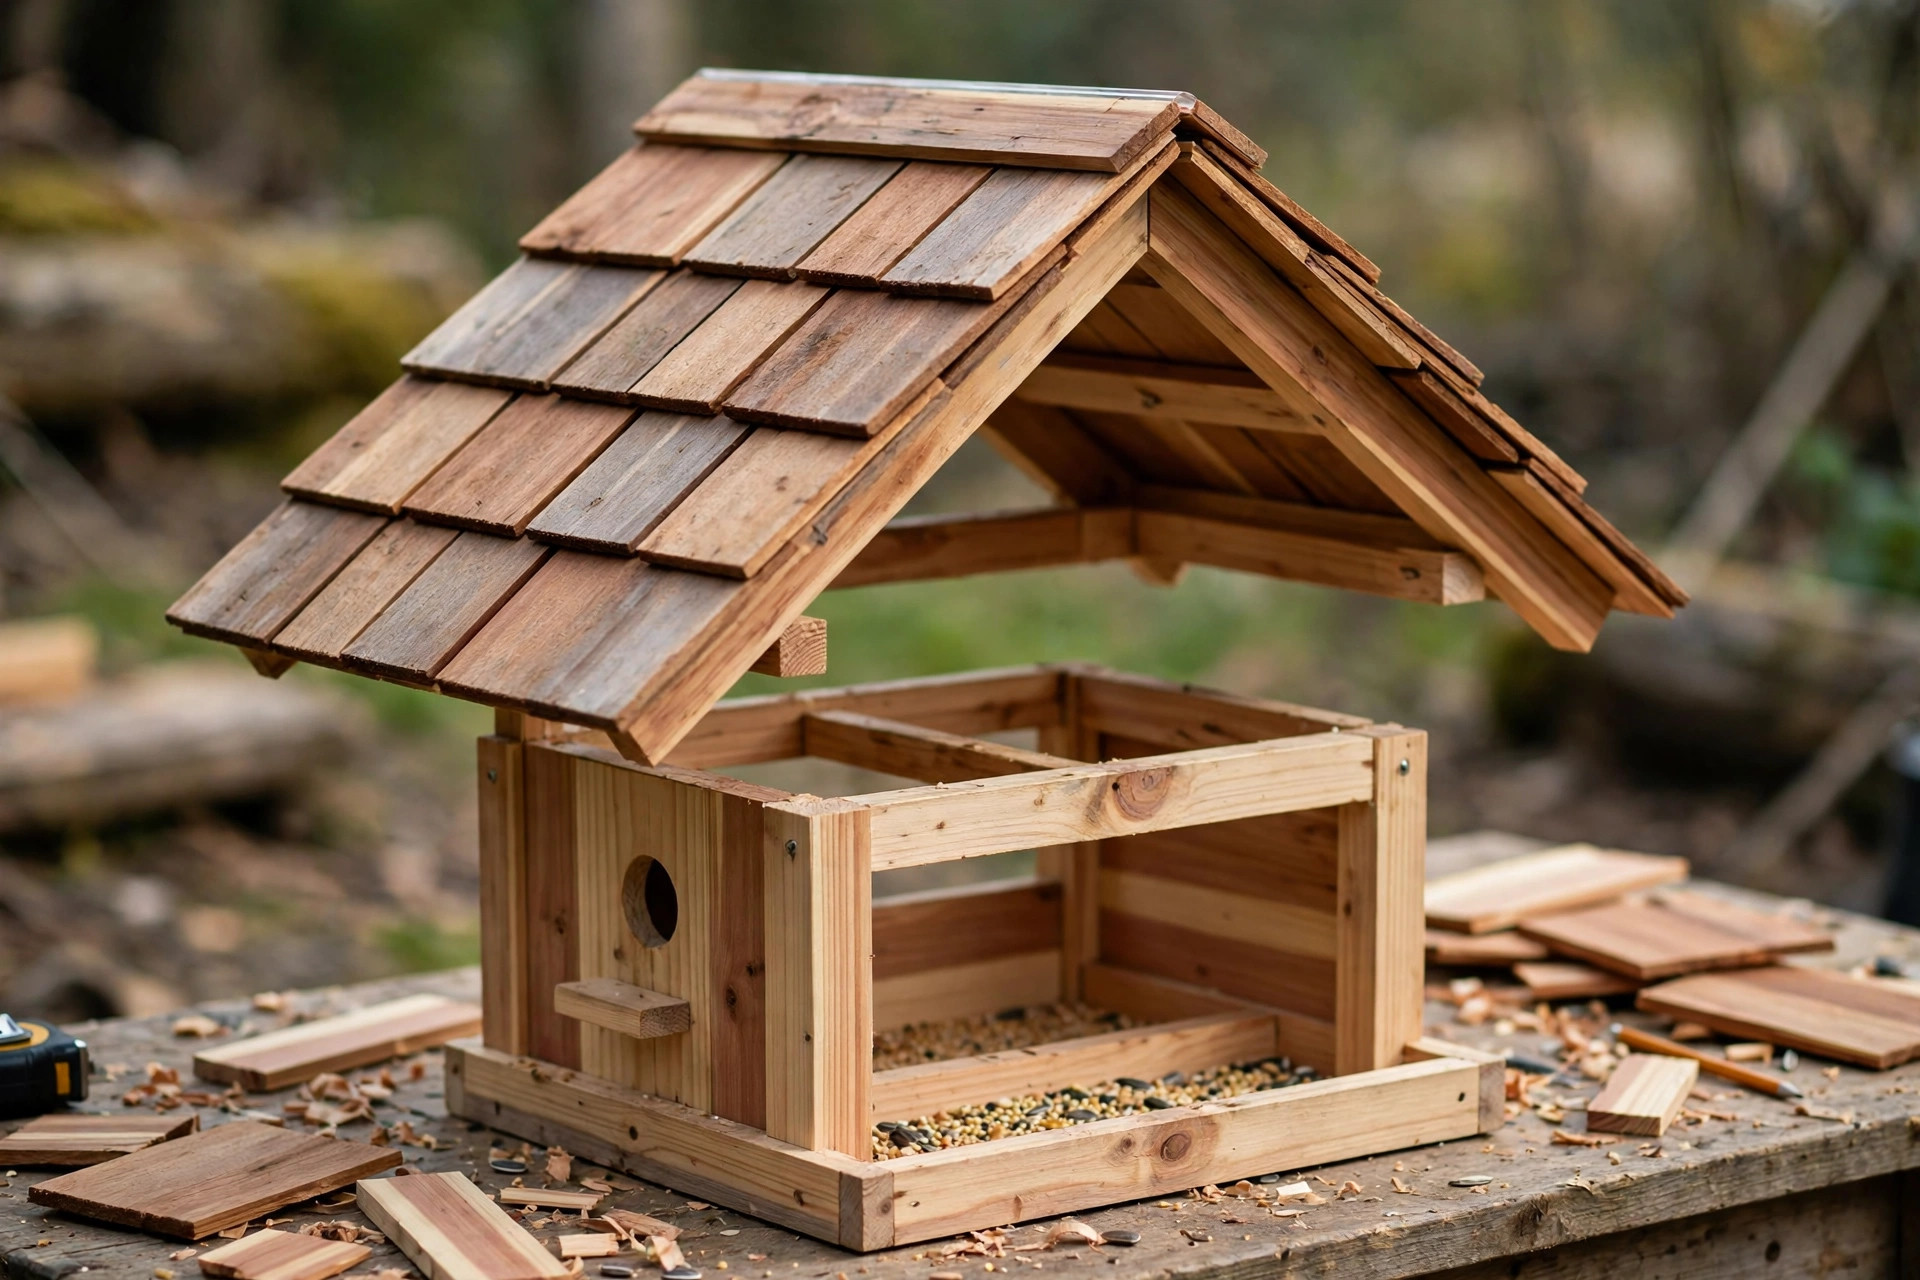
The roof must overhang the tray on all sides by at least 25 millimetres, or wind-driven rain will soak the seed from the sides. Bevel the top long edge of each roof board at 45 degrees with a saw or a hand plane so the two boards meet cleanly at the peak, then screw them to the peaked tops of the side panels from underneath, so no screw heads show on the roof’s weather face. Cap the peak joint with the ridge piece, glued and screwed, which seals the one joint rain would otherwise enter.
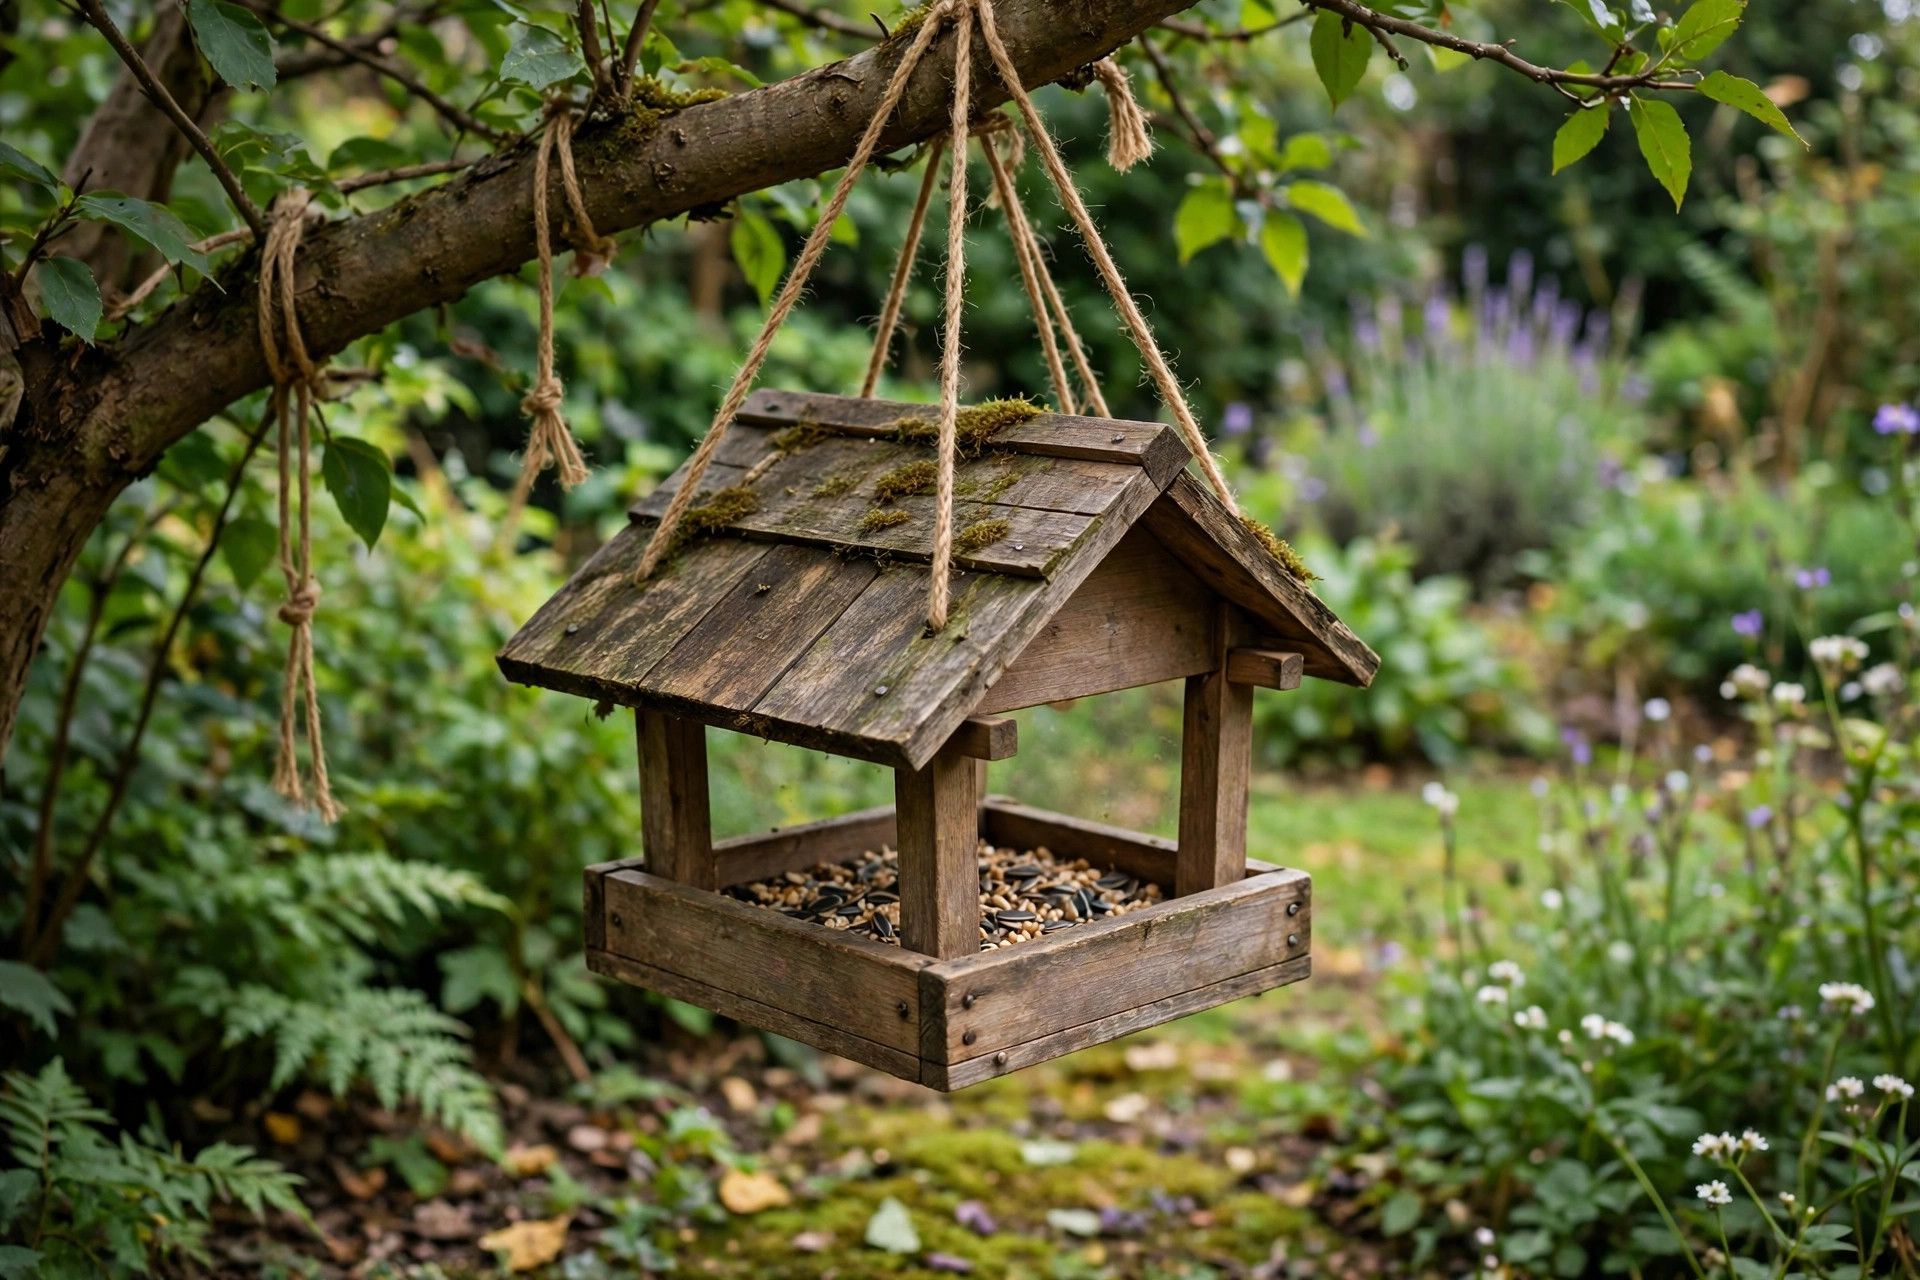
Drill a hanging hole through the ridge cap and fit the eye screw, with the hanging wire or chain rated for at least 5 kilograms — a full feeder plus wet seed plus several birds is heavier than it looks.
Cleaning and Refilling: The Job That Keeps Birds Healthy
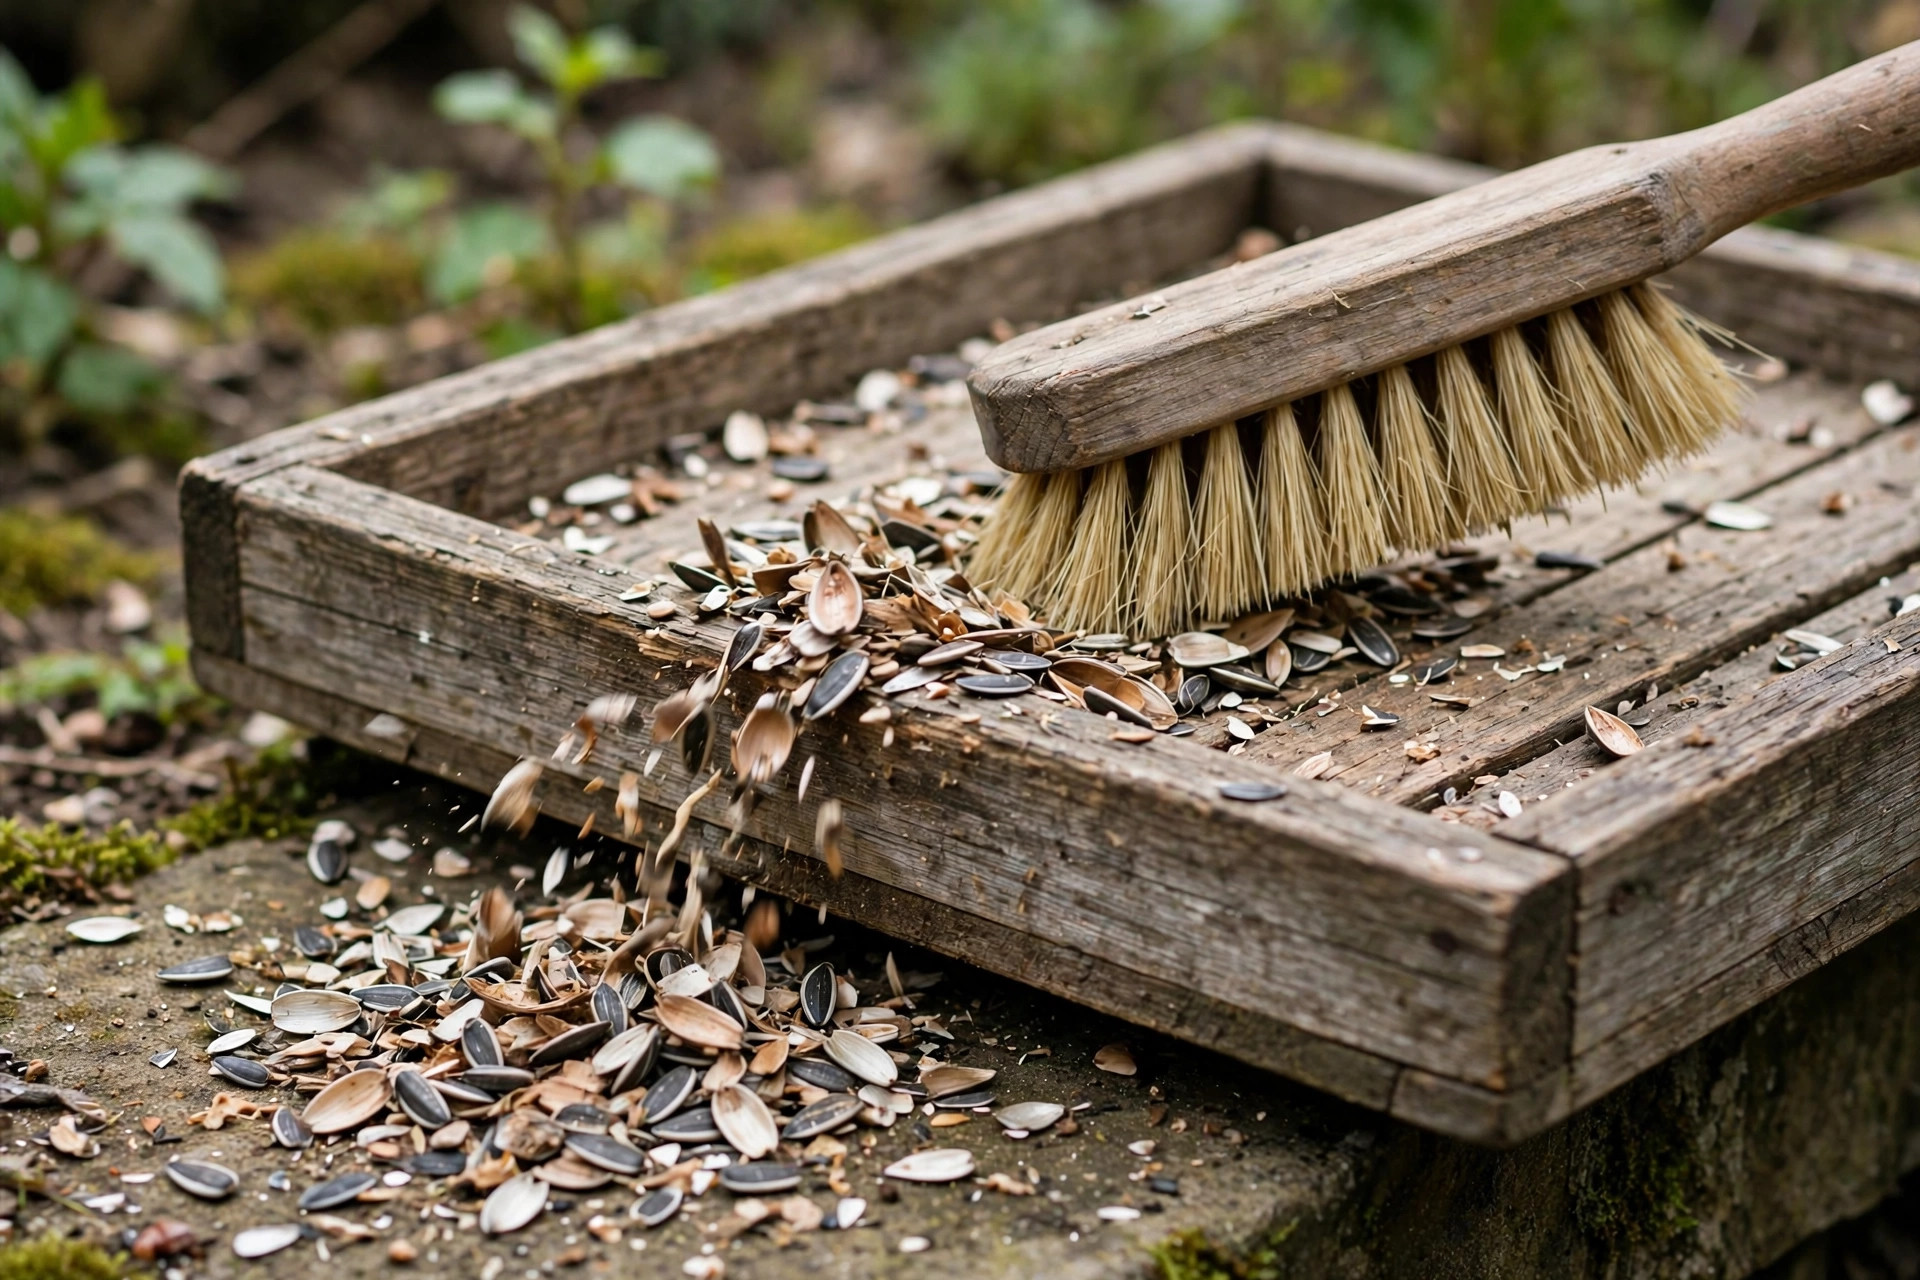
A feeder that is never cleaned becomes a disease risk for birds, so build cleaning into the routine from day one. Empty and brush out the tray every two weeks, and wash it with hot water and a stiff brush if you see mould, damp clumps, or droppings in the seed. Let it dry fully before refilling — refilling a damp tray is how mould starts. In wet weather, check the tray after heavy rain and tip out any sodden seed rather than letting it sit. Refill with fresh seed only; never top up mouldy seed with fresh seed on top, since birds will dig through to the mouldy layer. Use seed suited to your local birds — sunflower hearts and mixed seed suit most small garden birds — and avoid cheap mixes bulked out with wheat and barley, which most garden birds simply discard onto the ground.
Position matters for health as well as viewing: a feeder near a window risks bird strikes, so place it either very close to the window (under 1 metre, so birds cannot build up speed) or well away from it (over 10 metres). Clean the ground under the feeder regularly too, since discarded seed husks and droppings accumulate there and attract rats if left.
Common Mistakes Beginners Make
The most serious mistake is using pressure-treated lumber — never build a feeder from treated wood, since the chemicals leach into seed and water. The second is building a solid tray with no drainage, which turns seed mouldy after the first rain. The third is a roof with no overhang, which lets wind-driven rain soak the seed from the sides. The fourth is hanging the feeder too low or too close to shrubs, which turns it into a cat-feeding station. The fifth is leaving sharp mesh edges exposed on the tray, which injures birds’ feet. The sixth is never cleaning the feeder — a dirty feeder spreads disease faster than no feeder at all. The seventh is confusing a feeder with a birdhouse and putting seed in a nesting box, or nesting material in a feeder.
Frequently Asked Questions
What is the best wood for a bird feeder? Untreated cedar. It is naturally rot-resistant, safe for birds to peck, soft enough for easy beginner cuts, and needs no finish. Never use pressure-treated lumber for any part that contacts seed or birds.
How do I keep bird seed dry in a wooden feeder? Use a roof that overhangs the tray by at least 25 millimetres on all sides, a mesh tray base that drains rain straight through, and a hopper design that only releases a little seed at a time onto the tray.
How high should I hang a bird feeder? 1.5 to 1.8 metres high, at least 3 metres from dense shrubs where cats hide, and where you can reach it easily for refilling and cleaning.
How often should I clean a bird feeder? Brush out the tray every two weeks, and wash it with hot water whenever you see mould, damp clumps, or droppings. Always let it dry fully before refilling.
Can I paint a wooden bird feeder? Only with a water-based exterior paint labelled safe for bird feeders, fully cured before hanging, and never on seed-contact surfaces. Unfinished cedar is simpler and safer.
Will a wooden feeder attract squirrels? Probably, if squirrels live nearby. Hang the feeder on a pole with a baffle, keep it away from launch points like fences and overhanging branches, and accept that some squirrel visits are part of feeding birds outdoors.
The Bottom Line
Learning how to build a wooden bird feeder for beginners comes down to three rules: untreated cedar only, a roof that overhangs and a tray that drains so seed stays dry, and a hanging spot high enough for birds and awkward enough for cats. Get those right and the build is just two matching side panels, a mesh tray, and a peaked roof — a weekend project that pays you back every morning with birds at the window. Build it this weekend, hang it where you can see it from the kitchen, and clean it every couple of weeks; the birds will find it faster than you expect.
If you enjoyed this build, our guide to how to build a simple birdhouse for beginners is the natural companion project, and the pillar guide to easy woodworking projects for beginners that sell has more first projects in the same spirit.
Recommended Tools and Safety Gear for This Project

Titebond III Ultimate Wood Glue 1413 (8 oz)
Why it fits this bird feeder: it bonds the cedar side panels, tray frame, and seed-hopper walls for a weather-resistant outdoor feeder.

IRWIN QUICK-GRIP Woodworking Clamps Set, 8-piece (IRHT83220)
Why it fits this bird feeder: the set holds the small cedar panels and tray pieces square while the glue dries.

DEWALT Concealer Safety Goggles DPG82-11C
Why it fits this bird feeder: they protect your eyes from cedar dust and chips while cutting the side panels and sanding the feeder.

DEX FIT Cru553 Level 5 Cut Resistant Gloves, Size L
Why it fits this bird feeder: they give cut protection while handling cedar boards, sawn edges, and mesh for the tray base.

3M PELTOR X4A Over-the-Head Earmuffs, NRR 27 dB
Why it fits this bird feeder: they protect your hearing during loud sawing and power sanding of the cedar parts.
As an Amazon Associate, I earn from qualifying purchases.


